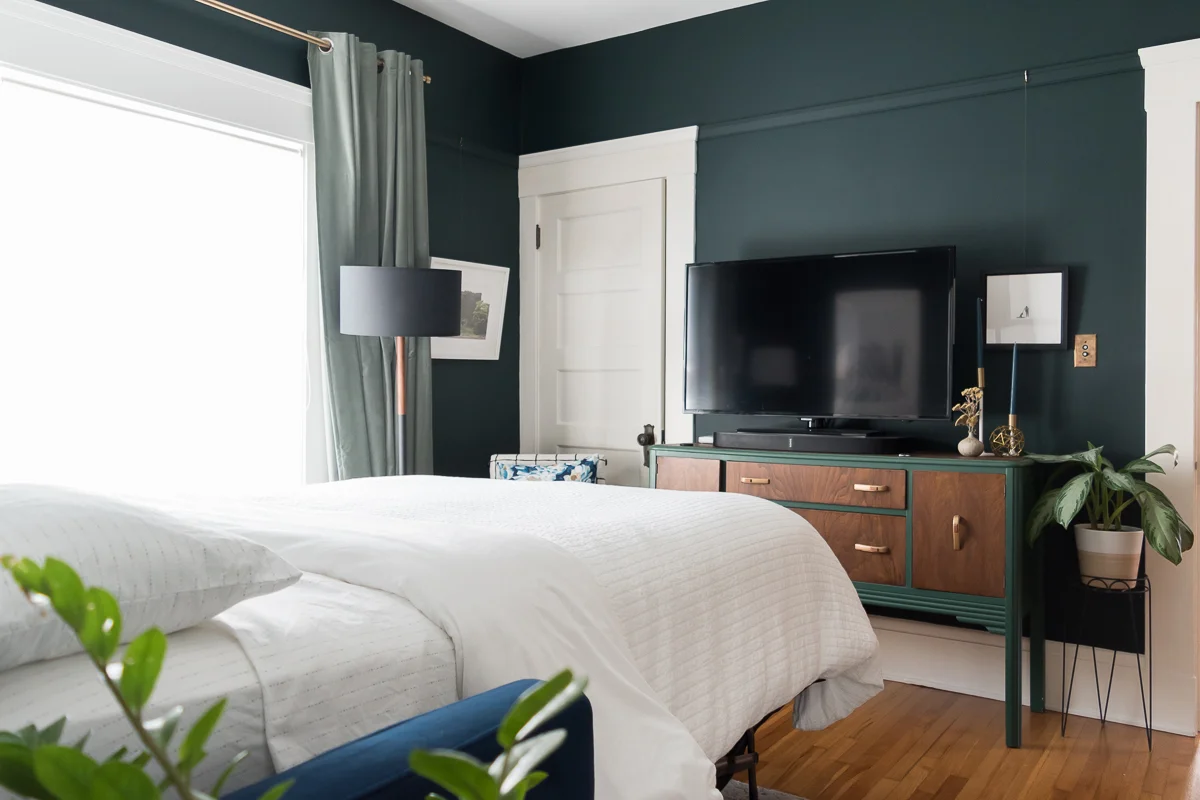
Master Bedroom Makeover - One Room Challenge Week 2 - Electrical and Doorways + A VIDEO!
/It's week two of the One Room Challenge! I didn't start until I wrote last week's announcement blog post so I'm only a week into the challenge. 7 days down, 28 more to go!
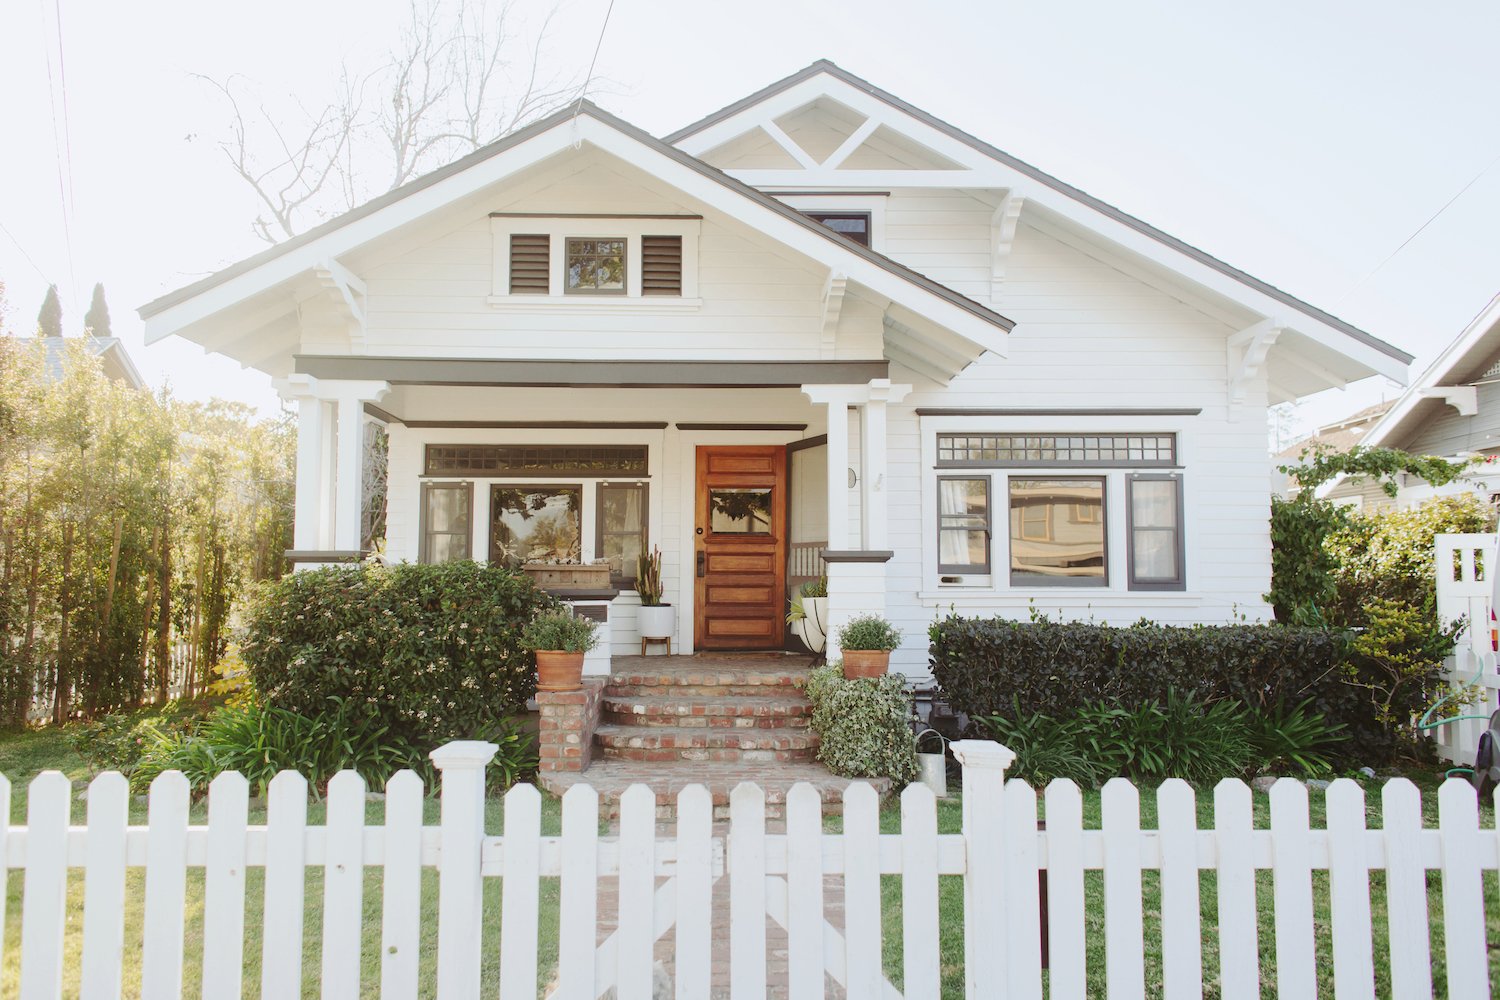
If you found me through ORC, welcome! I'm Ashley and for the past three years, I've been restoring a craftsman bungalow in San Diego, CA. Learn a touch more about me here, preview the before-and-after room transformations here, and see my previous ORC rooms here and here.
The first week of ORC is always prep week. It isn't the most glamorous, but there's nothing like emptying a room and putting holes in the wall to feel like you're making progress. I find that this week is much more fun in time lapse and music video (minus any dancing) format, so I give you a video of the week's progress. If you like old-fashioned reading, then scroll down!
This Week's Video:

P.S. I promise the video is more entertaining than the text. It's less than 4 minutes long, so it's worth the watch.
Ross was out of town, so I emptied the room solo. Whenever I do that, it becomes my workout for the day. It's not a good habit, but I definitely find myself skipping yoga after doing demo, or heavy lifting, or really after doing anything sweaty.
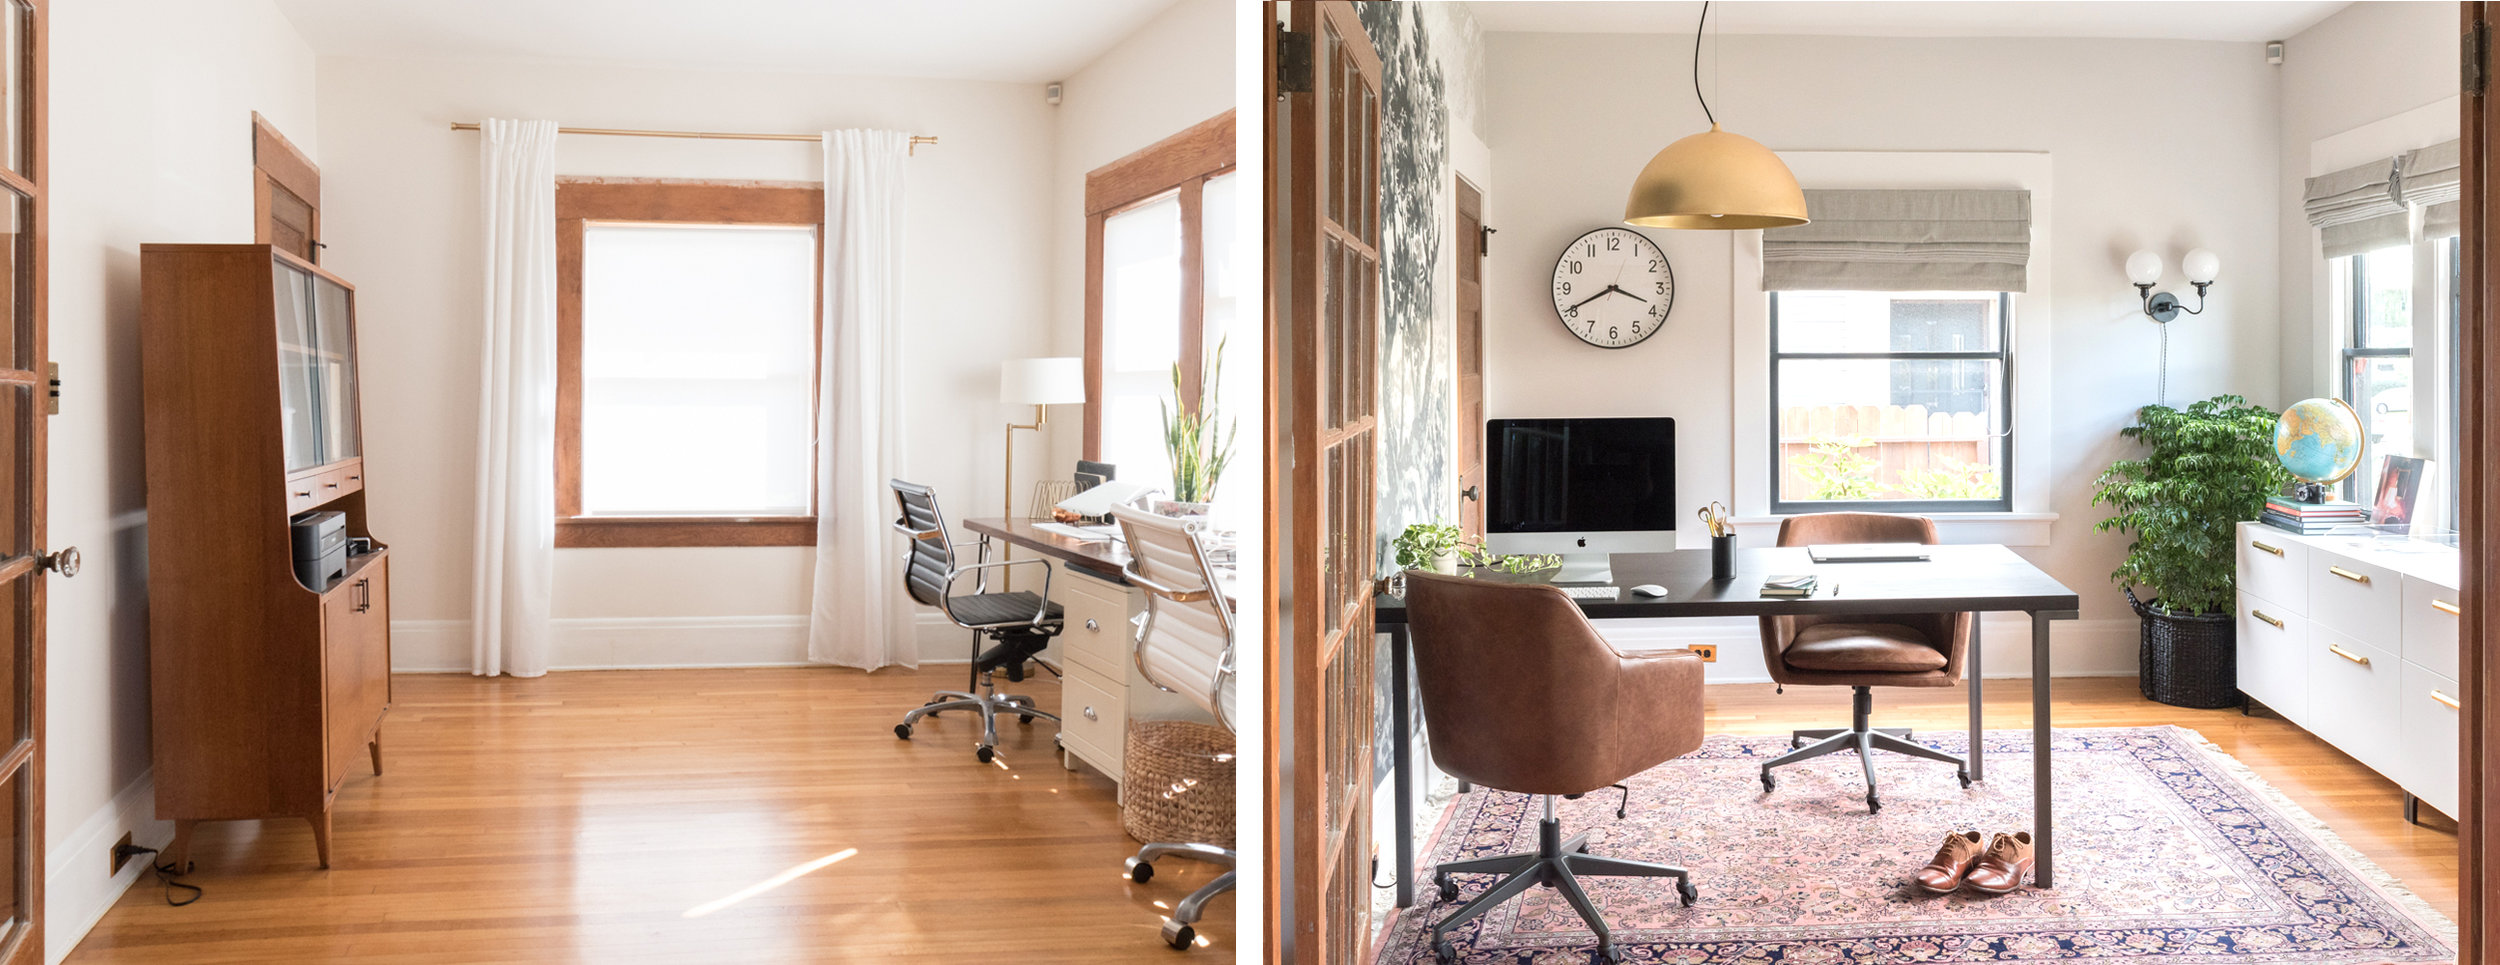
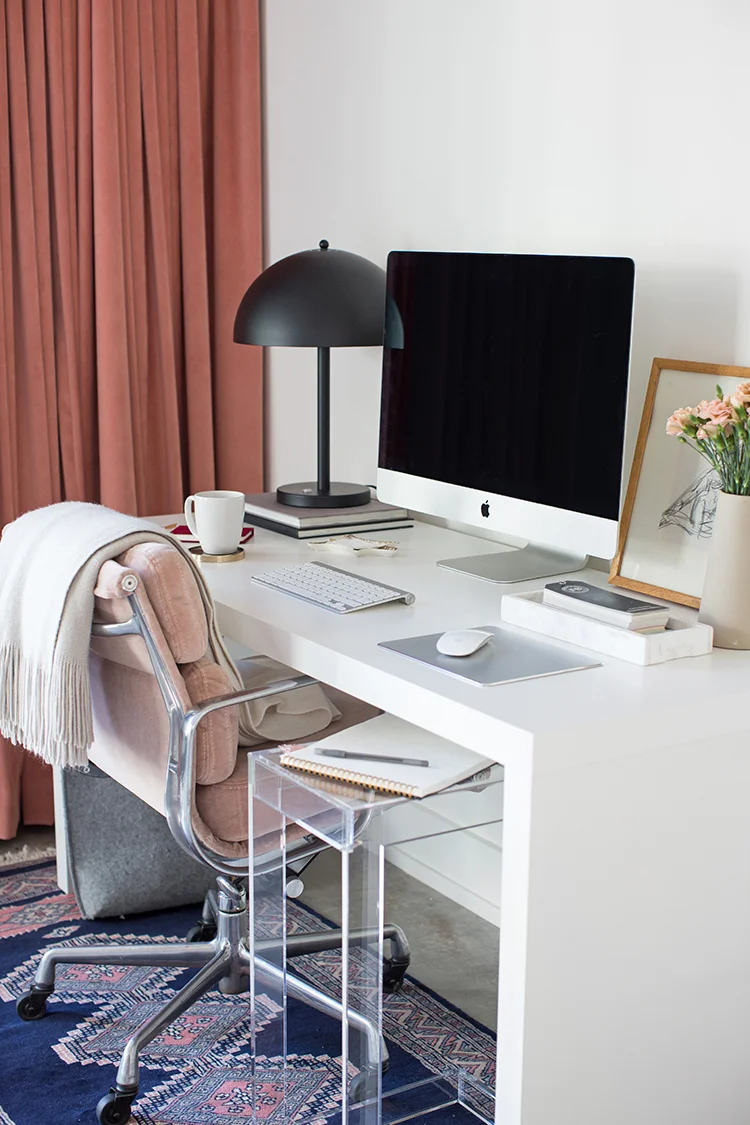
Since we moved out of the master and I'm selling all of the furnishings, I needed a spot to sleep, so I moved into the den next door. The blue velvet couch is a pull-out, so I stacked our mattress on top of the couch mattress and I feel like the Princess and the Pea. If double mattresses weren't luxury enough, the den also has the TV, so I can watch my British crime shows fully reclined. Winning.
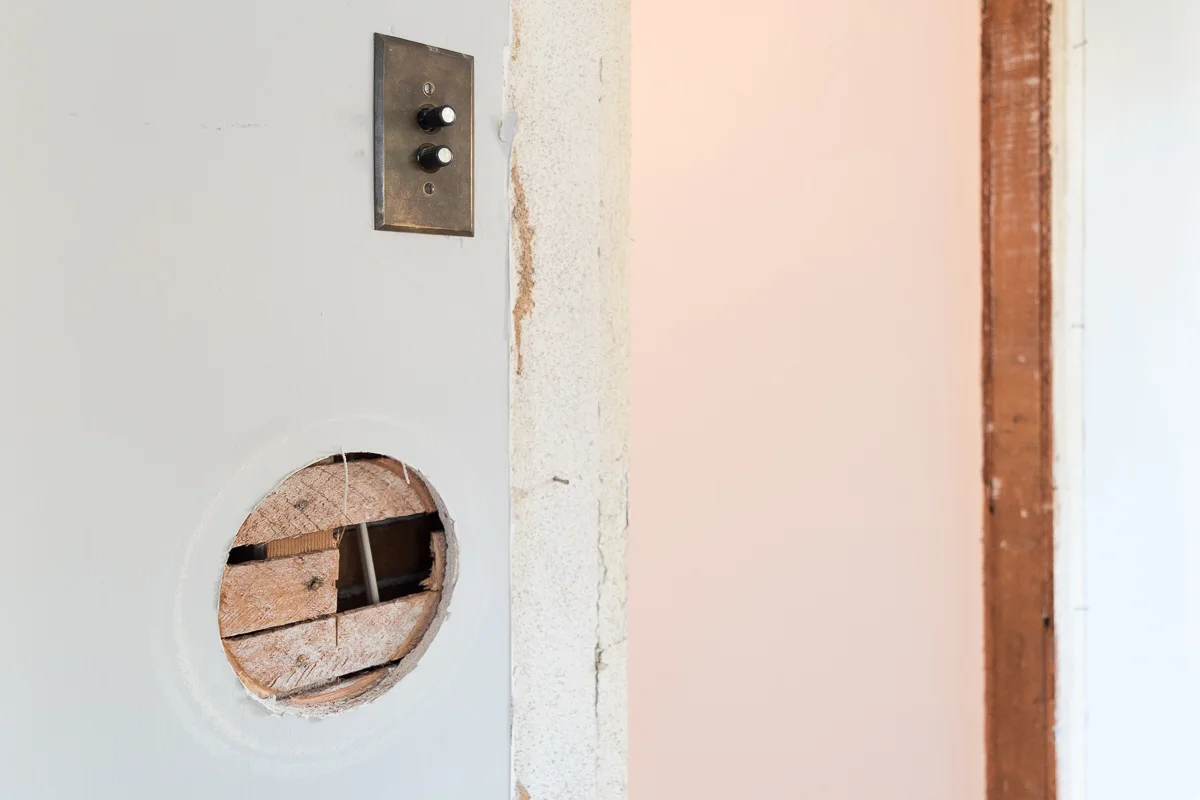
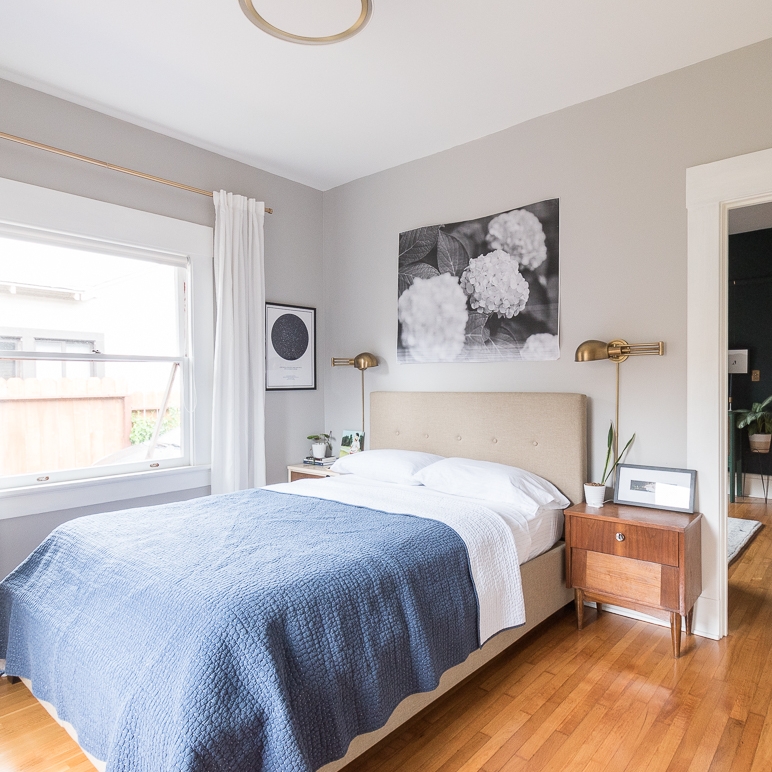
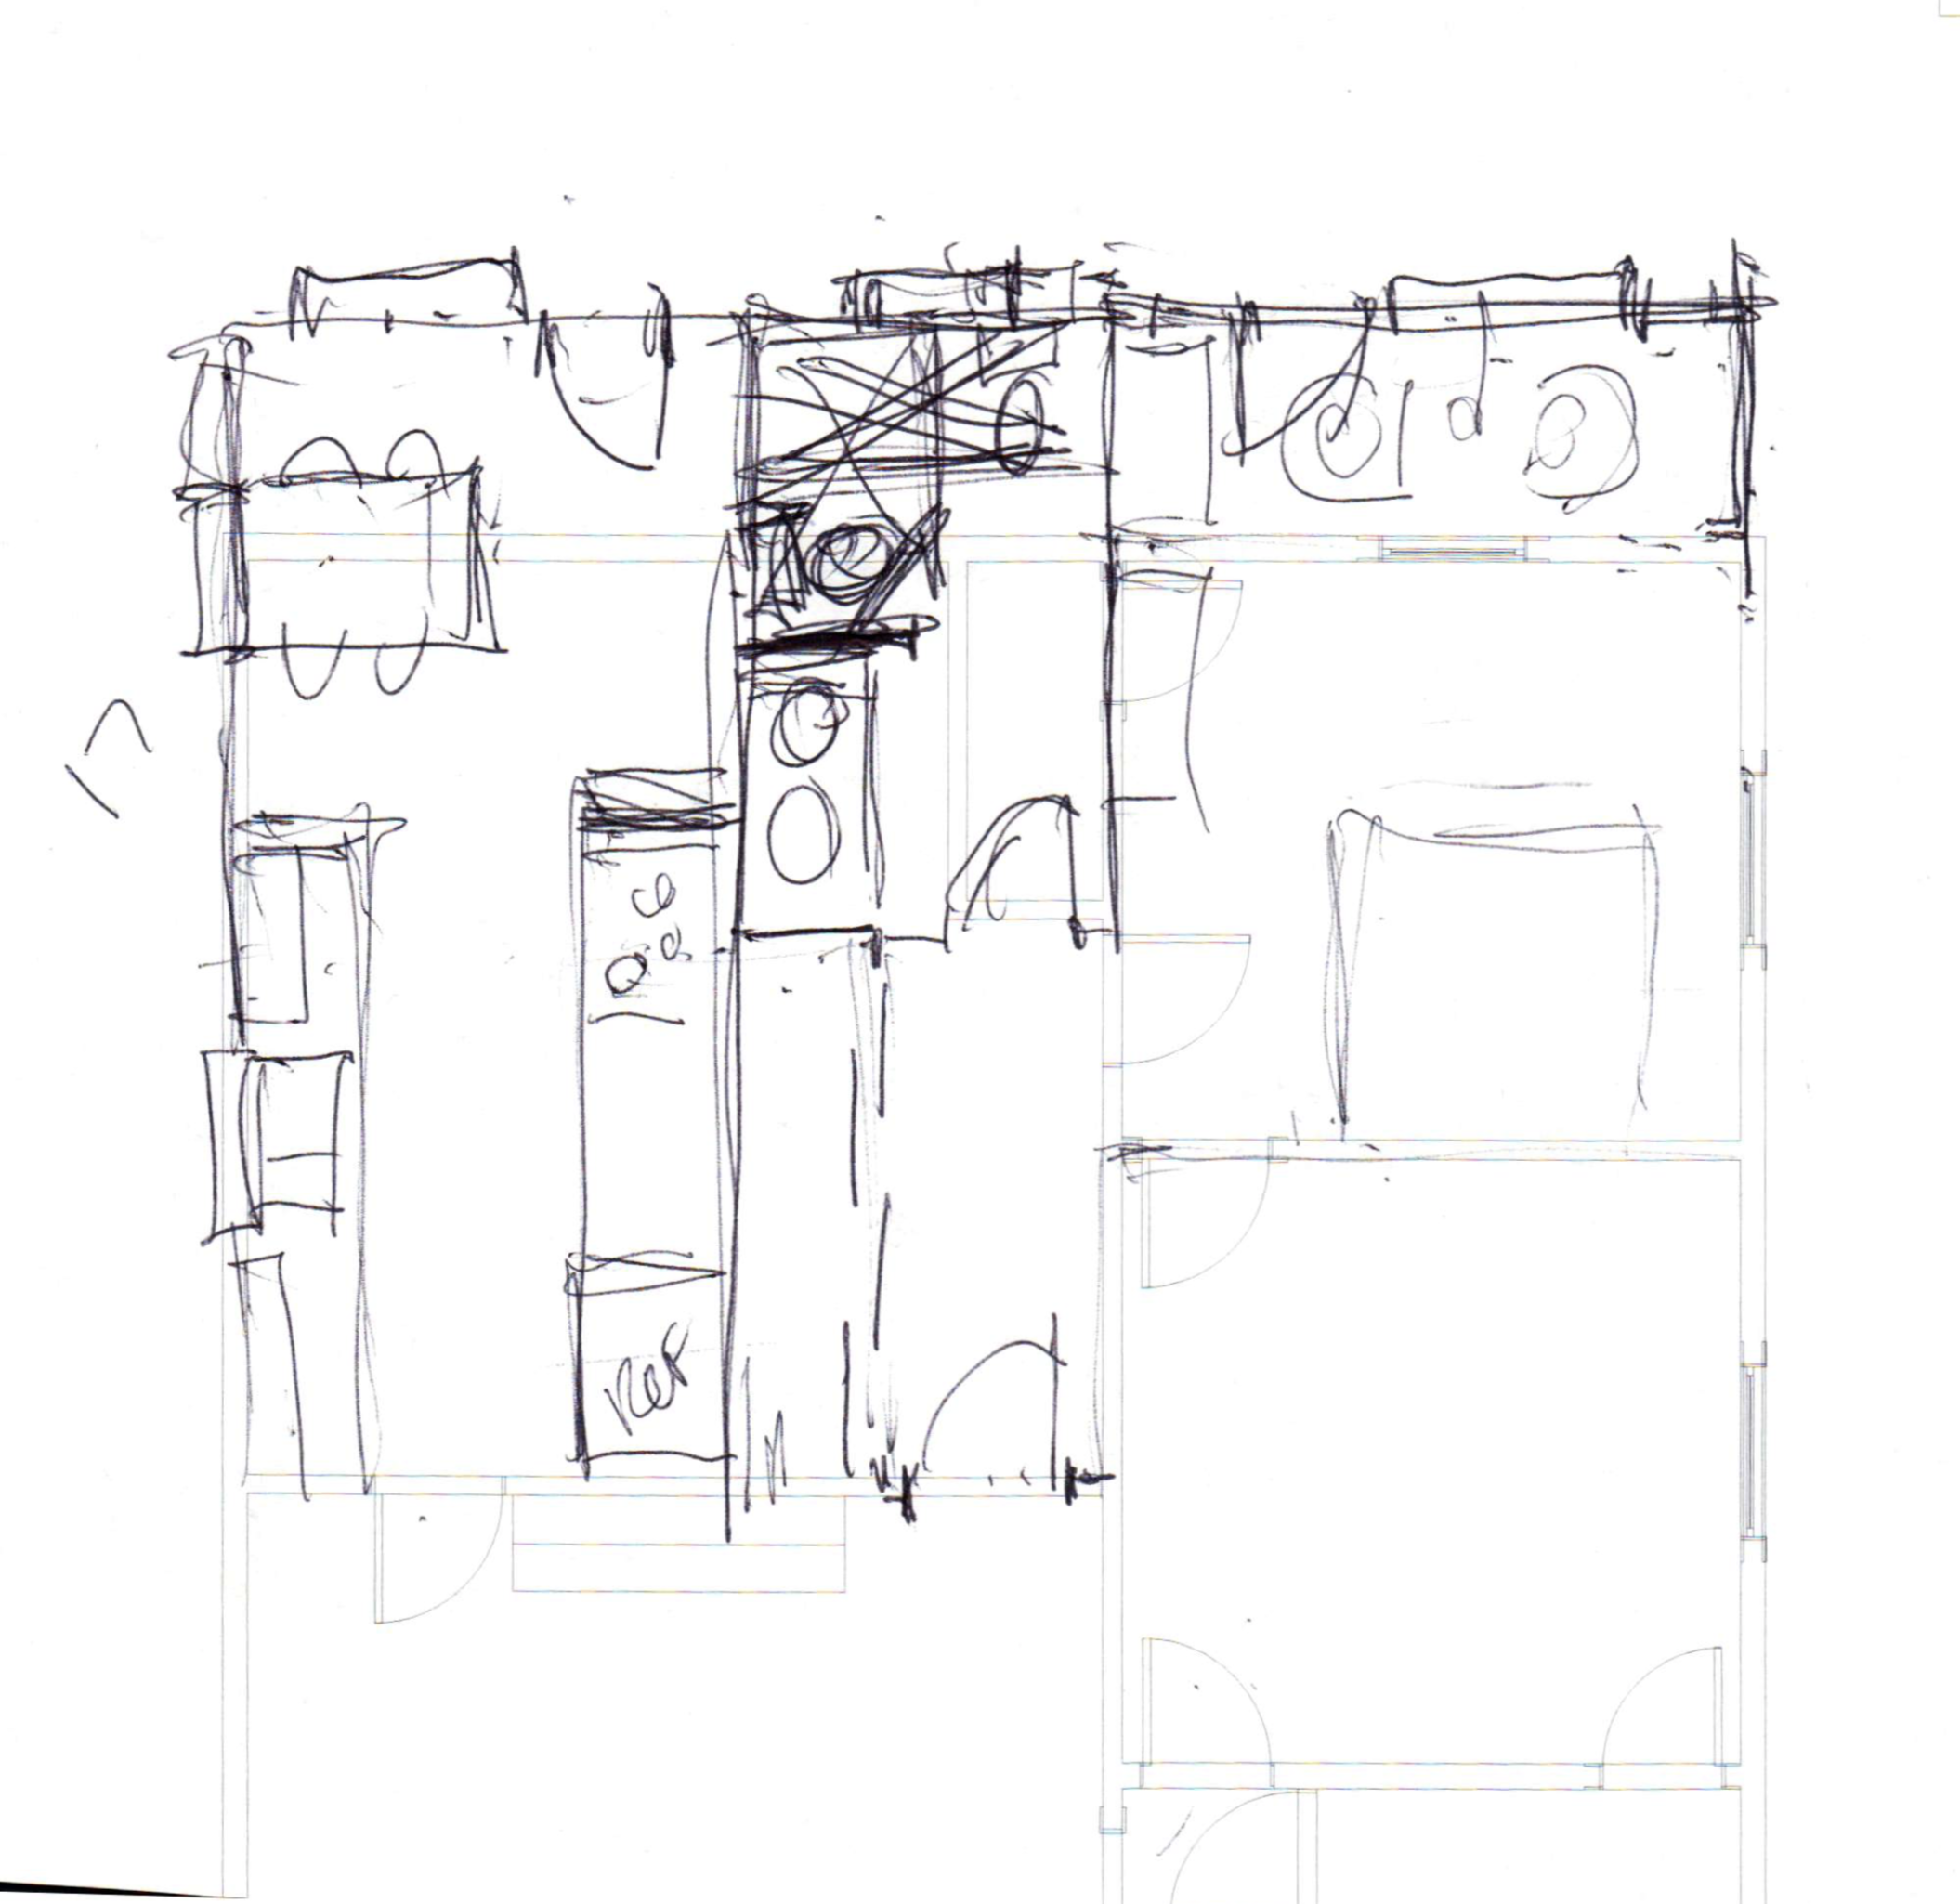
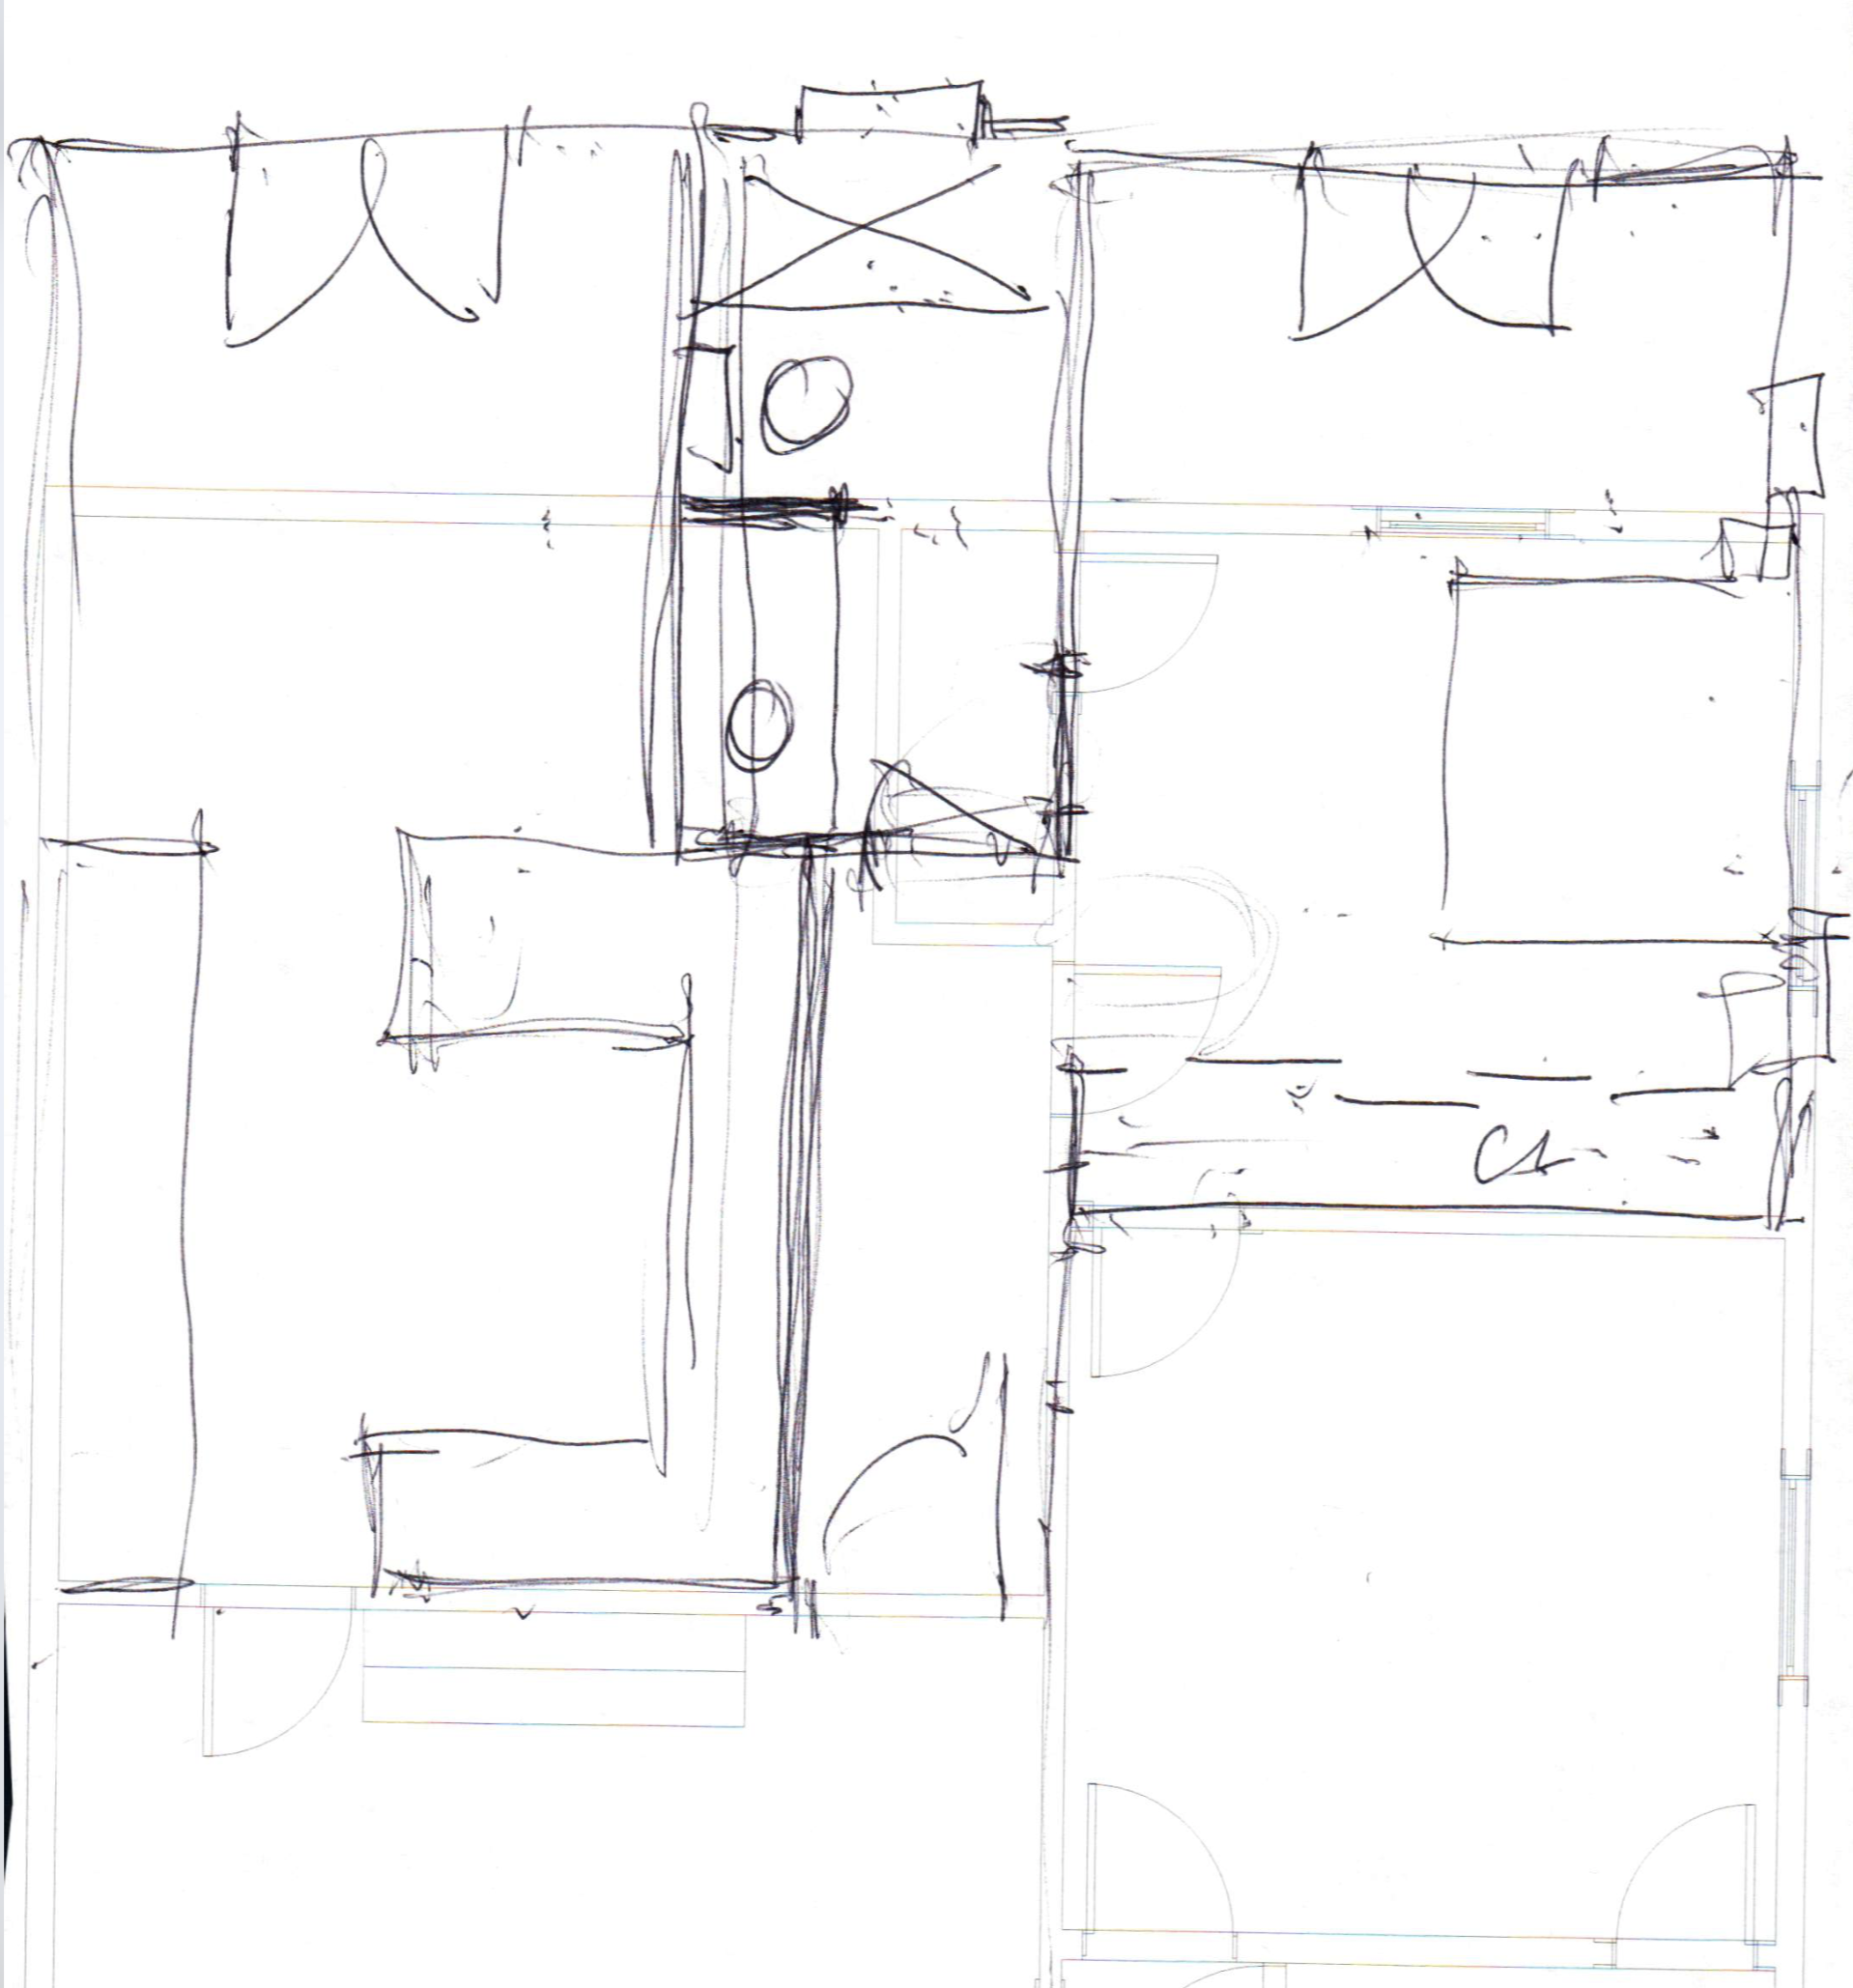
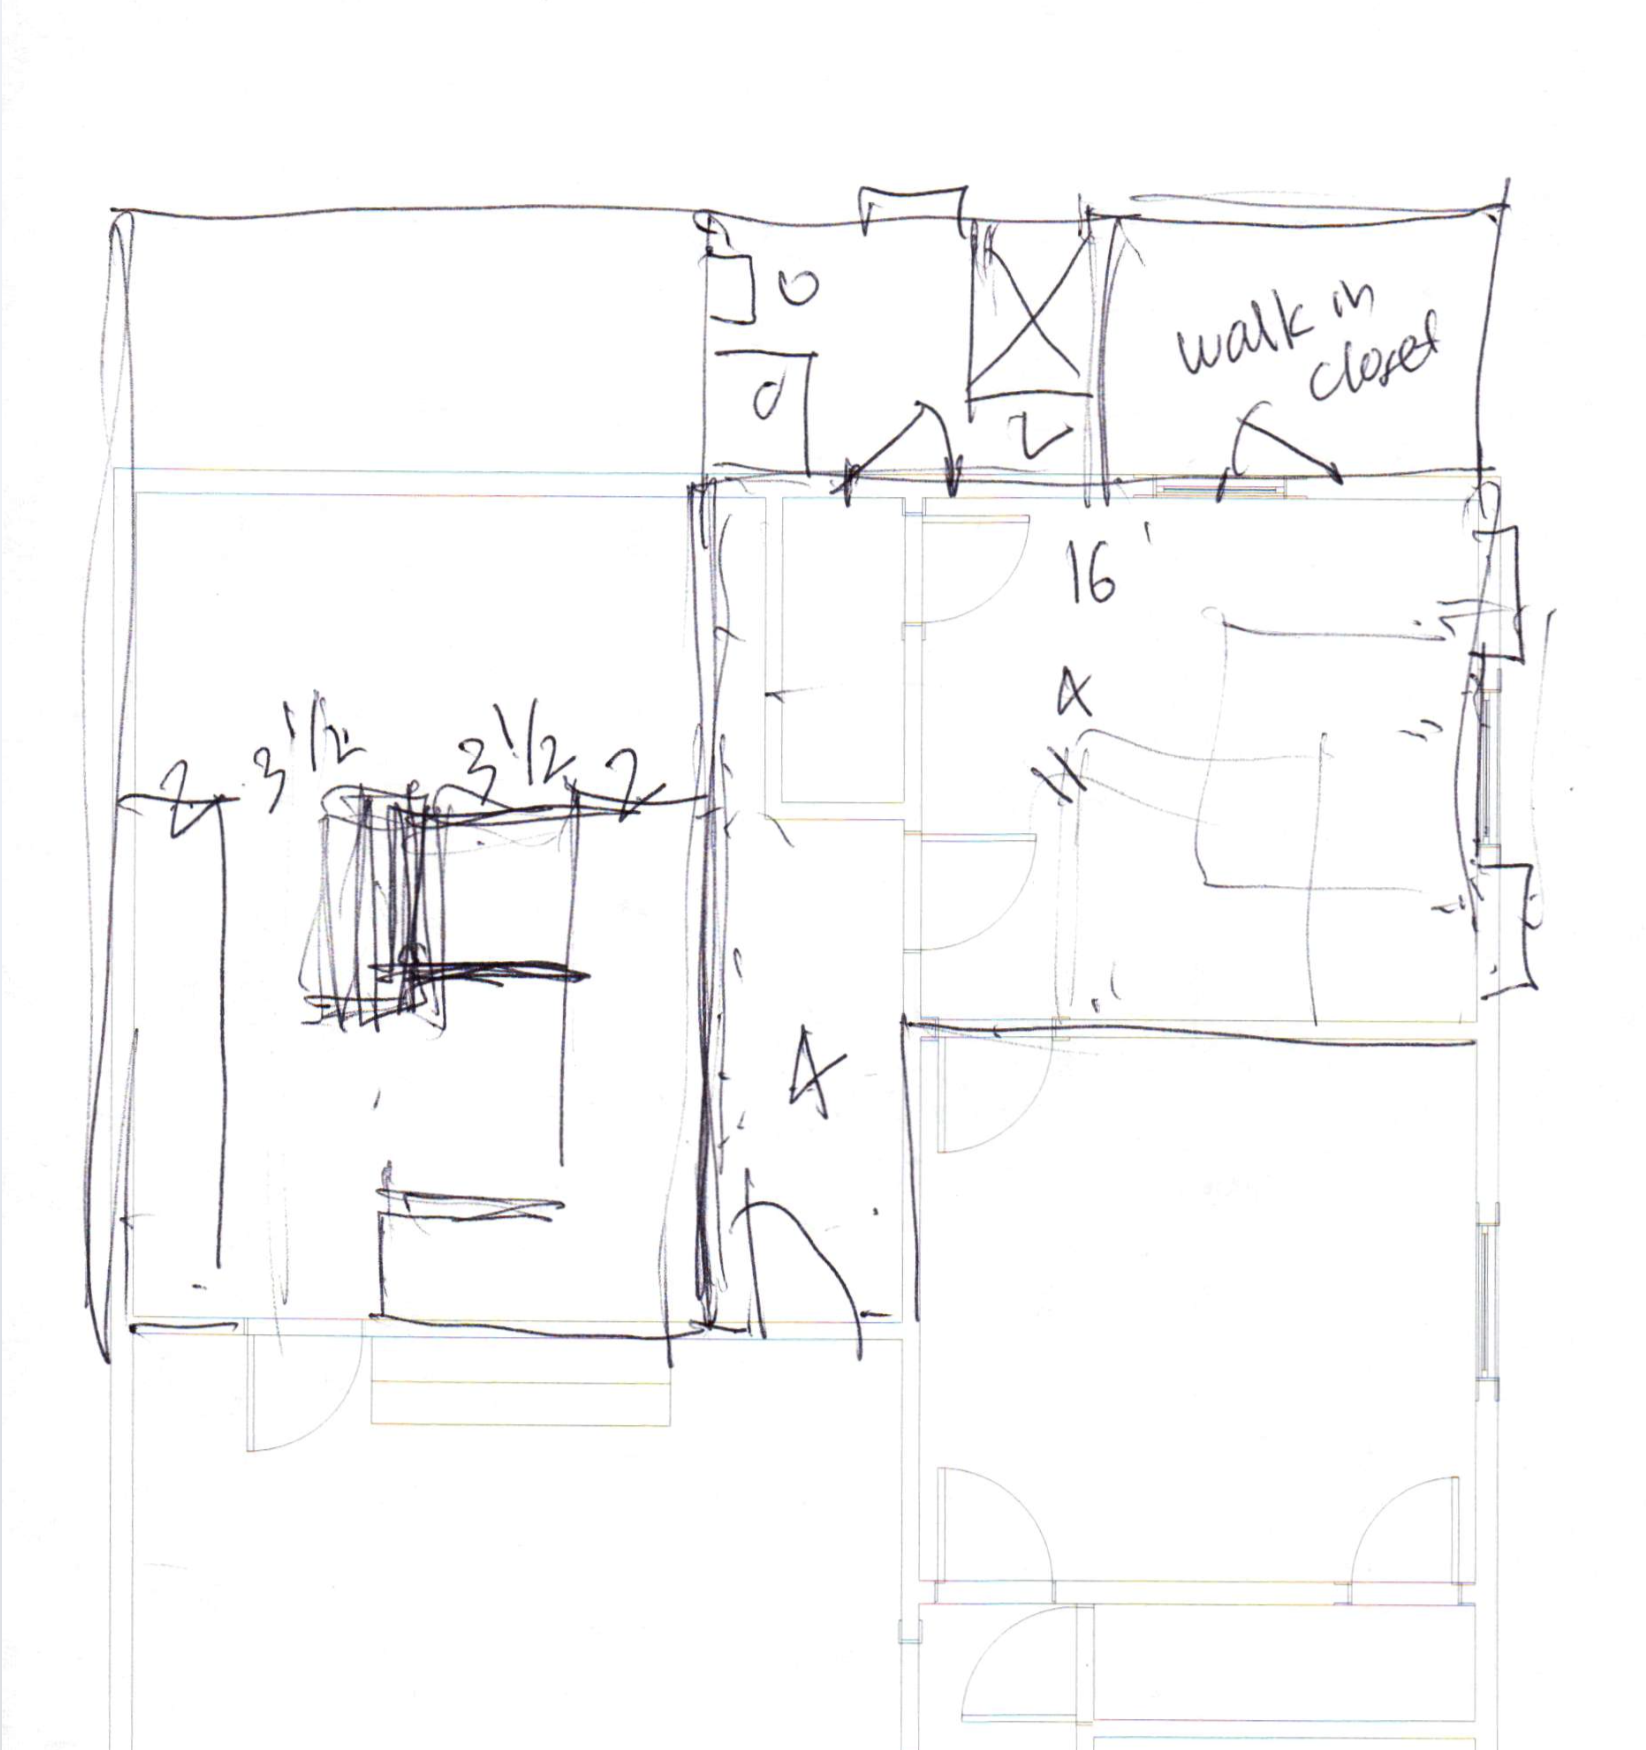
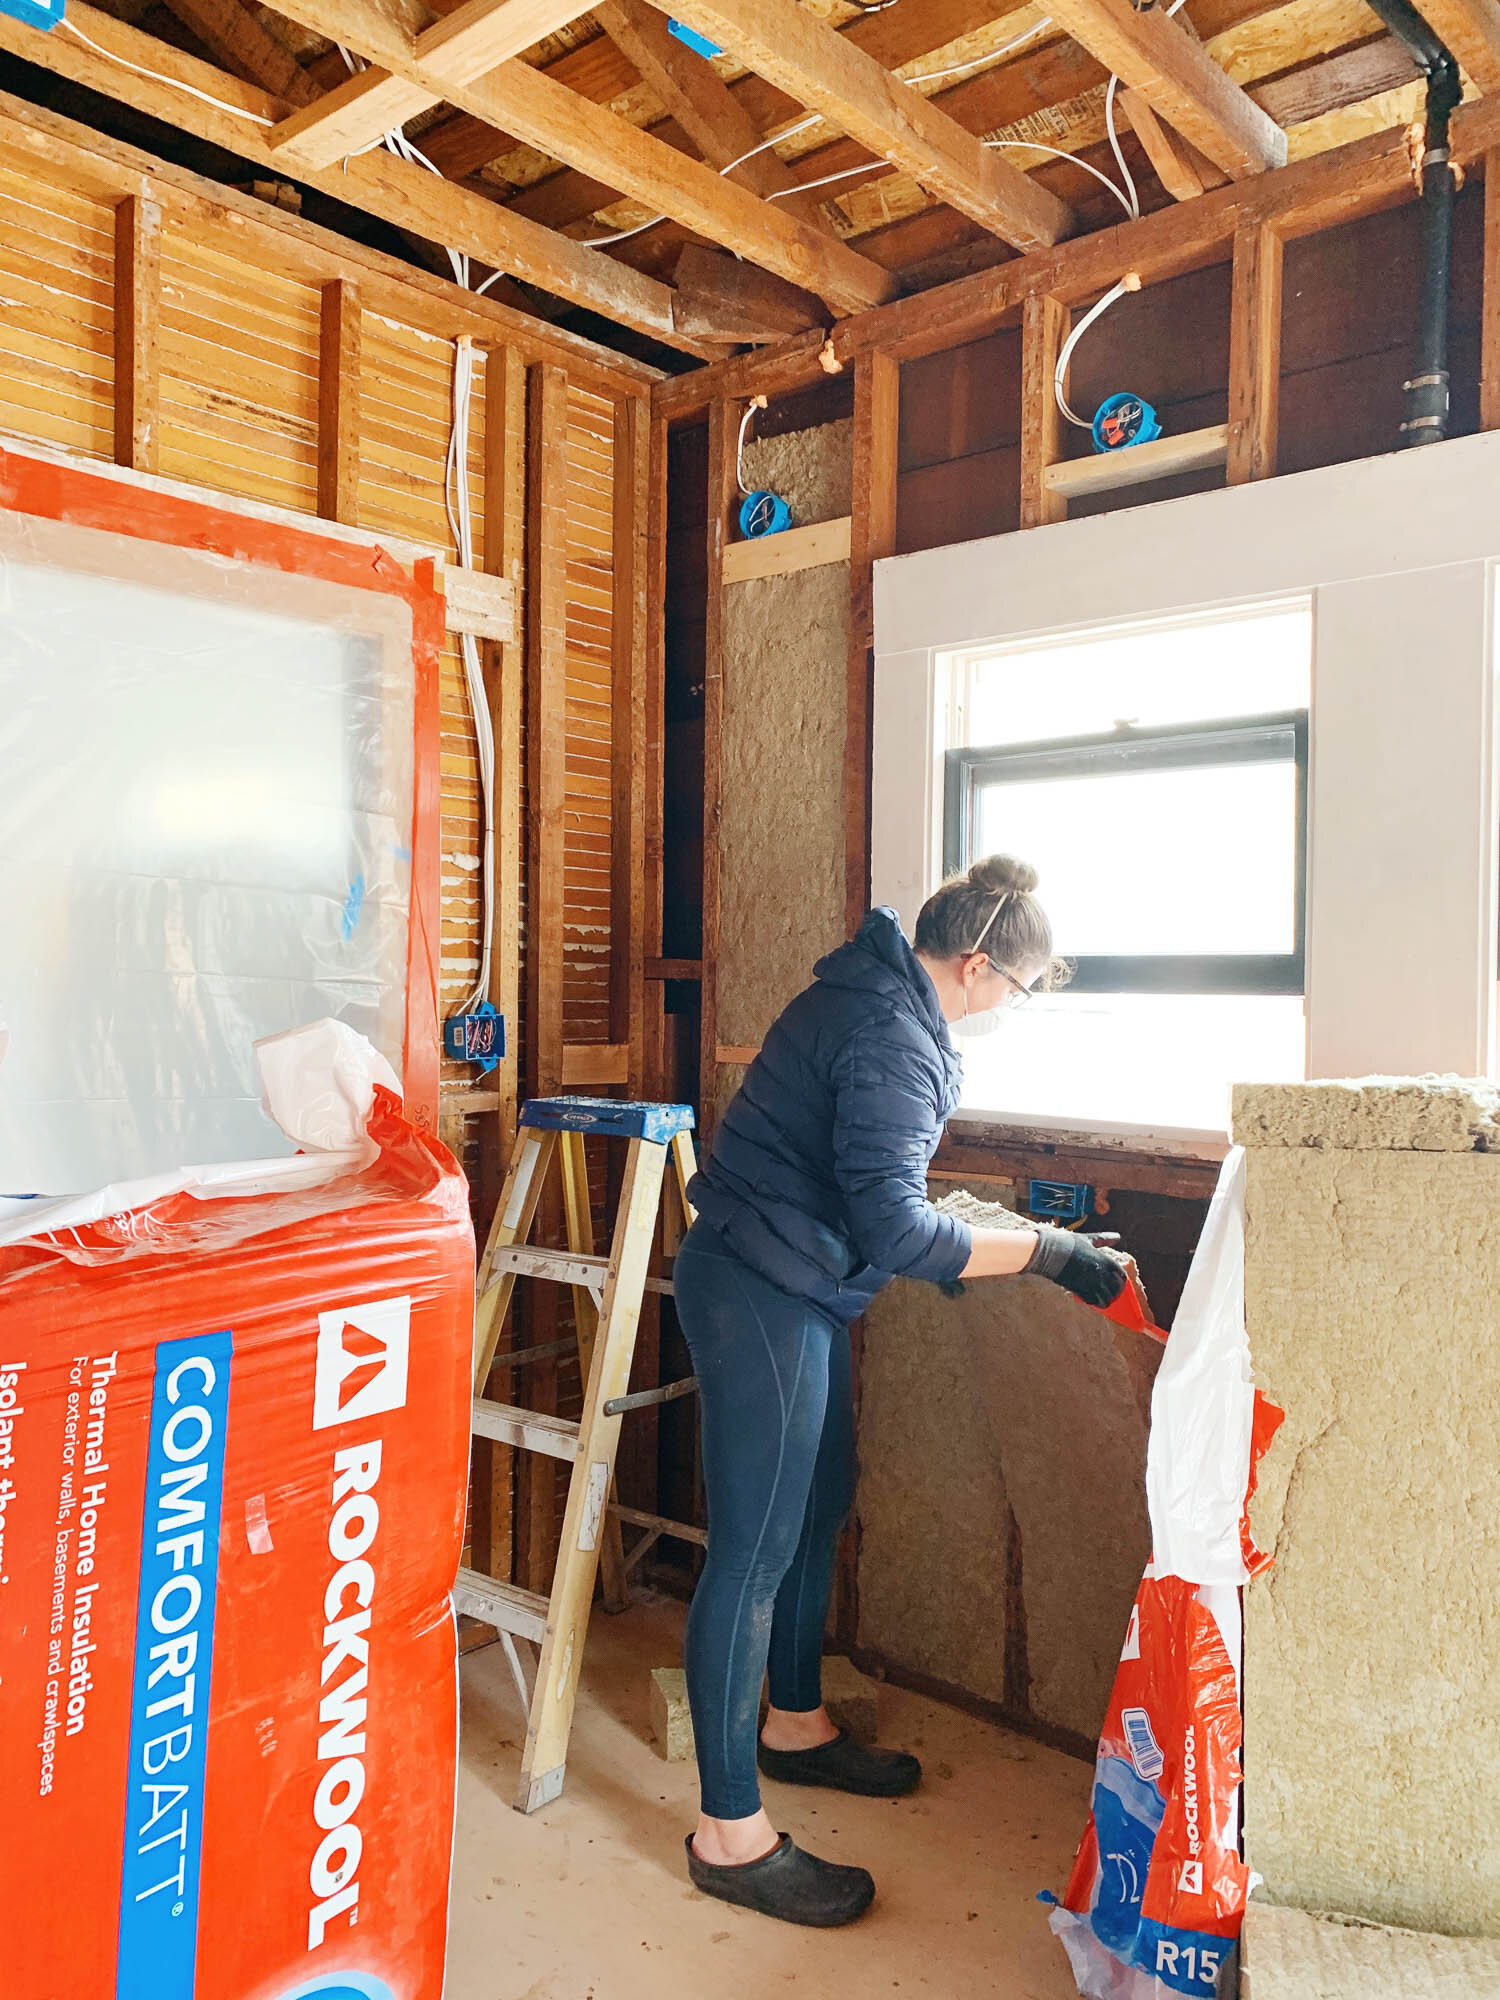
After emptying the room, I called in our trusty electrician who previously rewired the entire house to bring us into the 21st century. For this room redo, he moved an outlet to hide behind the nightstand, moved an outlet that would be in the way of the new exterior door, wired for the exterior light, put in a switch for the new light, added a 3-way switch for the overhead flush mount, and wired for the new bedside sconces.

While the electrician was here, I got inspired to do a project that was on my agenda for a long time. There have been three lines of conduit running the length of the back of the house to power clunky floodlights and a single bulb in the garage. I figured I'd leave them until we did more electrical work down the road, but knowing I'd be installing a new sconce right next to the ugly pipes, I decided to pull it all down. Now that it's gone I'm regretting not doing it sooner. It's really the little things that are most satisfying! (also, watching the time-lapse of it coming down is veeeery satisfying)
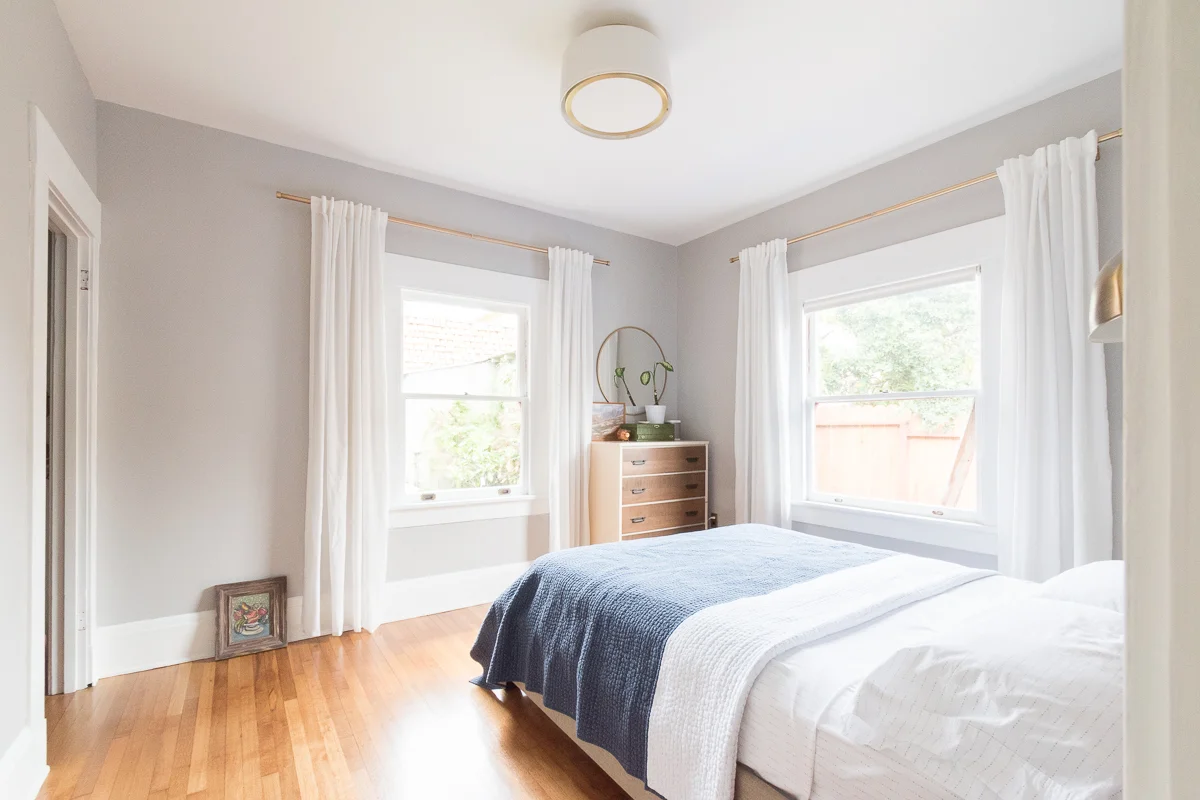
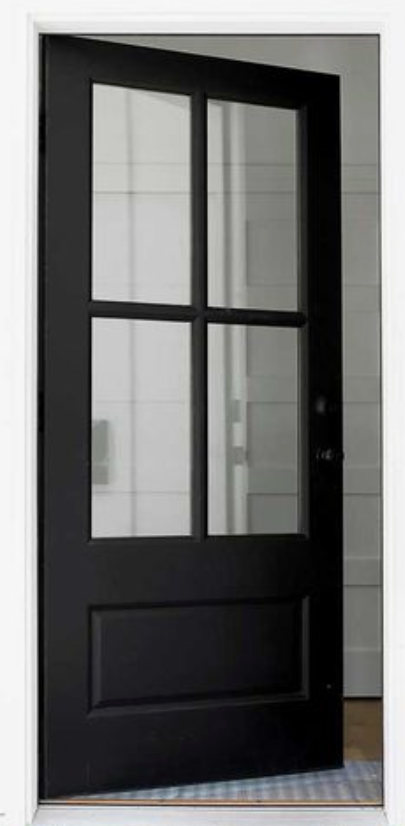
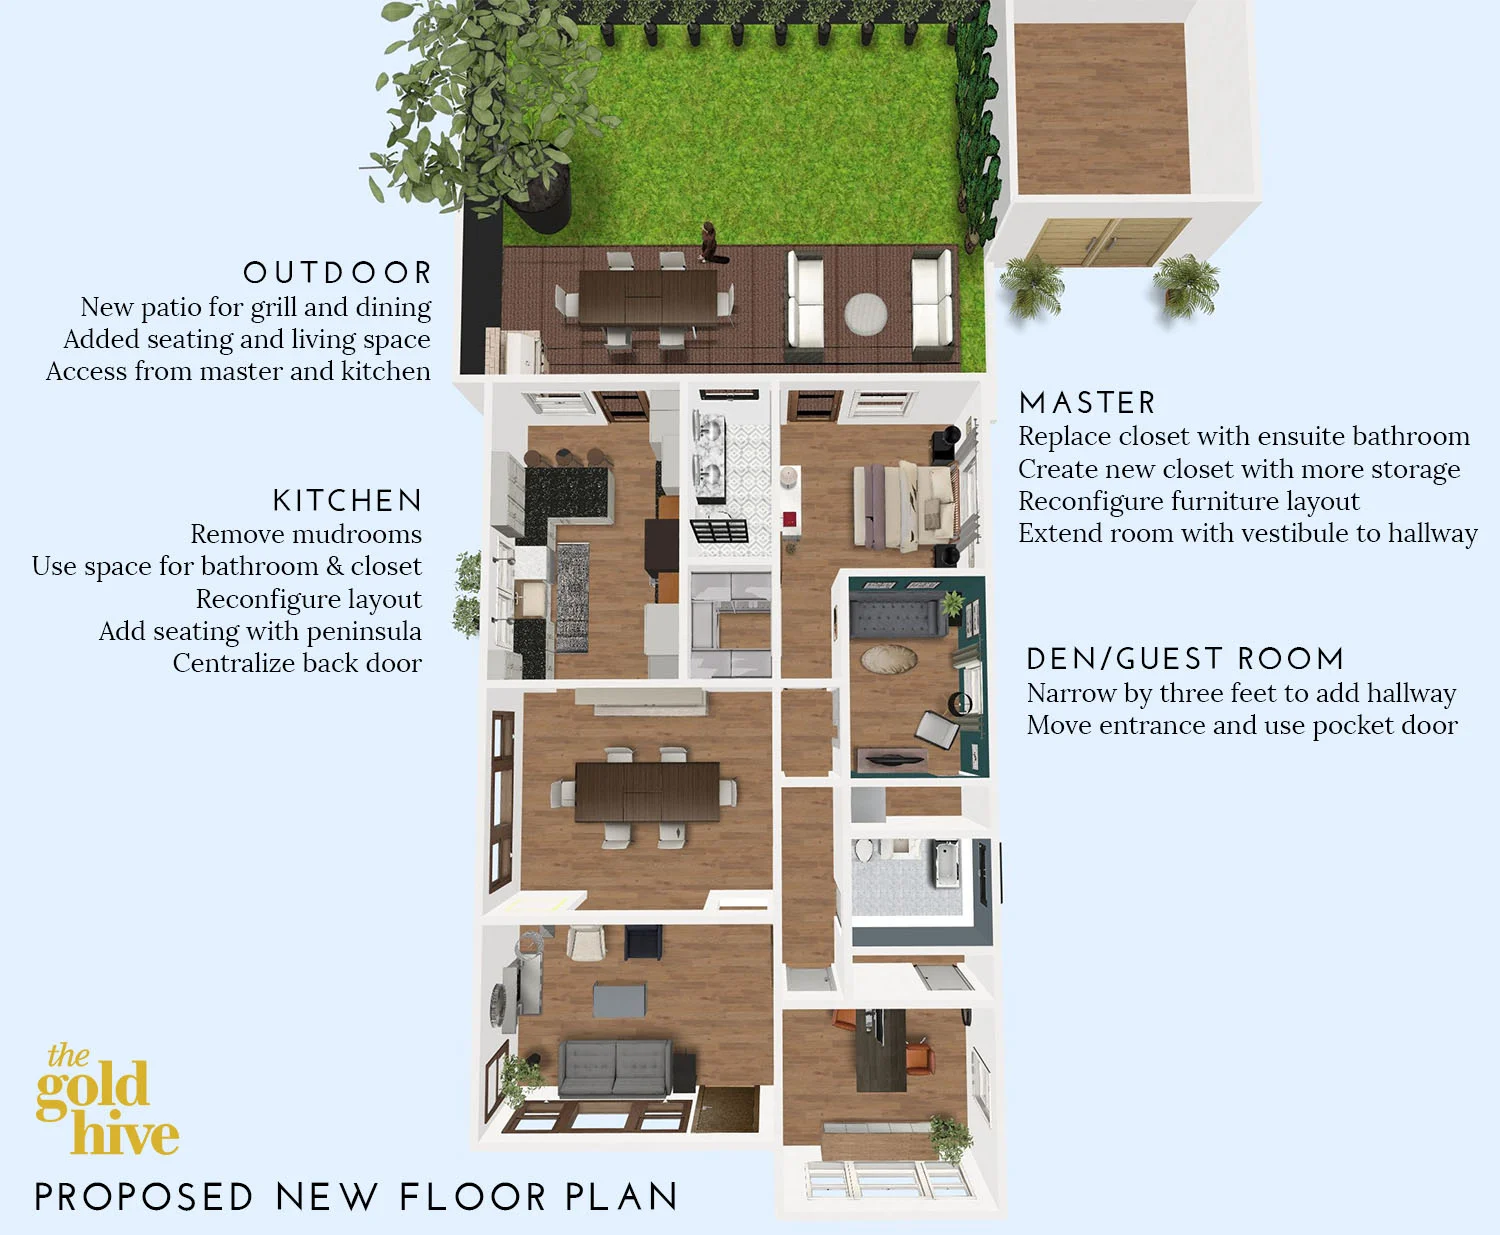
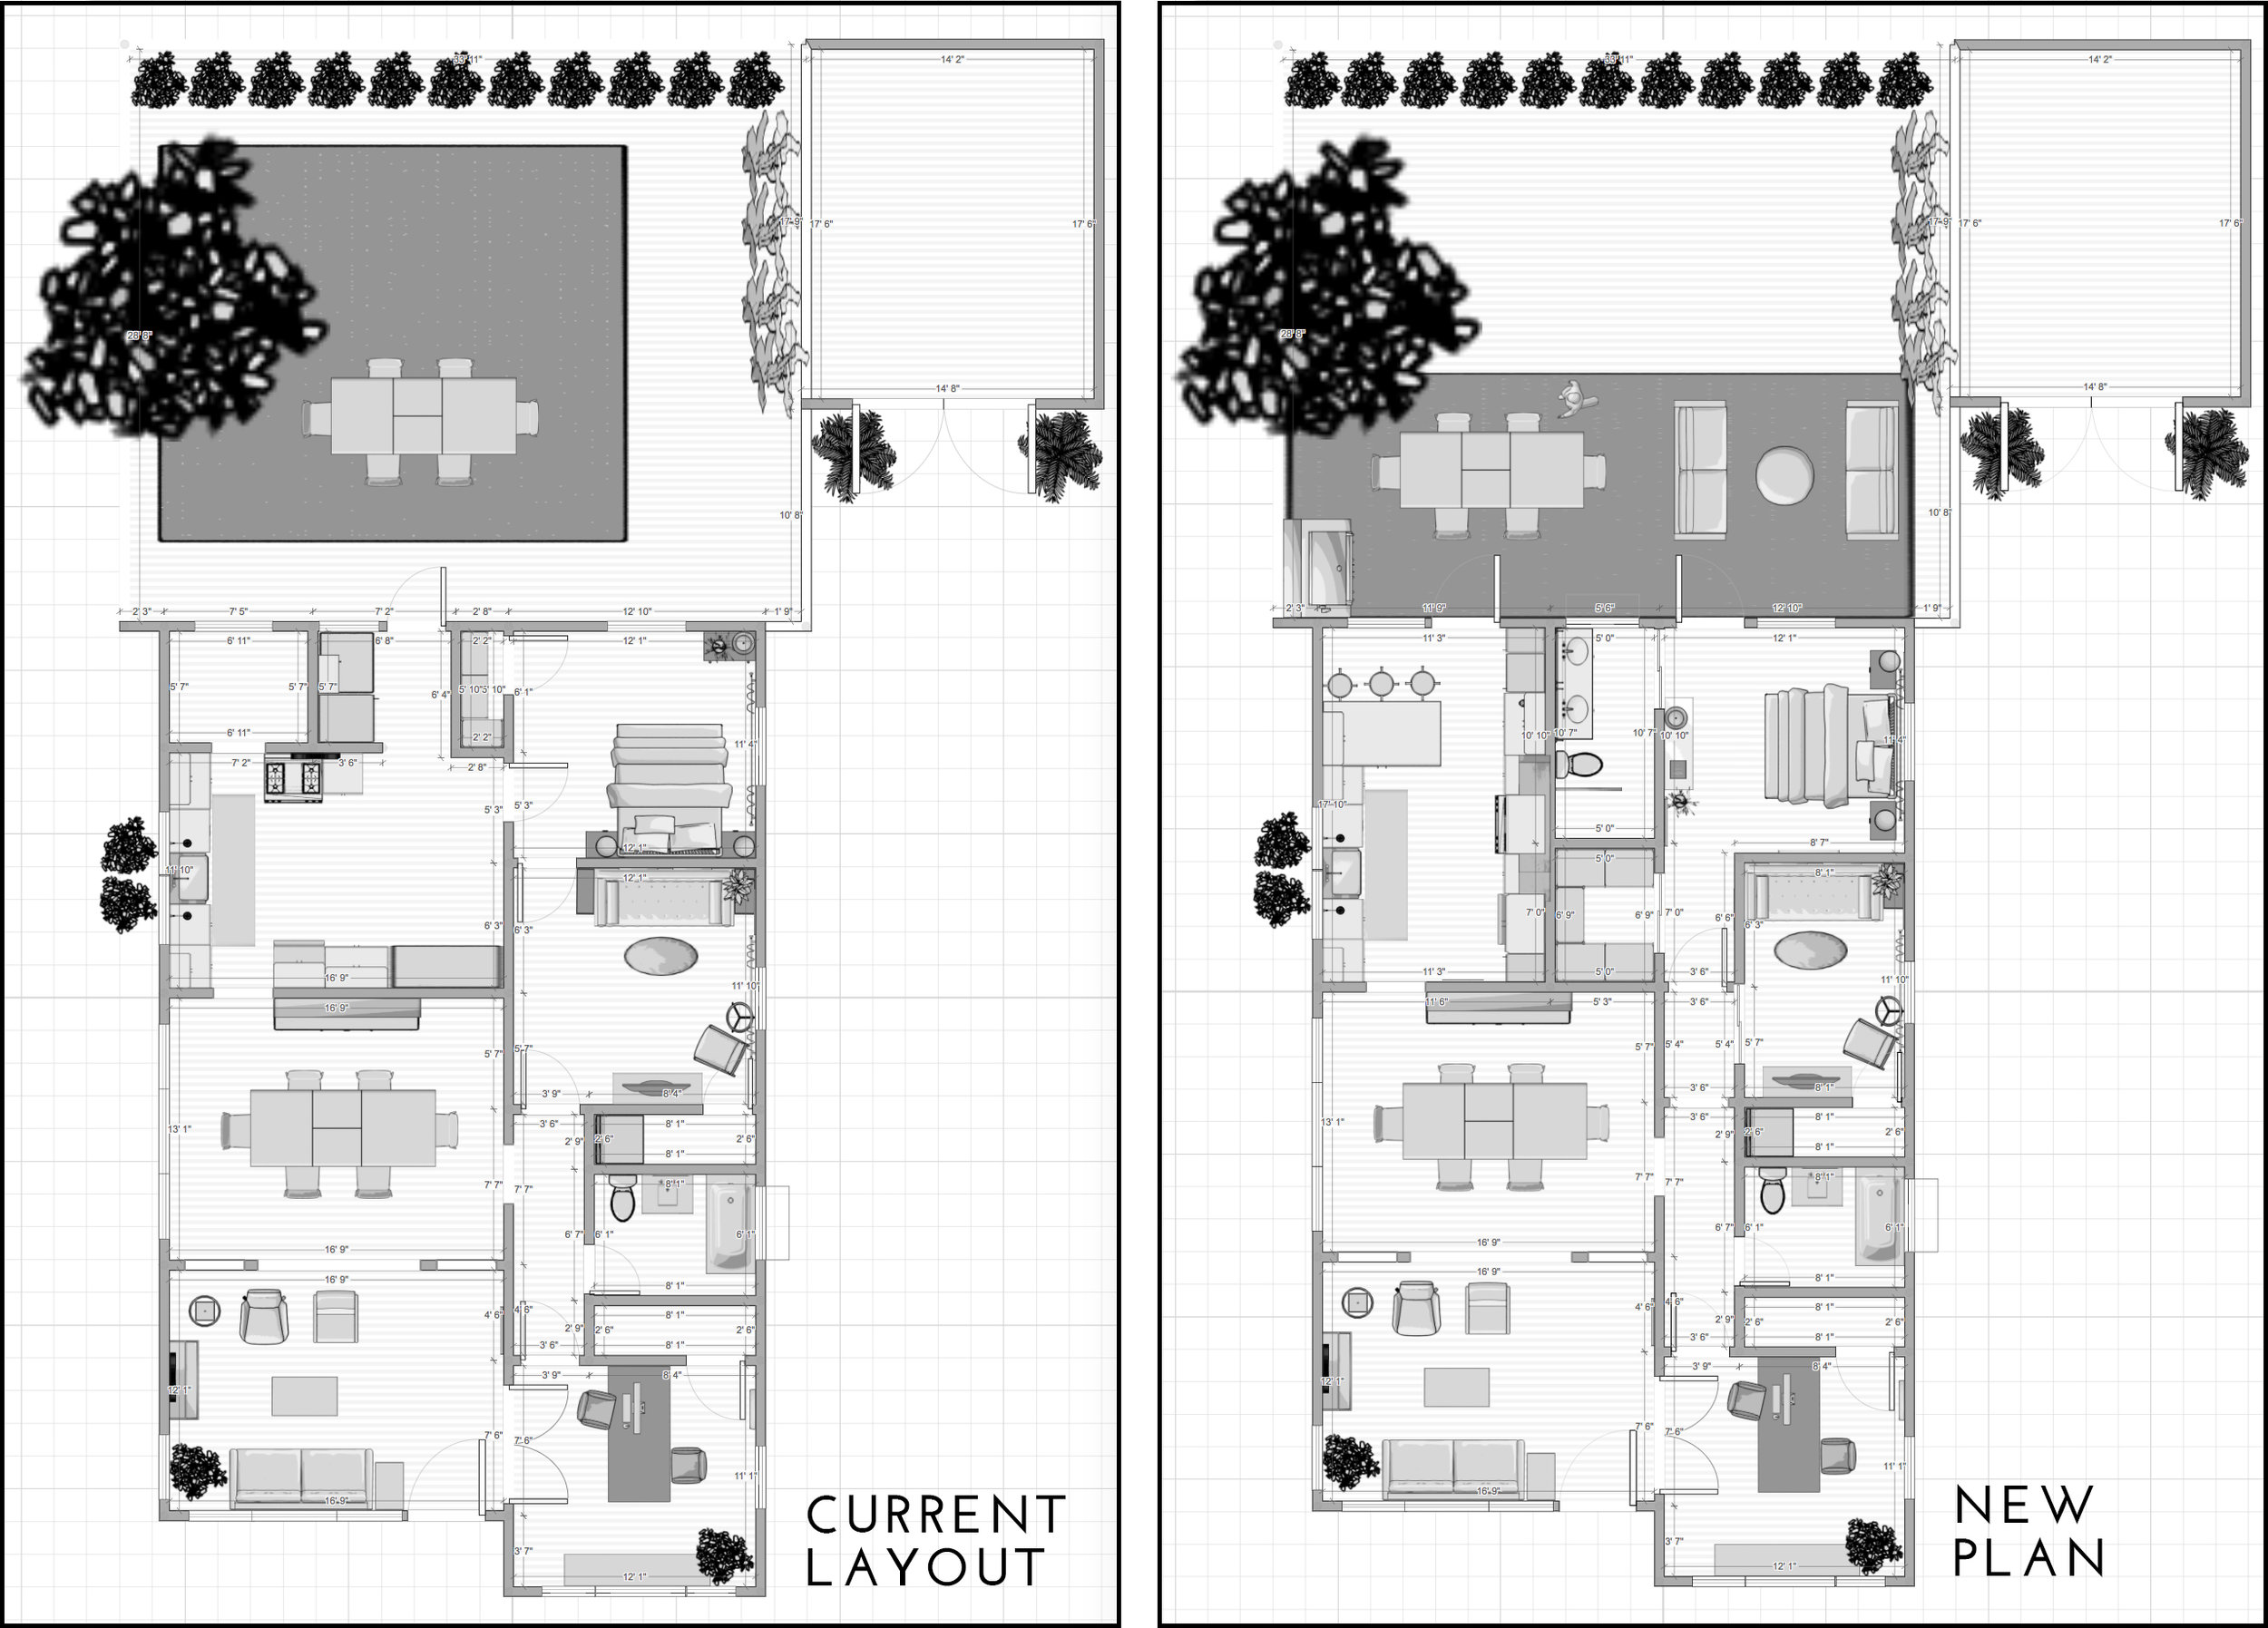
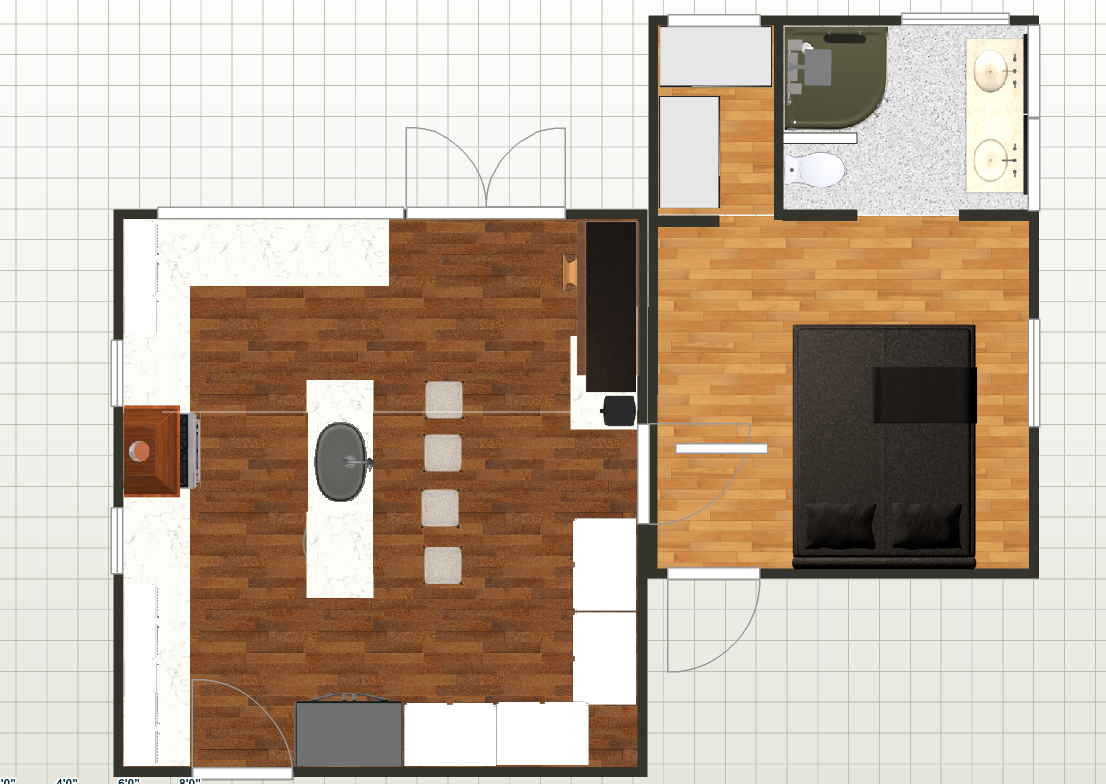
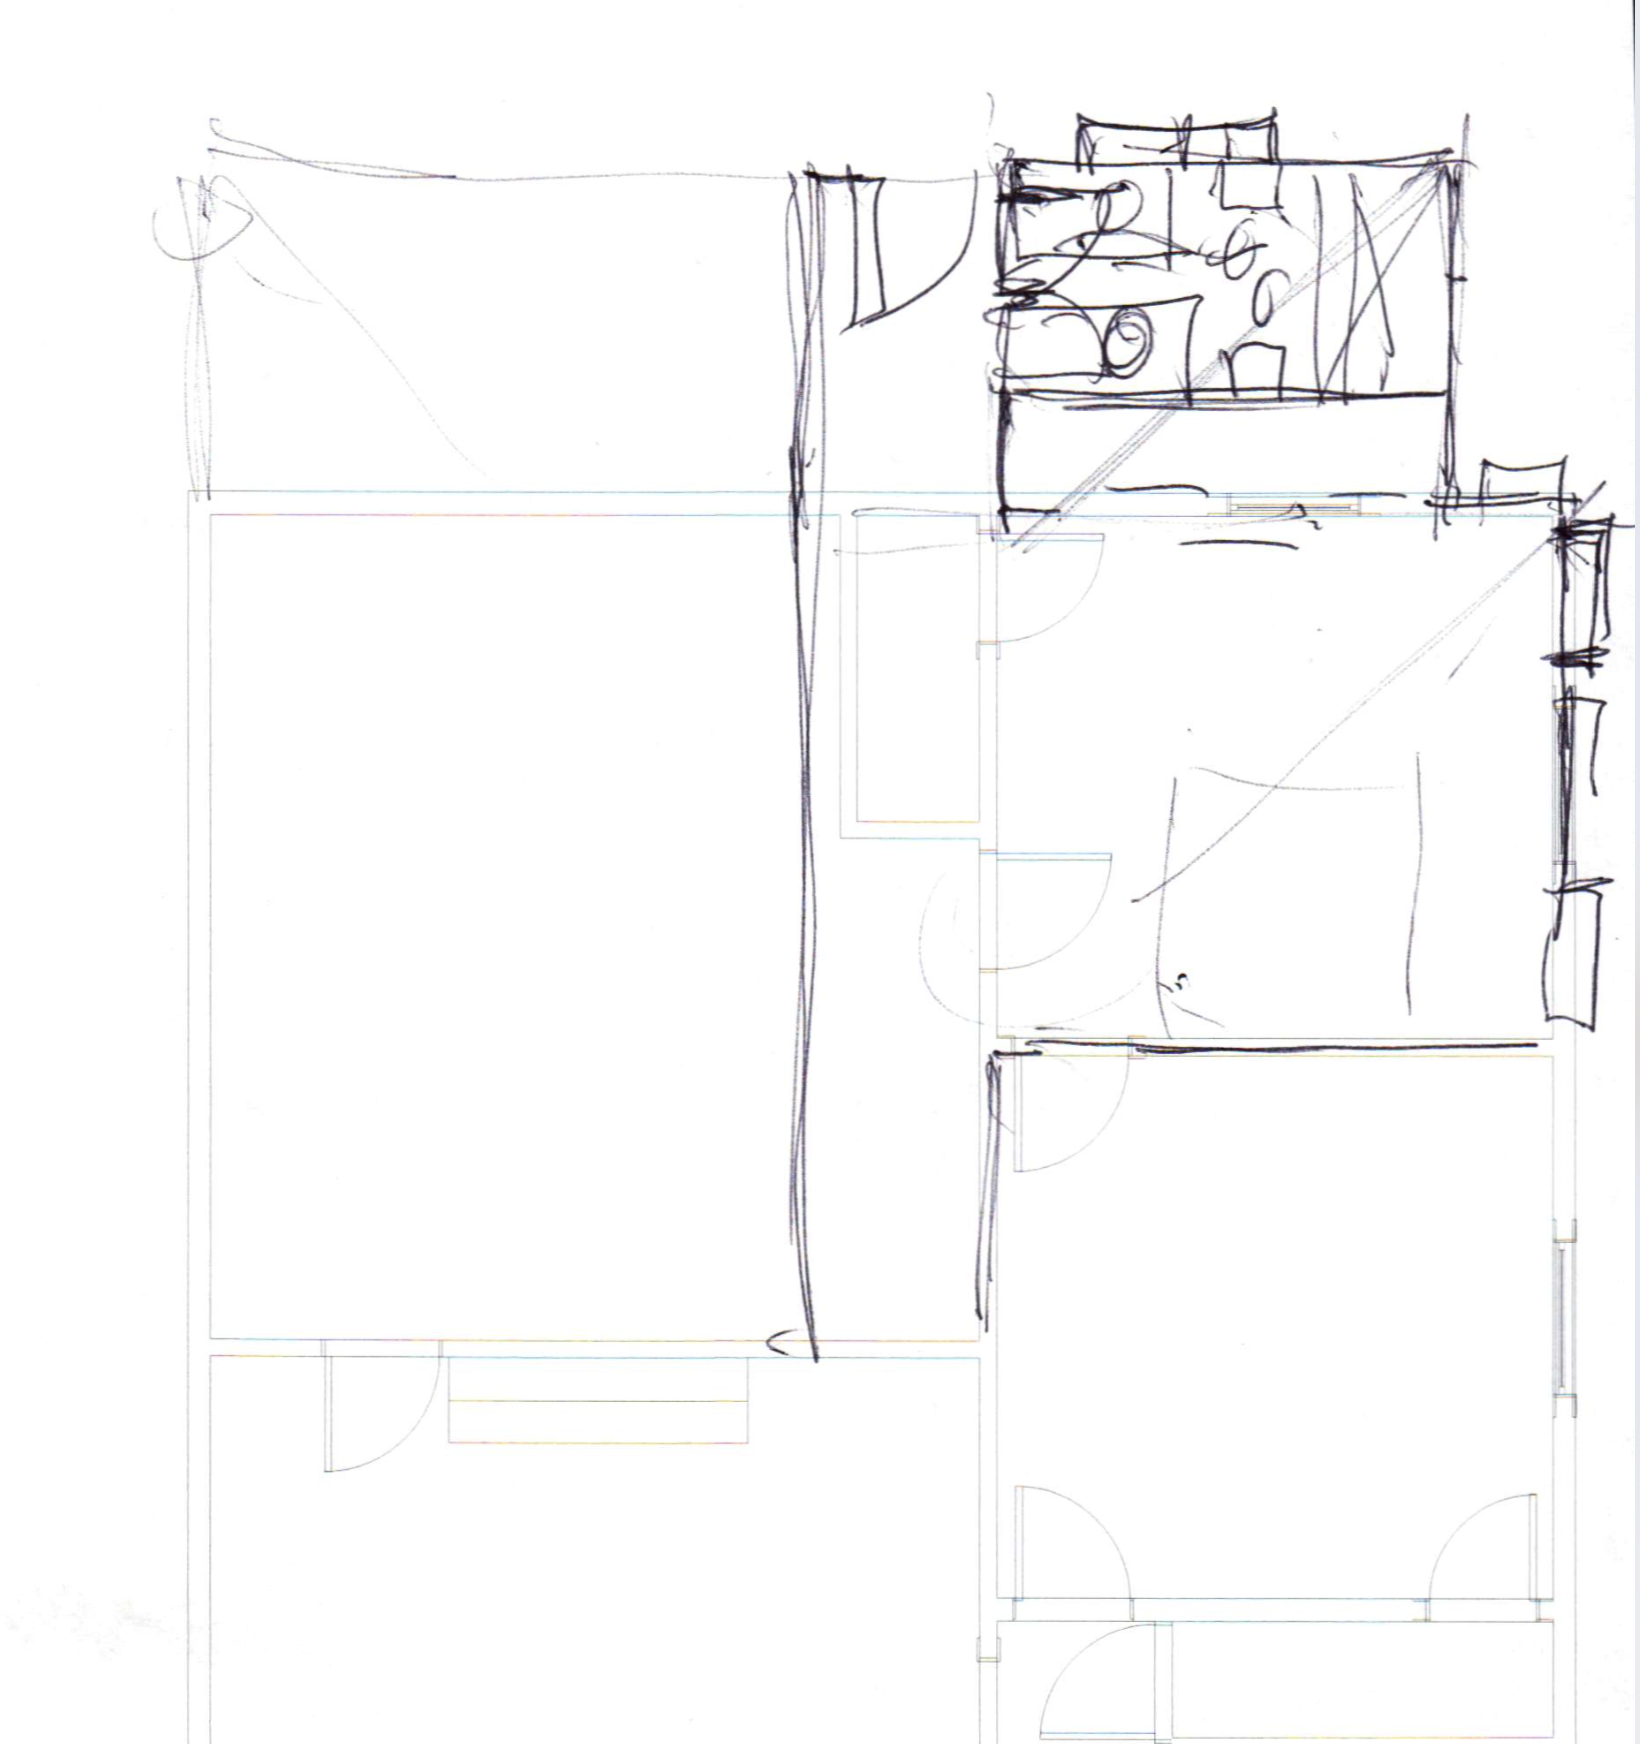
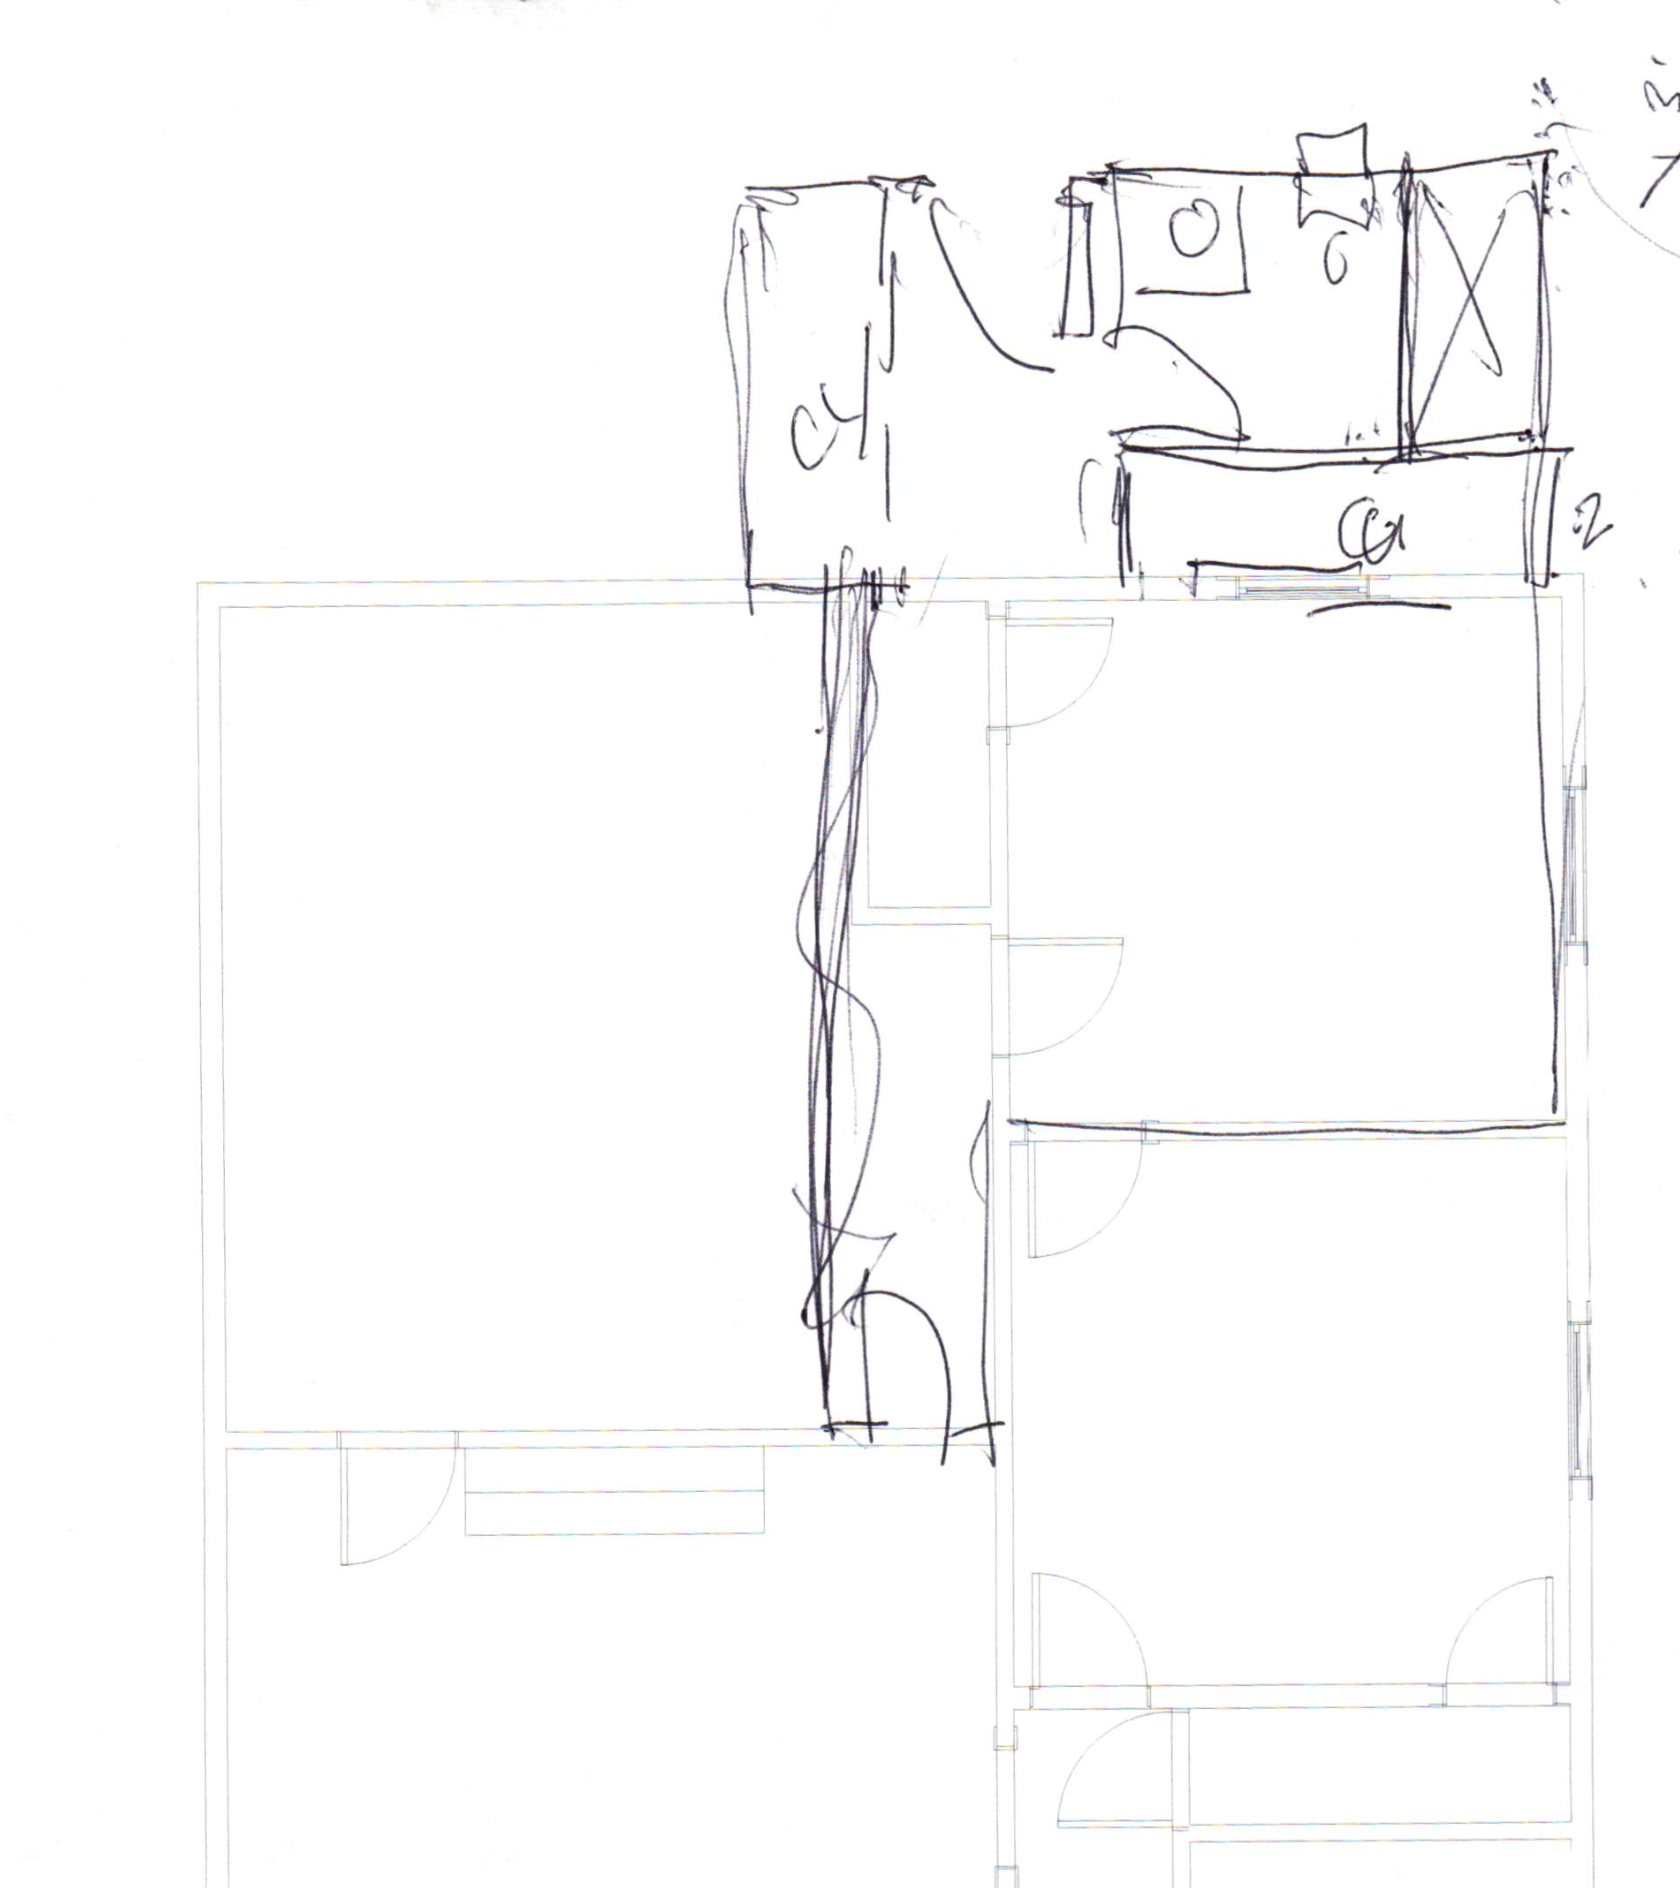
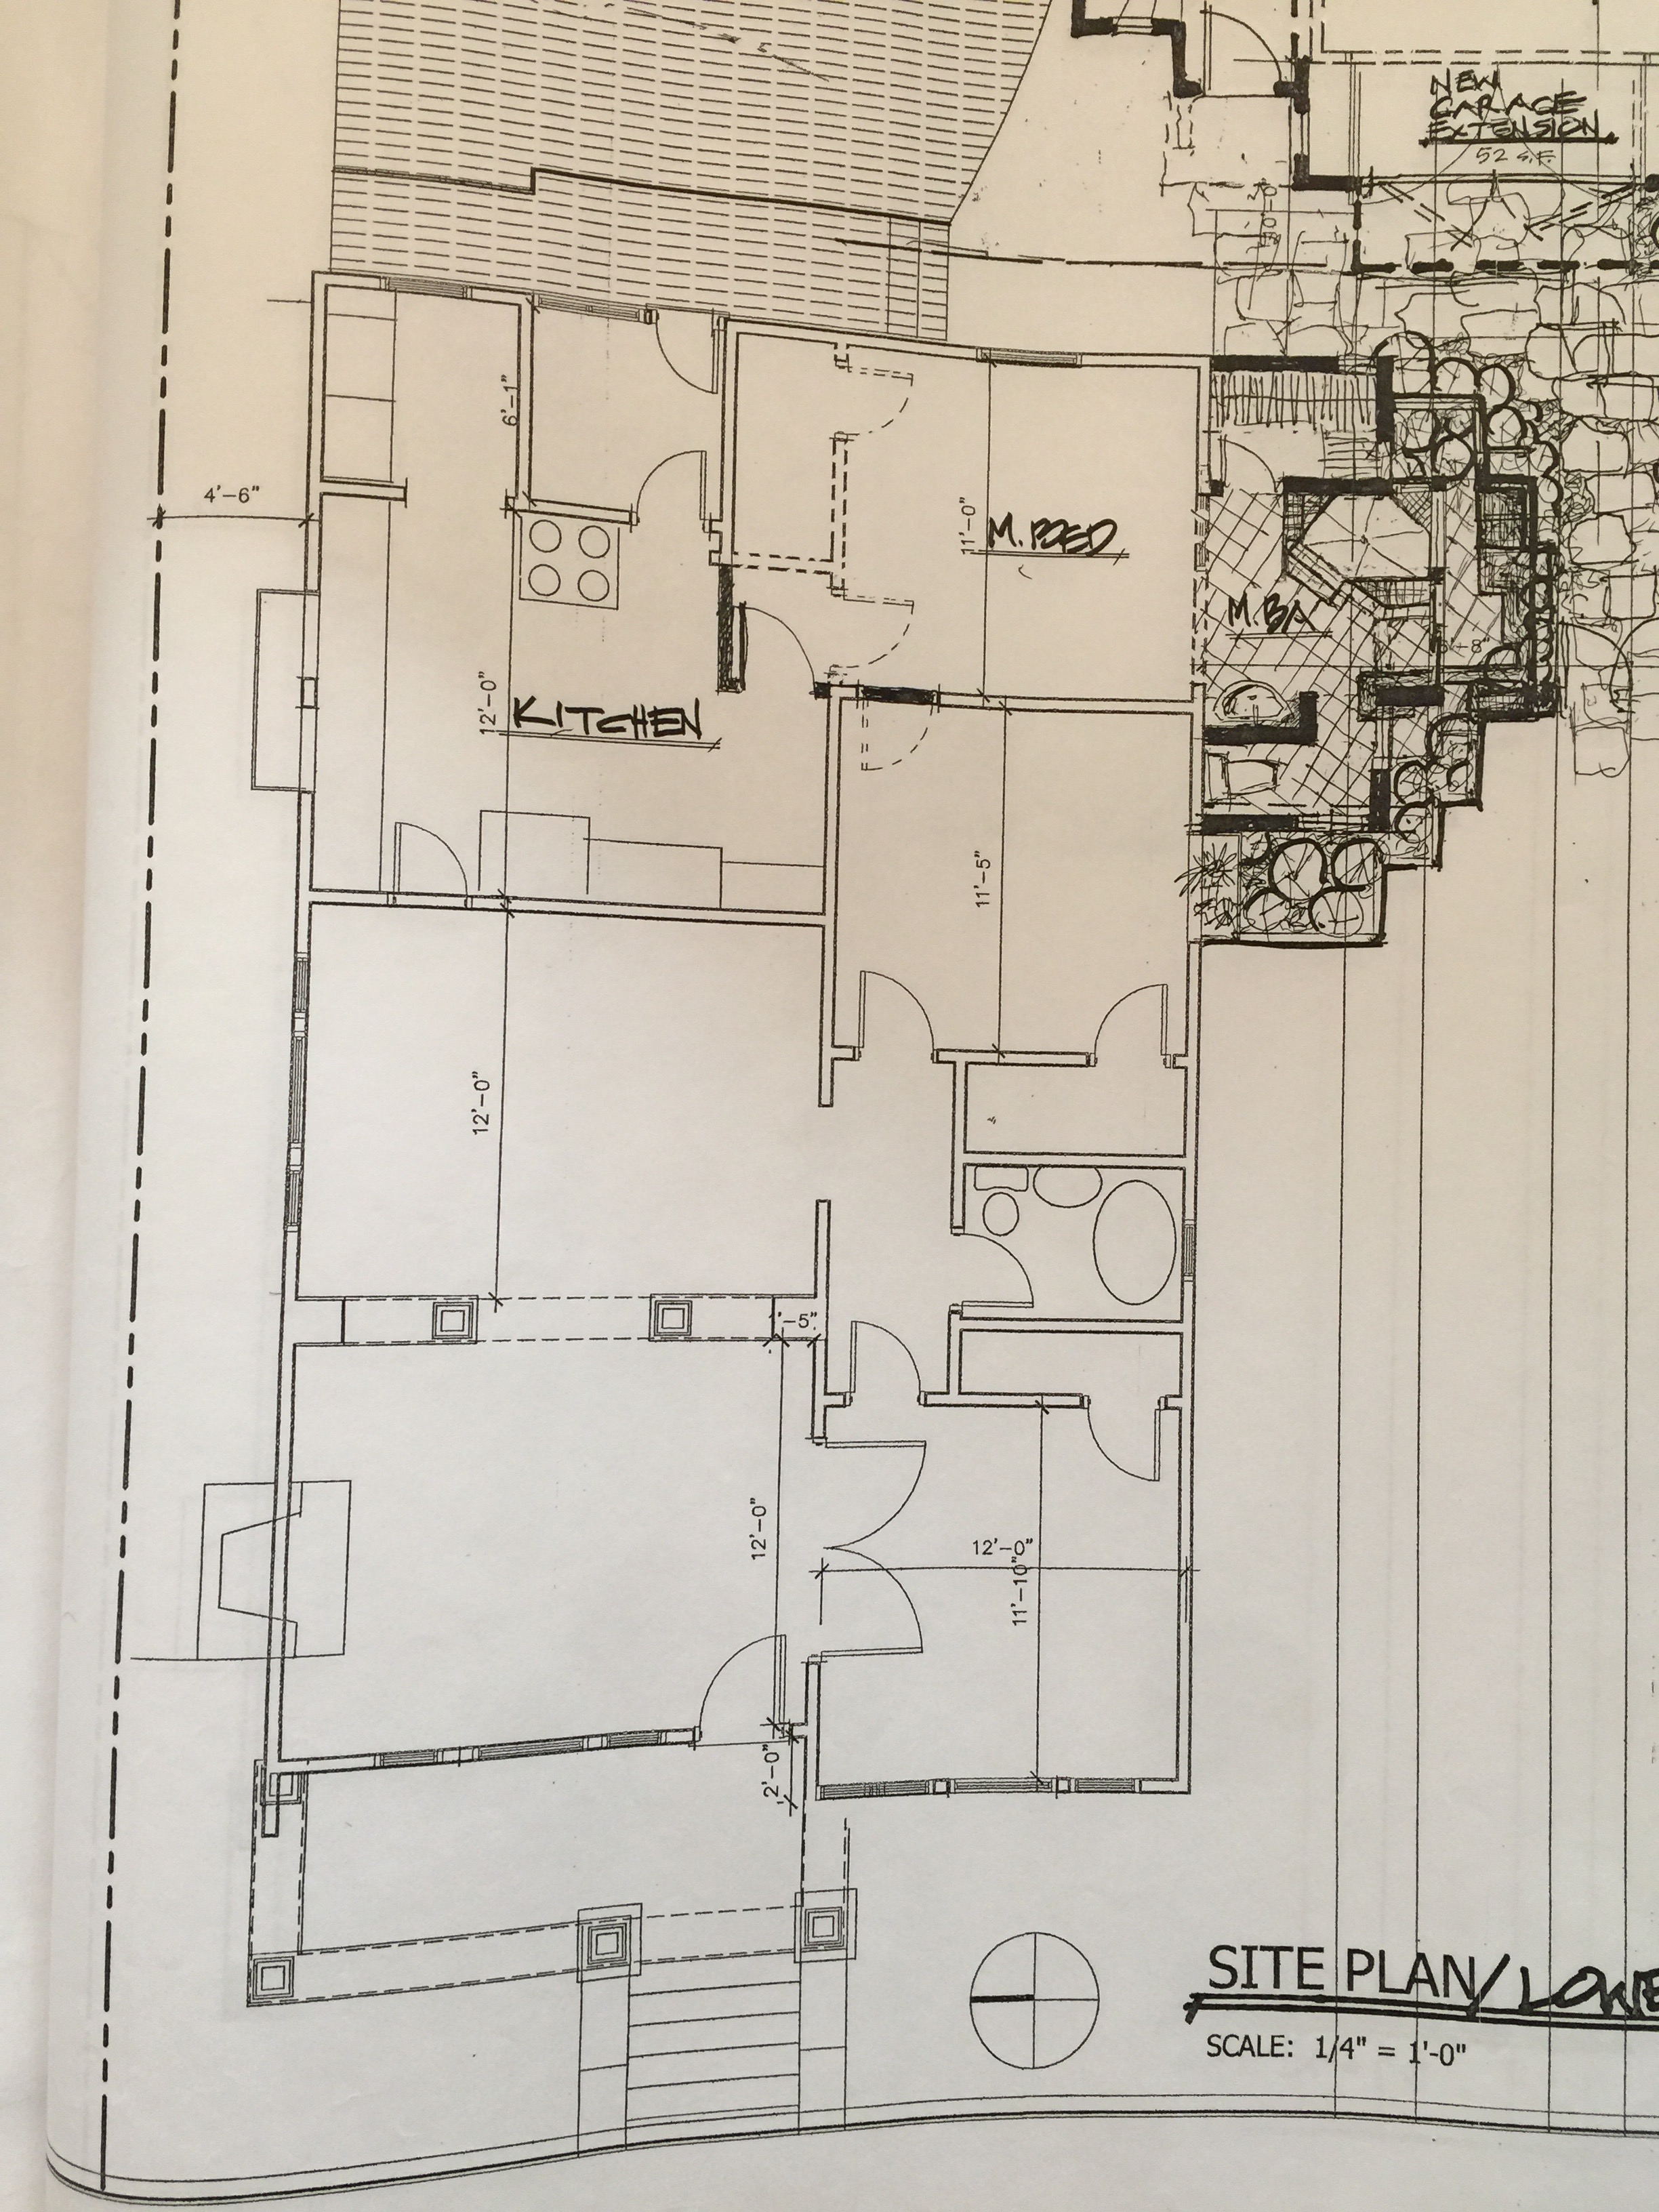
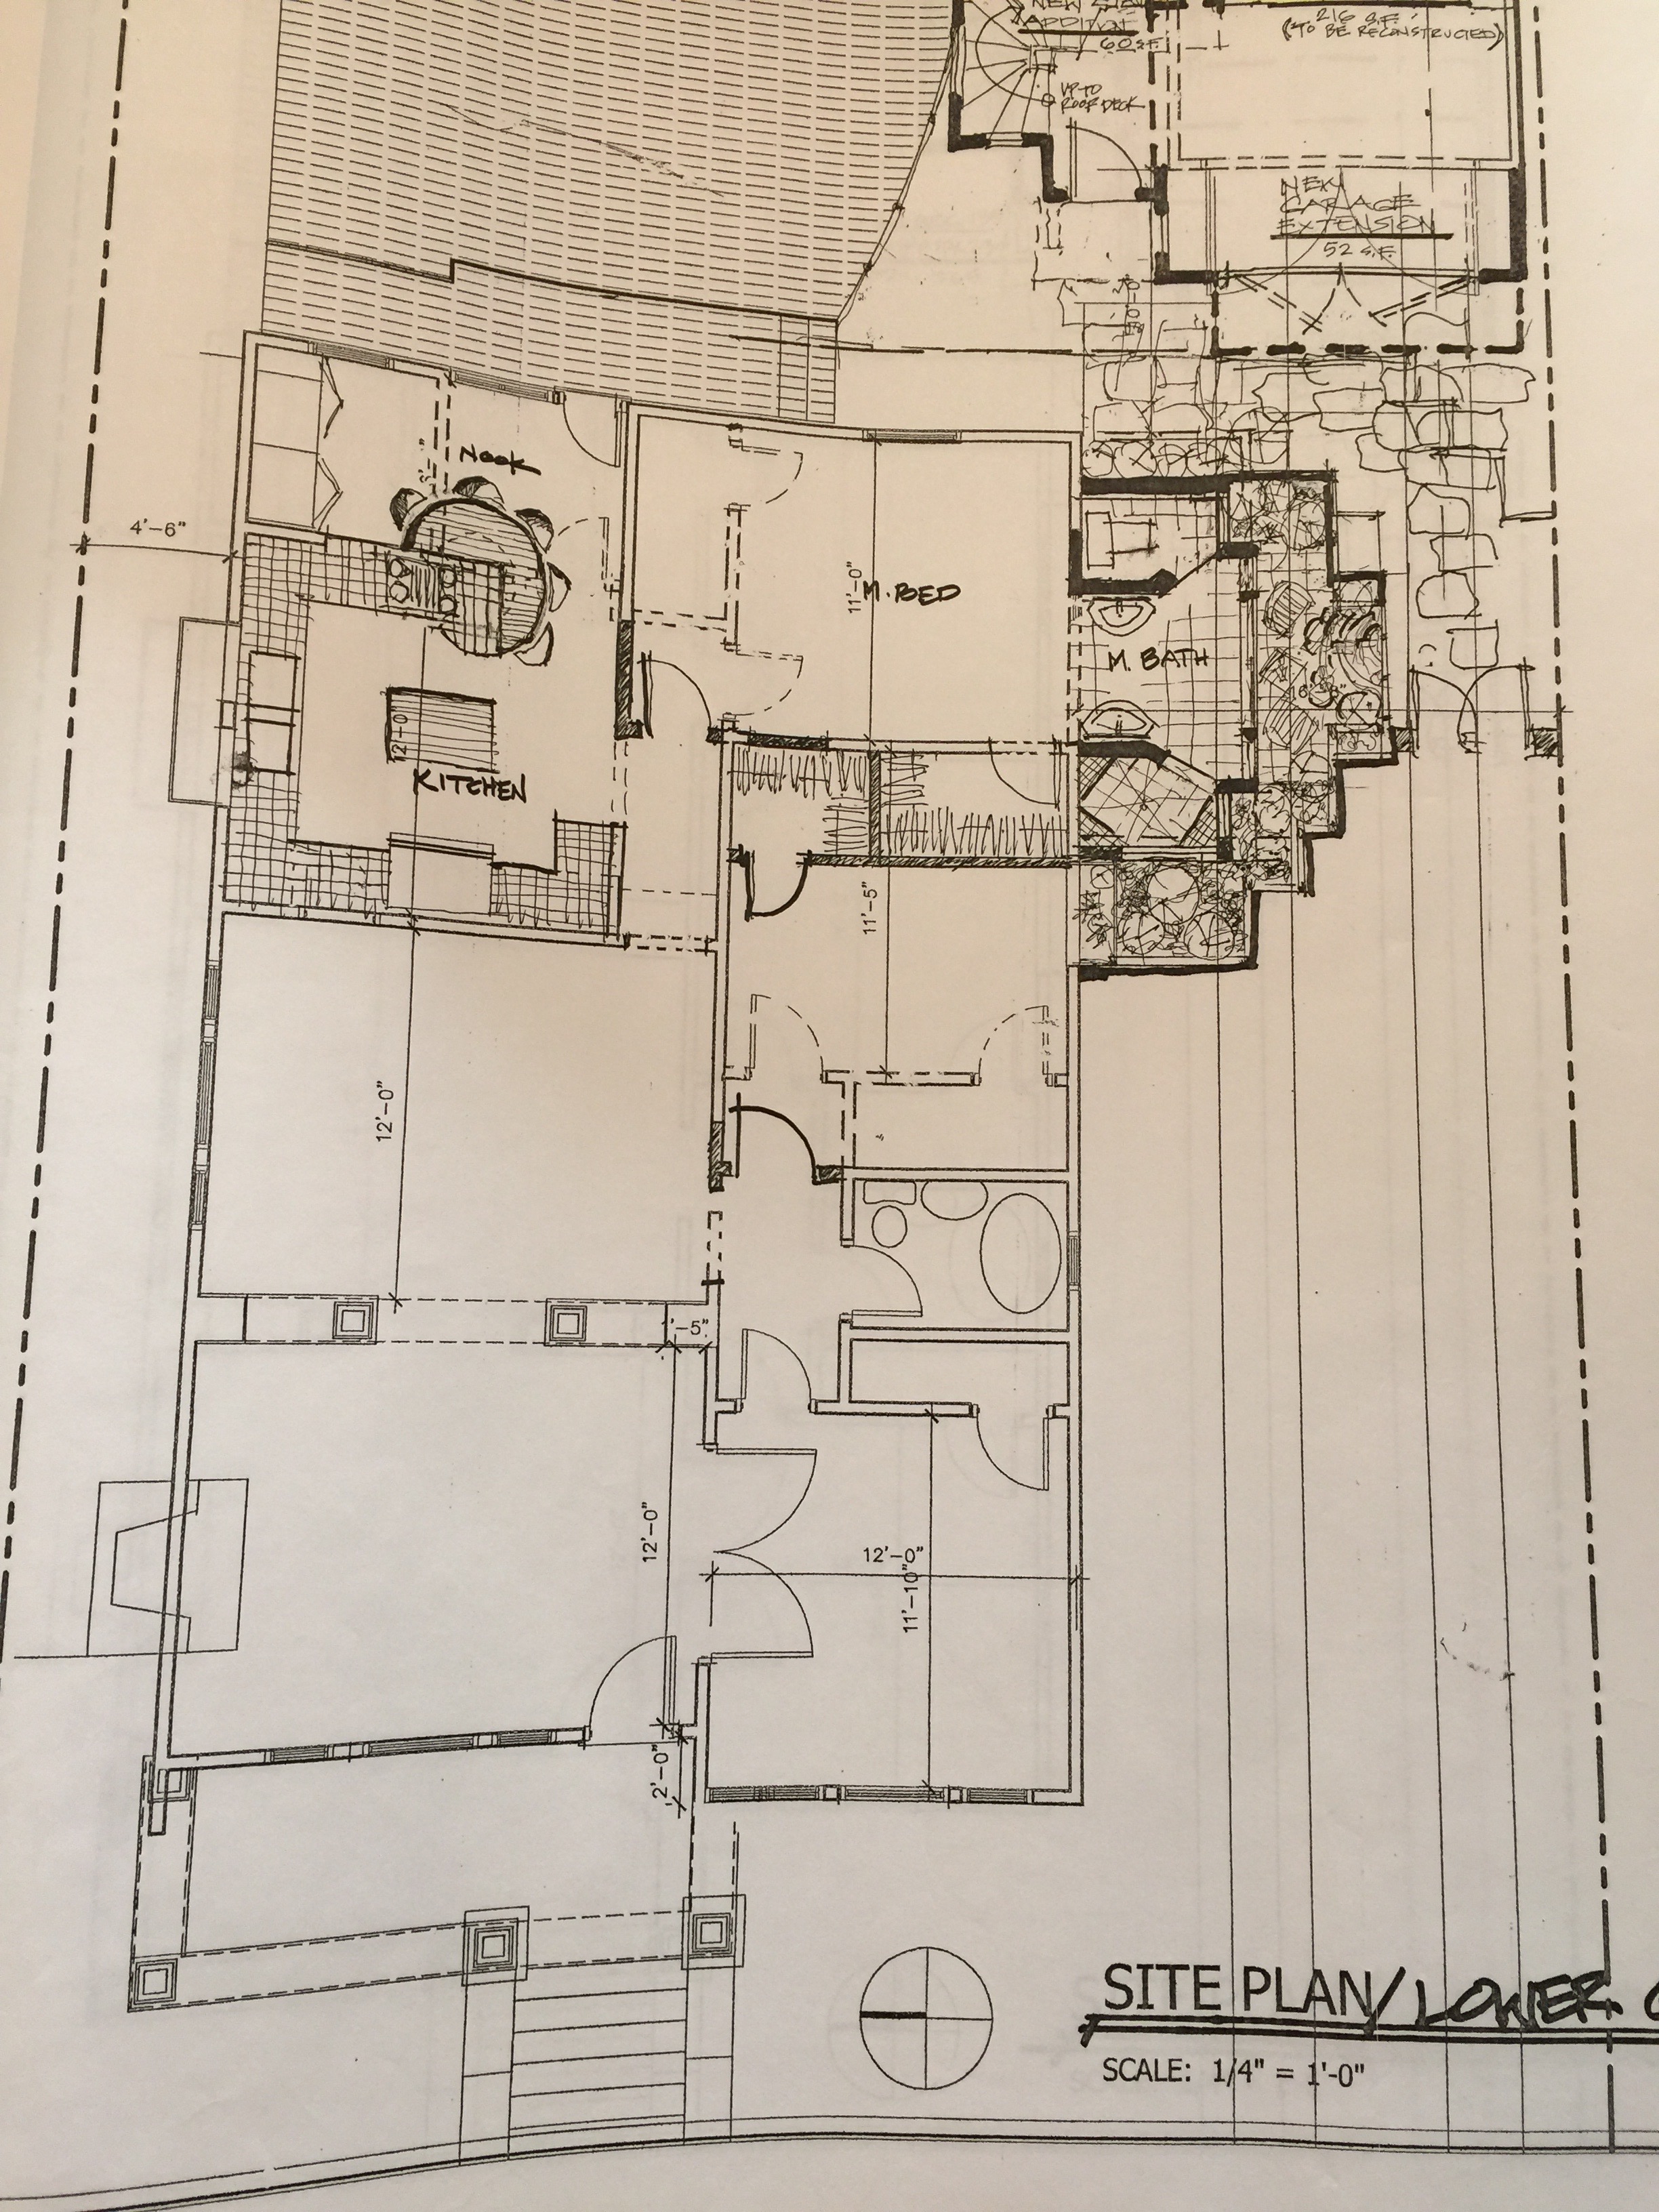
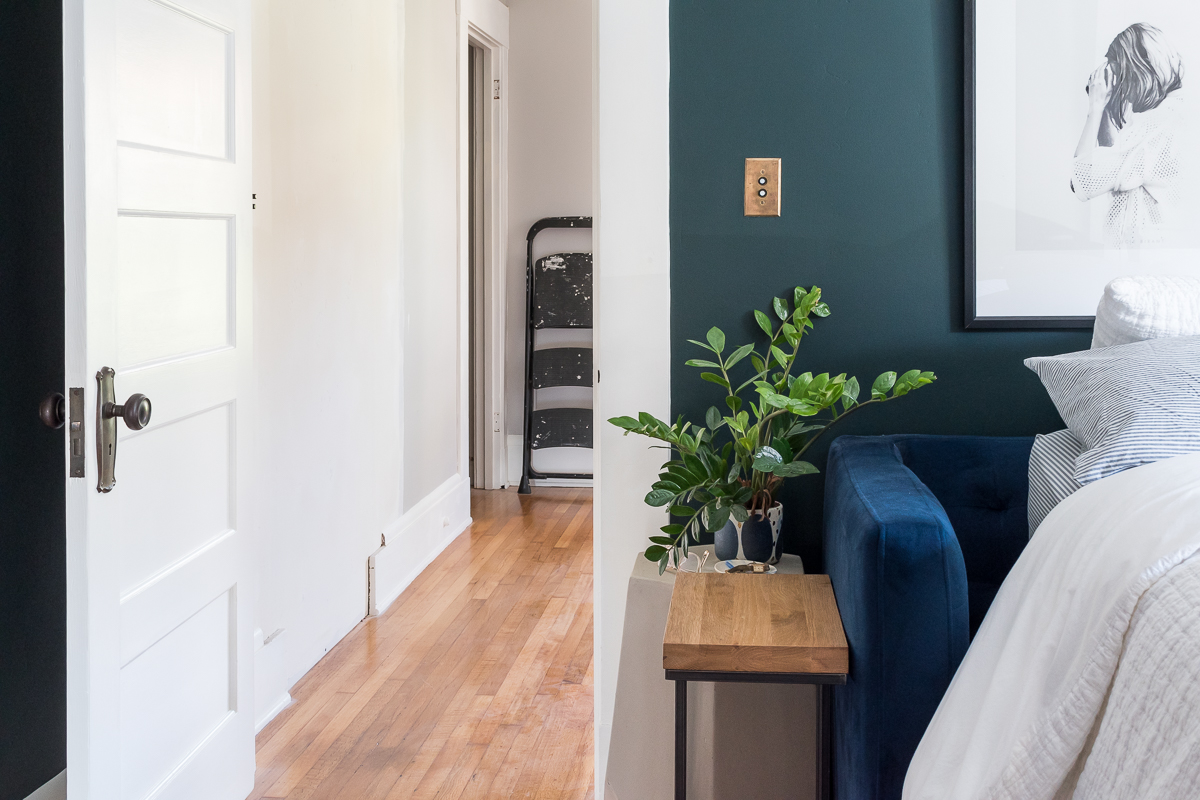
After putting holes in the walls of the bedroom for new electrical, I needed to close off a really big one - the doorway into the kitchen. If you recall in my week 1 plans, I'm closing off the door from the master bedroom to the kitchen. Removing this passageway is kind of a bummer, but it's the right thing to do for the layout of the bedroom. We'll be able to maximize storage and create a more open space. Don't forget, I'm adding a door with lots of glass to the backyard in a couple of weeks, so soon enough I'll have forgotten about the loss of the kitchen door.
Below are the views sans door from the bedroom and the kitchen, respectively.


I pulled off all of the trim (delicately as to save it for future use) but hired out help to frame and drywall the opening. Getting perfectly smooth walls on a big patch is not the easiest thing to do, so hiring it out to the pros was certainly the right thing for me to do. Once I paint, you won't even know a door was there - unless you read this blog, of course.
That's all I finished between week 1 and 2 so come back next week for more progress! Be sure to follow along on Instagram Stories where I share live updates and ask for your advice when I can't make a decision! This is only the first of my ORC videos, so subscribe to my YouTube channel to support future videos. If you aren't already subscribed to the blog, you can do that here.
If you want a refresher on the plans and the before photos, you can review the week 1 post here.
Check out progress from my fellow featured designers below, and don't miss out on the guest participants!
Apartment 34 | Beginning in the Middle | Coco & Jack | The English Room | The Gold Hive
Gray Malin | Jenna Sue Design | Jojotastic | Kelly Rogers Int. | Linda Holt | Marcus Design
Michelle Gage | Natasha Habermann | The Painted House | Rambling Renovators
Sacramento Street | Shannon Claire | Sketch 42 | Stephanie Kraus | Bisou Style
Media Partner House Beautiful | TM by ORC
Psst! To jump into the future and see how this room turned out, click here!
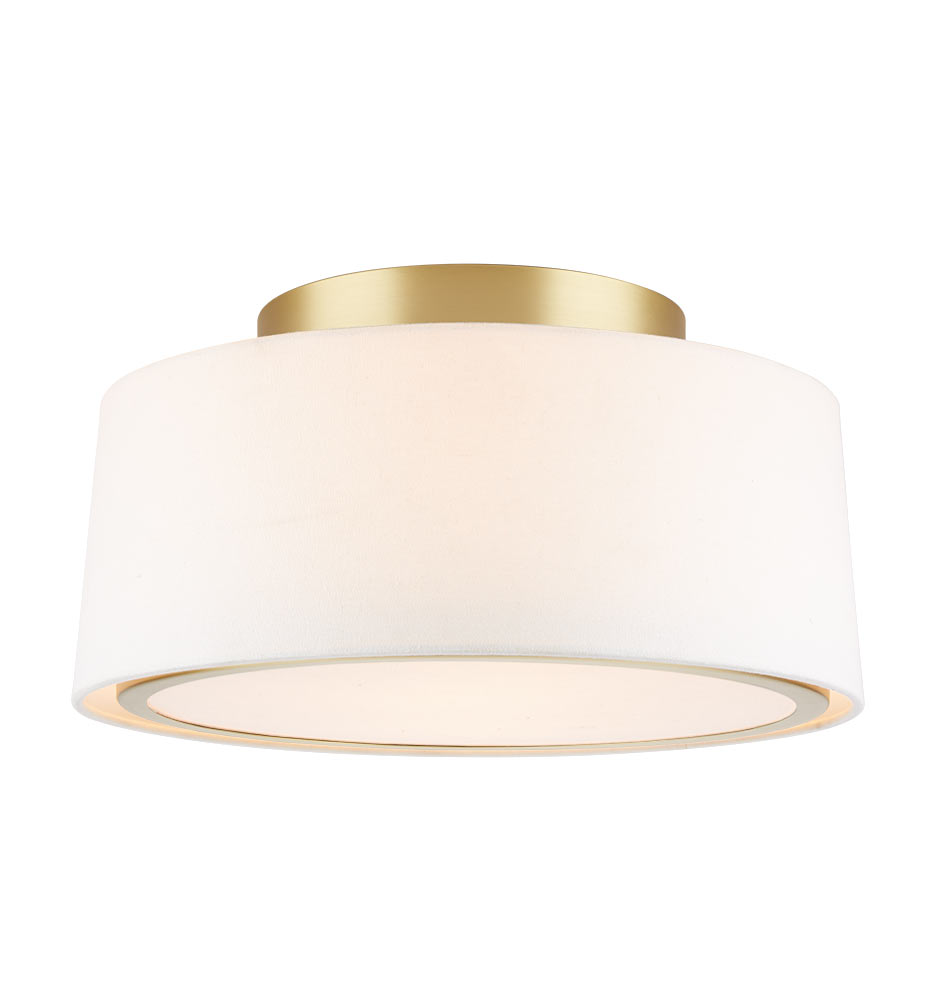
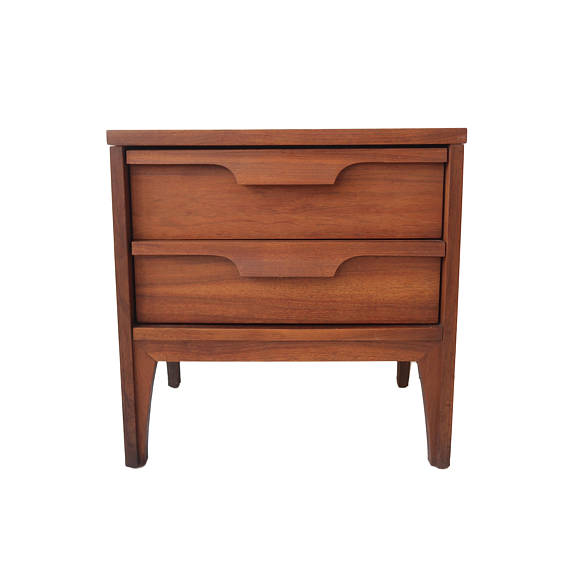
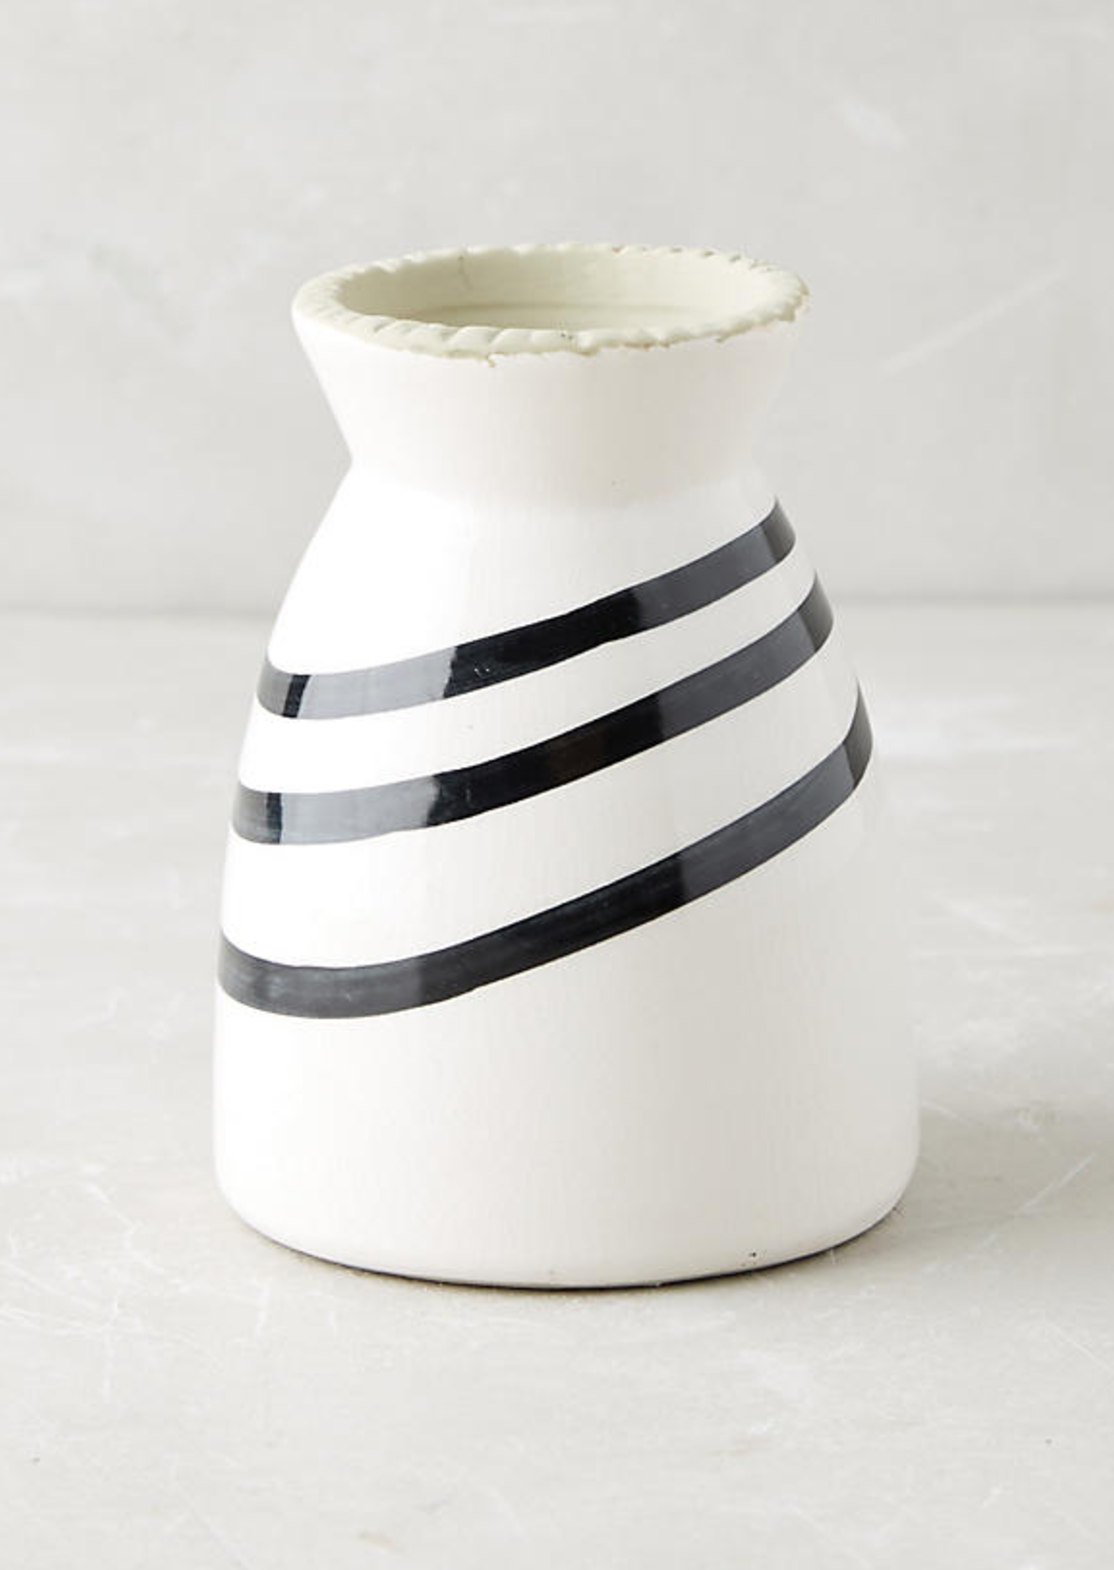
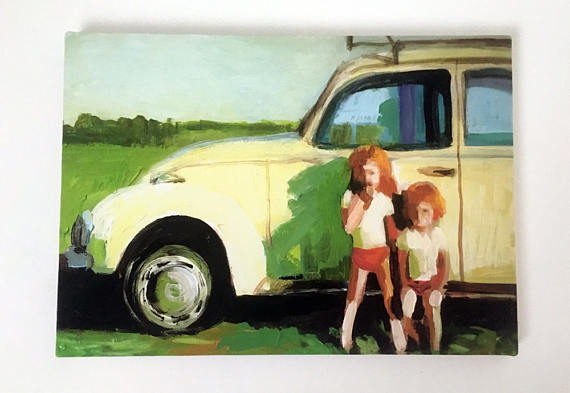
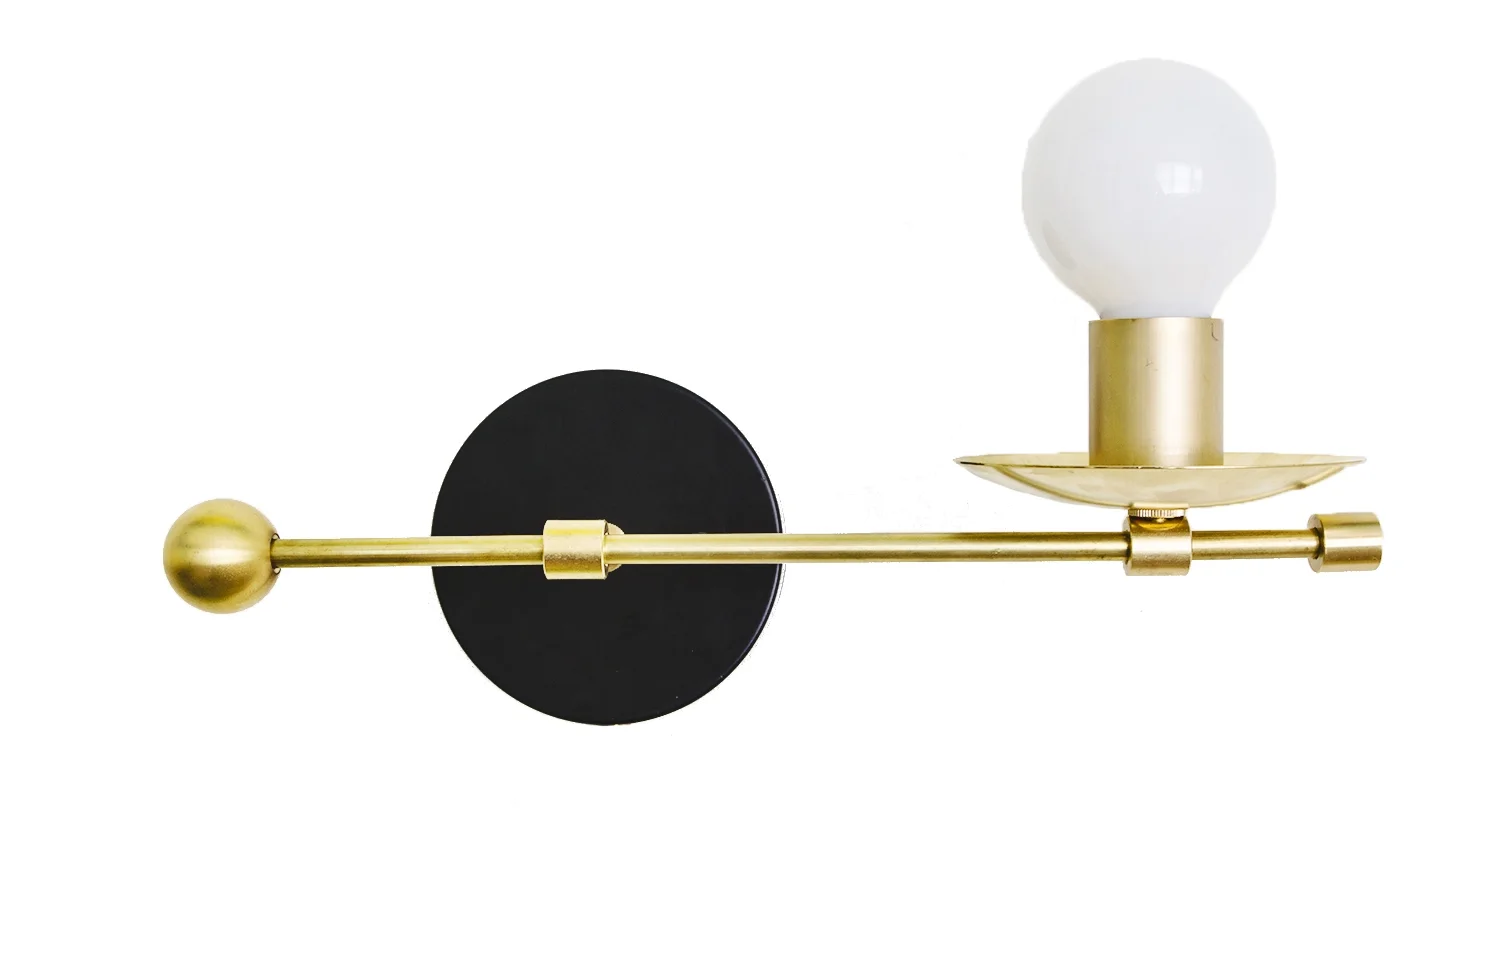
This Week's Sources