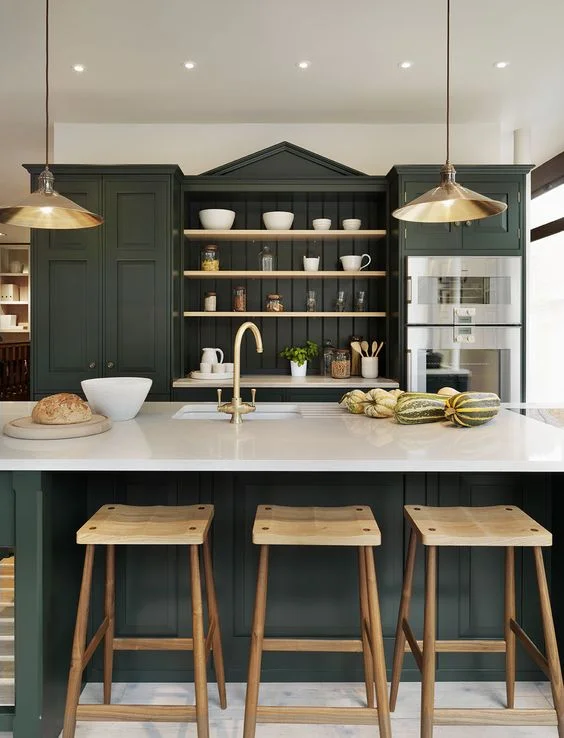
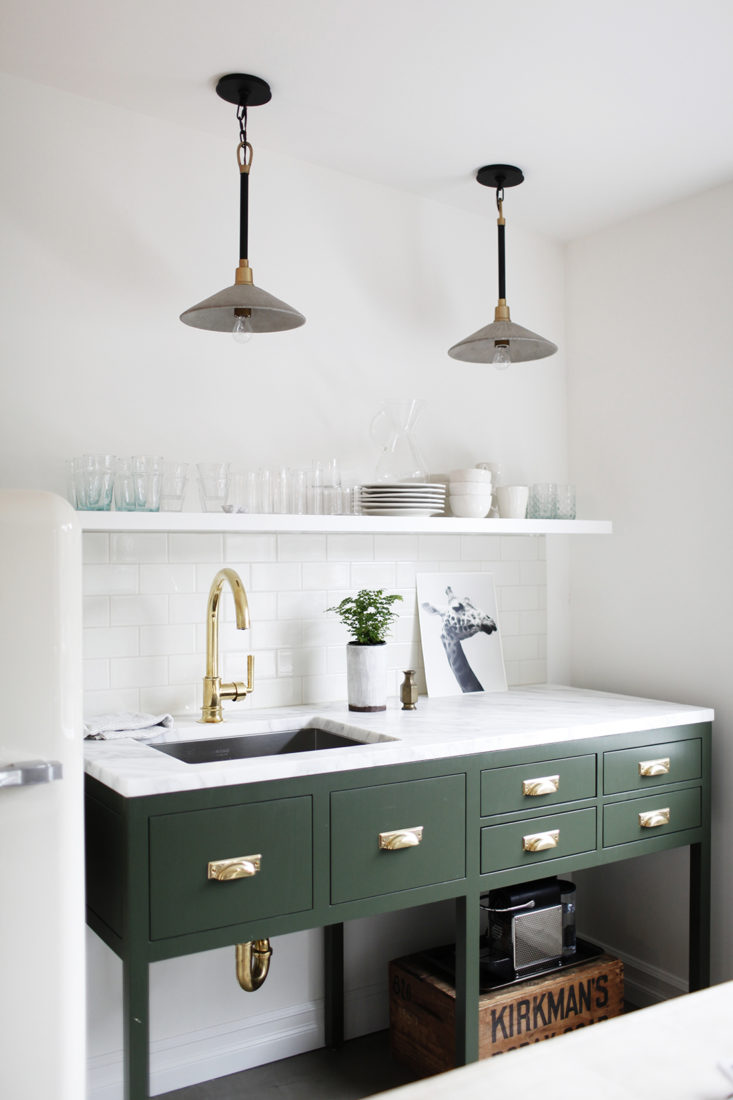
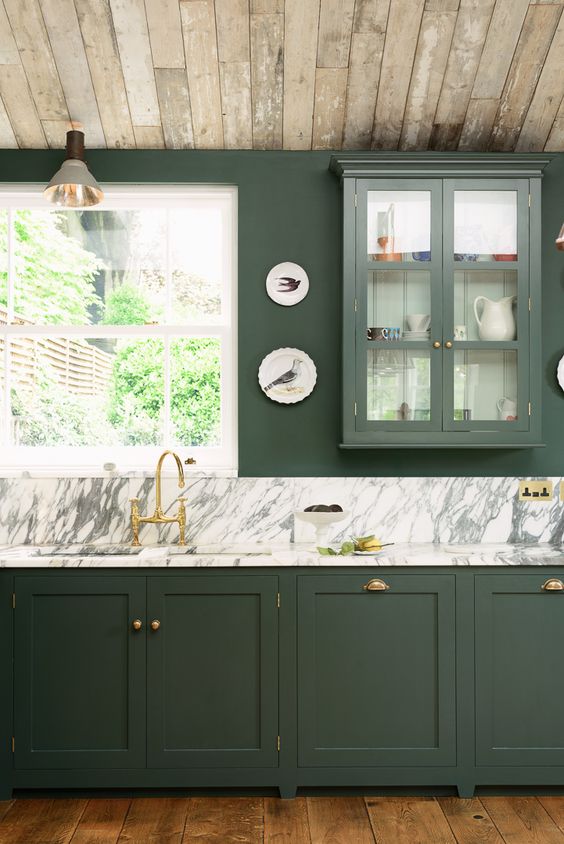
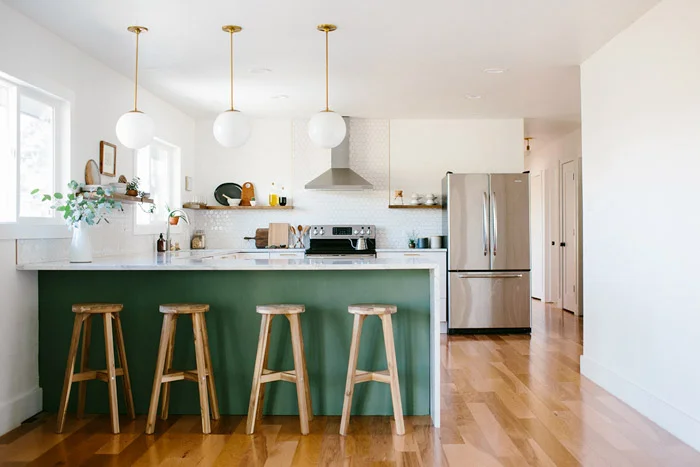
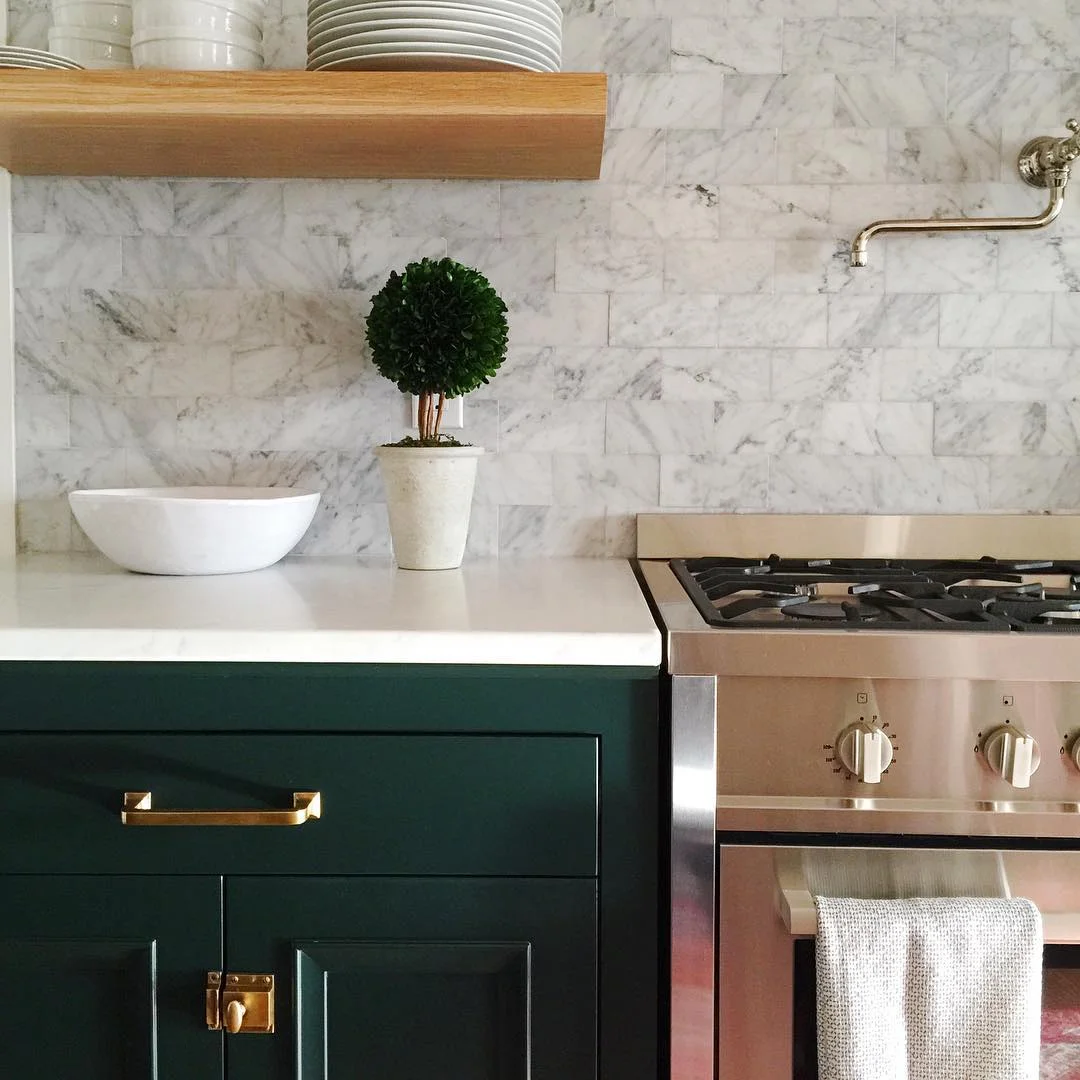
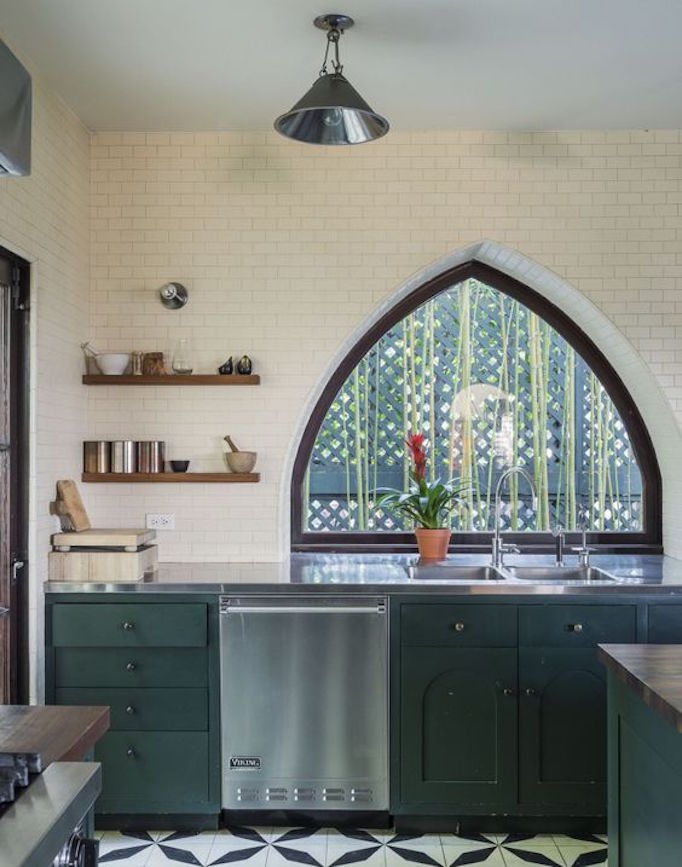
Weekly Roundup

Happy St. Patrick's Day! In the spirt of the holiday, I want to paint the kitchen green. We've enjoyed the pale teal cabinets for a couple of years, but I'm itching for a more moody color like these kitchens.

Sources 1/2/3/4/5/6

What do you think? Green uppers or white uppers? Super dark green or blueish green? Should I even repaint again?

Speaking of moody, I'm swooning over this foyer designed by Casework and hand painted by Michael Paulus.

I'm thinking of scheduling future vacations around these notable museum openings around the country. If you're in Washington, please go to Yayoi Kusama's Infinity Mirror Rooms on my behalf.

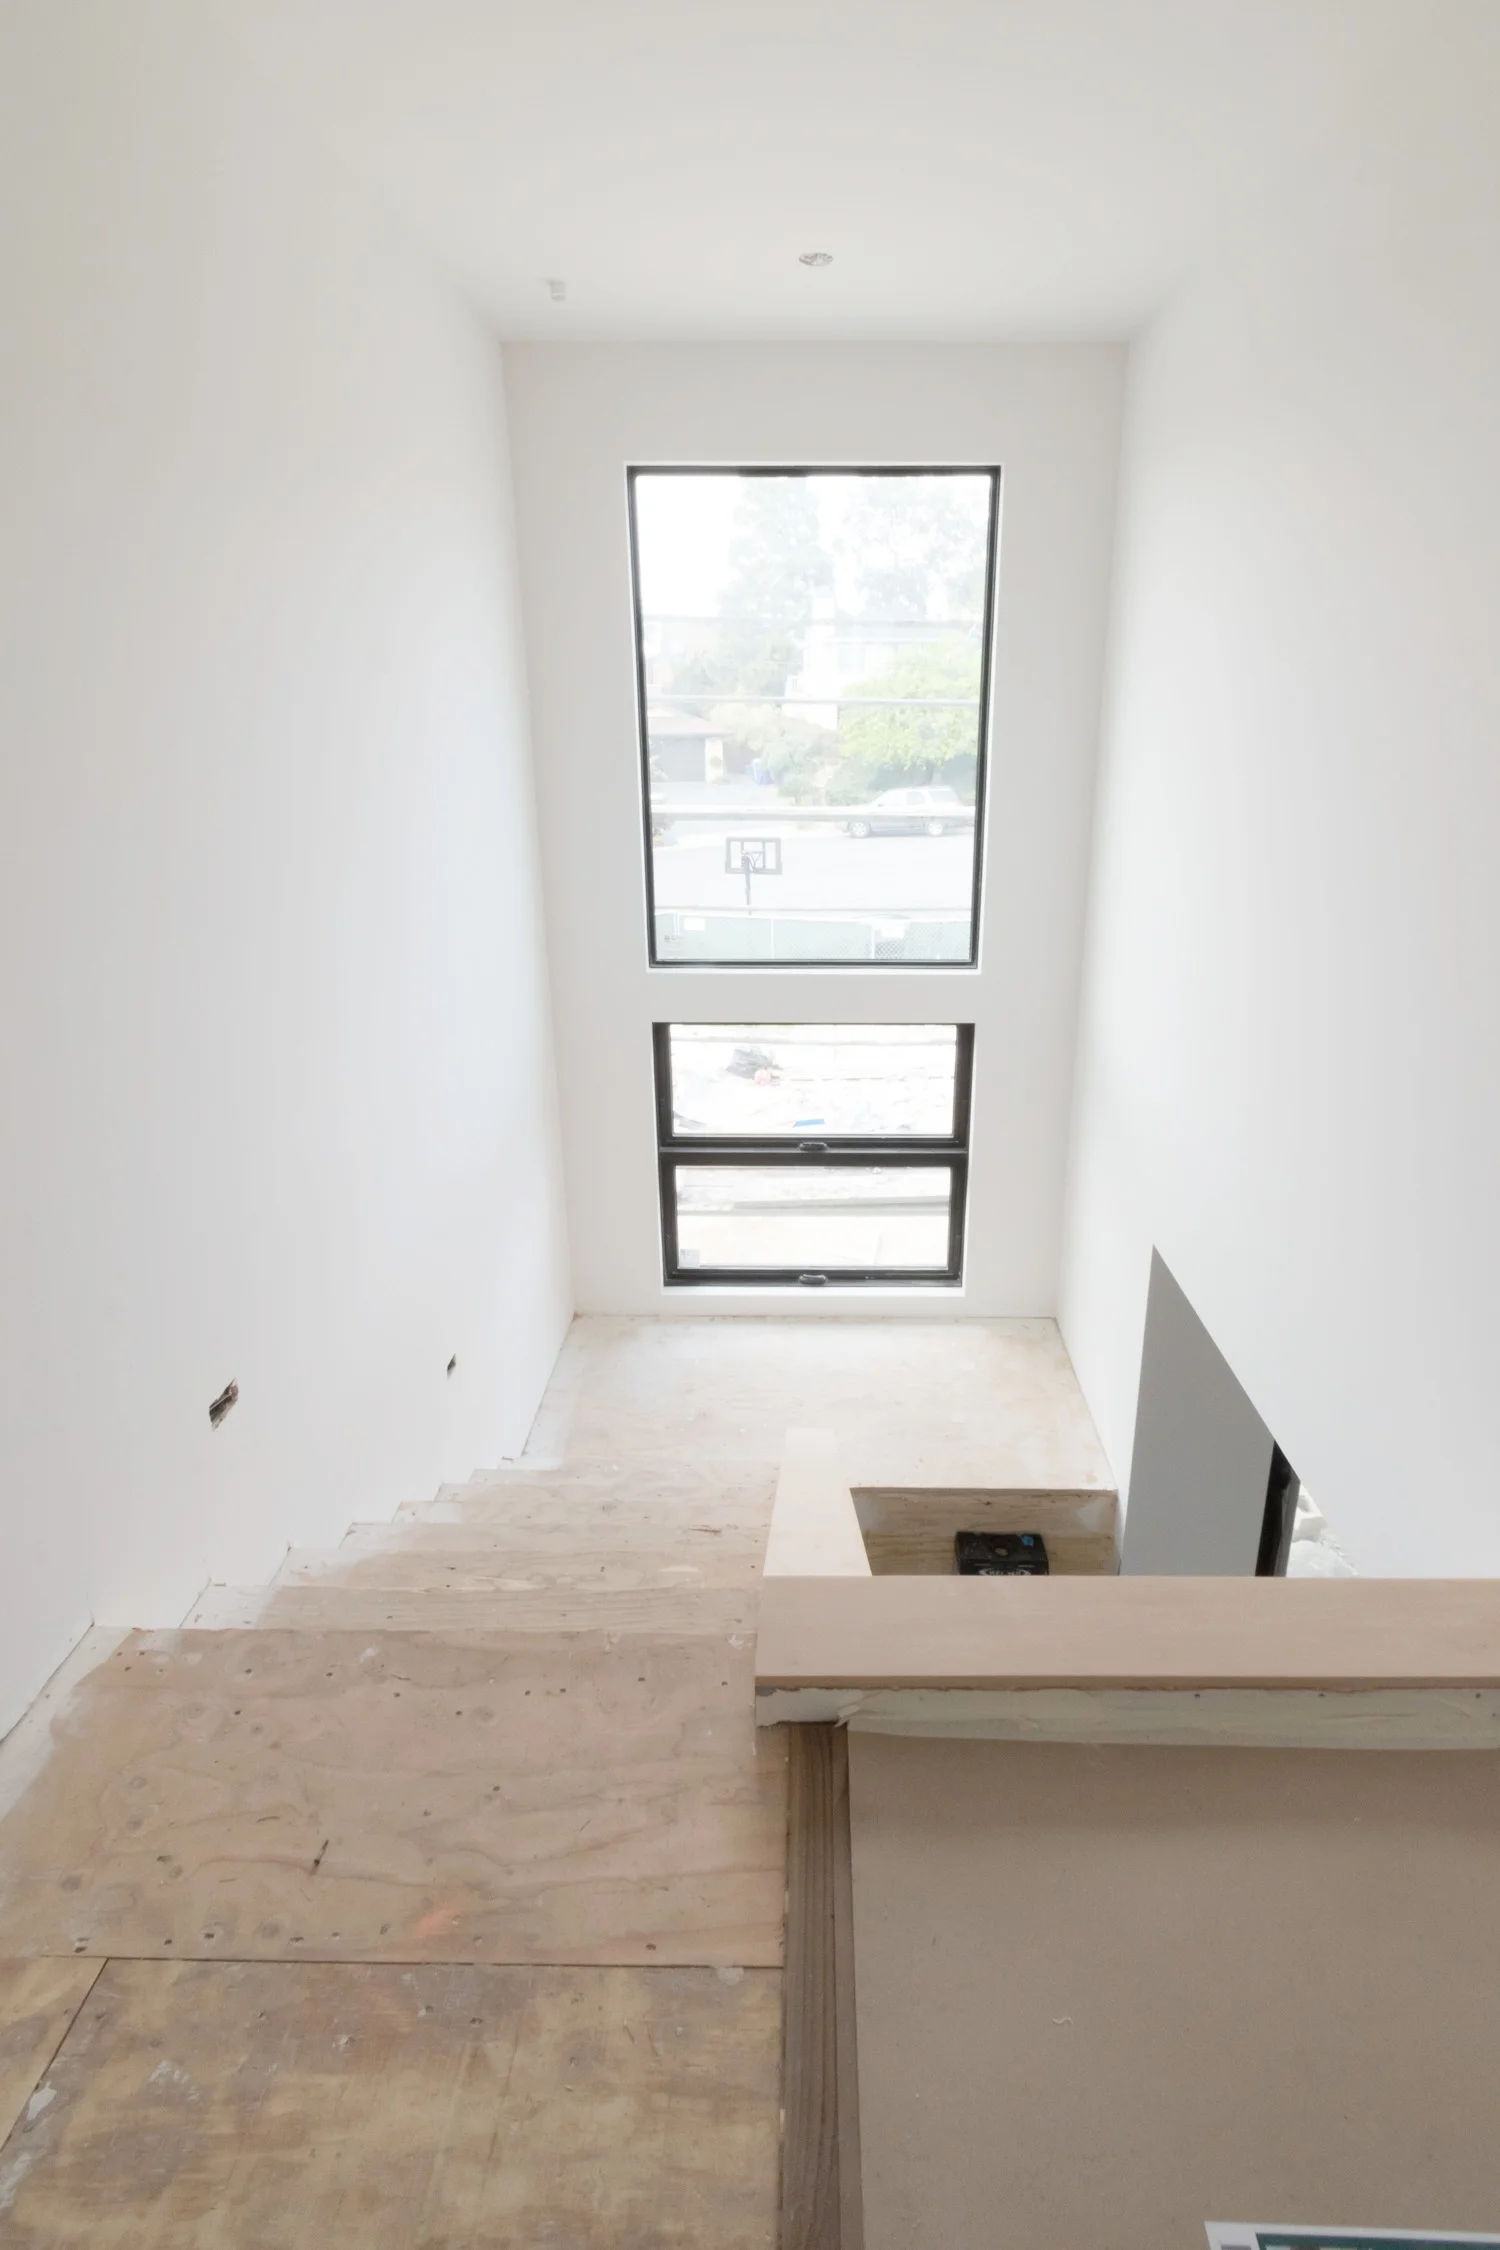
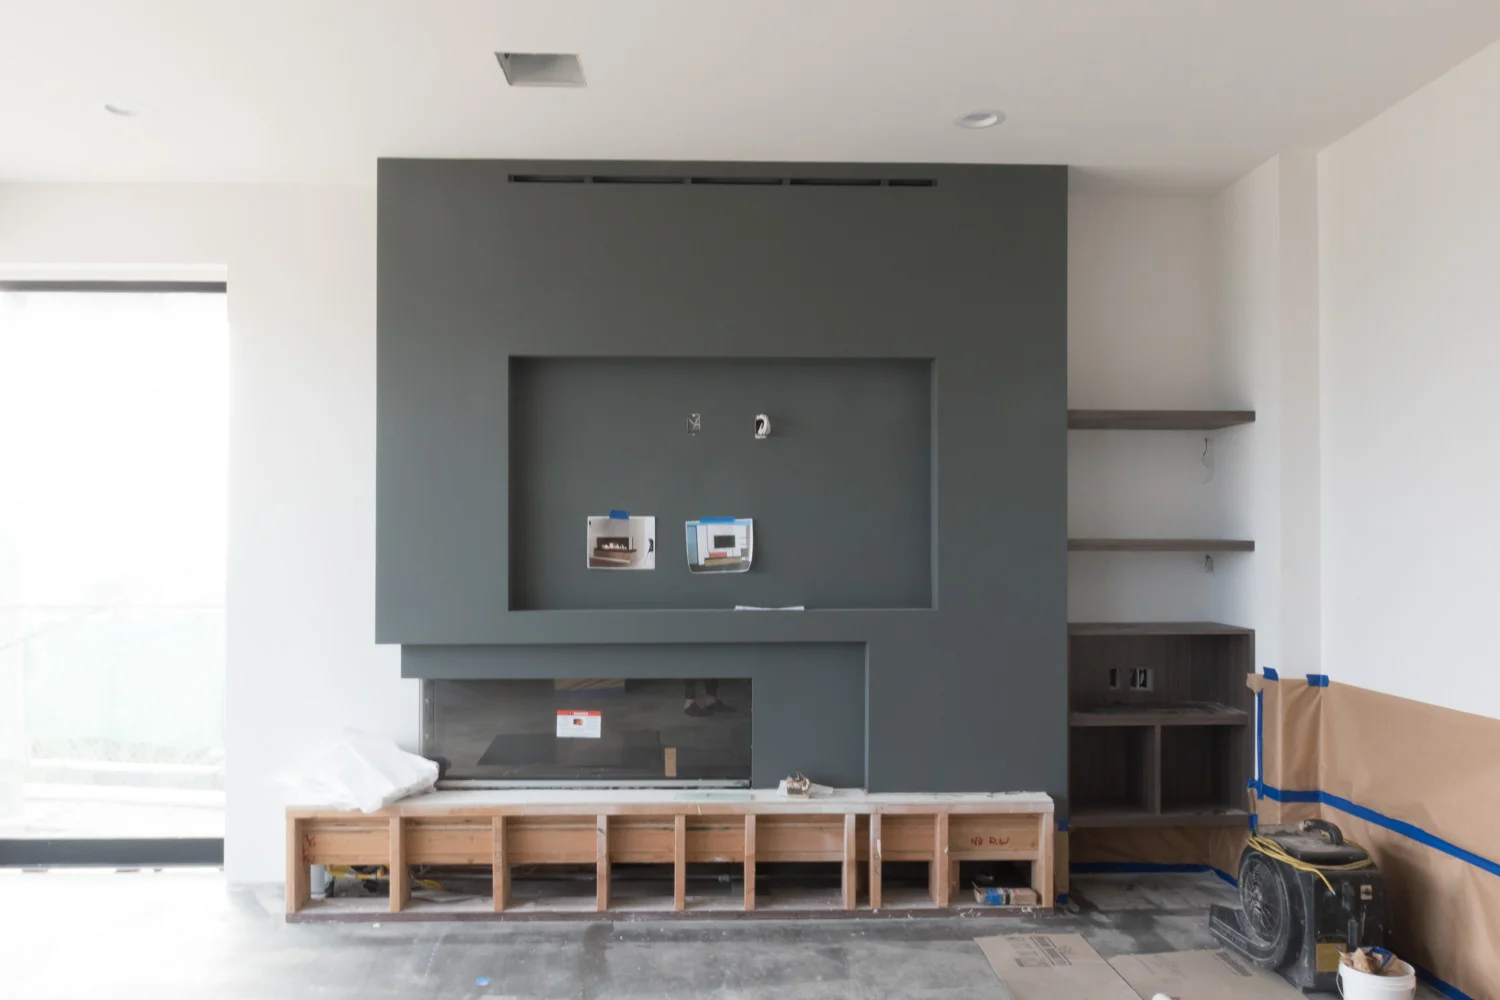
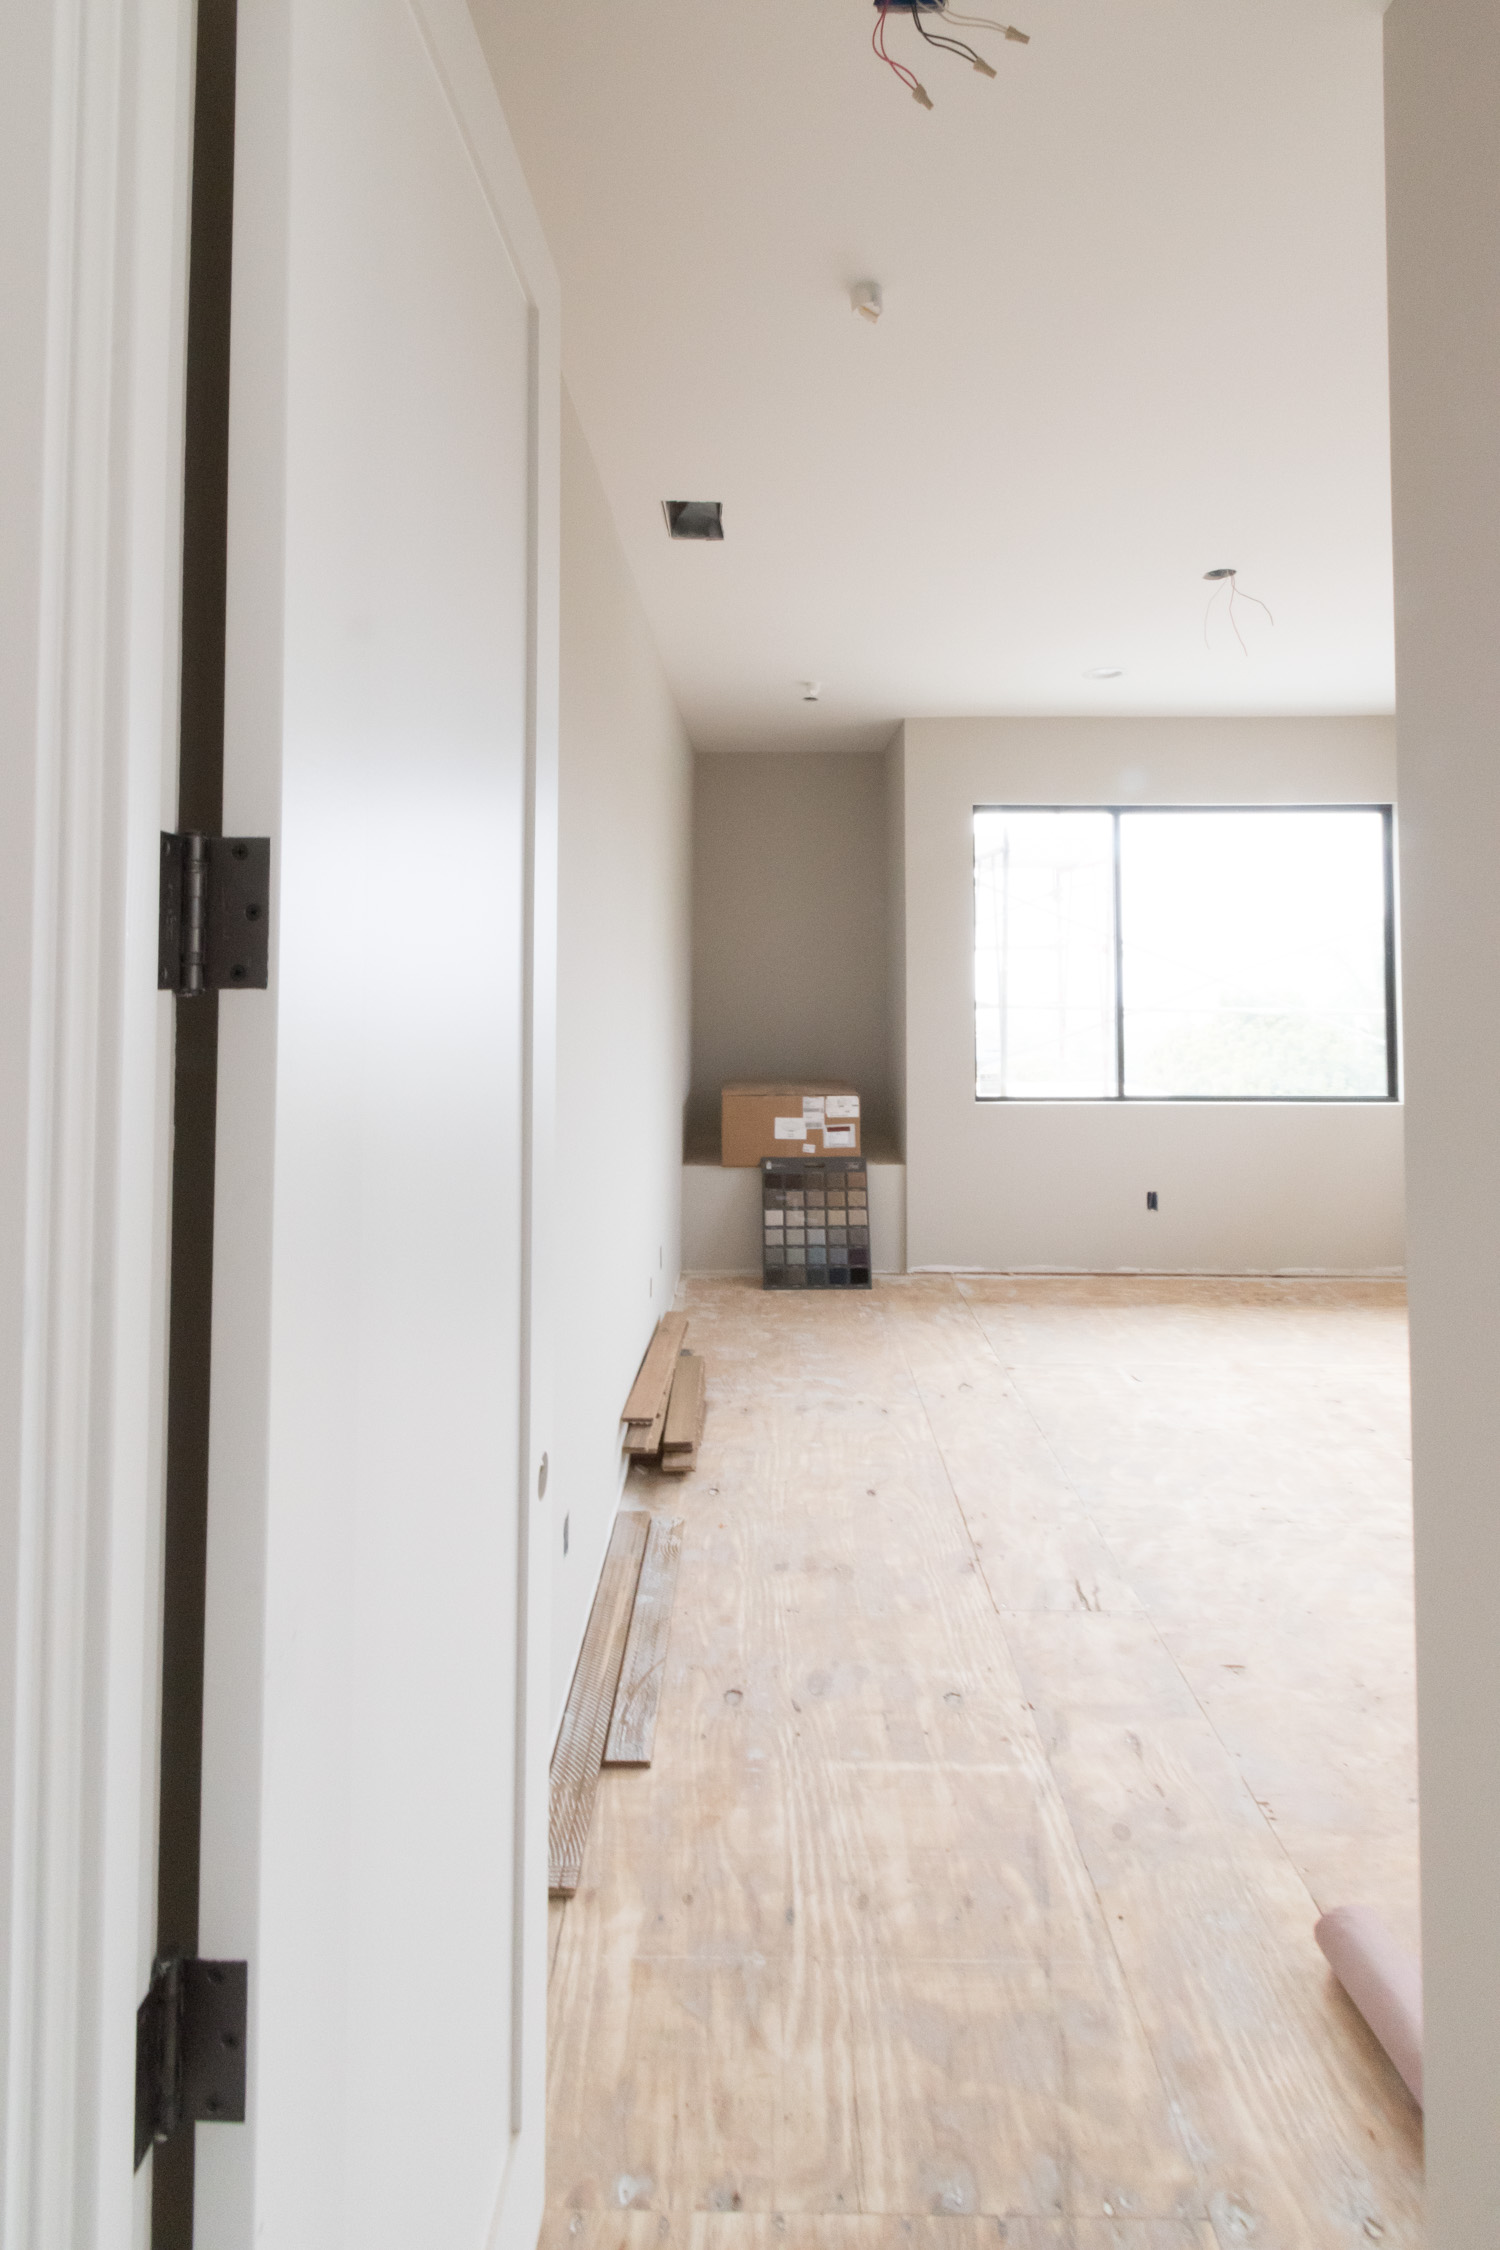
A friend is designing a new construction house for a client and while she was out of town I went to the job site as her stand-in and to photograph the space. I may love old houses, but I think this new one is pretty spiffy too.

I'm far from perfect at grammar, but I have a pretty strong opinion about the Oxford comma - I love it. I feel validated knowing that a lack of a comma can lose court cases

A few of my favorite TV shows came back recently so I'm binging on Love and anxiously awaiting more of The Americans. What else should I be watching?

As a lover of eating and making pies, I'm disappointed that I forgot about Pi Day on Wednesday! Luckily, Jeran of Oleander and Palm reminded me of her peach thyme hand pies so I can't wait to celebrate a belated Pi Day over the weekend with this recipe.

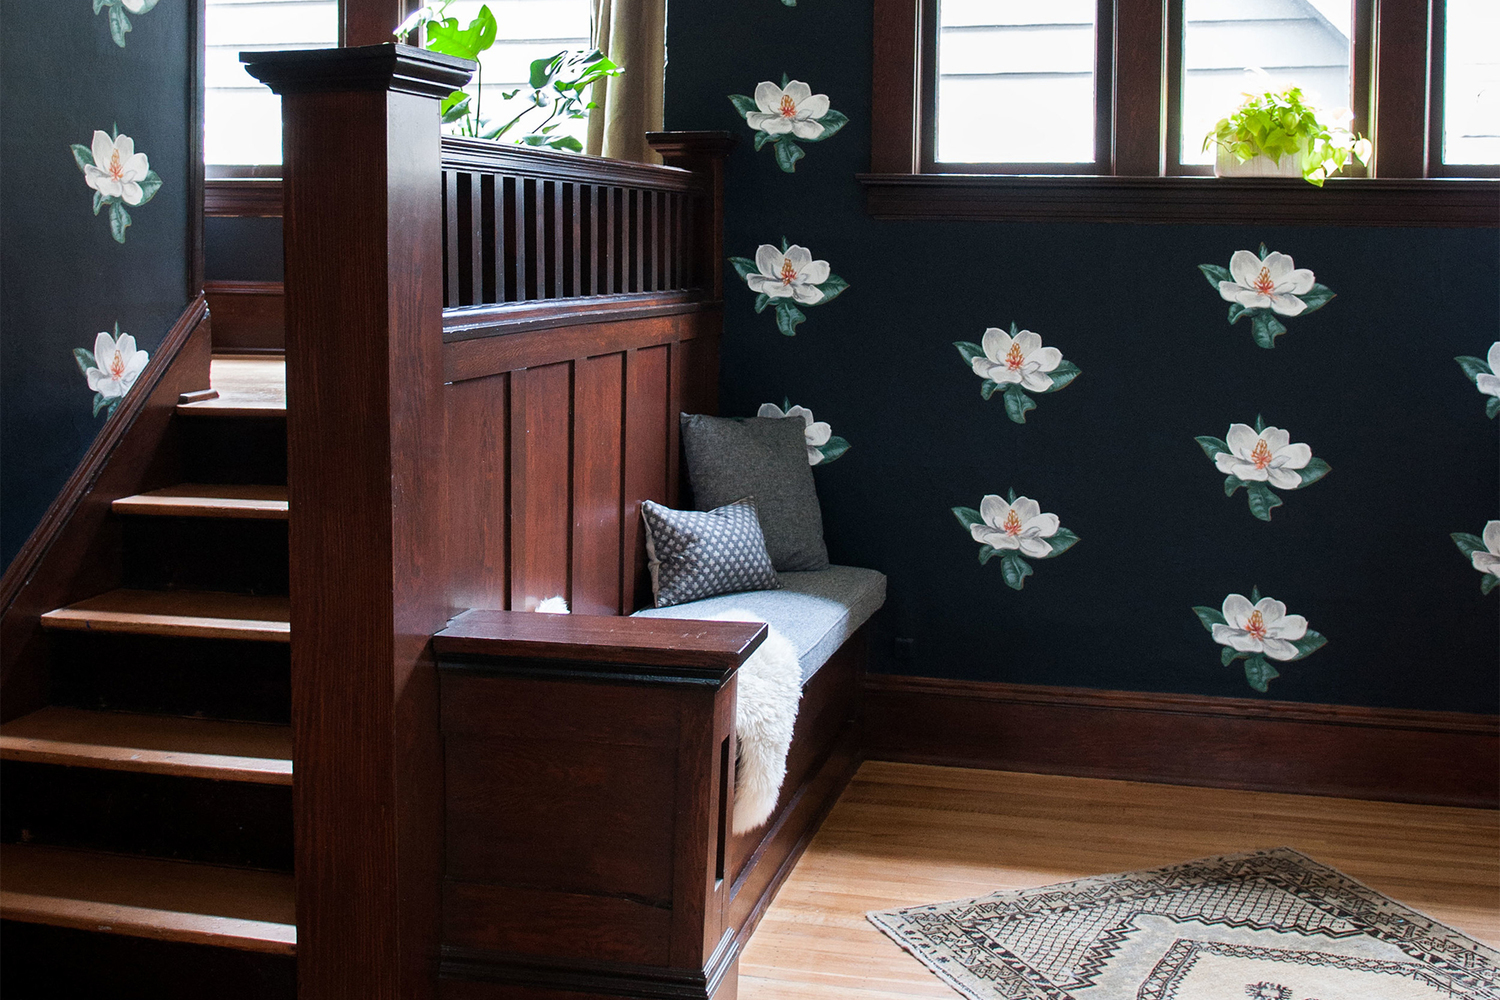
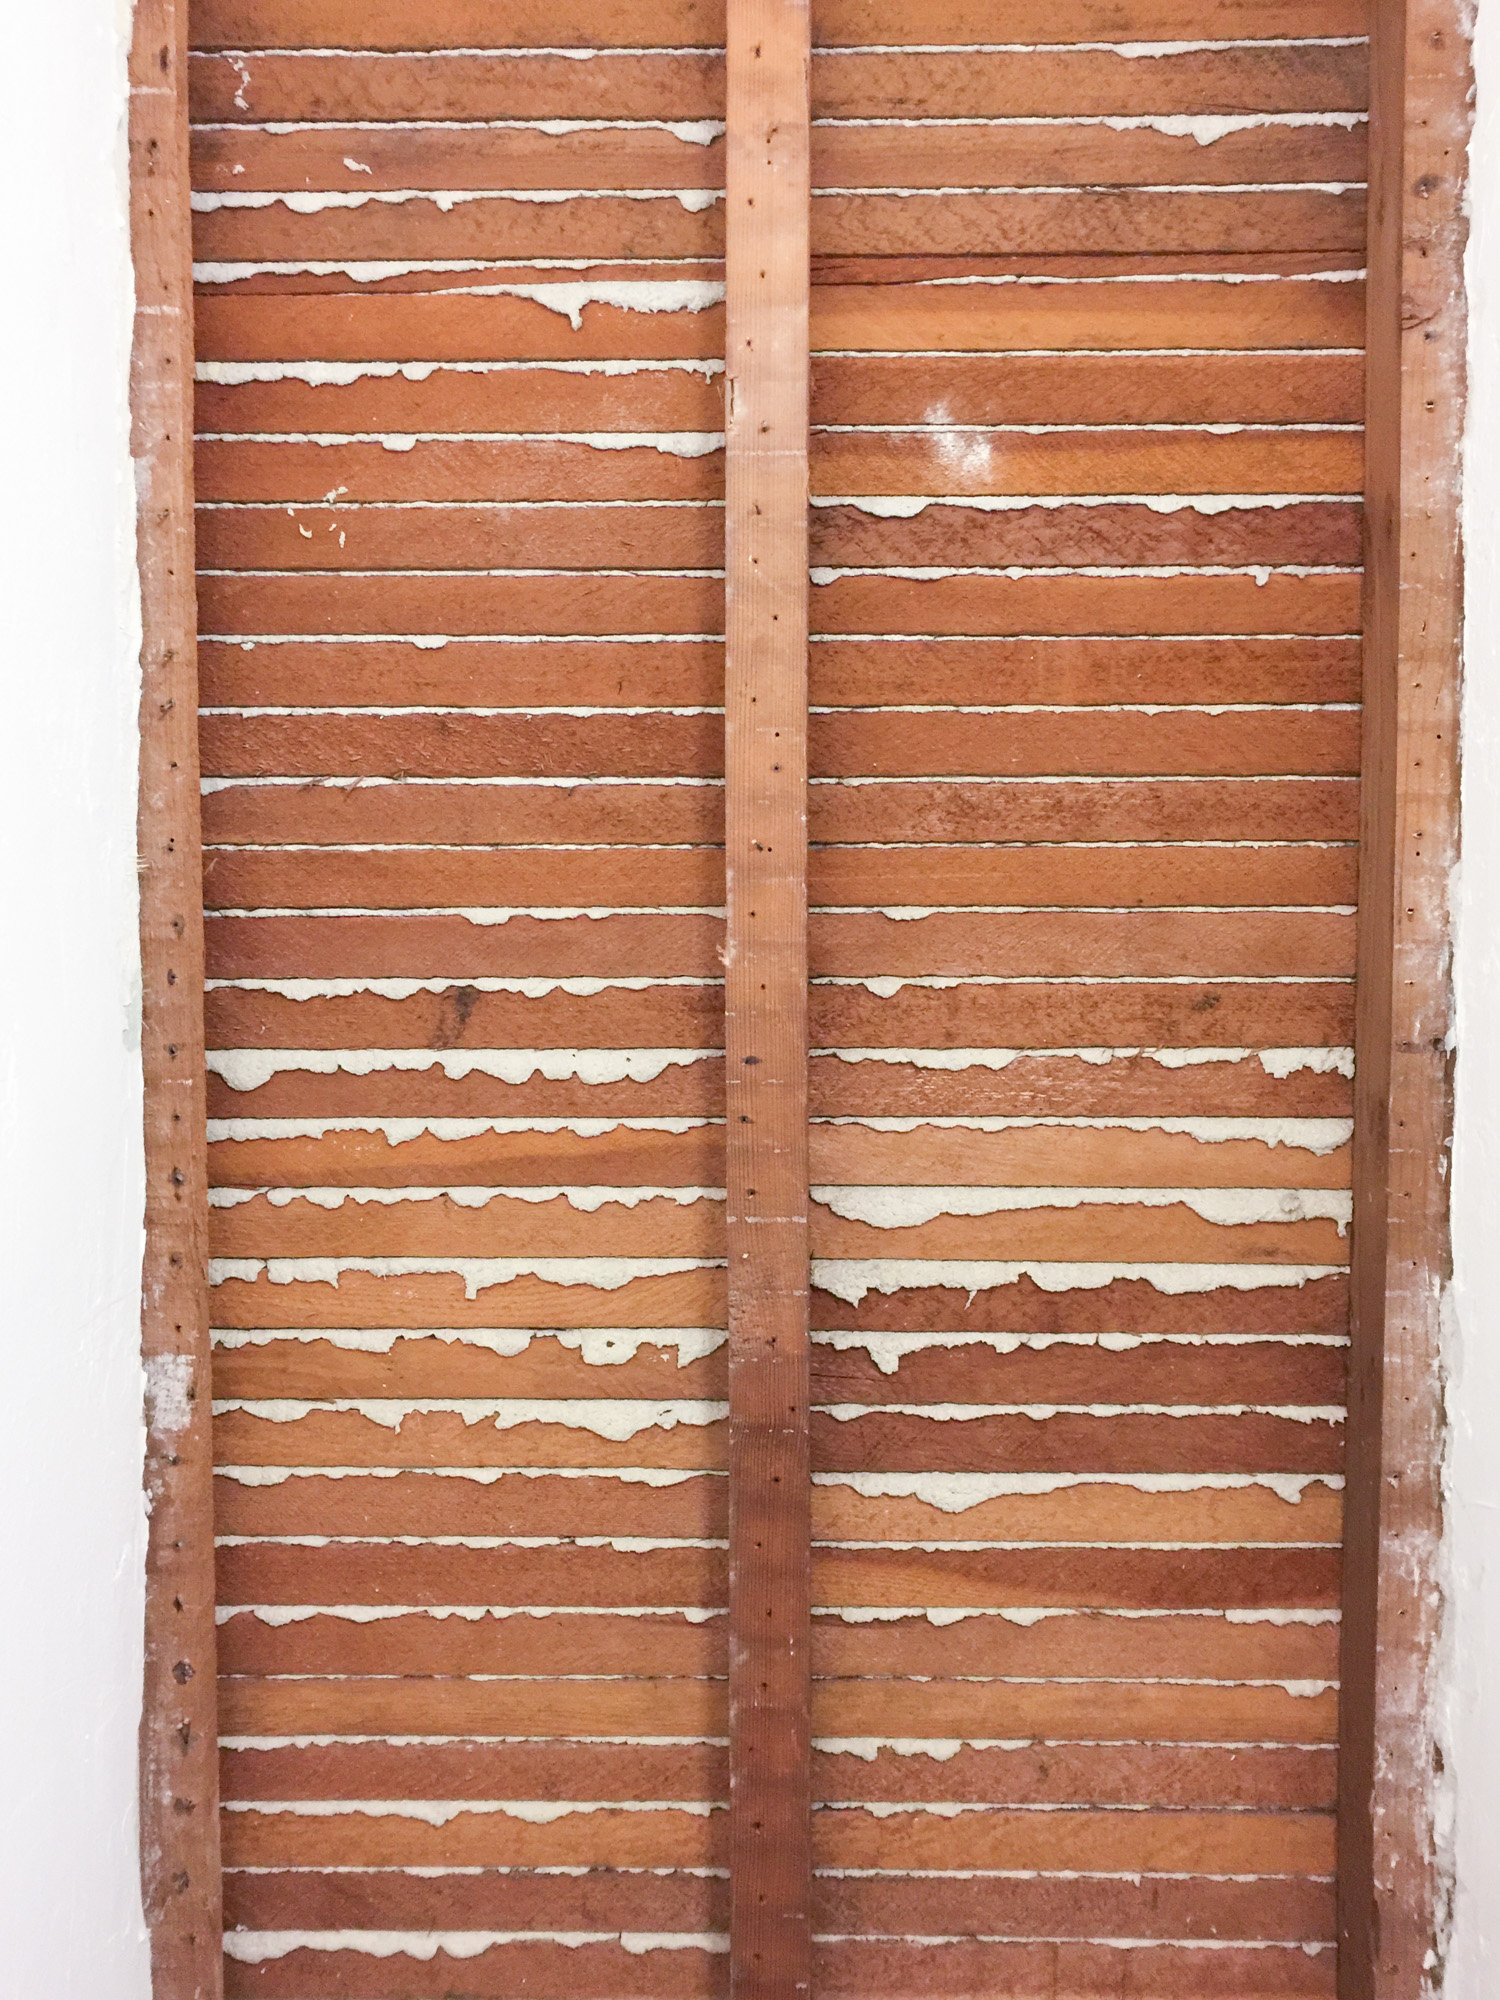
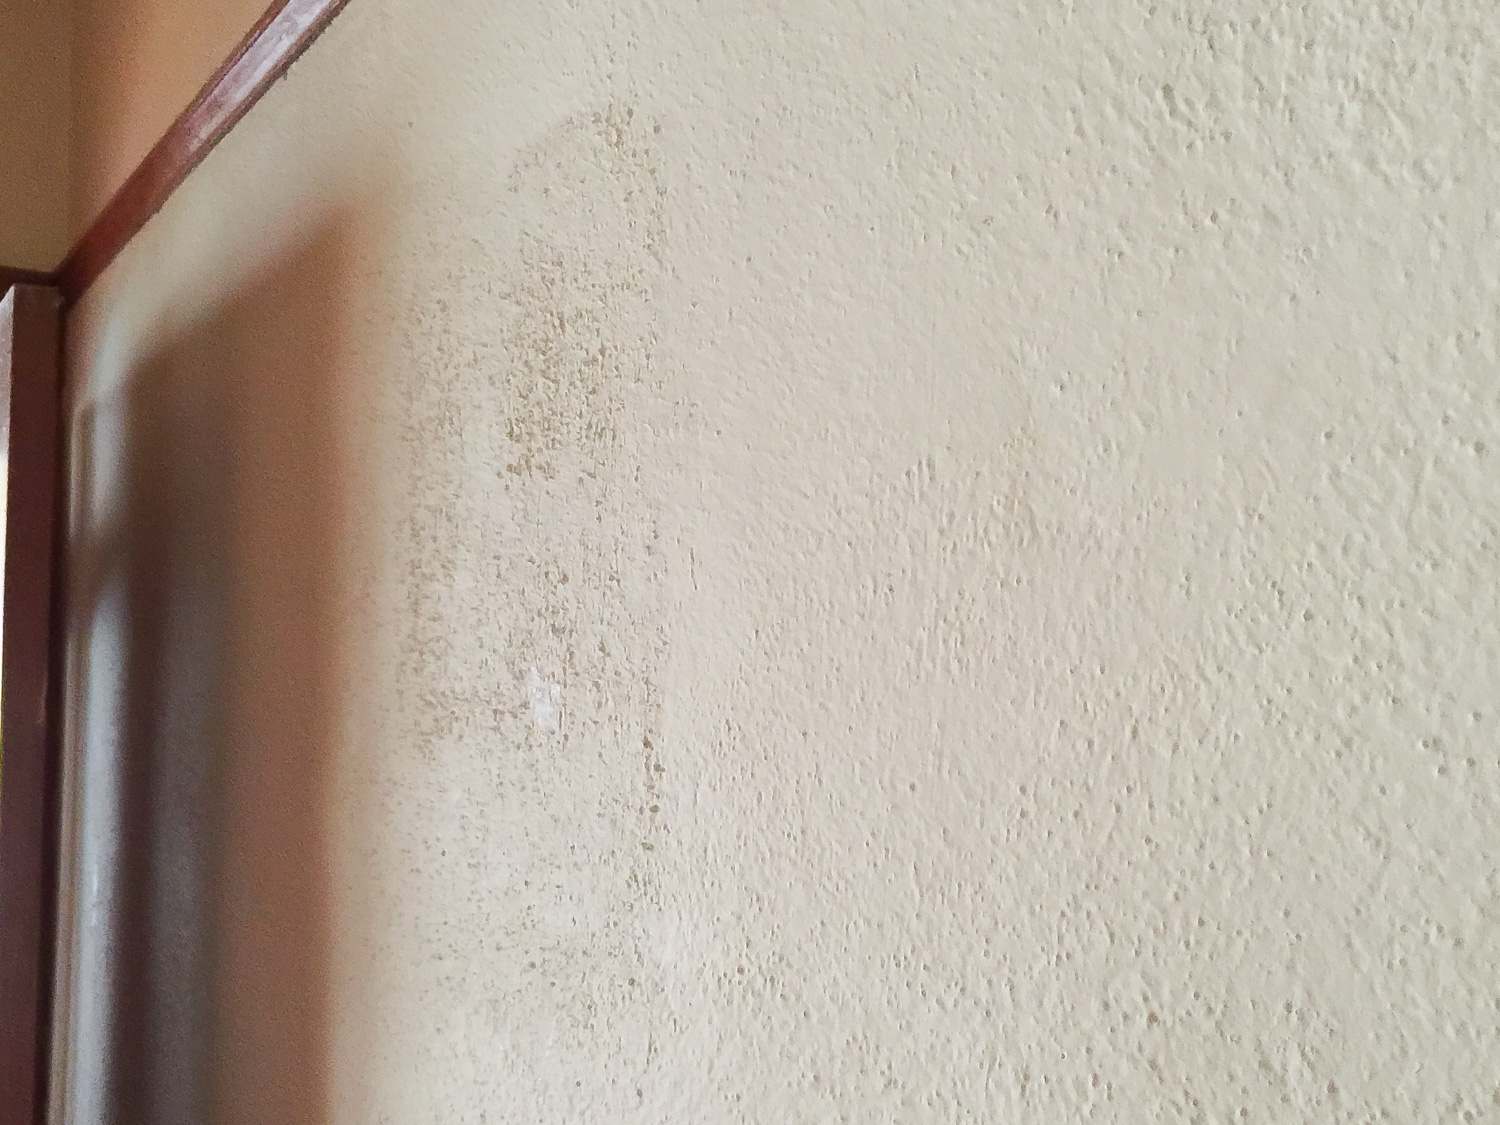
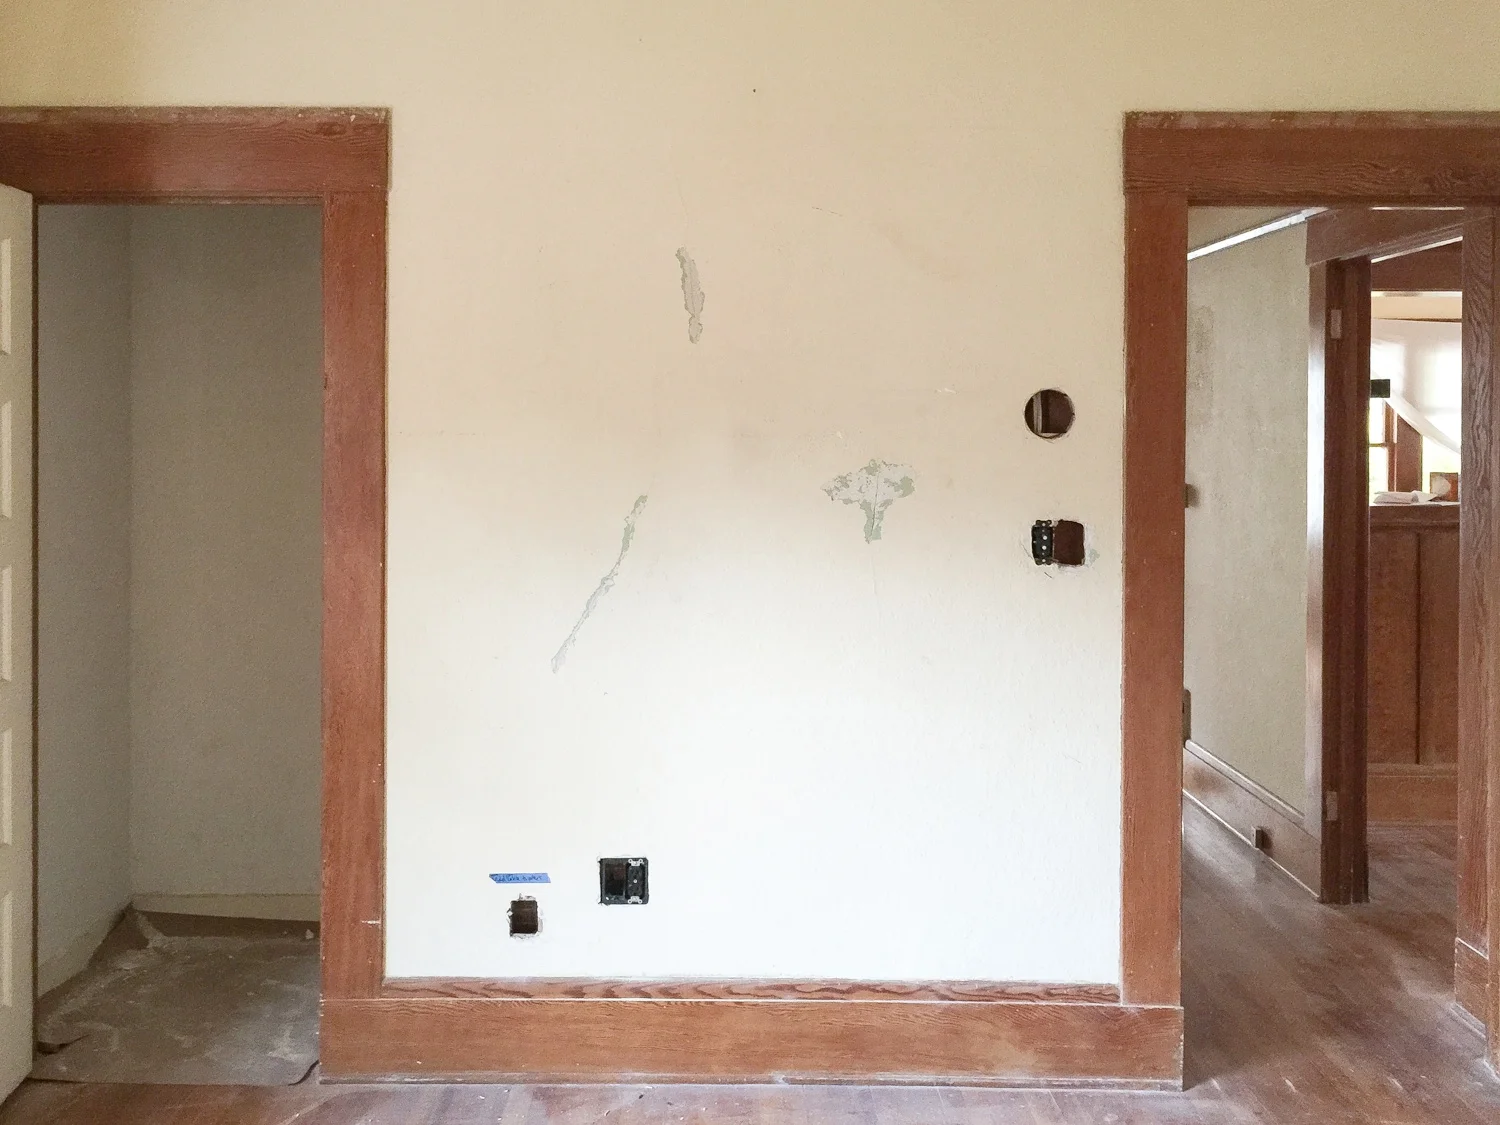
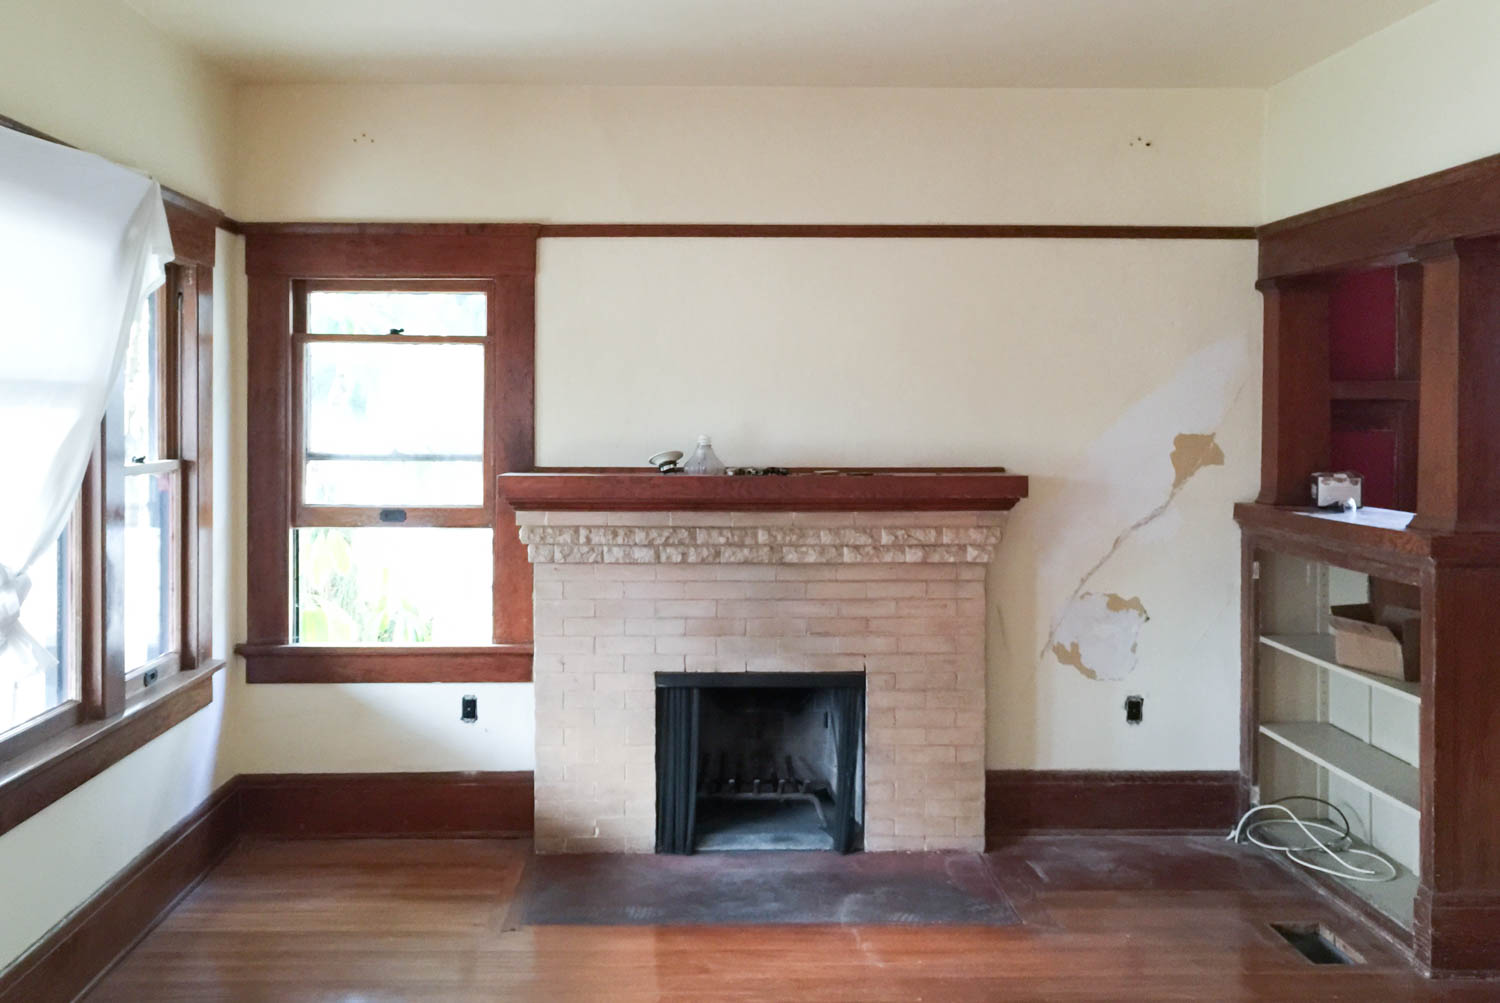
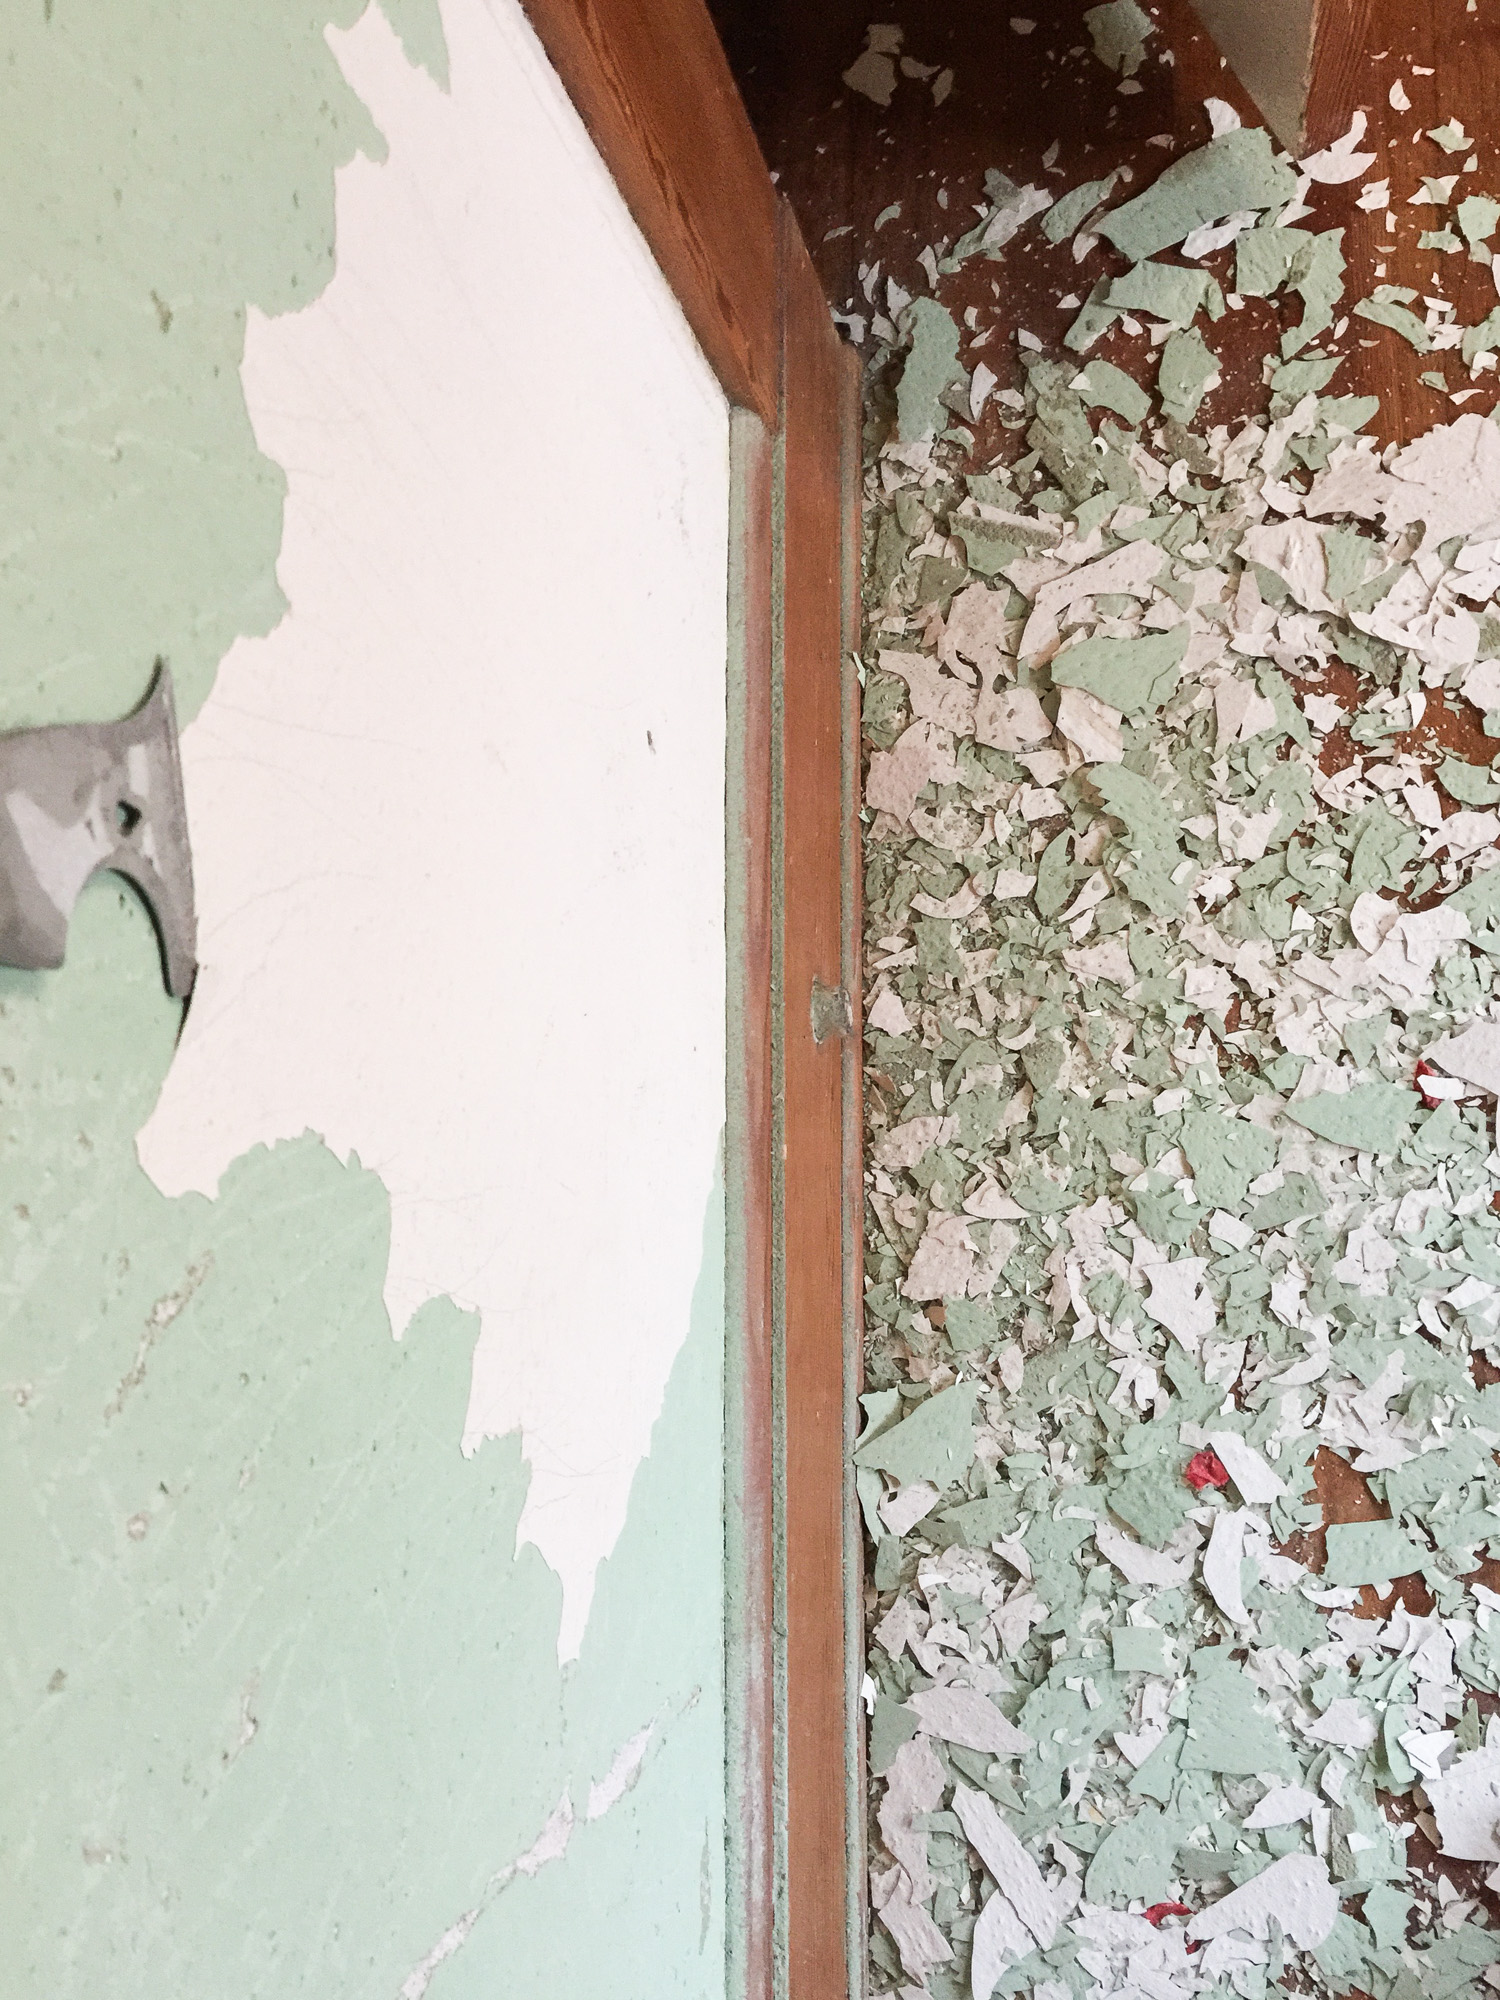
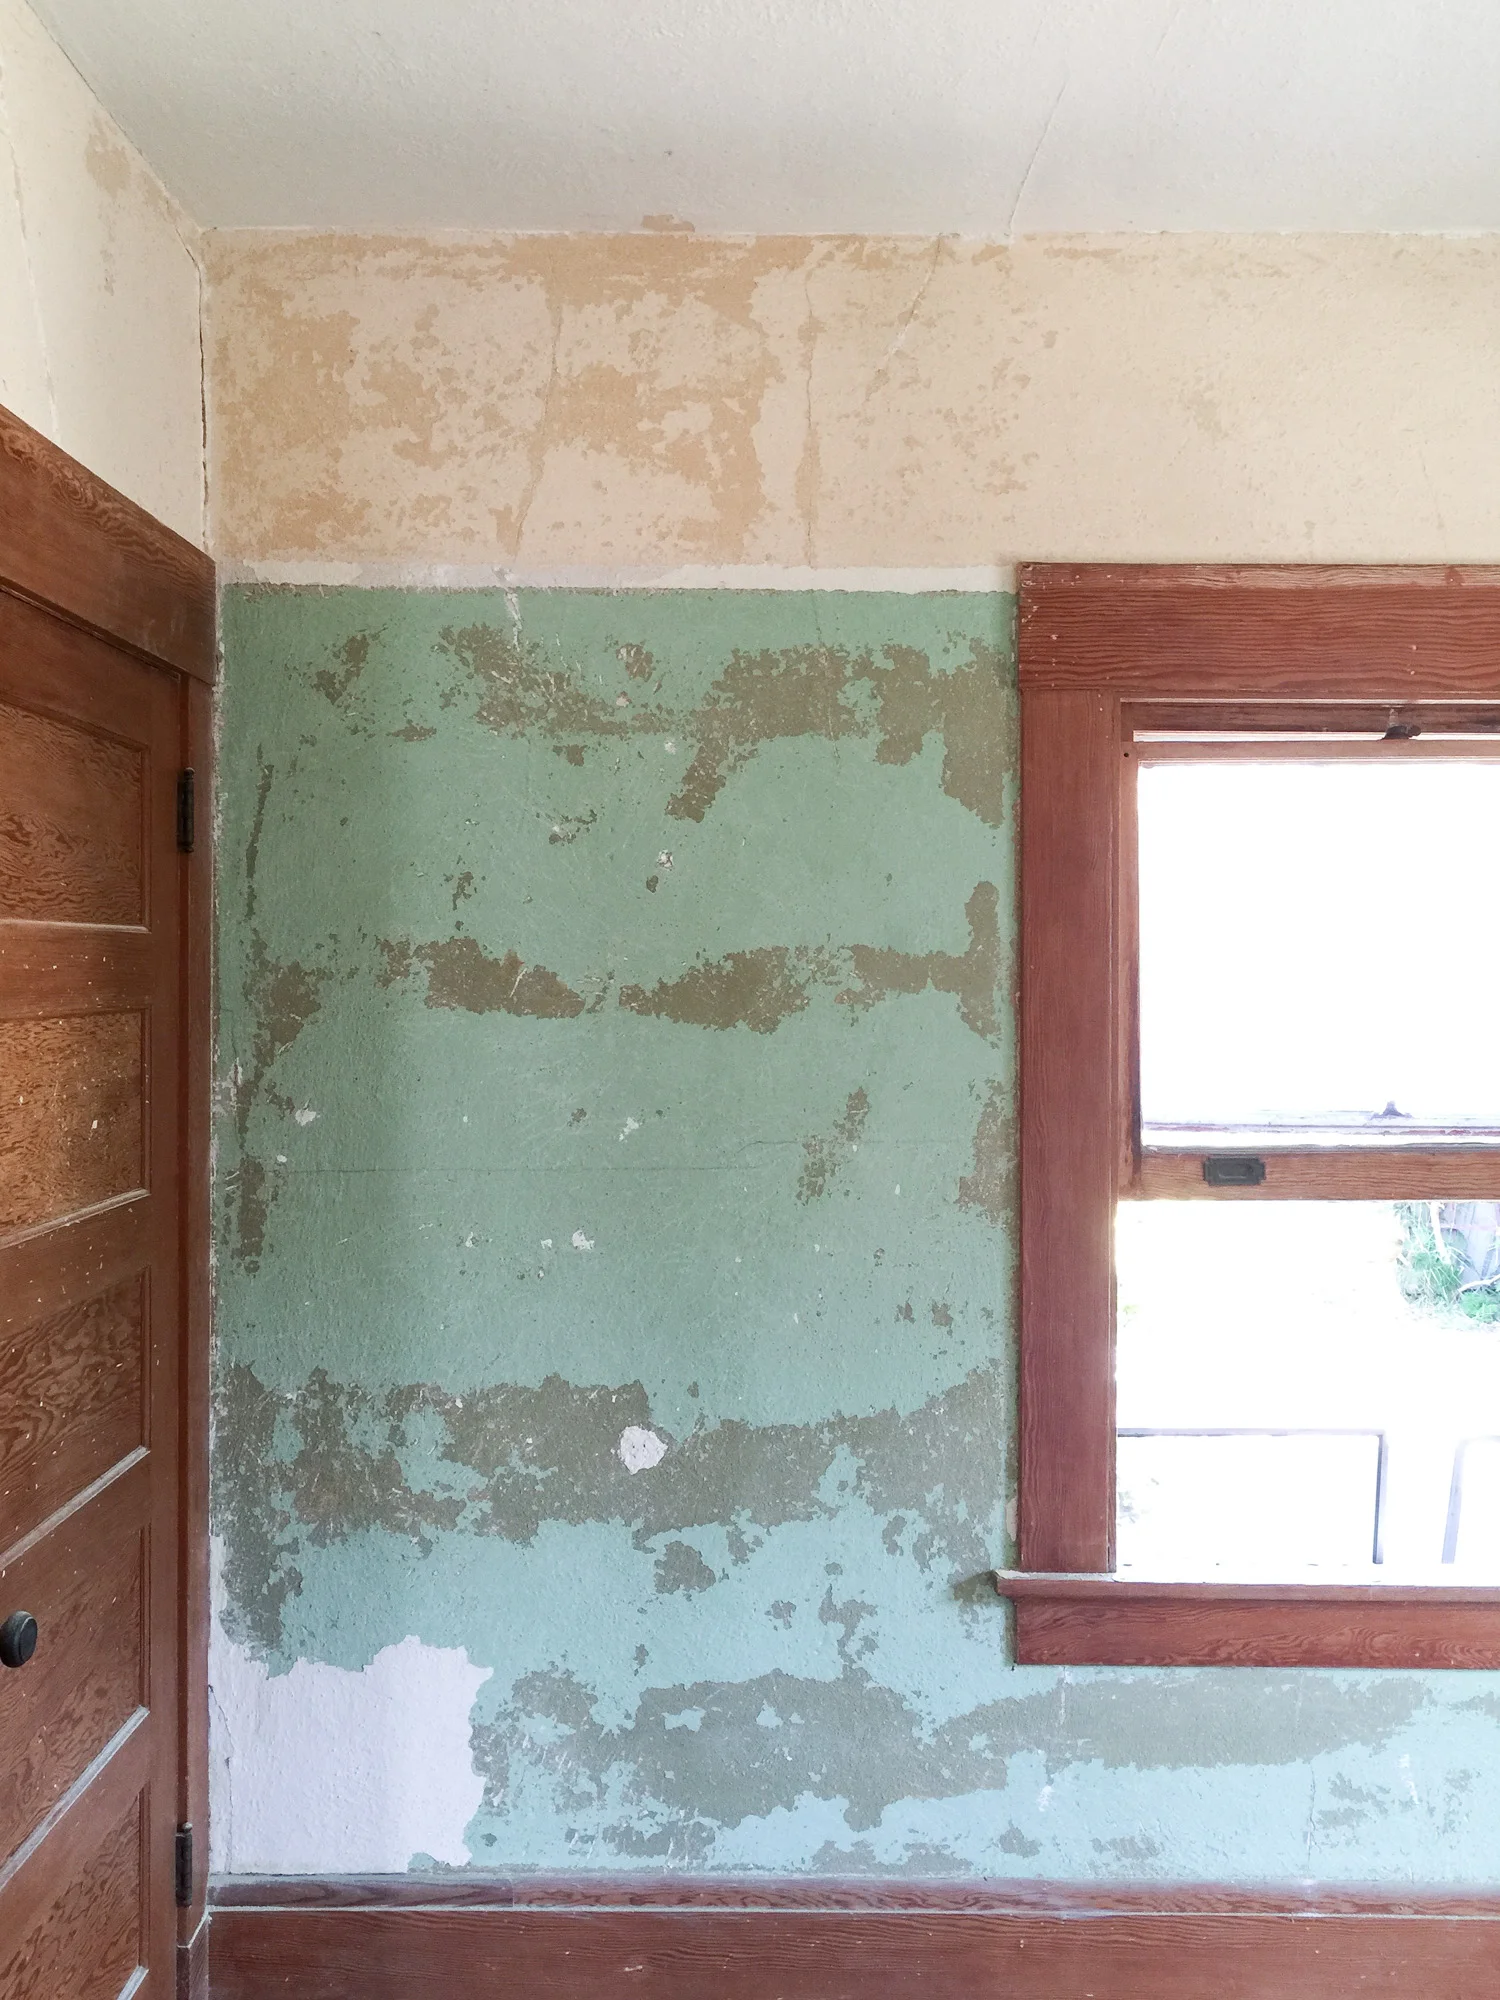
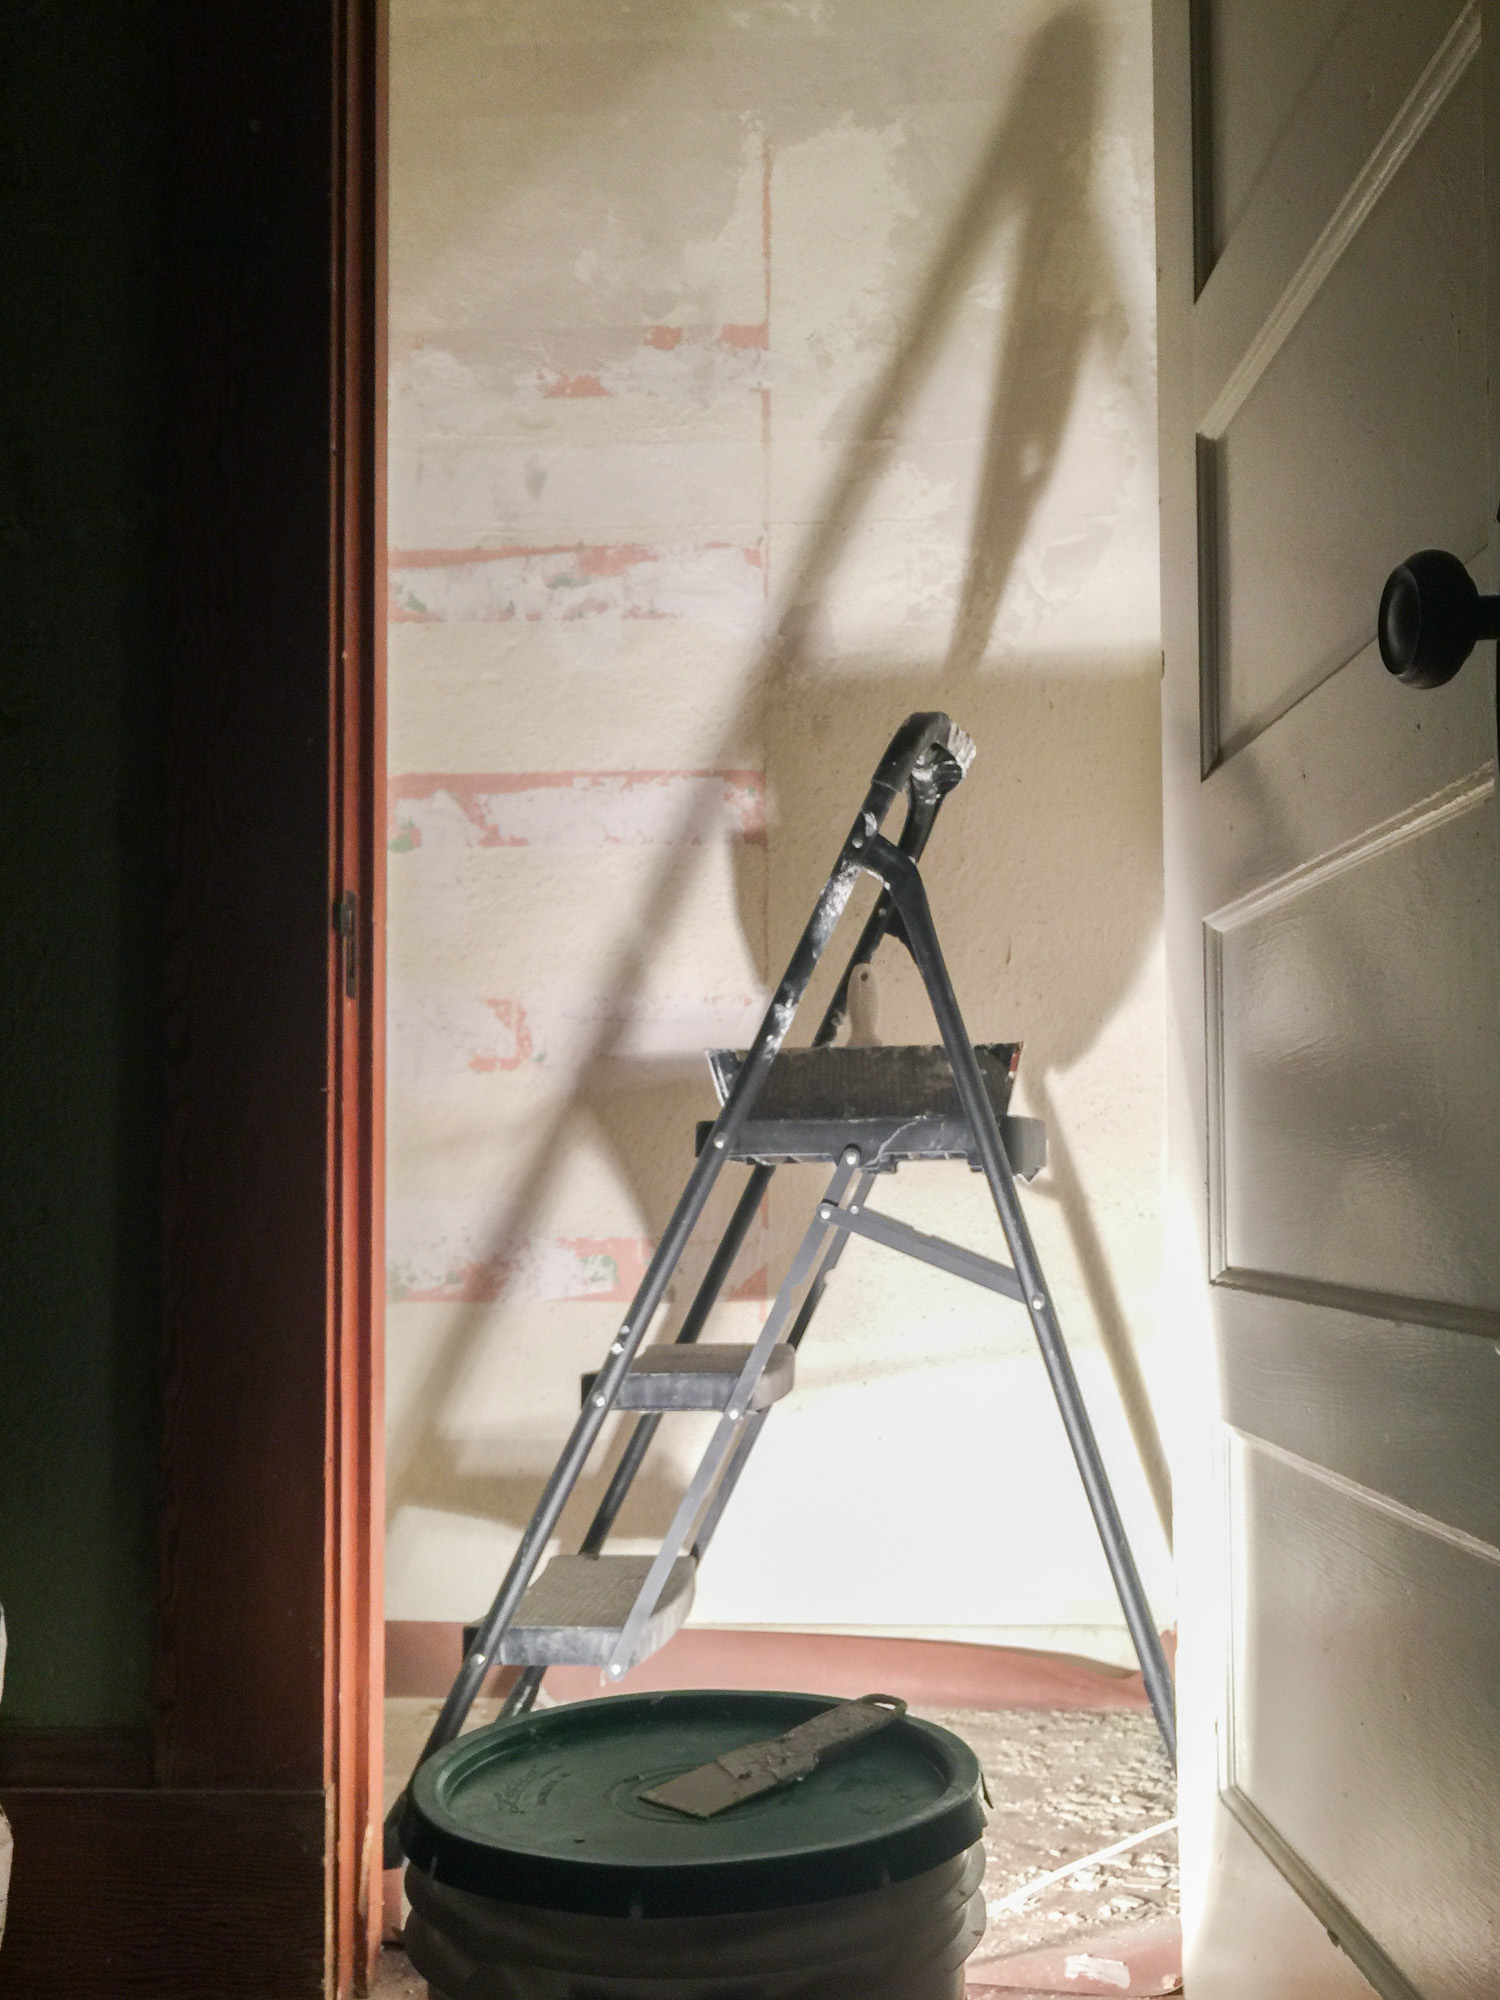
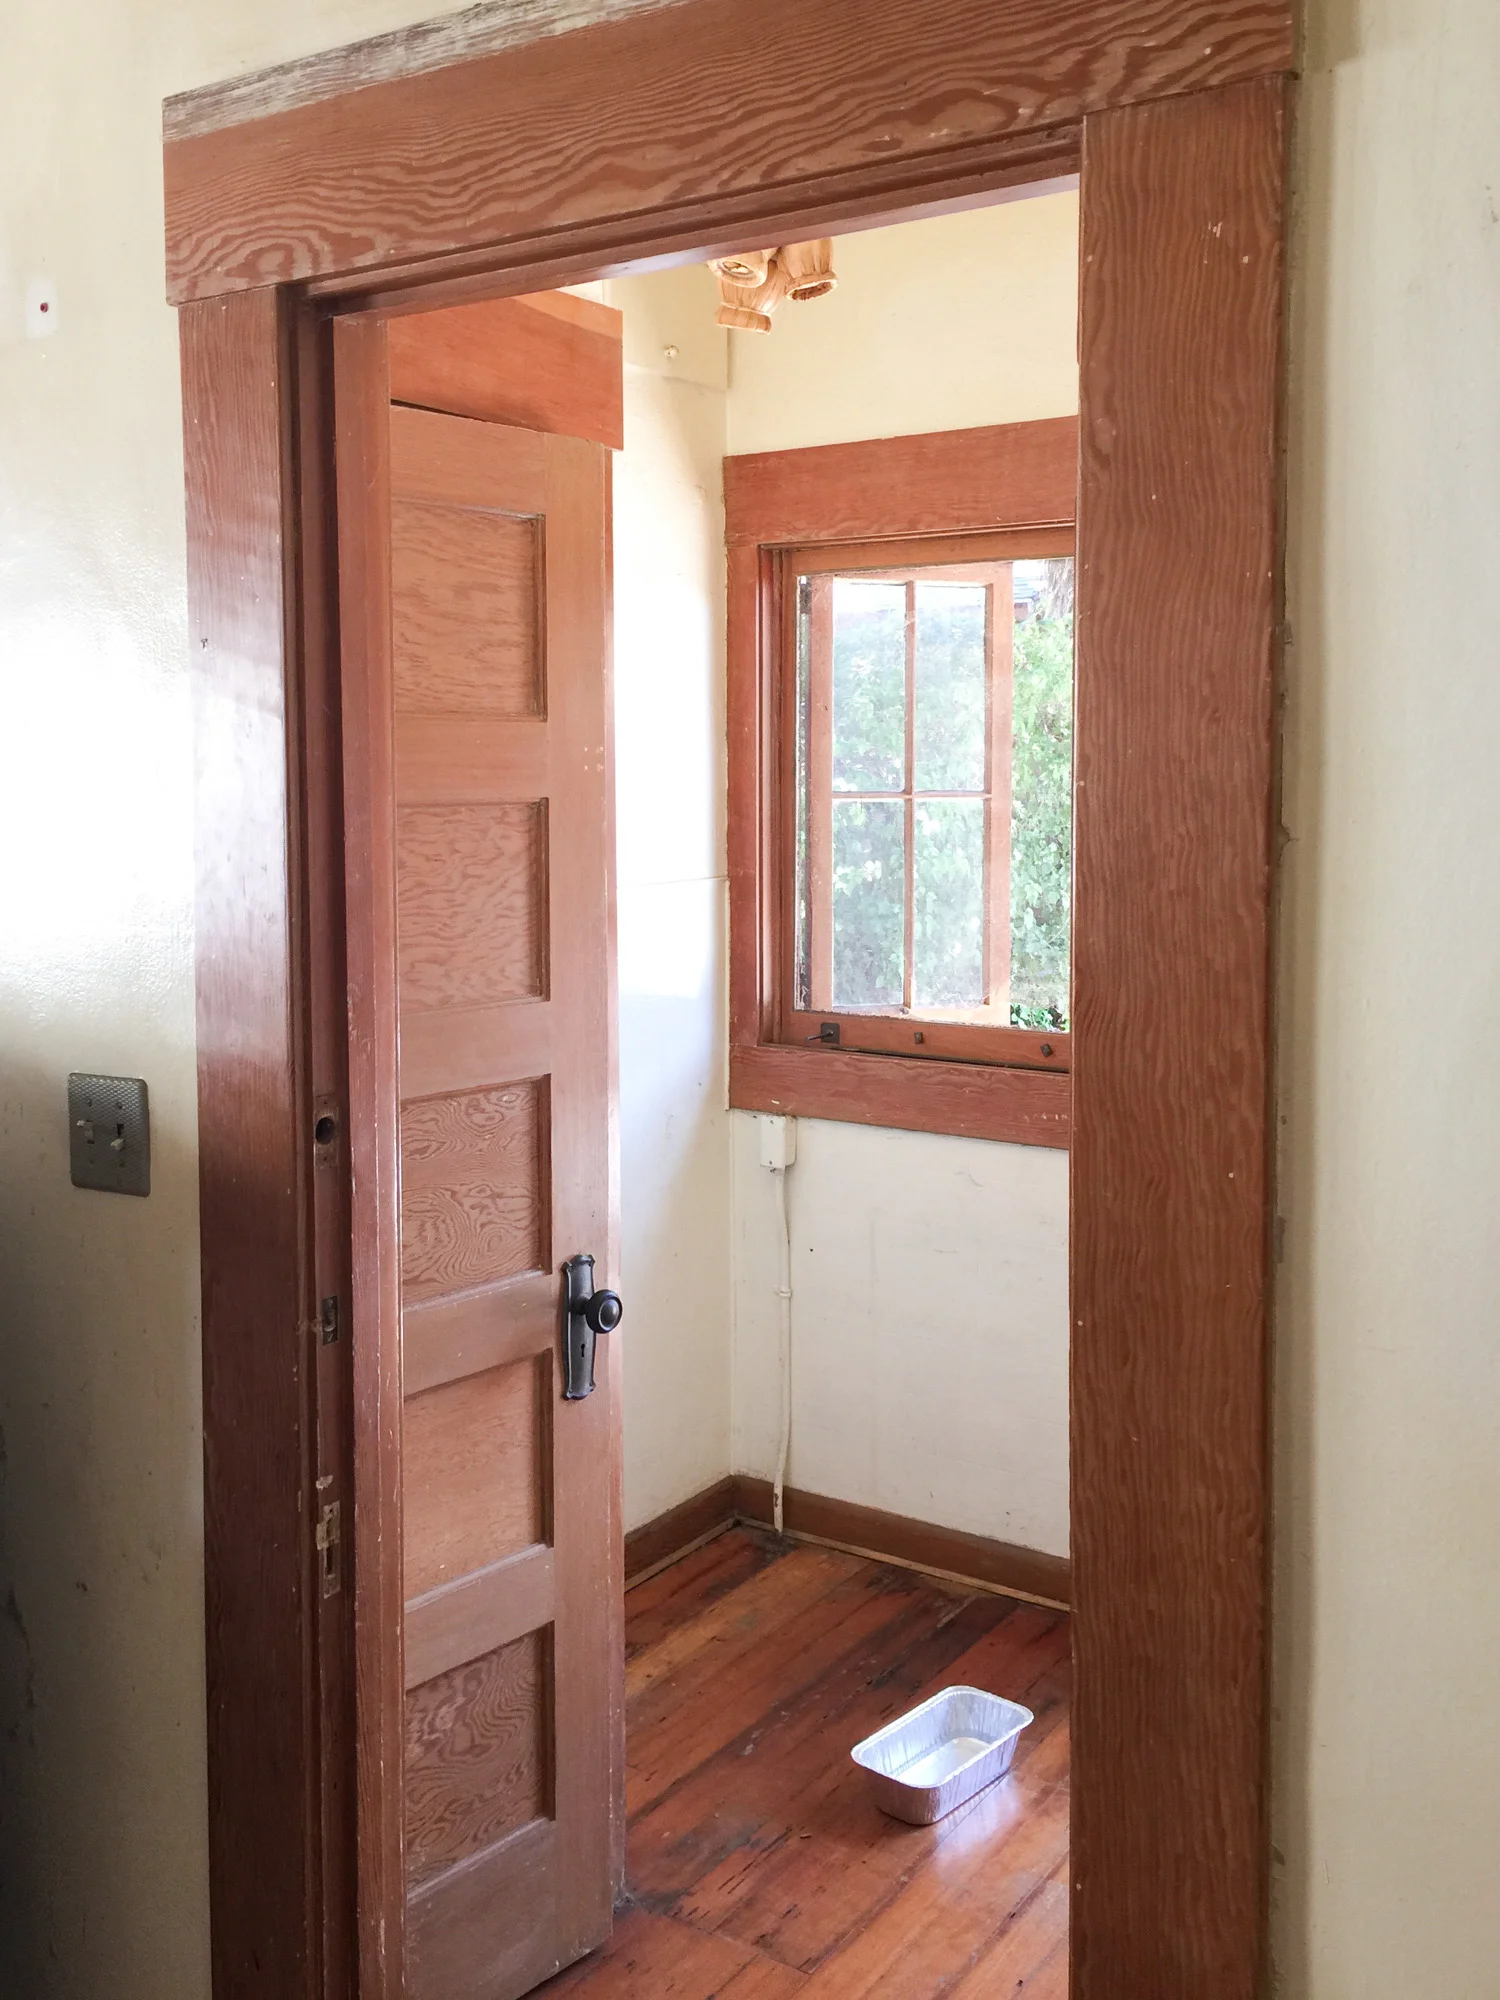
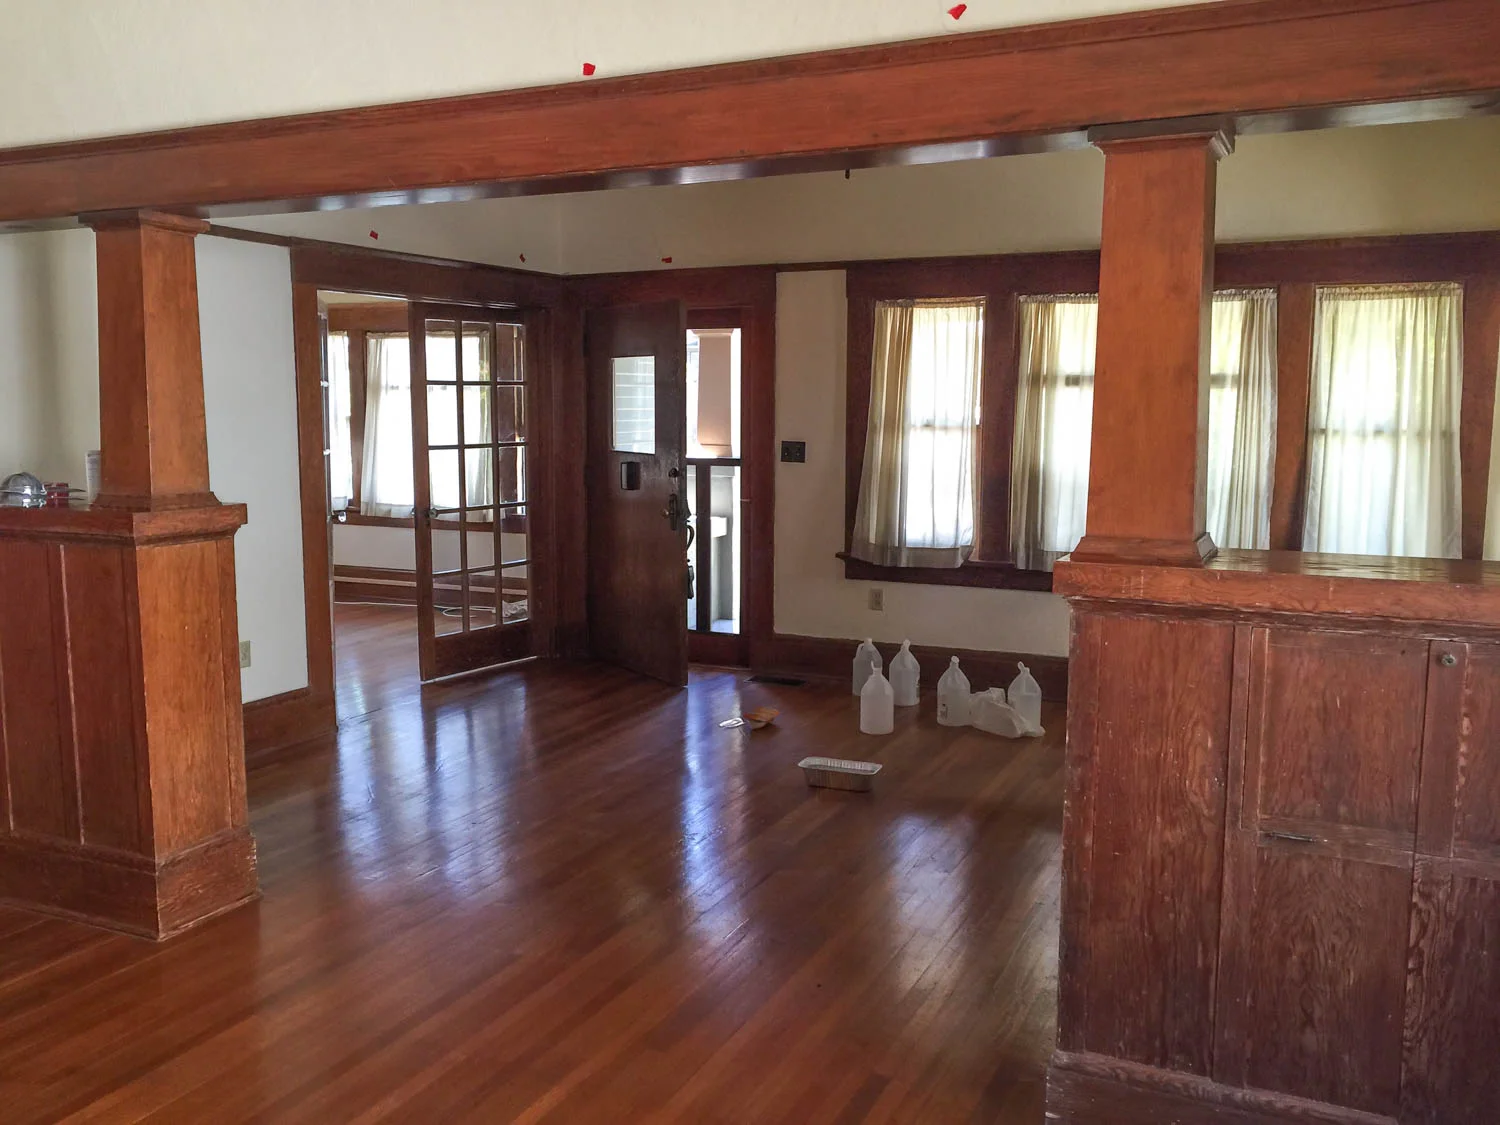
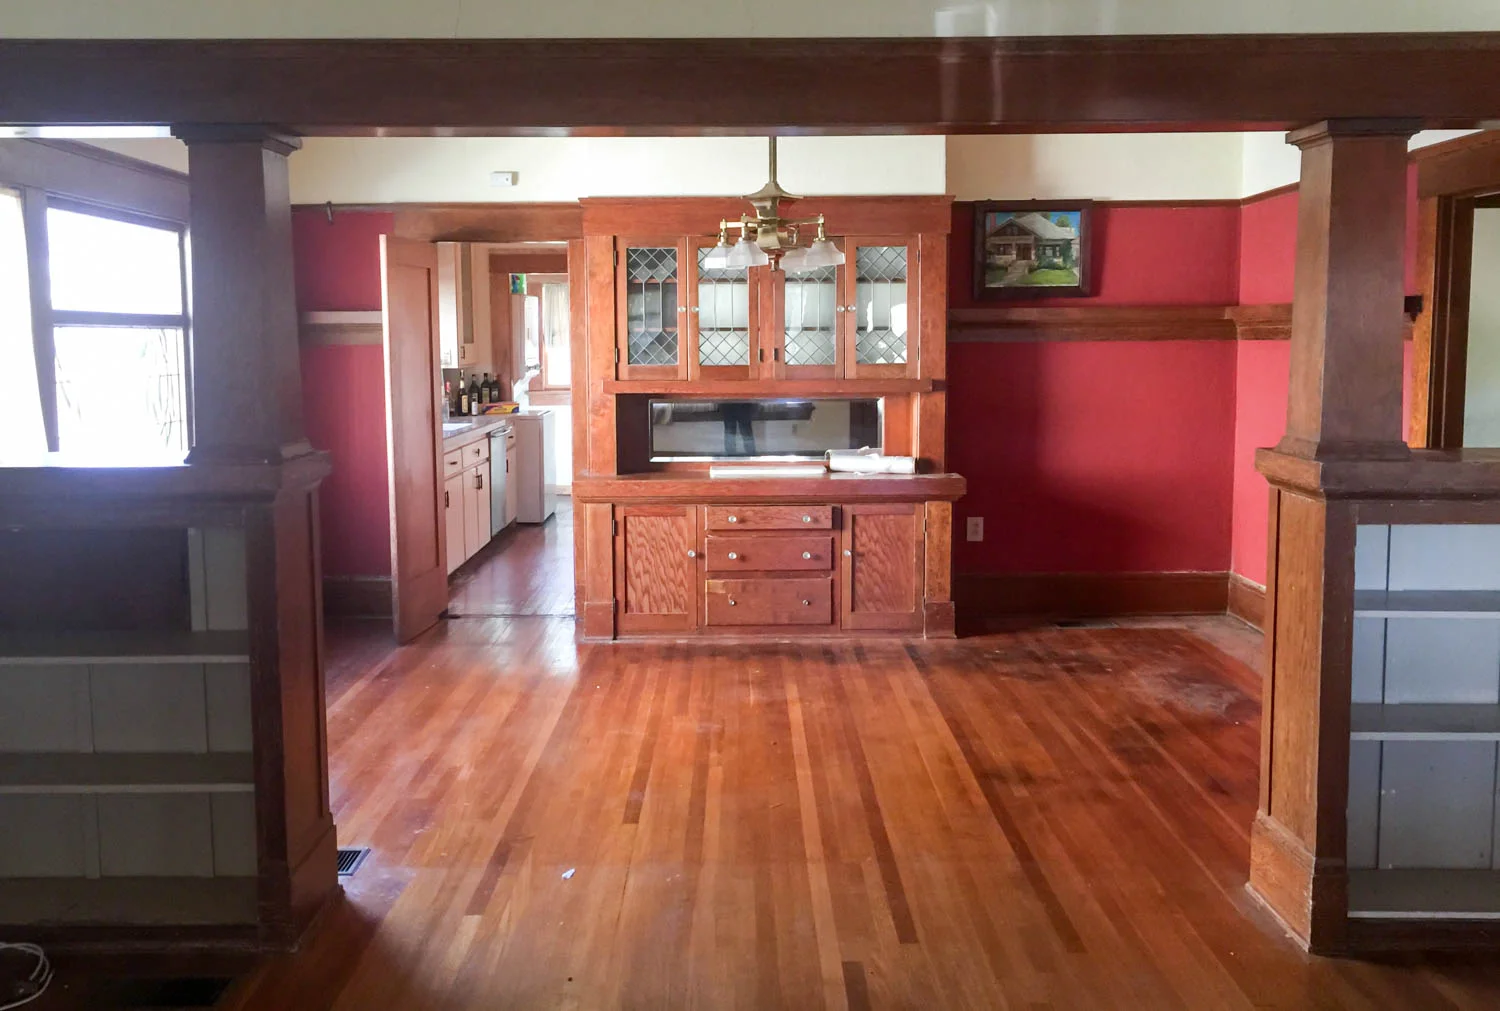
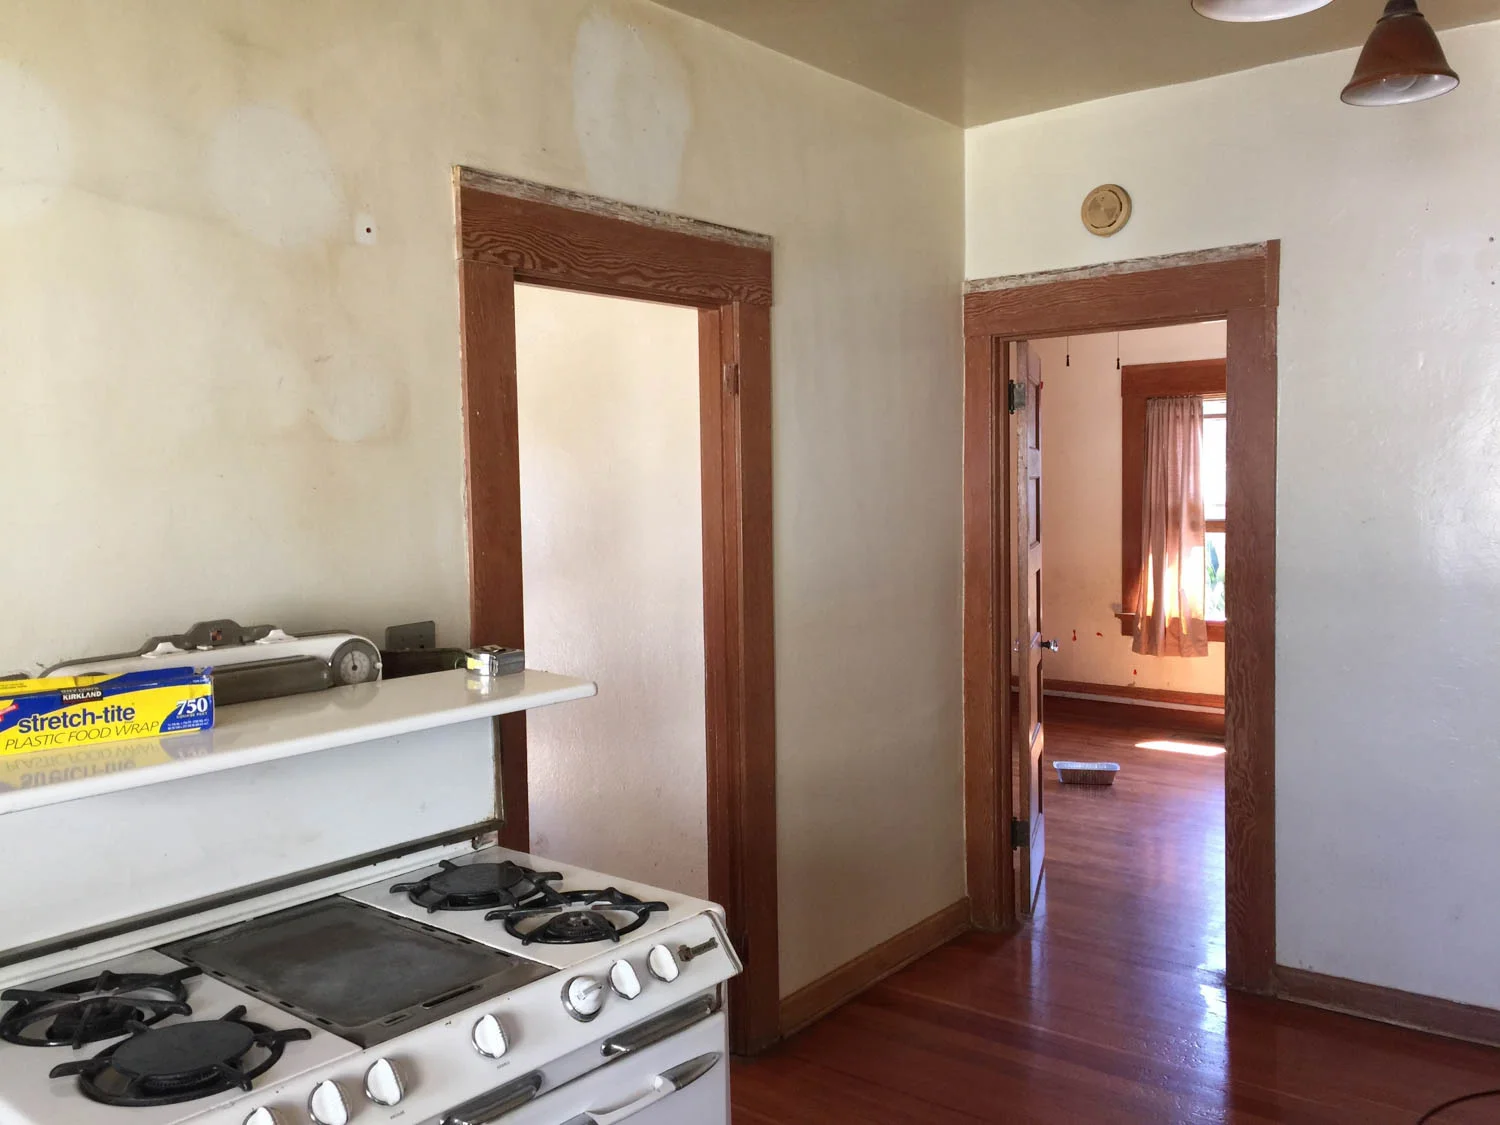
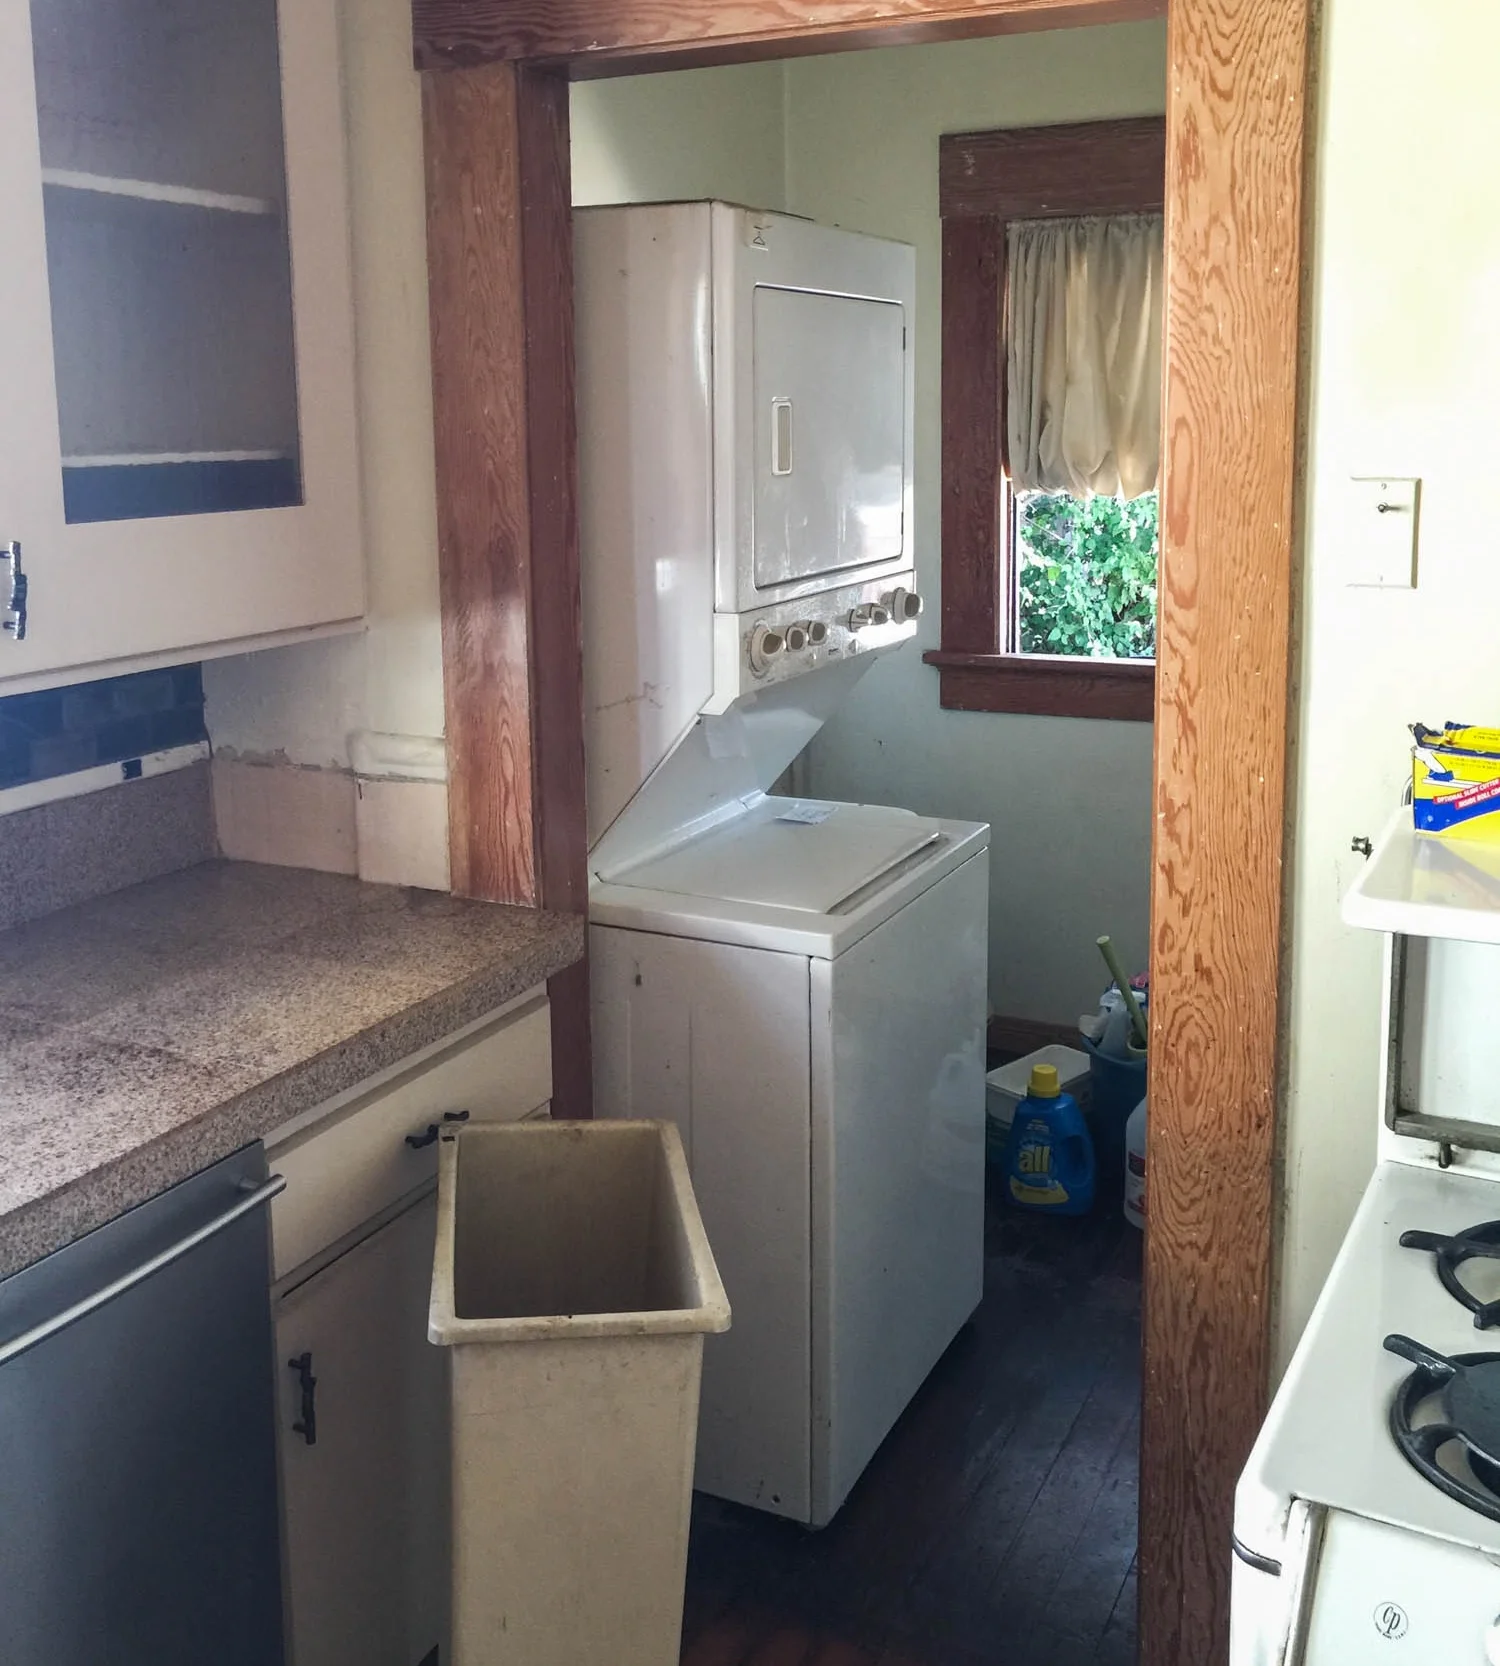
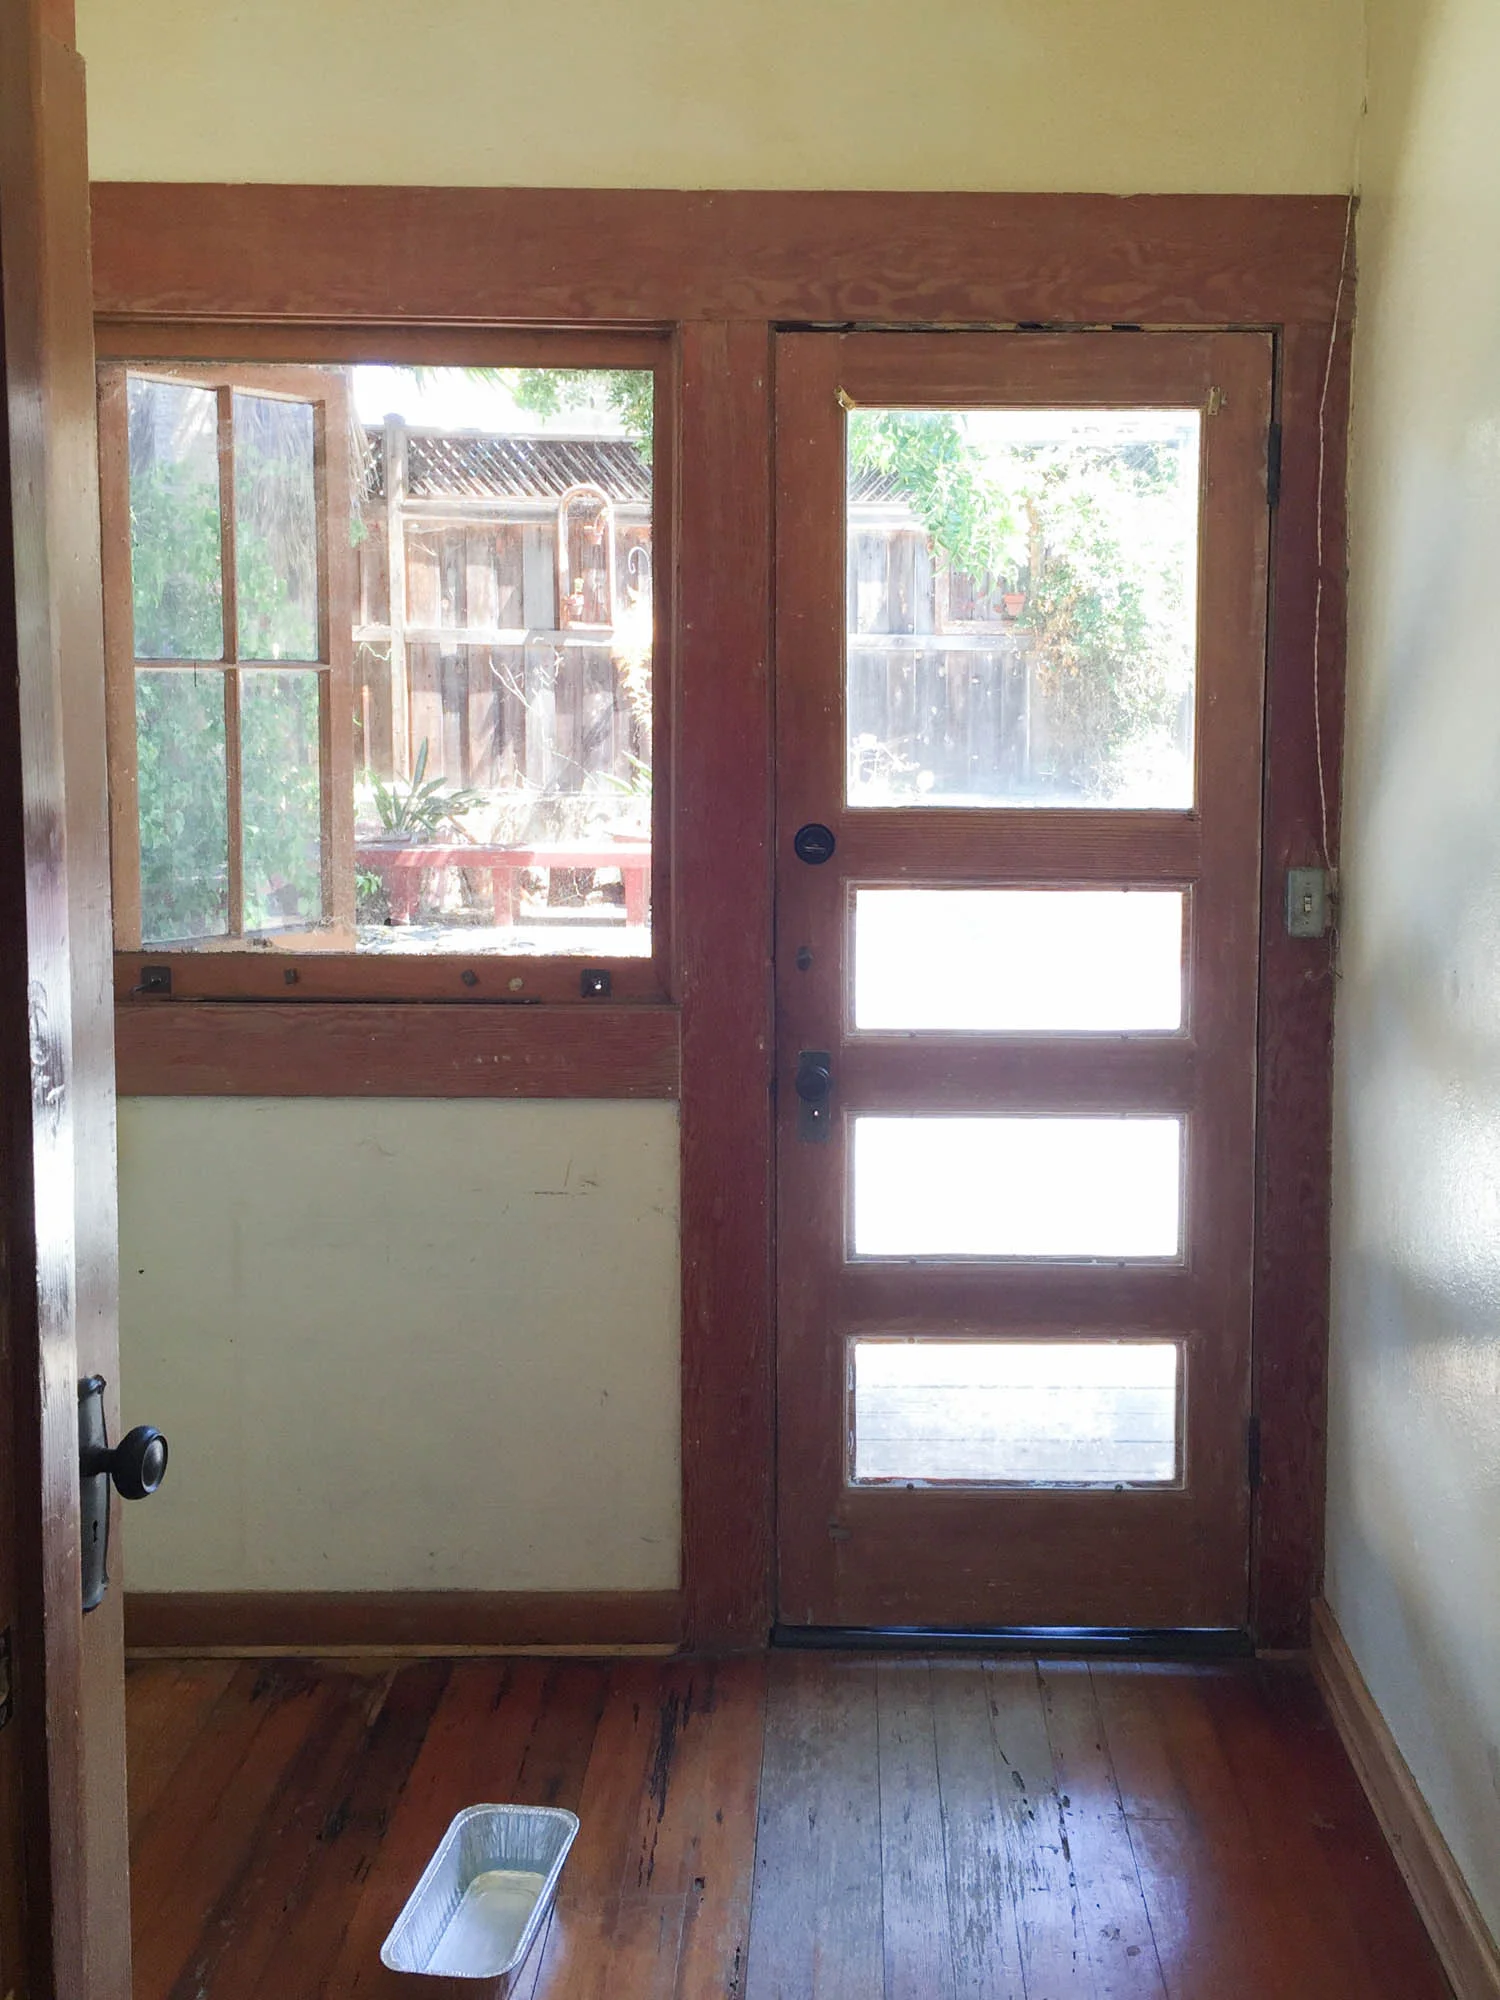
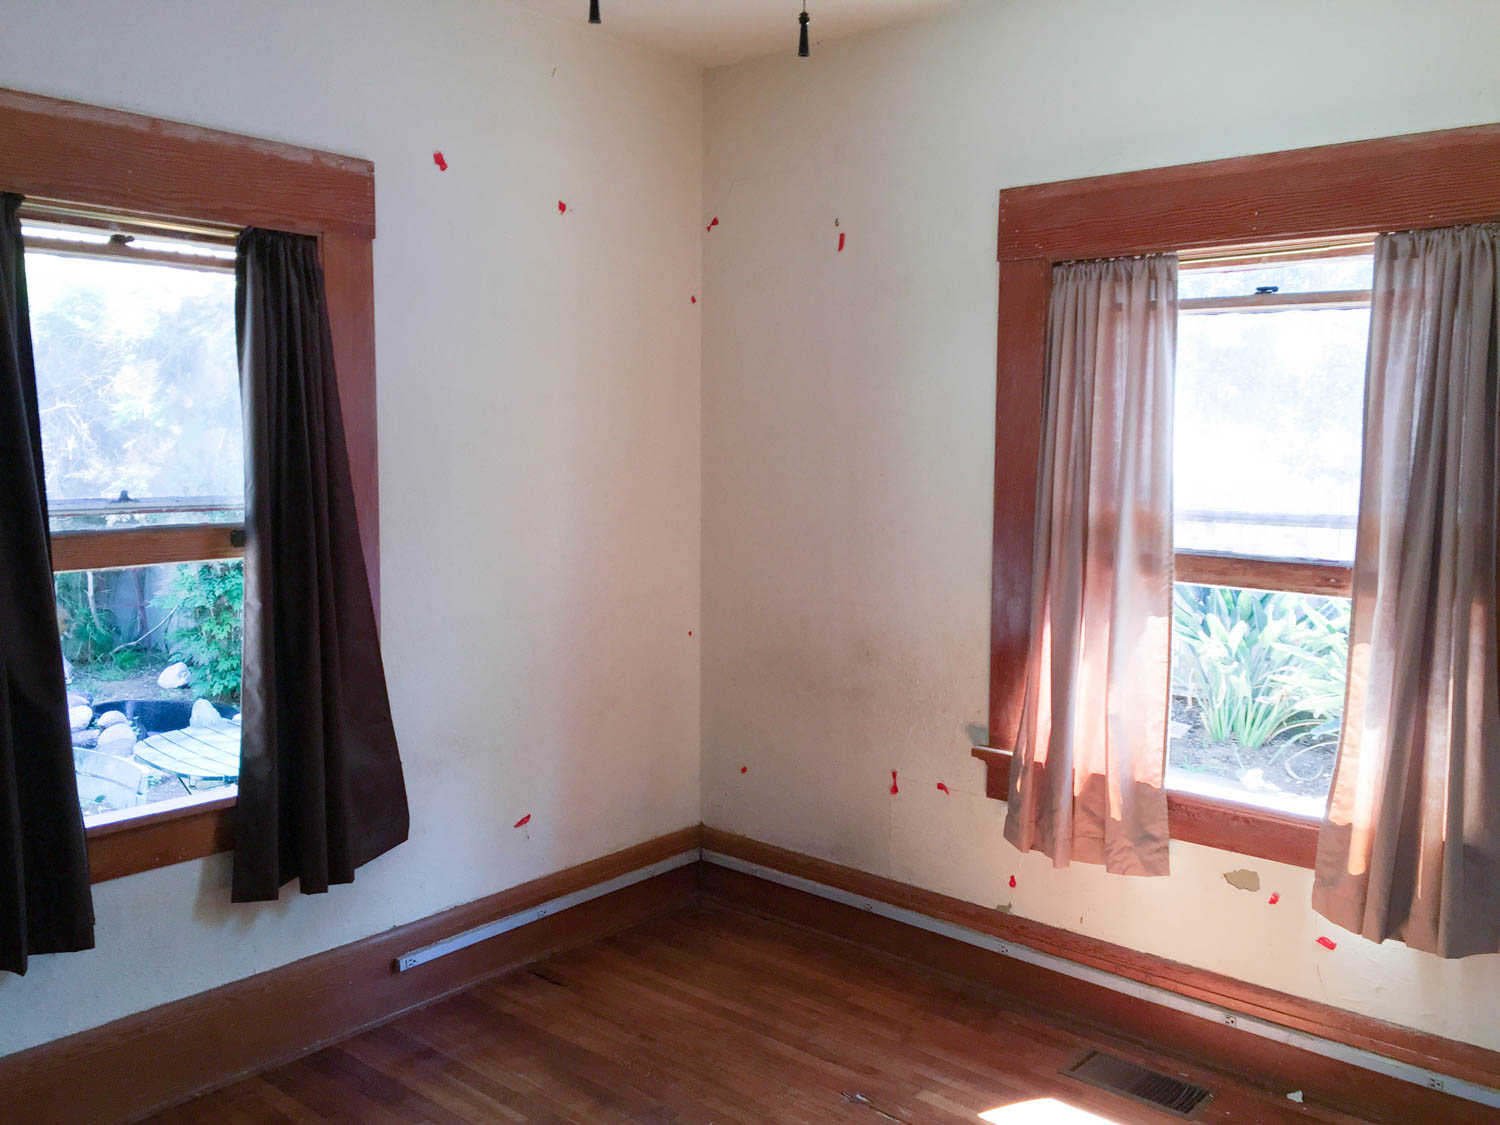
Did you see my post earlier this week on refinishing plaster walls and what I think sloths have to do with old walls? Here's another adorable sloth video - the guy in the hanging chair is my spirit animal.

Happy Friday!

Wall Redux

Before I get into why the walls needed repair (other than to remedy the smell), I'll kick off with some old house wall 101 on plaster and lath, which is a common construction for lots of American homes at the turn of the century. There are so many other great resources that cover other wall materials and styles such as gypsum board, shiplap, etc. Turn to Chip and Joanna for all things shiplap, and refer to This Old House for all things old homes.

Wood laths are strips of wood about an inch tall that are installed horizontally and attached to the wall studs with small gaps between each strip. The plaster is then coated over the lath with a trowel and pressed into the lath until the plaster oozes between the gaps and hooks onto the back side of the lath. Imagine sloth fingers hooked over the edge of a bucket. The funny looking fingers are the plaster and the rim of the bucket is the lath. Did you click that link and "accidentally" watch 45 minutes of sloth videos? I sure did. Let's get back to the walls. This is what the back of a plaster and lath wall looks like. See the sloth fingers?

Once the plaster hardens and gets a few finishing coats, you have a wall! This construction has many perks adored by old house lovers. Unlike modern-day drywall, plaster and lath is quite thick and therefore is a great sound barrier and provides decent insulation. I particularly love how it feels more solid than drywall. It feels substantial and does nice things for the room's acoustics. When Daniel of Manhattan Nest reworked the walls in his bedroom, he doubled up two layers of 1/2" drywall to mimic the goodness of a thick plaster wall. He gets me.

All this is to say, I love my plaster walls, and would much rather repair them than replace them. The bummer with plaster is that after a few California earthquakes and 100 years of the house settling, the plaster can crack and even pull away from the lath. We had this issue in several spots, plus some pretty bad patch jobs, and lots of chipping.

The original texture was really sandy, and the previous attempts at patches were like extra coarse grit sandpaper. I was told this wall texture was created by grinding up walnuts and incorporating them into the plaster mix. The walnut consistency wasn't my ideal surface, but the old house purist in me felt we needed to keep that original texture. Once we determined that the best way to get rid of the smell was to skim coat the walls, I was glad to be able to replace the walnut walls with a smoother finish. 

Remember when I mentioned the phenomenon of "well, if we're going to do that, we might as well do this?" Well, I did it again. Since we knew the walls and ceilings were about to earn a beautiful new coating of texture and new paint, it was the perfect time to tear them open. Enter: electrical.

Here's my brief old house electrical 101: Knob and tube wiring is a pretty interesting technology made up of ceramic pieces that route the electrical wire through the walls. However, this type of wiring isn't grounded, and often can't handle modern appliances and electrical needs. This, plus the potential of a fire hazard makes this a feared technology - so much so that many home insurance companies will charge more if your house has even a little bit of this outdated wiring system. Old houses get a pretty bad rap for their old wiring, but many operate with knob and tube just fine. Our house was 90% K&T, with the other 10% being really poorly spliced additions that were more dangerous than the original electrical. The shoddy modifications and the lack of sufficient outlets led us to redo all of the electrical. 

Running new electrical through existing walls is some sort of magic trick that electricians humbly do for you. Through their sorcery, they manage to run new wires throughout the entire house and only leave a few holes behind.

Because I'm (sometimes) an old house purist, I knew that if we had to cover up the original plaster, I wanted to be sure that it was recoated with old fashioned plaster. That is until I got bids that cost as much as a Toyota Corolla. So, I changed my tune and decided that a thin coating of drywall mud would suffice.

I called a few old house neighbors to ask them for referrals to retexture all of the walls. A block away lived an older gal named Holly who when asked for a referral replied, "Are you home now? I'll be right over." No more than 12 minutes later Holly was waltzing through my front door with a paper bag full of her preferred drywall tools: a trowel, a taping knife, a mud pan, joint tape, a multipurpose tool, and joint compound. (I'd also recommend a hawk, but it bothers her wrist). Without hesitation, she took the pointy end of her multipurpose tool and carved a gash in the living room wall along the seam of the major crack. She narrated her process of cutting a v-shaped crevice in the line of the crack which would provide more surface area for the new compound to adhere to. She then filled in the crack with joint compound, layered it with joint tape, then smoothed it over with more joint compound.

With the gash in my wall and the tutorial from a woman that restored her house with her own hands, I was inspired and confident that I could retexture the walls on my own. So, I started scraping anything that was lose, and began carving into the cracks.

That multitool (seen above) was a dream. It was able to dislodge any loose pieces and I could carve into the plaster easily. The scraping process was cathartic and I even managed to get a few family members to scrape the walls with me. Thanks, guys! With Holly's confidence in me and that tool, we scraped, and scraped, and scraped until the walls looked like this.

I'd say it's finished - if I were going for a medieval French chateau look.

The process of scraping one whole room was very time-consuming, and my hands were beaten up after scraping against the sandpaper walls. (I know, gloves. Live and learn!) I was losing patience with the scraping and decided to tackle the retexturing process. Since I was just starting out, I kicked off my hours of retexturing in the closet where I could experiment with different techniques without care of how my clothes would judge my inevitable mistakes.

The process is quite simple once you get the hang of the wrist movements. I used Holly's recommended mud pan and a small putty knife to fill the big holes and cracks, then layered them with fiberglass mesh tape to add strength that would prevent cracking again. Once everything was patched, I used a trowel to scrape the walls so I could knock down any high peaks in the texture. Then, I used the joint compound mixed with a touch of water to coat a layer over all surfaces. The idea was to use enough mud to fill in all of the valleys in the texture to bring the recessed portions to the height of the peaks but not so much that you're caking everything with an inch of drywall. I worked in the closets late at night so I lost track of time and the ability to judge the quality of my work, but I'd say it turned out pretty nicely - for a closet.

I really enjoyed working with the drywall mud but I was losing energy. I was retexturing walls while also doing lots of other projects on the must do before move-in list and I wasn't moving as quickly as I hoped. The wall texturing was necessary to complete before the floor refinishing, so I was risking slowing down the progress of the rest of the renovations. So, we hired it out, and I'm so glad we did. It was completed perfectly by the pros, freed up my time to work on other projects, and ensured that all wall surfaces were completely covered up and free of smells.

The crew skim coated everything in a very light skip trowel texture to make the walls almost completely smooth. The ceilings had their fair share of cracks, and due to the horizontal nature of ceilings, they tend to crack perpetually. To prevent this, the ceilings earned fresh pieces of drywall that won't crack or peel.

dining-retexture.jpg

Once the crew was done, the walls needed to dry out, then they got a healthy coating of primer, then paint. Picking a paint color is always tricky, and white is a particularly easy color to mess up. Take these paint samples below. They all looked white on the swatches, but when compared to each other, their undertones pop and it's easy to see which ones are too blue, pink, and brown.

After the walls got a fresh skim coat of new drywall mud, I started to fancy their new hue and found myself color matching to the drywall color. Thus, we selected the swatch on the far right, Sail Cloth by Behr. With my time freed up not doing the drywall install, I was able to paint all of the ceilings and walls before move in with the help of my mom. Thanks, mom!

Why our house smelled, and what we did about it

Well, we bought the house we dreamed of! A house in our ideal neighborhood, with great flow, oozing with charm, and full of lots and lots and lots of projects to keep me busy. We knew that certain projects would be way easier to do before we moved in, and the odor issue was at the top of our list:

  • Remedy the odor issue

  • Patch and paint the walls

  • Refinish the floors

  • Refresh the kitchen

  • Gut and remodel the bathroom

  • Tent the house for termites

  • Tidy the front yard

  • Clean, clean, and clean

The smells of pet urine and cigar smoke were so intolerable that when we first showed the house to family, my father-in-law couldn't stand in the house - literally. My love for the potential of the home was mired in having to defend our decision to buy a fixer-upper. Family members weren't the only ones needing convincing - I was feeling deflated after reading horror stories of people buying smelly houses and being unable to remedy the odor. I kept myself up at night worrying about what we would do if we were unable to get rid of the stench. All I could do was try various methods to get it out.

Method 1: Open the windows and douse with vinegar

The poor house didn't seem to get much cross ventilation in the years before we rescued it. Leaving the windows open for days gave the interior a much-needed breath of fresh air. Clean air helped, but vinegar helped out even more. 

Each room earned its own tray of vinegar to help waft the magical cleaning solution around the house as the breeze blew in. The acidic vinegar smell helped reduce the urine odor while at the same time made the house smell like Easter eggs and an Italian side salad. Both of which I'll take any day over pet urine.

I stumbled upon a website that boasts thousands of ways to use vinegar. I mean it, the stuff is magical! Vinegar is one of my favorite cleaning products; it works like a charm, and it's a non-toxic alternative to the other chemical-heavy products on the market. Dish soap and Bar Keepers Friend were also perpetually in my shopping cart as we burned through those cleaners. I still can't live without Bar Keepers Friend. If you ever wonder what to get me for a birthday gift, I'll take a 4-pack of that wonderfully non-abrasive cleanser. Several people (read: the internet) recommended cleaning with TSP. I took their advice, but I've since regretted it after learning how toxic it is. I'm sure there are good reasons to use TSP but do your research first.

Method 2: Clean everything that won't get a full refinish

The douglas fir woodwork throughout the house is what first attracted me. I love the natural wood and can't wait to give it a thorough restoration one day. Yet, a full refurbish wasn't high on the priority list, so the trim got a good cleaning of all the grime it acquired over the years. My dearest mother spent a week visiting the house while I was at work to help clean all of the nooks and crannies of the millwork. Thanks, mom! We were also sure to clean doorknobs, light switches, window hardware, and windows.

Method 3: Cover up porous surfaces

So, we cleaned the air, the woodwork, and the hardware. Remaining are two of the most plentiful materials in the house: plaster (walls) and more wood (floors). Both are quite absorbent so a wipe down wasn't going to remedy the odor issue enough.

Sometimes a heavy coat of paint will mask odors, sometimes primer and paint will do the trick, but if they don't, you're stuck with smelly walls. The best solution is to recoat the walls with plaster or drywall, then prime, and paint. Since I wasn't taking any chances, and the walls were in need of patching anyway, this is the route we took. More on this later!

The hardwood floors absorbed not only the odors but also the actual culprit of the smells - pet urine. The only remedy for this is to sand off the protective varnish and a thin layer of the wood, then bleach and reseal the wood. Again, this what we did, but more on that later!

The kitchen earned its own coating of paint, polyurethane, concrete, and tile as well as its own scrubbing of surfaces. More on this later!

Maybe I should've named this post, "more on this later!"

Method 4: Clean out the HVAC

The above remedies cured the home of the smell, but we weren't done yet. A heating and cooling system is only as clean as the house was at its dirtiest. The filters that you replace every 3 months (you do replace your filters every 3 months, right?!) can only trap so much. After all of the dusty renovations were complete, and just before we moved in, we hired a company to clean all of the ductwork. They completed the cleaning, happily accepted my payment, then told me that the ducts were damaged and needed to be replaced. I wasn't surprised to hear the news, but since it was only for a heater (there was no AC) and we live in San Diego, I wasn't rushing to replace a system that we'd be using a mere three times a year. We moved in and carried on - until the house started to smell again. We came to realize the duct cleaning was ineffective, so the next step was to completely replace all of the ductwork and the furnace. We decided to take this opportunity to also add air conditioning - a welcomed respite from the sweltering summers. This was the first of many "well, if we're going to do this, we might as well do that, and those, and these."

After all of this, I'm happy to say the smells are gone. Whew! Next, I'll elaborate on those other projects I teased above.

We Bought A House! - The Before Tour

It took us a year of touring 100 houses and searching through thousands online, but we finally found a house to call our own. It was in pretty poor shape, so we knew there was a lot of work ahead of us. Lucky for you, there's relief from these not-so-pretty before photos on the House Tour page, so feel free to take a break and check out how the house has evolved over the course of two years.

Well, here she is. Let's take a tour, shall we?

We'll start at the front before going inside.

There was so much going on that I didn't know what to do first. Rip out the sold sign? Pick up the palm tree that's parallel to the ground? Pluck the weeds? Re-home the Buddha head fountain? Cut back the tree engulfing the porch? Eventually, we did all of that with the goal of giving the front yard a makeover to include plants that would show off the house rather than hide it.

To the living room!

I'll admit that the wall didn't have that gash when we got the keys. A charming neighbor that restored her house over the course of two decades came over to demonstrate how to repair the cracks in the plaster. More on her technique here.

This is the view from the dining room into the living room with a sliver of the third bedroom. The jugs of vinegar were used to help dissipate the smell of pet urine and cigar smoke. I filled trays of vinegar and left them in each of the rooms for about a week. The unmentionable smells went away and were replaced with the scent of a side salad.

This view sold me on the house. The built in! The plate rail! The room dividers! The picture rail molding! Swoon.

I wish I could say that the mustard-colored tinge is because the photo wasn't white-balanced, but alas, it's kitchen gunk. Don't believe me? See below where the ghosts of pot lids and a clock once lived and protected the walls from grease and cigar smoke. Ick.

Remember, you can admire the after photos if you want a break from the grime.

The mudroom that leads to the backyard gets tons of natural light and has become a useful storage space for us. One day, when we do a full remodel of the kitchen we want to open up the two mini rooms into the kitchen to use the space more effectively.

The previous owner wanted a pool, so he got that gigantic jacuzzi. The backyard will get a makeover once the kitchen is remodeled and we decide how the two spaces should flow together.

Let's head back inside to the master bedroom.

The red spots are pieces of tape I used to mark the cracks and holes in the plaster that needed attention. The strip of electrical outlets around the perimeter of most of the rooms tragically ruined the baseboards.

The master is adjacent to the kitchen which is great for bedtime snacks, but we want to modify this down the road so the bedroom feels more removed. Plus, we want to add an ensuite bathroom, and the area between the bedroom wall and stove is looking pretty good for that.

This is the second bedroom that has one entrance from the master bedroom (shown here) and another from the hallway. This photo was taken after I started priming the trim and scraping the plaster in the master to reveal the green calcimine paint beneath. Once we removed the row of electrical outlets attached to the baseboards, we discovered that the trim had been painted cream, then blue, then was adorned with 15 outlets, all before the woodwork was (partially) stripped of paint by a previous owner.

The bathroom was the first major project on our list. It's our only bathroom and it raised the majority of red flags during the inspection - rotting floors, poor drainage, a corroding bathtub, and questionable electrical, to name a few. It was a tight squeeze with the vanity jutting into the room so far that the door didn't open all of the way. (The toiletries, robe, and upright seat are courtesy of the previous owner.)

The third bedroom has these pretty french doors that give the space oh-so-much charm.

UPDATE: I found lost footage of the house before we renovated! Watch it below:

If the video isn’t loading, click here.

And there you have it. That's our home's before tour in a nutshell. Check out the after photos on the House Tour page, and be sure to subscribe to follow along on the journey of restoring every inch.

5 Reasons To Tour 100 houses

5 Reasons To Tour 100 houses

I mentioned earlier that we toured nearly 100 houses in person, and I rated over 2,500 homes on the Redfin app before finding our home. While we toured lots of houses that we wouldn't consider buying, I highly encourage house hunters to set foot in as many houses as possible. The experience of walking through all of those properties led us to knowing which house was the right one for us.

Read More