Colorful Primary Bathroom Addition Reveal
/If you like florals and color, this bathroom is for you. If you don’t, well, maybe scroll through and you’ll be converted? Or not? Either way, here’s the reveal of a bathroom addition that’s finally here - after a whole three years of construction.

This project is sponsored by The Tile Shop who supplied all the beautiful tiles. The wallpaper was generously provided by Dado Atelier. The window was gifted by Sierra Pacific. As always, words and opinions are my own. Thanks for supporting the brands that support the blog!


Oof, it’s taken us awhile to get here - years of renovations, an expiring permit, early parenthood, serious decision fatigue, imposter syndrome, and setbacks with contractors. It wasn’t my favorite project to execute, but we now officially have a completed second bathroom and it’s a true joy to be in!

This bathroom didn’t exist before - it was just a lil’ closet. A shallow, simple closet. Here’s the floor plan showing how we modified the layout to accommodate the addition of a 5’x11’ bathroom. I elaborate more on the process of this reconfiguration here.

Our home previously had a single bathroom which had been just fine for the two of us. Now, we’re living in absolute luxury with another place to bathe.
My biggest regret is I didn’t finish the space when I was supposed to - it would have been SO helpful throughout pregnancy, during c-section recovery, and while a sleeping baby is in the room that I walked through to get to the main bathroom. How silly of me to just let it sit half-renovated and unusable during that whole phase of life where I basically lived in my bed! Lesson learned - if you plan on gestating and birthing a child, let that motivate you to finally add that planned ensuite bathroom.


Hello tile! I really wanted color in this bathroom and really wanted to make a point of having color in the “hard” finishes - the things that would last beyond repainting and restyling. Most of us (guilty!) tend to select neutrals for the big, permanent elements in fear of regretting the bold choice down the road, but I knew I’d regret the doing just the opposite. So, colorful tiles it is!
On the floors, I used 2” Imperial hexagons in Sienna and Pink in a custom pattern that’s inspired by historic tile patterns but was laid out and sized to fit perfectly within the dimensions of my shower. The walls are 3x6” Imperial subway tile in Denim along with the accompanying short edge bullnose. I’ll always be a sucker for a classic subway tile, and love the pop of the pale blue in these. I wrapped the curb and made the shelves out of ½” thick Bianco Carrara. I carried the marble from the curb around the bathroom with Bianco Carrara marble skirting, too. All of it is from The Tile Shop.

I elaborate more on the tile process from inspiration to installation here - even down the the custom grout color I mixed and the other tile patterns I considered. (Don’t forget to admire that floret perfectly matching with the drain)
Psst! On hair washing days, I put this hair catcher over the drain which matches super well. I slide it off to the side with my foot on non-hair days because it does restrict the water flow a bit.


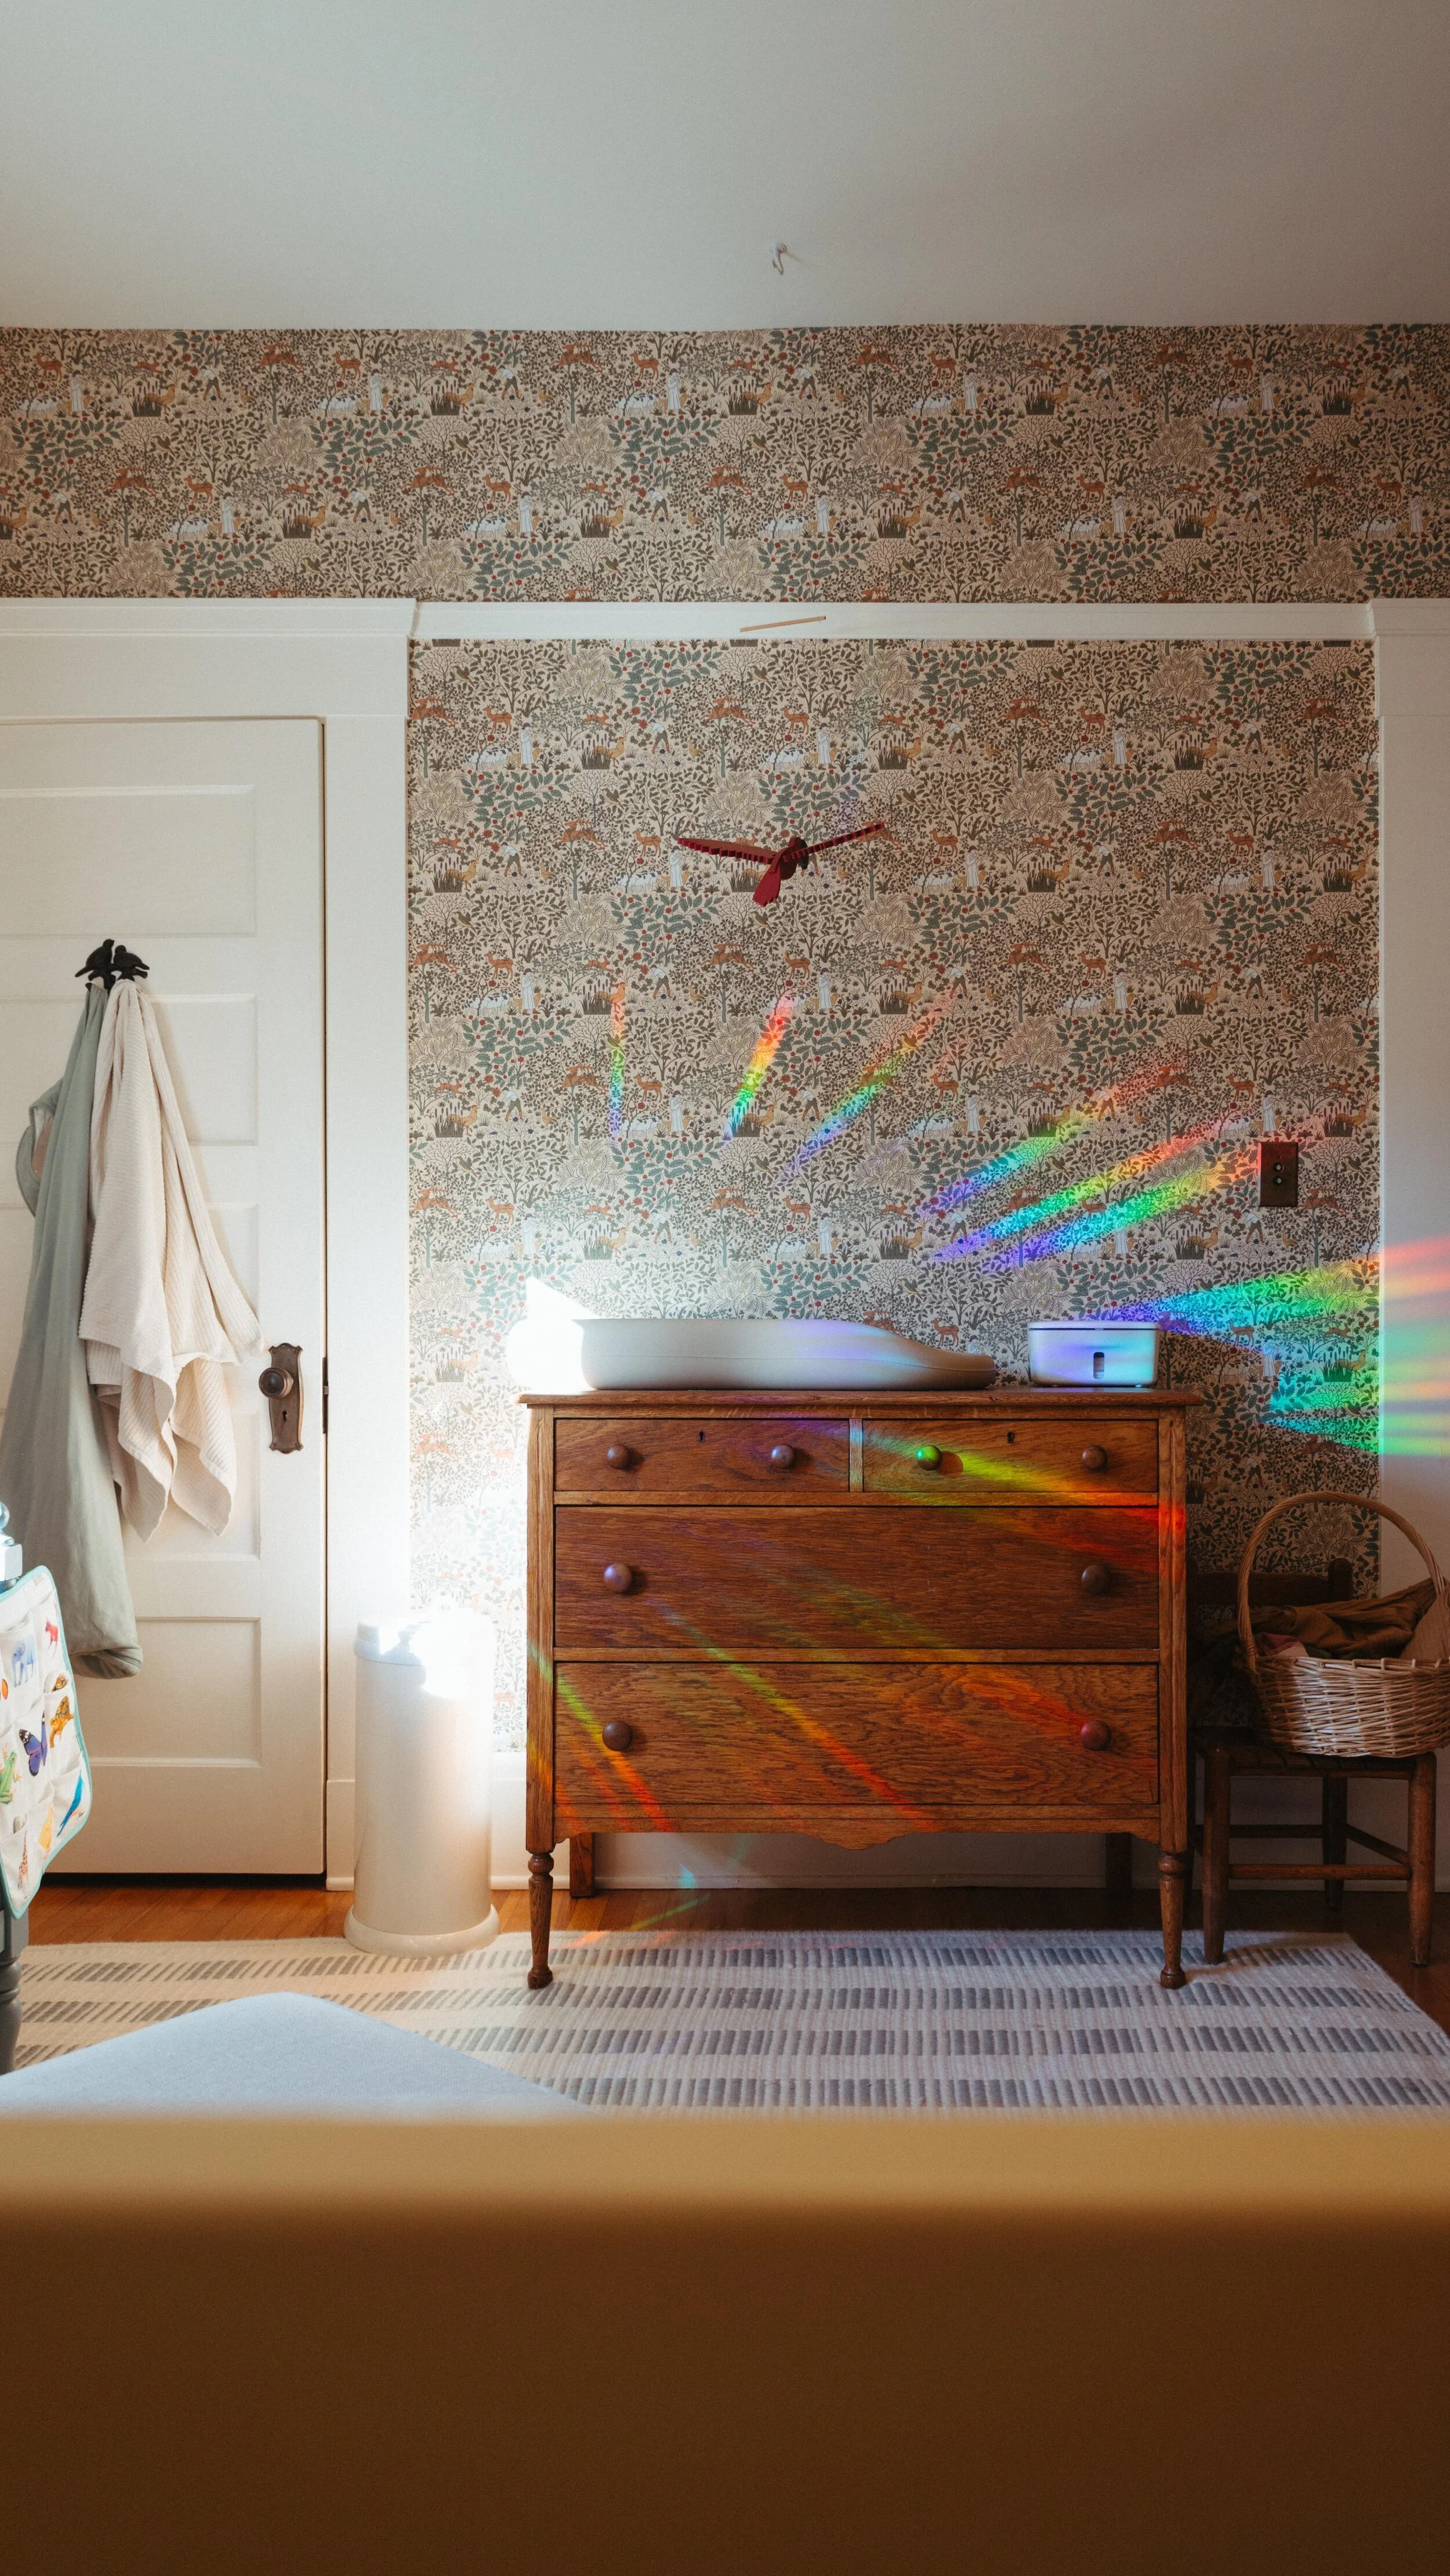
I’m really pleased with the transition from the bedroom to the bathroom. I insisted that the tile sit perfectly flush with the original hardwood floors, and my contractor nailed it. No need for a threshold!
The ceilings look super tall in that above photo. They’re 9’ for reference.

For the vanity, I really wanted a warm finish that would tie into the rest of the house, so I had it made in white oak to match the original hardwoods. I snagged these cheap knobs for the hardware which are probably my favorite part.

I had the vanity custom made by the same guy that did our kitchen cabinets and I should have learned my lesson. He let me down before, so I shouldn’t have given him another shot, but I did. The vanity proportions turned out weird (the bottom drawers were supposed to all be the same height and the unit overall is quite tall) and the wood grain has a lot of inconsistencies in tone.
Typing this all out reminds me how disappointed I was at the time but I had actually forgotten about it until now! Oof. Let’s not dwell, shall we?

The unfavorably sized bottom drawer is actually perfectly sized for toilet paper and candles, though.

The drawers are organized with the cardboard shipping dividers for the above-mentioned candles and it’s the cheapest, easiest, nicest storage option I can image. Do yourself a favor and buy 10+ candles at once, then gain some free storage dividers!

For the vanity top, I opted for one sink. I know, I know, a single sink in a primary bathroom? gasp! But we way prefer countertop space over sinks. I can’t think of a single time in which Ross and I both needed to use the sink (and couldn’t share!) at the exact same time. Do all other couples brush their teeth together?? Enlighten me, please.
When I was in a pinch to complete this bathroom before my permit expired (procrastination at its finest!) I needed a countertop ASAP. I had planned to use the remnant from my kitchen counters but they went missing at the fabricator’s warehouse. So, I got a 49" in-stock real-marble vanity top with a built-in sink and pre-drilled holes. We customized it by using a remnant piece of marble from the shower curb as a tall backsplash (they are the same type of carrara marble) and cut cute lil’ curve details in the back - the same thing we did in the kitchen. The cutout allows the backsplash to drop lower to wrap the side splash onto the adjacent wall and clear the outlet. Then, another little curve to soften the transition. Plus, the curves are cute. It’s the details, folks.

The wall-mounted toothbrush holder is vintage from Etsy (here are similar ones). I really wanted to try a different kind of toothbrush storage because I’m so sick of the cup/holder/etc. getting grimy on the bottom. This solution is perfect. Are there other non-slimy toothbrush holder options out there?
The mirror is vintage and found on Facebook Marketplace - I didn’t even repaint it. The top piece of art is from the public domain so I downloaded it for free, printed it at my local postal center, and popped it in a thrifted frame. The exhausted woman in repose speaks to me. The bottom piece is a Basquiat that I picked up to give a bit more edge to an otherwise soft room. I found it for $10 at the thrift store and put it in an upcycled frame.

Above the toilet is a piece by an all-time favorite artist, Julie Blackmon. She released a few limited-edition small-scale prints and I ran to get one. I keep the room well ventilated with a fan and a window to avoid moisture damage to a precious piece.

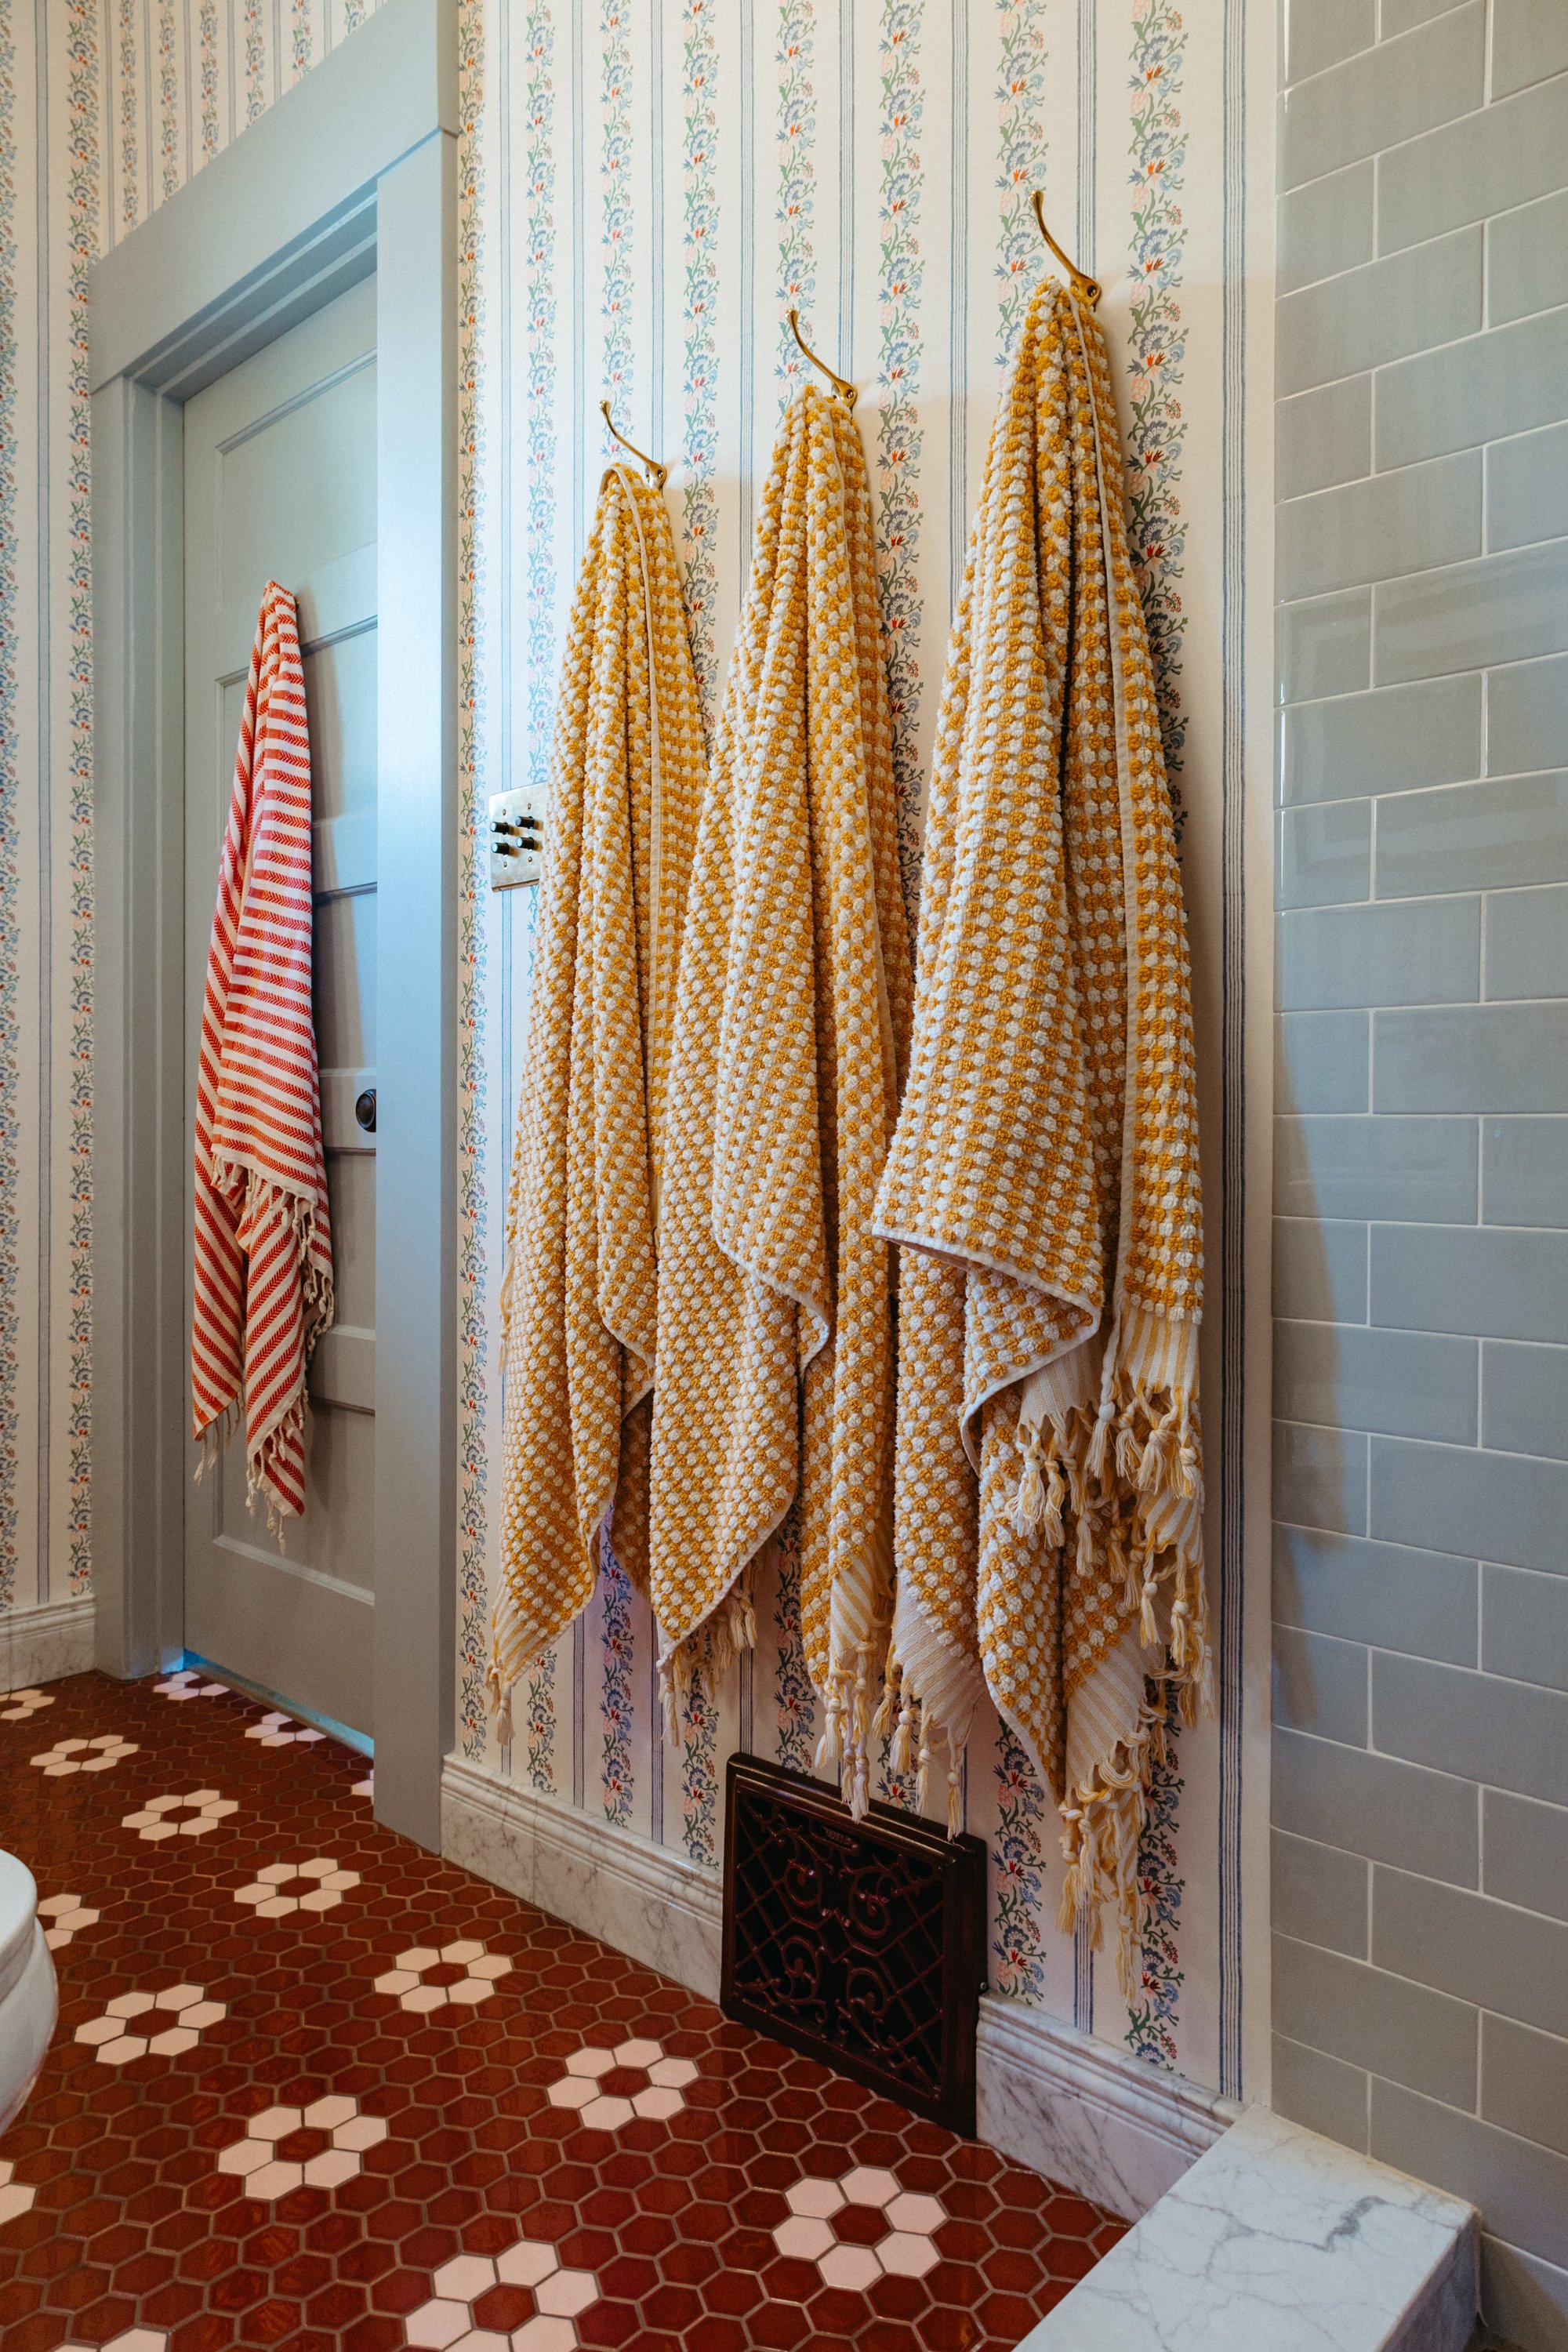
The wallpaper is Trousseau in the Berry color way from Dado Atelier in collaboration with Daydress. I really wanted to push myself out of my comfort zone and get a paper I’d never seen before that would make for a unique room. The stripes and florals have beautiful details close up, but at a distance create a lovely textured background for everything else in the room.
The bath towels are both from an Etsy seller that makes a variety of colors and designs. I got the yellow cotton terry ones for toweling off (they’re huge and thick but did take several washes to become fully absorbent) and the red stripes is a Turkish towel that I use just for my hair.

Speaking of textiles, I struggled with finding the right fabric for the window and shower curtains. Did I already mention I suffered from decision fatigue during this project? I ultimately got some cheap flour sack towels and recruited my mom to sew on some jumbo red ric rac. It’s not what I originally planned but I love it. I attached it to the cafe curtain rod with clips and folded it to be the perfect size. We leave the curtain pulled open all the time, but did want an option to close it for privacy when guests are in the backyard.
The window itself is a dream. I custom ordered it through Sierra Pacific to the exact specifications we needed. If you recall, this room was previously a closet without natural lighting, so I added a new window in the style of my old house. It’s solid wood, casement-style, with an interior screen. I opted for the BetterVue screen which is nearly invisible and with it being on the inside, it stays much cleaner than exterior screens. I planned to paint the screen, but I like the warmth of the wood tone, so here we are! I replaced the stock pull with a lil’ 1" wooden knob. The design of the window was inspired by historic casement windows yet it has modern features like low-e and tempered glass. It’s perfect and a dream to use - I open it every morning when I shower.

I did the same thing to the shower curtain - a red ric rac trim piece on the edge of the curtain liner was the pop of red I needed. The curtain liner is washable and extra long to reach from floor to ceiling. It’s mounted with this ceiling mounted track system from IKEA that was so easy to install and works seamlessly.
With only one layer of fabric (instead of a curtain plus a liner) it lets in more natural light, so I don’t feel like I need a light fixture inside the shower. Also, the last thing I need while I’m showering is more illumination - give me a dark cavern to bathe in please.

For overhead lighting, I did a pendant much like I have in the other bathroom and the kitchen - because an opal schoolhouse-style light is simply the best around. I sized down and got a smaller version of the ones I have throughout the house because this is a narrow 5’ wide room, but I wish I went with the larger 6” fitter to accommodate a wider shade. Ya live and learn.
The overhead light is on a separate circuit so it can be controlled (with a push button switch) separately from the sconces. I ordered the sconces custom from a shop in Ireland (I made sure to ask for “natural unlacqured brass” in the comments to be sure the brass will patina with age)


The shower hardware is from Kohler in polished nickel from the Purist line. Seen above is the handheld shower (spray head, hose, elbow, and mount) which is controlled by the diverter (cross handle control and valve) seen in the center which diverts water from the above shower head to the handheld spray. The marble ring around the diverter was a happy accident. My installer made a mistake measuring and the valve sat too proud of the wall to operate. I searched for solutions but the best one was to cut a ring from scrap marble and make a little cushion. I happen to adore the detail and am now so glad the accident happened!

The water on/off temperature control (and valve) is on the opposite side of the shower all by its lonesome. I separated it from the rest of the hardware so that I can sneak my hand into the shower to turn on the water without getting my whole naked body drenched in frigid cold water before it has a chance to warm up. This is certainly the superior set up and I highly recommend making the on/off temperature control easily accessed - it’s especially important with a glass shower enclosure, which was the original plan.

The toilet is another spot where I got decision fatigue and just bought a cheap but nice looking toilet at the recommendation of a friend. The polished nickel handle replacement cost ⅓ of the cost of the toilet, but I couldn't do the chrome when everything else was nickel.
We debated getting a toilet with a built-in bidet for ages but panicked when I got overwhelmed with the features and went with a toilet that could take a bidet seat later. I’m realizing now that I bought the bidet and forgot to install it. Oh heavens.

During the rough-in phase of the remodel, we ran an HVAC duct into the room to have AC and heat. I really like how the register in our main bathroom worked - baseboard/wall mounted with a slim profile but decorative features - so I recreated it. I even tracked down the same exact style that we have in the other bathroom. It isn’t original to our house, but having two of the same makes it feel more intentional. I layered a couple of colors of spray paint to get a dark burgundy color and it turned out just as I had hoped. The blue door and window paint in the bathroom was also a product of me mixing multiple paint colors in a bucket until I got the color I wanted.