One Room Challenge Week 5 - Walls and Windows and Shades oh my!
/Can you believe we're five weeks into the One Room Challenge?! Holy Moly it feels like it's been flying by and I can't keep up, yet at the same time it seems like I've been painting forever!

If you're just tuning in, I'm Ashley and I'm in the middle of transforming the home office of our 1915 craftsman bungalow in San Diego. Take a look at the plans which include a new layout, storage, lighting, furniture, and most importantly, a dramatic mural!

The mural is the star of the show, but this week I turned my attention to the other walls and the windows.

I coated all of the non-mural walls in Farrow & Ball's Ammonite, a pretty light grey. It provides just enough contrast for the trim (which is painted in Strong White) to pop, yet, not it's so dark that it would compete with the mural for attention.

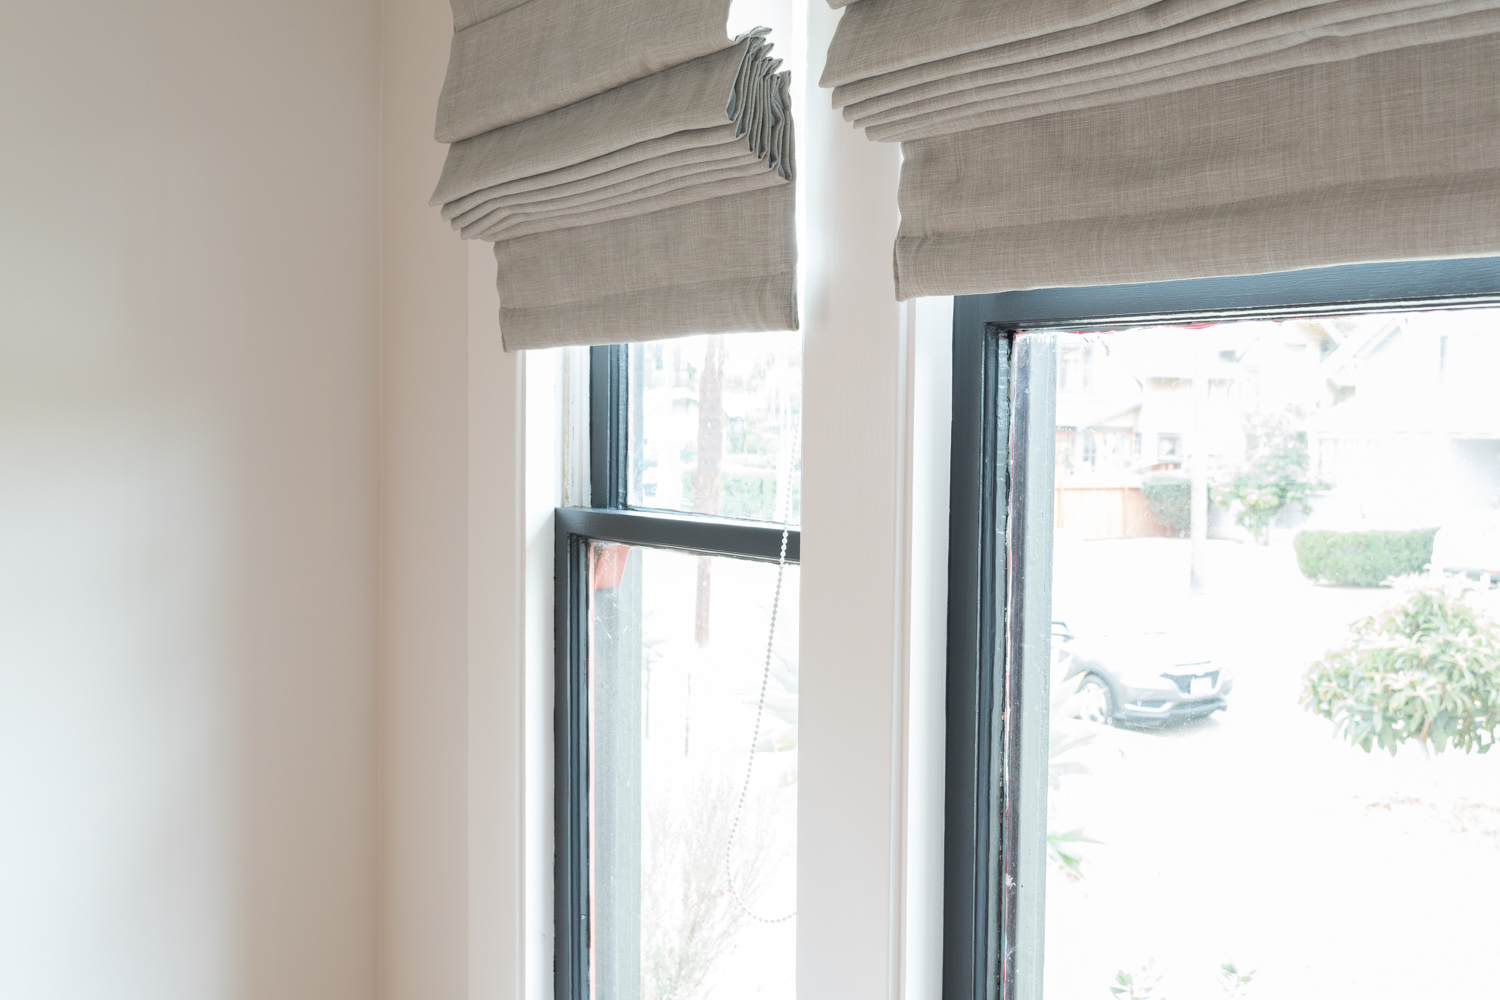
I have been dreaming of black window sashes for ages. AGES. And I finally went for it. I love them so much. They got a couple of coats of Off-Black and have never looked better. Well, maybe they looked better 103 years ago before the neglect, but you know what I mean!
Each of these three colors are already in the mural so they are repeating throughout the space. Strong White is the whitest of the eight mural colors, Ammonite is the second lightest, and Off-Black is the deep moody base color. Hubba hubba.

You may notice some funky wobbly paint edges on the sashes next to the glass. Don't go thinking I painted with my eyes closed! The wobbly paint is because of the many coats of poorly painted exterior paint over the last century. These layers make it looks less crisp on the inside, but what I do like about them is you can see each of the colors this house has been over the ages. It used to be blue! A far cry from the green and red exterior it is now. One day, I'll scrape off the exterior paint to make a nicer edge. One day.

When you weren't looking at the funky paint edges, didja get a look at that sash pull? Didja? Wow, those guys cleaned up nicely.

The bottom one has a lot of patina that can absolutely be left as is, but the details were hidden in the old paint. I scrubbed and scrubbed until the paint came off and then I ended up with a shiny little number that looks so happy against the deep color of the sashes. I'm curious to see how it patinas over the years.
If you recall from my ORC intro post, one of the biggest challenges was the lighting in the office. Our desk previously looked out the window straight onto the surface of the blinding sun. I realize complaining about too much light sounds ridiculous, but it truly got really bright and really hot.
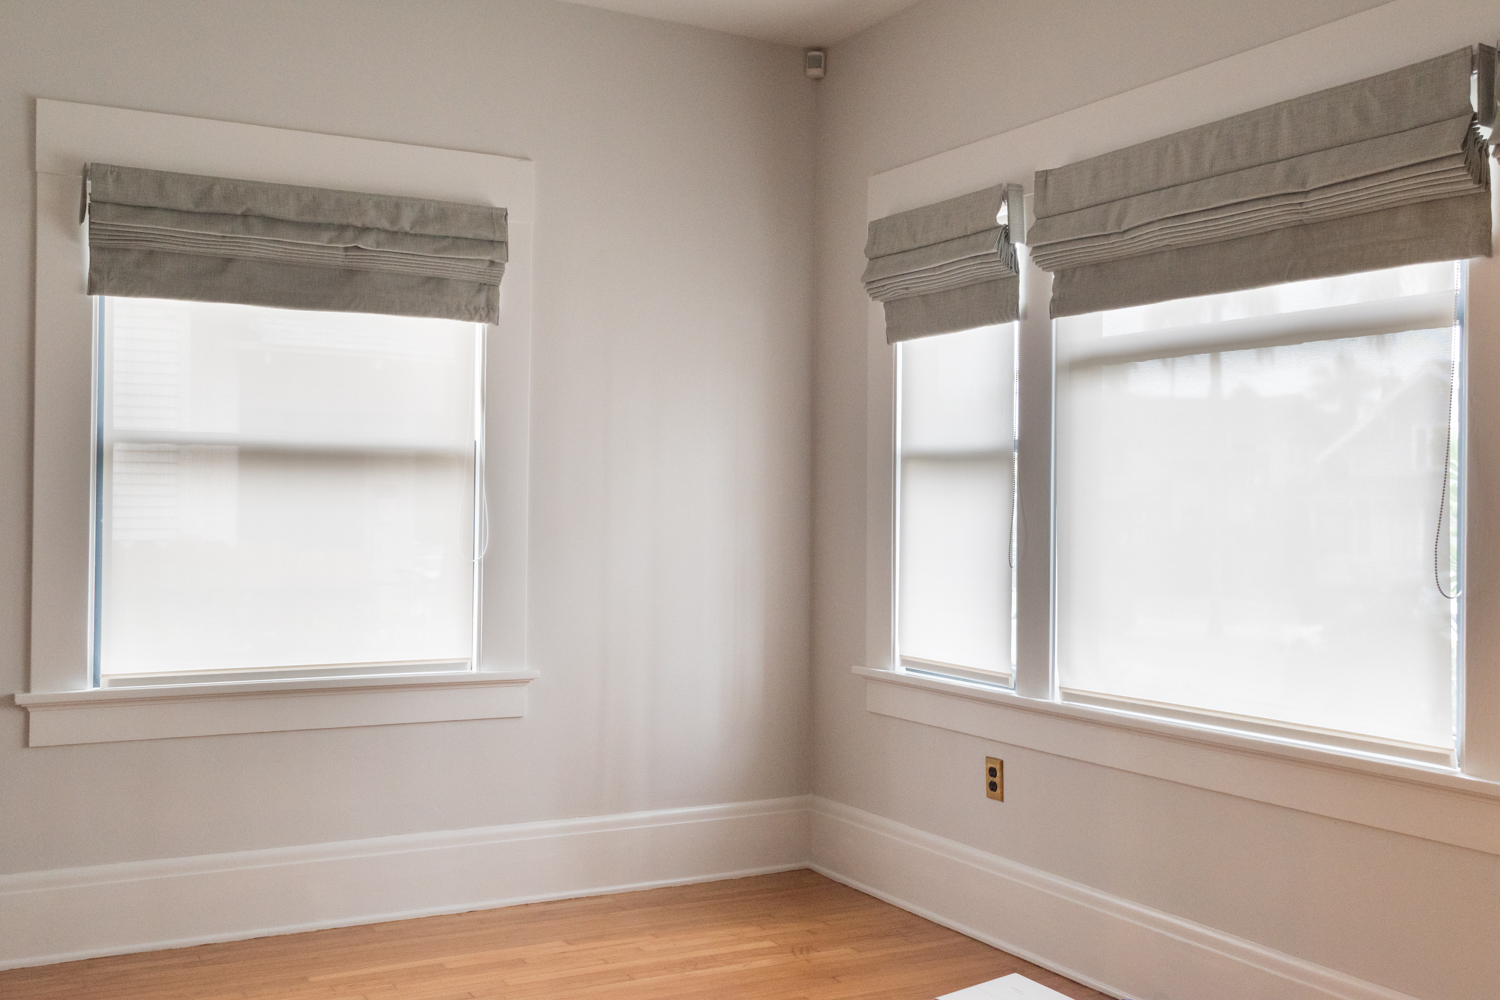
I'm happy to say that the issue has been remedied! Each window has a combo of two different shades. First are the solar shades that are installed on the inside of the frame and roll down with a chain. These beauties are on all of the windows throughout our home and we've had them for several years and love them.
Solar shades come in varying levels of opacity which allow you to select how much sunlight you want to block. More opacity means more protection, but more transparency means you can see out of them better.
Because our old windows don't have any UV protection, blocking the rays from bleaching our furniture and hardwoods was a big motivator for the solar shades. Since we want protection all the time, we keep these shades pulled pretty much 24/7. Their clean look is perfect for admiring the shape of the window frame as well as seeing outdoors. For reference, these are 3% opacity, but other shades in the house are 10%.
Even though the solar shades work wonders for us throughout most of the day, when 4pm rolls around and the sun starts to set, it shines directly into the room and we simply want less of its bright glare. So, we put classic roman shades with blackout liners on top of the solar shades. Now, we get so much variety with light options. I can black out the whole room to paint a mural, or diffuse the light, or let the sun shine in!

I could have ordered wider roman blackout shades, but I preferred seeing as much woodwork as possible, so I made a lighting sacrifice by getting narrower ones that don't block as much light as what might be necessary in say, a nursery.

This animation is the perfect example of how the shades can affect the light in the room.

The solar shades are inside mounted into the frame of the window, and the roman shades attach to the surface of the trim with a clip.

Both the solar and roman shades are from Select Blinds. Their prices are great - especially for custom sized window treatments! All four of these windows came in under $600, and one of them is a beefy 50" wide! For your reference, our solar shades are 3% in white, and the blackout roman shades are in the pretty Stone Textured fabric in the classic folded pleat.

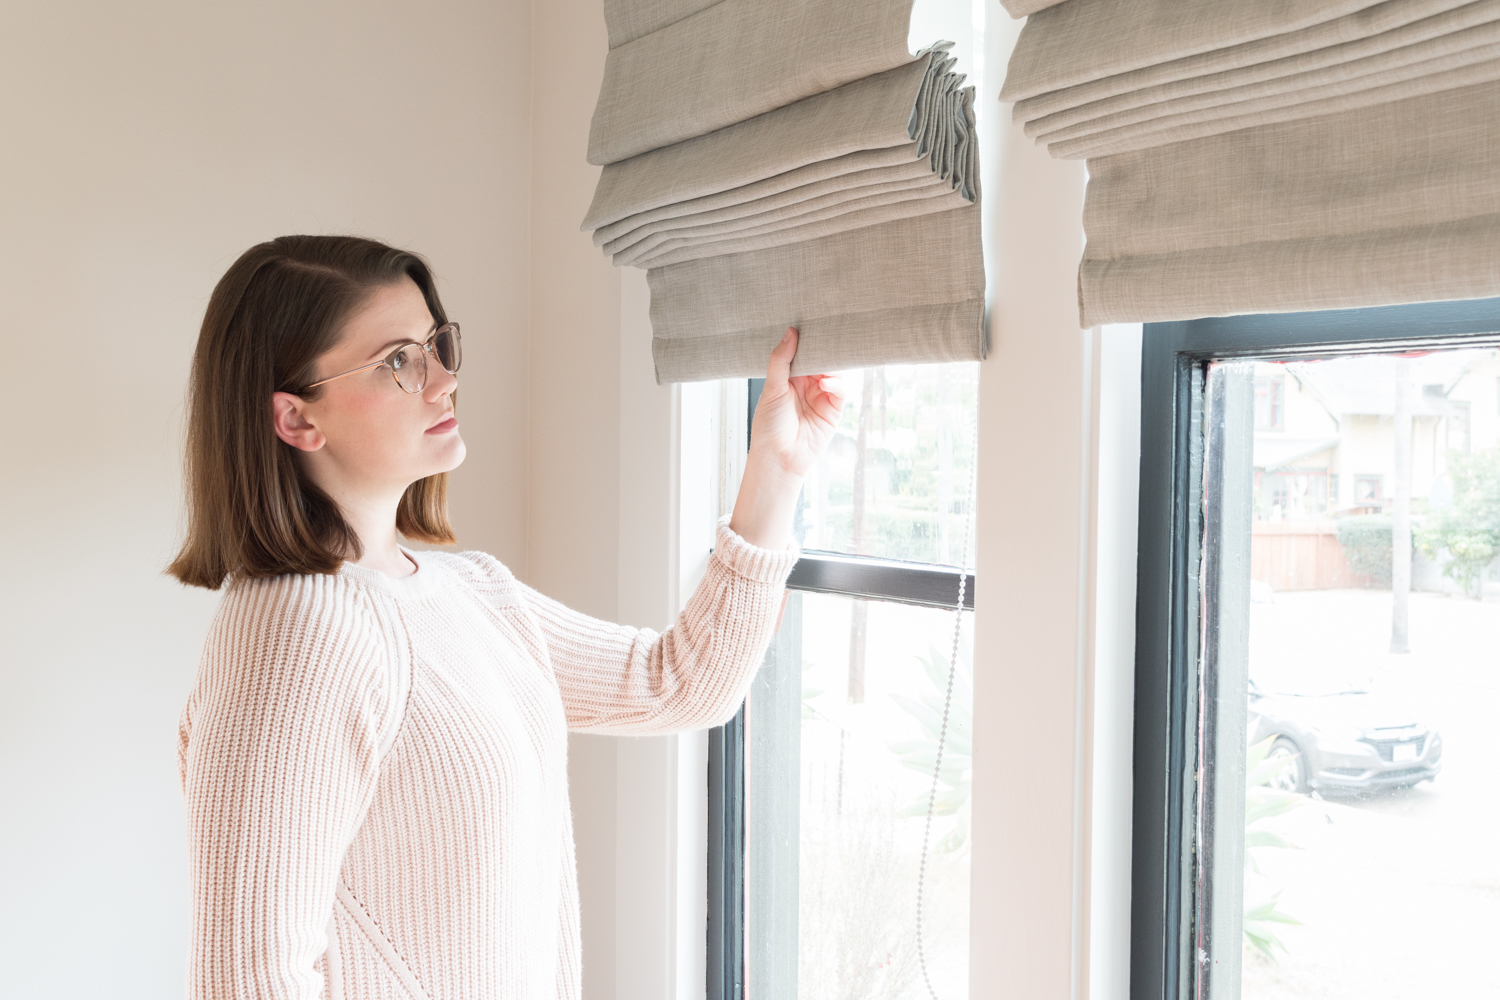
While I like the easy-to-use cord on the solar shades, we tried out the cordless option for the romans and it's great! I'm always wary that products with spring mechanisms won't do as you ask them to do, but so far these ones follow directions nicely!

I've been working on coating the second layer of paint on the mural, rather than adding new colors, so it doesn't look too different. Stay tuned!!

Come back over the next few weeks for more updates on the progress and set a reminder to return the morning of November 16th to see the final reveal!
Big shout out to Farrow & Ball for supplying all of the paints and the ones i'm using for the mural! Select Blinds kindly extended a discount on their roman shades. However, opinions are all my own and I stand by these products.
If you're tuning in via the One Room Challenge and want to stay up to date on all of my home's transformations, subscribe to get future posts in your email! Also, follow along on Instagram for daily updates. You're seeing only a sneak preview of the mural, so be sure to come back for more progress updates!
Be sure to check out the featured designers here and guest participants here, too!
Fall One Room Challenge progress:
Week 1 - the before, the inspiration, and the plan
Week 2 - preparing for a bold wall mural
Week 3 - tricks for creating a perfect wall mural
Week 4 - painting the mural
Week 5 - walls, windows, and shades
Week 6 - IKEA storage hack
Week 7 - the reveal!
Look back at the Spring One Room Challenge:
Week 1 - the before, the inspiration, and the plan
Week 2 - paint, paint, paint
Week 3 - how to install picture rail molding
Week 4 - sourcing the artwork
Week 5 - refreshing a chair
Week 6 - the reveal!