How to Install Board & Batten - One Room Challenge Week 3 + A VIDEO!
/It's week three of the One Room Challenge! I spent this past weekend on adding a board & batten style wall treatment, so I'm here to give you the DIY tutorial of adding the simple detail to your walls!
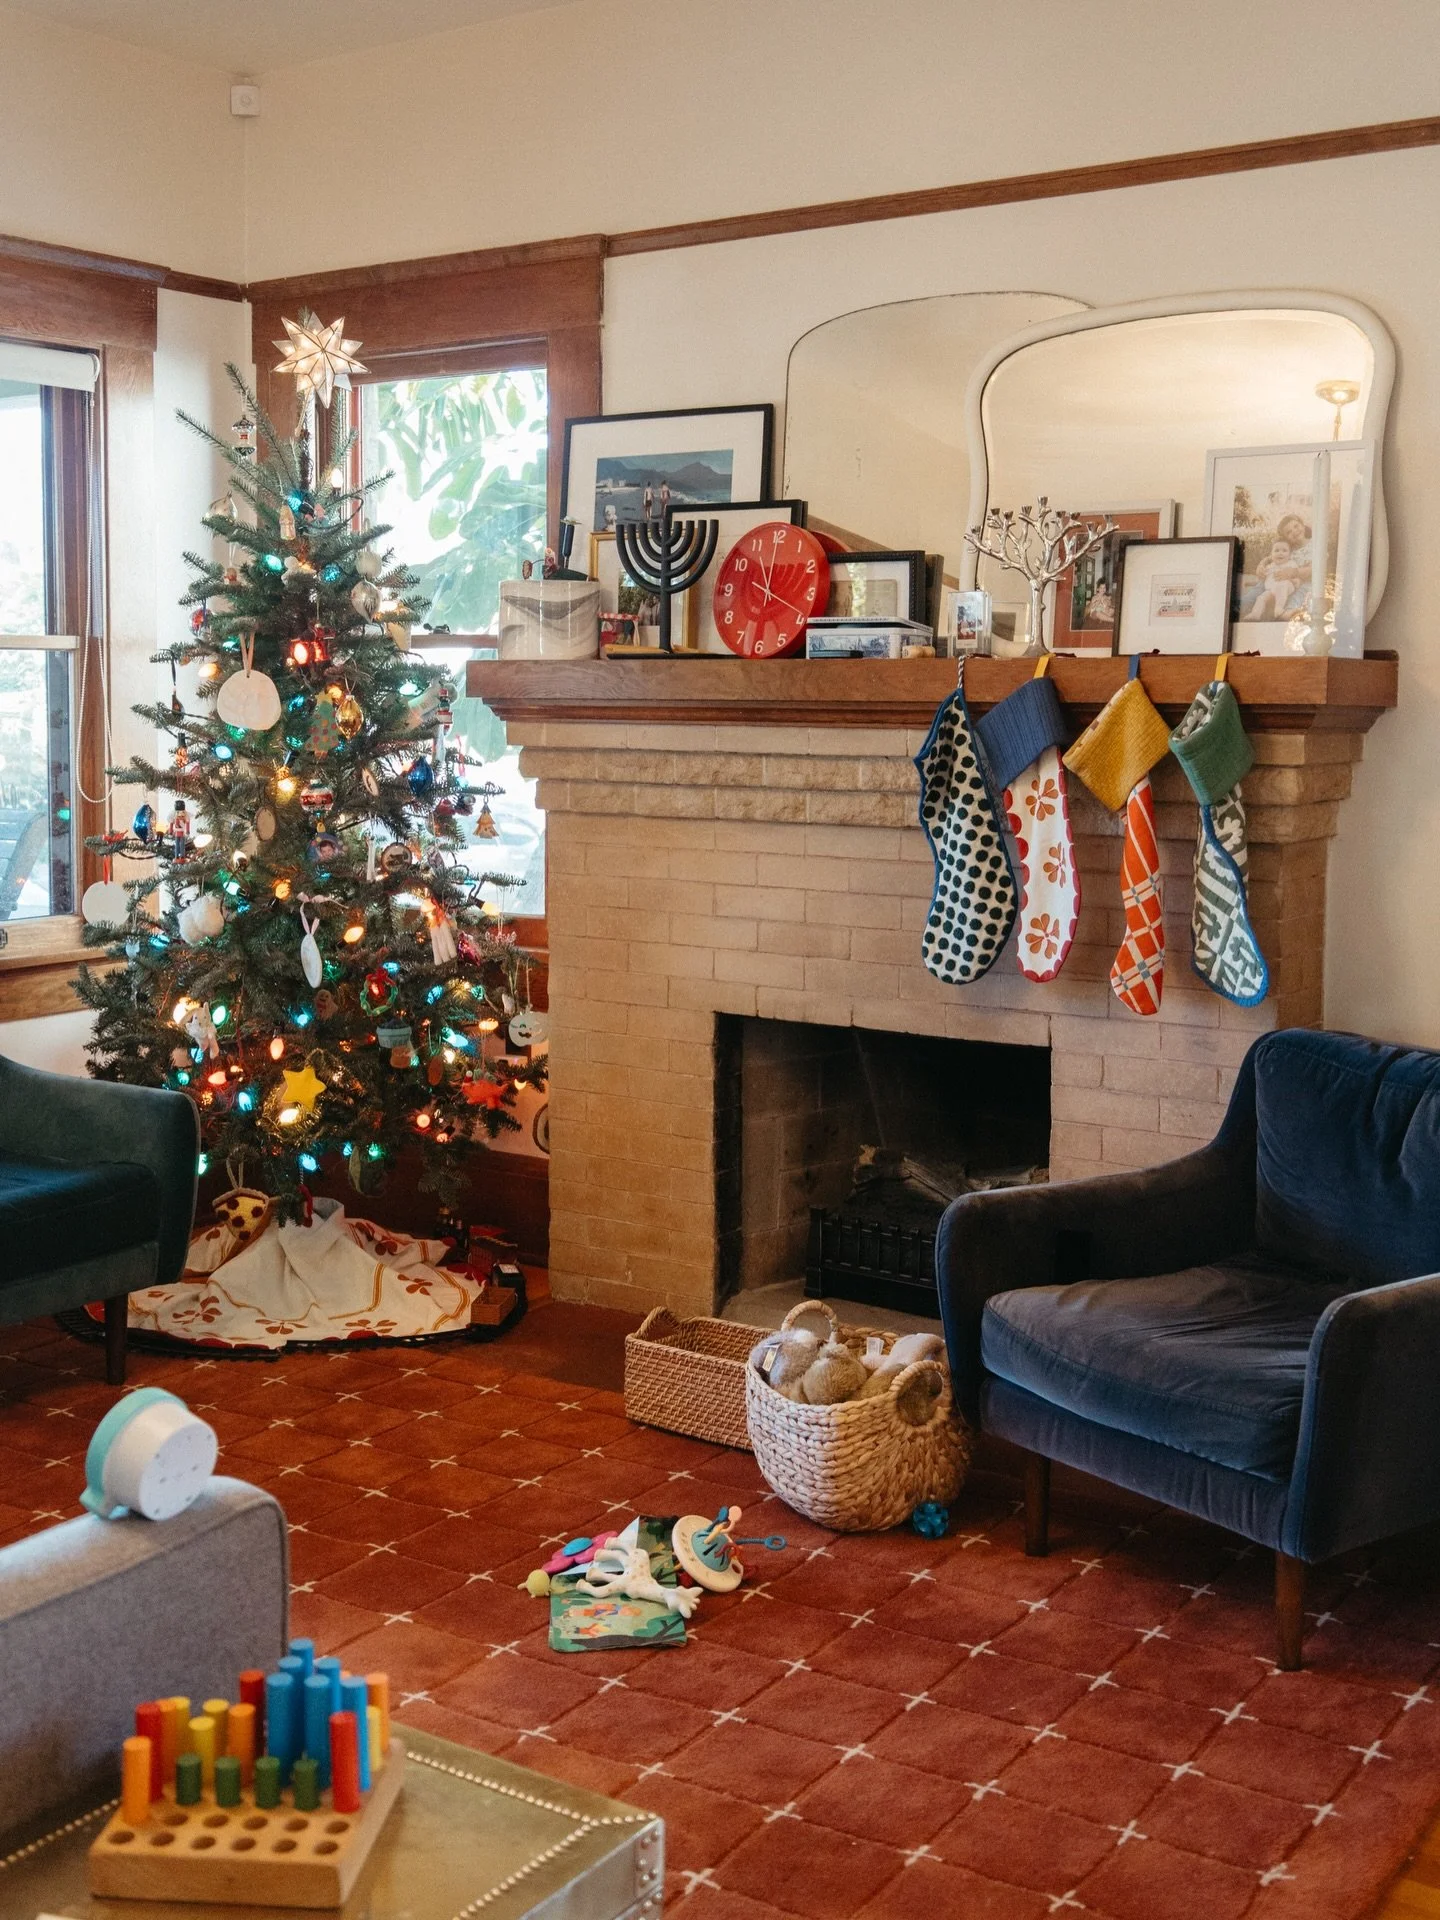
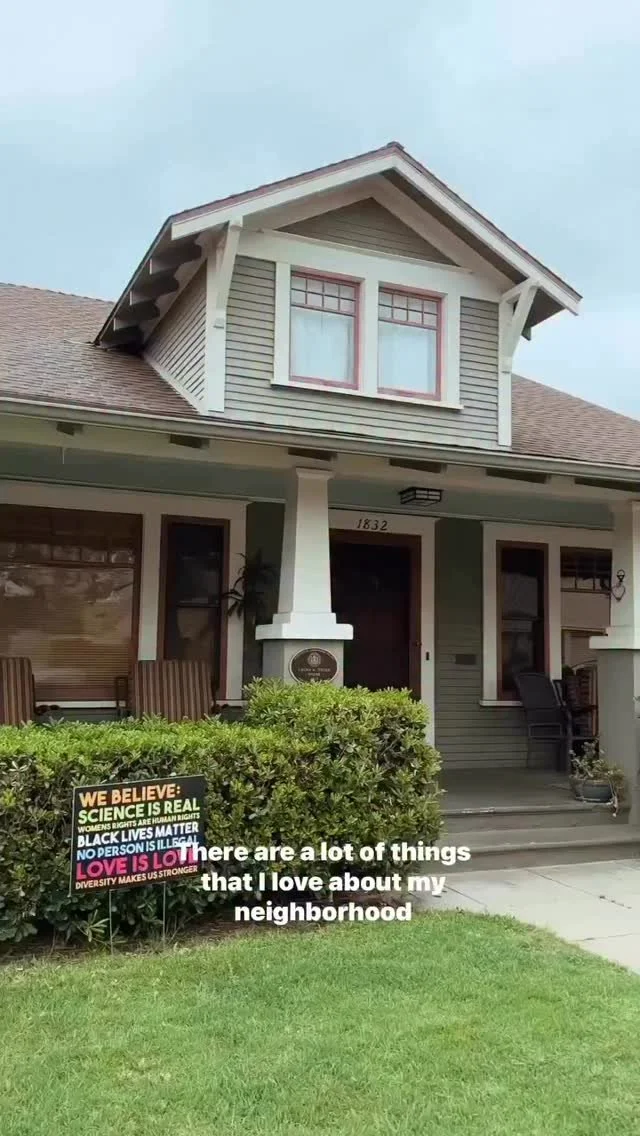
If you found me through ORC, welcome! I'm Ashley and for the past three years, I've been restoring a craftsman bungalow in San Diego, CA. Learn a touch more about me here, preview the before-and-after room transformations here, and see my previous ORC rooms here and here.

We're already at week 3 of the One Room Challenge and I'm feeling anxious and behind - the way I always feel at this stage! However, this week I started adding one of the details of the room - the board and batten. Check out the video below showing the progress of the past few days as well as a tutorial on installing this wall treatment. Then, read below for the text-based tutorial.
This Week's Video:

P.S. I promise the video is more entertaining than the below text. It's only 6 minutes long and has fun tunes and shots of the project in action. Please give it a watch, then give me feedback - I want to make videos you like!
How to Install Board & Batten
1. Identify the style
There are so many different options for a seemingly simple wall treatment. The height, distance between battens, thickness and width of the boards, top details, material, finish, and detail molding. I pinned for days!
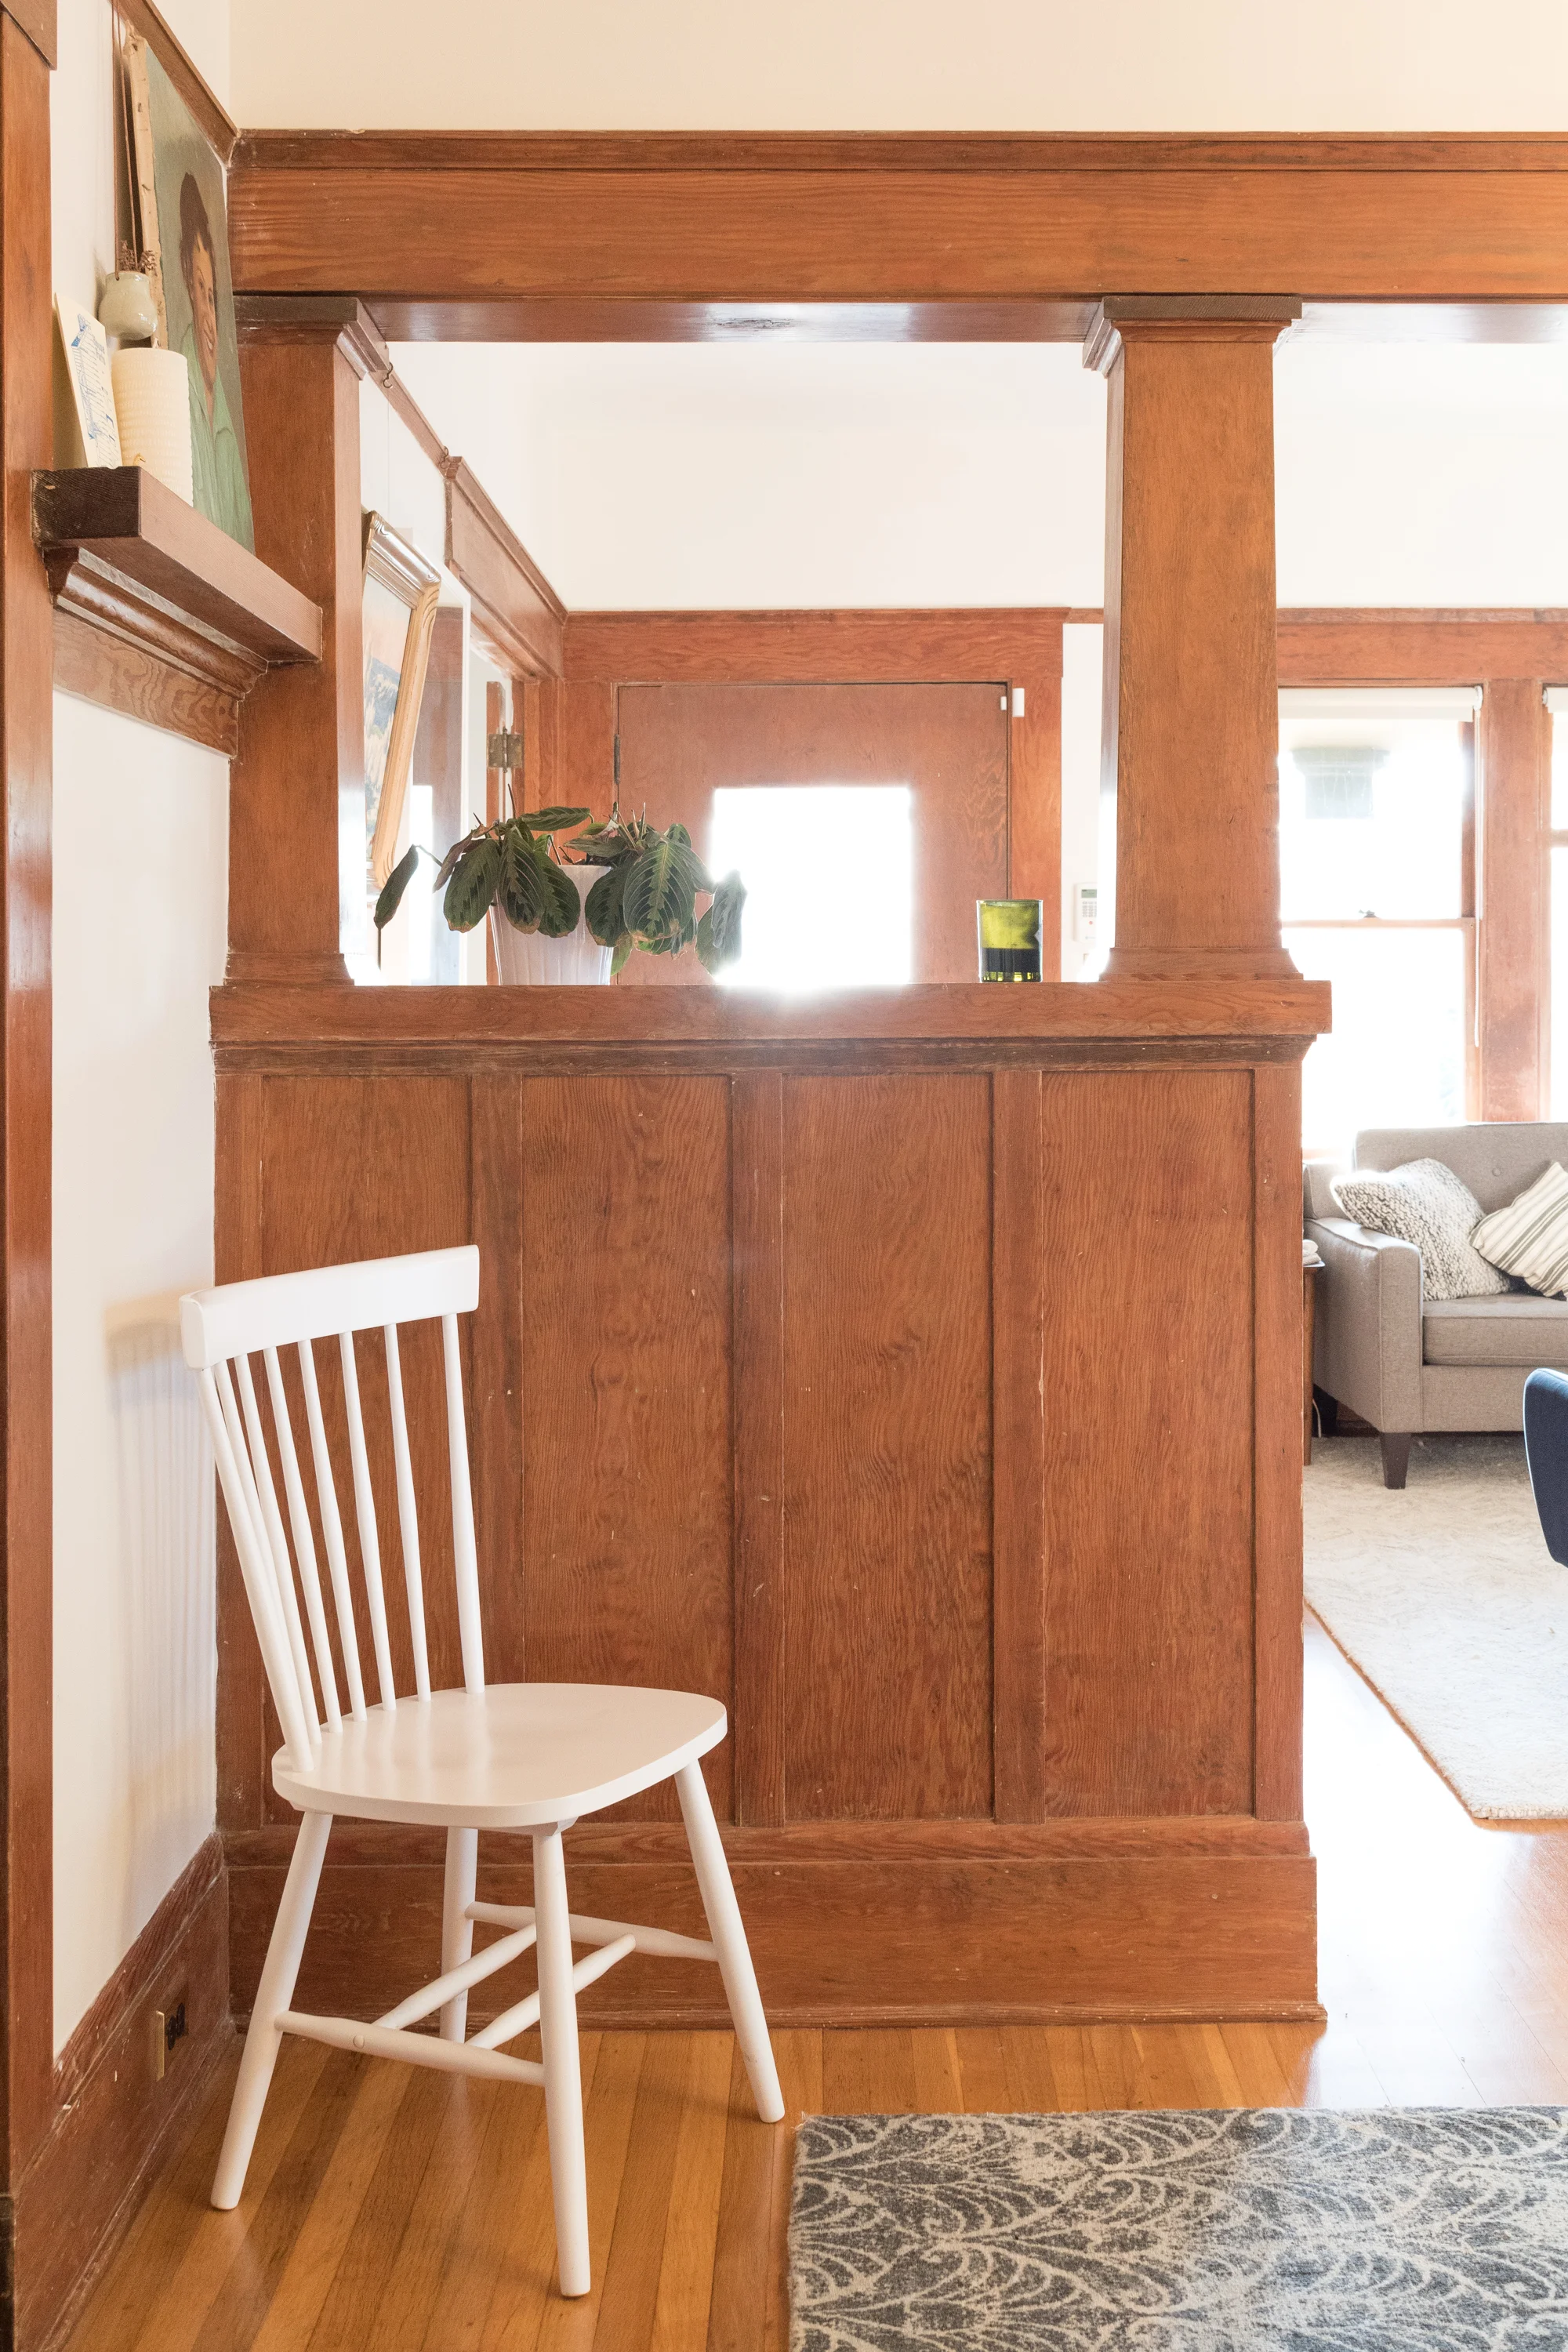
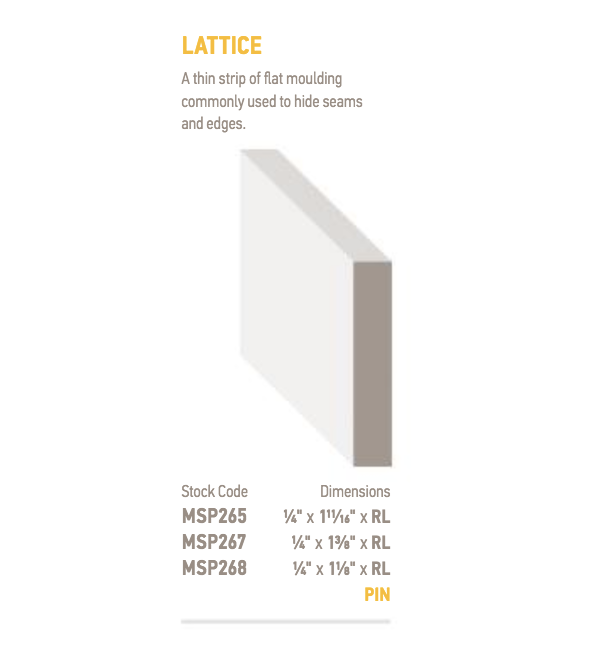
For my historic home, it's important that I add architectural elements that are replicas or inspired by the existing designs in my home. So, I modeled my b&b off of the existing molding on the room dividers in the dining room. This determined the width and depth of the batten, and the plate rail determined the height. I wish I could say it was as easy as that, but I noodled on each inch of dimensions for weeks. WEEKS! I'm so grateful to have received my pine lattice strips from Metrie. Even though I needed a simple style, they provide a wealth of molding options in different profiles, materials, and dimensions. They were super helpful in finding me the right materials for my project, so I'll betcha they would be a great resource if you, too, are plagued with indecision like me.
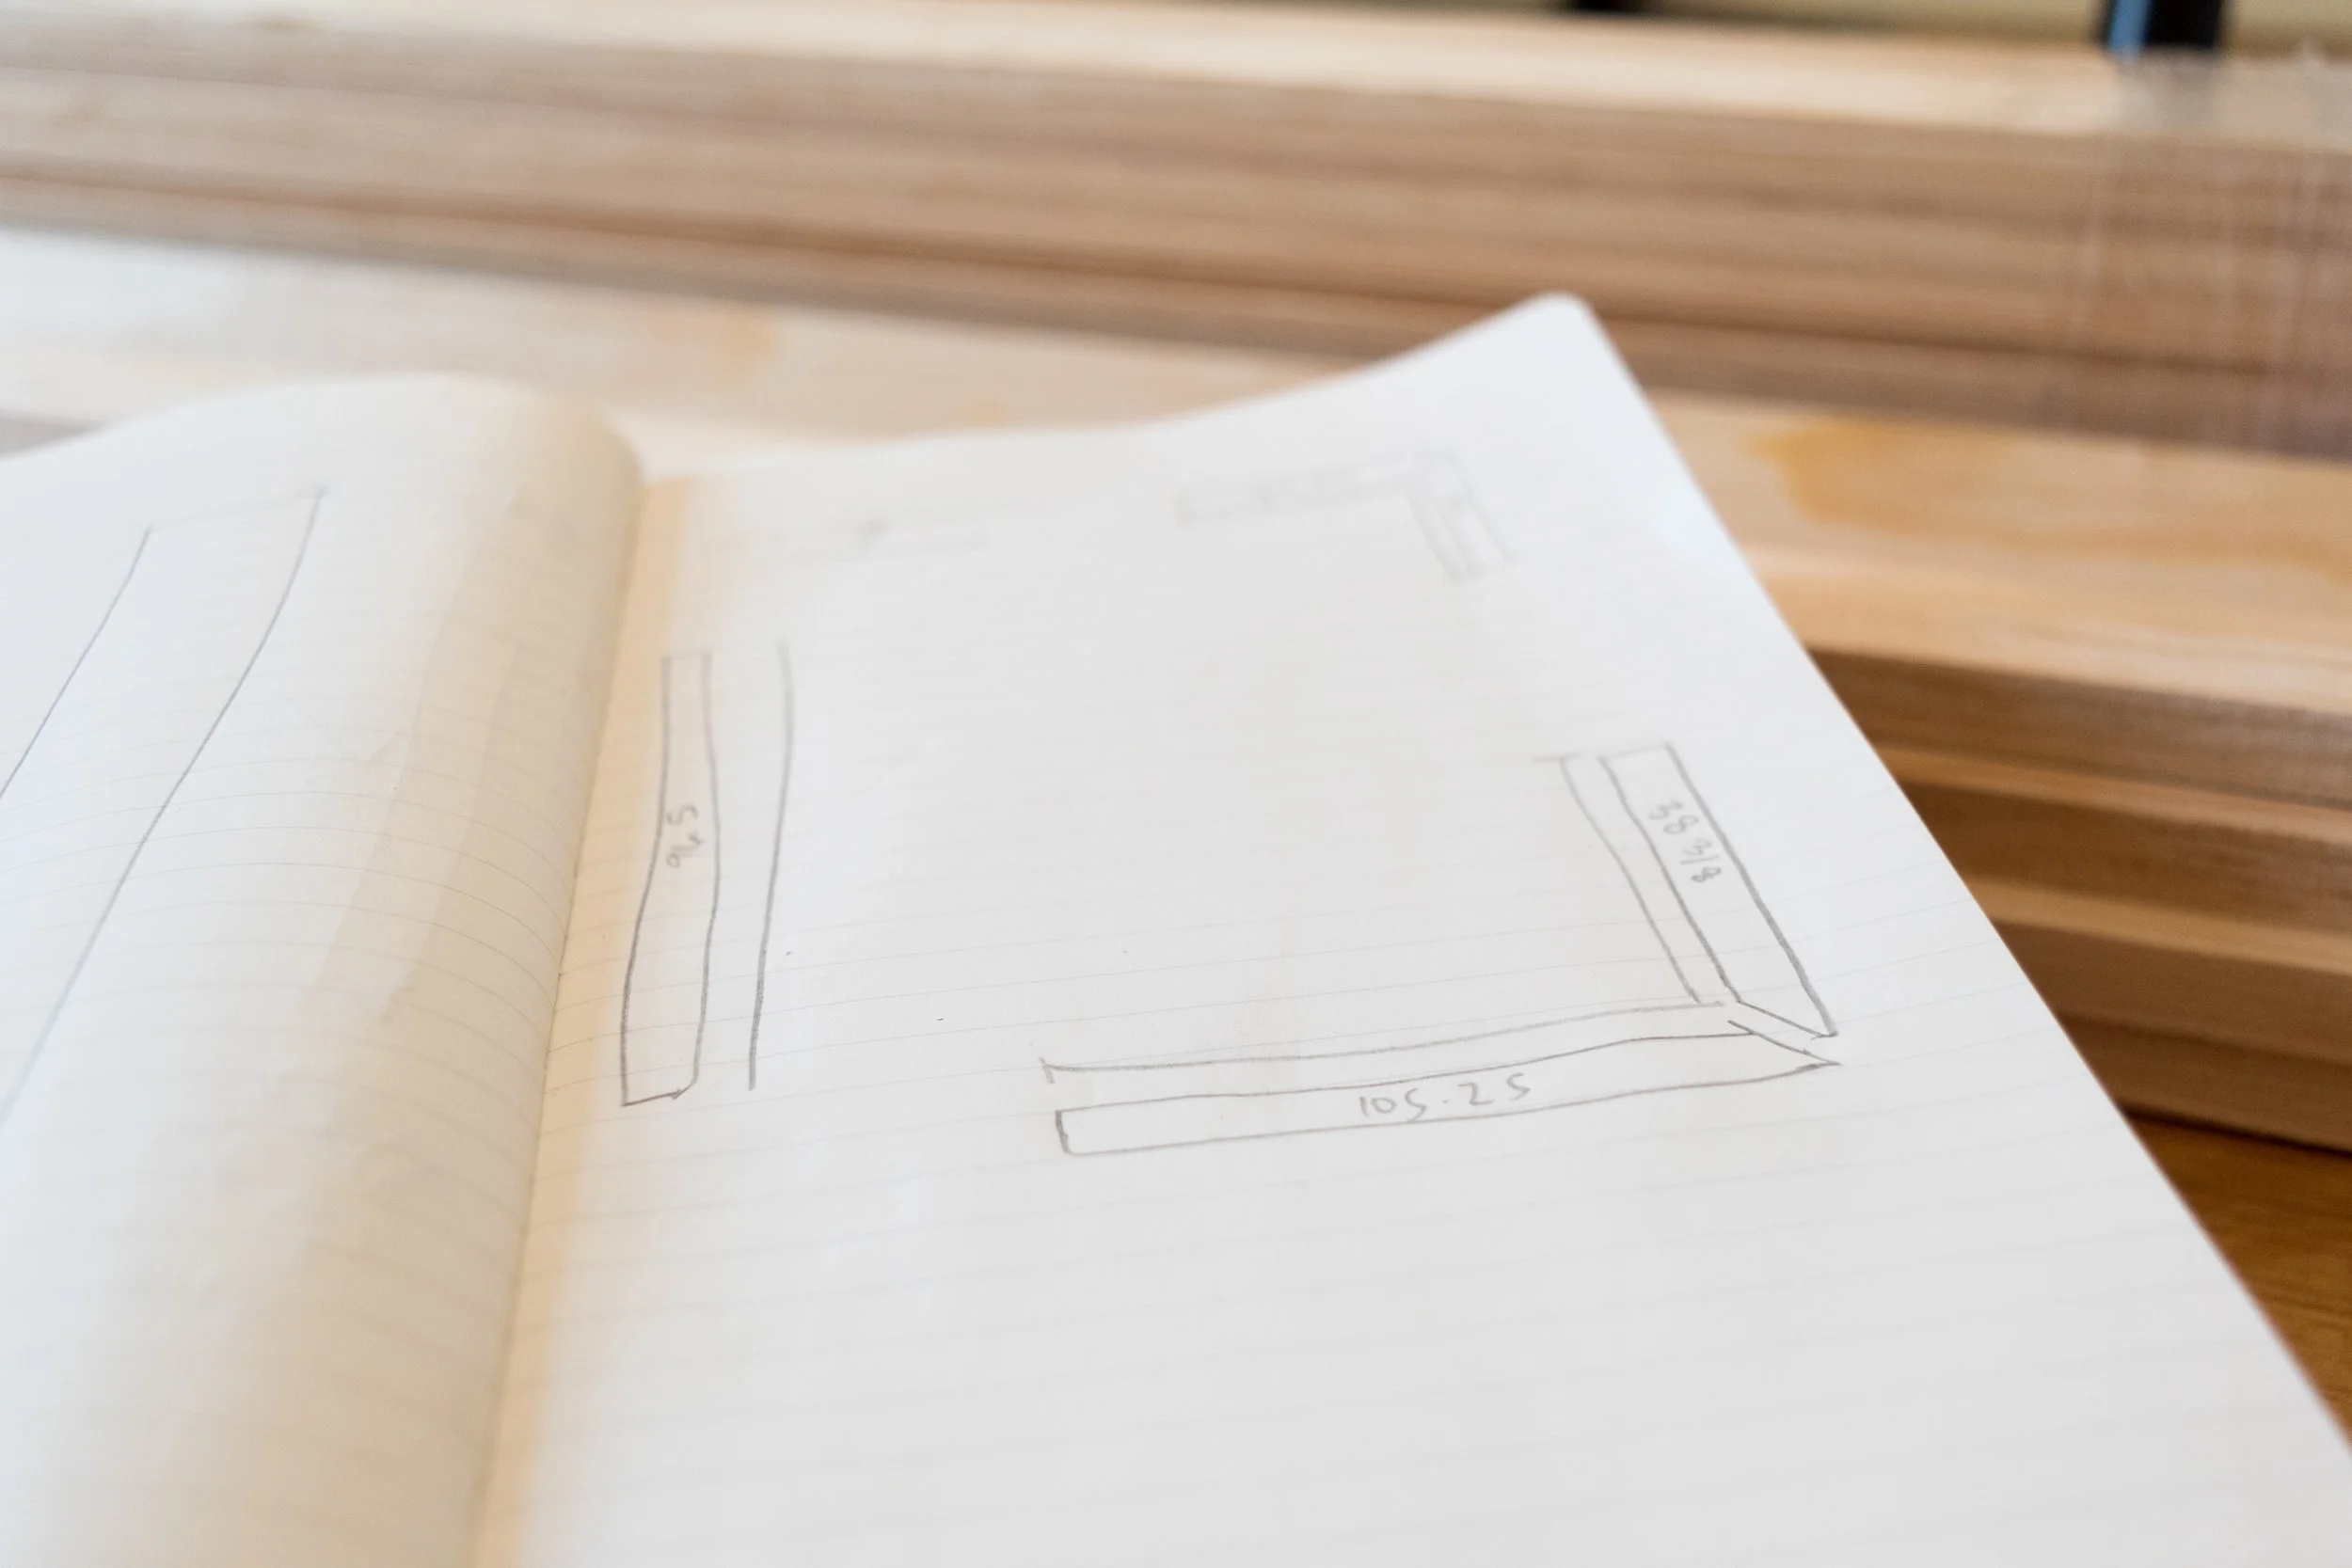
2. Draw Measurements
I did a drawing of the floor plan of the room, then measured to see how much I would need in materials. Then, I added extra for inevitable mistake cuts. When it came time for install, I used the floor plan to map out my cuts. I even draw the type of cuts I need (45 degree miters vs. square cuts) so I avoid making mistakes at the saw (spoiler: I did!)
3. Find Studs
For most people with modern home, this step seems weird, but when your walls are made out of plaster and lath, a traditional stud finder won't cut it. Since the ones at the hardware stores are designed to find obstructions behind drywall, they can't find studs in old houses when the walls are constructed with one big obstruction - lath. You can see my less efficient yet effective method if you look back at how I installed the picture rail molding, but I have since discovered the StudPop which has basically changed my life. It is a simple piece of $10 plastic with a magnet that pops up a joystick when it finds a nail in the wall. A nail in the wall means a nail through lath and into a stud - thus, a stud finder. The simplest products tend to be my favorites, and this is definitely one of them.

Note: For the thiiiiin pieces of ¼" lattice I was using, nailing into studs wasn't too important. However, if you're installing, say, 1"x3" boards that go up to the ceiling, you'll want to plan on supporting those puppies.
4. Cut!
I pulled out my trusty miter saw that you may remember I used when I installed the picture rail in the den. Then, I chopped wood all day. I used it outside, but immediately felt like I was wasting time by walking down the hall, through the dining room, through the kitchen, and out the door each time I needed to shave ⅛" off a piece of wood. So, I started climbing out of the window to get to the saw much quicker. Enjoy watching me use this odd yet efficient way of working in this week's video. P.S. I brought it inside the next day and it made such a difference!
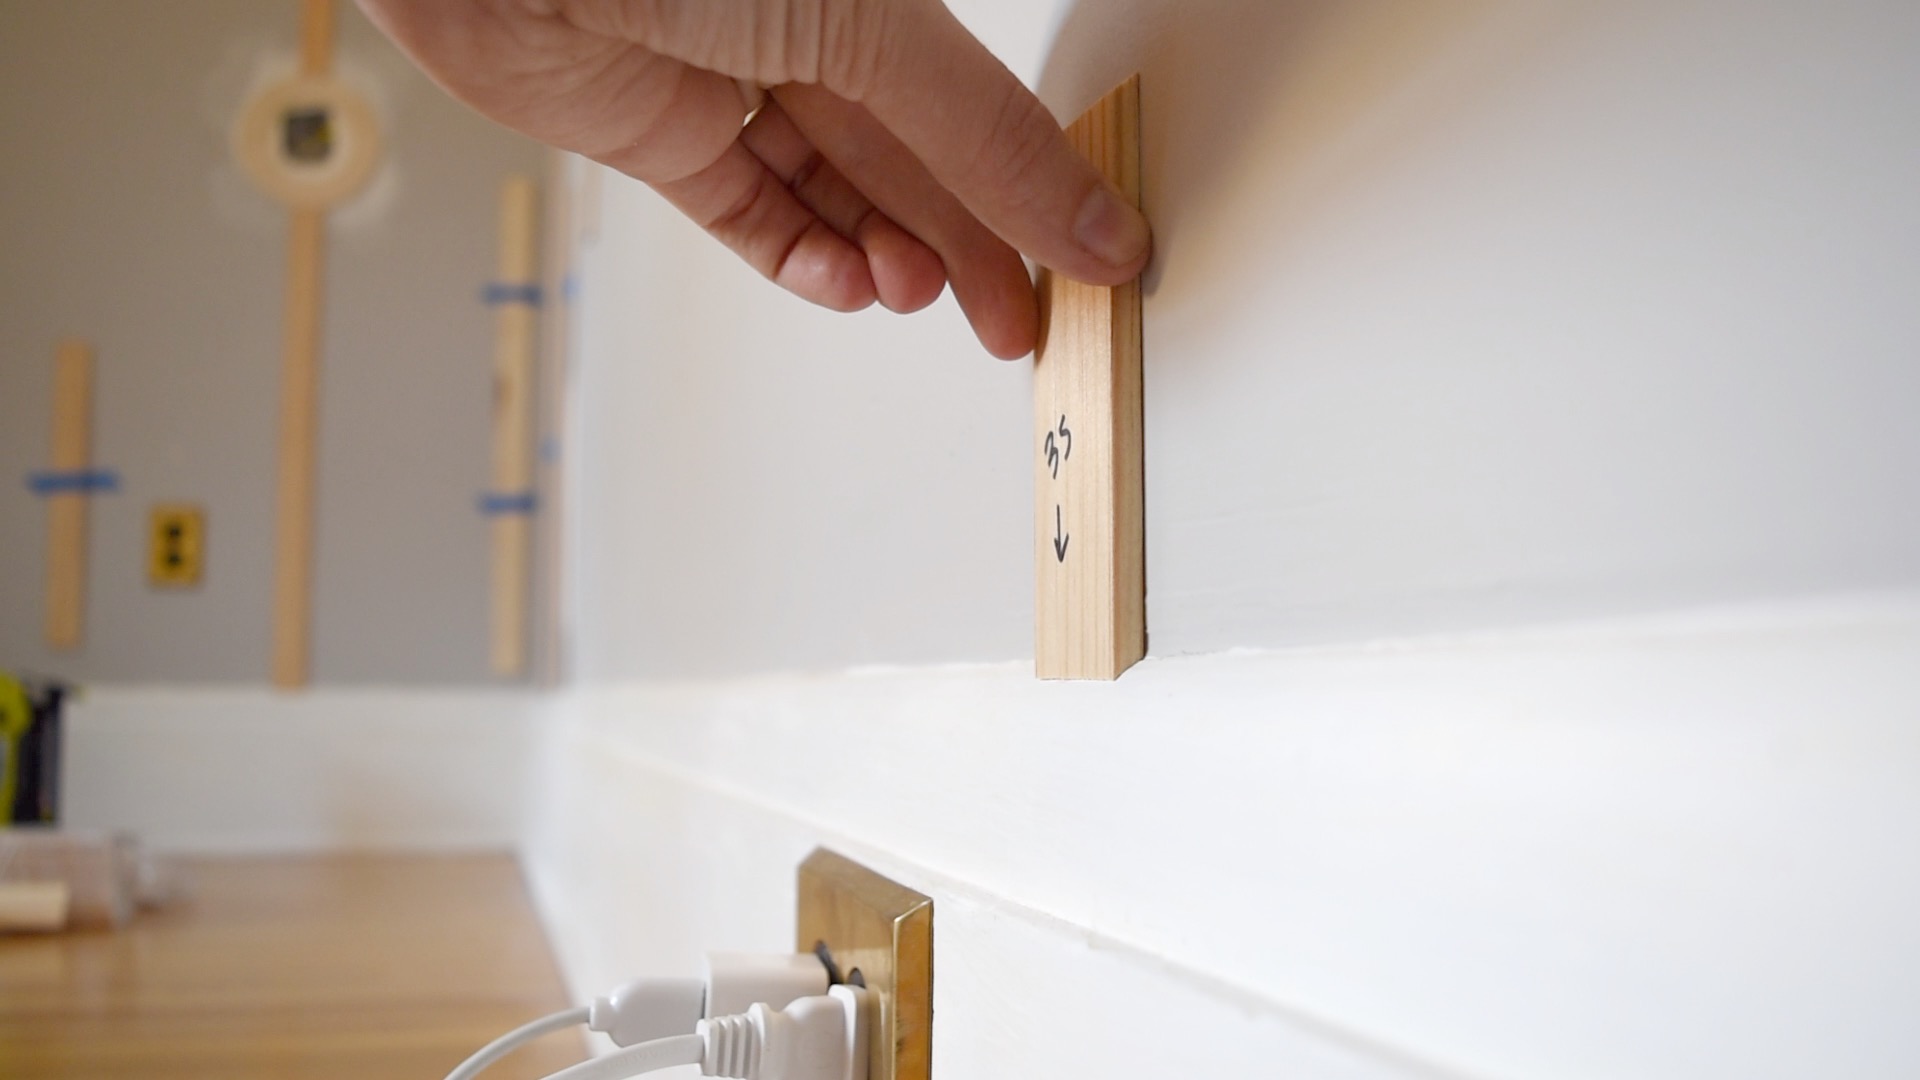
I have curved baseboards, so I needed to cut accordingly. If you're installing new base or have a squared profile, no need to miter your ends. I didn't know the curvature of my baseboards, so I cut multiple mitered test pieces to try out on the wall to find the best fit. In the end, my baseboards called for a 35 degree miter.
5. CNC
If you are going standard board & batten, you can skip this step. However, I fell in love with a wall detail at a hotel in New York and I knew I needed to have the same look in my house one day. I'd be lying if I said it wasn't the main reason I wanted board & batten.
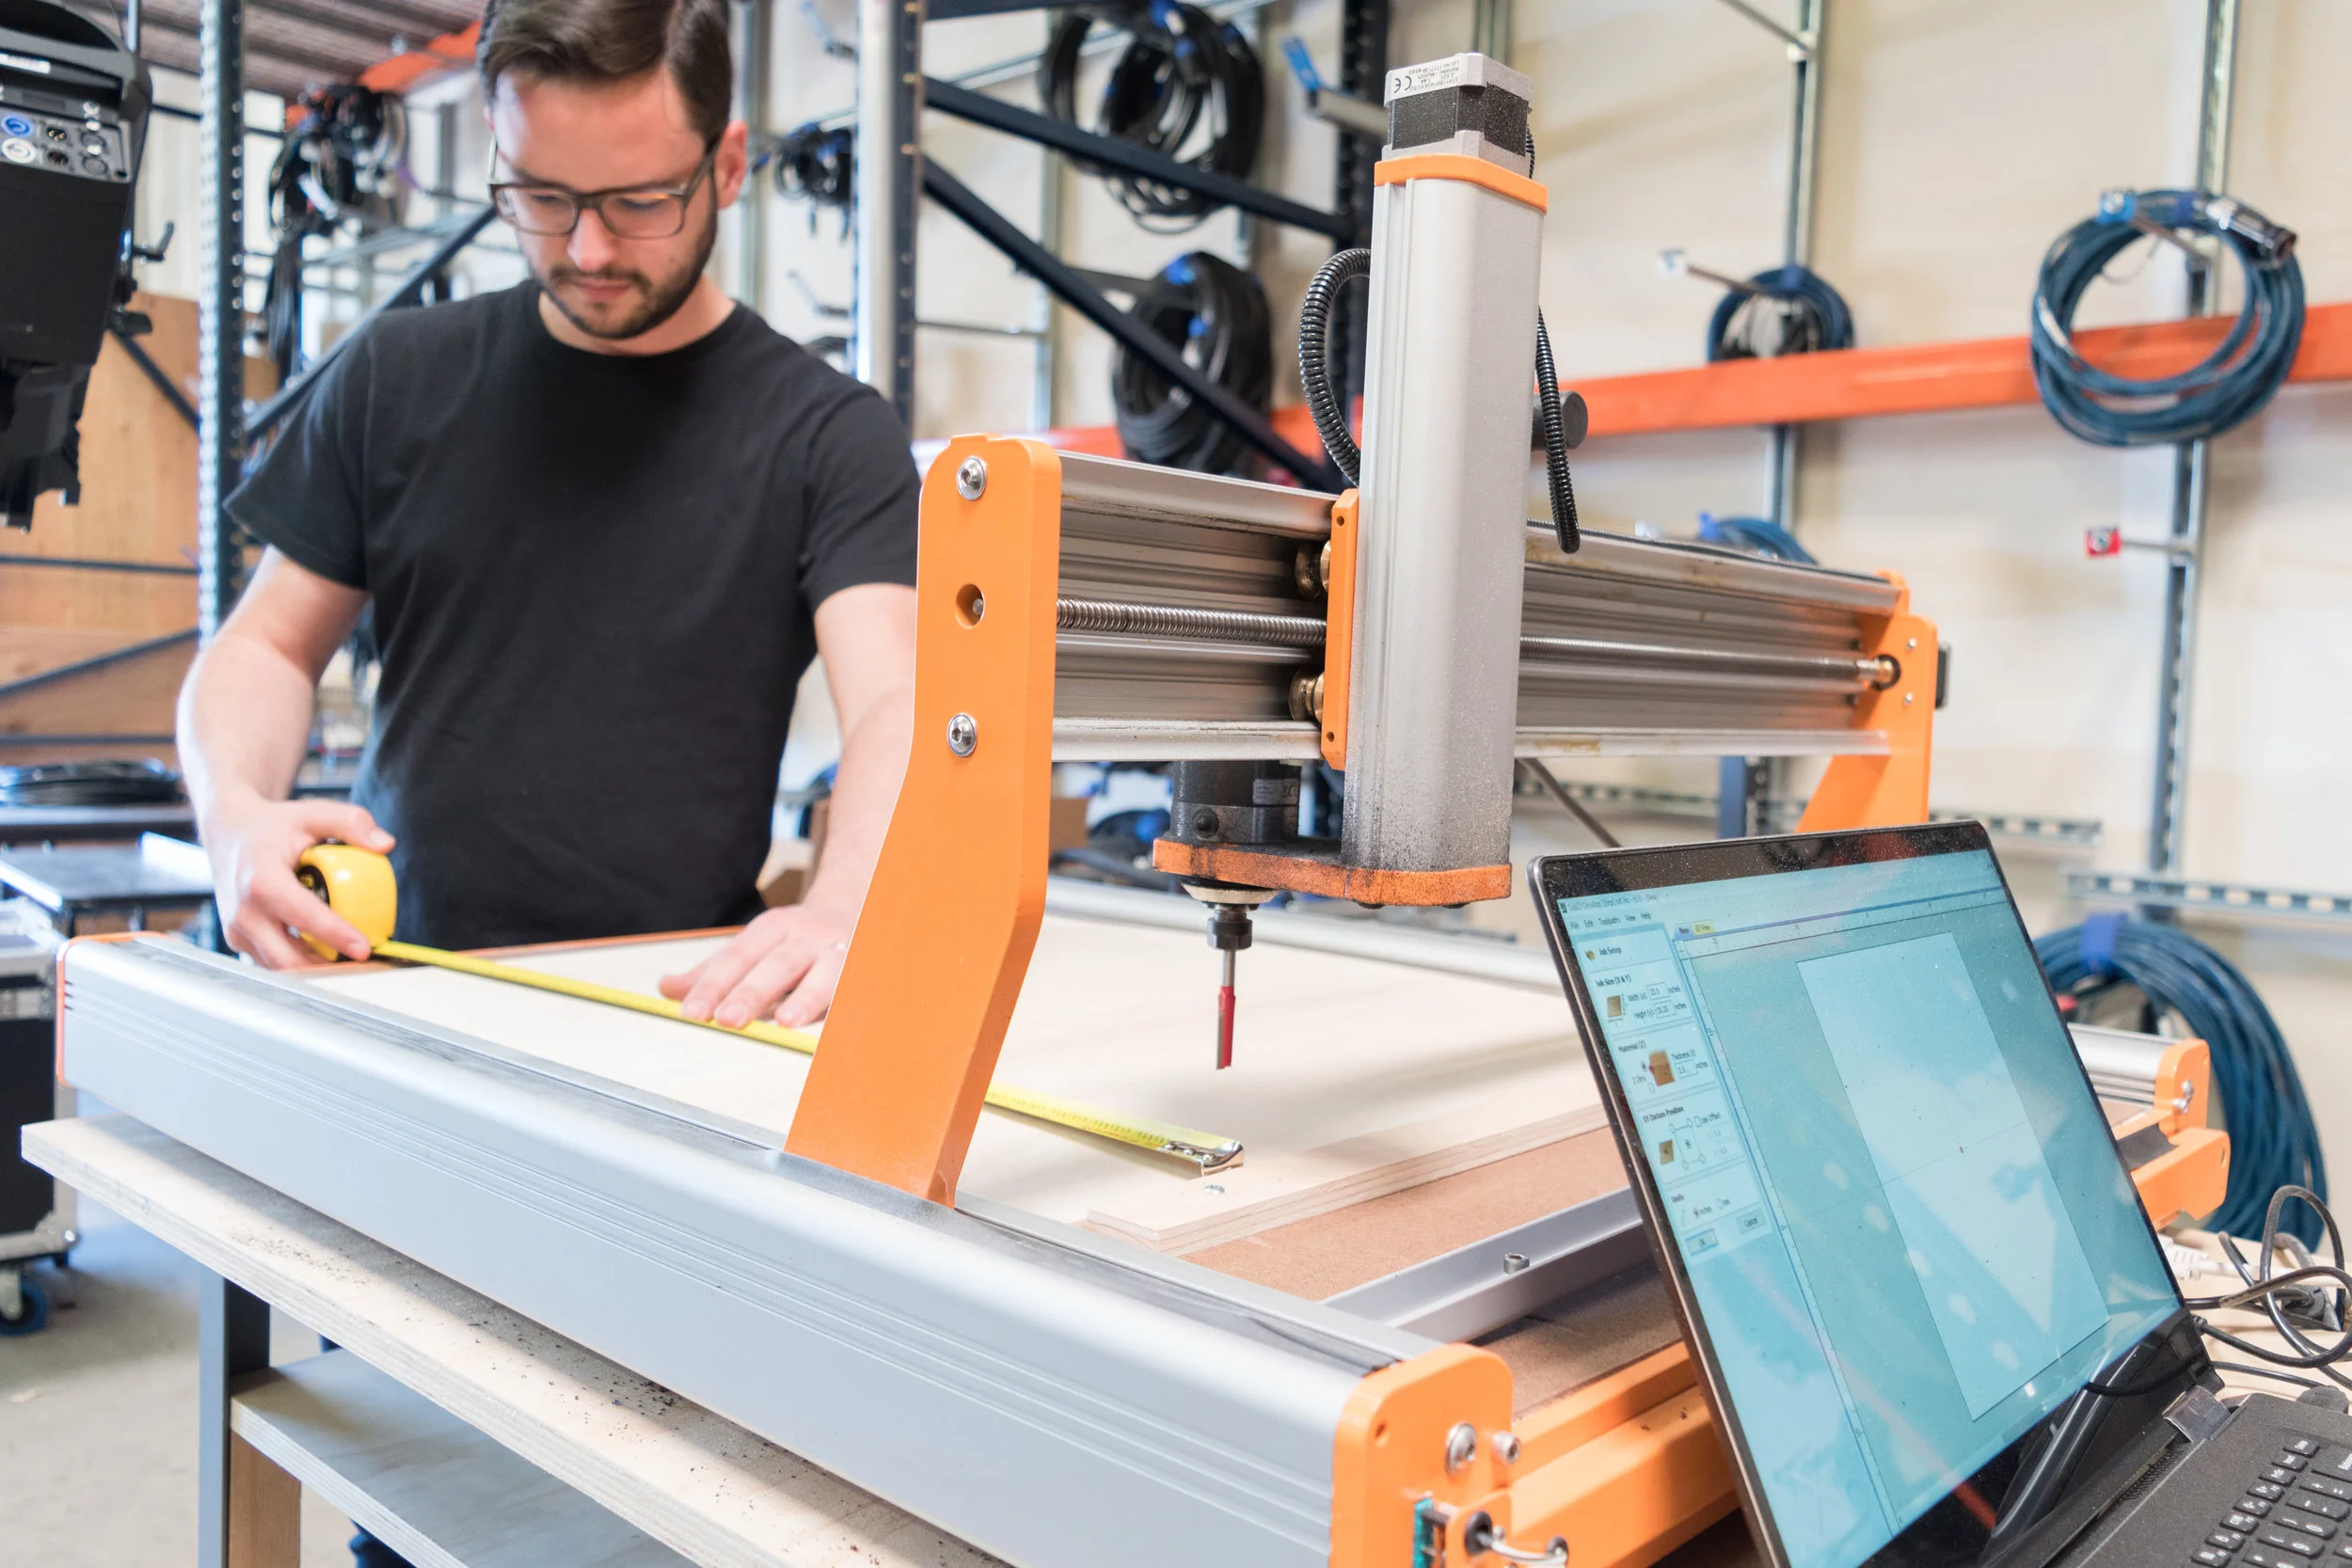
You can also use a router with a jig, but because Ross has a CNC machine at work that can cut a perfect circle with the ease of software, I took him up on the offer to use such fancy machinery. I used the tool to cut two donuts in plywood that were the thickness of my batten strips (¼"). See what they look like on the wall in my video, or stay tuned to see the finish installation in weeks to come.
5. Level & Nail
If your installation isn't level, you'll never sleep staring at that piece of wood that's slightly off. Do yourself a favor and get a solid level that's at least 24" long - those 6" ones will do nothing but cause trouble. I first installed the top rail that runs the perimeter of the room. From there, I could measure the battens for each and every spot (since my old house isn't perfectly level, some of my batten lengths varied by up to ½"). My focal points are the sconces on either side of the bed since I wanted the lights centered on the batten. From here, I measured out the distance from each piece of batten. My house's architecture said to put the pieces roughly 10" apart, but when I did this, I ended up with weird slivers of batten adjacent to window trim, or pieces that would need to be notched out for a light switch. This is an absolute no-go for me, so I modified to 10 ¾" spacing. To find out how the room would look with this spacing, I taped up scrap lumber around the room to see how it would look and if I needed to make any adjustments.
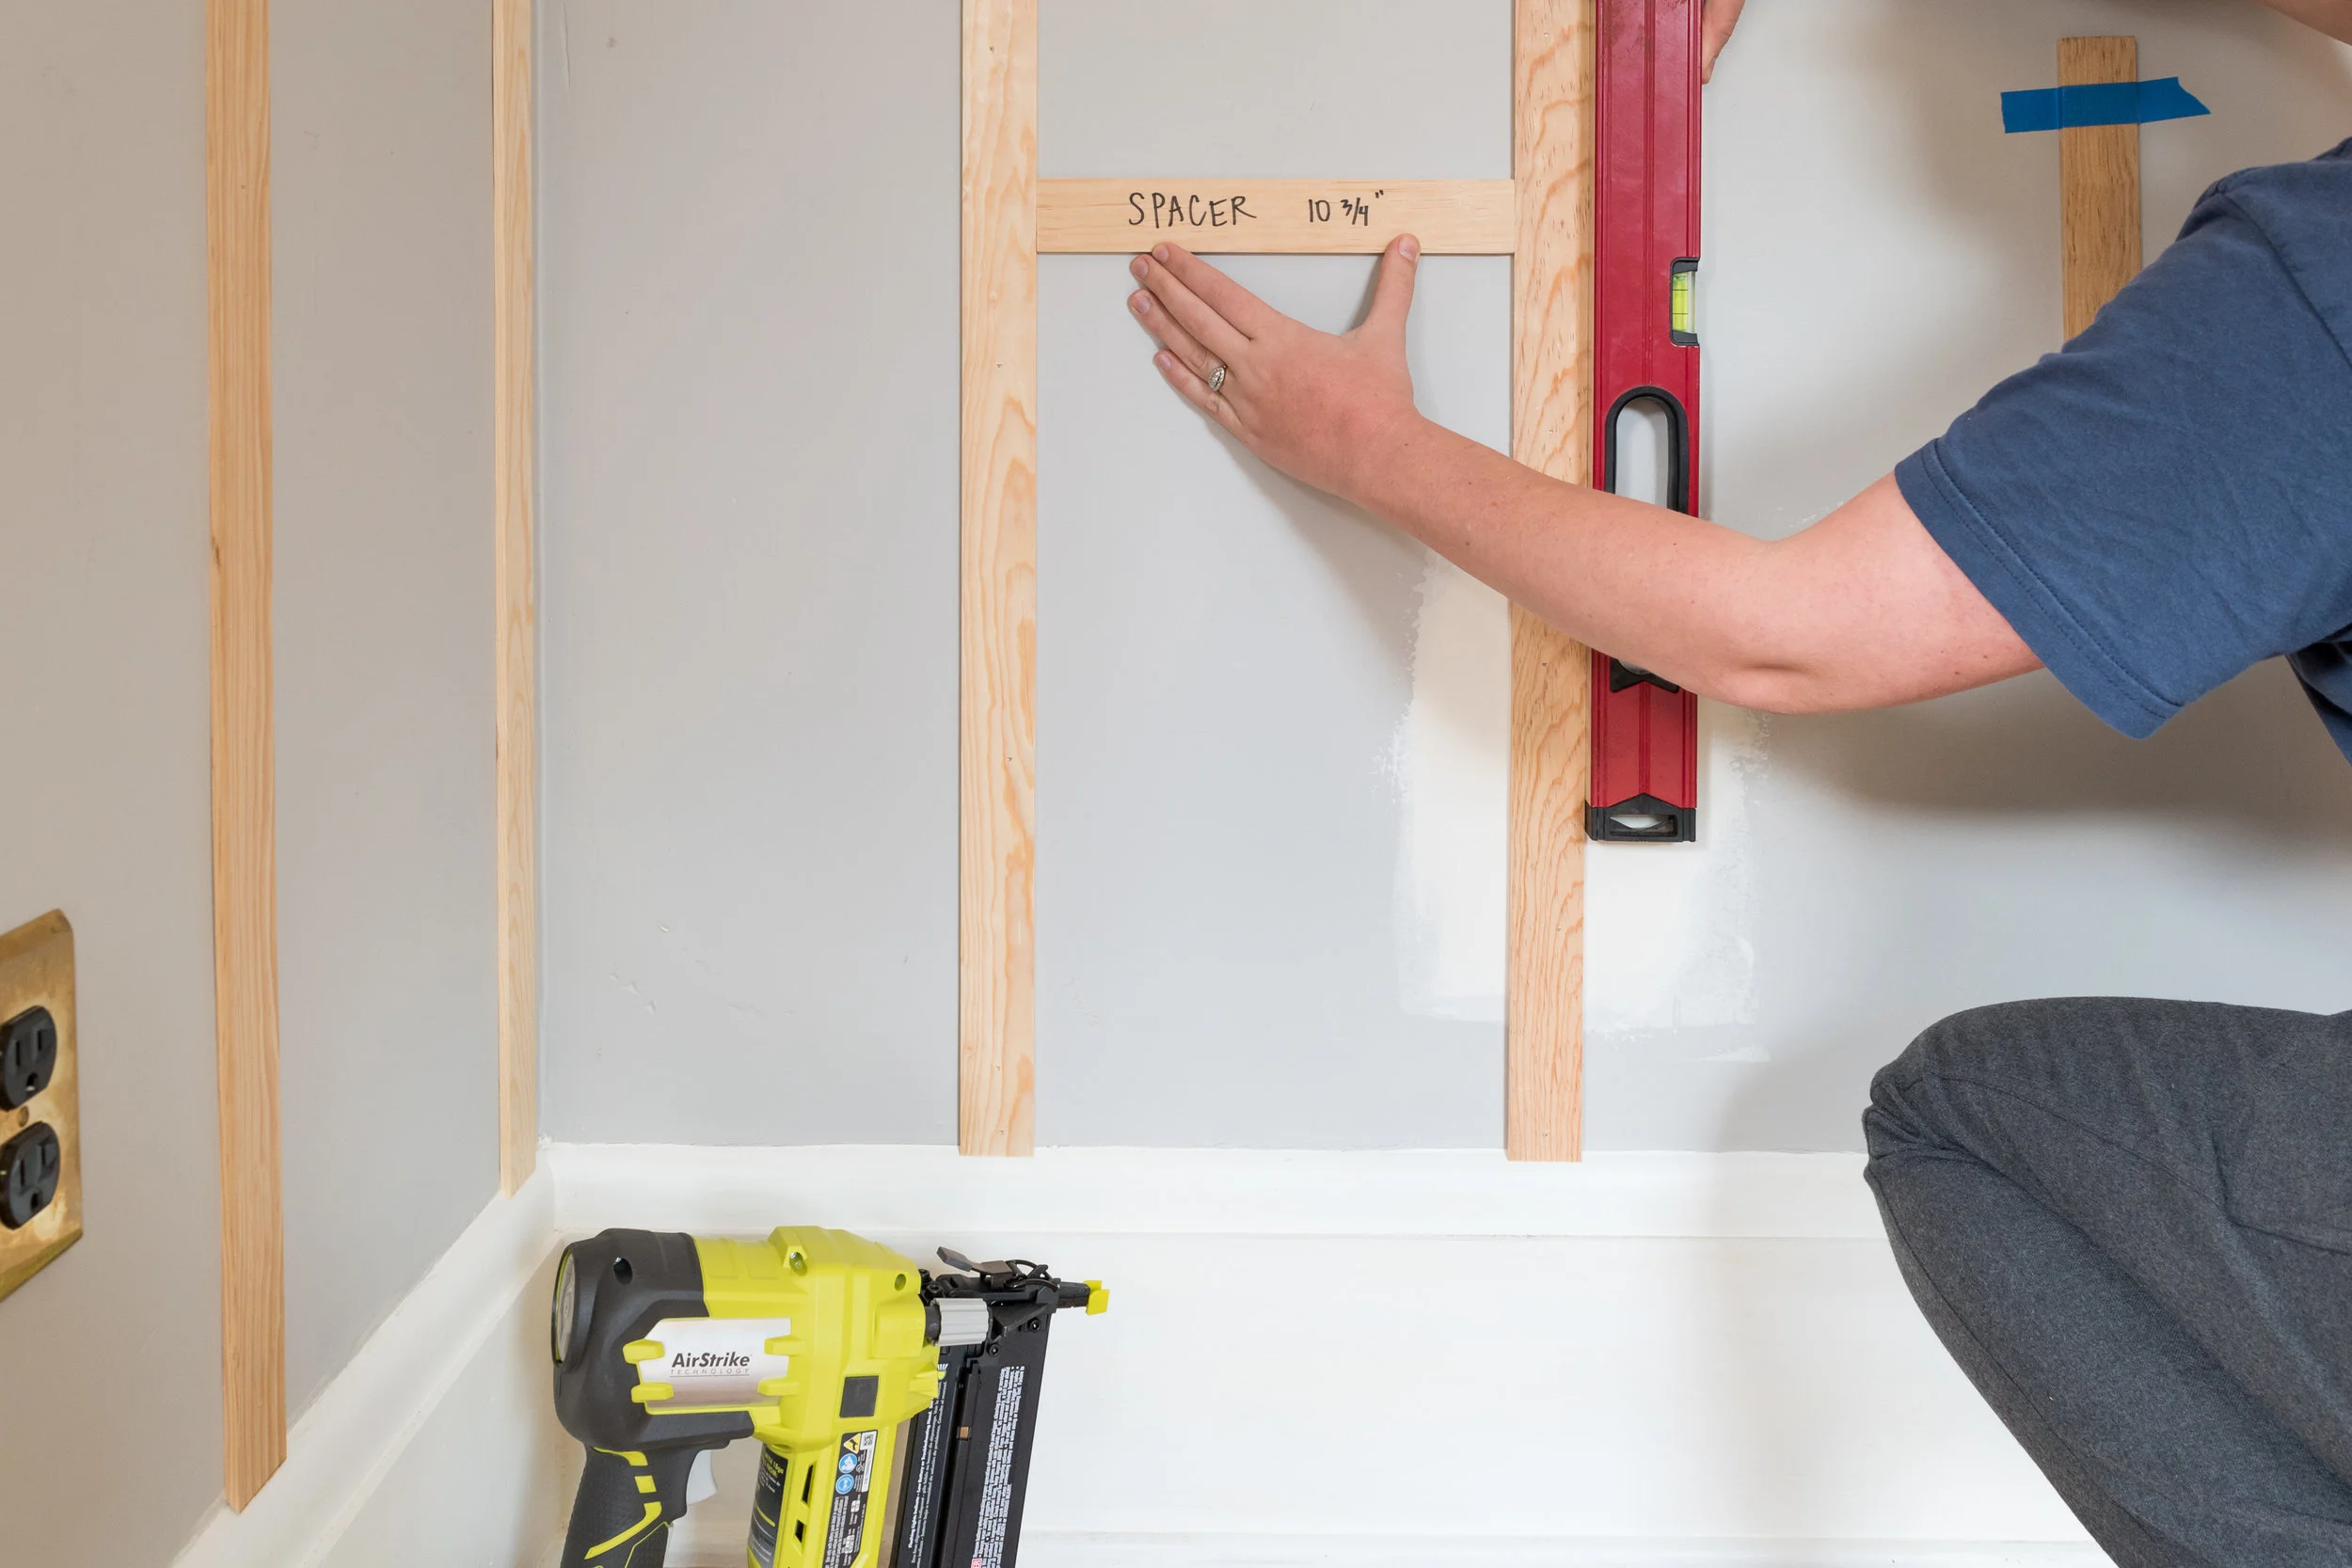
Once I knew I wanted 10 ¾" spacing, I created a spacer to use as a template throughout the room. It guaranteed I never strayed from the dimensions, prevented me from needing to wield the tape measure, and helped me do it with only my two human hands (I had no helpers - other than that cat that keeps wandering into my house). I held up a spacer perpendicular to an installed piece of batten, held up the next piece, used the level to make it plumb, then nailed it in.
I'm in love with this nail gun. It's battery operated, so you aren't tied to an air compressor and you don't have that horrid noise going on constantly in the background. It made for prime music listening - this week was The Notorious B.I.G radio.
6. Patch and Caulk
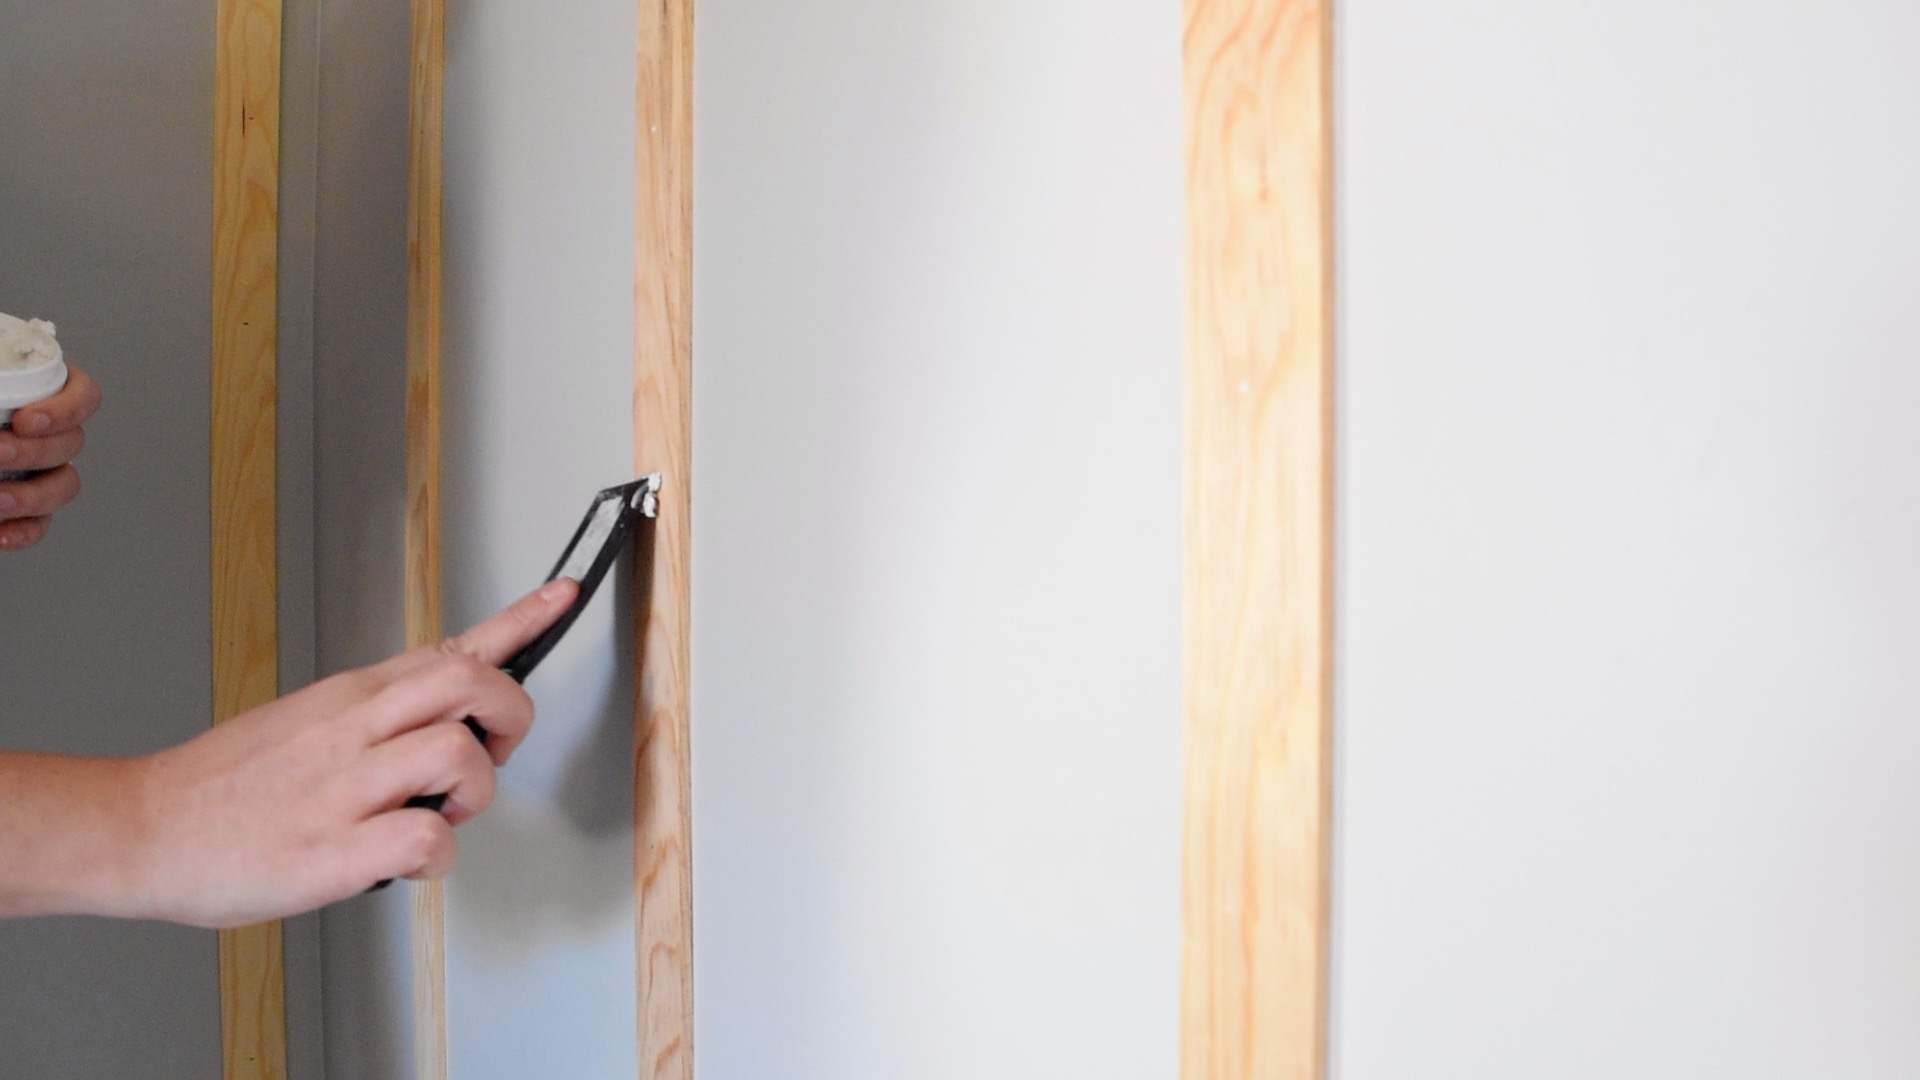
I used a lightweight spackling to fill the small brad nail holes since I'll be painting everything. Then I followed up by caulking all of the seams. Don't skip either of these steps, please. But also don't go crazy, because too much of either never looks good.
7. Prime and Paint
Since I installed raw wood (as opposed to pre-primed wood/MDF) I'll be priming these pieces soon. I didn't finish that step this week because I'm only one human being, okay! Jeeze. When I do prime and paint, I'll be using the paint goodness of Farrow & Ball and using my trusty angled brush.
I CANNOT wait to see this wall detail pop when it's painted a contrasting color from the upper part of the walls. Stay tuned! Be sure to follow along on Instagram Stories where I share live updates and ask for your advice when I can't make choices. ORC products are starting to arrive, so I'm also giving away sneak peaks in my Stories! Even if you watch the videos on the blog, please subscribe to my YouTube channel to support future videos. If you aren't already subscribed to the blog, you can do that here.
Psst! To jump into the future and see how this room turned out, click here!
I'd like to give a big thanks to this week's featured sponsor, Metrie! I'm so grateful to be a featured designer on this round of the One Room Challenge which connects me with these brands I've admired for years!
While many of the products in this makeover were generously provided by brands, all opinions are my own.
Check out progress from my fellow featured designers below, and don't miss out on the guest participants!
Apartment 34 | Beginning in the Middle | Coco & Jack | The English Room | The Gold Hive
Gray Malin | Jenna Sue Design | Jojotastic | Kelly Rogers Int. | Linda Holt | Marcus Design
Michelle Gage | Natasha Habermann | The Painted House | Rambling Renovators
Sacramento Street | Shannon Claire | Sketch 42 | Stephanie Kraus | Bisou Style
Media Partner House Beautiful | TM by ORC
This Week's Sources