I Made Custom Quarantine Postcards! And You Can, Too!
/While staying home during the COVID-19 crisis, we’re yearning for ways to stay connected. So, I made some quarantine postcards that I sent to friends and family! It tells them I’m thinking of them and it serves as a unique souvenir of these bizarre times. Plus, the kitschy nod to an antique travel postcard during a time when we aren’t traveling is cheesy and I like that kind of sentiment.
Ross (normally) travels a lot for work and I have the luxury of going with him. During our adventures, I like to admire the tacky postcards at the airport and I often buy the ugliest one I can find. I started a tradition with my friend Kara of sending her the dorkiest postcards I could find. You know the ones - They often have five different typefaces, the kerning makes them impossible to read, there are quotation marks where they shouldn’t be, the cyan has been bleached out of them so they’re all yellow, they have lots of layered images of the city stacked on top to make a cacophonous poorly designed postcard. I love them.
Since Ross and I aren’t leaving our house, I thought it would be fun to send Kara a postcard of our “travels” from home. I thought about sending a dorky postcard but they’re so bad that so good and thus too hard for me to poorly design on purpose. So, I decided to make a classic vintage postcard like the ones below.

So cool, right?!
Lucky for me, someone made a full step-by-step tutorial to make your own retro postcard. The tutorial by Chris of Spoon Graphics is super comprehensive and clear. I’m not going to pretend that I invented this! I’ll show you briefly below how I made my design, but please consult Chris’ tutorial and check out his many other instructions for cool designs.
What you need:
A photo of your house
Adobe Photoshop
Adobe Illustrator (optional)
A printer or access to one
Scissors
Step 1: Photograph your home and modify to look like a painting
I started with an image of the exterior of my house that I already had. It helps that I had some empty space near the bottom and I like that the shot captures an angle of the house. I think it makes it more dynamic and more akin to the retro design. But, if you’re going to take a photo just for this project, I’d recommend taking a photo knowing that you’re going to superimpose a bunch of text on it. You can pre-design the shape and orientation of the text before taking the photo for the best framing results. And of course, the photo doesn’t need to be the exterior of the house. It could be a photo of your apartment front door, your balcony, the entrance of your yurt, or the view from your house boat!
You can also photograph multiple rooms or parts of your house to add to each of the letters in the design like the retro ones. I was lazy, so I only used one photo, but you can do whatever you please.
The retro postcards were hand-painted, so I converted the image using the oil paint filter to give it a softer more painterly look. Again, check out Chris’ tutorial for the full steps.

Step 2: Design the text
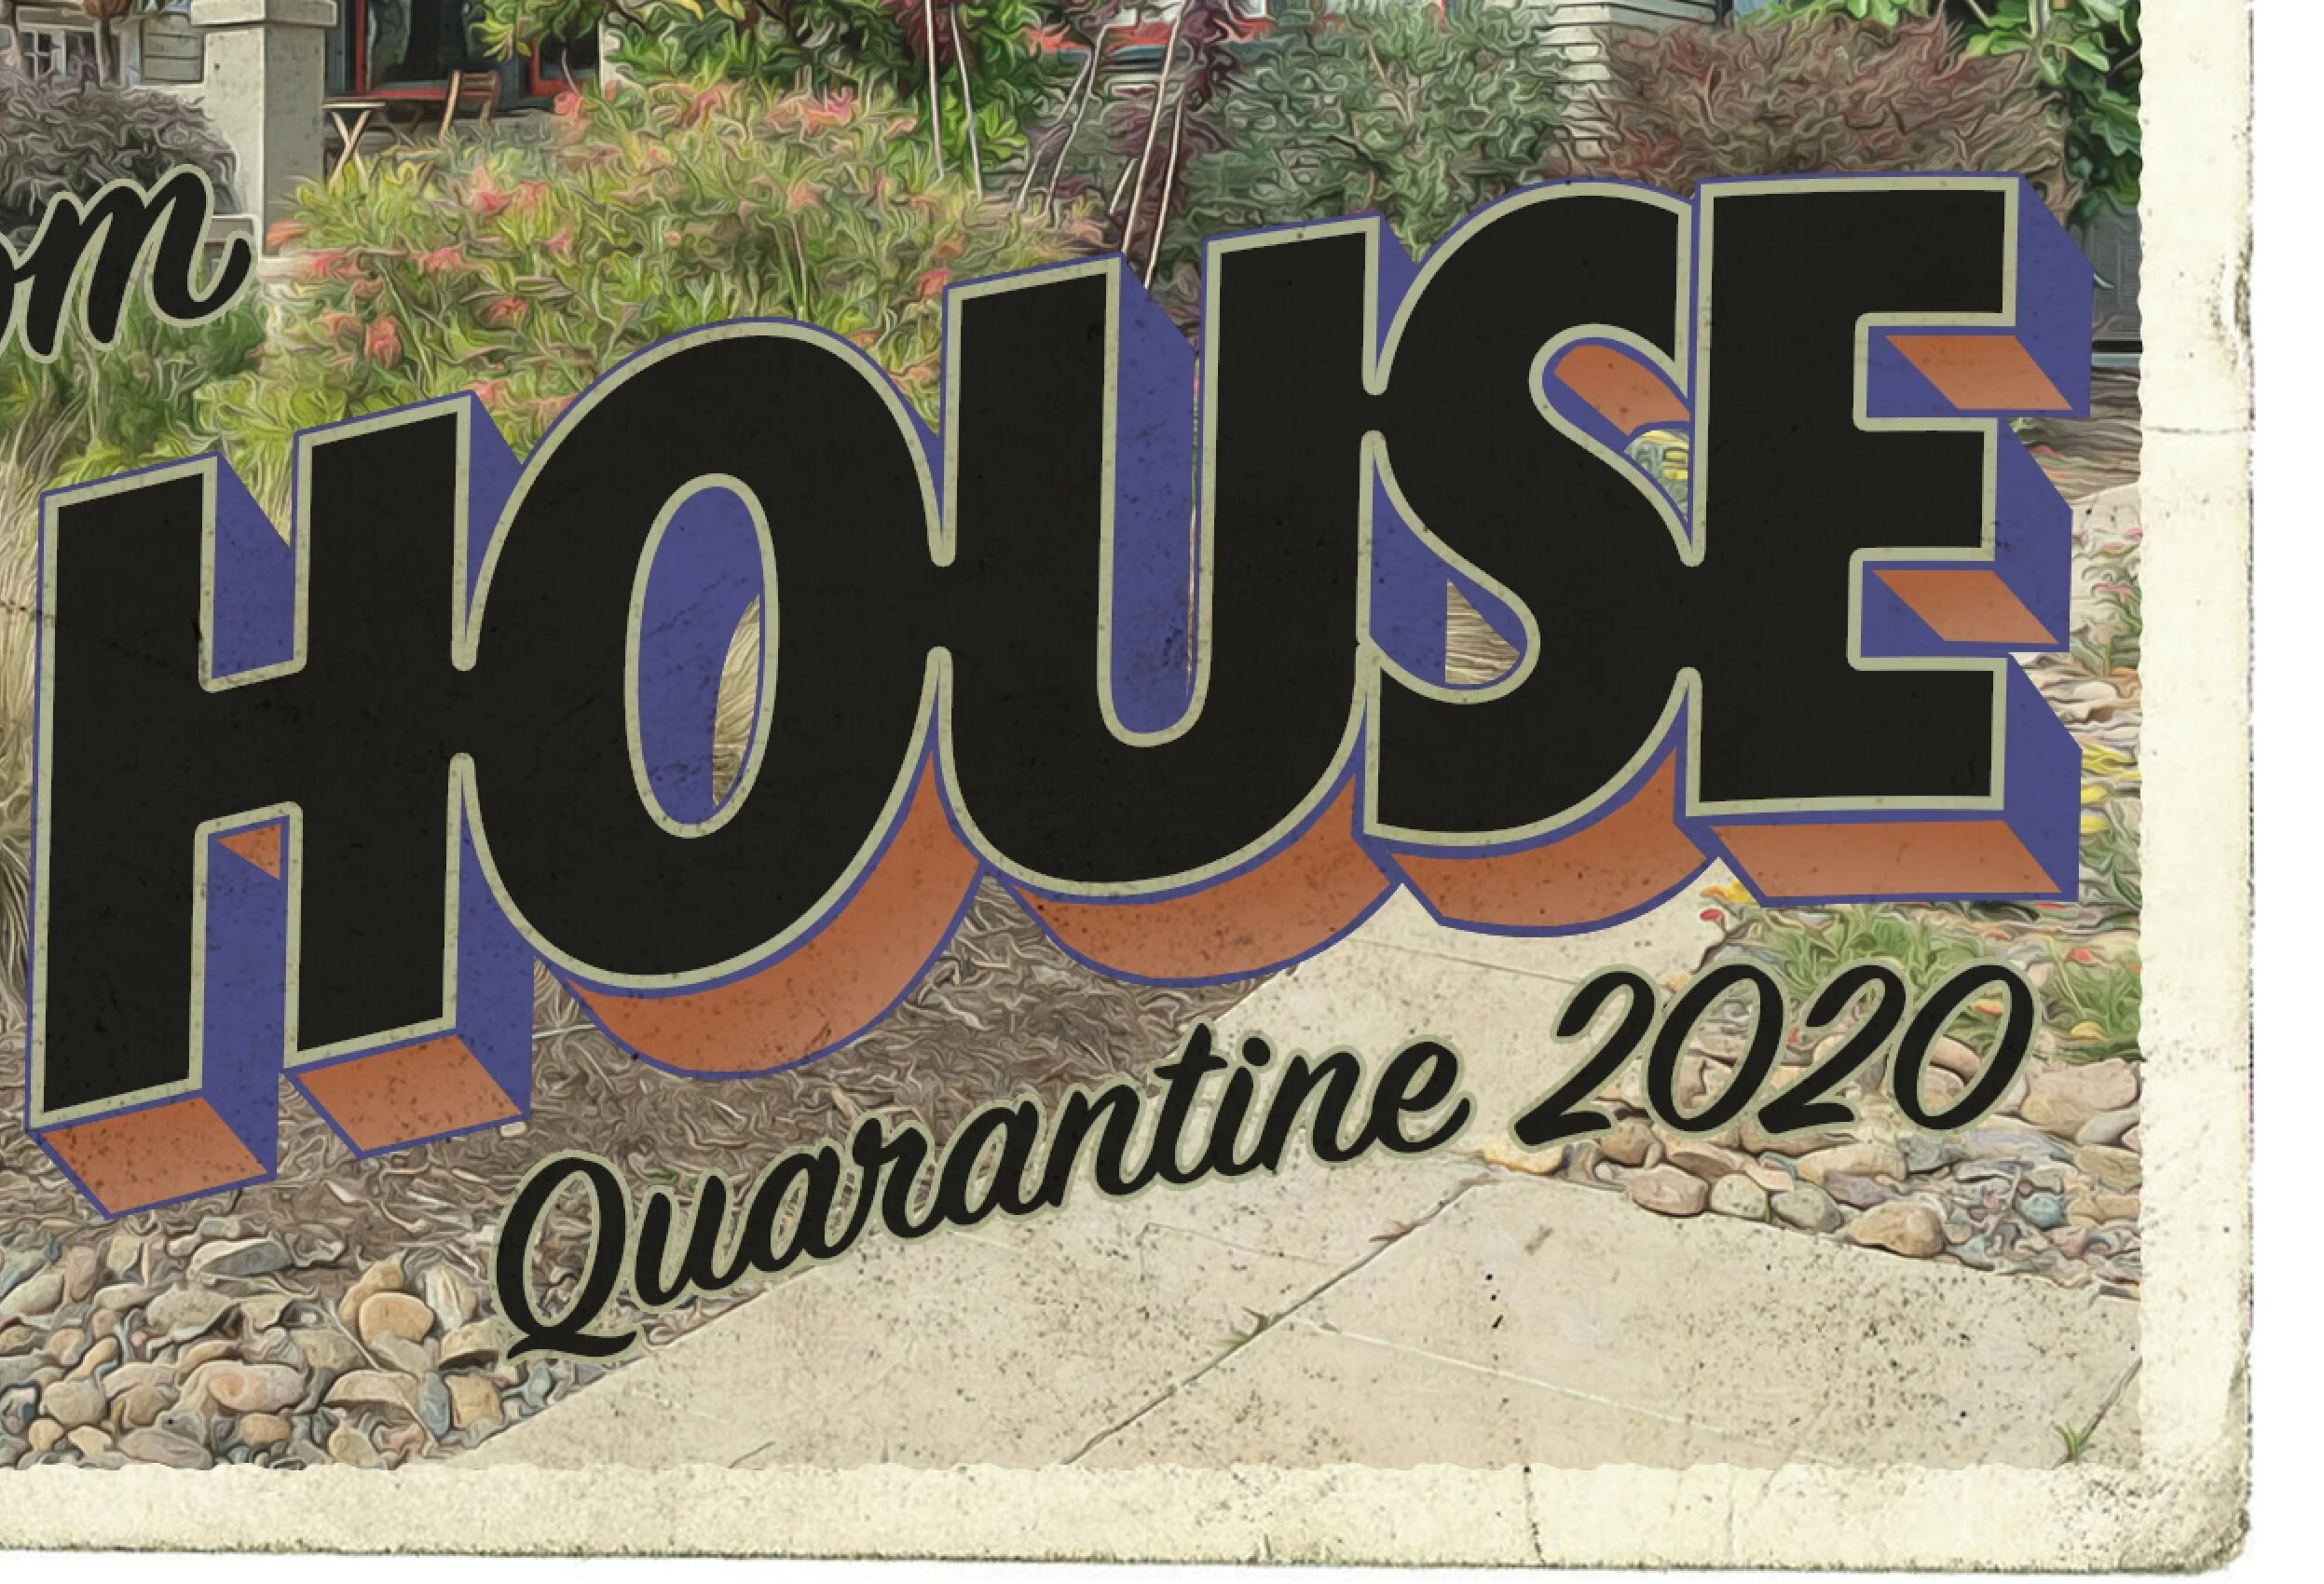
This is the fun part! The words “greetings from” is key to match the retro design, but from there you can write whatever you want. I went with “our house” and “quarantine 2020” but go wild here.
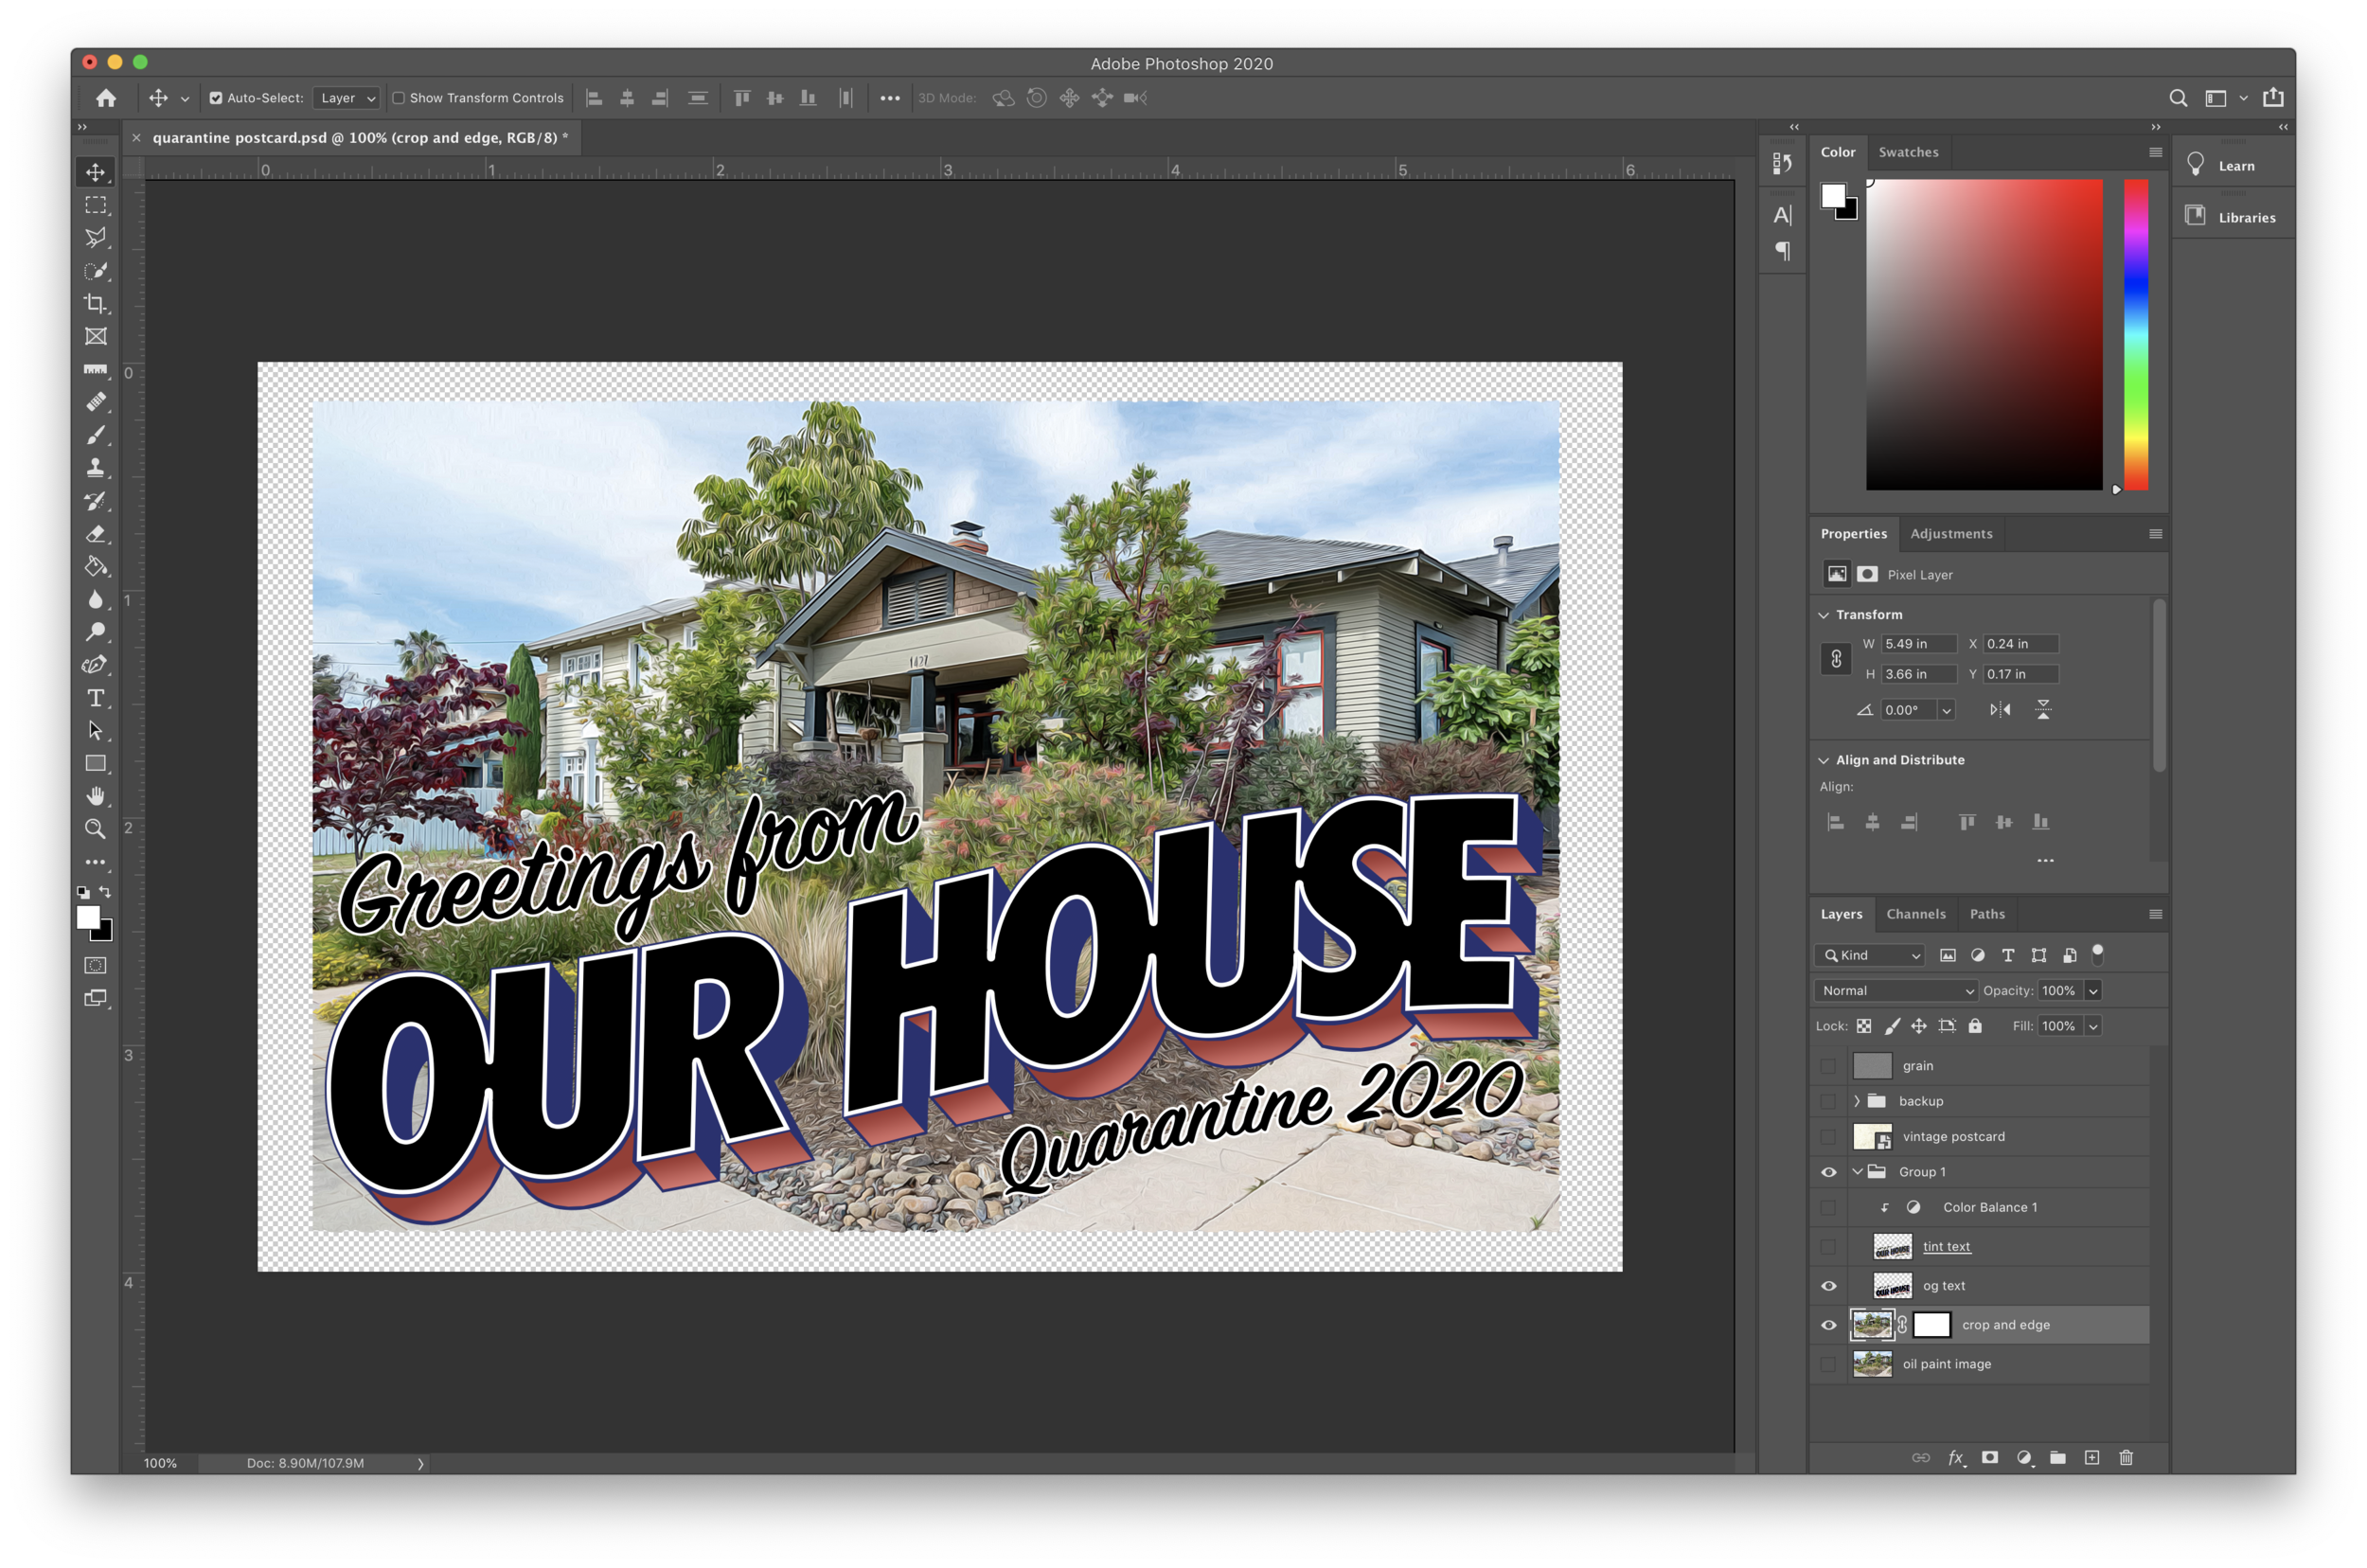
The tutorial has many many steps for how to get the perfect text look in Illustrator. However, I don’t have Illustrator, so I did all of my design in Photoshop using many of the same steps for Illustrator.
Since Photoshop doesn’t have all of the same features as Illustrator, I did have to hack it. I manually added the red gradient shapes underneath the letters, and I was pretty lax about how the text borders would touch and connect with each other.
This is the stage when you could add a different image into each of the letters like the original retro postcards. I thought it might be fun to put a photo of each room into each of the letters. But I felt like it was a bit bold for me - someone who’s job is showing off my house.
Step 3: Colorize and Stylize
The above image looks kind of like disjointed text on top of a photo. So, adding some artifacts and colorizing will bring it all together.
I used the free postcard downloads from the tutorial to create a postcard border and the antique textures over the whole image. I also edited the edge of the photo to add a little more texture to blend it in with the old school design.
Then, I adjusted the saturation and hues of the text to match some of the colors already in the image which blends the text in with the image.
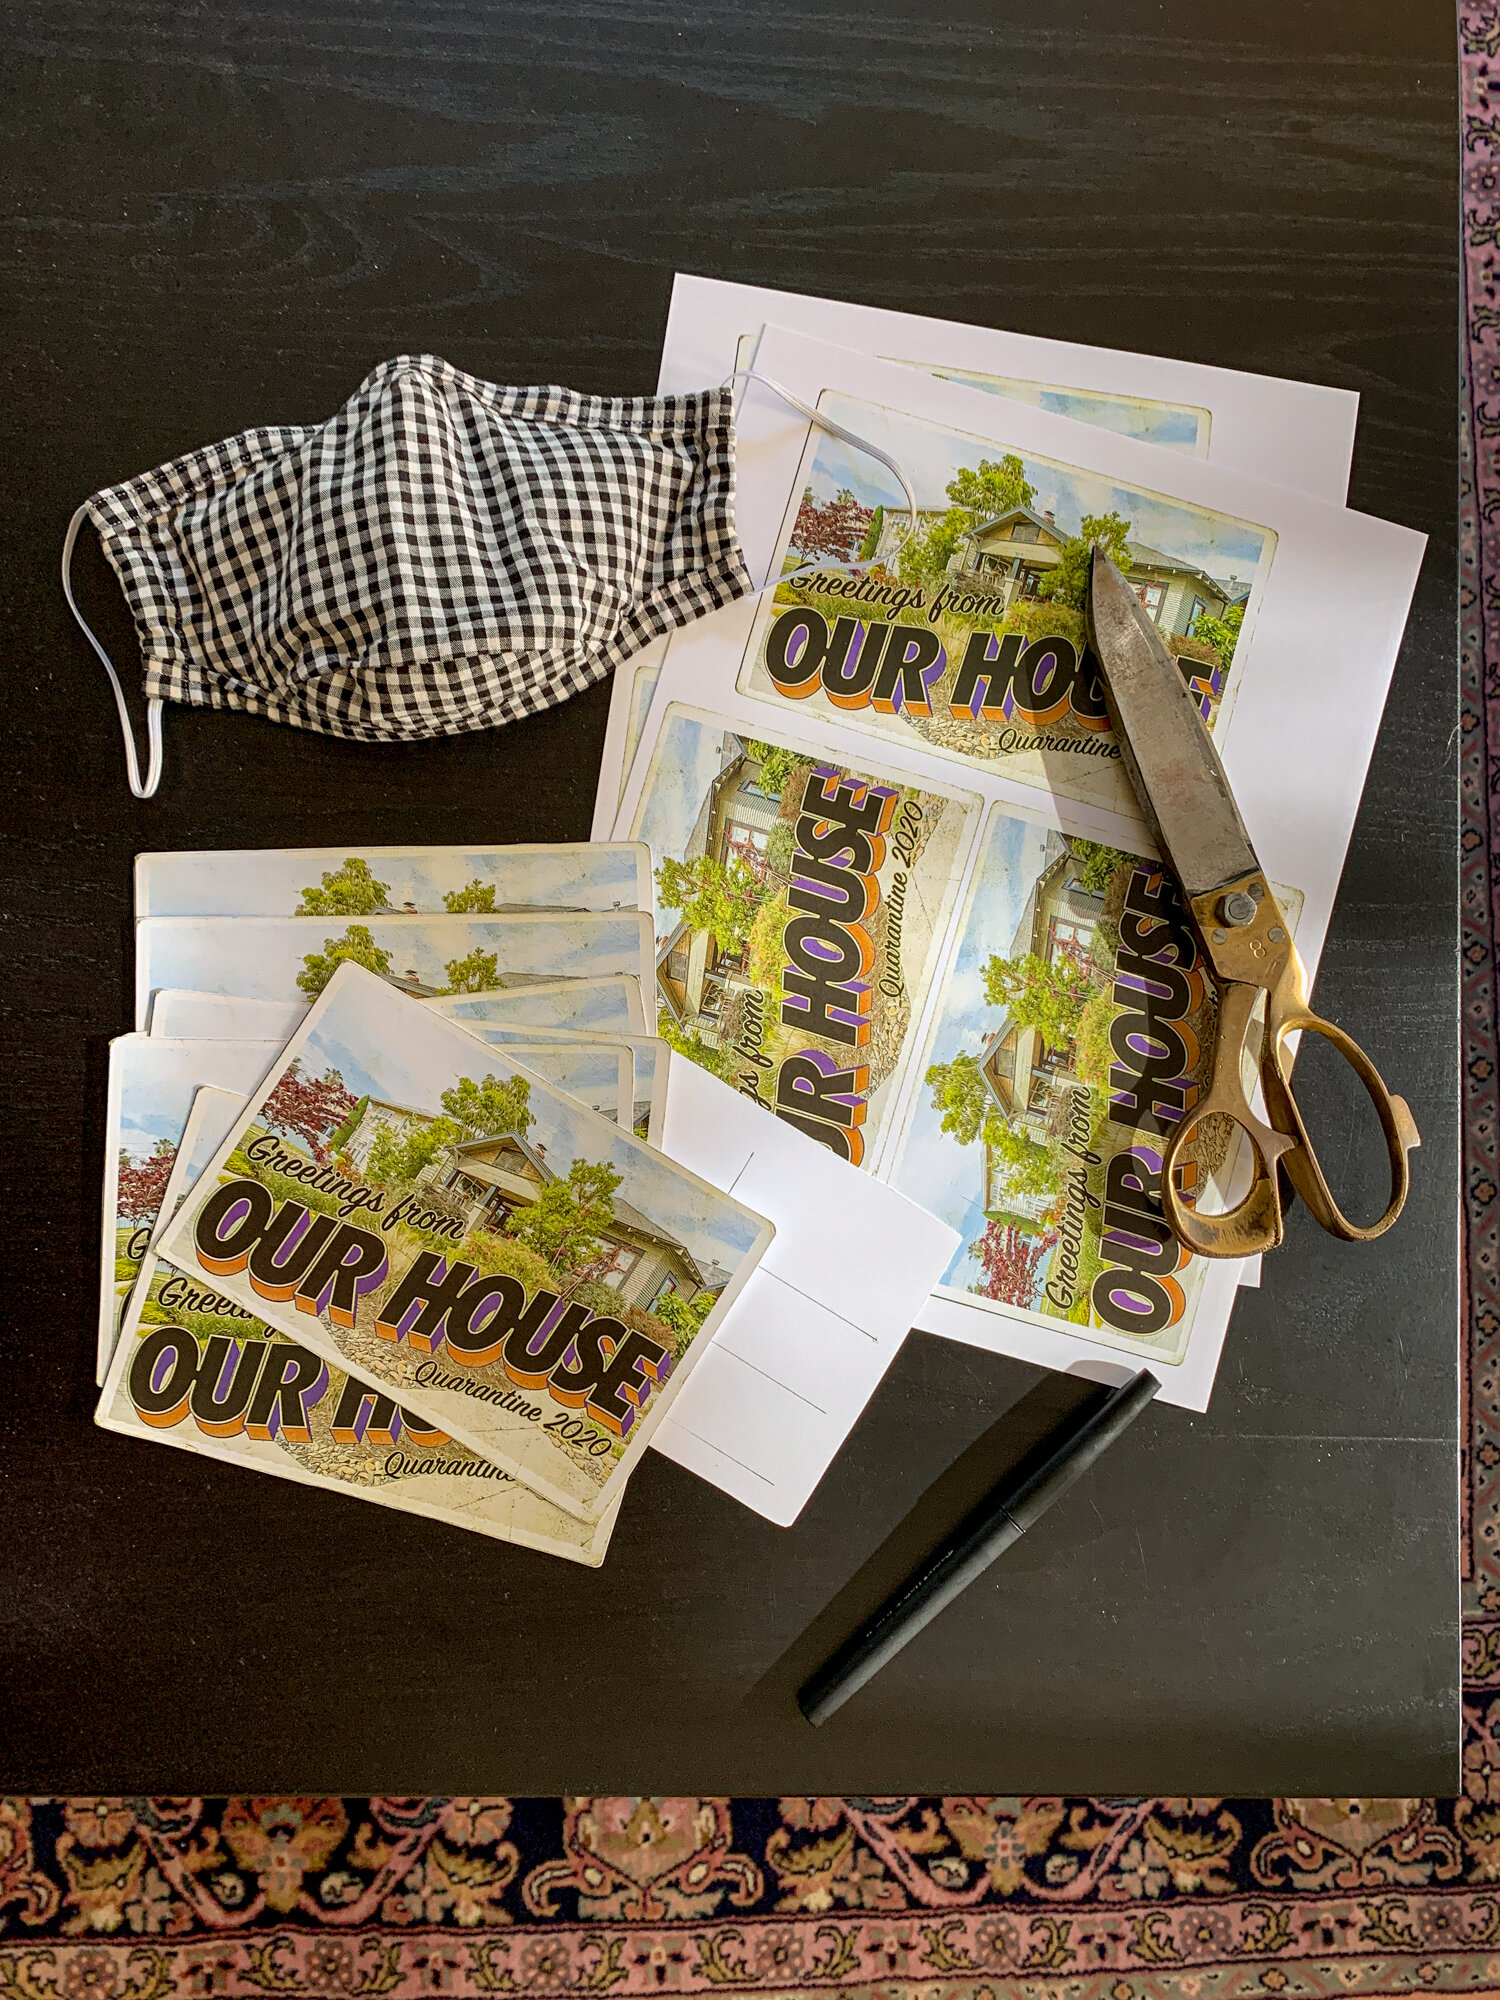
Step 4: Print, cut, and mail
Once the design was where I liked it, I saved the image file into a new Photoshop file sized to be an 8.5”x11” piece of paper. I was able to fit three 4”x6” postcards on one sheet.

My home printer is a black and white laser printer, so I sent the file to the postal center a few blocks from my house and asked them to print it in color on white card stock. For my first batch, I ordered 5 sheets and it cost $4.65 for those 15 postcards. What a deal! I also had them throw in a sheet of postcard stamps and they handed it to me safely out the front door 20 minutes later. You could also ask a neighbor to print it out on their home printer to save the five bucks and stranger interaction. P.S. Did you know that the USPS sells stamps on Amazon Prime?
Then, I cut out the individual postcards from the card stock and I was in business!
The back of the postcards are blank, but you could take it a step further and print an antique blank postcard on the back of each paper, but that was extra work, and I had already put too much energy into this silly project, so blank works for me.

Are you going to try making this postcard? Be sure to follow Chris’ instructions because he walks you through each and every step of it.
I’d love love love to see the postcards you make. Please share them on Instagram and tag me! If you’re not on the ‘gram, you can email your finished postcards to ashley@thegoldhive.com.
Happy postcard mailing! Stay safe out there, folks.


