Designing and Installing Marble Kitchen Countertops
/Marble counters are in the kitchen and looking so so good! There’s a process to designing the layout, coordinating with a fabricator, measuring, installing, and sealing. So without further ado, let’s get into it.

This blog post is sponsored by Natural Stone Institute and in partnership with Arizona Tile. As always, all opinions are my own. Thanks for supporting the brands that help me keep the blogging lights on!
I already talked about the research that went into deciding on the exact material, quarry, and slab I chose for our kitchen here. So be sure to check that resource out for information on how and why to select stone mindfully. I’ve outlined the design and installation process below in text, but I also filmed the journey and included a video below for even more context, check it out!
Watch The Video:
After signing off on the stone, the next step is installation and then sealing. (I really tried to come up with a Signed, Sealed, Delivered pun á la the great Stevie Wonder, but couldn’t come up with the right play on words. Rats!)
Designing The Countertops
Determine the number of slabs
The design of the countertops comes into play during the purchase process as I had to be sure I had enough stone for the countertop surfaces, plus for the backsplash and detail work. It can get tricky when trying to match seams if the stone isn’t long enough for a stretch of cabinets or a wall, so work with a pro fabricator to help you pick the right parts of the slab to use in select elements of the design. Don’t let the dramatic veining you love so much go in the sink cutout or underneath the appliance garage! For our needs, we got two slabs.
Determine thickness
I really like the look of the thin stone counters, so I opted to maintain the 2cm thickness of the slab. If you like the look of a thicker stone, the fabricator will add an apron of stone around the edge to give the illusion of a thicker countertop. The latter is the most common practice because it covers up the plywood support added on top of cabinets. But, if you want a thinner profile speak up early and have your cabinet installer recess the plywood support flush with the top of the cabinets. See what this looks like below.

Determine how the stone terminates
If you’re doing any fancy details like waterfall edges or backsplash with the stone slab, you’ll want to think about how you want the edges to terminate. Working with a designer or a pro fabricator will help you with this, but I like to do everything myself.
For my kitchen, I didn’t want to do a lot of tile backsplash up the walls, but rather to run the stone up the wall just a few inches, then have a soft yet deliberate transition to drywall. To accomplish this, I decided to add a petite marble shelf to cap the edge of the stone, and then I added a curvy edge to graduate the shape down the wall back to the countertop. It’s hard to describe, so scroll through my inspiration in the Pinterest board below, and check out the ultimate design as we get further into this post.
When selecting the dimensions for the shelf and curve, I initially modeled the existing architecture in my home. You can never go wrong by using a consistent ratio and shape throughout your house! I carried the stone up to the stool of the sink windows and modeled shapes off the picture rail molding and columns in my house.

I eventually picked my own shape that worked with the home’s overall feel. To see more of my decision-making process, watch the marble installation video here! *link to future video*
My biggest inspirations were friends’ kitchens! Lauren’s curvey backsplash and her help when I texted about outlet placement was key when I was initially designing. Cathy’s pantry sink cut-outs inspired my final design. Thanks, buds!

Determine overhang and edge profiles
Edge profiles are subtle but indeed play an important role in the design of your counters. Call me simple, but I like a classic eased edge. But there are so many pretty profiles to choose from. When considering what the edges of the countertop will look like, pay attention to the amount of overhang as well. Too much might impede access to the drawers underneath, but too shallow will look like the counters are wearing pants that are hemmed too short.
Finding a Fabricator
With a design in mind, I was able to put together a plan that I could email to multiple fabricators for quotes.

I can’t stress how important it is to share accurate dimensions and clear inspiration images with folks you’re looking to get a bid from. It saves everyone headaches down the road and helps you get an accurate quote from the get-go! I used photoshop for the above visual aid.
When researching stone options, I took the importance of worker health very seriously. To ensure worker safety, make sure you’re working with a fabricator that’s following established industry standards and maintaining OSHA compliance. Companies that have been certified to the Natural Stone Sustainability Standard or are Accredited by Natural Stone Institute have already verified compliance. I received great fabricator recommendations from Arizona Tile (where I got my beautiful slabs), so ask the folks you trust! For our kitchen size and details, we got bids ranging from $2,500 to $4,500 for the fabrication and installation (not including the stone).
Measure for the stone
Now we’re at the fun part! After the fabricator picked up my slabs and took the stone to their workshop, they came to measure for their cuts EXACTLY. There are a couple of ways they will take perfectly precise measurements, and no, it’s not with a basic tape measure.
The newfangled way to template for countertops is with a laser measuring tool set up in the middle of the room that scans the cabinets, walls, and details of the space to get a computer-generated model of the slabs to be cut. This is a great option if the stone will be cut with a machine using a computerized laser cutter for precision cuts. Learn more about this process here.
Despite the fancy lasers and computer templating options, many fabricators (mine included) opt to go about it the old-fashioned way, and I love it. What beats out the fancy lasers, you ask? A hot glue gun and pieces of thin wood. Fancy, I know. It’s just my speed.

Essentially, they lay the pieces of wood along the wall, sink, appliances, etc. and glue them together to create a skeleton of the counters.

As they build out the framework, you can see how it’s a perfect match for the counters, complete with the overhang details and demonstrations on where two slabs will need to be joined together. I loved being able to physically visualize the overhang and details around the sink before they cut my precious stone.
(P.S. be sure to have a well-stocked fridge of La Croix and snacks for all of the trades that help make your projects come to life!)
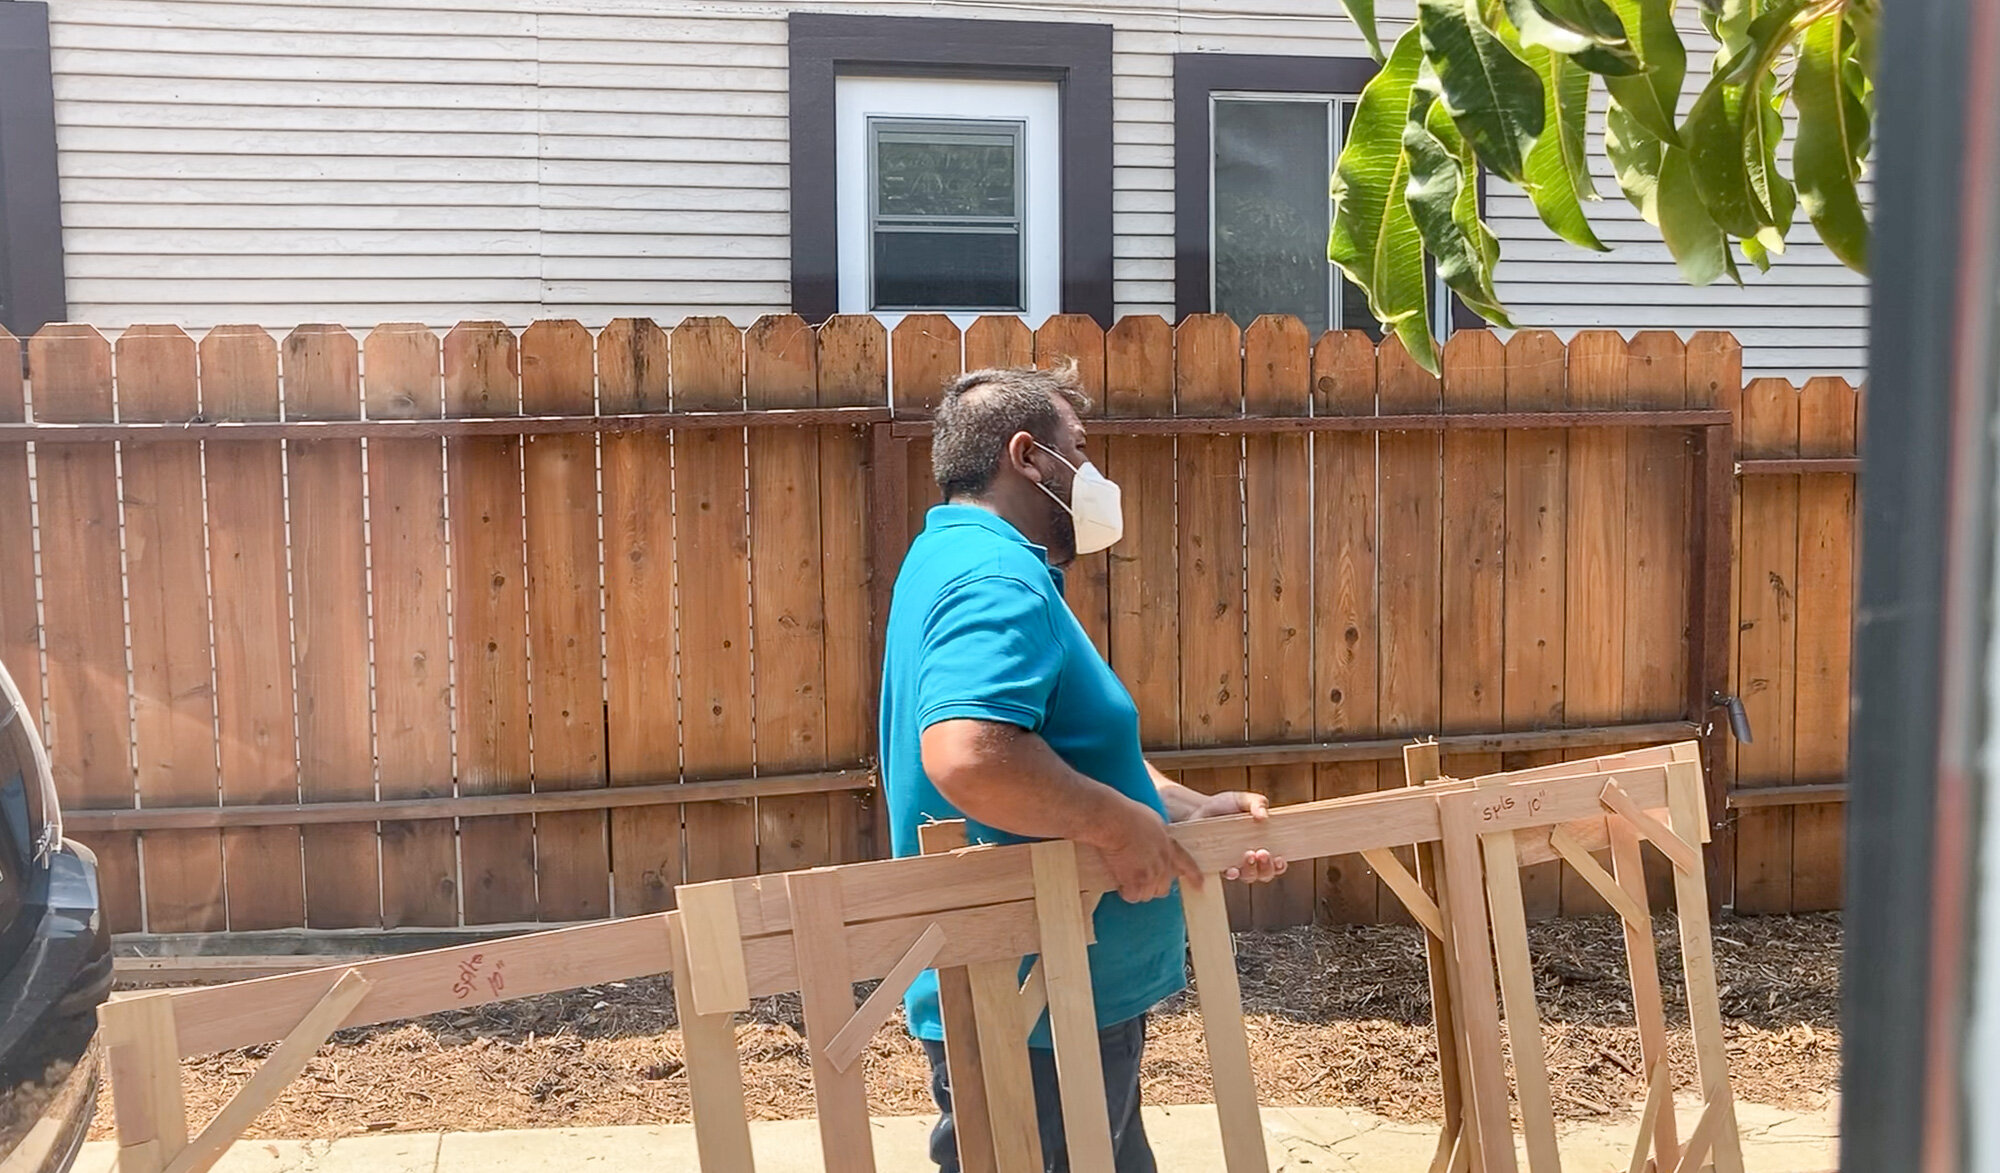
After a couple of hours, the crew walked off with skeletons of the slabs perfectly shaped to the sizes and angles needed. They can then use these to trace onto the slab and make cuts perfectly matching my oddly shaped walls and my custom-sized cabinets. So low-tech but so reliable.
Installation
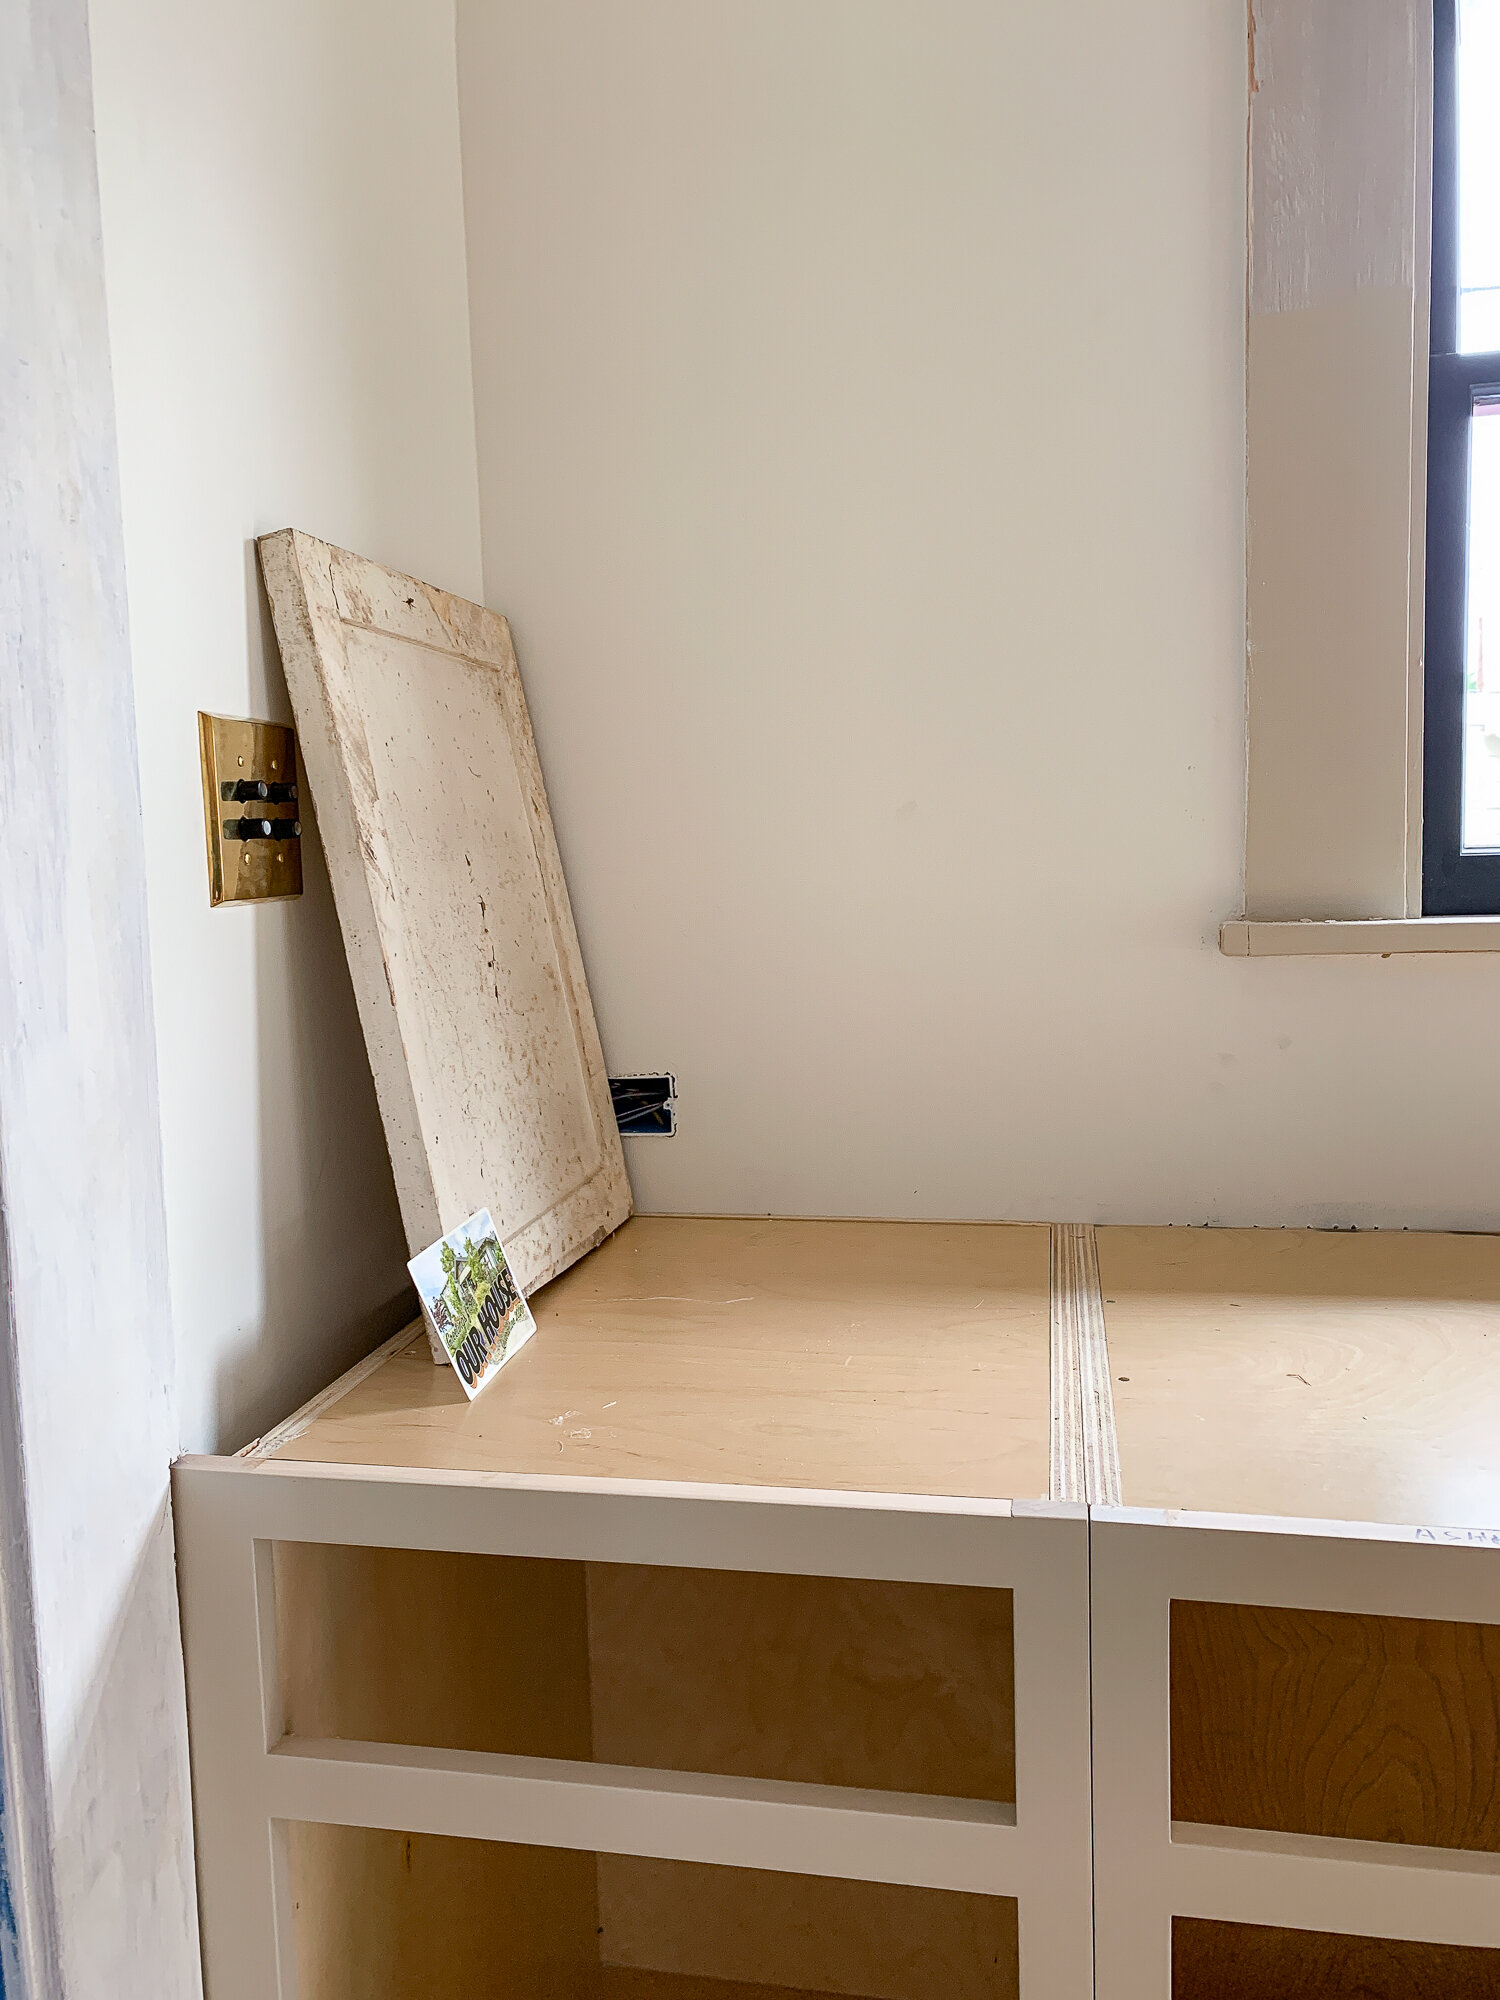
After the crew left to make the cuts, I took the opportunity to do some pre-install projects. During demo, we found an old door (likely an original kitchen cabinet door) that I rescued from the trash. It would take some work to make it usable, which I felt took away from its charm, plus I had no spot for it. So I decided it belonged back in the kitchen where it started its days 105 years ago. I slid it in the gap between the wall and a cabinet and attached a note on my quarantine postcard so someone else can find it one day. I also told the recipient where they can find our time capsule! Once the countertops go on, there’s no seeing that door for many decades.
While they were gone, I also adjusted the dishwasher to make sure it was installed level and ready to go. The sink was already put in place and the countertop installers would finalize that installation when they adjusted the tilt and adhered the slab to the sink.
Then, a week later, the crew came back with a treat. Just guess what they brought with them! Take a wild guess.

Our countertops! Oh. My. Gaaaahhh! Get a good look at that beauty. I’ll admit that having such a gorgeous finish material amidst the unfinished kitchen is kind of like wearing fine jewelry with only a bath towel to a dinner party. But I’ll take it! Just look at that Imperial Danby veining with those perfect warm and cool tones, the buttery soft reflection of the windows, and the glow of the stone. There really is nothing quite like marble. Just wait until you see photos of the kitchen with the rest of her clothes on. Just. You. Wait!

The following day, the crew brought in the backsplash and I could hardly contain my excitement. Once they left I would call Ross over and say, “Did you see these countertops?! Tell me how much you love them.” He too shared in the amazement of how gorgeous the stone was and we both reveled in the beauty for a solid half-hour. Then five minutes after he went back to work I’d yell, “Ross! Did you feel the counter? No, like, REALLY feel it?” then 20 minutes later, “Look at this veining over here!”
Neither of us got much work done that day.

On the sink wall, you can see how my design goal was to match the ledge with the window stool for a continuous line across the room. I asked them to match the height and depth so it was seamless - and they nailed it. The ends of the slabs terminate squarely into the cabinet and wall perfectly.

The range wall is the showstopper! Those subtle curves frame the cabinetry and make the transition into the open space to the right so much softer than if it was a sharp corner. I’m so glad I spent hours figuring out the perfect shape to highlight the pretty stone (look at that veining!) and make the stone a focal point of the wall.
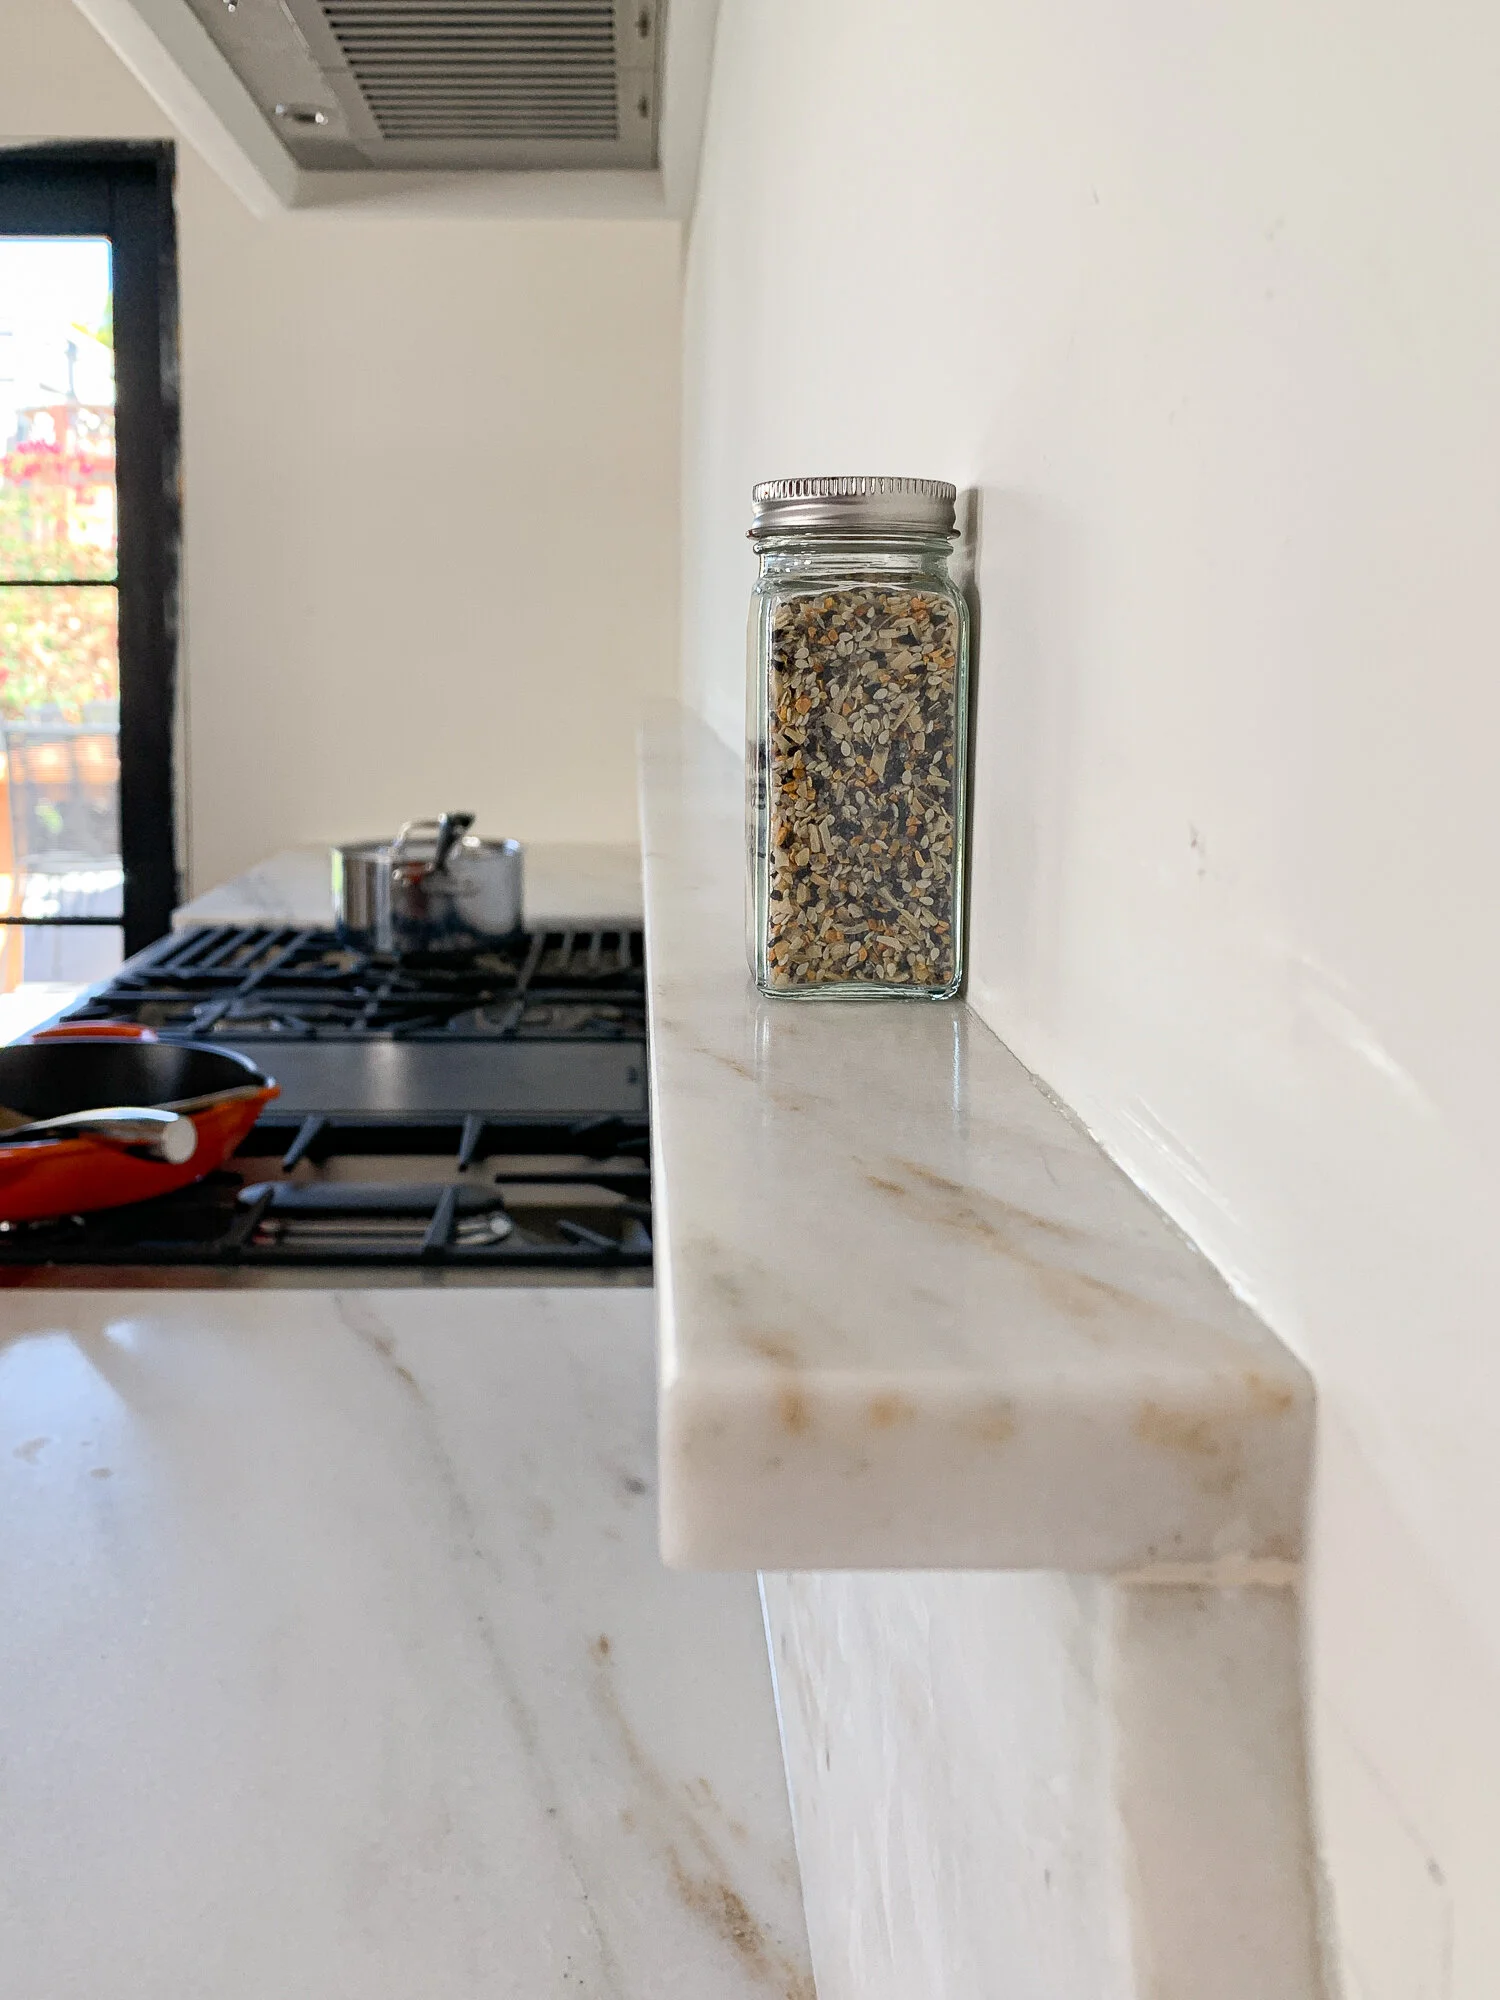
I went with the same height backsplash as the sink wall, but went a hair deeper on the shelf (2.5” vs 1.5”) to make it a little more useful for storing spices/oils/art/etc. Yet, I didn’t want to go so deep that it would get smacked when using the stove or surface below. I think it’s perfectly perfect.

The next and final step in the process is sealing the countertops to prevent staining. In my typical fashion, I did a bunch of research and then DIY’d it myself, so I want to dedicate a blog post to sealing alone. Come back on Thursday for that process as well as my review of how the sealant has held up after months of use.
Don’t forget to watch the video of the templating and installation process, it’s pretty cool!
If you’re interested in learning more about using natural stone in a kitchen, check out my previous blog post about shopping for marble. There are also a ton of resources at Use Natural Stone or Natural Stone Institute! To check out your local Arizona Tile slab yard, click here for locations.