
Hashtag Bathroom Inspo
/You asked for it, so the bathroom remodel is next to share!
Since we were putting a new bathroom in an old house, I wanted the design to pay homage to the old house charm. I'll never know what the original bathroom looked like before we got our hands on it, so the design options were vast. Should I do classic black and white or colored tiles? Bold or understated? Authentic period pieces or reproductions? Simple or a bit more eclectic? Entirely vintage or a mix of old and new? Minimal or snazzy?
Here are a few of the spaces I took inspiration from when designing our bathroom.
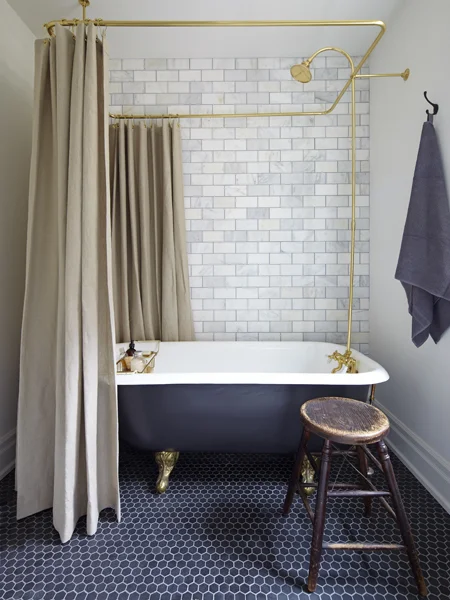
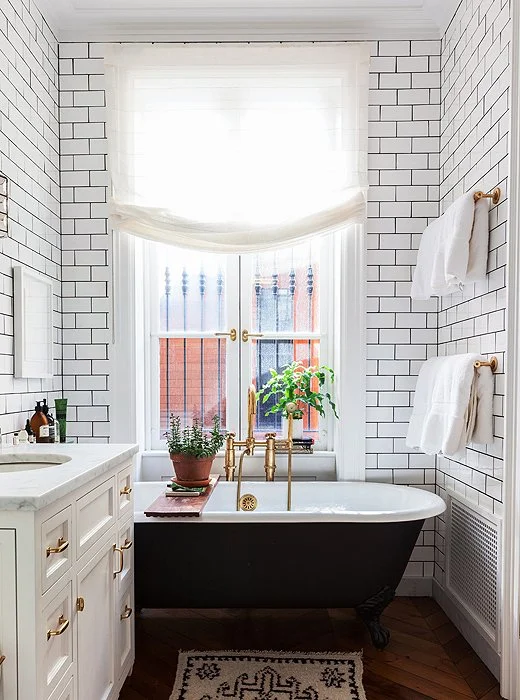
I love how soft yet high-contrast this feels. A clawfoot tub is also oh-so-dreamy. We ultimately weren't able to incorporate a clawfoot soaker in our bath remodel, but maybe there will be room in the next bathroom that we hope to add on.
Source: Amber Interiors
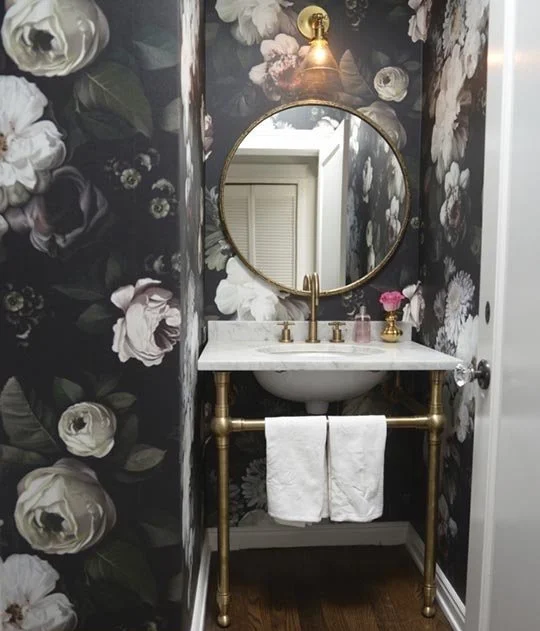
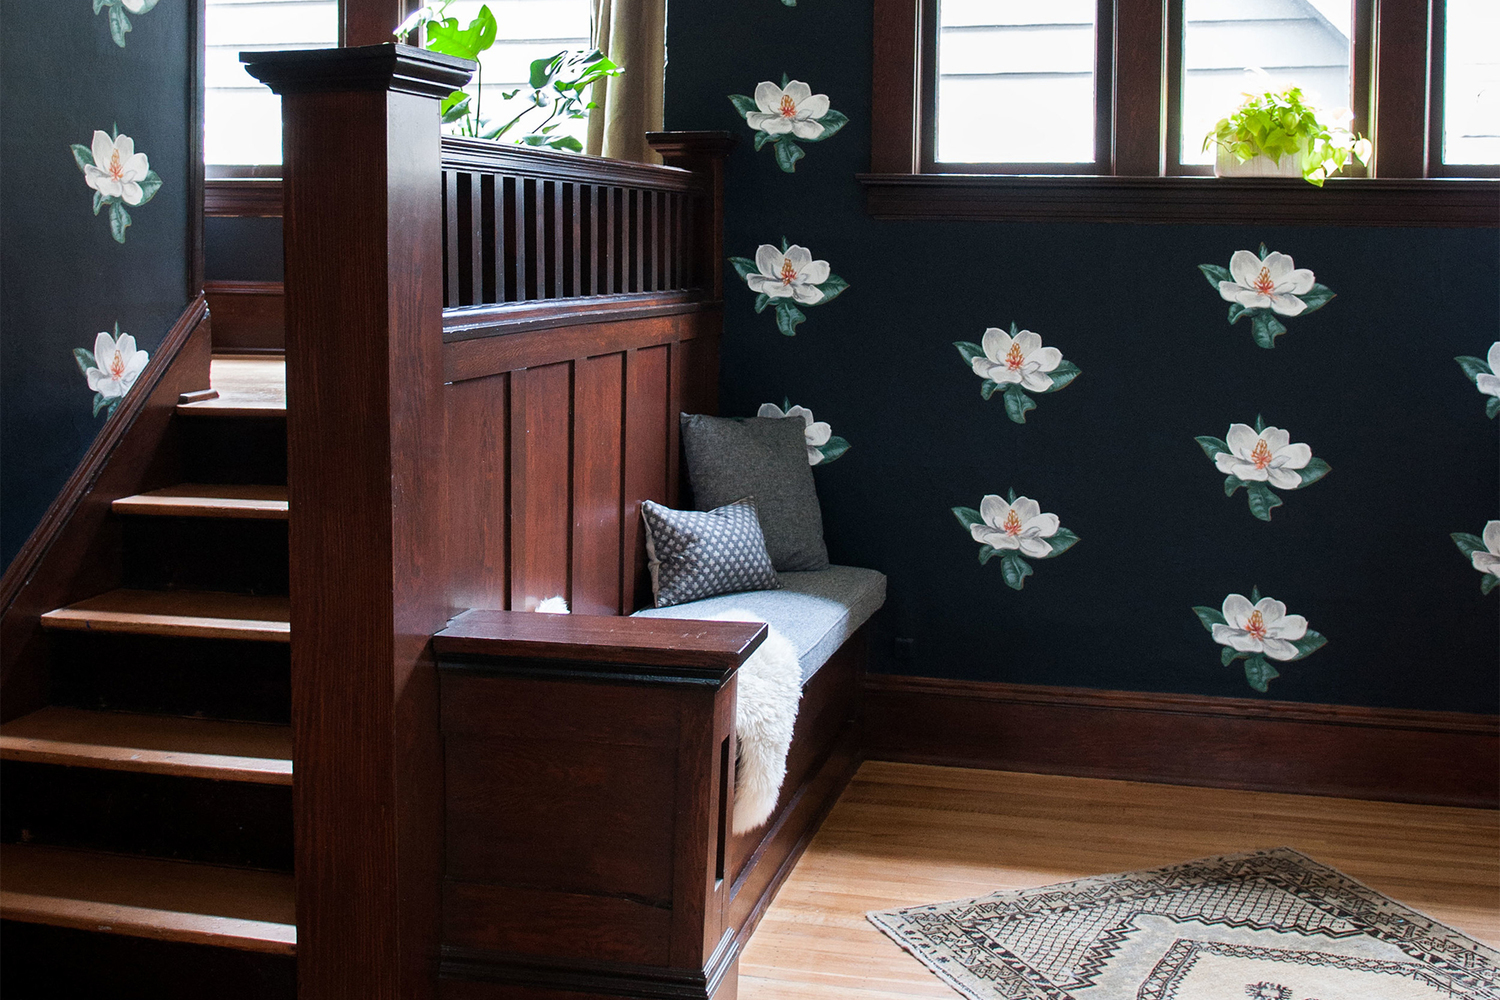
Don't even get me started on my love for floral wallpaper. This Ellie Cashman paper is gorgeous. The pedestal sink is such a perfect way to show off wall details.
Source: Clay Squared
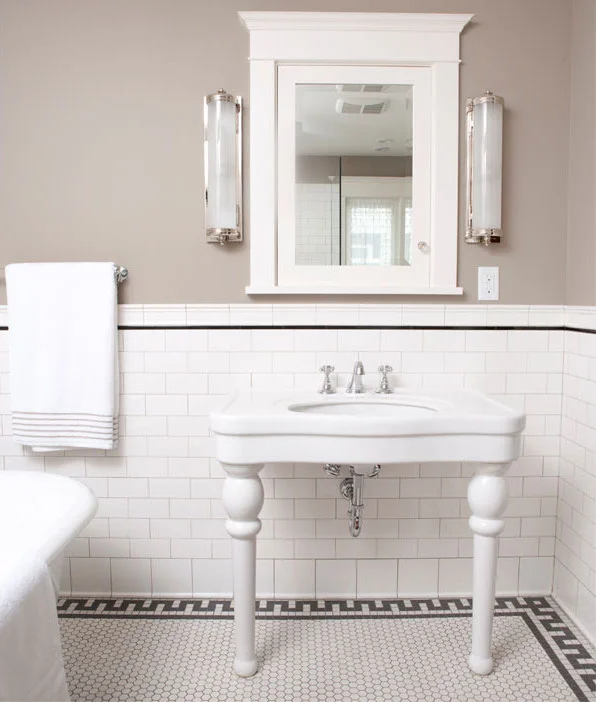
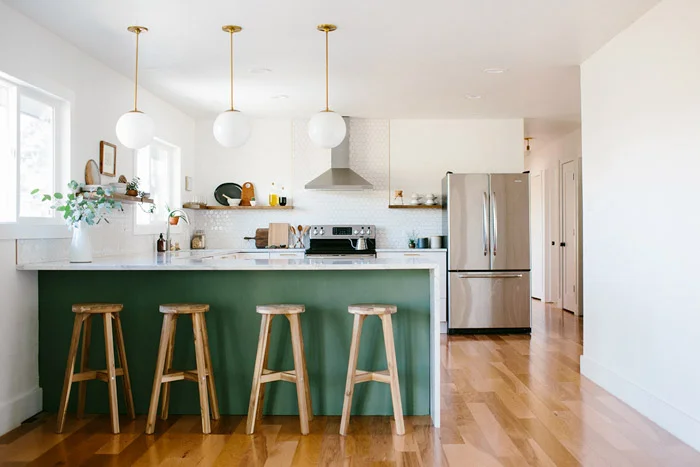
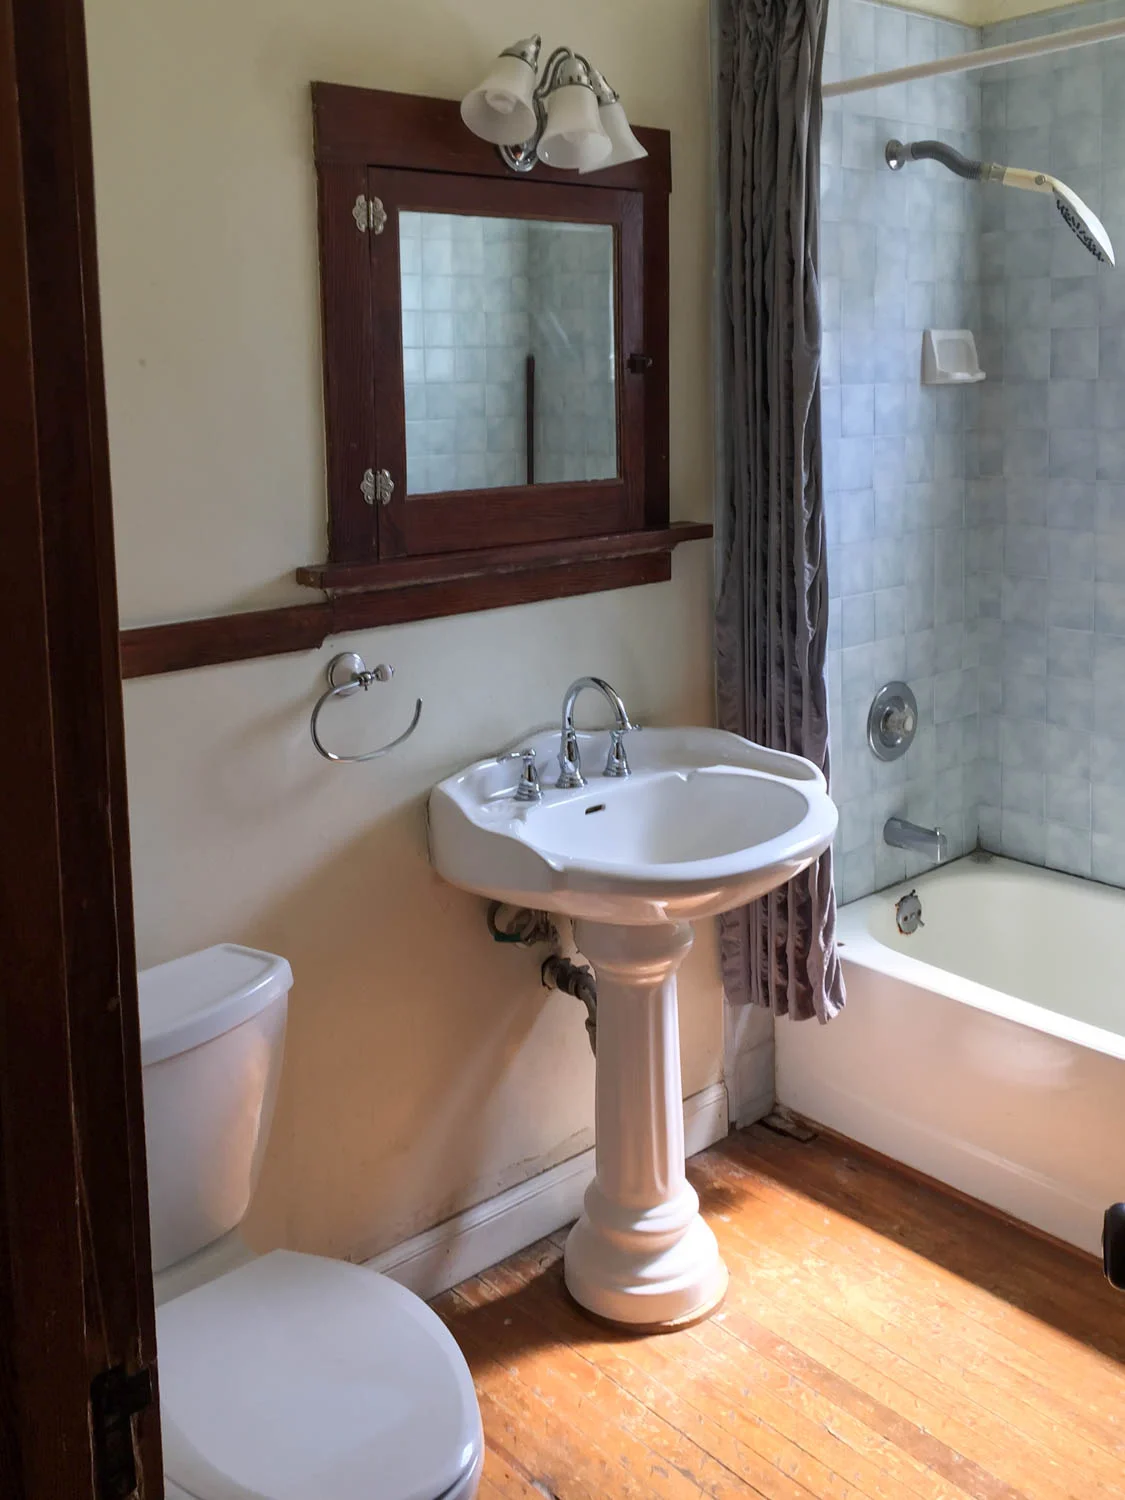
This sink with the look of turned legs is so quaint in the best way possible. The tile is understated but filled with detail. There's hex, a variation on greek key, a pencil liner, decorative cap, and subtle cove base tile. The chair-rail height tile surrounding the whole room was a must-have on my list.
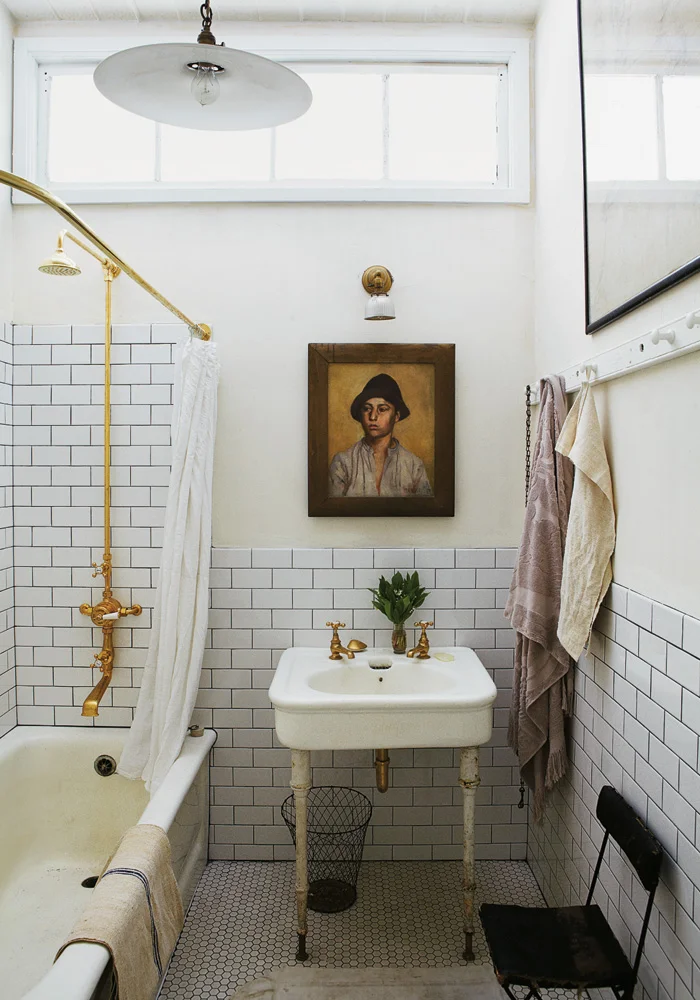
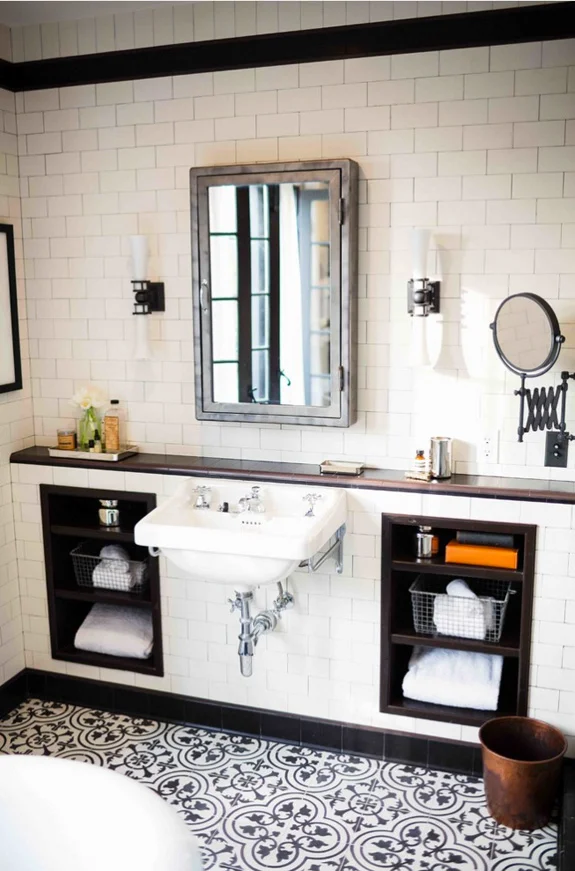
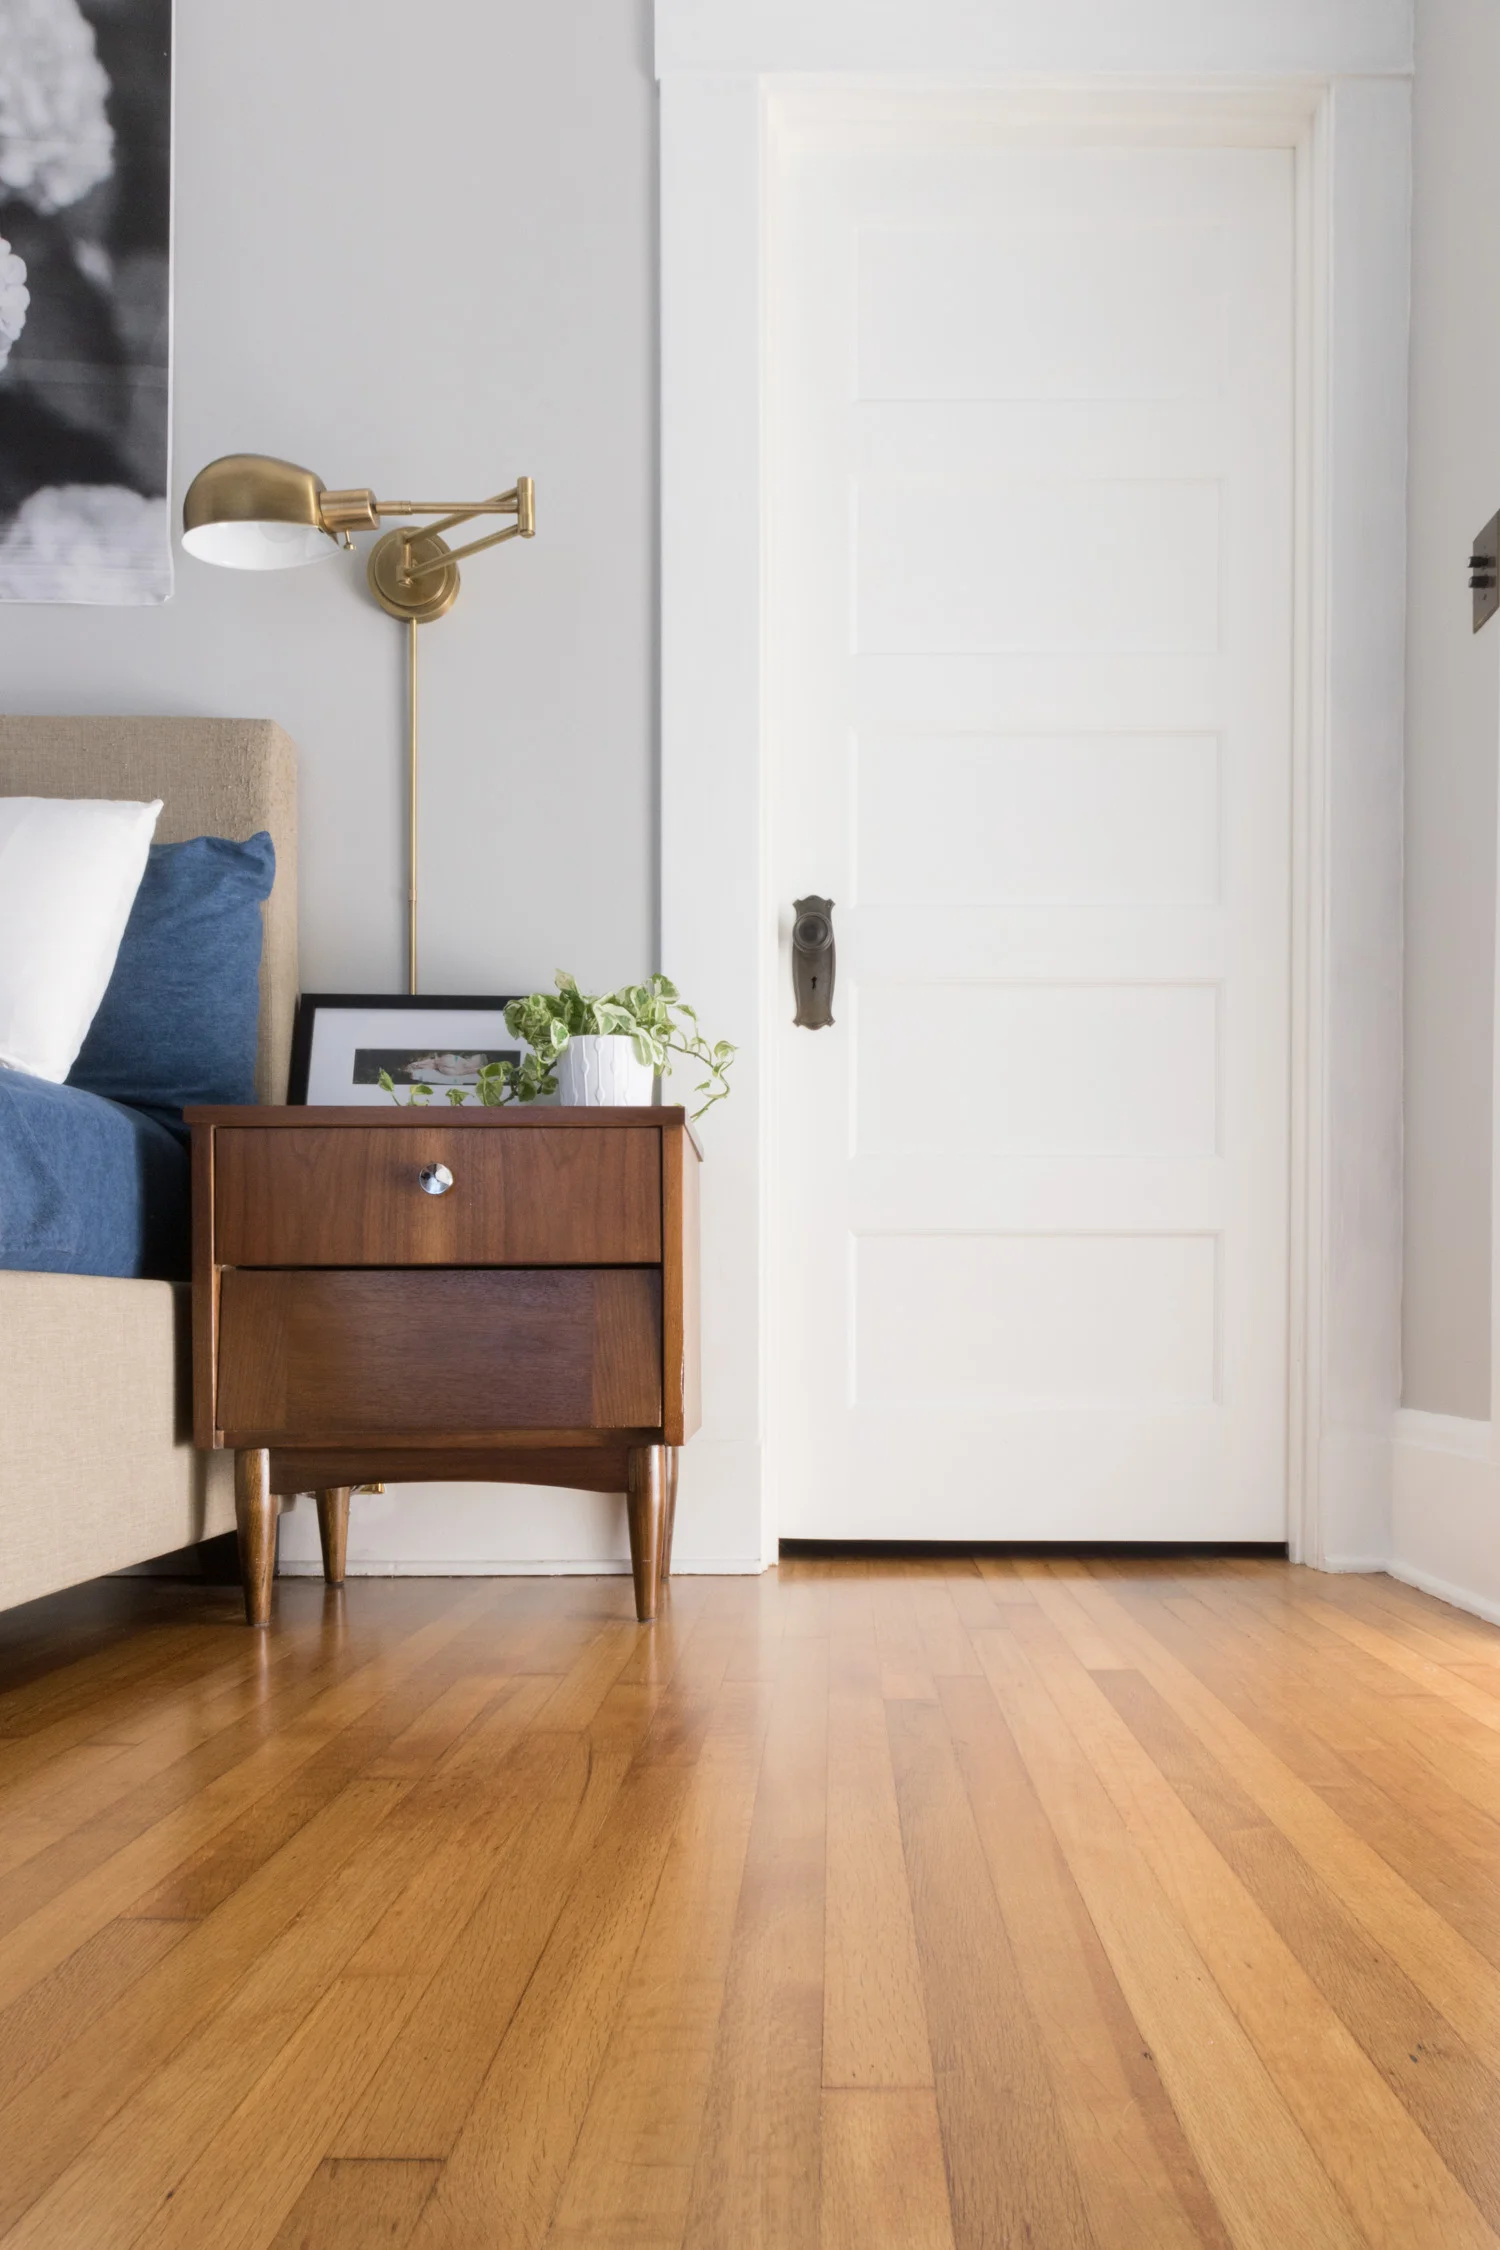
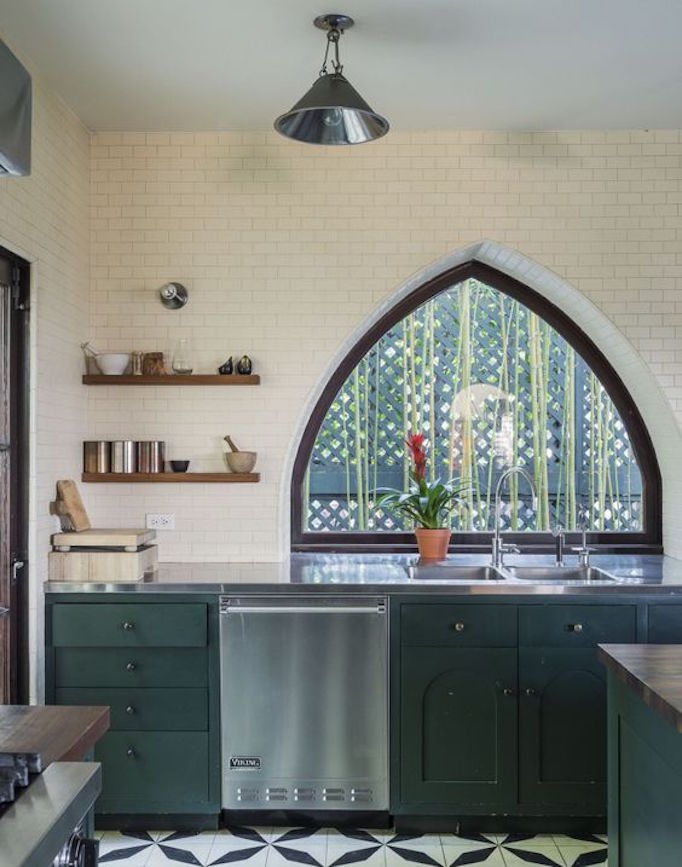
A painting in lieu of a mirror is fine by me. The tile work here is far simpler than the detailed profiles above, but it exudes character. I adore how the aged sink legs and worn tub coexist with the new hardware.
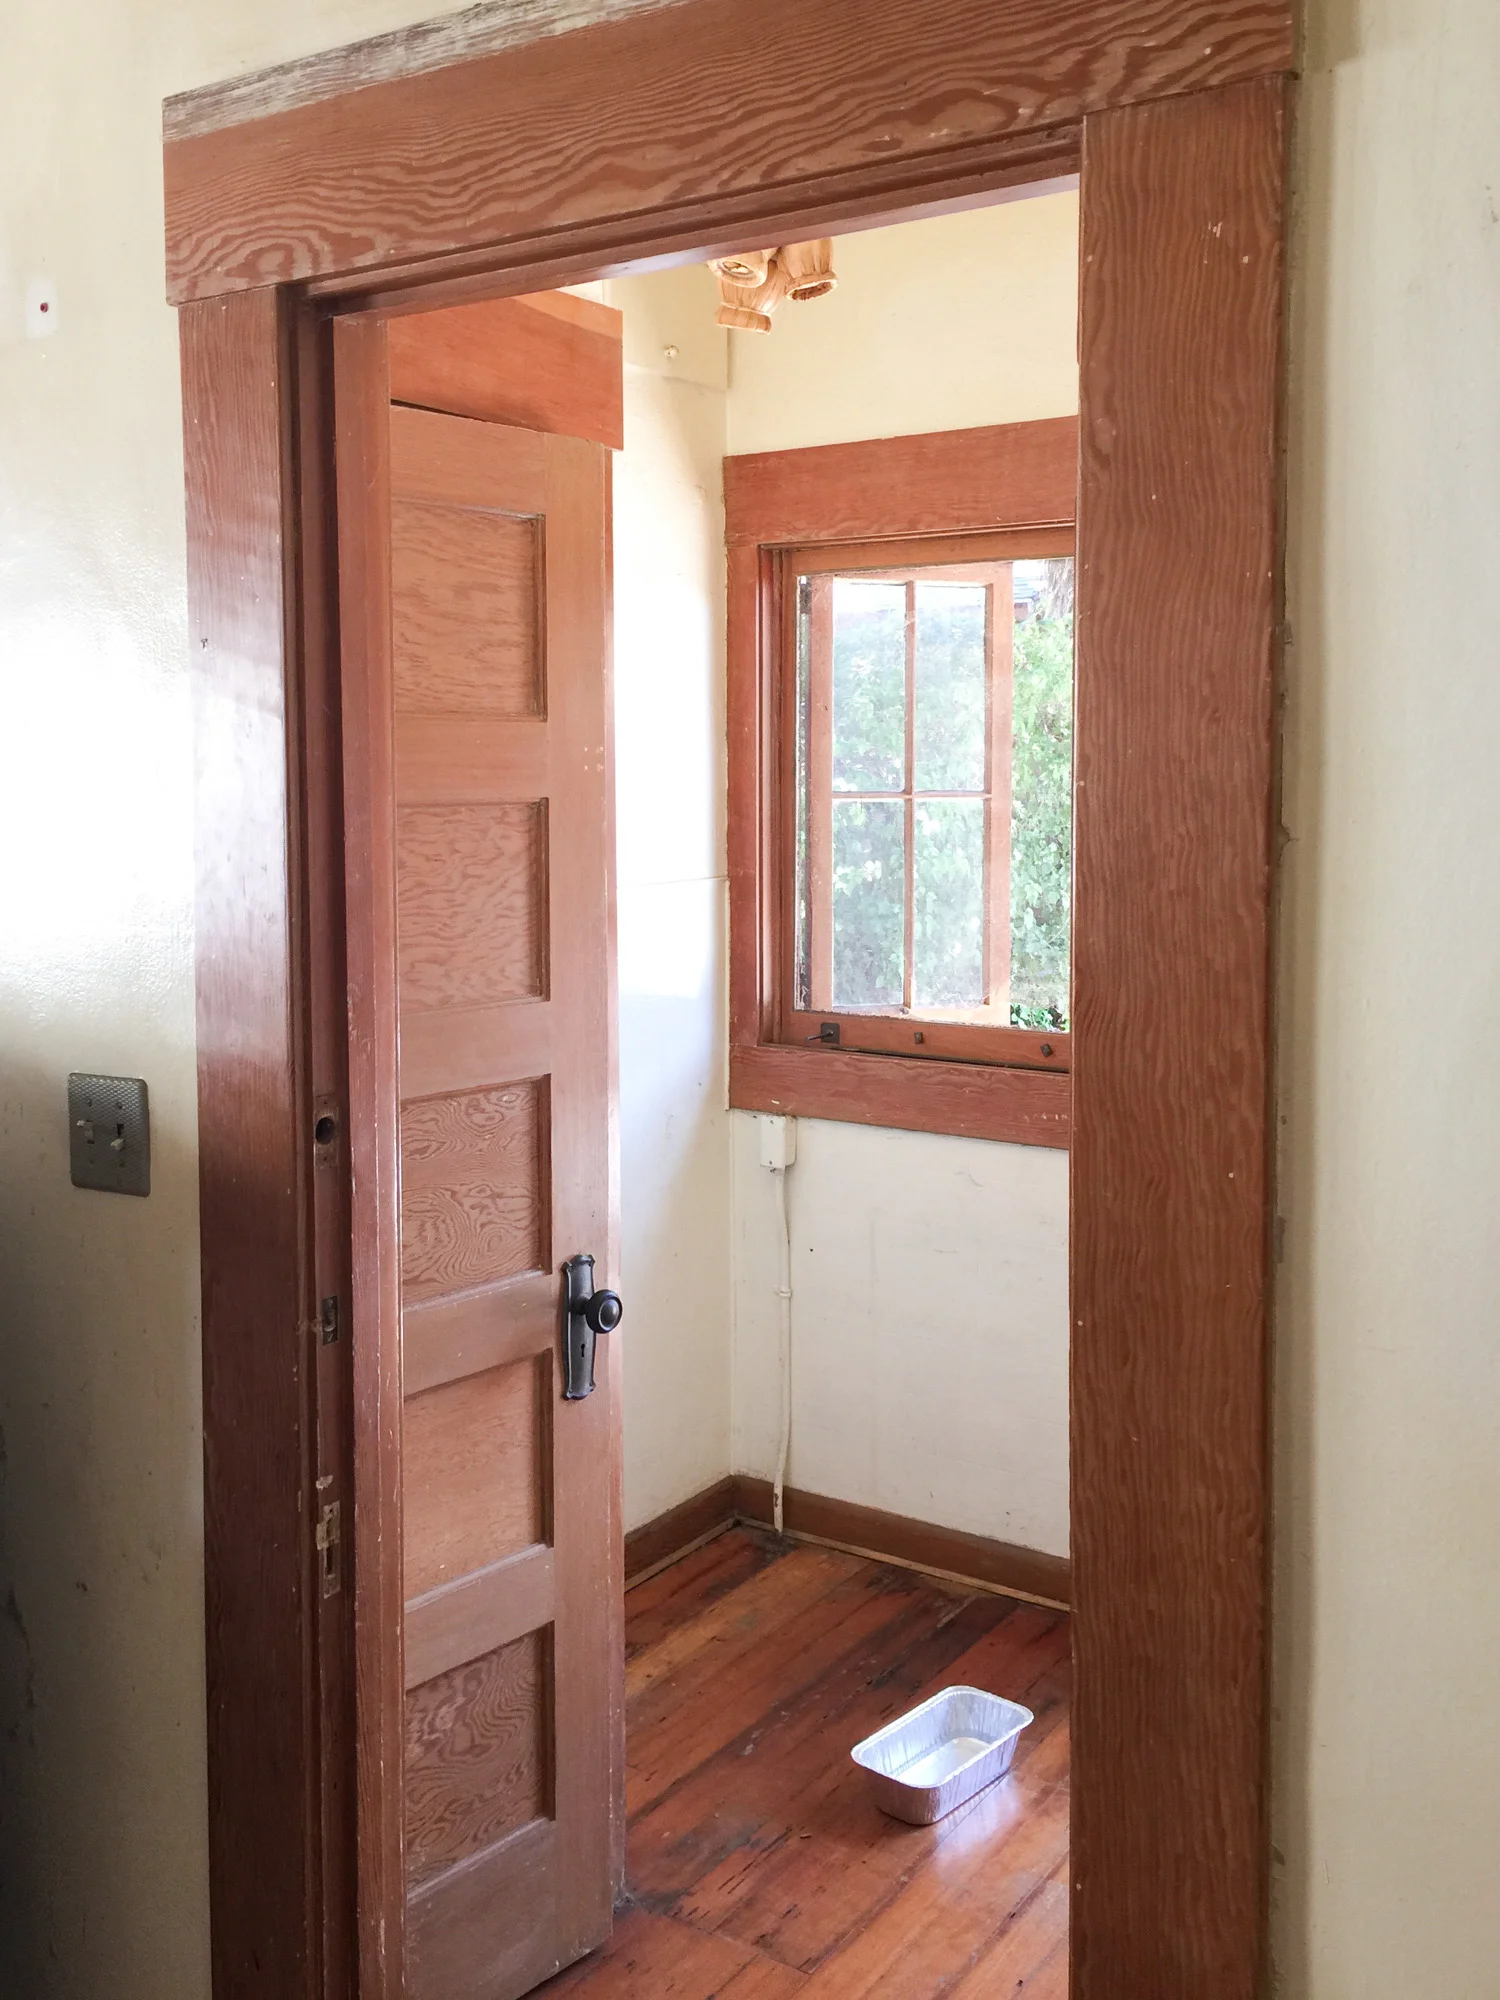
That window is perfectly gigantic. If privacy were no issue, I would have installed a window the full size of the wall.

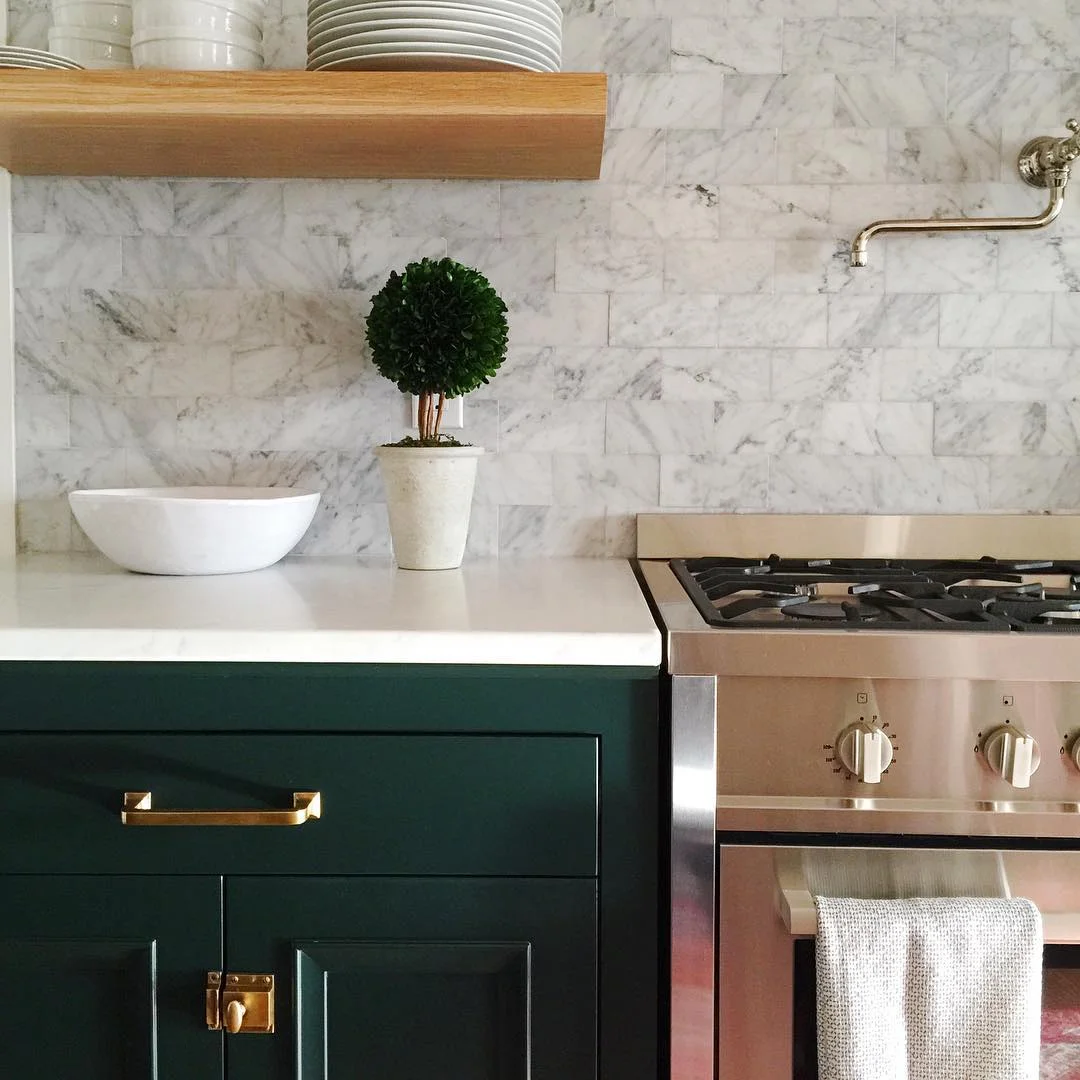
That retro green tile is to die for, but it's all about that recessed soap dish.

Source: Unknown
The moody wall color was definitely a feature worth stealing. I think I need to add more artwork, though, because this is the bee's knees.

Why do moody walls when you can do a moody ceiling? I love how this bathroom has a bold and modern feature without sacrificing the traditional tile.
Source: Dierdre Doherty Interiors
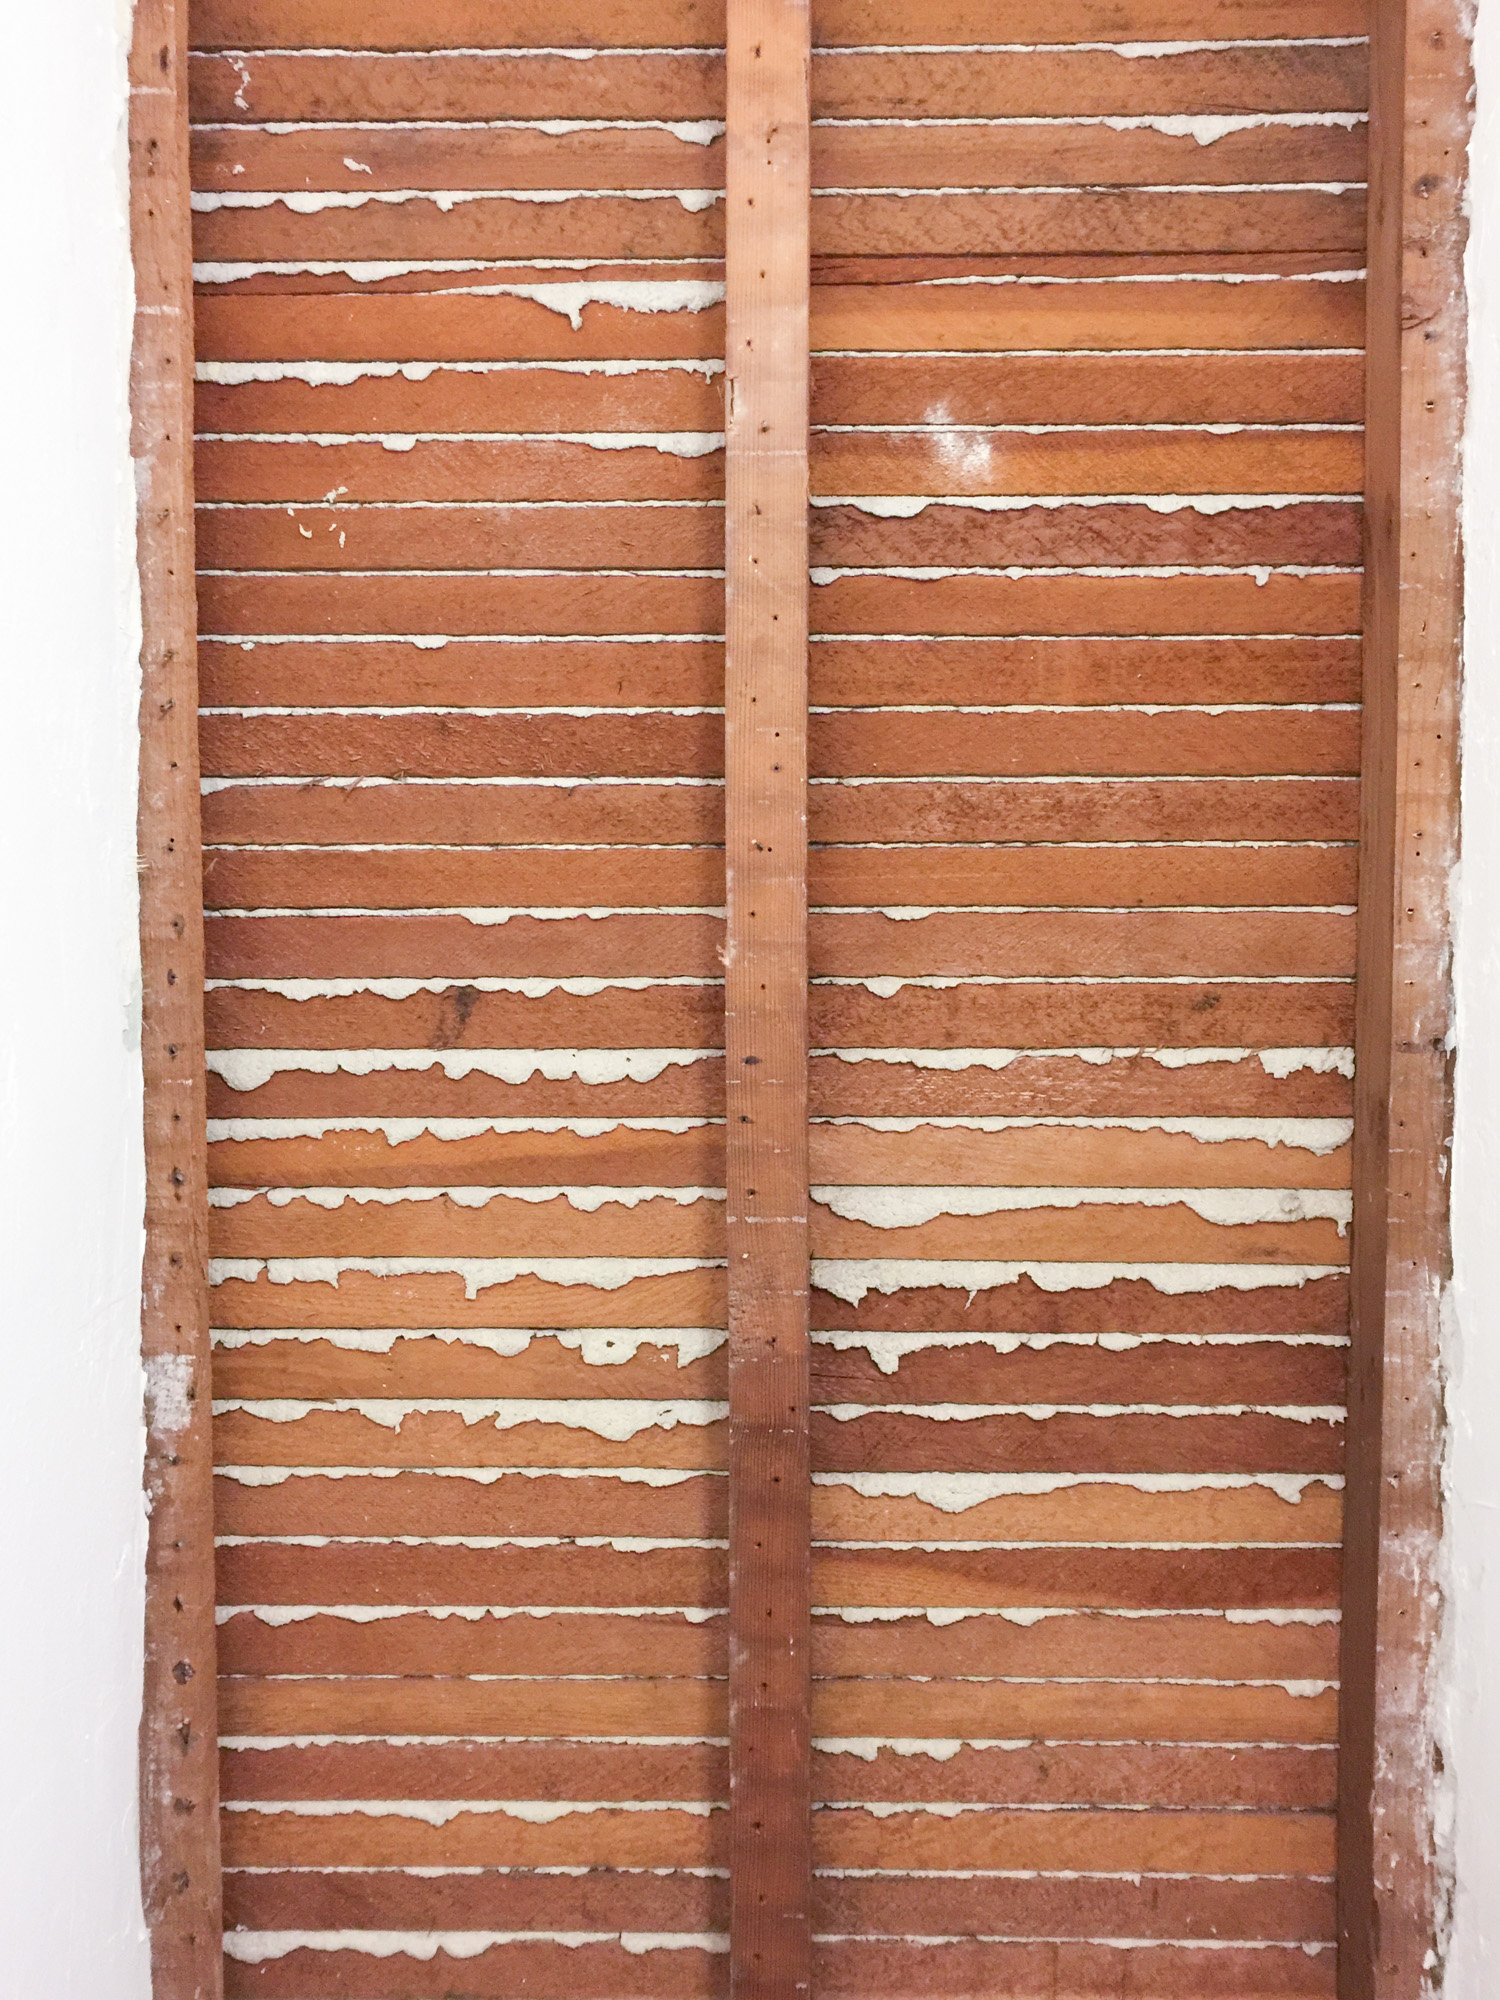
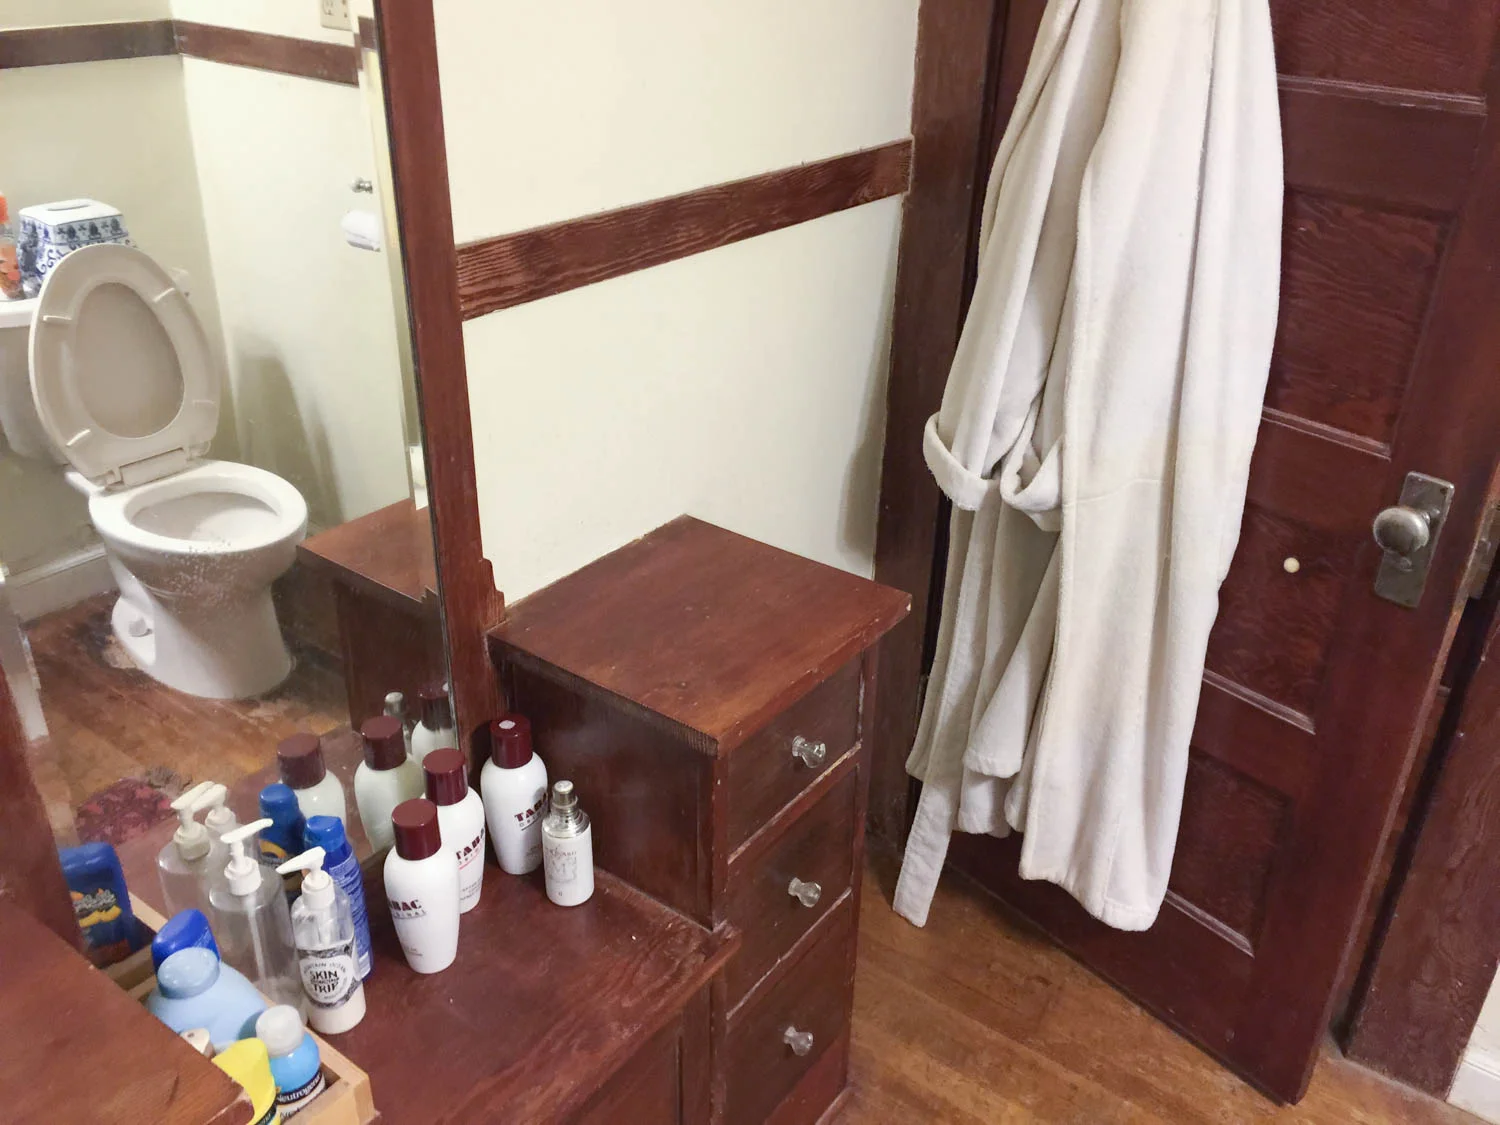
Storage is key in small bathrooms, so why not borrow space between the studs for recessed cubbies? Our final bathroom design allowed for this, but in a slightly different variation.
I borrowed an element from each of these bathrooms, and the many others on my Pinterest board to create the bathroom that's perfect for us. Stay tuned!


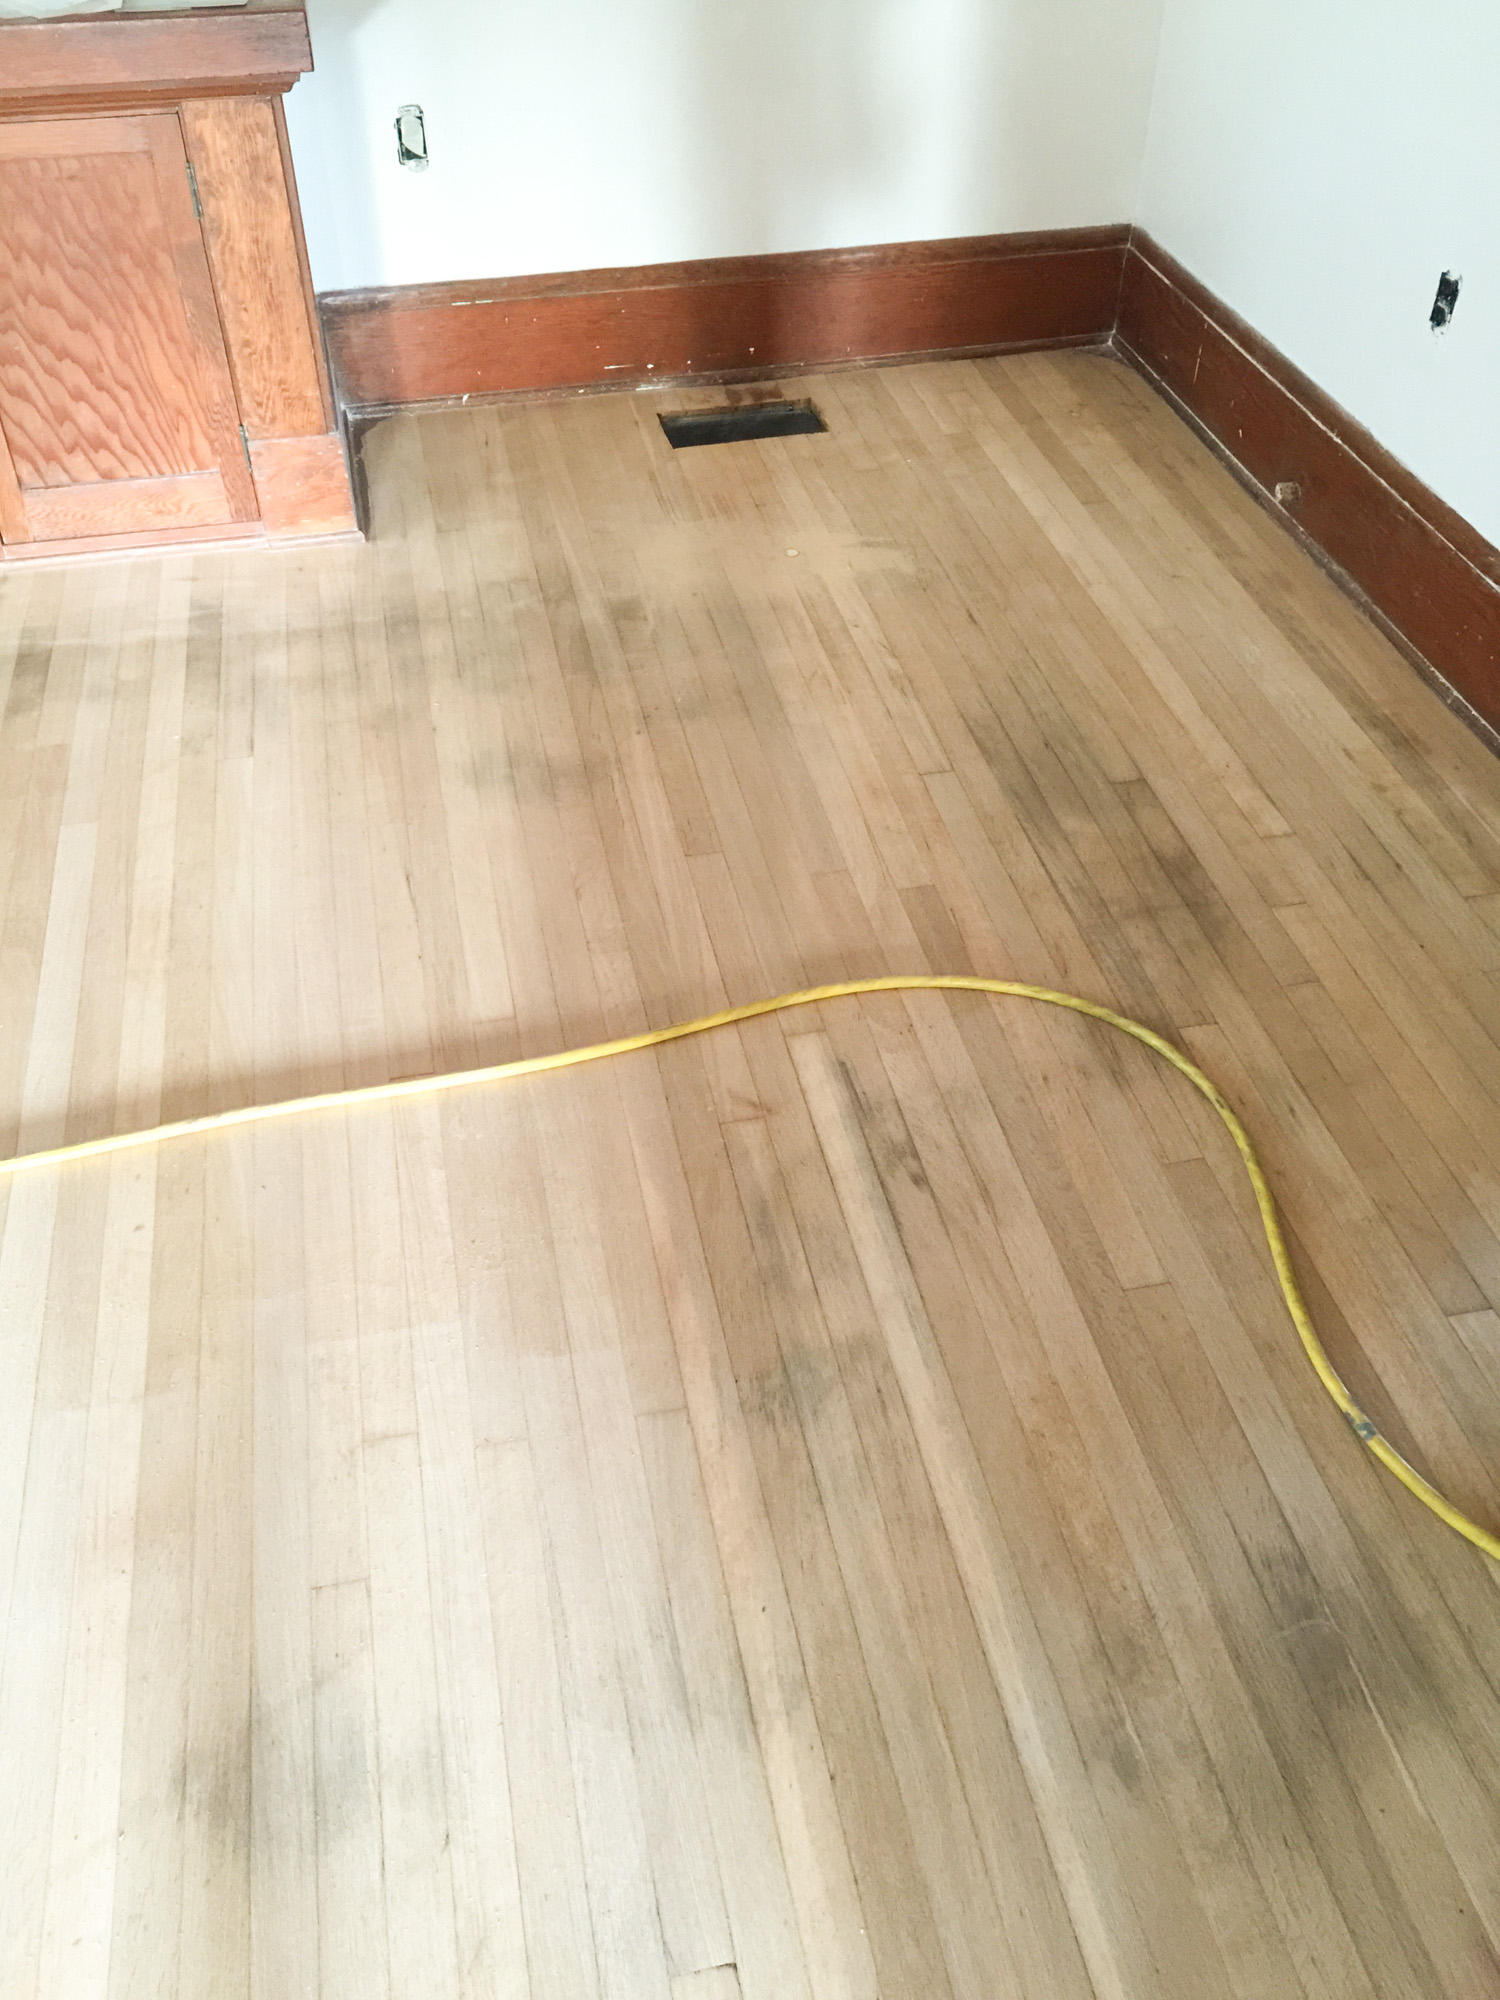


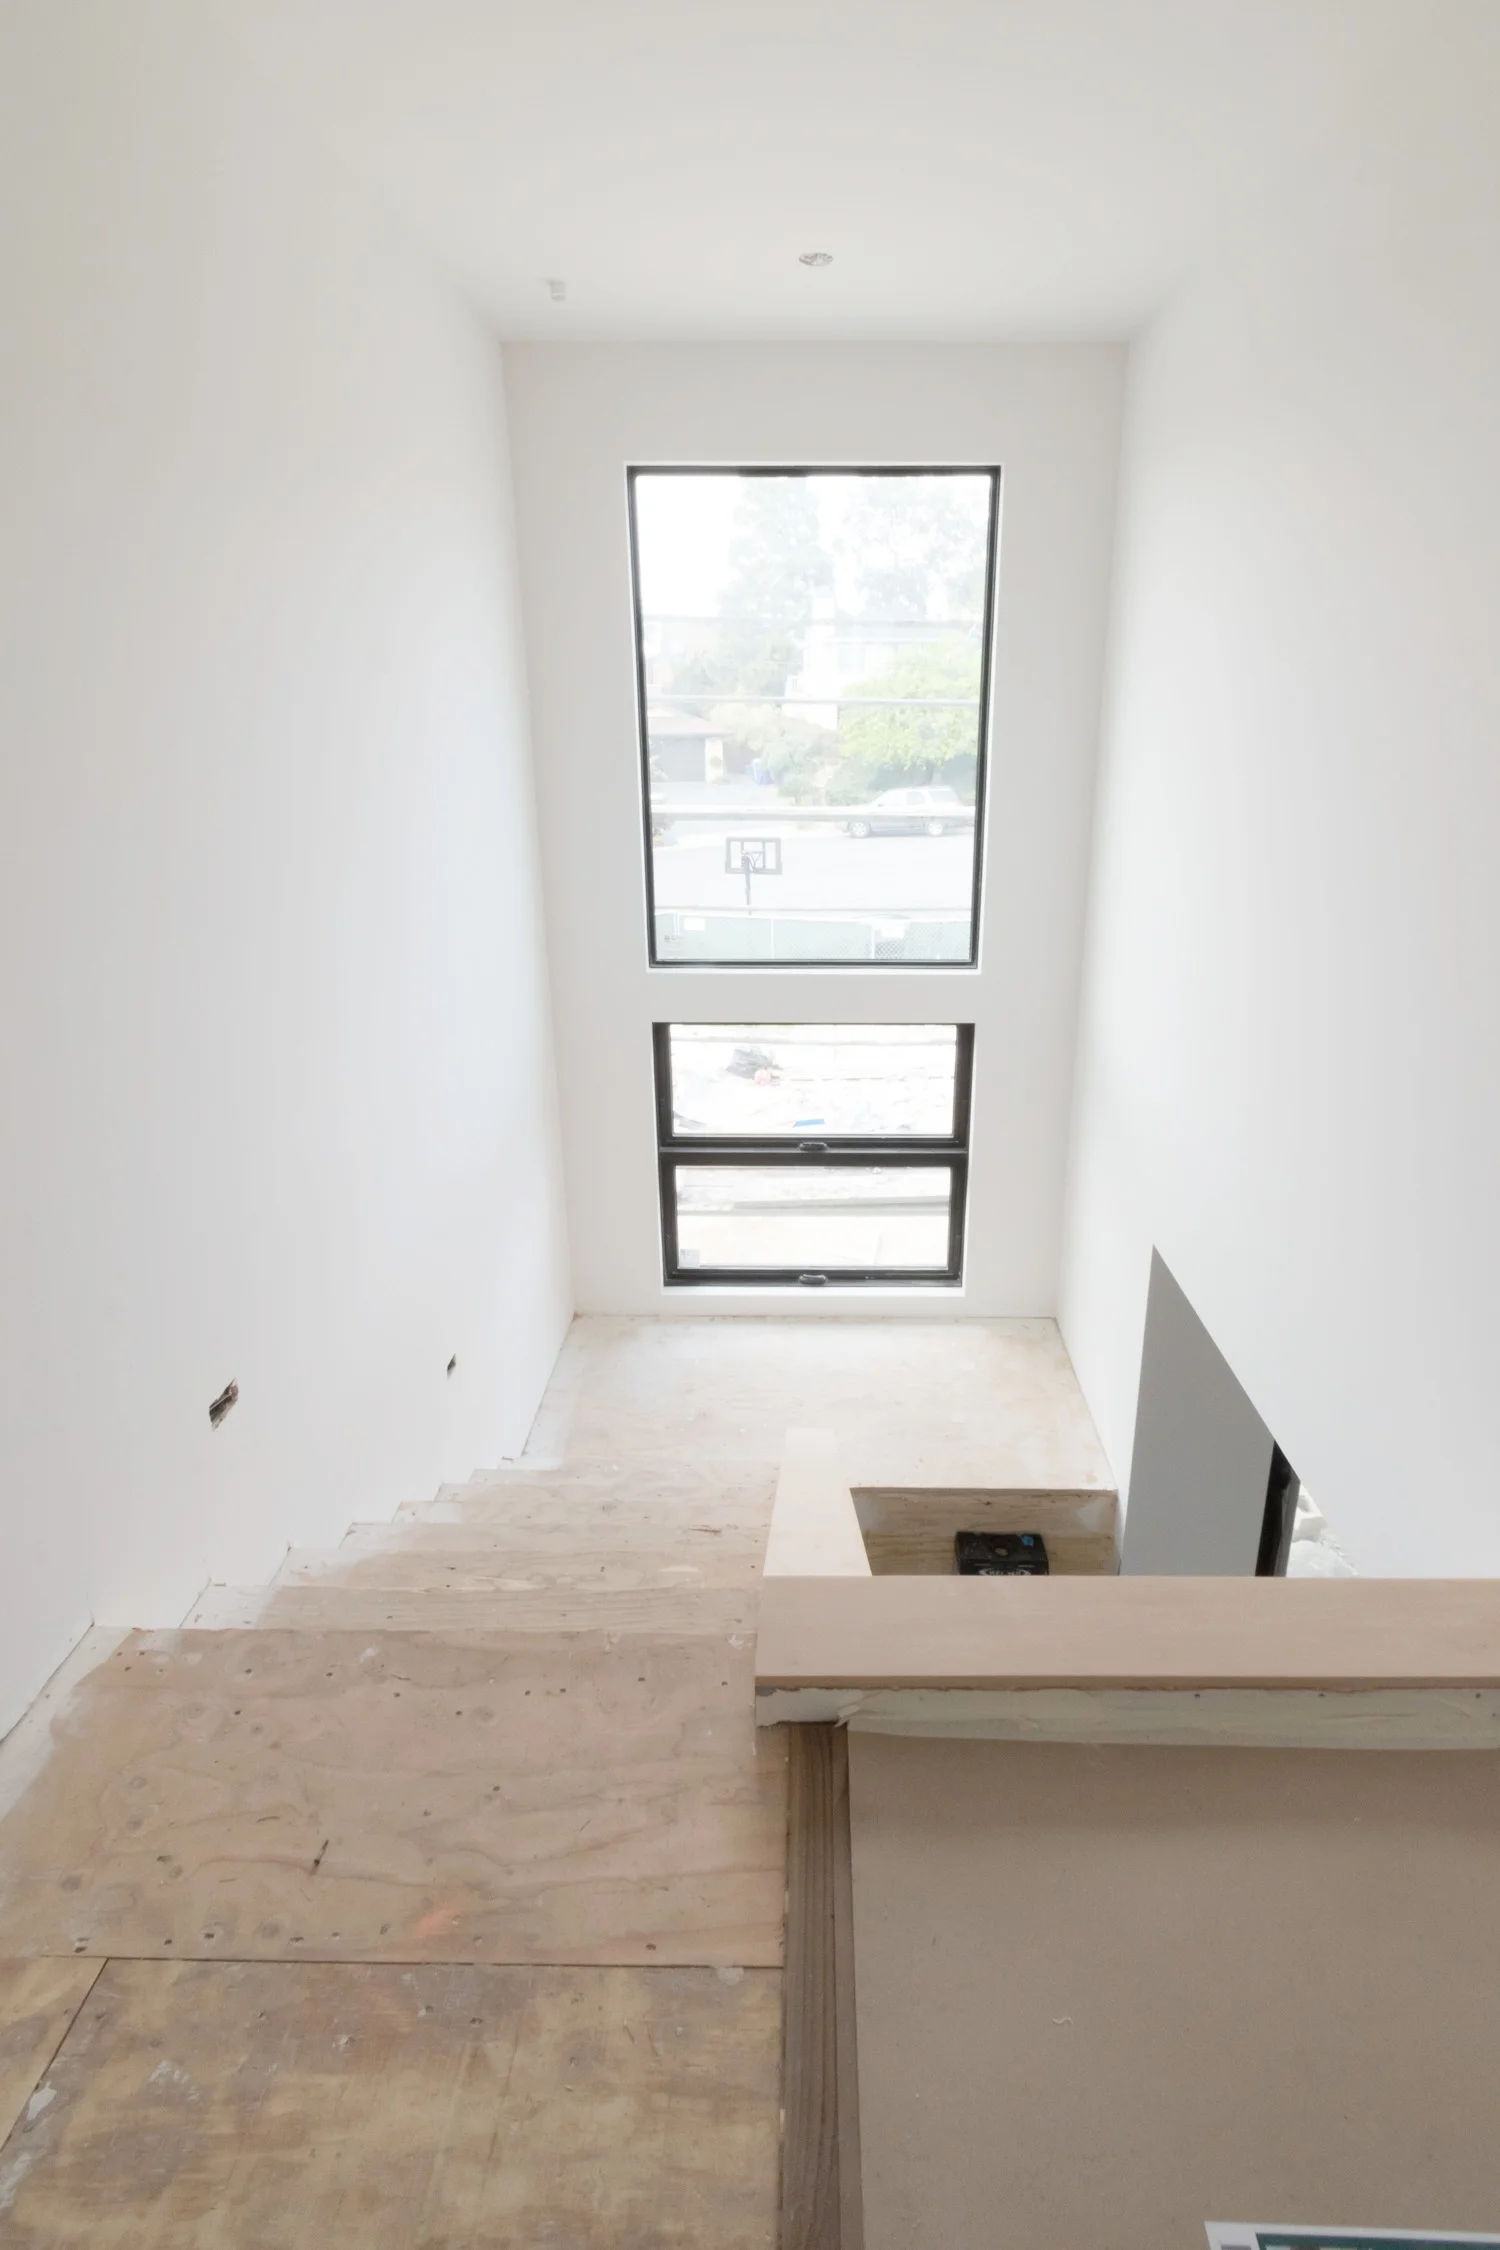

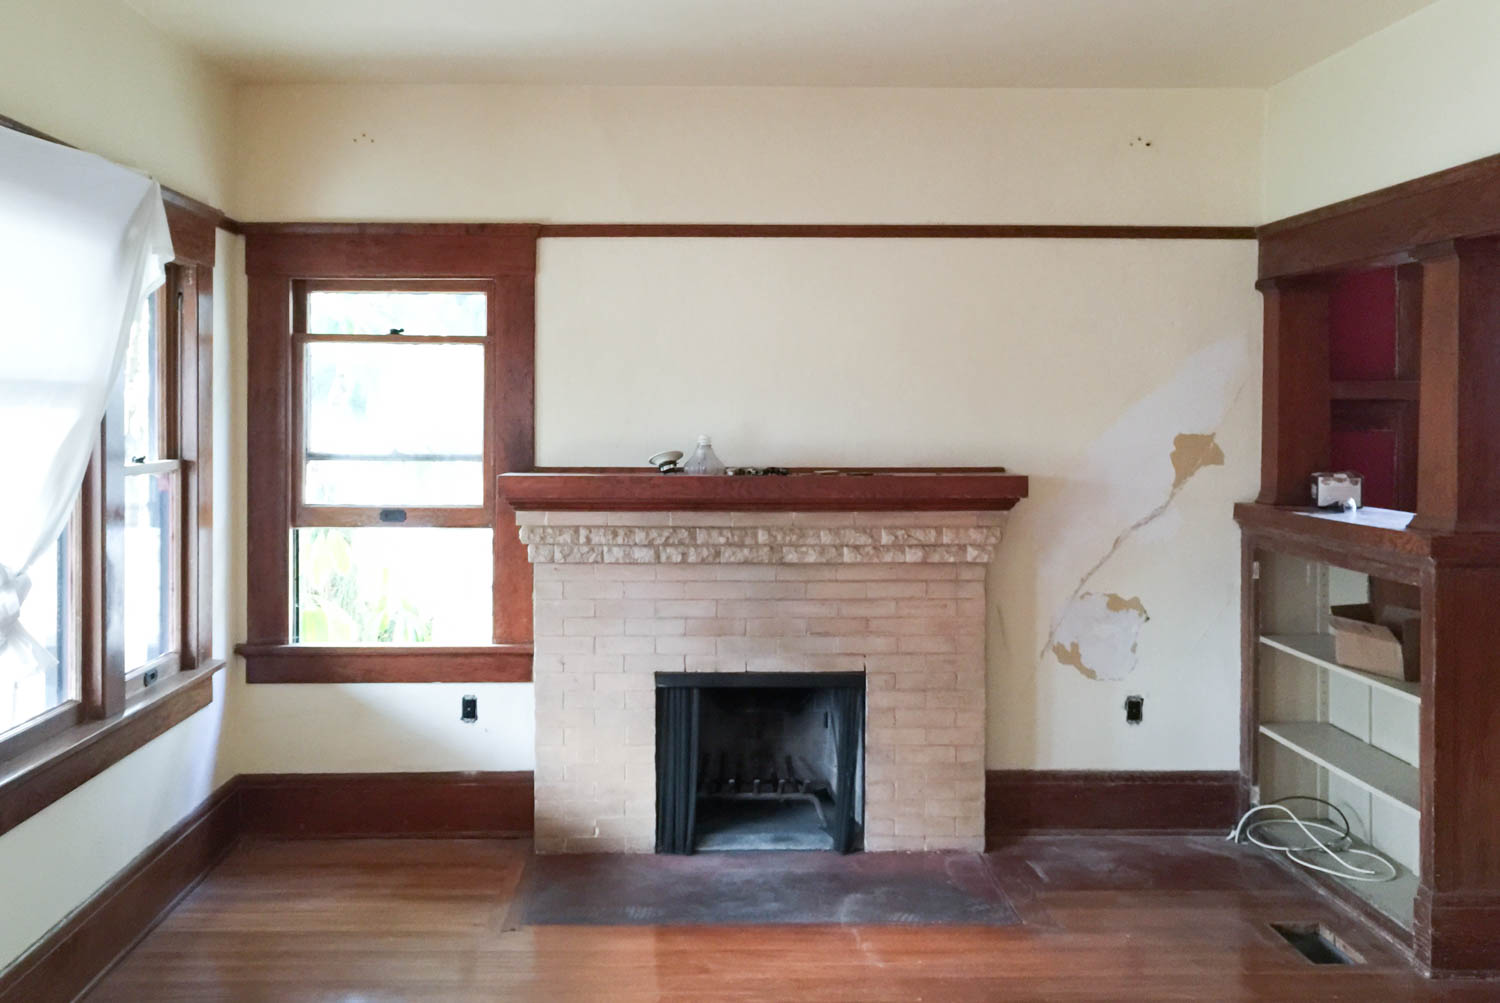


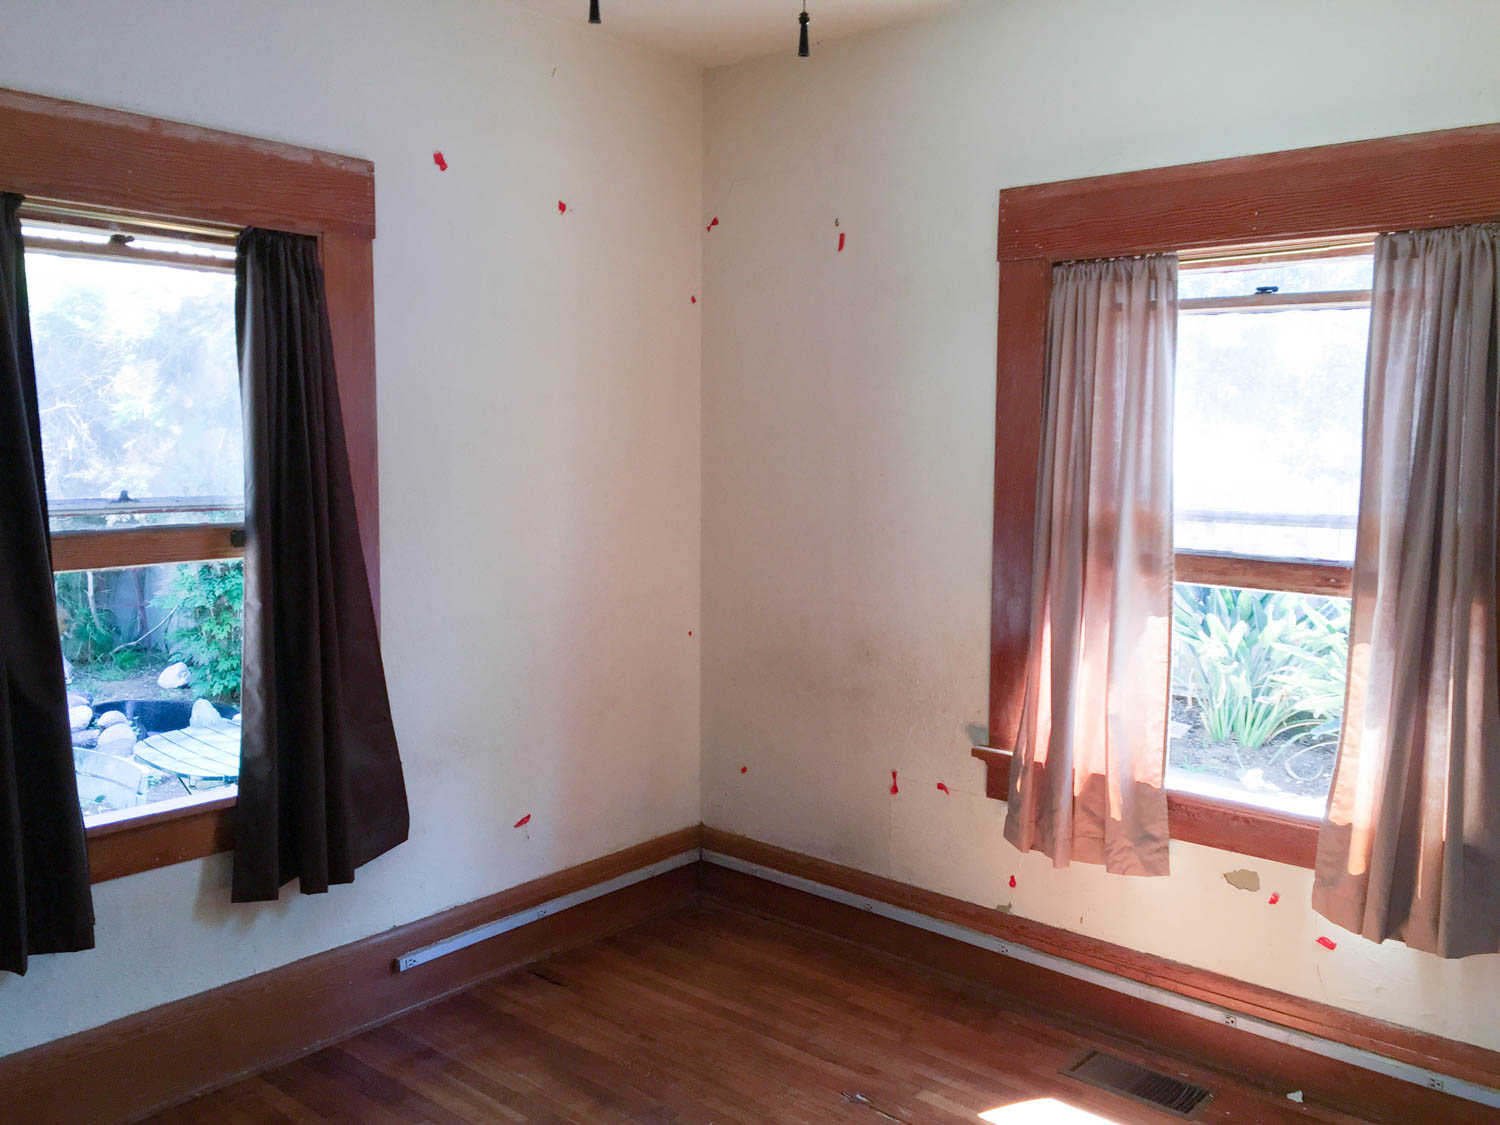
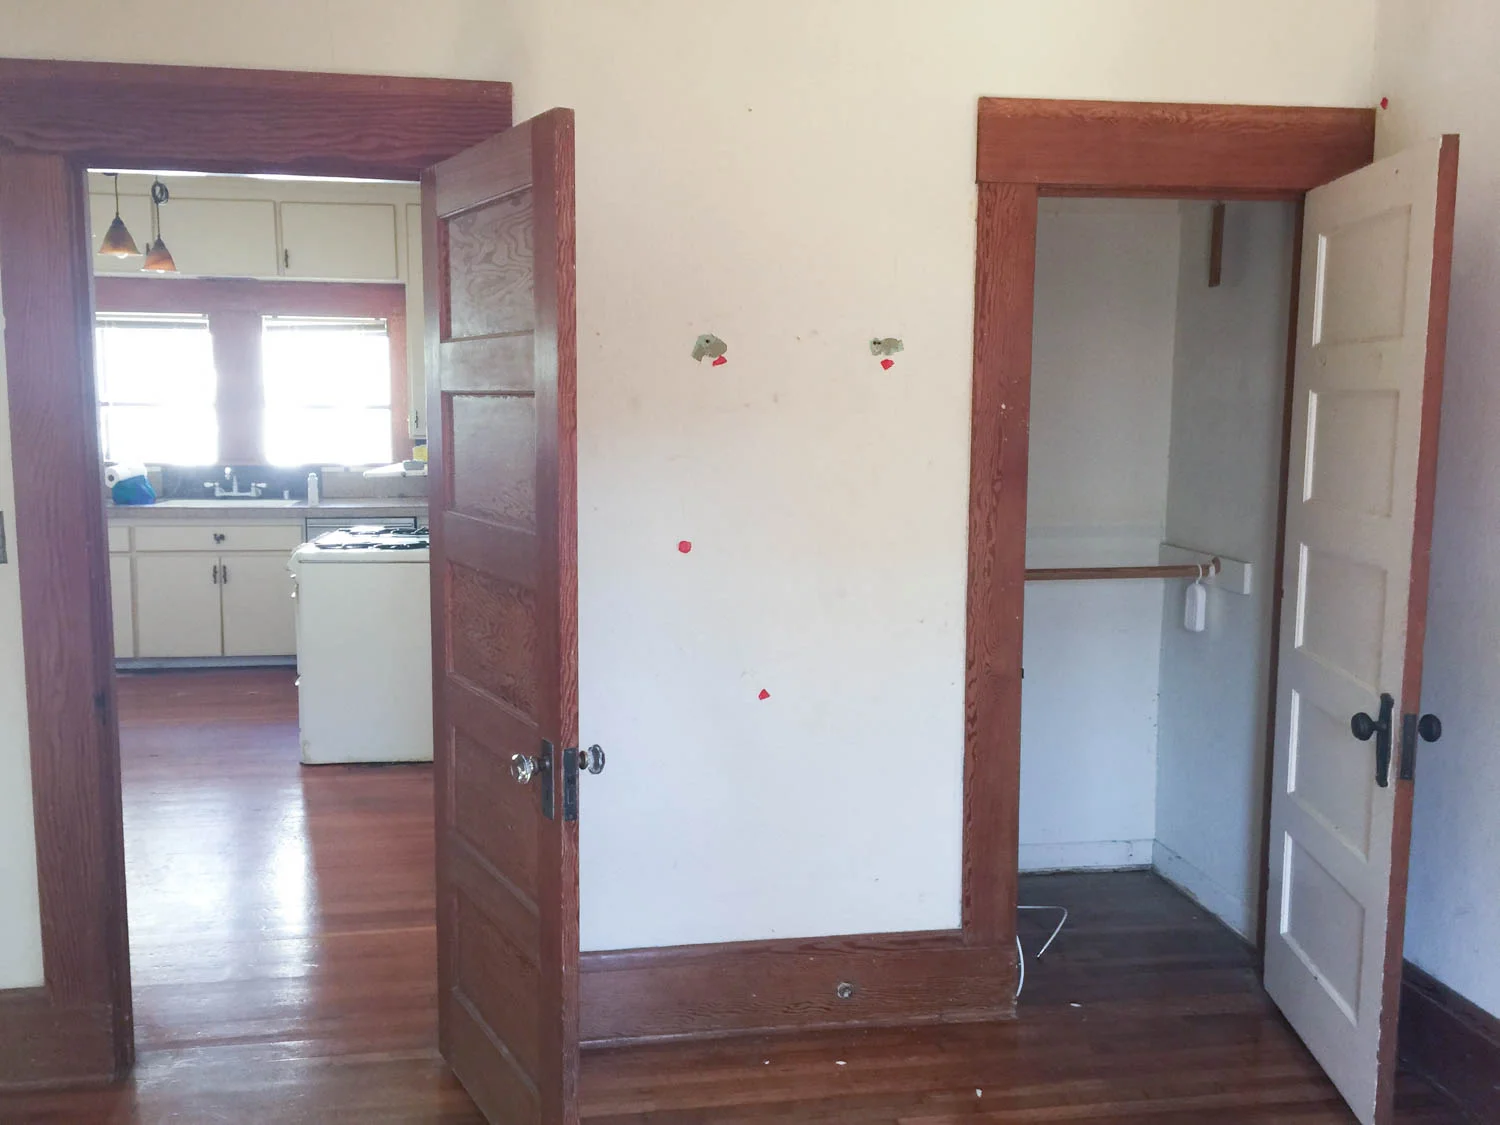

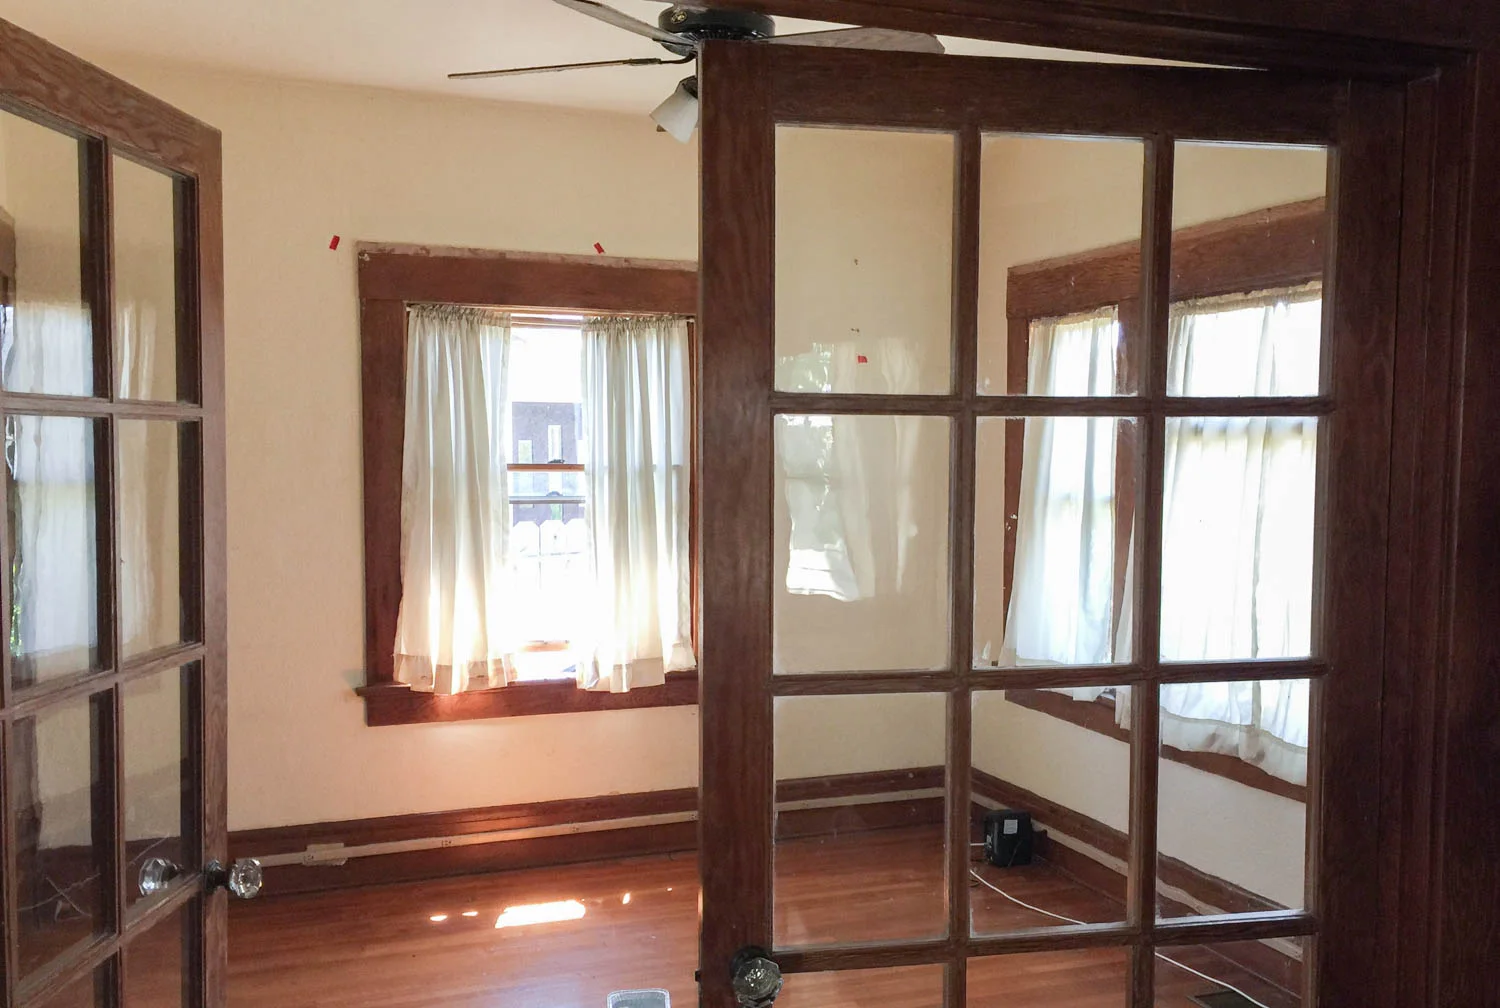


Margot is getting an upgraded room to make space for baby sister in the nursery.
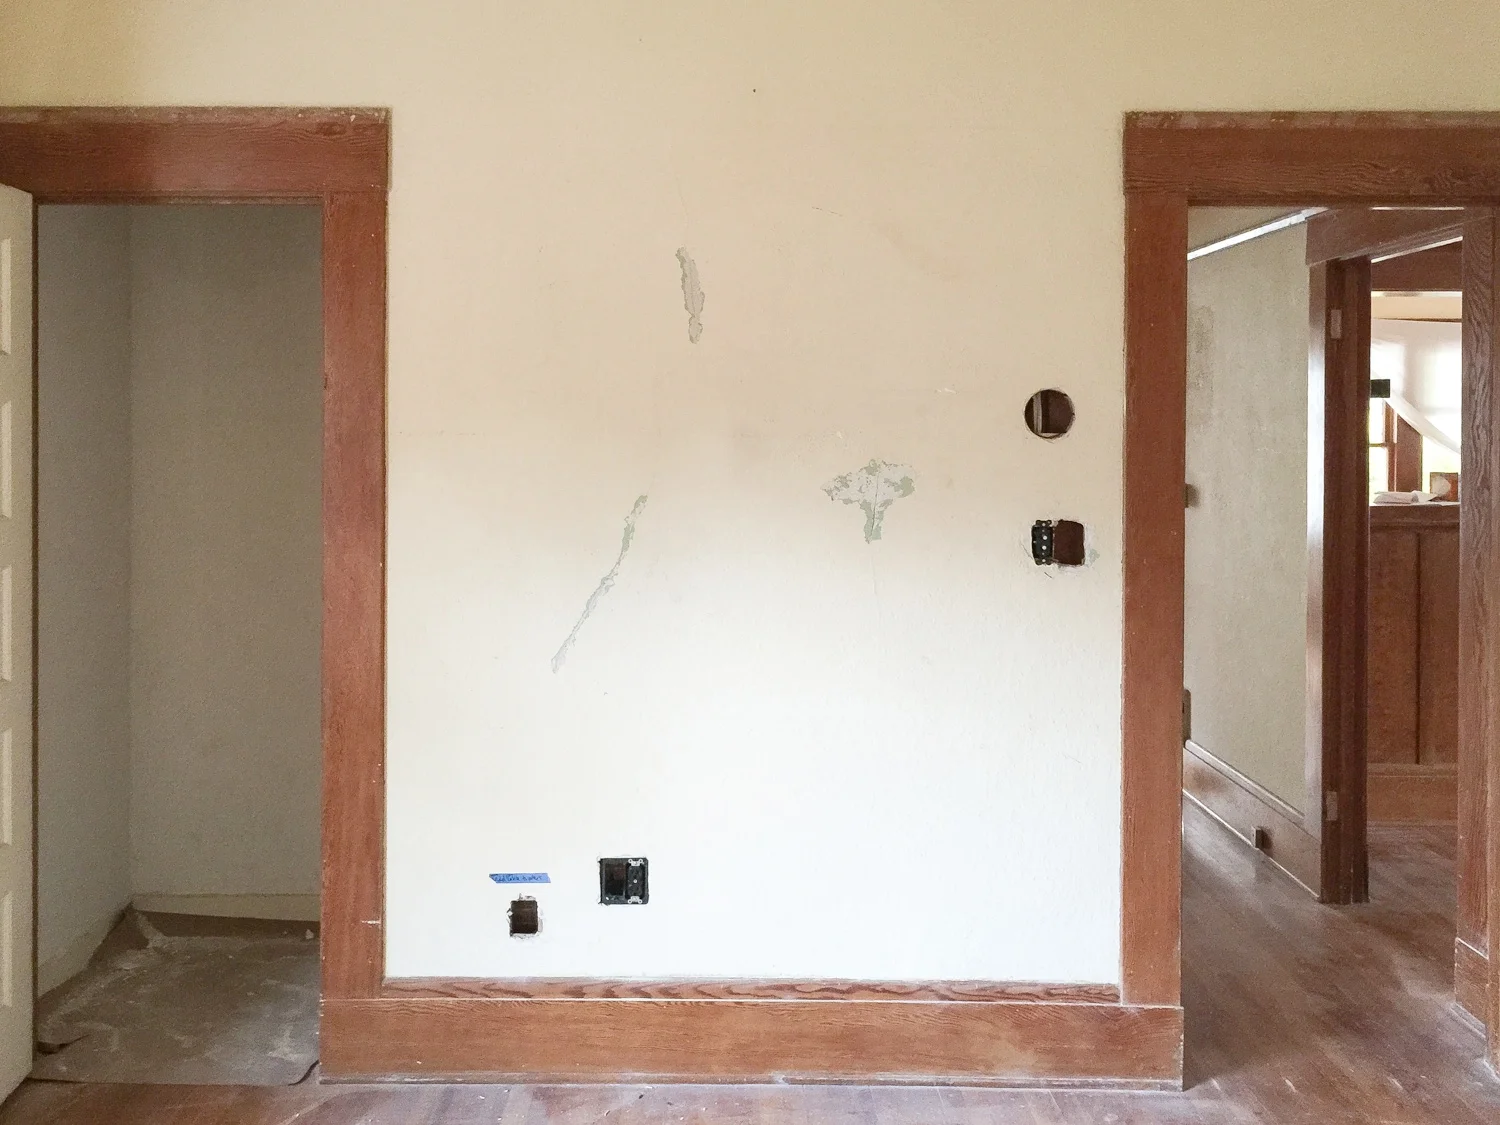
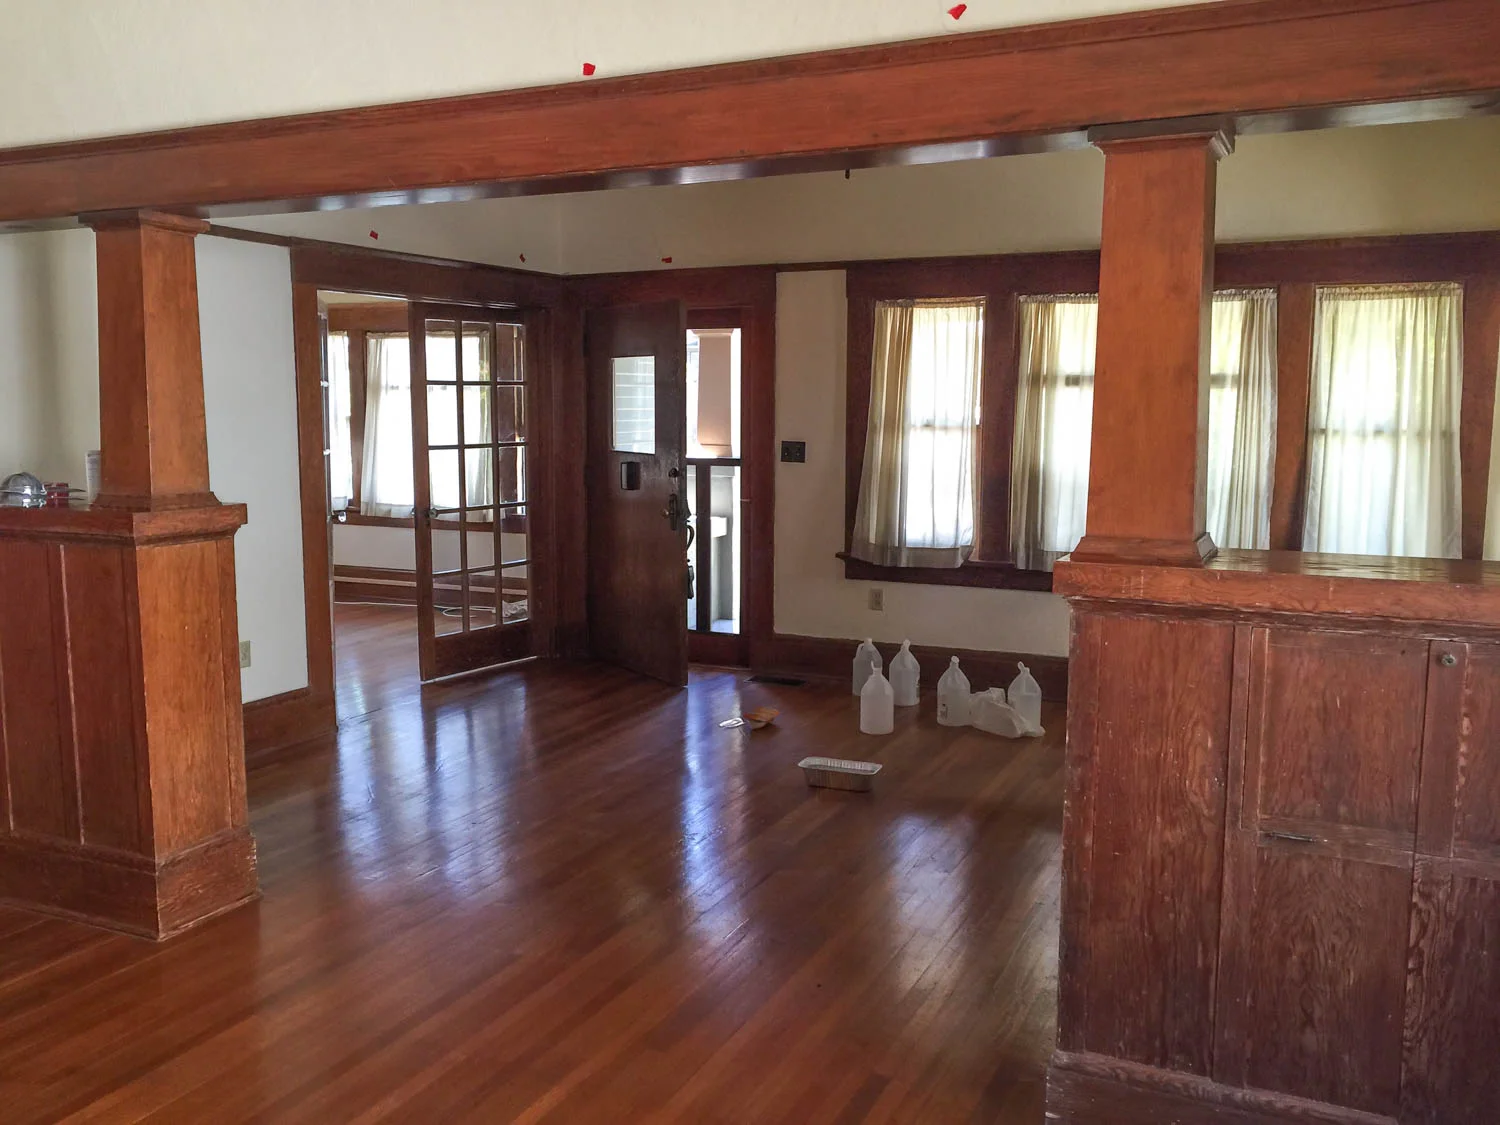
With an additional family member, we want to shuffle the rooms of our 3-bedroom house around. The one off the living room was being used as my home office, so now it’s time to convert it into an actual bedroom. The initial thought was to give this room to baby sister and keep Margot in her room. But we ultimately decided to put the baby in the room designed to be a nursery, then convert the home office into a space designed for a bigger kid. Plus, the office has more windows, and is right off the living room (Margot’s playroom) so it’s better suited for all the daytime play, whereas the single-window nursery is cozier for lots of daytime naps.