Refreshing An Overly Painted Bookcase

The Gold Hive Bookcase Before and After

The bookcase room dividers were a big selling point when we (well, when I) first laid eyes on the house. But, somehow, I neglected them for two years. I got distracted with all of the other projects, so they sat empty for months. Then I started piling books on them. Then I loaded them with junk with no intention of styling them. Then they just sat there for months. I'm not perfect, okay??

The Gold Hive Bookcase Before

Luckily, all of my knick knacks covered up the horrid paint job underneath. Not only was it an unfortunate brown color, but it was peeling pretty badly. This, my friends, is why you don't want to paint water-based paint over oil-based paint without some serious prepping. Otherwise, you leave a mess of refinishing for people like me (or even yourself) years later.

Supplies:

6-in-1 tool
Razor blade scraper
Utility knife
Sander with coarse grit papers
Respirator/dust mask and goggles
Drop cloth and optionally an old sheet
Primer
Paint of choice
Angled paintbrush
Shelf support pins

The latex paint was peeling off in sheets, so I used a combination of tools to scrape and peel it all off. Some of it came off nice and easy, whereas other spots took some serious scraping. The goal was to scrape anything that wanted to come off. Really stuck-on paint could stay.

The Gold Hive Refinish a Bookcase

After what felt like 99 hours of scraping, the next step was to sand everything really smooth. Any edges where the layers of paint didn't come off entirely need to be sanded down until they are slick to the touch. You'll still see the different colors, but as long as you can't feel it to the touch, then you're golden. I used the 50 grit sanding pads on my orbital sander to smooth edges and rough up the existing finish to receive new paint.

Since power sanders blow a bunch of dust around, I wanted to protect the rest of the house from the mess. Thus, a made a cocoon for myself with an old sheet to encapsulate all of the dust. Of course, I wore face protection to keep dust out of my eyes and lungs.

The Gold Hive sanding a bookcase

I'll admit that the funny looking technique wasn't the most comfortable way to work. It got pretty hot and rather dusty. But I didn't need to clean up much dust at the end of the project, so I consider it a win!

Once everything was sanded smooth and paint scraps were cleaned up, I coated the surface with my go-to primer, Zinsser 1-2-3.

The Gold Hive bookcase primer

That's just primer, but look at the transformative power of paint!

Next, I did a couple of coats of paint left over from the One Room Challenge. Benjamin Moore's Simply White in the satin finish is such a pretty, soft white. So much better, right?

The Gold Hive Refinish a Bookcase

The bookcase has small holes on the sides to mount adjustable shelves on pins. Each of them was filled with so much paint (prior to my scraping), that the pins didn't fit. After painting my own three layers of paint, which subsequently mucked it up even further, I redrilled the holes. Using a bit the size of the holes (1/4" in my case) I re-drilled each of them being sure not to make them any bigger than their original size.

The Gold Hive Bookcase Refinish

The drill removed the gunk from inside of the holes, but it did pull up some of the new paint along the edges. No biggie, though.

The Gold Hive bookcase refinish

I followed up with a mallet and the end of a screwdriver to soften the edges by hammering any rough edges produced by the drilling into the hole. This is the same technique I recommend for patching a hole in the wall after removing a nail.

For a swift cleanup, I used compressed air to blow the dust out of each of the holes while vacuuming gunk that flew out with a shopvac. I followed up with a light dabbing of paint to touch up the spots that lost some of the finish.

The Gold Hive Refinish a Bookcase

Finally, I pushed the shelf mount pins in, then plopped the painted shelves on them. These pins work wondrously for creating adjustable shelving options. If you're building your own shelves, or want to add more storage to an existing unit, you could easily install a strip of wood in each of the corners with equally spaced holes. Then pop the pins in, mount a shelf, and you'd have adjustable storage!

pegs-0282.jpg

Next week, I'll share my steps for styling shelves. Maybe within the next two years I'll refinish the other matching bookcase, too!

The Gold Hive Bookshelf

Refinishing Our 100-Year-Old Oak Floors

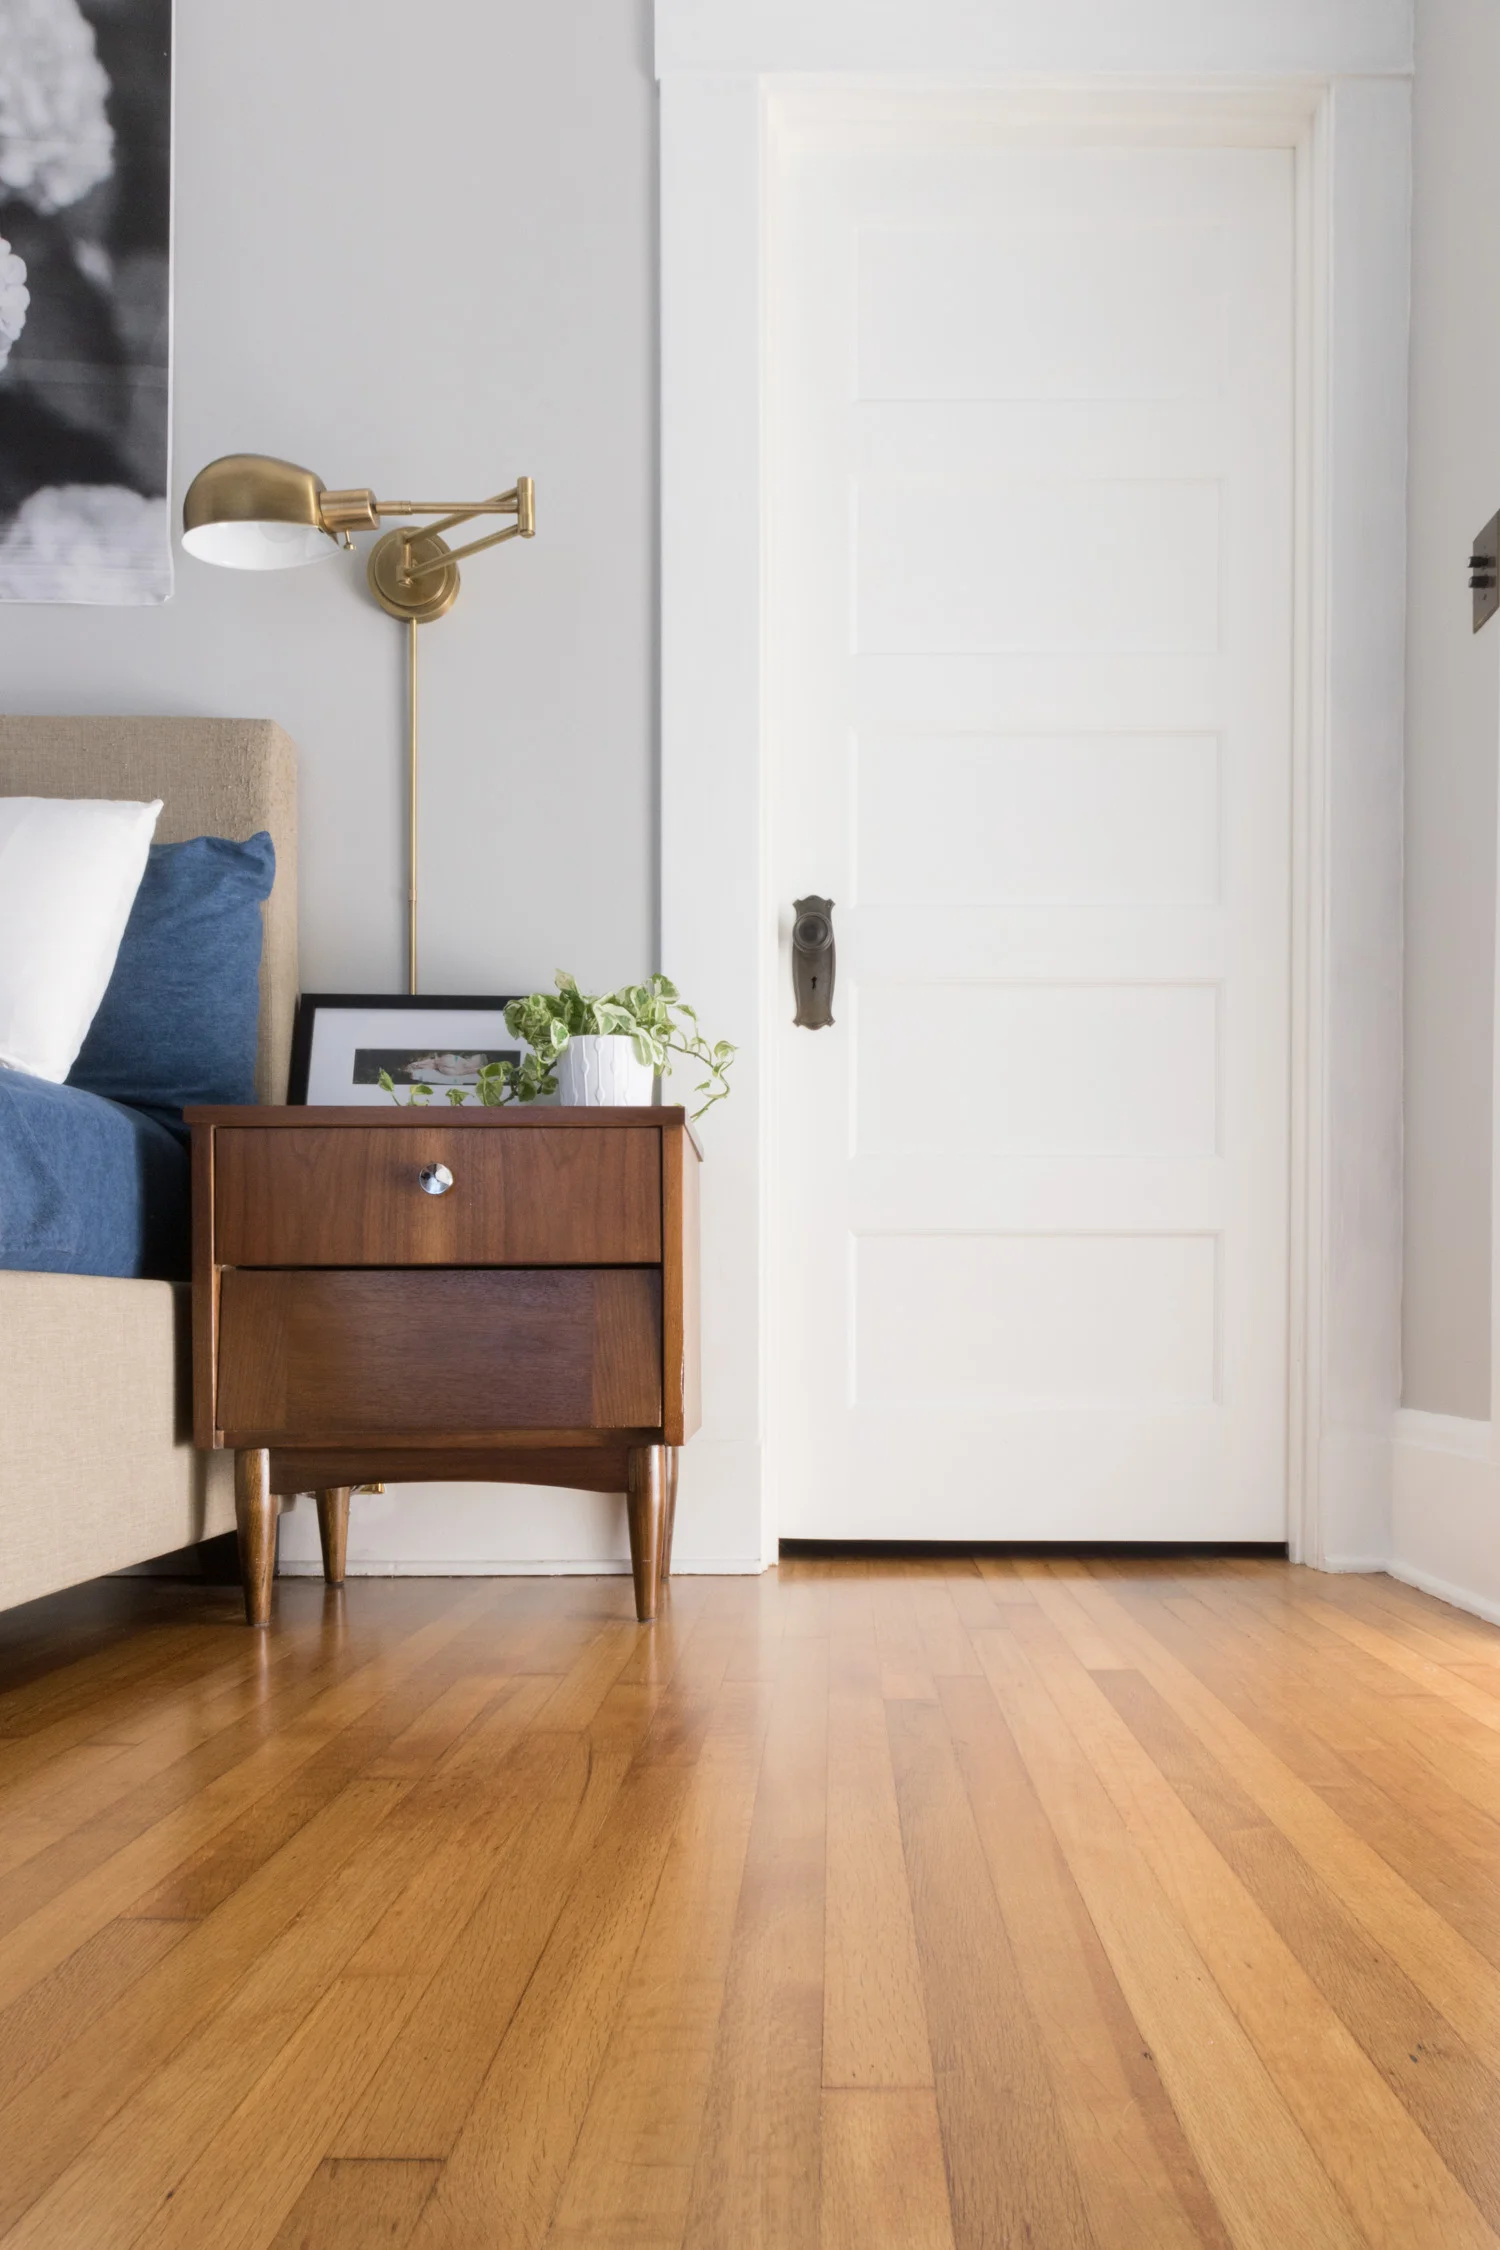
The Gold Hive Master Bedroom Floors

Refinishing the hardwood floors was the last step in remedying the odor issue. Once all was said and done, the smell disappeared and the flooring was revived – win win!

As a reminder, here’s what the flooring looked like.

flooringbefore

The 100-year-old rift and quartersawn white oak was actually in pretty great condition throughout most of the house. However, the urine stains (the dark spots seen above) and termite damage warranted repairs. Plus, there's no better time to restore the floors than when not living in the house - you’d have to move eeeeeeverything out off the floors otherwise.

The very first step was to make a mess. All drywall, painting, and bathroom construction (stay tuned!) occurred before the flooring crew set foot in the house. There's no sense in making that oak perfect and shiny, to then drag a bag of demo debris over it. I've heard professional painters say to paint after floor refinishing because dust can get into the paint, but I sided with the hardwood guys that said to paint first. It makes so much more sense, I mean, I've been known to drop a cup of paint from the top of a ladder.

Oops. Thank goodness for rosin paper. Once I was done spilling paint, the sanding process could begin.

That freshly sanded oak makes my heart skip a beat! I also have a crush on this sander. Ain't she a beaut? Looking back, I think that retro pale green influenced my kitchen cabinet color.

The floors had previously been refinished, but in the back of the closets was the original wax finish. It was pretty dull, but there's something so special about finding a part of the house that hadn't been messed with over the years - even if its a small bit of dingy flooring. Below, you can see the wax finish transition to the glossy polyurethane before getting sanded down. Also, note the termite damage.

All of the boards that were brittle from termites gnawing on them had to be replaced.

It's no surprise to find a few boards that are beyond repair, but the bummer was discovering that termites had eaten through the subfloor, too. It was so chewed on that I could easily poke my finger straight through to the crawl space. Half of the master bedroom flooring had to go. This is where I can't stress enough the importance of house maintenance. This back corner of the house was termite heaven because of the moisture that built up in a non-vented crawl space. There's also no record of termite treatments after 1982. People, these are BUGS inside of your floors/walls/furniture/etc. Get them out before they do this!

Local suppliers were out of the same type of flooring we have (2” x 1/2” rift and quartersawn white oak) and tried to convince us to use plain/flatsawn wood. We insisted on using the same type of cut as the existing flooring, and even though it delayed our move-in date, it was well worth the wait. Once the matching hardwood arrived, it had to acclimate to match the house's humidity.

During the acclimation time, we brainstormed how to finish the floors. The sanding did wonders for the small stains and scuffs, but the urine damage was still noticeable and would stand out even more when coated in polyurethane.

I was prepared to stain the wood a dark shade in order to hide the stains. But at the last minute, Ross made his biggest design contribution to date - he declared, "no stain!"

The ghosts of urine blemishes remain, but we couldn't be happier with the choice to keep the white oak light and natural.

After an application of wood putty and another few rounds of sanding, the floors were coated in an oil-based satin polyurethane. The finish is just shiny enough without being glossy, and its amber tones add to the patina of the 100-year-old wood. Choosing to do oil-based was in my goal of keeping with the history of the house - giving it the warm amber look and using finishes customary from years ago. But I kind of which we didn’t do the oil based poly and instead left the wood even more pure in it’s lighter hue. It’s okay, though!

We hired out the project and spent about $5k on the whole process. It was well worth it considering we were in a rush to move in and had lots of other things going on. But, I do yearn for the day when I can refinish floors myself! The Grit and Polish shared how they refinished their floors themselves and included the cost to do so here.

Once the flooring was complete, it felt like a whole new space - almost ready to be lived in. But before moved-in, there was still so much more to do. Which of those projects do you want to hear about next? The bathroom remodel? The kitchen update? More odds-and ends?