Concrete Countertops in the Kitchen - A How To and A Report on Two Years of Use
/While the kitchen didn't get a full gut and remodel like the bathroom, it received its fair share of updates to make it usable. Among the most impactful were the concrete countertops.

The existing counters were granite tiles. Now, some of you may swoon when you hear "granite counters" but these were NOT swoon-worthy (but also, not many granite counters are swoon-worthy in my personal opinion - though, I digress).
You may be familiar with concrete countertops that are a solid piece of concrete that's poured in place, but skim coating is an easy option that doesn't require any demo. If you're a DIY-loving renter that has the "go ahead and make changes but I'm not going to pay for it" landlord, then this project is for you.
I'm not going to pretend that I came up with this DIY. I followed the instructions from John and Sherry of Young House Love to a T. For a comprehensive step-by-step, take a look at their whole process here and here, but you can follow along with my brief play-by-play below. Then, I'll get into how they are holding up 2 years later.
What you'll need:
Ardex Feather Finish - this is the star of the show. Amazon sells it in packs of 4 which is good if you need a lot. My kitchen needed less than 2 bags for a 12' run of counters and no backsplash. I got this option which comes with 2 bags and a trowel.
Measuring and mixing buckets - I used an old gardening pail and a cup. The ratios are what matter more than the actual measurements.
Scraping tool - I used a metal putty knife, but a 6-in-1 tool works great. I recommend something with a 2-4" blade.
Trowel - You can get creative with lots of different sized and shaped trowels but I used the one in the combo pack of concrete and a trowel. If you're new to this type of work, I'd recommend a short trowel to give you more control. A "pool" trowel has smooth edges which also helps newbies not make track marks as they spread. If that's what you're after, here's one.
Sandpaper - I used a heavy grit paper on my sander, then finer grits on the sanding block.
Mask and eye protection - During the sanding stages, it gets really, really, really dusty. You'll want eye protection and a mask or respirator.
Sealer - to protect the concrete that you so laboriously applied.
SafeCoat Acrylacq - to finish the counters and make them food safe.
Foam brushes - If you have a lot to cover, you can get a foam roller, but I used a wide foam brush.
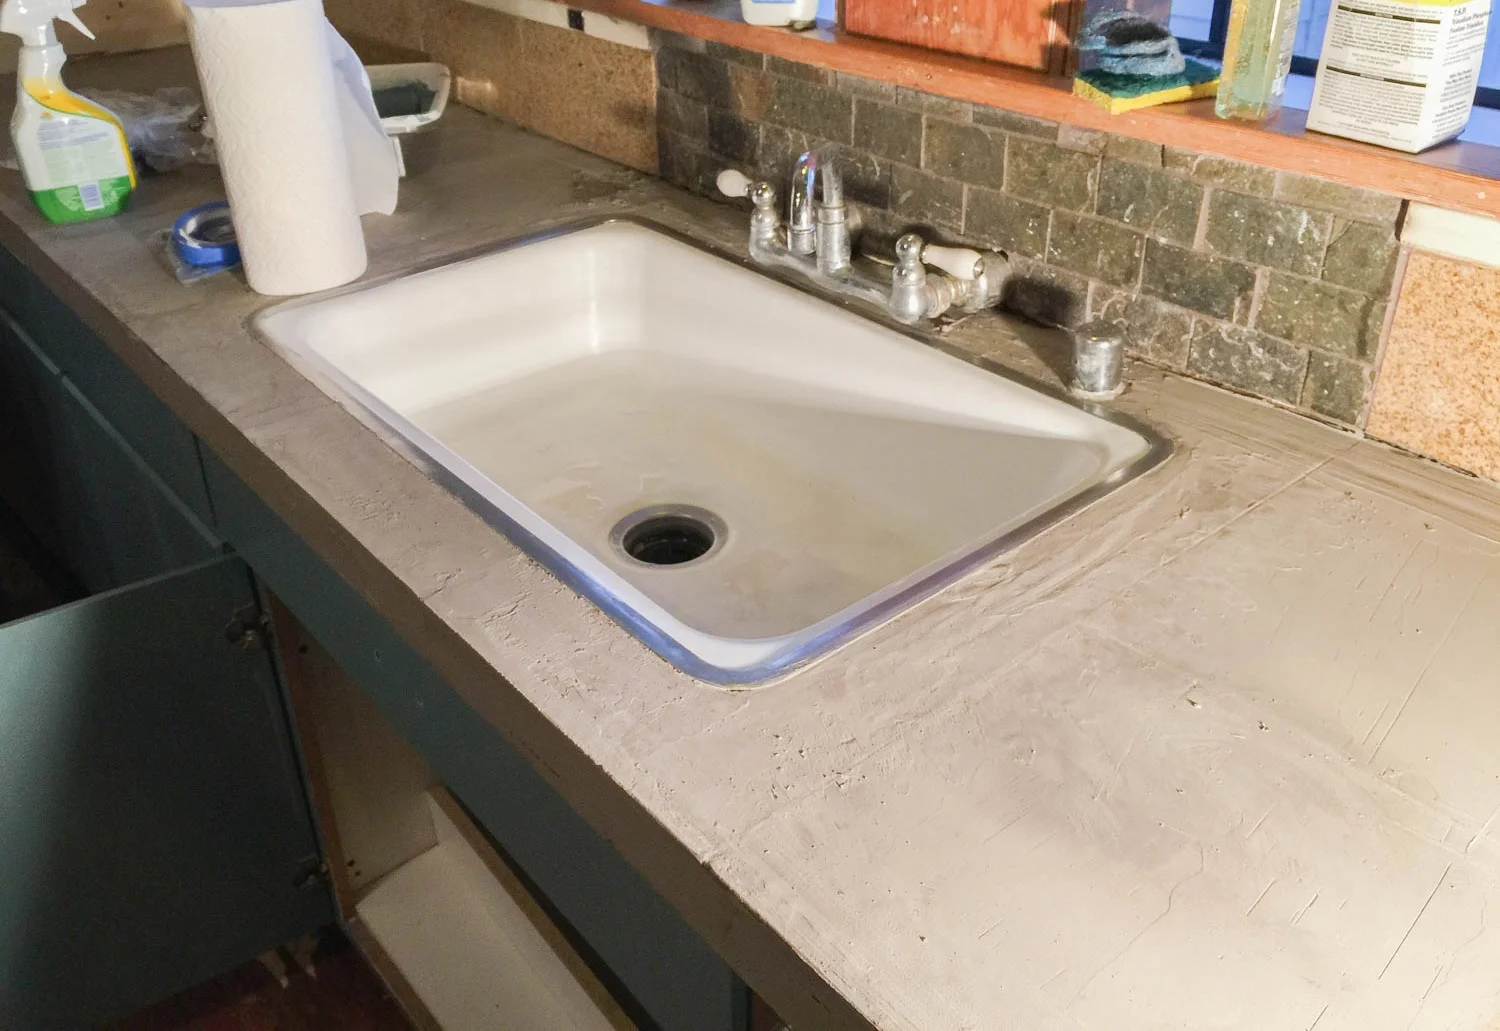
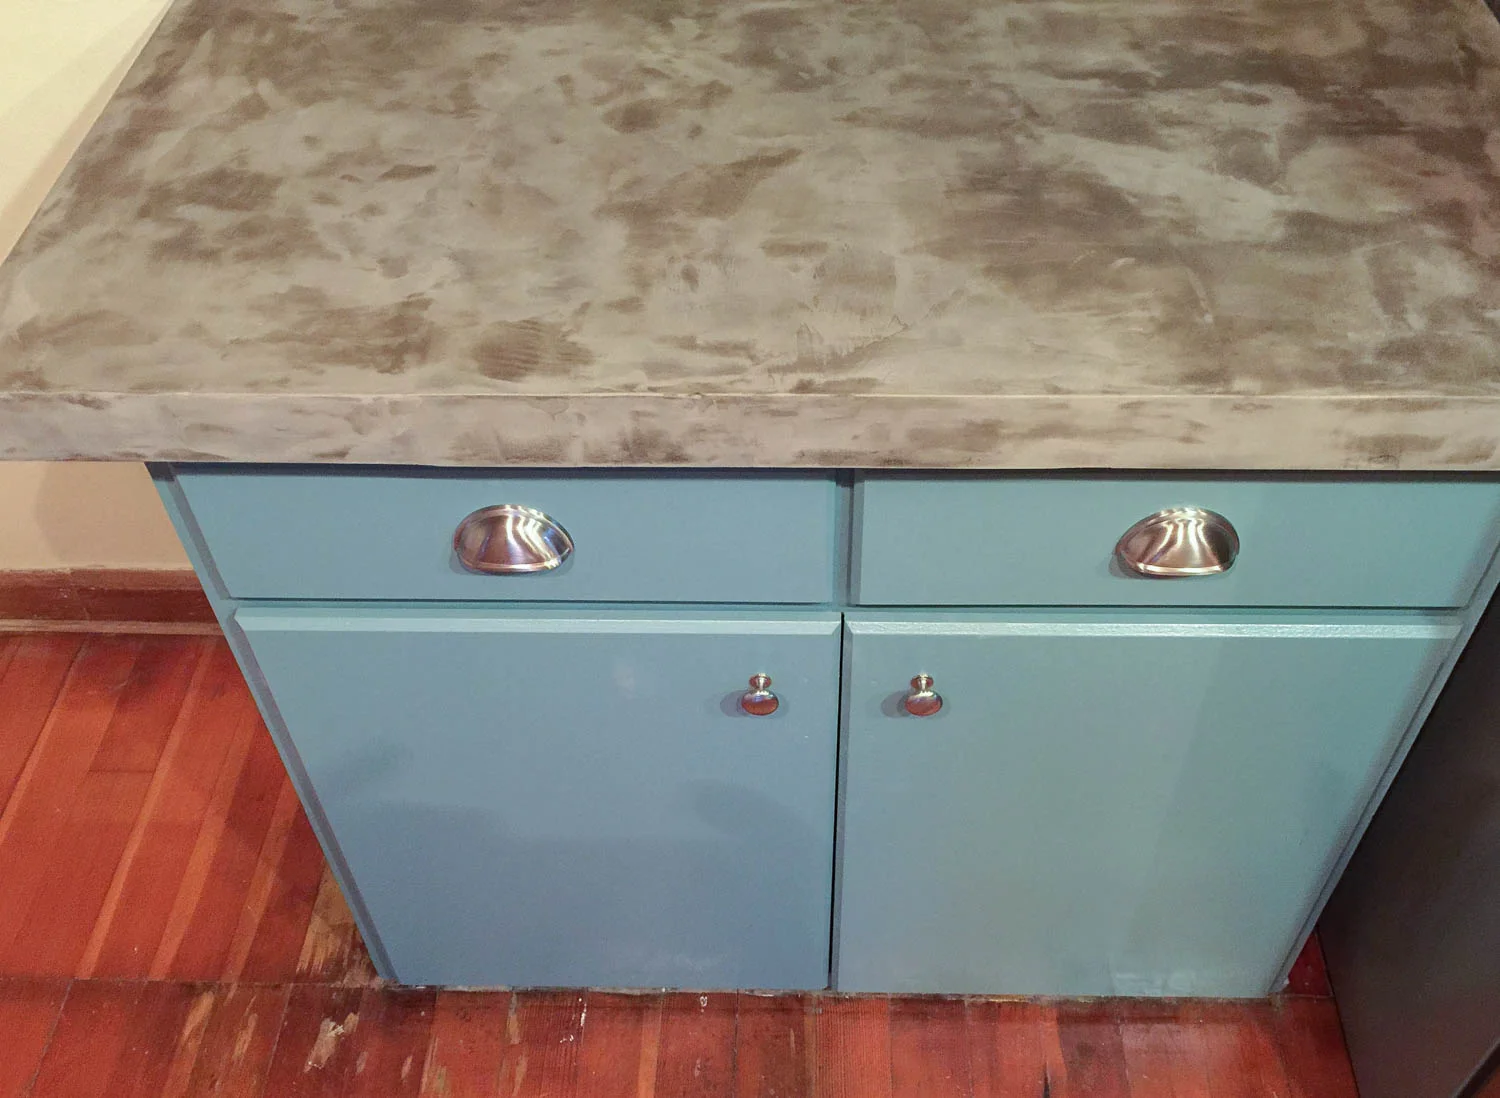
As a reminder, here's what the kitchen looked like before.

The first step is to quarantine the room you'll be working in. I was lucky to be doing this project in the midst of renovations, so dust was aplenty. But, if you're living in the house while doing this project, you'll want to thoroughly seal off the space to contain the mess. Note that this is a multi-day project, so plan accordingly.
I used a coarse grit sandpaper on my sander to rough up the counters. It seems silly to sand granite which is a pretty darn strong material, but I did it anyway to really clean up the surface and sand down remnants of anything that I didn't want between the counters and the concrete. If you have a softer countertop material, this step is helpful for scratching the surface and giving the concrete something to grip to.
After wiping up the dust, I mixed the concrete according to the ratio on the bag (2 parts powder to 1 part water) to get a toothpaste consistency. If you're doing a lot of vertical work you'll want more of a peanut butter consistency, but if you're just working on the flat counter, it can be runnier. Find what works for you! I mixed small amounts at first to see how far it went. If you mix too much, it will harden and all you'll have is a concrete mold of your bucket.
Coating the counter was like icing a cake - over and over again. The first coat is similar to the crumb coat of a cake - not pretty but an important base for the next step. I dumped out the mixture onto the counters and used the trowel to spread it to an even thickness. You don't want to go too thick or you'll prolong the already-lengthy process. Coat everything and don't worry too much about the edges.
After the concrete dried for a few hours, I followed up with a scraper to knock down the bumps and imperfections. You can try to make it perfectly smooth right after you apply it, but it's often too wet and you end up messing up, then reapplying, then fudging a little, then reapplying. Hot tip: set a lamp low on the counter and point it parallel to the surface; this will emphasize the imperfections so you can scrape them off easily.
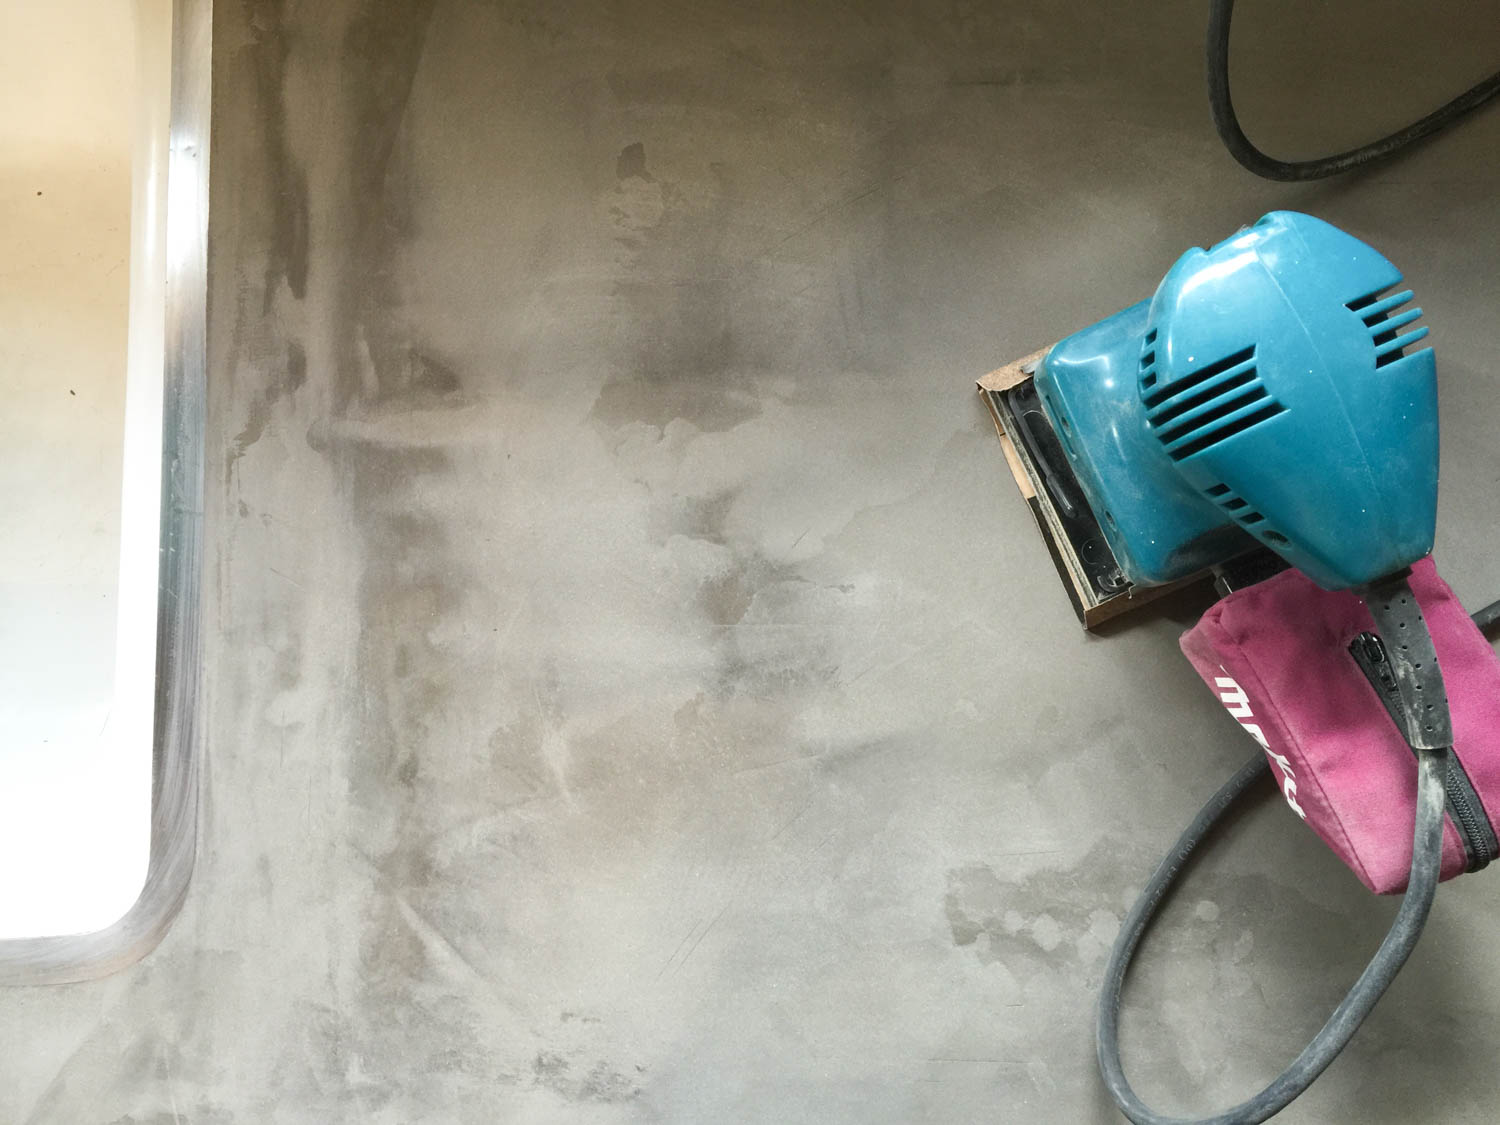
After the first coat dried completely, I followed up with the sander to make it smooth for the next coating. I used a power sander which made everything go by quickly, but it did get suuuuper dusty.
Once the base coat was sanded and smooth, I applied another coat the same way as before, and then again. Three coats is the minimum I'd recommend, and it does indeed take three days! I applied the concrete late at night, went home, went to sleep, went to work, came back, sanded, sanded, sanded, wiped up dust, applied another coat, went home, went to sleep, and repeated.

The sanding block was helpful for refining the edges that the power sander couldn't do. I started with a coarse grit block, then graduated to a finer grit for the last layer.
I purposefully left trowel swooshes and visual texture in the concrete. If I didn't, then any imperfection would show dramatically. Concrete isn't known for being particularly beautiful, so I embraced the nature of the material and aimed for a handmade look - plus, imperfection is so much easier!

Once the countertops were shaped and smoothed to my liking, they had to be sealed. There are lots of opinions on sealers, but John and Sherry did lots of research, so I followed their lead. This final process included wiping on a few coats of sealer, then coating everything with a few layers of Acrylacq which is basically a polyurethane - but a non-toxic food-safe version. I don't have photos of this process, but it's easy as pouring the sealer on and spreading it out, then waiting for it to dry between coats.
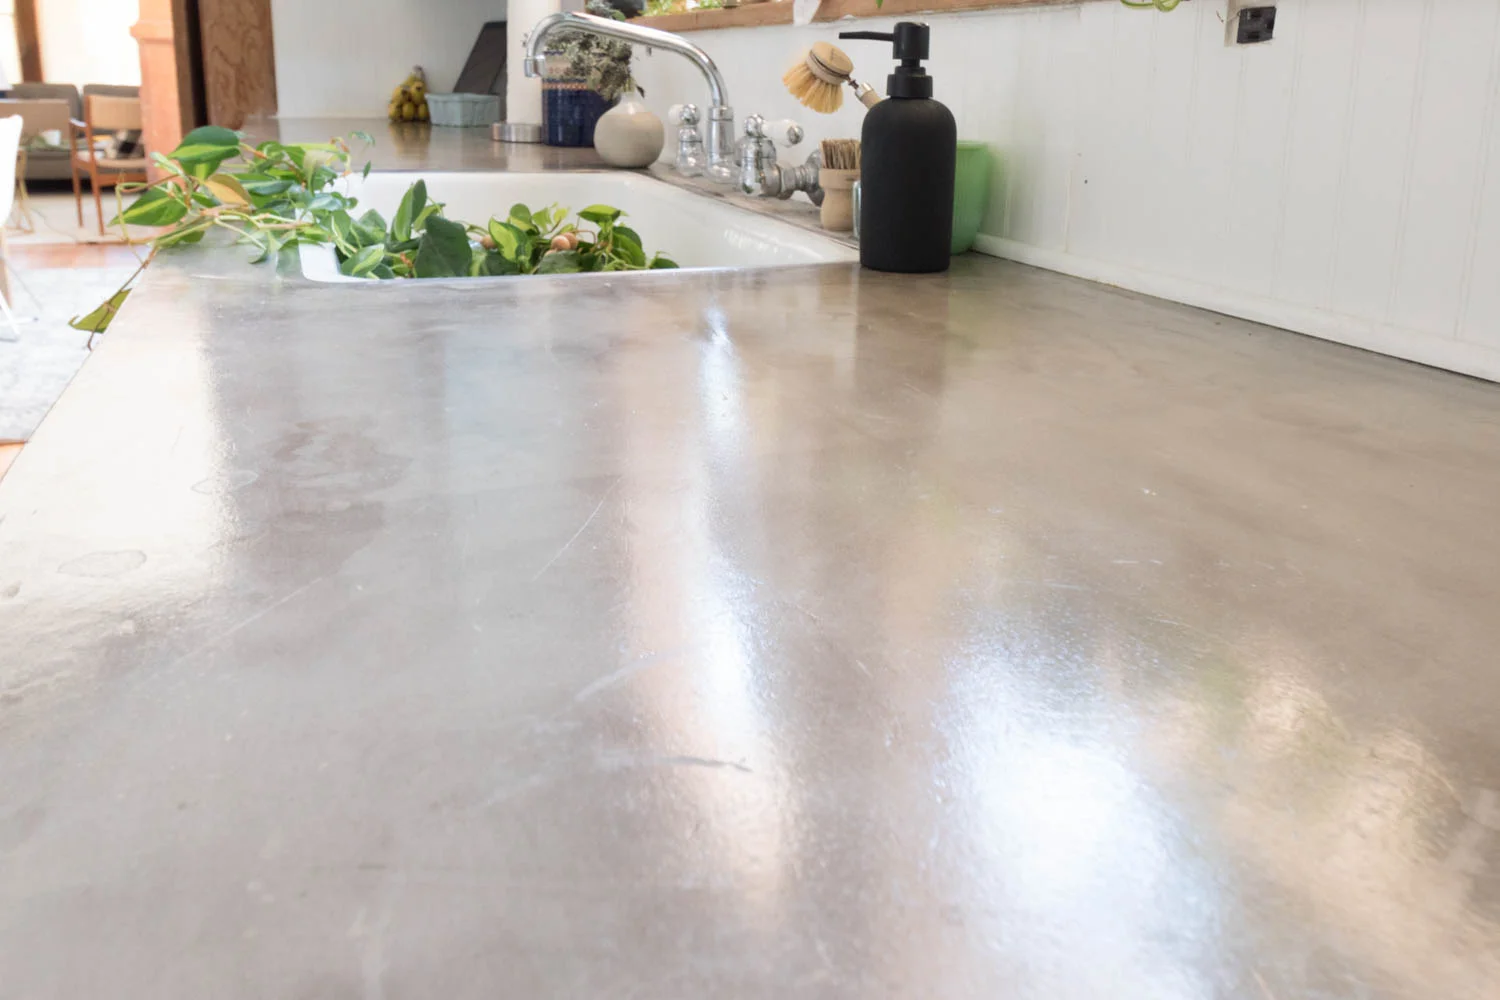
How they're holding up two years later
They are doing pretty well after two years of use! They still have a nice shine to them and still have the natural concrete look. I haven't babied them, so they're definitely seeing signs of wear.

Water: I store our dish scrubber on the countertop, so a puddle of water will pool on top of the counters for hours/days. I worried it would break down the finish and cause big issues like mold, but the only problem is it darkens the tone. Since I don't mind the darker shade, water on the surface doesn't bug me at all.
Heat: I somehow forgot that I had (essentially) a coating of plastic on my counters when I sat a hot cookie sheet on top of them. It didn't sit there long before I remembered the many days of labor I put into the countertop project, but the cookie sheet definitely left a burn mark. There are a few small spots where the finish completely melted away.
Chemical: I sat down some laundry spray on the counters only to come back the next day to find an oval-shaped haze on the counter from where the product leaked out of the bottle. I haven't managed to get rid of these, but the haze has dissipated over time and blended into the other markings.
Rust: The bottom of my coffee maker started rusting and left a nice orange spot on the surface of the counter. I used some Bar Keepers Friend to buff off the rust, though I scrubbed through a layer of coating because it's a bit more dull there. It isn't attracting any issues, so I don't mind!
My review? Overall, I love the concrete counters and how much this project transformed the kitchen. I would do it again in a heartbeat.