One Room Challenge Week 6 - The Moody Room Reveal!
/
Can you believe it's been six weeks since the One Room Challenge began? Six weeks. To recap, here's the before, the inspiration, and the plan, the moody paint, the installation of picture rail molding, the artwork, and the refresh of a chair. And now here we are, at week six!
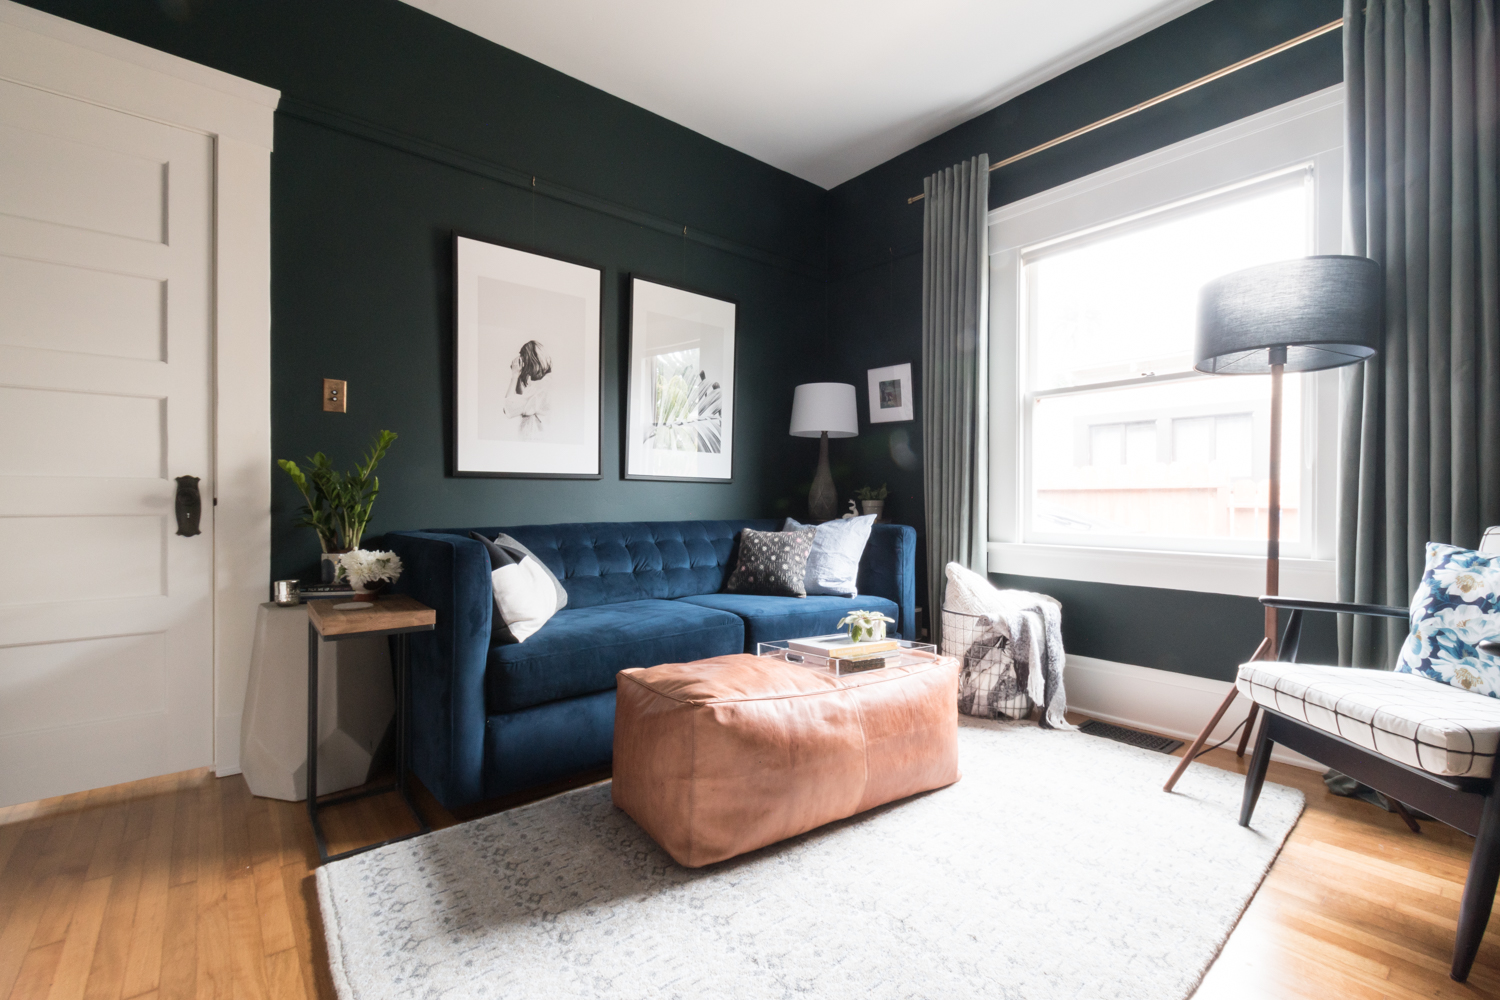
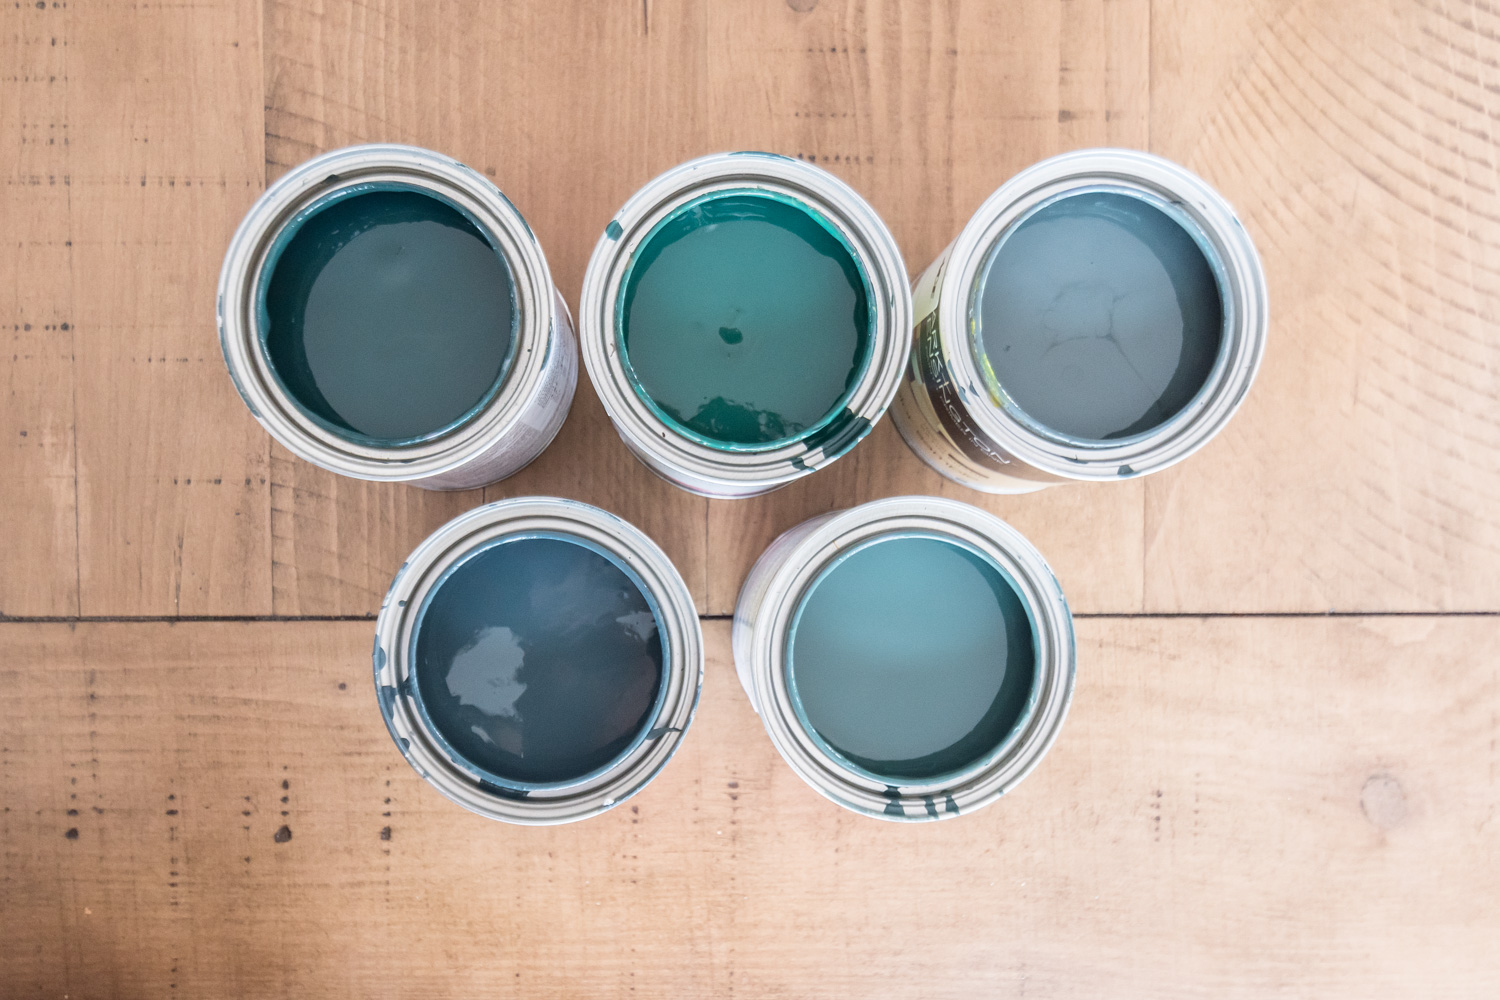
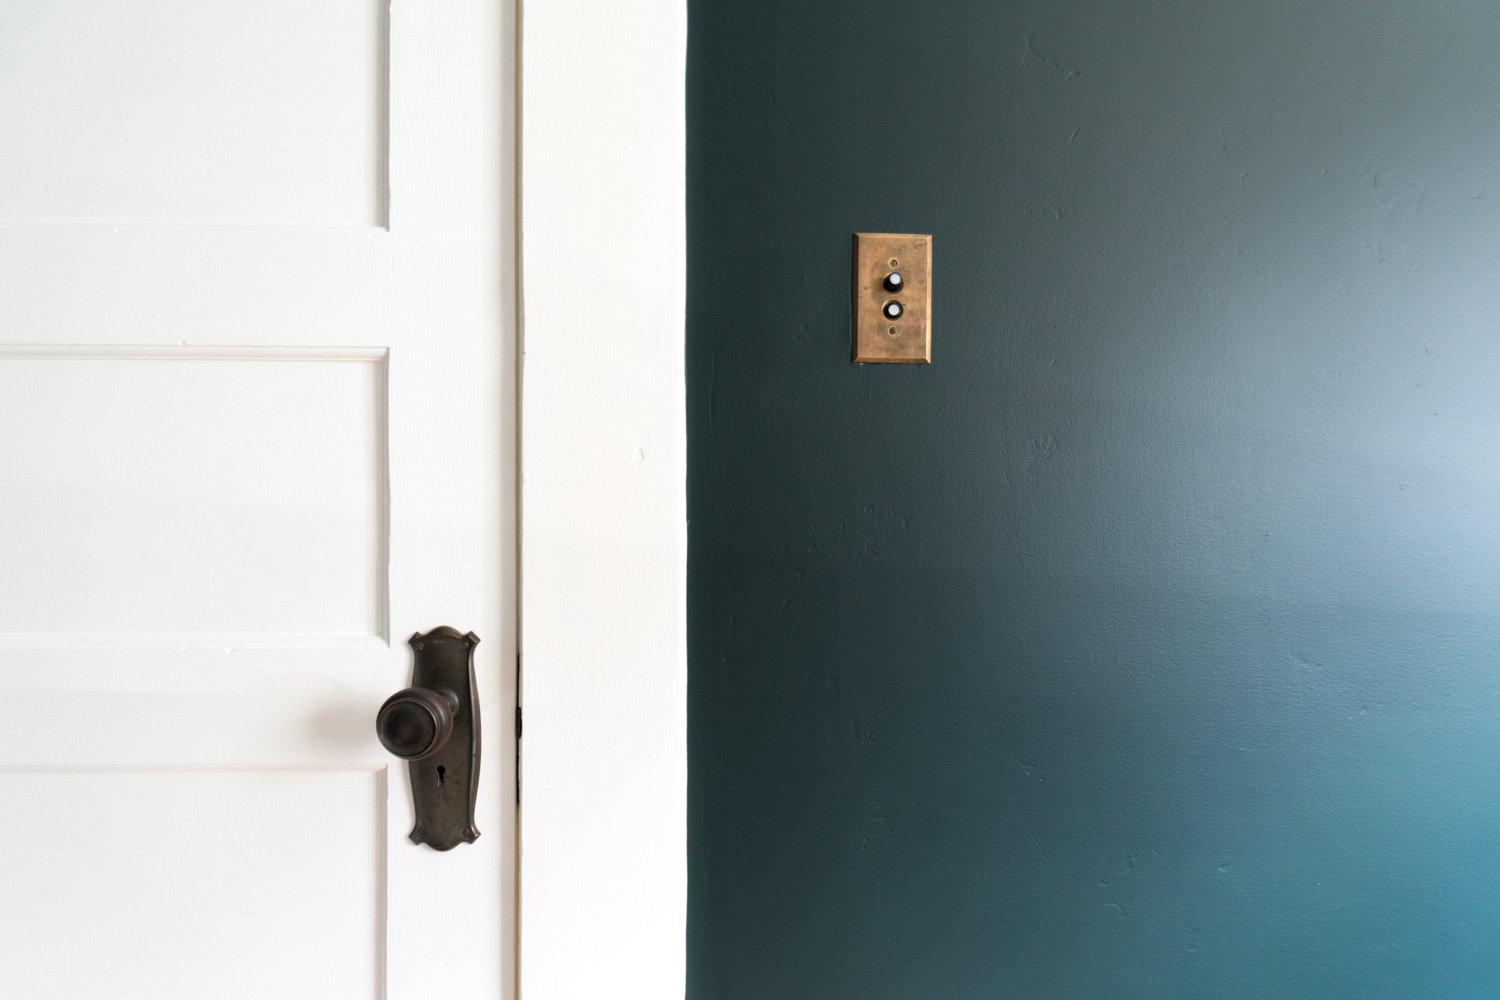
Can you believe that paint color? I still can't get over it. It is the perfectly dark tone with the richness of an emerald green. My heart! This shade is Salamander by Benjamin Moore. It's more like a chameleon because it shifts throughout the day and ranges from nearly black to emerald and blue green to forest green. It's perfection.

The goal was for a tone on tone color scheme with blues, blacks, and greens, plus a heavy dose of contrast with some bright whites. The room was starting to feel stark, so this ottoman makes the space feel like a casual place to kick up our feet for some Netflix viewing - which is what happens in here 90% of the time.

The sofa used to be in the living room, but it is so much happier in here. In its previous configuration, it sat against a wall of windows so it was always backlit and you could never enjoy the texture of the tufting and the velvety finish. The couch is a sleeper, so the room can very easily transform into a guest bedroom. Win Win.
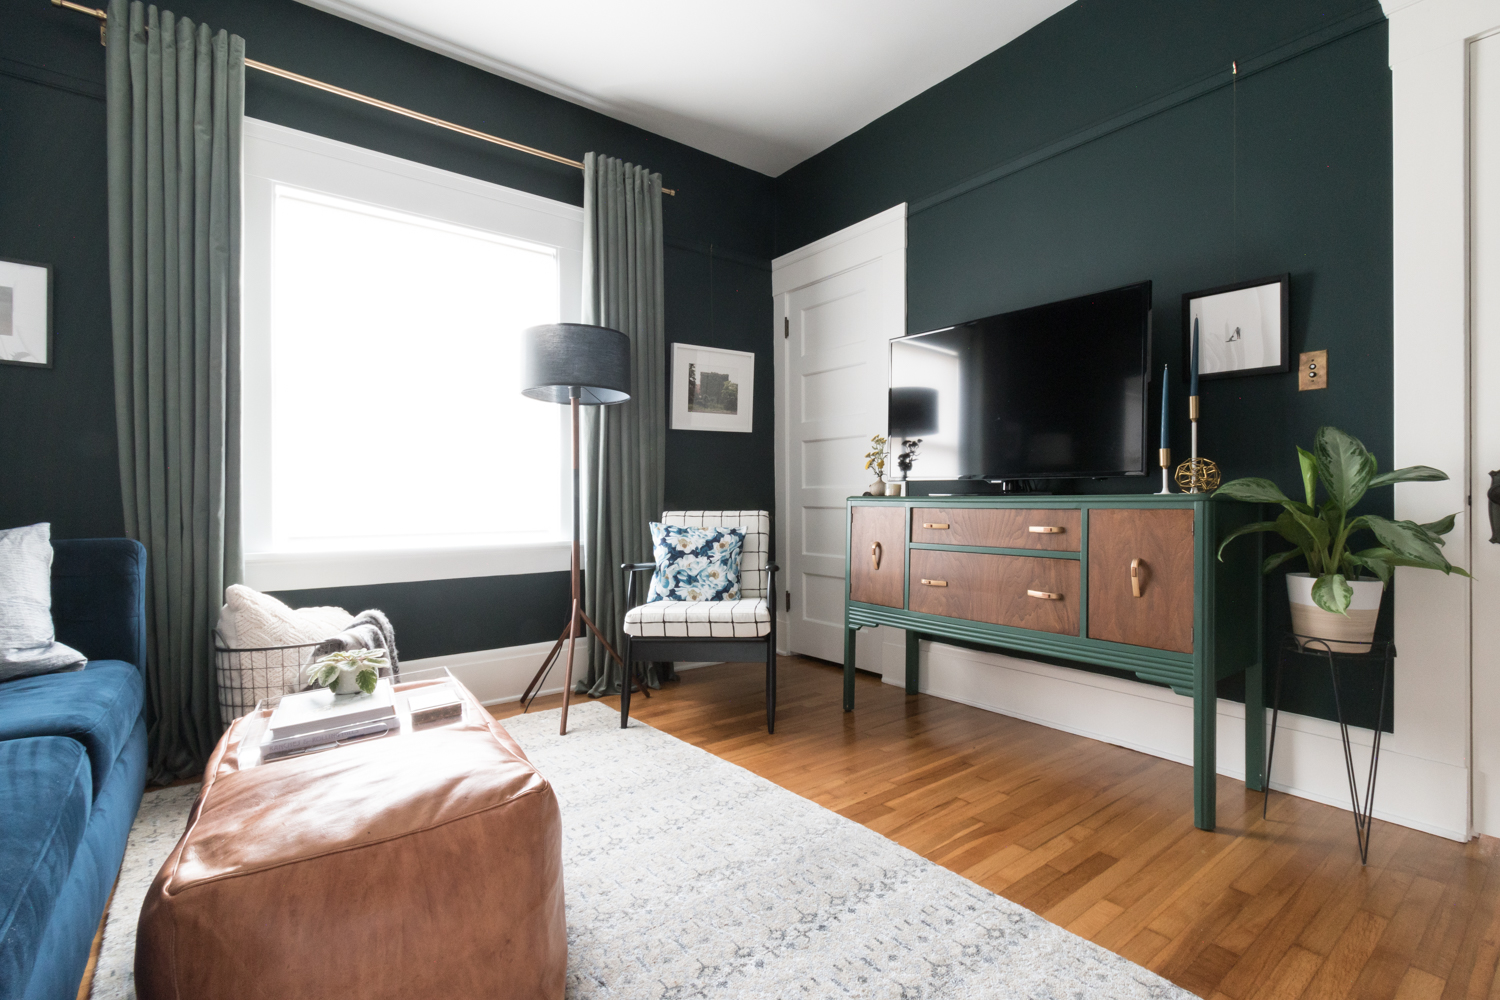
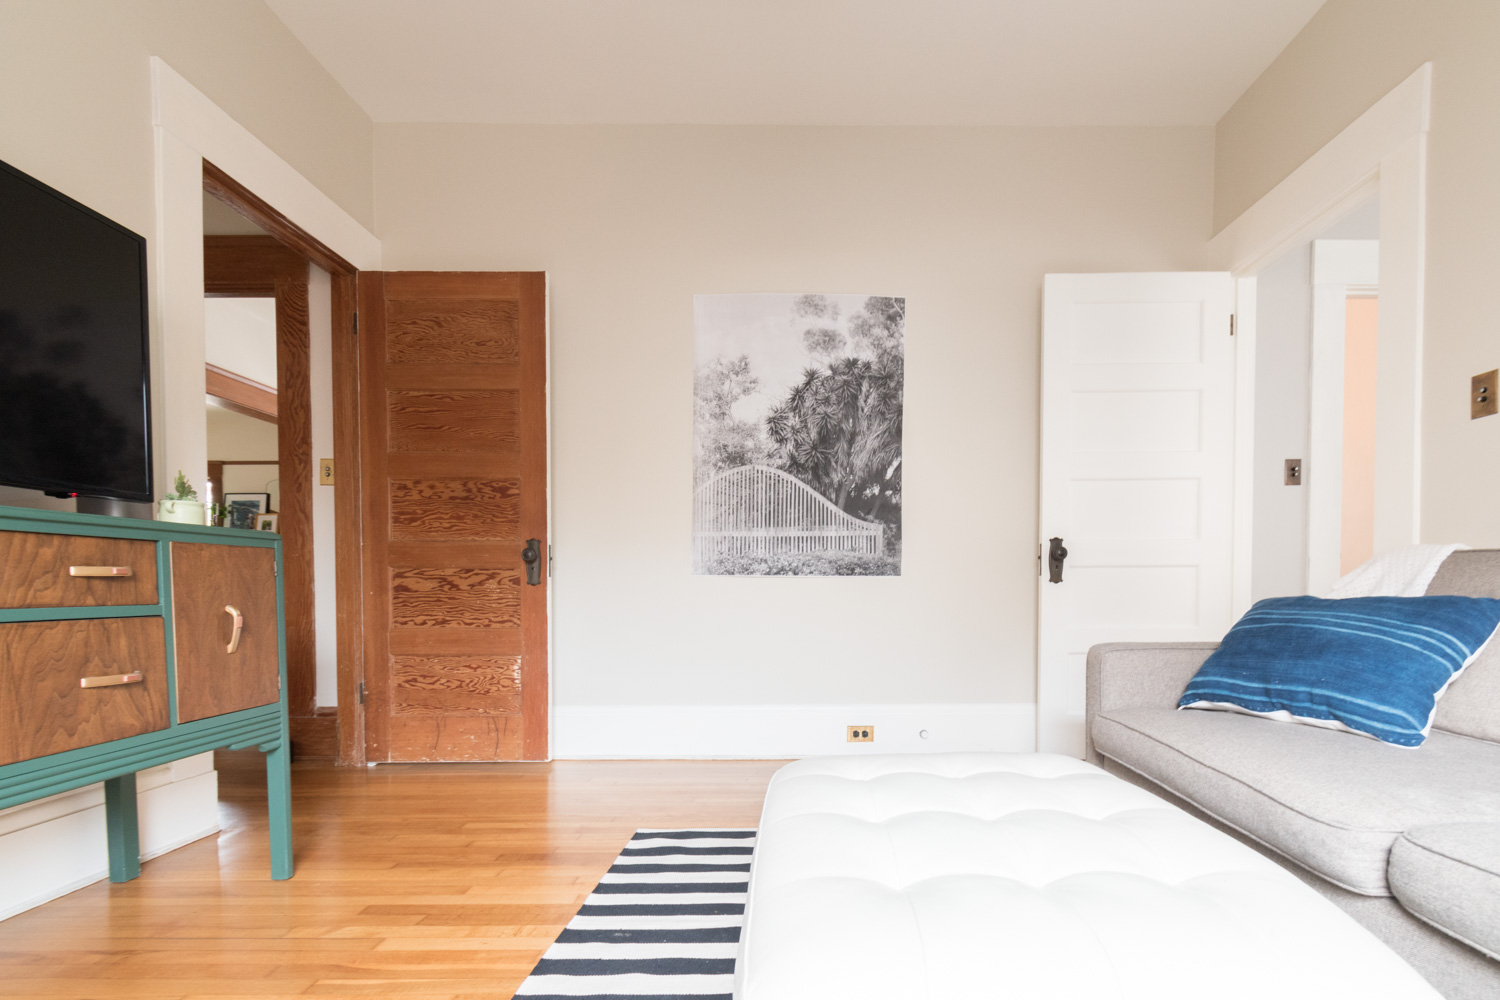
The TV and the stand stayed from the previous iteration of the room. That credenza is just too perfect in size and deco style to get rid of it

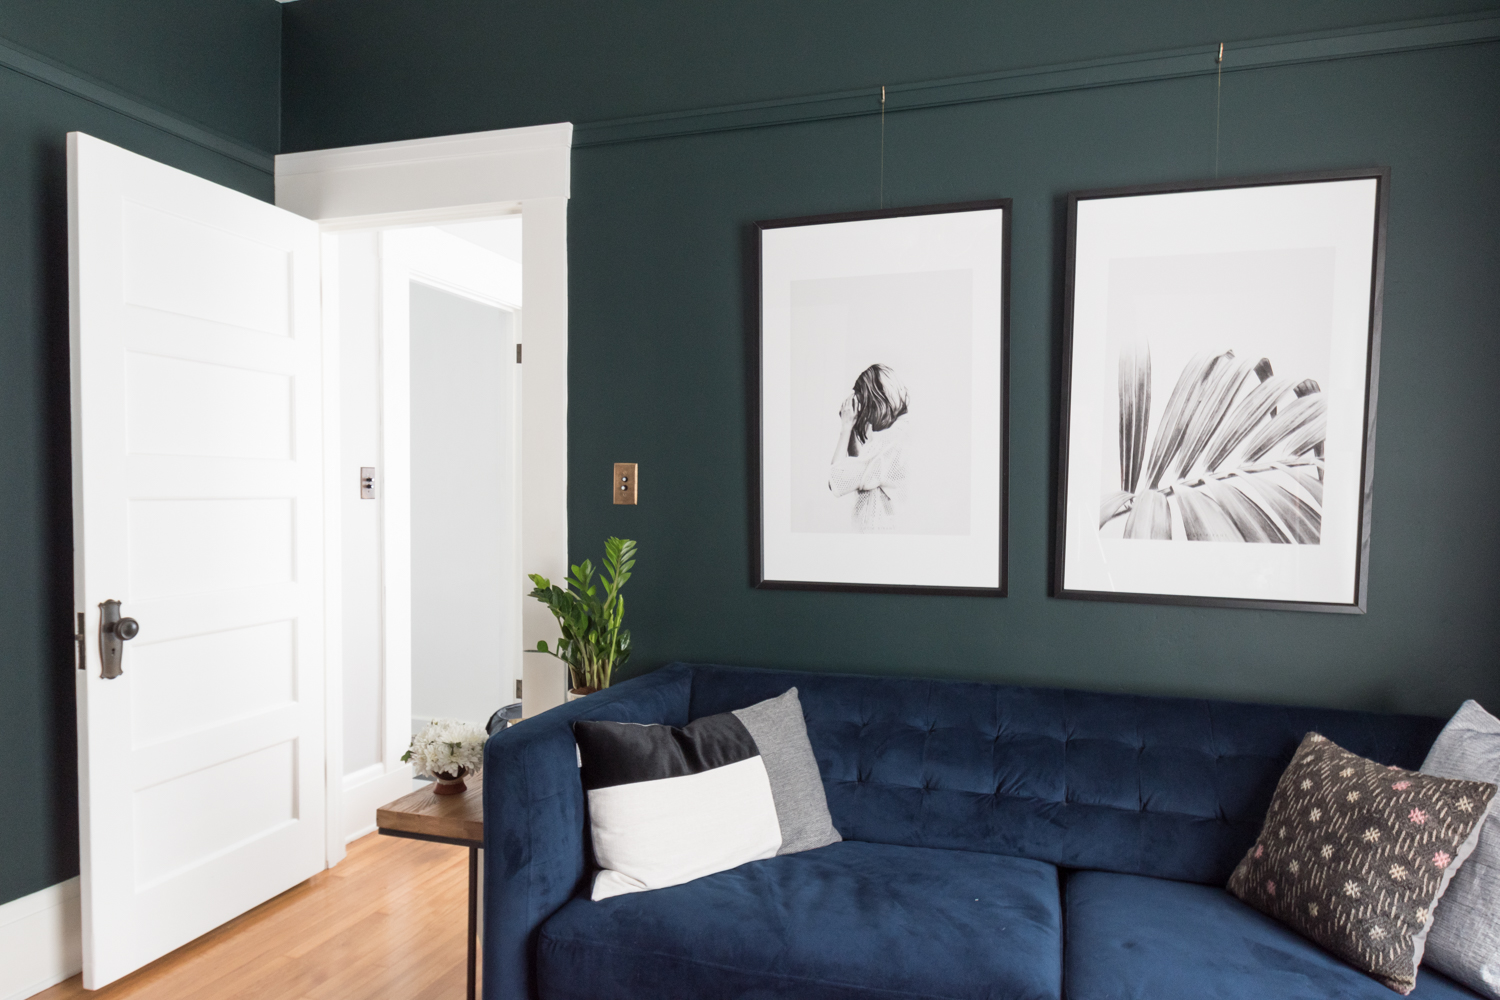
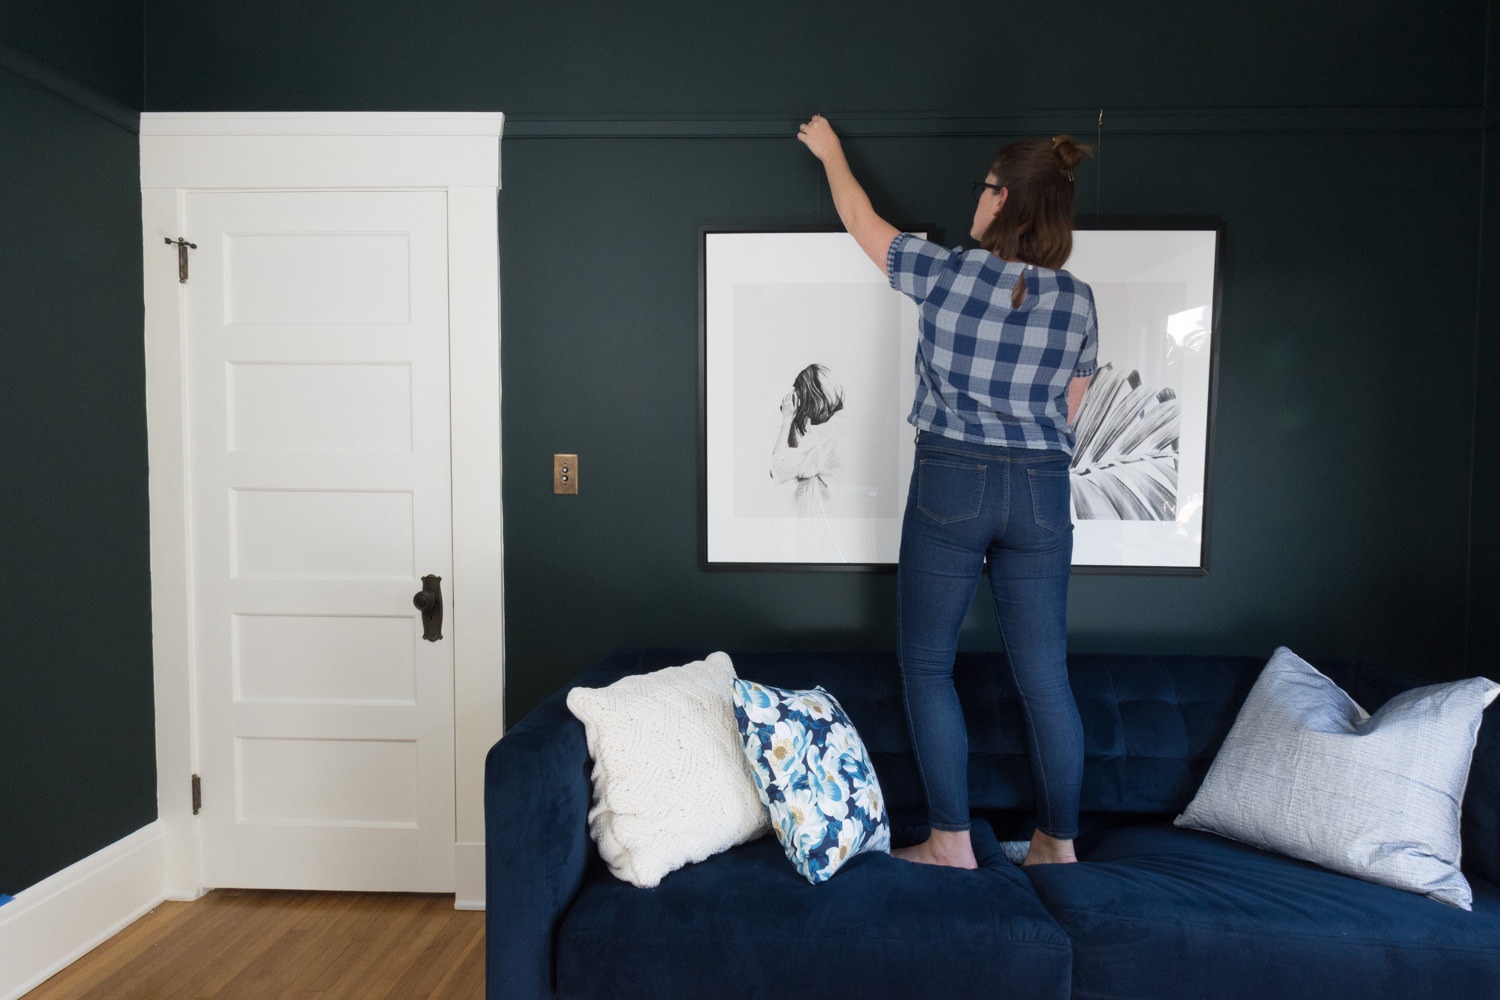
There's that print that I love so so much. Shall we admire the artwork, now?


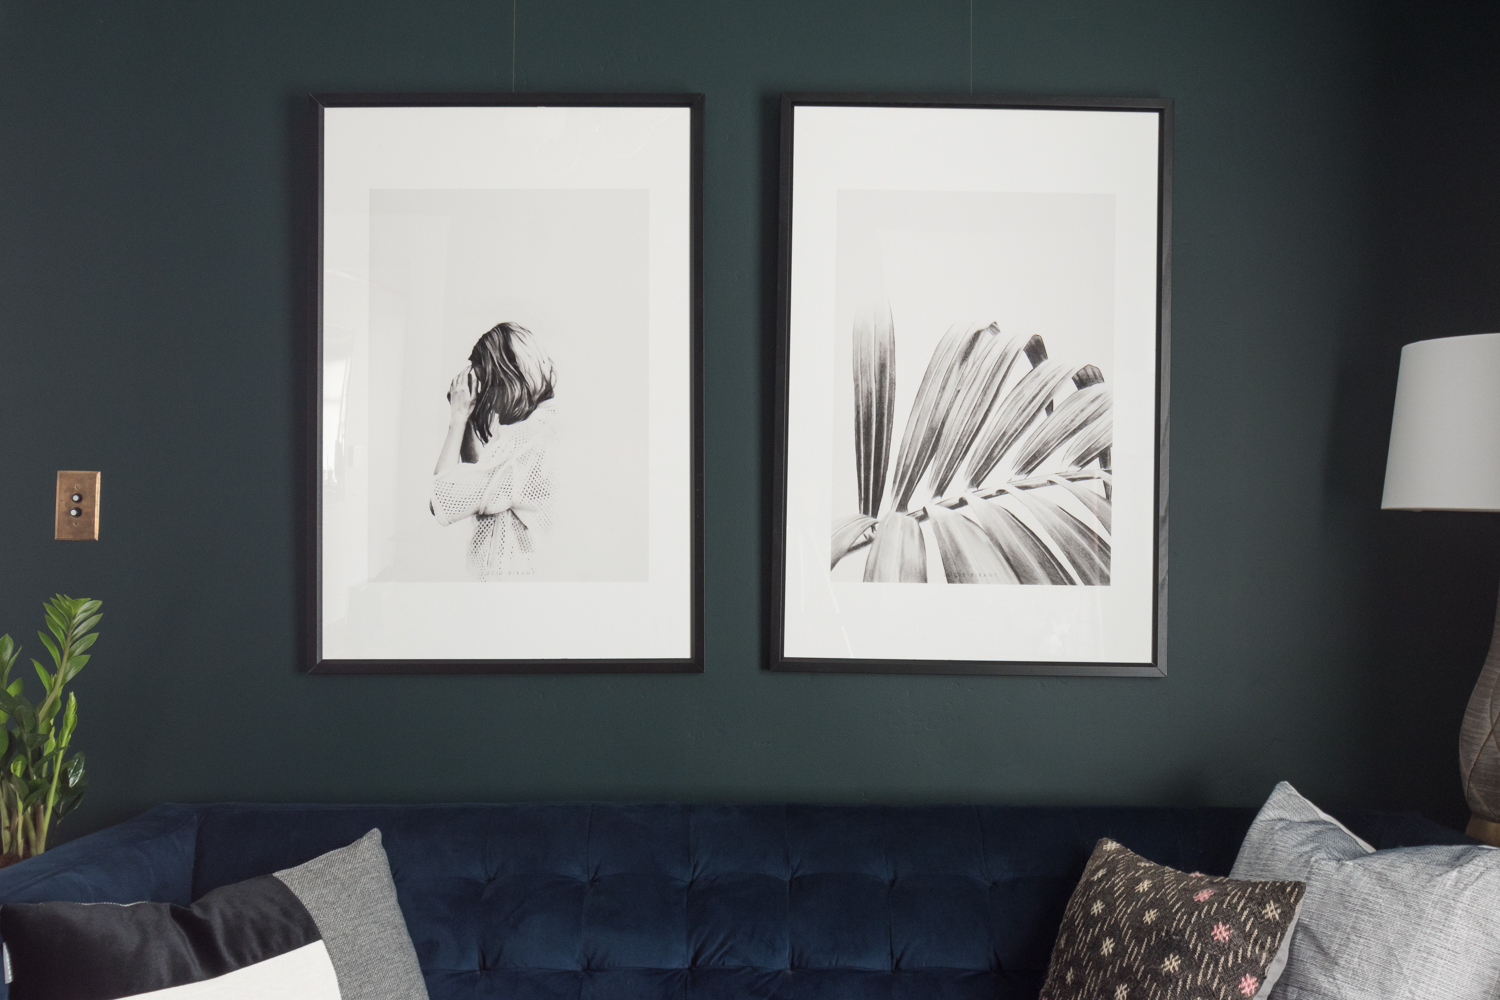
I wanted to make sure that the dark walls didn't get too covered up by large frames, so I exercised some restraint when I was eyeing all of the great possibilities for artwork. I ultimately settled on these prints that are showstoppers on their own, but also let the moody paint shine.
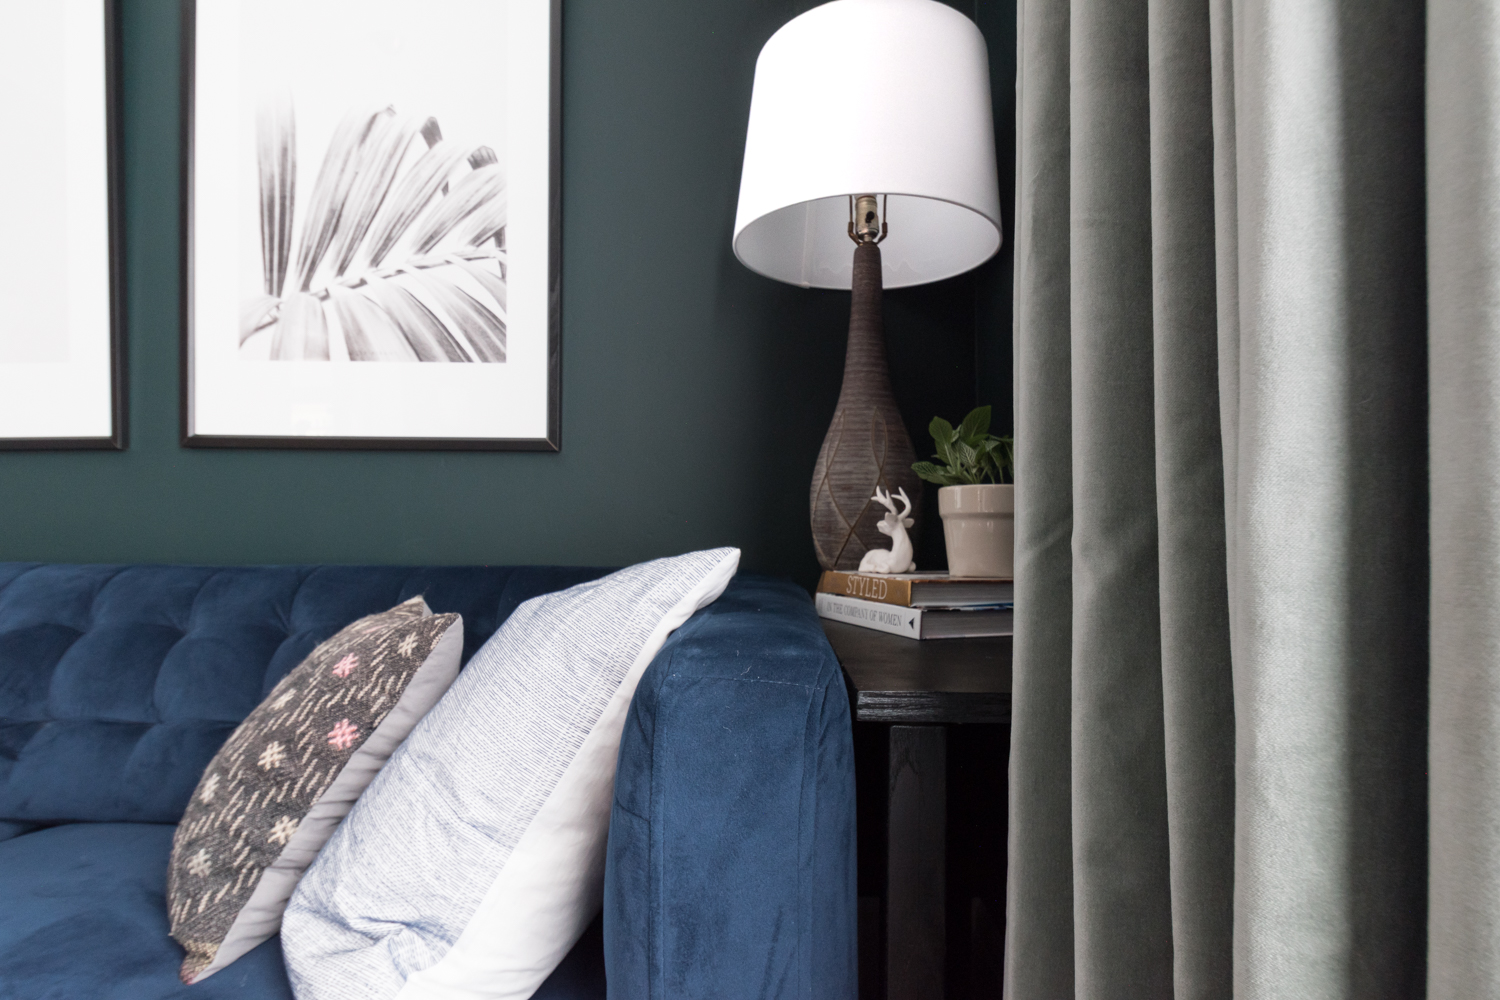
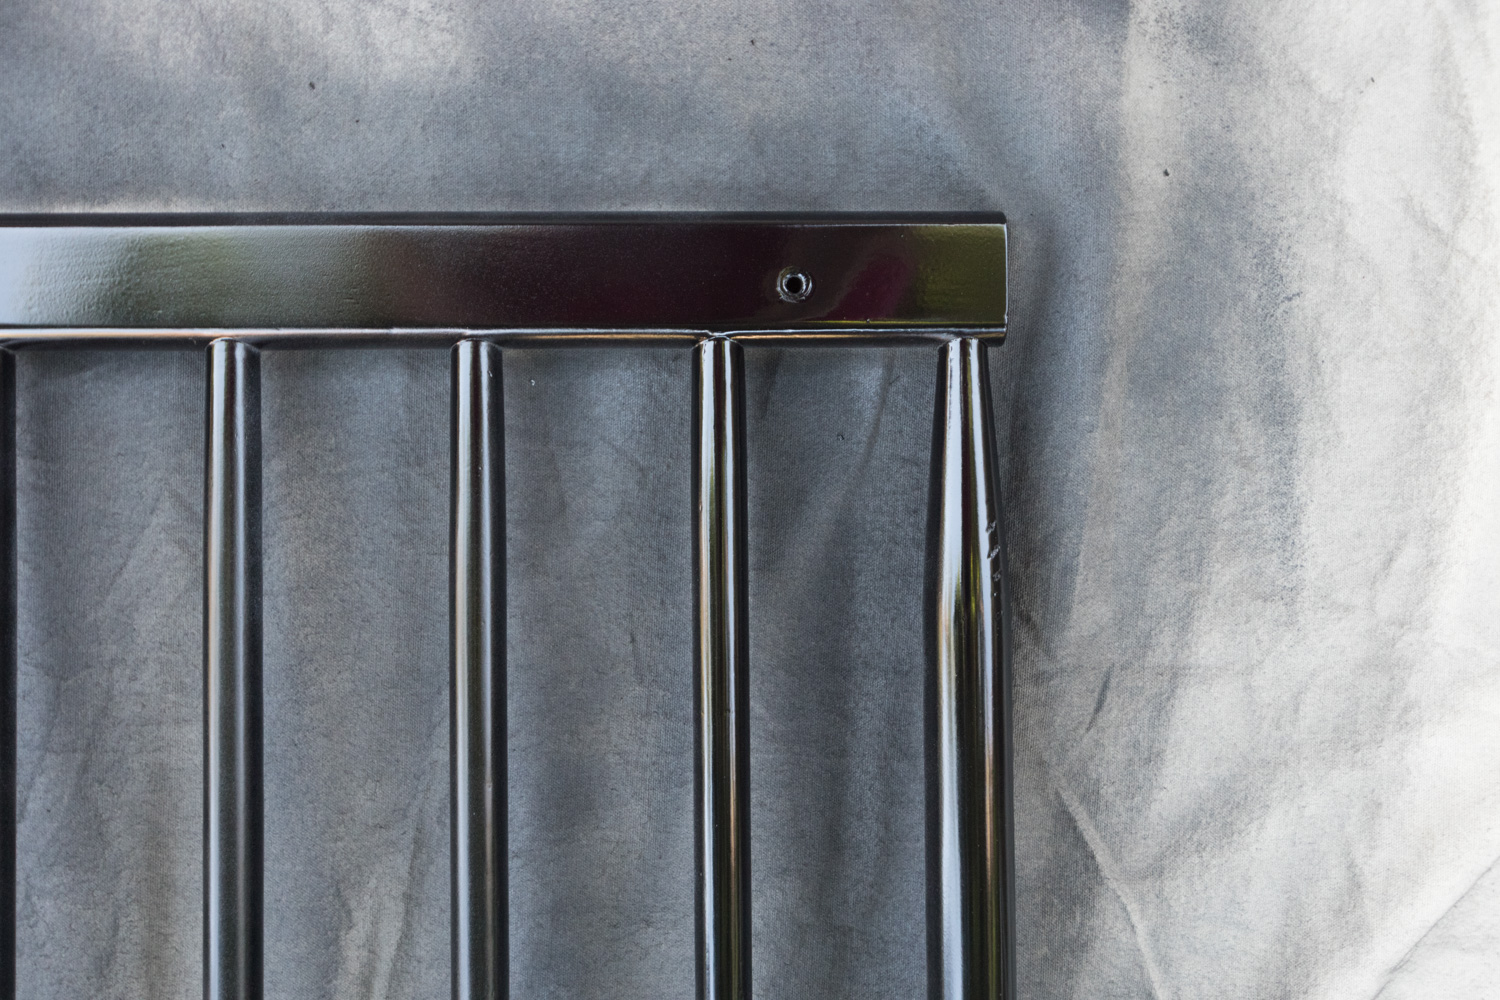
All of the artwork is hanging off the newly installed picture rail molding. Since it's so easy to swap the frames out, you can bet that I will move pieces around the house from time to time.

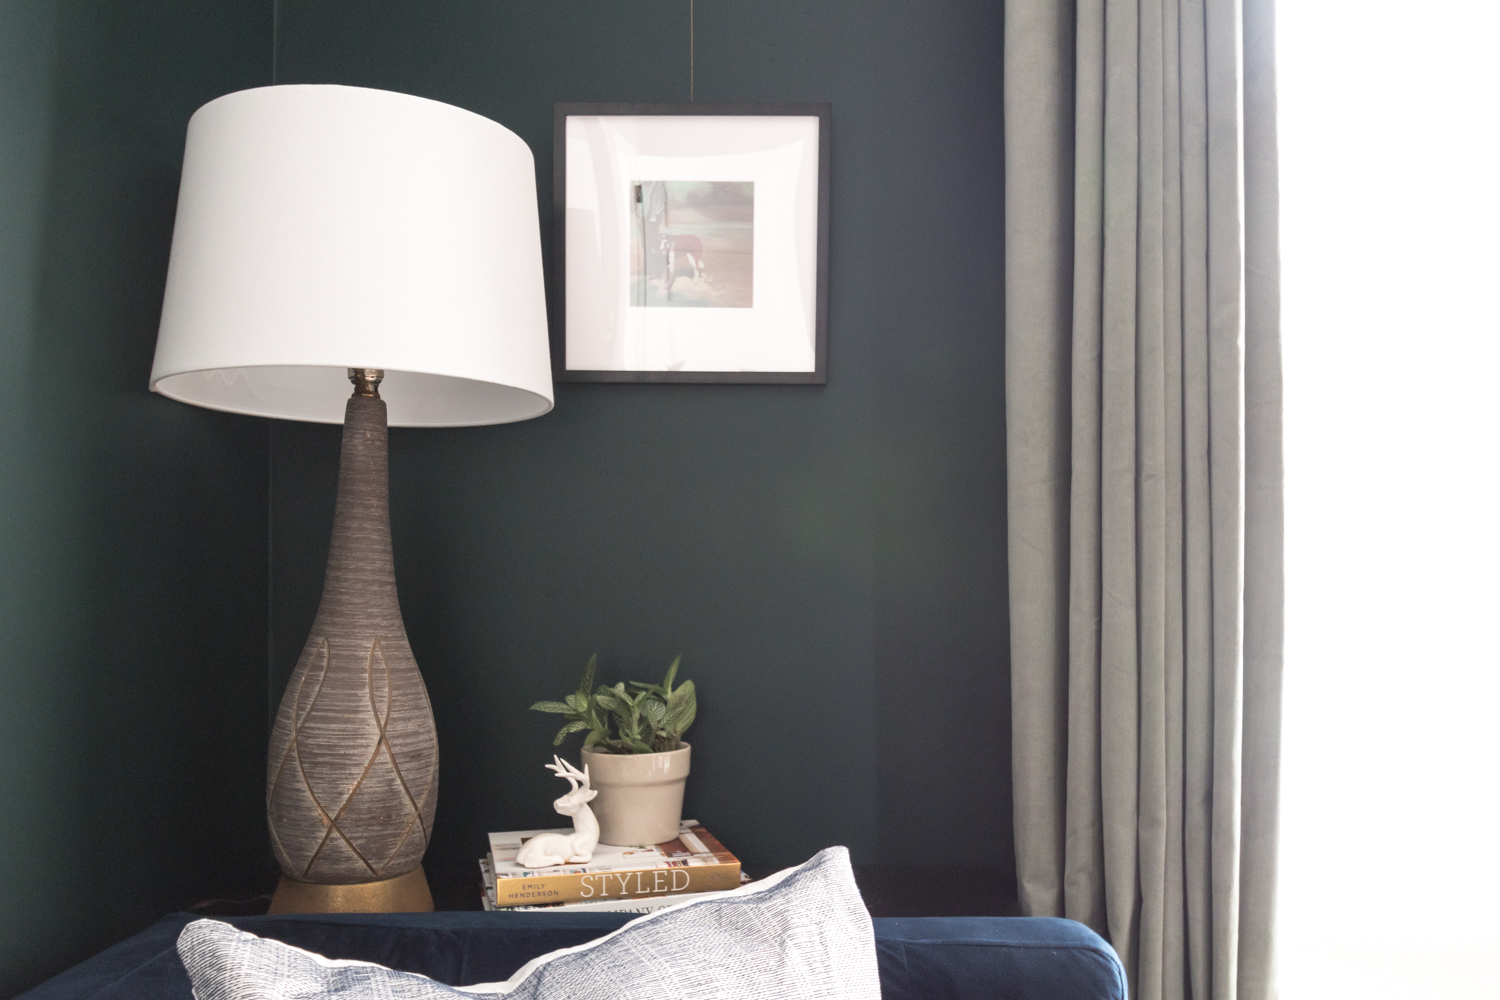
This light from West Elm was the last addition to the space, and I totally have a crush on it. I didn't want the room to get carried away with being too casual, or too dramatic, or too old fashioned, or too modern. I think this light balances all of those and gives me the best of each world.
Did any of you vote on my curtain choices on last week's Instagram story? I picked up about a dozen different curtain options from IKEA to test, then return. I nearly didn't pick up these green ones, but I did on a whim, and they instantly became standouts.
So many of you chimed in with votes and they were nearly all split. A lot of you really liked the plain white, but I went with my gut. I doubled up these sage velvety drapes so each side of the window has two panels, to give them some oomph.

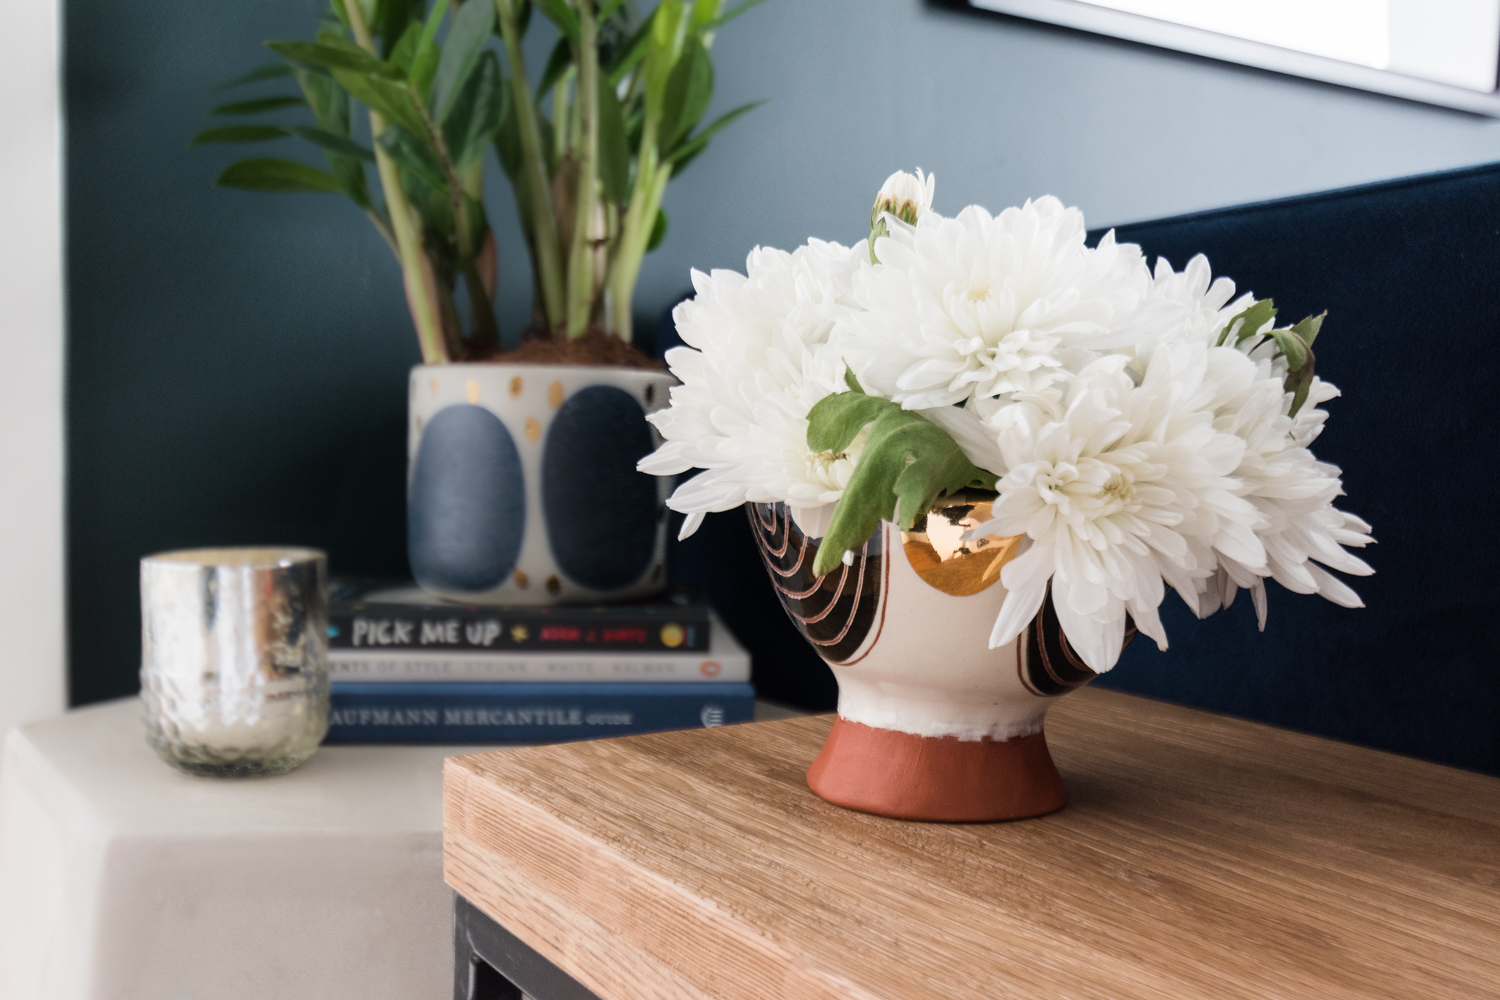
I doubled up the side tables, too. The lightweight metal framed table gets moved around to the front of the couch periodically so I have easier access to my snacks and goodies that I park on it. Since it moves, I wanted a second table that would be stationary and could keep books and plants that don't need to migrate around the room.

The other side of the couch needed its own table, too. But in a tight space with high arms on the couch, the necessary dimensions were impossible to find in a store-bought table, so I made my own. Using some plywood, parson legs, and plates, I cut the pieces to the exact dimensions needed, put it together, and spray painted it black.
For added storage, a small box sits on the floor under the table to house the laptop charger and hide the cables from nearby lamps.


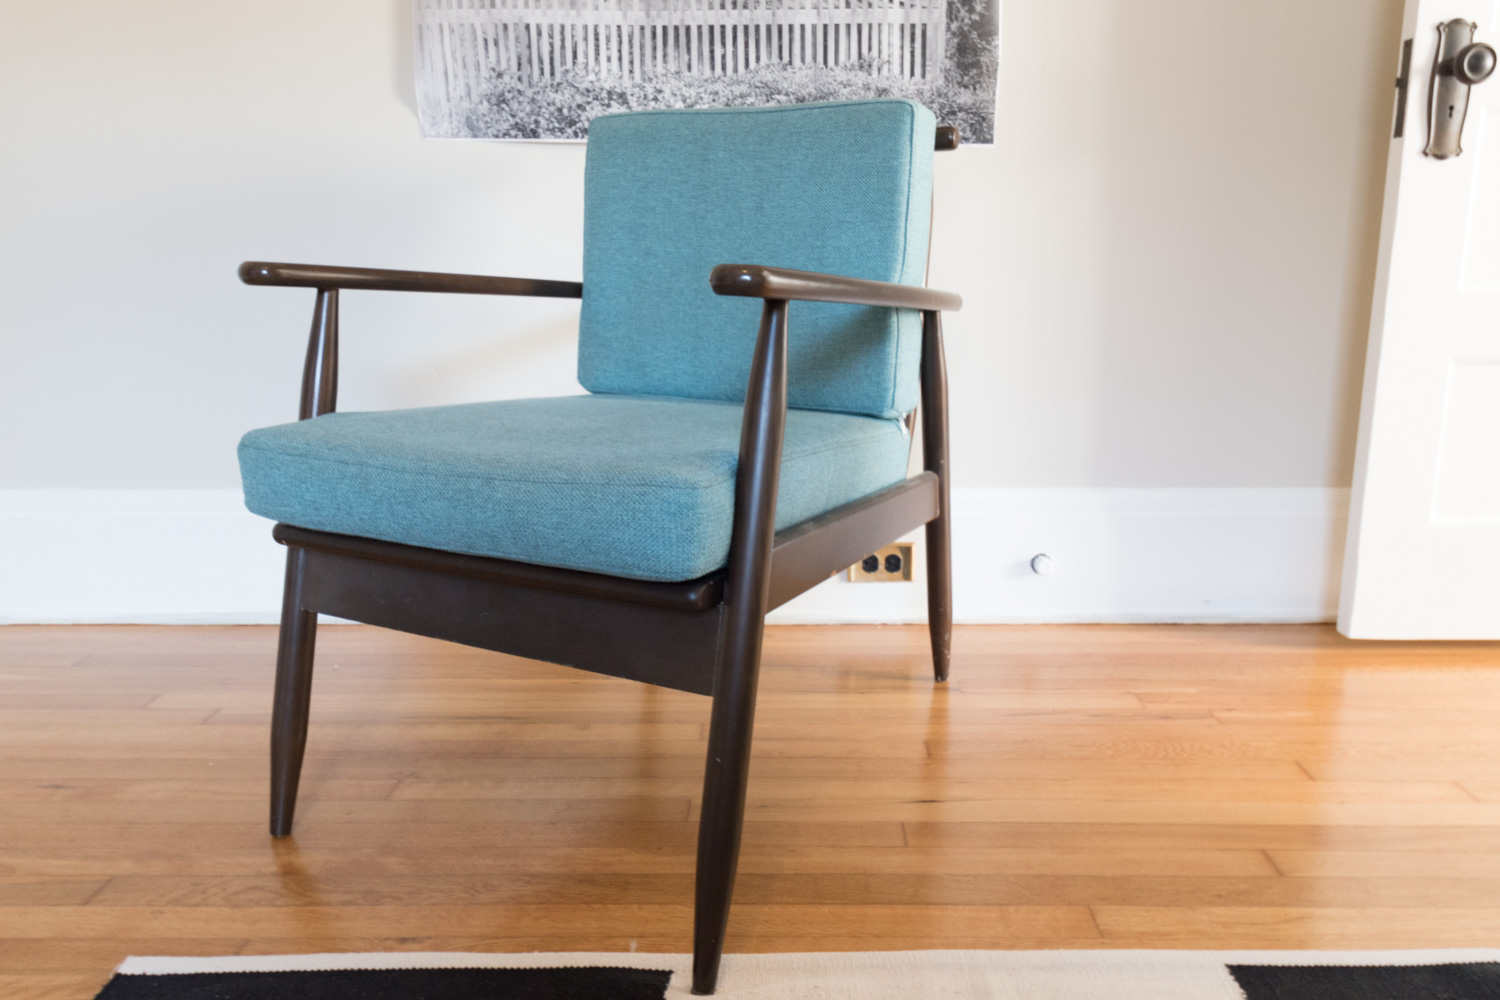
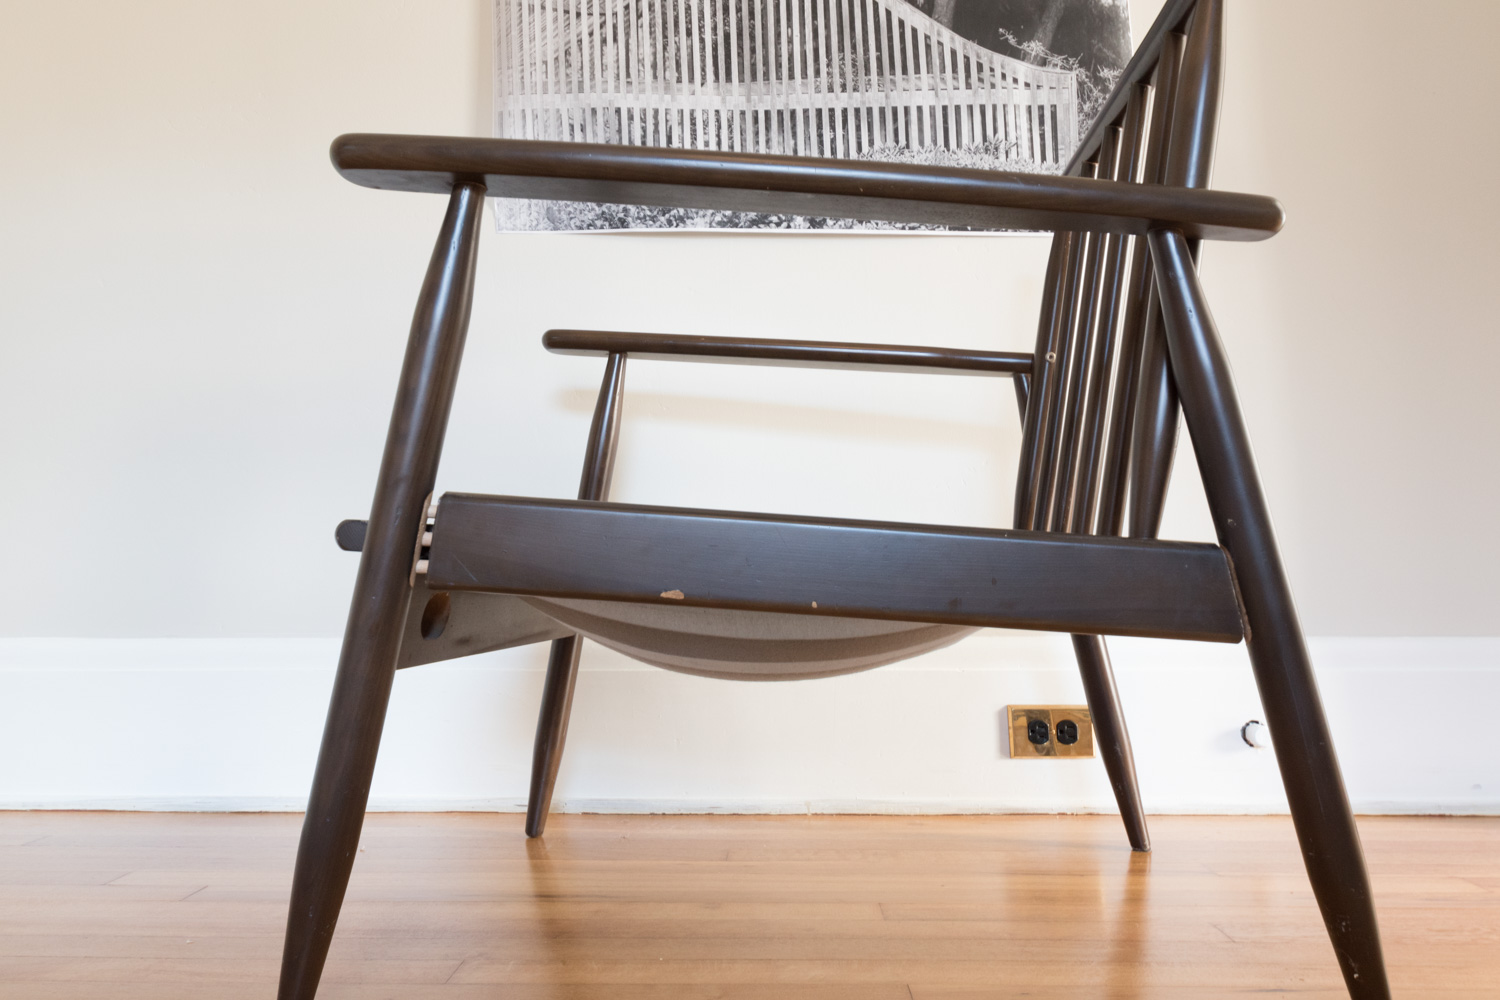
We previously didn't have any seating other than the couch. It didn't let the room be much more than a place to park ourselves in front of the TV. The addition of the newly refreshed chair and lamp gives the room much more versatility.

Sources
Couch - Rochester from West Elm / Ottoman - Long Pouf by Minda Living / Rug - One of a Kind from eCarpet Gallery / Pillows - VELU from Article, Mount Cook Lily (night) from Society6 / Tray - Format ClearSquare Tray from CB2 / Black Lamp - STILT from Article / Books - Old Home Love, Styled, In The Company of Women, Pick Me Up, Illustrated Elements of Style, The Kaufman Mercantile Guide / Deer sculpture - Artist Jeff Irwin / Artwork - Minimal and Palm by Lucie Birant, St. Bernard by Mary Sinner, Feral House #7 by James Griffieon / Chandelier - Pelle Asymmetrical from West Elm / Candle Stick Holders - Taper Candleholder from World Market / Side Table - TAIGA from Article / Potted planter - Glowing Arbor Pot from Anthropologie / Shallow Flower Vase - Moonbird Pottery / Curtains - SANELA from IKEA / Curtain Rod - Umbra Cappa / Shade - Solar Shade from Select Blinds / Side table materials - plywood, parsons leg, top plate / Picture rail molding and hooks - House of Antique Hardware / anything not listed is vintage or Home Goods.
If you're here because of the One Room Challenge, I hope you'll subscribe to the blog to get future blog posts in your email! Be sure to follow along on Instagram, too!
One Room Challenge progress:
Week 1 - the before, the inspiration, and the plan
Week 2 - paint, paint, paint
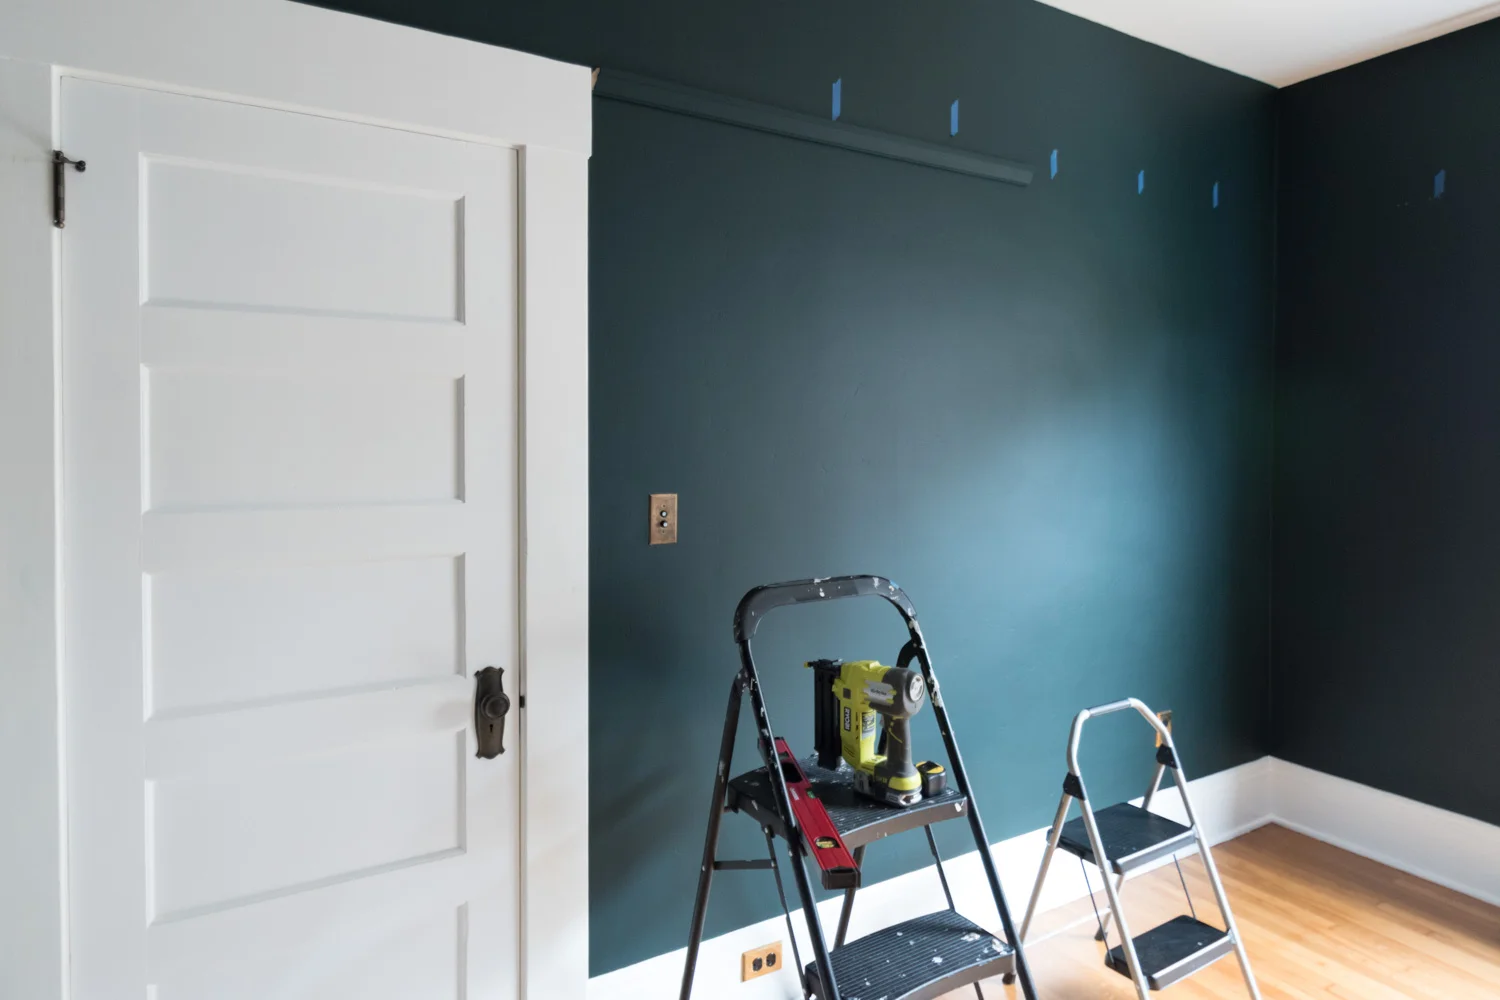
Week 3 - how to install picture rail molding
Week 4 - sourcing the artwork
Week 5 - refreshing a chair
Week 6 - the reveal!


Hammocks, cookbooks, gardening, sewing, and the other things I’ve been up to on my impromptu break, and more.