One Room Challenge Week 5 - Giving a Chair a Facelift
/There's only one week left in the One Room Challenge! Over the past five weeks, this room has completely transformed. I'll share more before and afters next week, but let's get into this week's project.

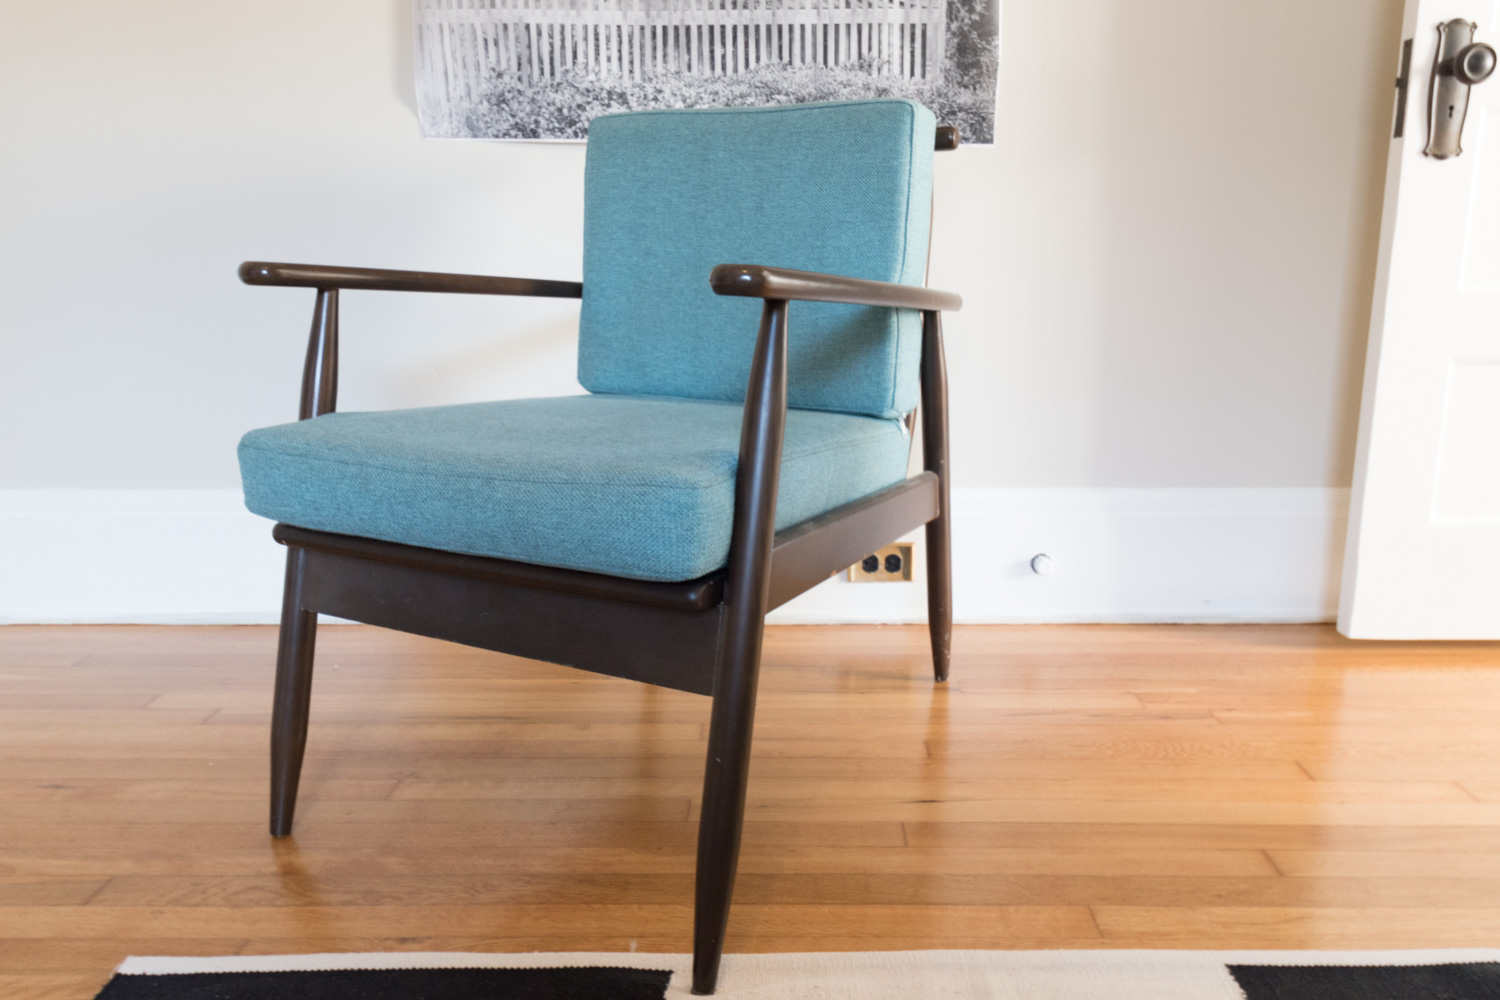
I bought a chair off Craigslist years ago during my mid-century modern phase. However, I wasn't in love. The upholstery color didn't work in any room of the house, the webbing was totally stretched out, the frame was separating, and the finish was chipped. It was originally from Urban Outfitters, so it's not a vintage heirloom and thus I have no problem messing with it. Note that I do not condone painting 60-year-old furniture just because you're bored of it.
The chair sat in the living room for two years and every time I saw it, I thought about how I wanted to get rid of it. With a chair that needed some love, and an excuse to give it new life (thanks One Room Challenge!) I decided that the chair could stay a little longer - with a refresh and in a new room.
The first step was to update the frame. Since there was no gorgeous wood grain to reveal under the existing finish, painting was the only option. Considering I paint things pretty much only black or white (or Salamander!) the choice was easy. Black!

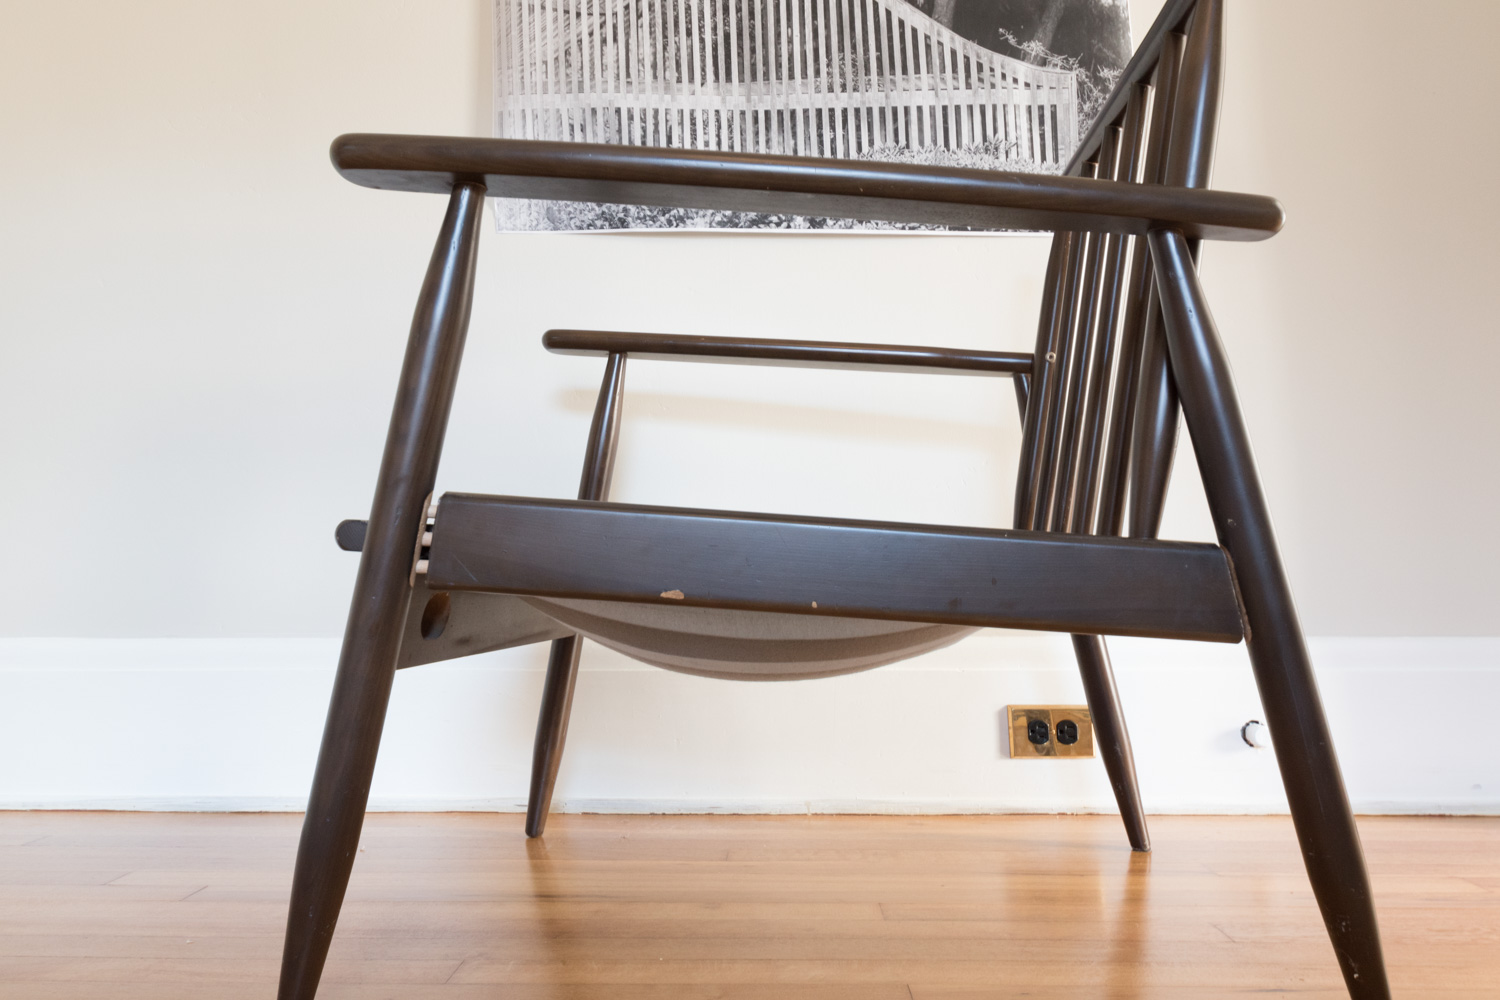
First, I disassembled the frame and removed the webbing. I later found out that a big reason the webbing sagged and the frame was coming apart was the previous owner had assembled the seat upside down. The puzzle didn't fit together so it was putting pressure in all the wrong spots, and the poor chair couldn't hold up.

I then gave the frame a light sanding to rough up the surface for paint and to smooth out the chipped spots before dusting each piece with a coat of primer. There's really no reason to skip this part. I'm a big fan of primer and always recommend tossing it on because your paint will adhere so much better - even if you're using a paint and primer in one.

I used a satin finish paint because flat would look well, flat and a little too, "hey look, I spray painted this chair" while a glossy finish would be like "woah, you spray painted that chair." Catch my drift? Satin has just the right amount of sheen.
After a few light coats of paint, I worked on re-webbing the seat.

First, I stapled one end of the webbing to the frame. Then, I use this webbing stretcher (torture device) with the rubber end on the frame, and the spikes in the fabric to create tension on the strip by pushing the tool down to stretch the fabric.

Once it's as taught as a drum, I stapled the fabric into the other end of the frame. You may think that pulling on the fabric by hand would be enough, but that torture device, I mean webbing stretcher, does the job so much better. Trust me.


Once a few staples have secured the fabric, I cut the it with enough overhang to fold it back over the staples and staple again. I used this gal, but this pneumatic staple gun would be so dreamy. After all of the webbing strips are complete, I reassembled the chair (not upside down!).
The trickiest part of the whole process was the fabric. I fell for this Painted Check fabric by Robert Allen from Dwell Studios because it was a modern take on plaid and it was in my favorite color palette, black and white. The pattern choice is sure pleasing to look at, but boy was it tough to work with. Had I chosen a solid color or a busy pattern, I could have just cut the pieces and sewn them together. But no, I had to pick a fabric with a bold, high-contrast, large-scale, stripe - and a wiggly stripe to boot. I needed the pattern to give the illusion of wrapping around the sides of the cushion, so matching each piece of fabric to its four adjoining edges was critical. This is probably easy peasy for a professional, but I am not. Here's how I did it.

First, I deconstructed the existing cushion and used the pieces as a template to create a new pattern. It's important to note that fabrics can stretch over time, so duplicating the exact pattern may not be the best idea. My fabric was stretched, so I slimmed down my new cuts just a hair.

I started with the top piece (where you put your tukhes) and matched everything to it. I cut each piece in the order of how visible it is. This way, if things got misaligned towards the end, the issue would only be spotted in the back.
To form each of the side panels, I layered the primary piece atop the roll of fabric and lined it up to its exact same pattern. I did this to create a guide so I could visualize where the cuts would need to be based on the half inch seams I'd sew later.

Here, the primary piece is on the right, layered on top of the roll. The teal piece is the template of the new side panel that I need to cut. I folded back a half an inch of the cut piece and pinned it back with the purple pin to show how much fabric will be hidden with the seam. The teal piece already has folds from the original seams so I butted them up. This shows me exactly where the side panel needs to be in relation to the pattern in order to match the main piece. I then pinned the teal piece down and traced the outline onto the roll of fabric, then cut it out.
Once I figured out the method that worked best for me, I found an easier solution that uses the same principle.

Instead of using the teal fabric template and visualize the multiple seams, I nixed the template altogether and just used its measurements. I layered the fabric on top of its matching pattern, then slid a ruler an inch under the fabric, then marked the width that I needed the finished piece to be. It's the same idea, just with fewer steps.

Once I cut out the pieces, I used colored pins to mark corresponding edges.

For the back panel with the zipper, I did the same process, but with two pieces and a zipper sandwiched between. For the cushion's bottom piece, I modeled it off of the front panel the way I modeled the front panel off of the top piece. This was to ensure that the lines matched on the cushion edge that was most visible.

Finally, all of the pieces were sewn together and stuffed with the existing cushion. Then, I did it all over again for the second cushion.
Now that it's completed, I'm super pleased with how well the squares line up on each of the seams, as well as in the transition from the bottom cushion to the back cushion. The back panels of each piece don't match up because it is physically impossible, but I'm a-okay with that. Please feel free to weigh in on more efficient upholstering techniques, I'm sure there are great options out there!


Doesn't she look pretty with this pillow?
If you're here because of the One Room Challenge, I hope you'll subscribe to the blog to get future blog posts in your email! Be sure to follow along on Instagram, too!
One Room Challenge progress:
Week 1 - the before, the inspiration, and the plan
Week 2 - paint, paint, paint
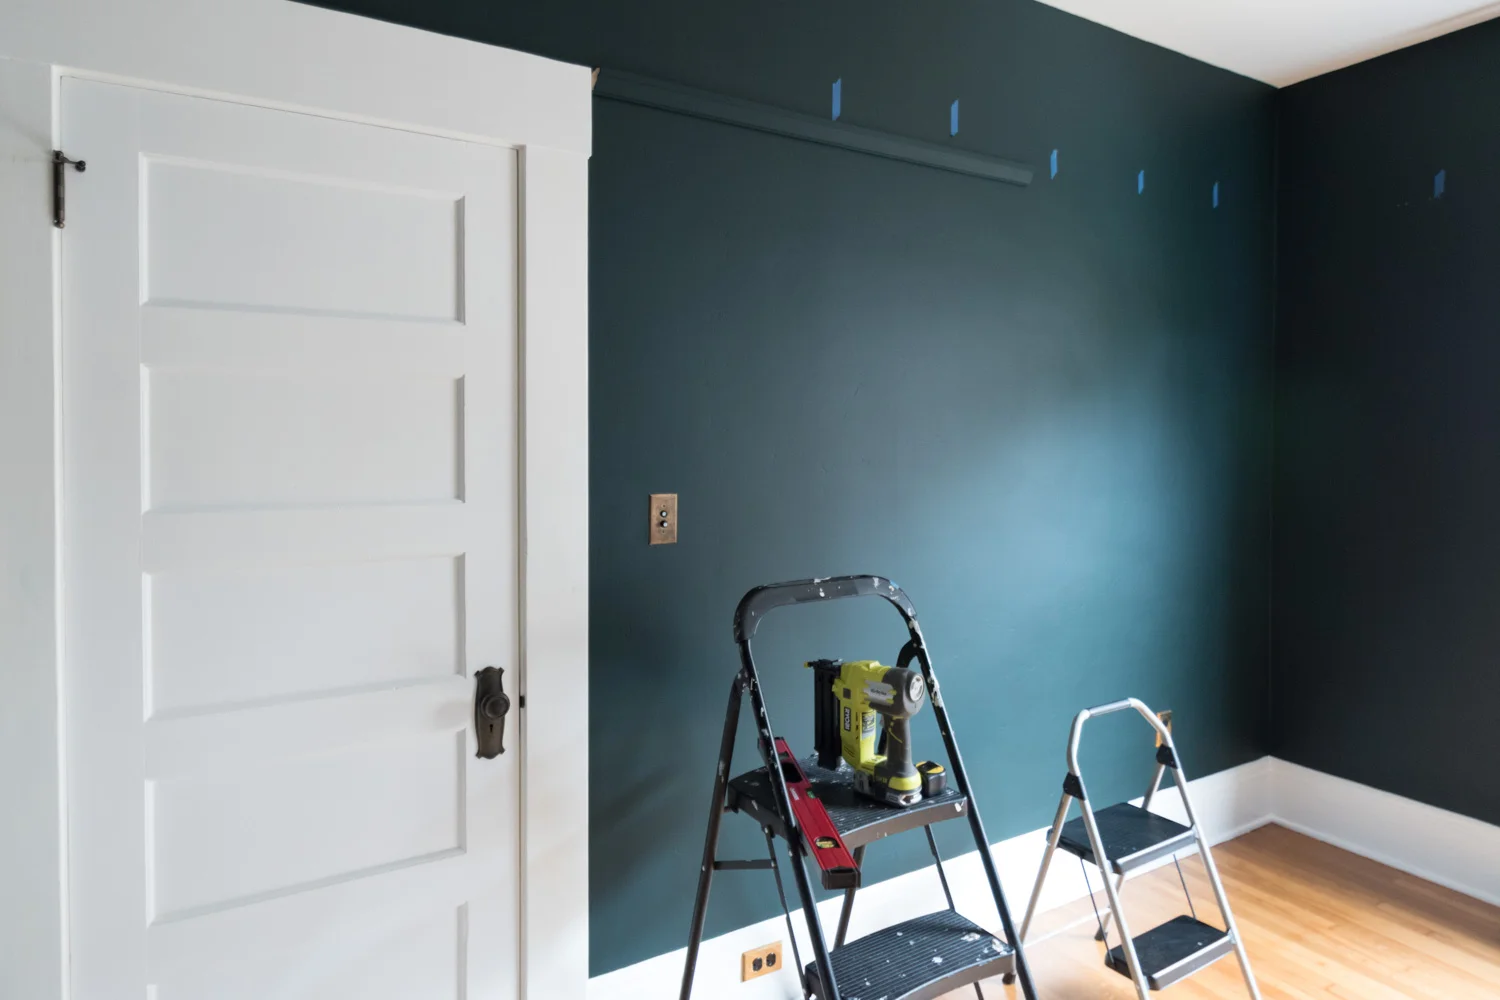
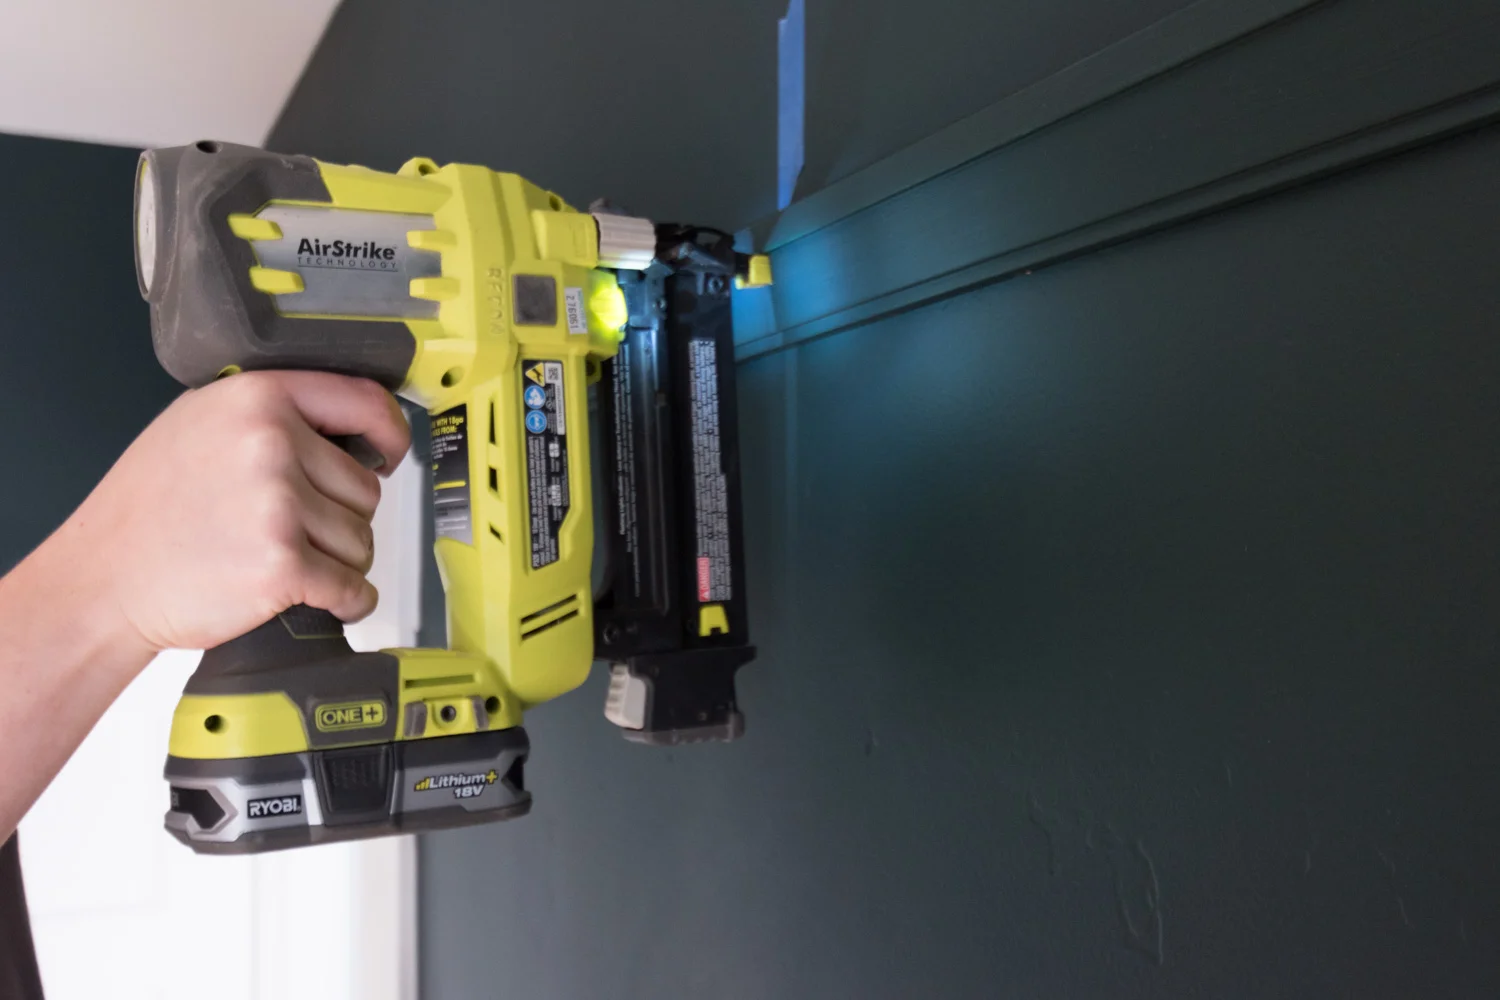
Week 3 - how to install picture rail molding
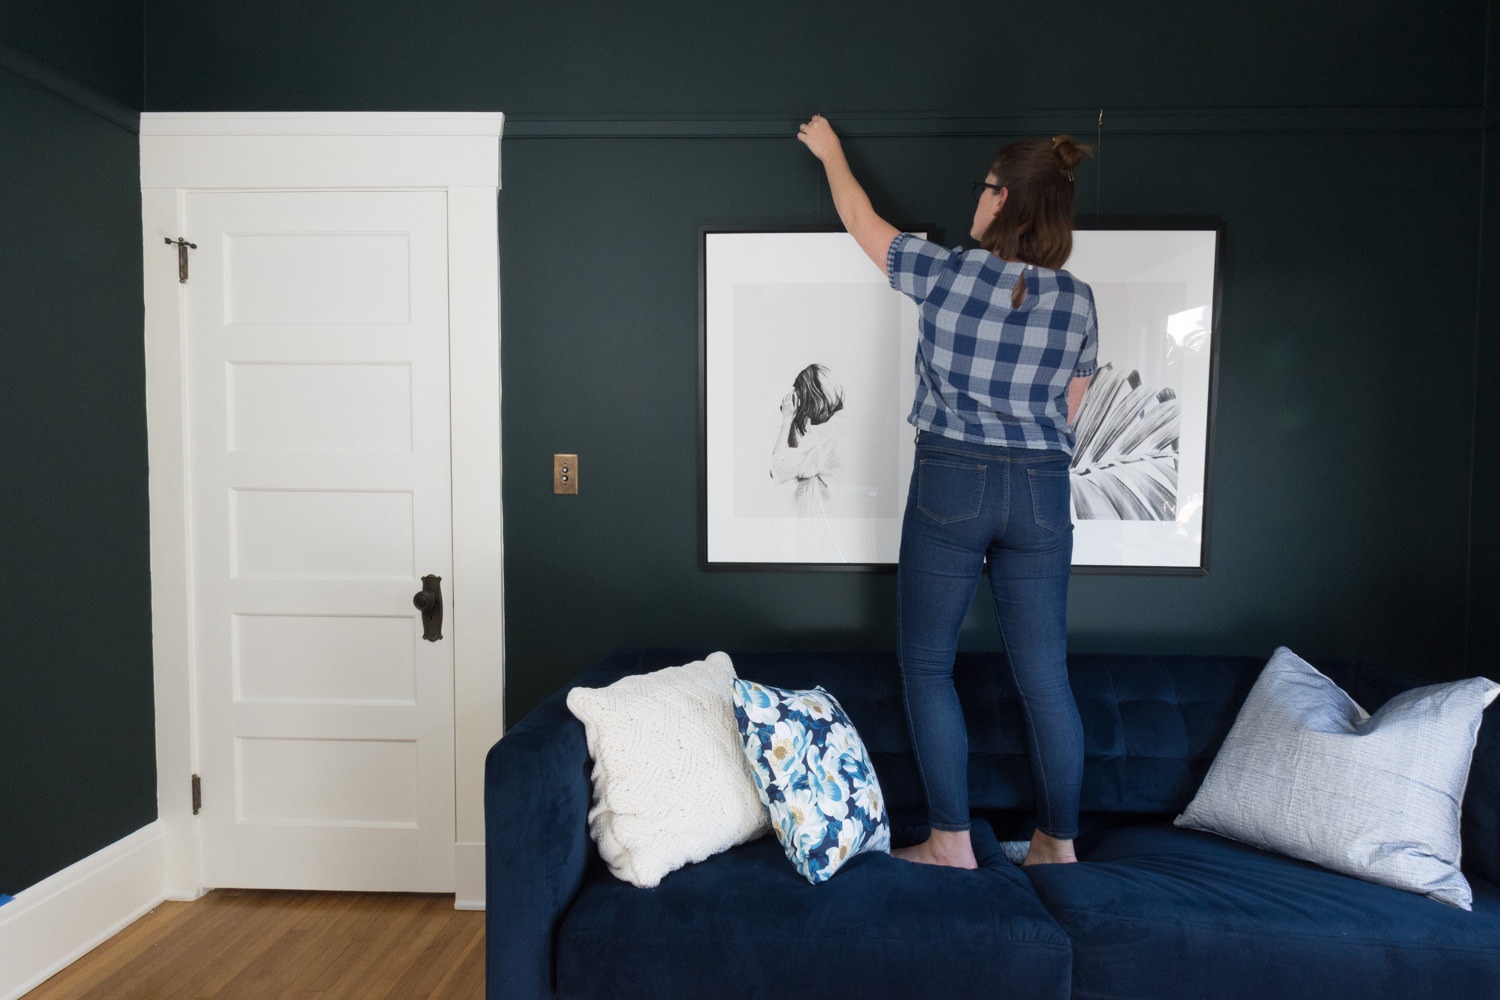
Week 4 - sourcing the artwork
Week 5 - refreshing a chair
Week 6 - the reveal!

Don't forget to admire the other spaces that are a week away from their grand reveal! Check out both the featured and guest bloggers.
Want remember how to refresh a chair for your next project? Pin this image below. While you're at it, follow me on Pinterest!


Hammocks, cookbooks, gardening, sewing, and the other things I’ve been up to on my impromptu break, and more.