Weekly Roundup

We're heading out on our trip oh so soon! Ross has a gig in Chicago so we're extending his work travel with a vacation, and also stopping in Colorado to make it a double vacation. I really cannot wait. Thanks to all of you who gave travel recommendations! I have a nice list of activities and sights to see, but most importantly, a grand list of eateries.

The Crafter's Box at The Gold Hive

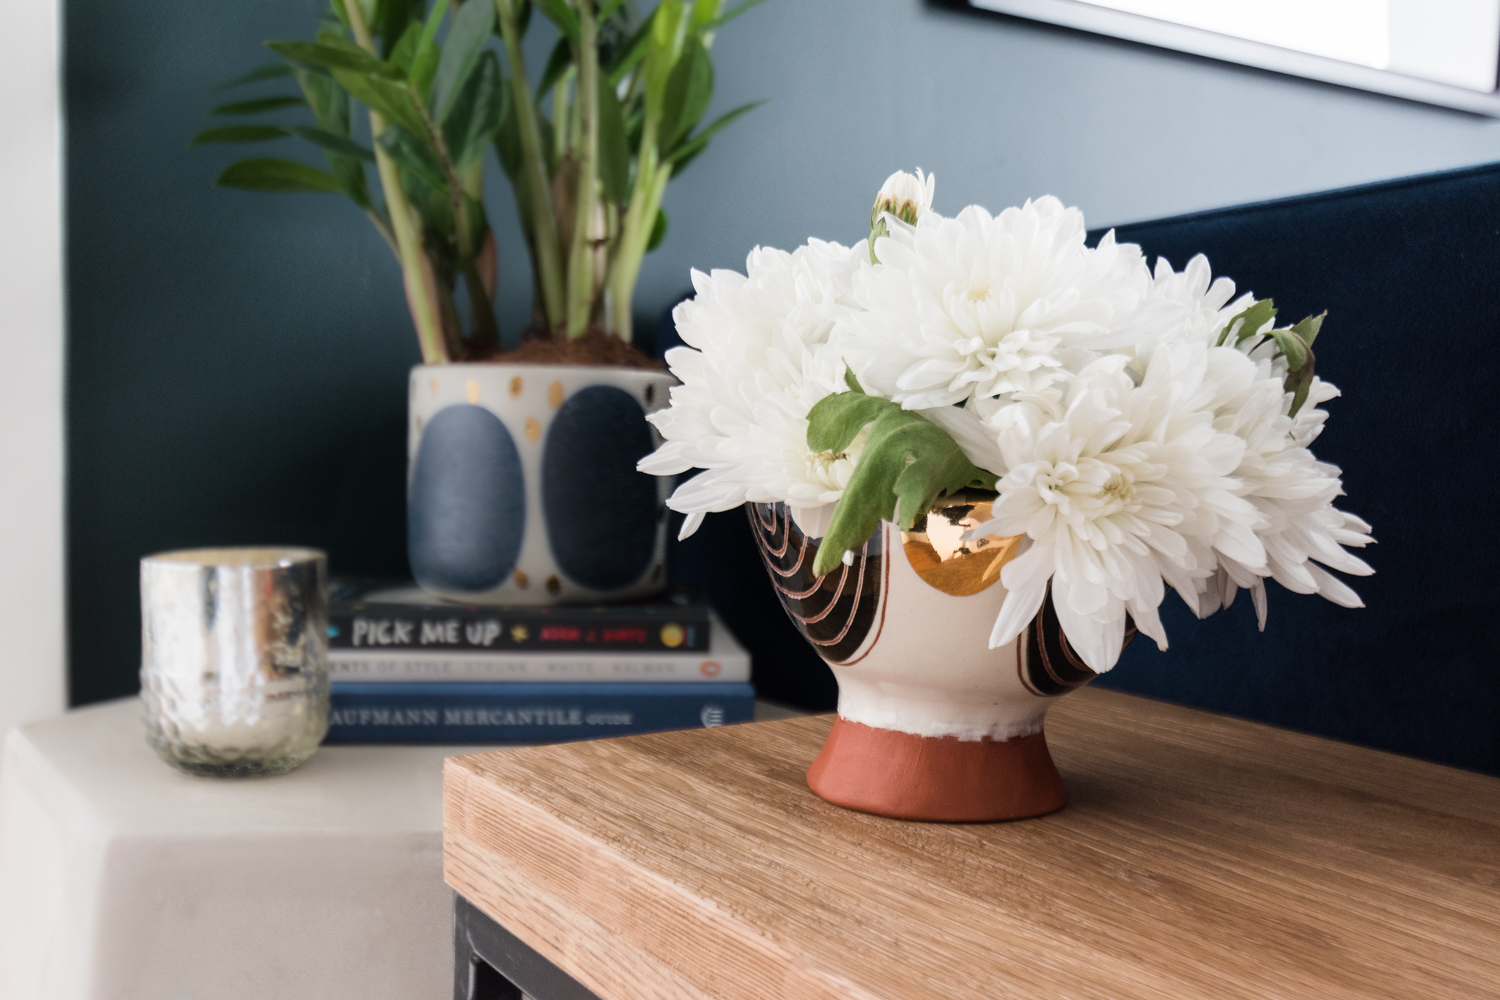
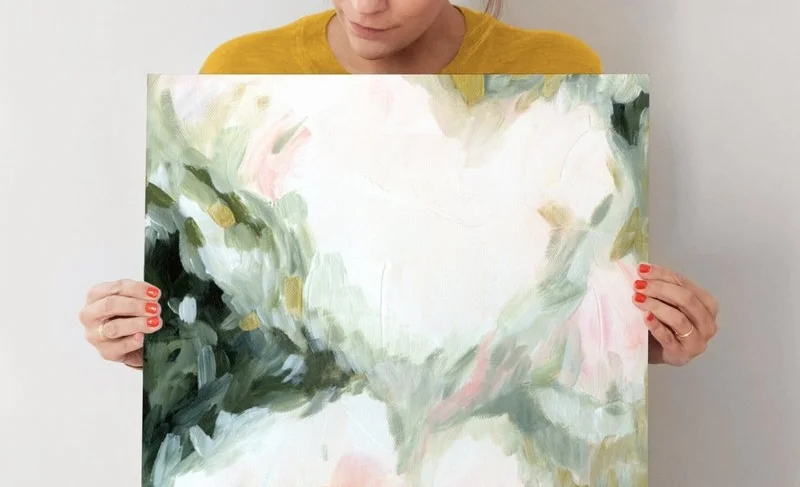
This past week, friends from The Crafter's Box came over to photograph their projects in our house. For those who love to make, The Crafter's Box is a unique delivery program that sends you the tools and materials needed to create pieces inspired by artisans. Some of the featured makers are favorites of mine like Emily Jeffords, Sarah K. Benning, Maryanne MoodieJenna Rainey, and more. How cool is it to have Jenna Rainey teach you how to watercolor a monstera leaf? Very.

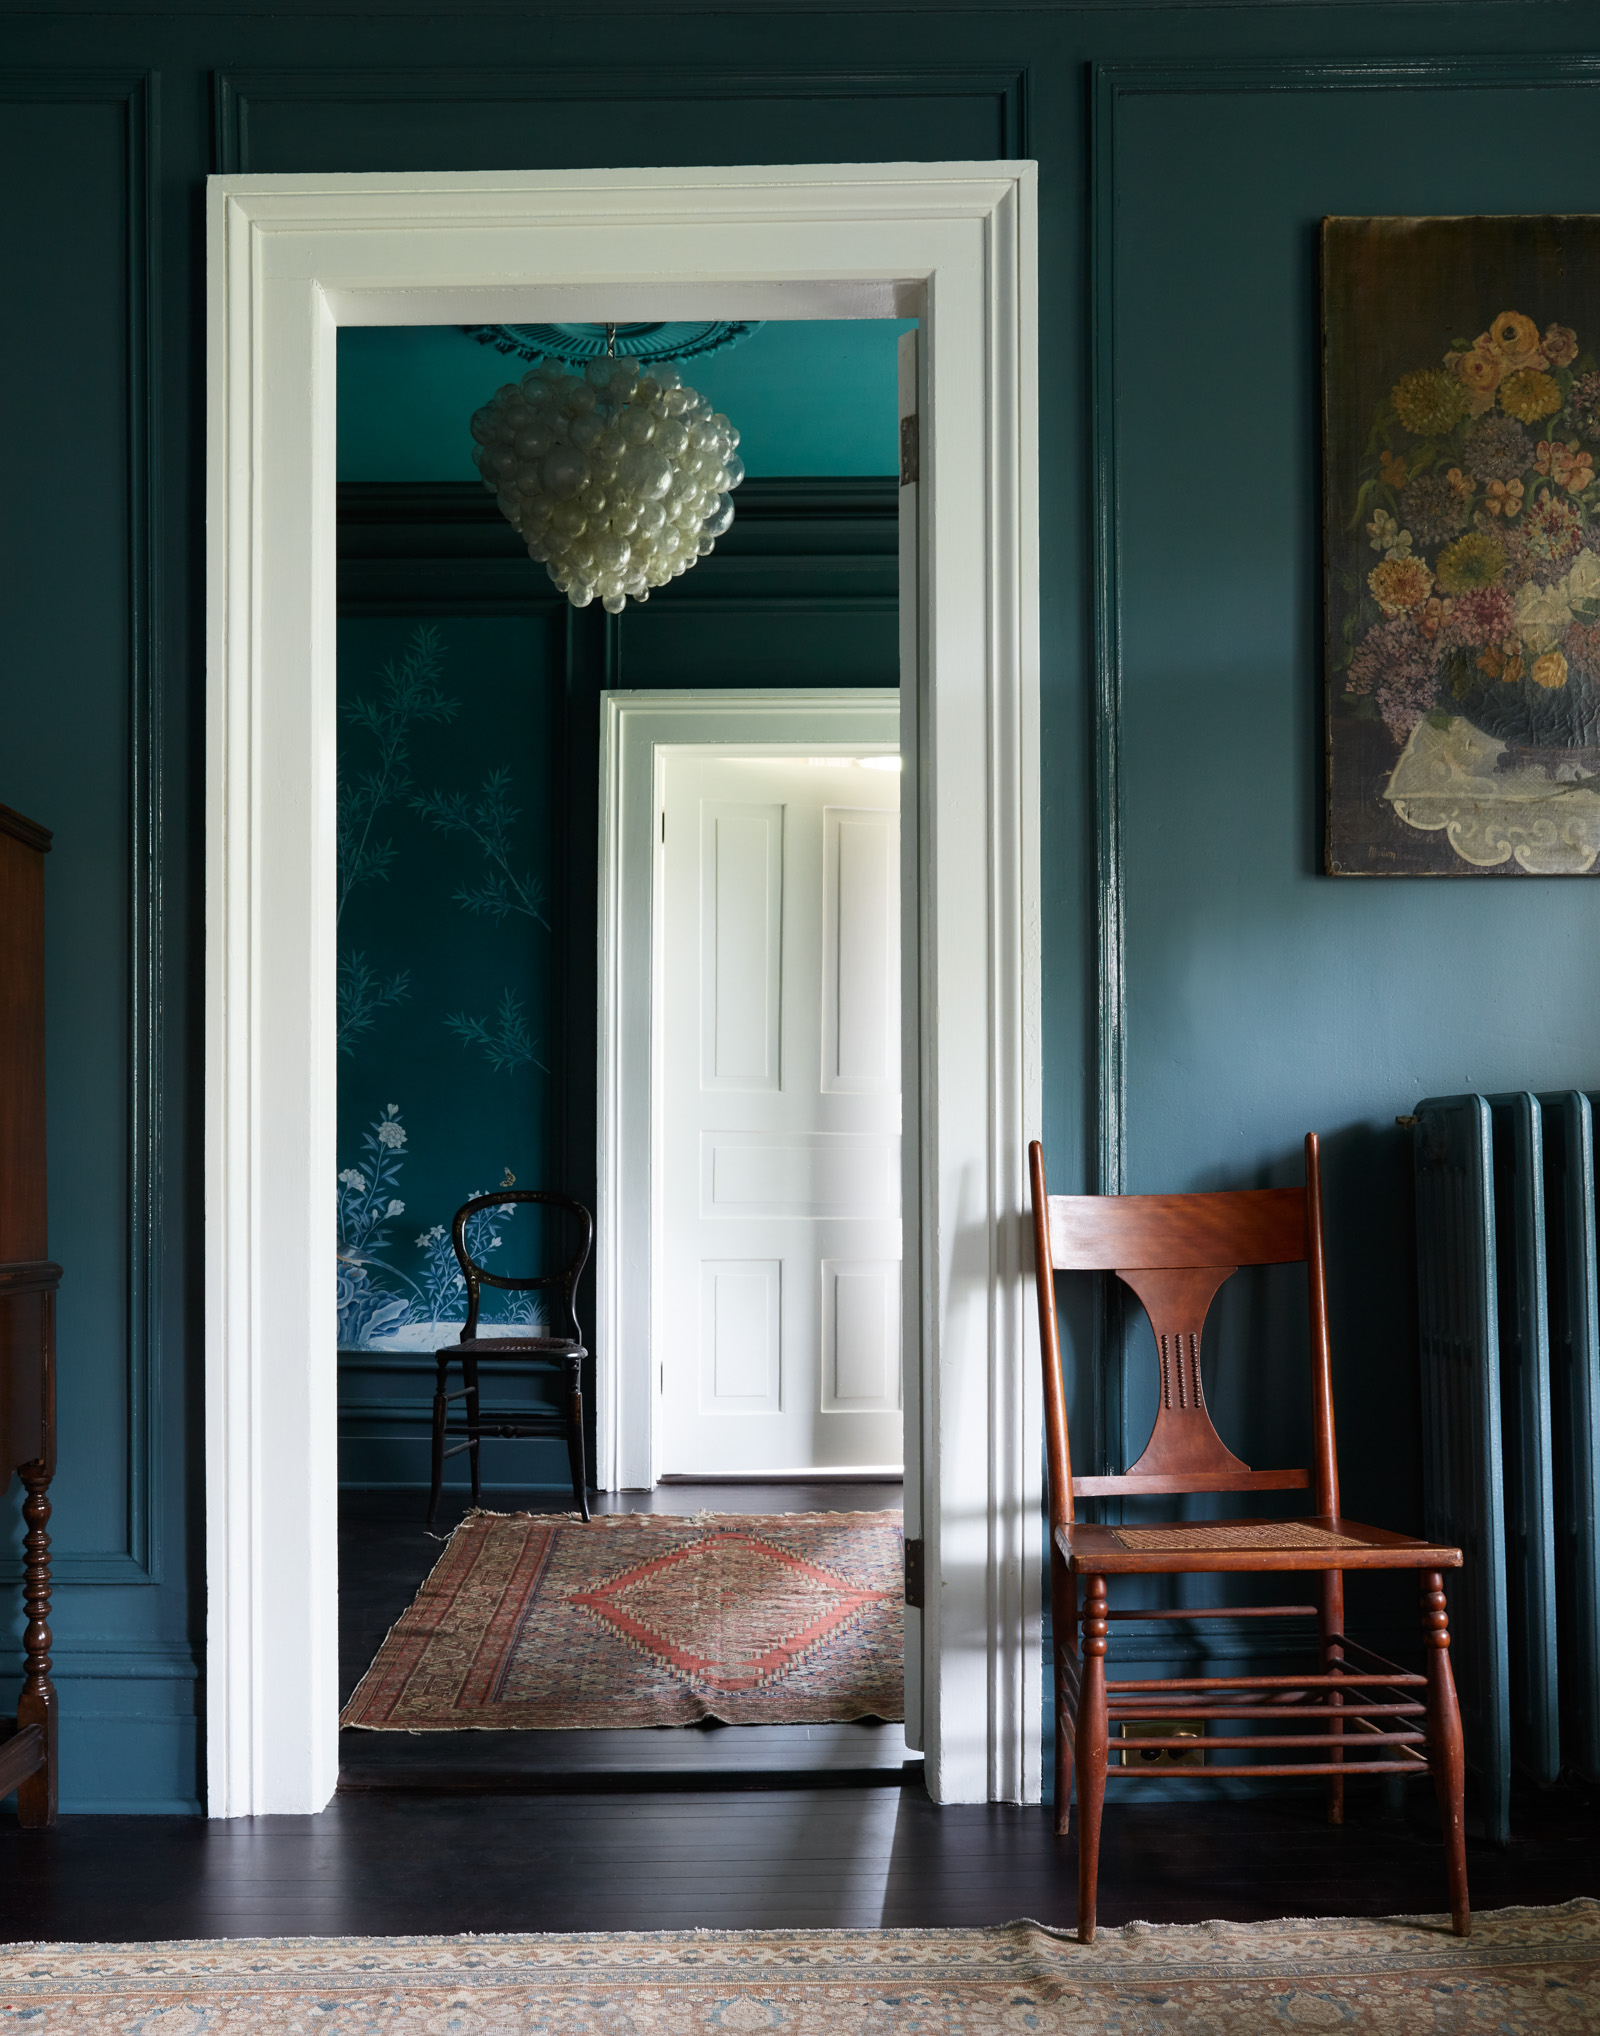
Do you like pink? Check out the bathroom in this house for sale in a nearby neighborhood. Wowza.

Mr. Roger's Cardigan Colors

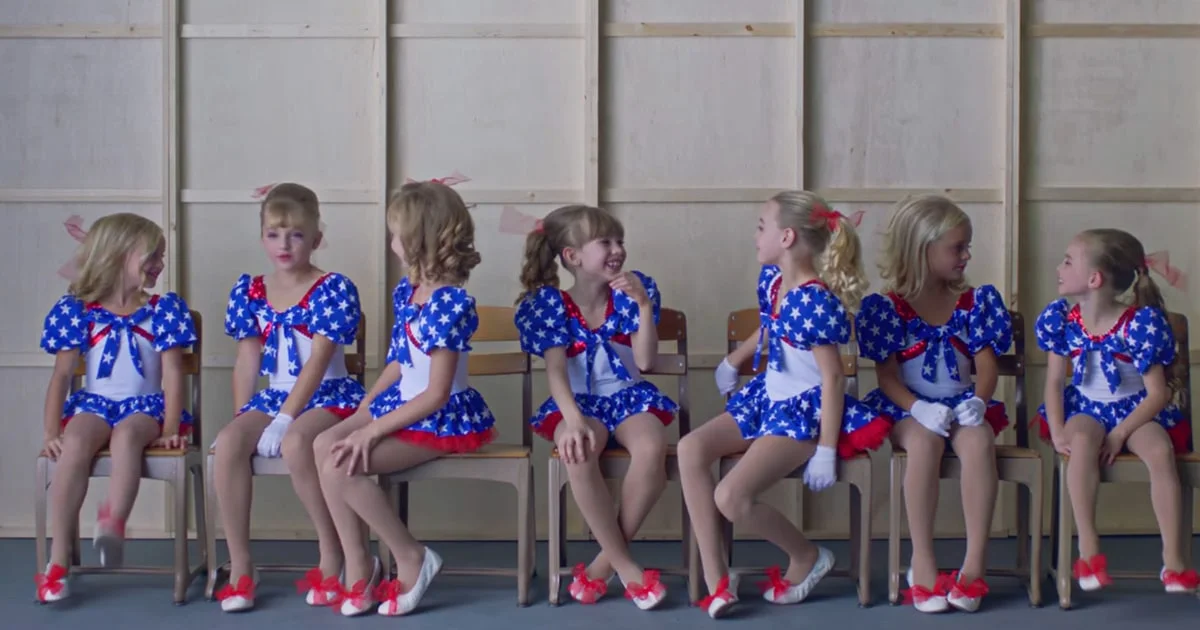
Mr. Rogers' signature look was his cardigan, so seeing all of the sweater colors in order of when he sported them is pretty cool. Even cooler is this video of a young Mr. Rogers advocating for children's educational television programming. Goosebumps.

NYT has compiled the best options for streaming some of the best movies of this year. I'll tell you again, Get Out was an exceptional film; and you must watch it.

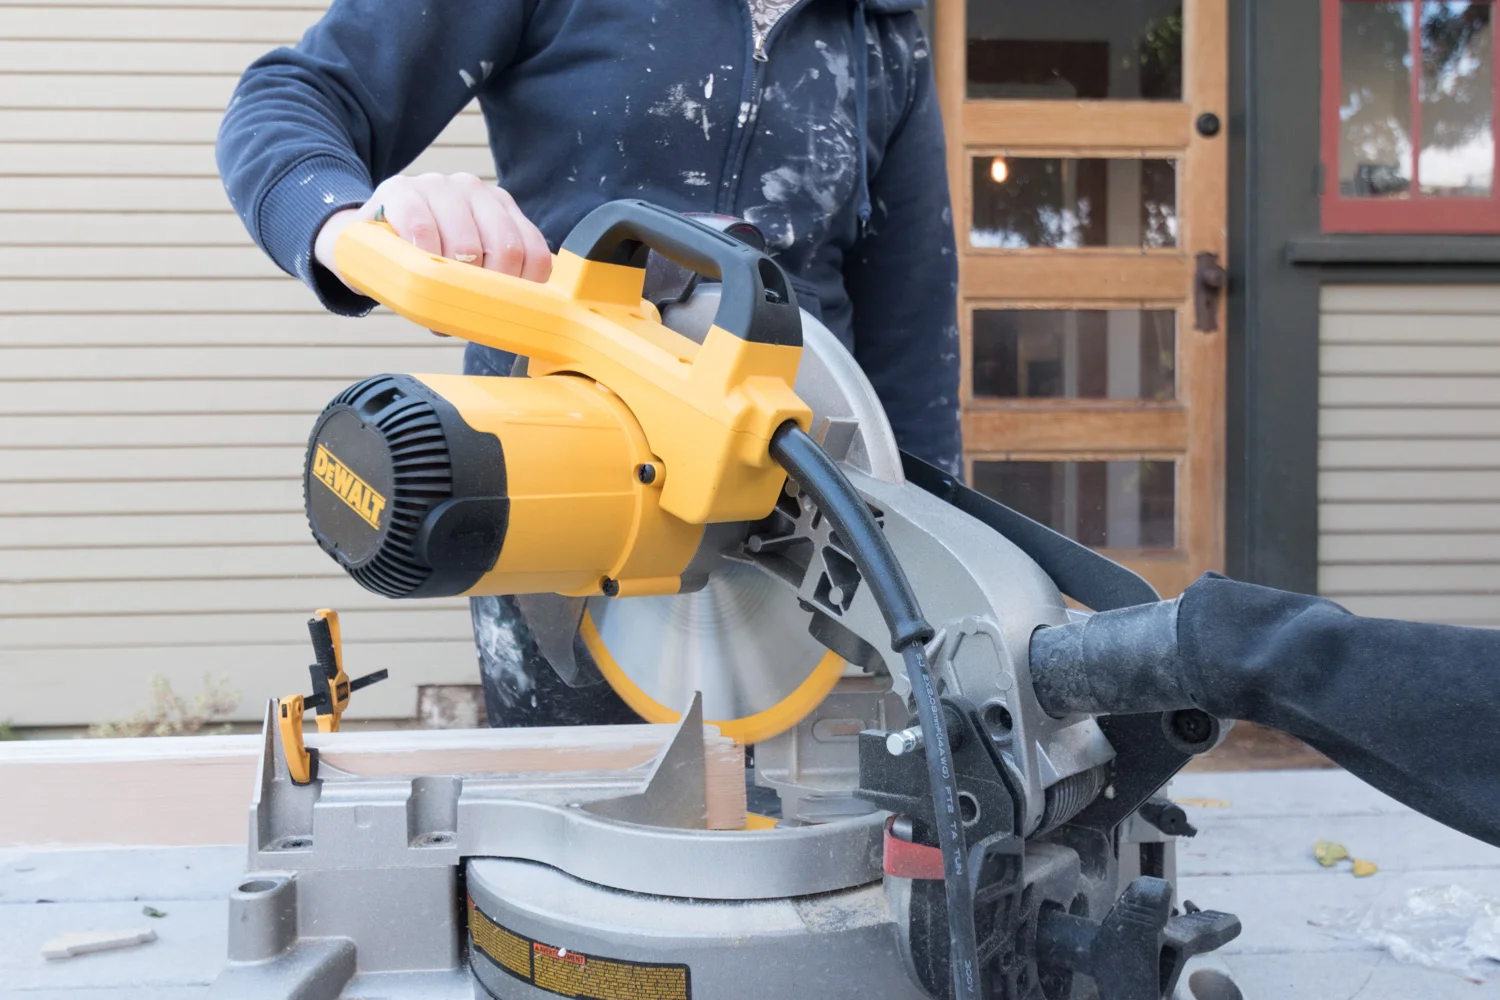
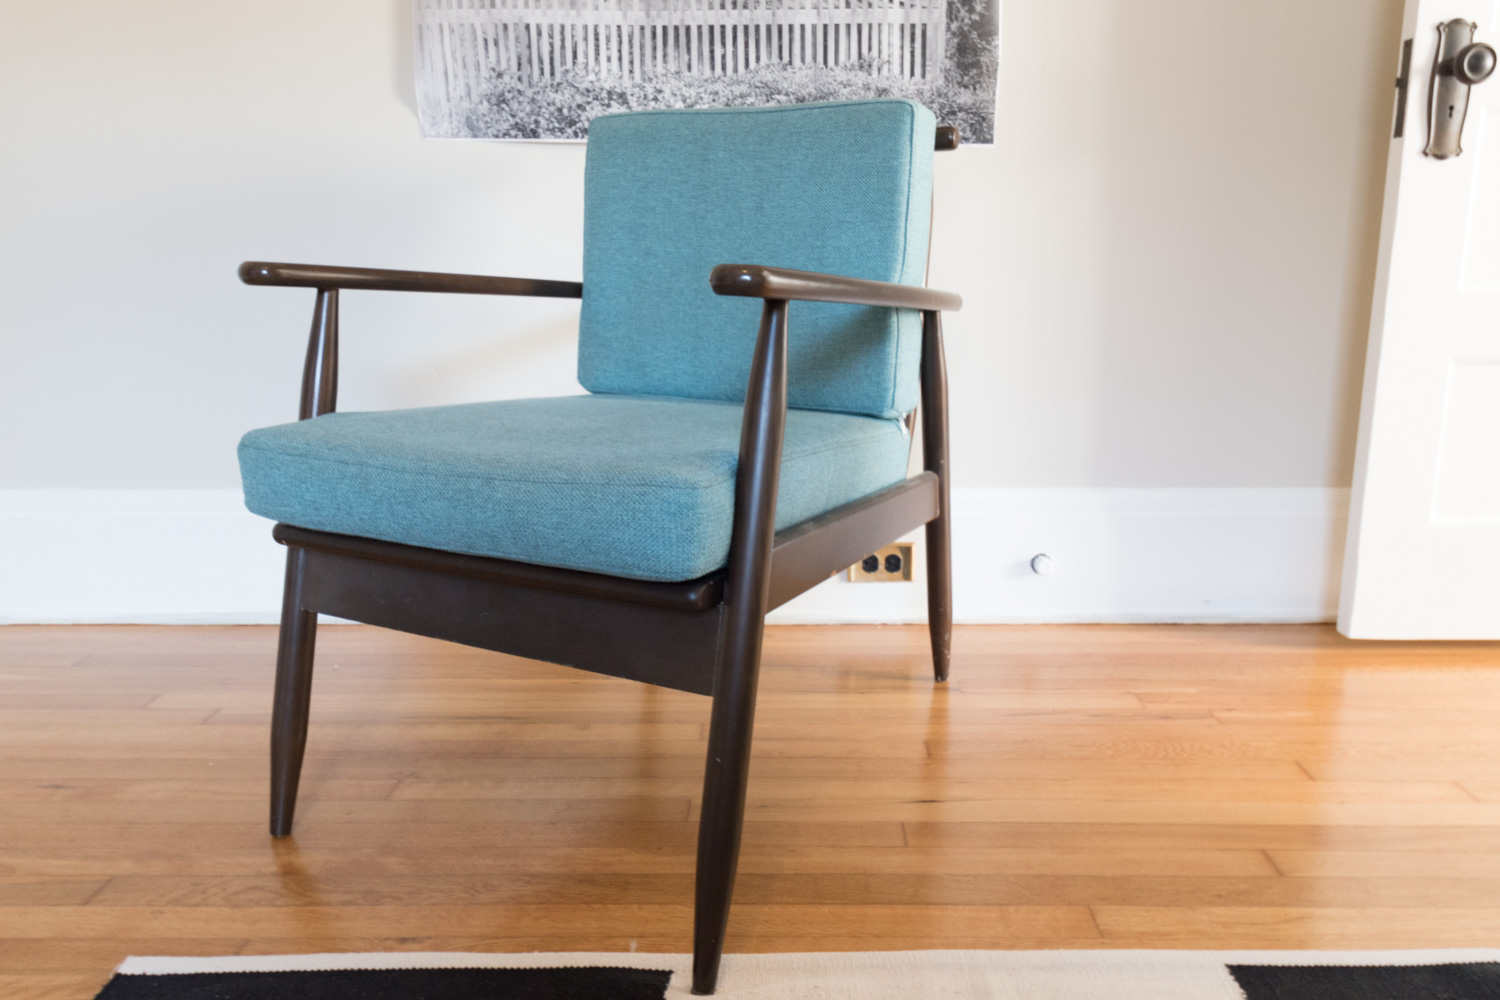
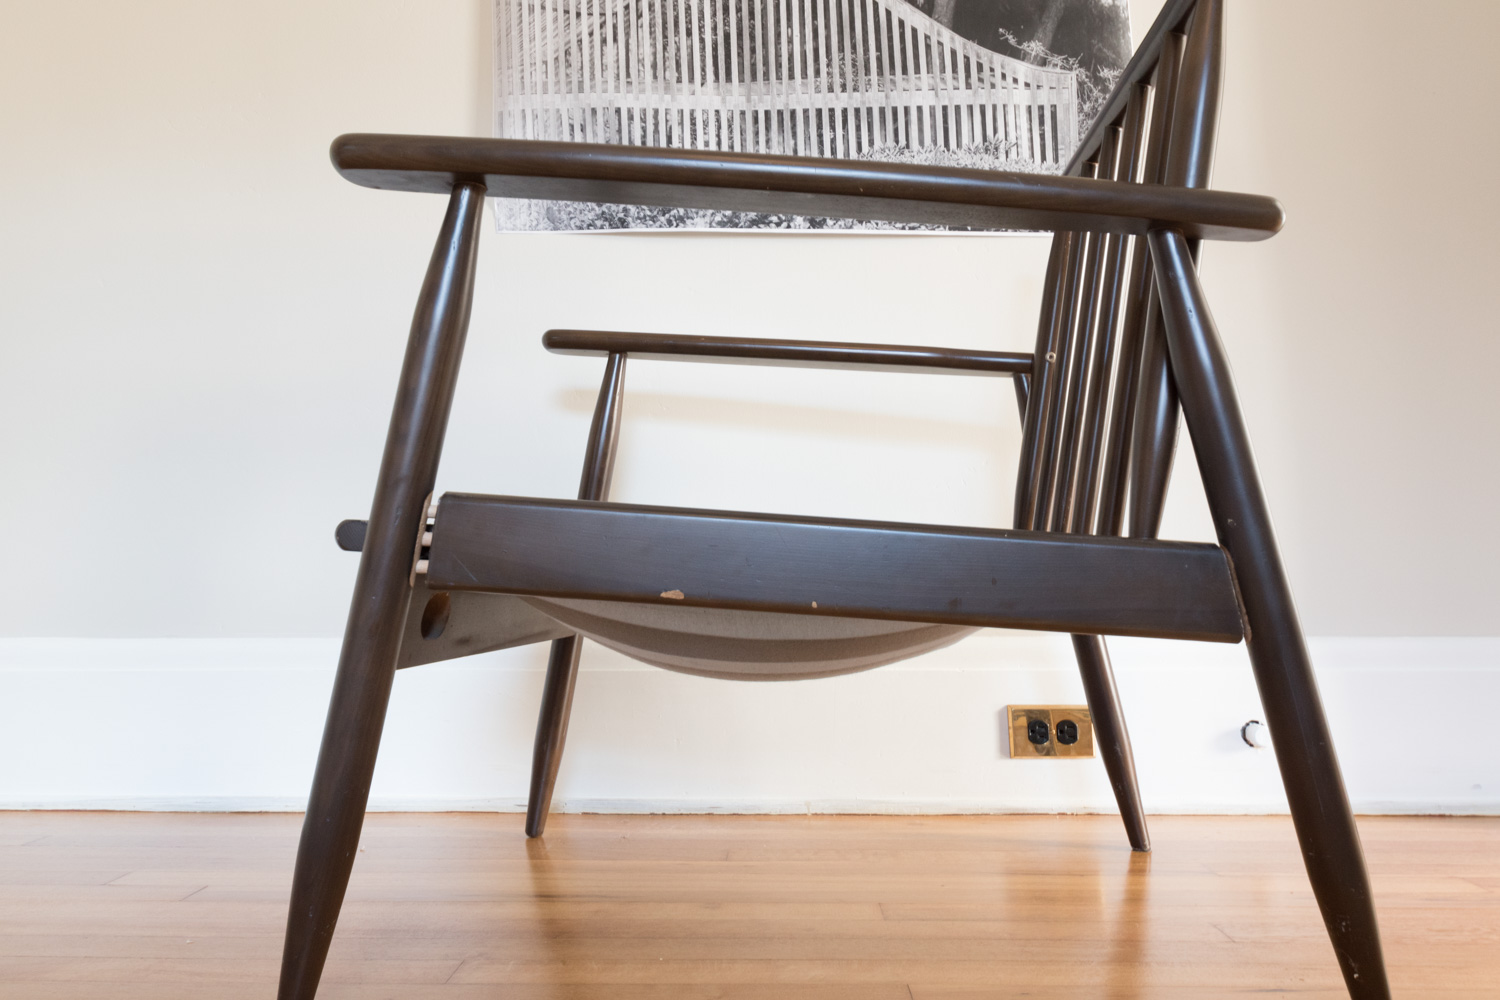
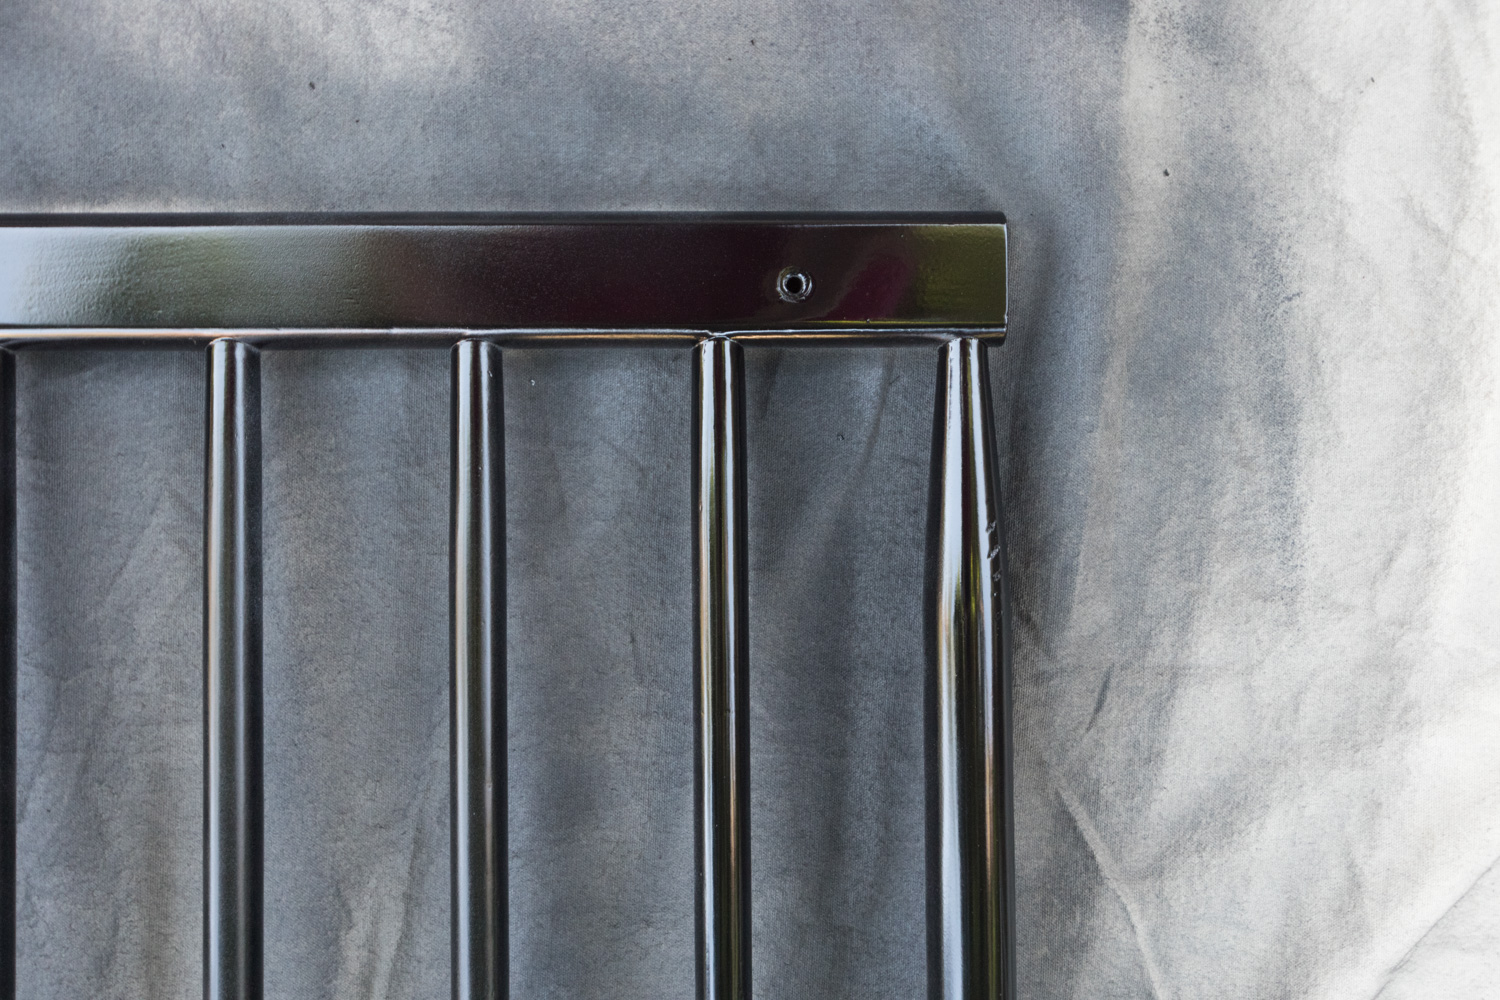
When I was sourcing fabric for my chair upholstery project a few weeks ago, I wish I had Sarah's favorite sources for textiles.

I just got these shoes this afternoon and I'm already in love which how comfy they are, and how eco-conscious the company is. I'll give you a full report after I truly break them in.

Happy June! Happy Pride Month!

But, Where Do You Keep All of Your Things?

Bathroom storage is a biggie. In all of the infomercials of people in dramatic black and white reenactments spilling their toiletries all over the bathroom floor or in House Hunters when a couple is tripping over each other trying to both get ready in the morning, they all exasperatedly exclaim how they need more storage in their bathroom. We've all been there, amiright?

I try my hardest to live minimally and own as few makeup products as possible, but we all have stuff to store. Without a vanity to hide all of our things in, we carved out a nice spot in the corner of the room to store all of our goodies.

The Gold Hive Bathroom Storage

To revisit, here's the layout we played with during the design stage (the finished dimensions changed a bit).

Bathroom plan view

See that chunk of space at the end of the tub in the upper right corner? That pocket is the answer to all of our storage woes. The 6.5" deep space became what I call "wet storage" and is accessed from the shower/tub. The 12" wide section is our "dry storage" that opens into the main part of the bathroom. The goal was to create as much hidden storage as possible so things didn't sit on the sink or the edge of the tub. Also, I'm one of those people that decants my shampoo into an unbranded bottle aiming to see as few product labels as possible - sorry toiletry brand graphic designers.

With these terrible photos, you can see how the whole thing came together.

The Gold Hive Bathroom Storage Progress

Before the storage unit construction began, the window was sized, the subfloor was rebuilt and prepped for tile, electrical was put in, rough plumbing was installed, walls got cement board, and the floor was tiled.

The Gold Hive Bathroom Storage Progress

When we were interviewing contractors for this project, 85% of them said that adding this storage unit was a bad idea. They said that the weight of the tile would pull on the cabinet and the only way to prevent it was to make the unit super strong by building a wall between the tub and the shelves, which would only leave 5” of usable storage space. I refused to accept that, and the contractor we ultimately hired agreed that my cabinet dreams could indeed come true.

Well, the bathroom remodel wrapped up two years ago and the storage unit is in perfect condition! 

Kim and Scott of Yellow Brick Home did a similar cabinet at the foot of their tub awhile after we installed ours. They used the wall and pre-made cabinet method - but did so much better a job than any of those doubtful contractors could have done. Either route works!

The Gold Hive Bathroom Storage Progress

A big part of what made this cabinet strong is we opted to permanently install the shelves, rather than adjustable boards that we can move up and down along pegs. The permanently affixed shelves hold the whole piece together from top to bottom. I don't have the luxury of resizing the cubbies, but that's perfectly fine for our needs.

The Gold Hive Bathroom Storage Progress

We also took the cabinet all the way to the ceiling. Which is storage heaven, and gives it extra rigidity being tied into the floor, ceiling, and wall.

The Gold Hive Bathroom Storage Progress

The wet storage earned marble shelves to create three cubbies to rest shampoo bottles. The marble sits on top of the row of tile and gets wedged in on all three sides by the second row atop the slab.

Here she is - two years later and still going strong.

The Gold Hive Bathroom Storage

The original plan was for the shower niches to be 6.5" deep, but I found a remnant slab at a local stone yard that was 8" deep, so why not! Each shelf varies in height from 8" to 14" tall to allow for different sized bottles. The whole recessed niche is 19" above the edge of the tub so its low enough that the bottom shelf can be reached while soaking in the tub, yet not so low that we're bending down to grab things while showering.

The Gold Hive Bathroom Storage

I talked about the tile in this post, but I just have to point out this detail at the bottom of the cabinet with the base tile wrapping underneath the door. Love.

The Gold Hive Bathroom Storage

The bottom shelf is 23" tall to allow for the toilet brush, plunger, and cleaning supplies. The rest of the shelves are 13" tall. It's the perfect size for these baskets and this modular acrylic storage. With 17" of depth, I can fit 24 rolls of toilet paper easily within reach. Any deeper and it would be hard to reach anything in the back of the shelves.

The Gold Hive Bathroom Storage

The concealed storage and the tucked away shower niches give all of our toiletries some privacy. Yet, whenever guests ask "Where are all of your things?!" I proudly open up the cabinet and pull back the shower curtain to reveal the shampoo bottles. Which kinda defeats the purpose of designing a hidden niche and a concealed cabinet. oops!

The Gold Hive Bathroom Storage

You can read about all the rest of the bathroom elements by clicking the button below. Then, subscribe so you can follow along when we add another bathroom to the house in 2019!

Weekly Roundup

If you've ever looked at professional photos of interior spaces, chances are at least one of the images was captured by photographer, Tessa Neustadt. She just launched an online shop with new and vintage home furnishings. If her shop is anything like her photos and her style, it is sure to be a winner.

The American Museum of the House Cat just opened in North Carolina. Who's in the area and will check it out for me? I've been to the Kattenkabinet in Amsterdam and highly recommend it. The more cat museums the better.

We're going on vacation pretty soon, but I'm already dreaming about my next one. Visiting Great Camp Sagamore in the Adirondacks looks pretty swell.

If It Isn’t Posted to Social Media, Did It Still Happen? Designer, TV host, and all-around cool chick, Sabrina Smelko writes about her take on the weird world of sharing on the internet.

If there's one thing I like more than sweaters, it's murder mysteries. This is both.

Memorial Day weekend brings lots of sales! Here are a few deals for you:

  • Rugs are already 50% off, but you can take another 20% off with code SUMMER20 at eCarpetGallery
  • Framebridge is offering $10 off their custom white frames with code WHITEHOT
  • There are several savings events at AllModern, plus you can get an extra 20% with the code SPLASH
  • 20% off and free shipping at one of my favorite art sources, Society6
  • Use code MW1725 to get 25% off everything at House of Antique Hardware
  • Code BBQ200 will get you $200 off customizable seating at Interior Define
  • Lighting is on sale at Lumens - up to 40% off
  • My favorite place to buy my (men's sized) shoes is ASOS. Use code LIT20 for 20% off
  • Get 15% off everything at Rejuvenation with code MEMORIAL15
  • Everything is 20% off at Rifle Paper Company
  • Non-toxic and eco-friendly mattresses are $150 off at Avocado Mattress
  • No coupon code needed for Wayfair's major markdowns
  • There are too many deals to list for Amazon, but you can get a free trial of Amazon Prime so all of those goodies can ship free
  • Buy more and save more with code SUMMER at West Elm
  • Home Depot and Lowe's both have a rebate for $10 off for each gallon of paint you buy
  • Target has patio and home and furniture items for 30% off. With code HERO you get another 15% off
  • With code MEMDAY you can get 20% off Joss&Main's sale events
  • Fellow San Diegan Janell is offering 20% off her vintage rugs at Mesa Vintage with code REMEMBER
  • Many modern furnishings from Article are on sale this weekend
  • There's a bunch of killer deals at Old Navy's Memorial Day Sale
  • Jeans are 30% off at Levi's with code MEM30
  • Warby Parker's eyeglasses home try on is always free - no coupon needed!
  • Code SUMMER will earn you 20% off at McGee & Co.
  • I swear by this period underwear. No coupon needed to get 30% off at THINX this weekend
  • There are many discounts on Pottery Barn but with code SAVEMORE you can get an even bigger discount
  • One of my favorite art retailers is offering 25% off. Use code SUMMER2017 at Artfully Walls
  • San Diego and Los Angeles folks - get 10% off vintage furniture at Loveseat

Happy weekend!

Installing a Custom Wood Window in the Shower

Installing a Custom Wood Window in the Shower

The window in our bathroom is perhaps the star of the show. Not until I got to bathe right next to the great outdoors did I come to fully appreciate how great a window in the shower is. And boy is it great! We had a custom wood window installed and while some people would disagree with this approach, I wouldn’t change a thing!

Read More

Weekly Roundup

Happy Friday!

White paint isn't always the solution for making spaces feel bigger. Apartment Therapy shows off how dark paints can make walls recede and thus, make the room look more vast. Truth.

Ross has work in Chicago in a few weeks, so we're making a vacation out of it! We'll first make a stop in Denver and hope to relax in a woodsy cabin before heading to Chicago for some big city exploring. I have quite a great list of Chicago sites, but I'm still researching activities and eateries in the the Denver area. Any tips?

Emily Henderson just revealed her patio makeover and it is so so dreamy! We just landscaped the front yard a few months ago (I promise I'll show it off soon!), but our backyard is the MOST neglected space in our home. Emily's cozy outdoor space is giving me some motivation to think about updating the backyard.

Have you seen the McMansion Hell blog? It breaks down the design elements that make McMansions such unfortunate pieces of architecture. Here's some 101 to give you an intro to these poor houses.

I just saw the Casting JonBenet movie the other day. Chilling! It's on Netflix and totally worth a watch - a unique take on documentary filmmaking.

There are so many good shows available right now! Here's a comprehensive list.

Who else is ready for the weekend? Enjoy!

My Favorite One Room Challenge Transformations

If you've visited the blog, checked out my Instagram, or chatted with me in person, you'll know that for the past six weeks I've been knee deep in transforming the den for the One Room Challenge. As a reminder, the ORC is an opportunity for bloggers to focus on completely transforming a room in six weeks. There were 20 featured bloggers, and over 200 guest bloggers participating in the challenge. It's a fun opportunity to participate with fellow bloggers where we can commiserate with each other, hold ourselves accountable, and share in the excitement. And lucky for you, there are hundreds of new spaces for you to admire!

While I was working on my projects for the moody den transformation, I was motivated by the spectacular projects that fellow bloggers were working on. Did you check them out? Did you? Did you?

Well, I've collected my favorite room transformations for your viewing pleasure.

This guest room from House of Brinson is an absolute stunner. I was captivated by Will and Susan's Instagram stories previewing the progress for weeks, and the reveal does not disappoint. That wall color! The wallpaper! The chandelier! The artwork!

Bre's bathroom is winning in layered texture, warmth, and color in an all white space. I can't wait to add a bathroom onto our house just so I can get a shower door like that one.

It's no surprise that I love dark greens, so I find Abby's kitchen cabinets super dreamy.

The details in this room are in-cred-ib-le. Those ceilings are wallpapered in a paper covered in glass beads! The adjoining bedroom that was also transformed for ORC by Old Home Love is to die for. 

Erin Williamson's transformed kitchen is full of personality, but the family photos taken in the spaces are amazing in the most cinematic way. You must check them out.

I love buffalo check in pretty much any form, so it's easy to adore this little one's room by House of Hire.

Marble, brass, black, white, and wood - my favorites. There's nothing more that House Updated's bathroom could need.

We're several years from thinking about baby rooms in our home, but that doesn't stop me from crushing on the wallpaper, mobile, and rug in Chris Loves Julia's nursery.

Thalita of The Learner Observer dramatically transformed this laundry room into a much more functional and oh-so-charming space.

I don't even know where to start. This room is out of this world! Check out Old Brand New to take in all of the perfect details.

I'm a sucker for built-ins and I love filing, so this desk space from Vanessa Francis gives me all the organization heart eyes.

Those are just a few of the nearly 300 room transformations. For more reveals, check out the 20 featured and 254 guest bloggers from this season of the One Room Challenge. I can't wait for the next round in the fall!

A Night In

If you, like me, follow lots of home bloggers and designers, you're used to beautifully well-lit spaces with bright whites and sunlight flooding into the interiors. It makes for great photos, but it isn't how we always live in our homes. I spend most of my time at home during the evenings after work once the sun has set. I love these low-light hours when I can get cozy and wind down. So, when Julia and Kim of Chris Loves Julia and Yellow Brick Home invited me to celebrate A Night In, it was a no-brainer to show off how I spend evenings in my home. I was also honored and terribly excited to participate with these star bloggers and the others linked at the bottom of this post!

This post is in partnership with Article!

The Gold Hive A Night In
The Gold Hive A Night In-0255.jpg

This room was only recently transformed for the One Room Challenge, but it has always been the space we settle down in after work. It's not uncommon for me to spend the entire evening in here catching up on Netflix, folding laundry, and writing blog posts. All of my favorite things!

Considering the size and layout of this room (pretty much just a couch, a TV, and an ottoman), it gets the most use as a place to enjoy my shows. But, with the addition of this STILT lamp from Article and the accompanying chair that we just introduced, the room has evolved to be more of a place to gather and enjoy sans television.

The Gold Hive A Night In

While I lounge on the couch, Ross can sit nearby doing his own thing. He travels a lot for work (like, 50% of the year!), so when he's home, these hours after 6pm are our time to connect after his time away. Even if we aren't chatting or working together, we just like having each other around. We could not talk, or talk forever.

When Ross is away on business, the cat takes his place and enjoys having the lamp illuminate her during her 17th nap of the day. I love how the dark shade complements the moody den and casts the prettiest light on the deep walls.

The Gold Hive A Night In-0266.jpg
The Gold Hive A Night In-0015.jpg

During non-TV hours, I'm often stretched out on the couch with the computer or my phone. When Ross isn't around, I have tunes on the Sonos or shows on the Apple TV to keep me company while I craft blog posts. I love my alone time, but I need voices in the background to not feel totally by myself. Anyone else with me?

The Gold Hive A Night In-0092.jpg

Article's VELU pillow is the only cushion I need to prop up. It's the perfect size for the height of my couch's tall arms, just the right amount of cushy, and it's the prettiest mix of fabrics. The Golidlocks of pillows! Can you tell I'm digging velvet right now?

The Gold Hive A Night In

I'm one of those people who wear pajamas whenever at home. I'm lucky to dress casually at work, but there's really nothing comfier than elastic-band pants and baggy shirts, am I right? Once I get comfortable on the couch, I don't want to get up. Article sent me their TAIGA table which is perfect for keeping all of my necessities nearby. Its narrow frame fits perfectly next to the couch, but sometimes I like to pull it to the front of the couch and use it as my personal assistant. That wine and ice cream aren't going to hold themselves up!

The Gold Hive A Night In-0063.jpg

As an introverted homebody, evenings at home with the lights dimmed down are how I recharge. There's really nowhere else I'd rather be - I'm known for declining invitations out to dinner in favor of puttering around the house in the evenings.

The Gold Hive A Night In
The Gold Hive A Night In-0022.jpg

All sources in this moody room are listed here.

I'm not the only blogger enjoying evenings at home. Check out more A Night In posts by some of my all time FAVORITE bloggers with whom I'm oh so honored to participate on this series. Seriously. Fav-or-ites.

Go take a look at the beautiful homes of Chris Loves JuliaYellow Brick HomeManhattan NestRoom for TuesdayIn Honor of DesignI Heart OrganizingThe DIY Playbook, and The Fox & She. Their spaces are just as pretty at night as they are during the day - maybe even more so!

Big thanks to Article for supporting this series and providing those swoon-worthy products. I'm happy to enjoy the STILT lampTAIGA table, and the VELU pillow, but there are so many more goodies that Article provides. Their modern furnishings ship for a flat $49, no matter the size of the order! Plus, there are no middlemen to mark up the products, so the prices stay low. Take a look - which are your favorite articles?

A Night In

One Room Challenge Week 6 - The Moody Room Reveal!

The Gold Hive One Room Challenge Week 6 Reveal-0008.jpg

Can you believe it's been six weeks since the One Room Challenge began? Six weeks. To recap, here's the before, the inspiration, and the plan, the moody paint, the installation of picture rail molding, the artwork, and the refresh of a chair. And now here we are, at week six! 

The Gold Hive One Room Challenge Week 6 Reveal-0061.jpg

Can you believe that paint color? I still can't get over it. It is the perfectly dark tone with the richness of an emerald green. My heart! This shade is Salamander by Benjamin Moore. It's more like a chameleon because it shifts throughout the day and ranges from nearly black to emerald and blue green to forest green. It's perfection.

The Gold Hive One Room Challenge Week 6 Reveal-0028.jpg

The goal was for a tone on tone color scheme with blues, blacks, and greens, plus a heavy dose of contrast with some bright whites. The room was starting to feel stark, so this ottoman makes the space feel like a casual place to kick up our feet for some Netflix viewing - which is what happens in here 90% of the time.

The Gold Hive One Room Challenge Week 6 Reveal-0041.jpg
The Gold Hive One Room Challenge Reveal

The sofa used to be in the living room, but it is so much happier in here. In its previous configuration, it sat against a wall of windows so it was always backlit and you could never enjoy the texture of the tufting and the velvety finish. The couch is a sleeper, so the room can very easily transform into a guest bedroom. Win Win.

The Gold Hive One Room Challenge Week 6 Reveal-0026.jpg

The TV and the stand stayed from the previous iteration of the room. That credenza is just too perfect in size and deco style to get rid of it

The Gold Hive One Room Challenge Week 6 Reveal-0089.jpg

There's that print that I love so so much. Shall we admire the artwork, now?

The Gold Hive One Room Challenge Week 6 Reveal-0056.jpg
The Gold Hive One Room Challenge Week 6 Reveal-0093.jpg
The Gold Hive One Room Challenge Reveal

I wanted to make sure that the dark walls didn't get too covered up by large frames, so I exercised some restraint when I was eyeing all of the great possibilities for artwork. I ultimately settled on these prints that are showstoppers on their own, but also let the moody paint shine.

All of the artwork is hanging off the newly installed picture rail molding. Since it's so easy to swap the frames out, you can bet that I will move pieces around the house from time to time.

The Gold Hive One Room Challenge Week 6 Reveal-0068.jpg

This light from West Elm was the last addition to the space, and I totally have a crush on it. I didn't want the room to get carried away with being too casual, or too dramatic, or too old fashioned, or too modern. I think this light balances all of those and gives me the best of each world.

The Gold Hive One Room Challenge Week 6 Reveal-0044.jpg

Did any of you vote on my curtain choices on last week's Instagram story? I picked up about a dozen different curtain options from IKEA to test, then return. I nearly didn't pick up these green ones, but I did on a whim, and they instantly became standouts.

So many of you chimed in with votes and they were nearly all split. A lot of you really liked the plain white, but I went with my gut. I doubled up these sage velvety drapes so each side of the window has two panels, to give them some oomph.

The Gold Hive One Room Challenge Reveal

I doubled up the side tables, too. The lightweight metal framed table gets moved around to the front of the couch periodically so I have easier access to my snacks and goodies that I park on it. Since it moves, I wanted a second table that would be stationary and could keep books and plants that don't need to migrate around the room.

The Gold Hive One Room Challenge Week 6 Reveal-0111.jpg
The Gold Hive One Room Challenge Week 6 Reveal-0102.jpg

The other side of the couch needed its own table, too. But in a tight space with high arms on the couch, the necessary dimensions were impossible to find in a store-bought table, so I made my own. Using some plywood, parson legs, and plates, I cut the pieces to the exact dimensions needed, put it together, and spray painted it black.

For added storage, a small box sits on the floor under the table to house the laptop charger and hide the cables from nearby lamps.

The Gold Hive One Room Challenge Reveal
The Gold Hive One Room Challenge Week 6 Reveal-0073.jpg

We previously didn't have any seating other than the couch. It didn't let the room be much more than a place to park ourselves in front of the TV. The addition of the newly refreshed chair and lamp gives the room much more versatility.

The Gold Hive One Room Challenge Week 6 Reveal-0115.jpg

Sources

Couch - Rochester from West Elm / Ottoman - Long Pouf by Minda Living / Rug - One of a Kind from eCarpet Gallery / Pillows - VELU from Article,  Mount Cook Lily (night) from Society6 / Tray - Format ClearSquare Tray from CB2 / Black Lamp - STILT from Article / Books - Old Home Love, Styled, In The Company of Women, Pick Me Up, Illustrated Elements of Style, The Kaufman Mercantile Guide / Deer sculpture - Artist Jeff Irwin / Artwork -  Minimal and Palm by Lucie Birant, St. Bernard by Mary Sinner, Feral House #7 by James Griffieon / Chandelier - Pelle Asymmetrical from West Elm / Candle Stick Holders - Taper Candleholder from World Market / Side Table - TAIGA from Article / Potted planter - Glowing Arbor Pot from Anthropologie / Shallow Flower Vase - Moonbird Pottery / Curtains - SANELA from IKEA / Curtain Rod - Umbra Cappa / Shade - Solar Shade from Select Blinds / Side table materials - plywood, parsons leg, top plate / Picture rail molding and hooks - House of Antique Hardware / anything not listed is vintage or Home Goods.

If you're here because of the One Room Challenge, I hope you'll subscribe to the blog to get future blog posts in your email! Be sure to follow along on Instagram, too!

One Room Challenge progress:
Week 1 - the before, the inspiration, and the plan
Week 2 - paint, paint, paint
Week 3 - how to install picture rail molding
Week 4 - sourcing the artwork
Week 5 - refreshing a chair
Week 6 - the reveal!

So many other rooms have been transformed over the past six weeks, you best check' em out! There are 20 featured and 250 guest bloggers! Block out some time, put on a pot of coffee, and browse through all of those freshly designed rooms!

Weekly Roundup

Are you ready for Mother's Day? If not, I've rounded up a few gifts that are sure to delight the moms in your life!

Remember all of that art that I raved about last week? Well, with this link, you can get 20% off your Society6 order plus free shipping through May 6th! Find a design mom will like, then have it printed as a mug, pillow, framed print, tote bag, or whatever she fancies! Click here to get the promo and browse my favorite pieces. For even more art prints options, I'm sure you can find something she'd enjoy at Minted. If not, get something custom made or commissioned!

Maybe in lieu of a tangible item, she would like her gift to empower women and girls in need. International Rescue Committee has some wonderful gift options including a safe birth kit, a year of school, and small business training. These options range from $21-$192 and make a major impact.

Might mom need some new frames? I highly recommend these $95 glasses (frames and lenses!). Both my prescription eyeglasses and prescription sunglasses are from Warby Parker. I wear these every day but I'm planning on getting these to switch up the look every once in awhile.

Is mom into DIY? Perhaps you can interest her in some woodworking supplies and hardware from Rockler? A pressure washer that I love because my neighbors think I'm playing with a robot? Classes and supplies for making her own goodies at Craftsy? The miter saw we used to install picture rail molding?

For moms with a great sense of humor, illustrator Chipper Things makes adorable flow charts, and this one all about mom makes for a great card.

For the literary mom, In The Company of Women is a must have and will keep her inspired as she continues her passions.

Is she a gardening mom? I have this elevated garden wedge and love how easy it is to harvest without kneeling on the ground, and it just looks pretty.

Is mom tricky to shop for? Gift her Amazon Prime so she can buy what she wants with free (and fast!) shipping. Plus she can stream her favorite movies and TV shows.

I hope these ideas give you procrastinators some inspiration!

One Room Challenge Week 5 - Giving a Chair a Facelift

There's only one week left in the One Room Challenge! Over the past five weeks, this room has completely transformed. I'll share more before and afters next week, but let's get into this week's project.

I bought a chair off Craigslist years ago during my mid-century modern phase. However, I wasn't in love. The upholstery color didn't work in any room of the house, the webbing was totally stretched out, the frame was separating, and the finish was chipped. It was originally from Urban Outfitters, so it's not a vintage heirloom and thus I have no problem messing with it. Note that I do not condone painting 60-year-old furniture just because you're bored of it.

The Gold Hive How to Update a Chair
The Gold Hive How To Update A Chair

The chair sat in the living room for two years and every time I saw it, I thought about how I wanted to get rid of it. With a chair that needed some love, and an excuse to give it new life (thanks One Room Challenge!) I decided that the chair could stay a little longer - with a refresh and in a new room.

The first step was to update the frame. Since there was no gorgeous wood grain to reveal under the existing finish, painting was the only option. Considering I paint things pretty much only black or white (or Salamander!) the choice was easy. Black!

The Gold Hive How to refinish a chair

First, I disassembled the frame and removed the webbing. I later found out that a big reason the webbing sagged and the frame was coming apart was the previous owner had assembled the seat upside down. The puzzle didn't fit together so it was putting pressure in all the wrong spots, and the poor chair couldn't hold up.

The Gold Hive How to refinish a chair

I then gave the frame a light sanding to rough up the surface for paint and to smooth out the chipped spots before dusting each piece with a coat of primer. There's really no reason to skip this part. I'm a big fan of primer and always recommend tossing it on because your paint will adhere so much better - even if you're using a paint and primer in one.

The Gold Hive How to refinish a chair

I used a satin finish paint because flat would look well, flat and a little too, "hey look, I spray painted this chair" while a glossy finish would be like "woah, you spray painted that chair." Catch my drift? Satin has just the right amount of sheen.

The Gold Hive How to refinish a chair

After a few light coats of paint, I worked on re-webbing the seat.

The Gold Hive How To Repair Webbing on Chair

First, I stapled one end of the webbing to the frame. Then, I use this webbing stretcher (torture device) with the rubber end on the frame, and the spikes in the fabric to create tension on the strip by pushing the tool down to stretch the fabric.

The Gold Hive How To Repair Webbing on Chair

Once it's as taught as a drum, I stapled the fabric into the other end of the frame. You may think that pulling on the fabric by hand would be enough, but that torture device, I mean webbing stretcher, does the job so much better. Trust me.

The Gold Hive How To Repair Webbing on Chair

Once a few staples have secured the fabric, I cut the it with enough overhang to fold it back over the staples and staple again. I used this gal, but this pneumatic staple gun would be so dreamy. After all of the webbing strips are complete, I reassembled the chair (not upside down!).

The trickiest part of the whole process was the fabric. I fell for this Painted Check fabric by Robert Allen from Dwell Studios because it was a modern take on plaid and it was in my favorite color palette, black and white. The pattern choice is sure pleasing to look at, but boy was it tough to work with. Had I chosen a solid color or a busy pattern, I could have just cut the pieces and sewn them together. But no, I had to pick a fabric with a bold, high-contrast, large-scale, stripe - and a wiggly stripe to boot. I needed the pattern to give the illusion of wrapping around the sides of the cushion, so matching each piece of fabric to its four adjoining edges was critical. This is probably easy peasy for a professional, but I am not. Here's how I did it.

The Gold Hive How To Rehupolster a Chair

First, I deconstructed the existing cushion and used the pieces as a template to create a new pattern. It's important to note that fabrics can stretch over time, so duplicating the exact pattern may not be the best idea. My fabric was stretched, so I slimmed down my new cuts just a hair.

The Gold Hive How To Reupholster a Chair

I started with the top piece (where you put your tukhes) and matched everything to it. I cut each piece in the order of how visible it is. This way, if things got misaligned towards the end, the issue would only be spotted in the back.

To form each of the side panels, I layered the primary piece atop the roll of fabric and lined it up to its exact same pattern. I did this to create a guide so I could visualize where the cuts would need to be based on the half inch seams I'd sew later.

The Gold Hive How To Reupholster a Chair

Here, the primary piece is on the right, layered on top of the roll. The teal piece is the template of the new side panel that I need to cut. I folded back a half an inch of the cut piece and pinned it back with the purple pin to show how much fabric will be hidden with the seam. The teal piece already has folds from the original seams so I butted them up. This shows me exactly where the side panel needs to be in relation to the pattern in order to match the main piece. I then pinned the teal piece down and traced the outline onto the roll of fabric, then cut it out.

Once I figured out the method that worked best for me, I found an easier solution that uses the same principle.

The Gold Hive How To Reupholster a Chair

Instead of using the teal fabric template and visualize the multiple seams, I nixed the template altogether and just used its measurements. I layered the fabric on top of its matching pattern, then slid a ruler an inch under the fabric, then marked the width that I needed the finished piece to be. It's the same idea, just with fewer steps.

The Gold Hive How To Reupholster a Chair

Once I cut out the pieces, I used colored pins to mark corresponding edges.

The Gold HIve refreshing a chair fabric-0051.jpg

For the back panel with the zipper, I did the same process, but with two pieces and a zipper sandwiched between. For the cushion's bottom piece, I modeled it off of the front panel the way I modeled the front panel off of the top piece. This was to ensure that the lines matched on the cushion edge that was most visible.

The Gold Hive How To Reupholster a Chair

Finally, all of the pieces were sewn together and stuffed with the existing cushion. Then, I did it all over again for the second cushion.

Now that it's completed, I'm super pleased with how well the squares line up on each of the seams, as well as in the transition from the bottom cushion to the back cushion. The back panels of each piece don't match up because it is physically impossible, but I'm a-okay with that. Please feel free to weigh in on more efficient upholstering techniques, I'm sure there are great options out there!

The Gold Hive refreshing a chair
The Gold Hive How To Refinish a Chair

Doesn't she look pretty with this pillow?

If you're here because of the One Room Challenge, I hope you'll subscribe to the blog to get future blog posts in your email! Be sure to follow along on Instagram, too!

One Room Challenge progress:
Week 1 - the before, the inspiration, and the plan
Week 2 - paint, paint, paint
Week 3 - how to install picture rail molding
Week 4 - sourcing the artwork
Week 5 - refreshing a chair
Week 6 - the reveal!


Don't forget to admire the other spaces that are a week away from their grand reveal! Check out both the featured and guest bloggers.

Want remember how to refresh a chair for your next project? Pin this image below. While you're at it, follow me on Pinterest!

How to refresh a chair - The Gold Hive

Weekly Roundup

Happy Friday!

The Gold Hive Hotel Del Coronado

Earlier this week, I played tourist in my hometown and explored the Hotel Del Coronado. The rambling 1888 Victorian beach resort is quite the looker. Since beaches aren't my thing, I enjoyed hanging out in the lobby checkin' out the woodwork.

It isn't even May yet, but Domino is listing the best design blogs of the year. Which are your favorites? Are any missing from the list?

Before we got rid of cable, I used to have HGTV or DIY network playing in the background while I cleaned the house or did projects. The voices kept me company, and I'd find inspiration during periodic glances at the screen. Without the comfort of Rehab Addict marathons, I don't have a show to keep me company that I can tune in and out of as I putter around. Until now. Grand Designs is finally on Netflix and I'm so into it. Each episode covers the build of unique houses from start to finish. This home in the middle of the countryside built from shipping containers and clad in rusty panels is a stunner.

The Handmaid's Tale

Speaking of TV shows, are you watching The Handmaid's Tale? I remember how gripping the novel was when I read it years ago, and the TV show is just as moving. In addition to a marvelously chilling plot, the sets are beautiful. That paint color looks pretty close to Salamander, eh?

Luxury designer brand Balenciaga designed a $2,145 purse that looks nearly identical to the $0.99 IKEA bag that many of us have in our closets. IKEA's reaction is on point.

Does this mean I shouldn't pull out all the weeds?

Have a great weekend!

One Room Challenge Week 4 - Sourcing The Artwork

It's already week four of the One Room Challenge! We're over halfway there and the room has earned dark green paint and picture rail molding. This week, I got to hang the artwork!

This image of a man pulling a girl out of a hole is my favorite piece in the whole room. I'm obsessed with all of the collage pieces by this artist, Richard Vergez. I got this piece and (and all of the others in this post) from Society6, which is such a great resource for framed art by independent artists. The beauty of it is you can get your favorite design printed as a framed print, mug, duvet, tote, or pillow, like this one!

I can't have a room without florals! This print as a pillow does the job.

There's so much beautiful artwork (and bad artwork!) out there so deciding is such a feat. I've rounded up a few more of my favorite artworks from Society6. You can also find more of my curated pieces that I'm crushing on here.

Sources from top left: Rainier Eunice Lake The Dreamer / Colors / D24 Mountain Trees C16 / By the Hills, revisited Crown Into Abyss / El Matador Close Noir / Glacial

While I ultimately bought my prints from Society6, Minted is another great source for art. Here are some swoon-worthy pieces.

The Gold Hive Favorite Art from Minted

Sources from top left: Spiced Cider/ Blue HIlls / Road Trip 2 Torched / Dance Abstract Watercolor A Slight Chance / Conversation II / Broken Clouds Whispered Rain Reflections III / The Forest

I shared last week how much I love picture rail molding and how to install it. Well, here's how to use it! Simple dimple.

The Gold Hive Installing frames on picture rail molding

You can find picture rail hooks in a variety of finishes, shapes, and sizes, so pick whatever works for your home's style and your decor. I got these from House of Antique Hardware for their simplicity and the way the brass matches the aged brass of the switch plates.

Attaching the hook to the frame is as simple as twisting on a wire. The key is to select a wire that can withstand the weight of your frame. The Society6 prints are quite lightweight so I was able to go with a thinner gauge wire, but this same wire previously snapped when I tried using it to hang a mirror. Oops. If you don't want to use wire, rope or chain are great alternatives. I prefer how subtle the thin wire is because it doesn't take attention away from the main attraction, yet you still see a glimmer of it when the light hits just right.

The Gold Hive Installing frames on picture rail molding

I like to start by twisting the wire on to the hook so I can focus on making the twist as clean as possible, since you'll see it. After measuring how high the image will hang, cut the wire to length, leaving several inches to twist into the back of the frame. For a strong hold I like to twist the wire on, then double twist over it again.

The Gold Hive Installing frames on picture rail molding

After a bit of finessing, you have a photo hung on the wall without any holes! While I adore these new prints, and plan on enjoying them in this room for the long haul, I love having the flexibility to move them around the house without having to patch nail holes. 

The Gold Hive Installing frames on picture rail molding

The two large prints over the couch are by Lucie Birant. Deciding on a diptych is tricky because you want them to go together, but not too much. The key is for them to be sisters, not twins. Rather than picking two pieces that are nearly them same, but slightly different, I opted for two very different images, but by the same artist. They aren't matchy matchy, but they go together because they still have the same pencil work and overall style. Emily Henderson has a great PSA on avoiding generic art and how to make diptychs look grand.

The Gold Hive Sourcing Artwork

While all of the new artwork for the room was sourced from Society6, I searched high and low on lots of other websites such as Minted, Artfully Walls, and 20x200. Society6 had the best prices and the quickest turnaround for a room makeover on a tight timeline, but I really had to sort through the artwork, because I didn't love it all (remember, bad art good walls). I like Artfully Walls for the easy search features that help you curate based on themes and colors. 20x200 sells limited edition art prints that are really unique (I'm still waiting for this one and this one to arrive in the mail). Minted has a lot of great pieces that are easy to love. They aren't generic, nor too quirky like the painting of the Denny's Parking Lot I ordered from 20x200. Check 'em all out! Or, if you have your own artwork or an existing piece you want to frame, take a look at Framebridge for custom framing options at great prices.

To recap, the prints I chose for the room are Minimal and Palm by Lucie Birant, Let Me Go Or Squeeze Me Tighter by Richard Vergez, The Path by Carlos ARL, and Mount Cook Lily (Night) by Andrea Stark.

If you're here because of the One Room Challenge, I hope you'll subscribe to the blog to get future blog posts in your email! Be sure to follow along on Instagram, too!

One Room Challenge progress:One Room Challenge progress:
Week 1 - the before, the inspiration, and the plan
Week 2 - paint, paint, paint
Week 3 - how to install picture rail molding
Week 4 - sourcing the artwork
Week 5 - refreshing a chair
Week 6 - the reveal!

Be sure to admire the other rooms that are four weeks into being completely transformed! So many featured and guest bloggers are doing big things!