Weekly Roundup

This beautiful restaurant used to be a pharmacy built in 1914. What a stunner!

The only bummer about working on the One Room Challenge is it cuts into my TV viewing time. There are so many HBO shows on this top 25 list that I haven't event started. How ever will I catch up??

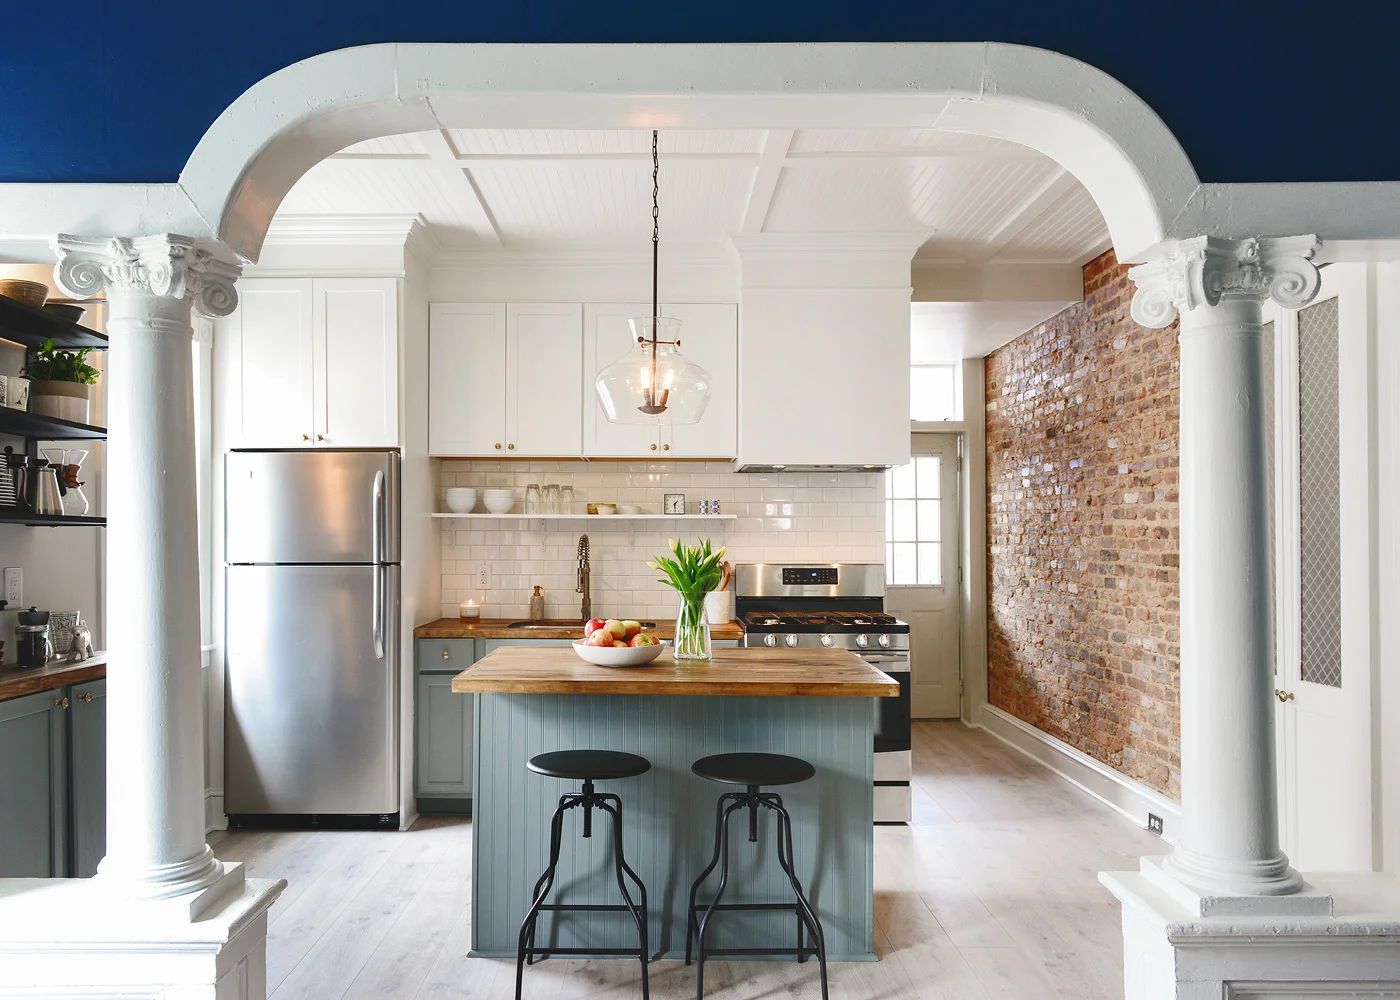
Did you see Orlando's new kitchen reveal? Hubba hubba.

Does anyone else get HomeGoods paralysis? Real Simple has some tips.

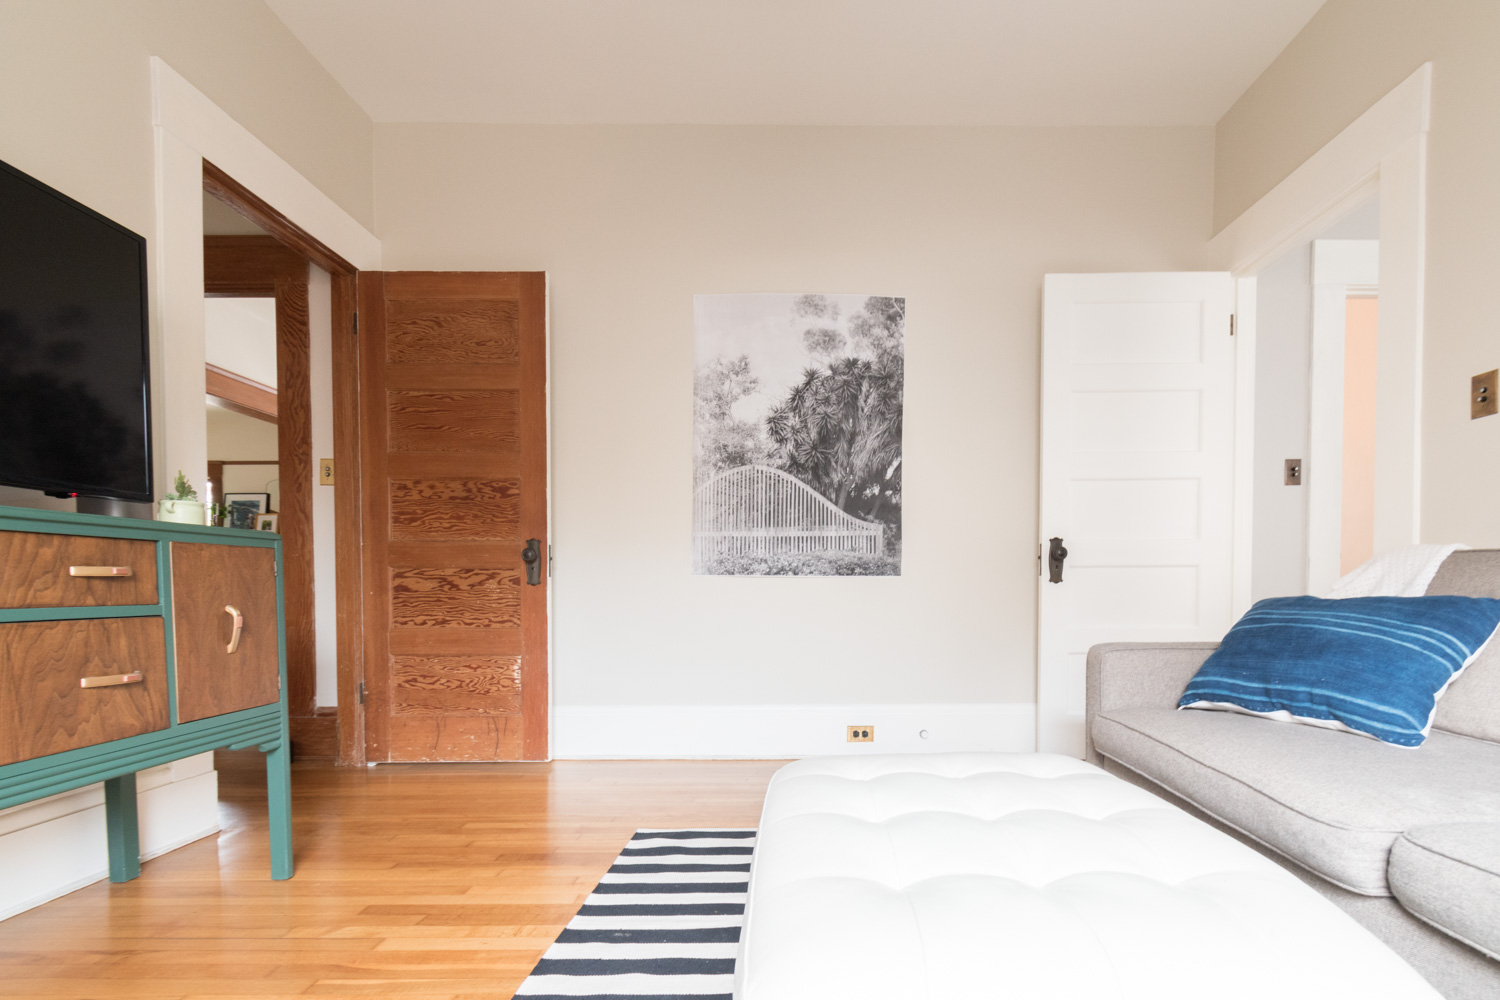
Our new rug for the One Room Challenge arrived last week from eCarpetGallery and I'm totally crushing. It has me considering laying rugs everywhere.

Open House Open House Open House Open House

Did you see my Instagram Story over the weekend? I went looking for an open house and had a hard time finding it. Not enough signage.

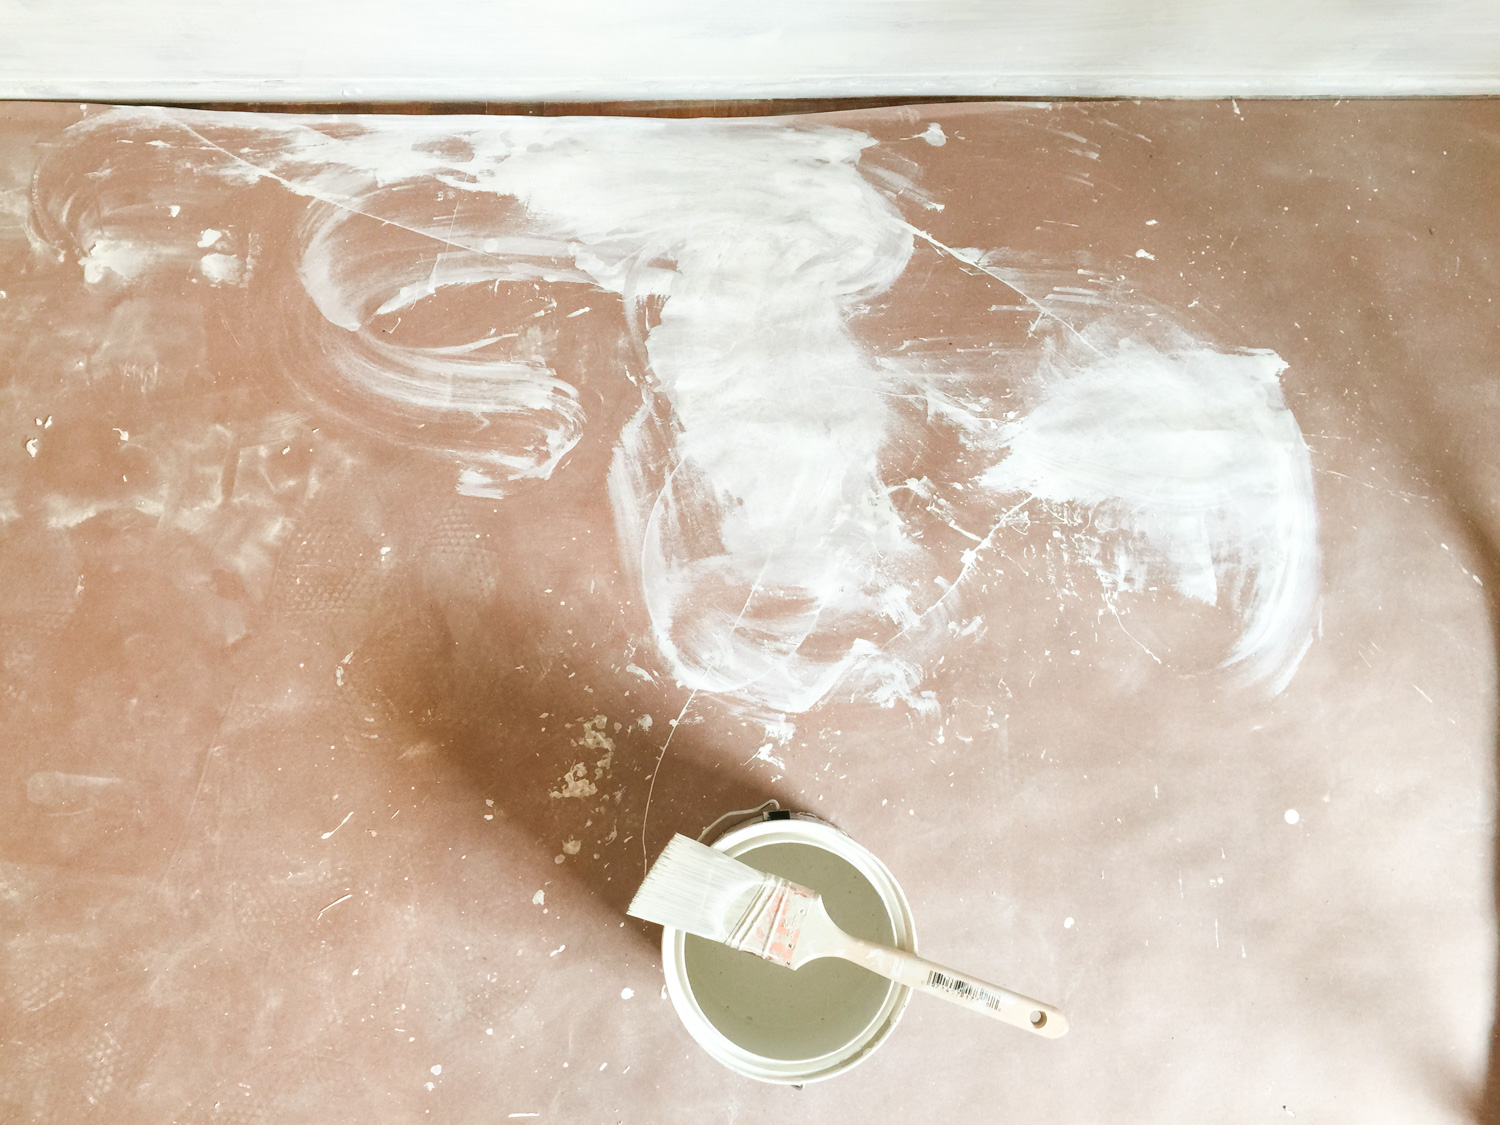
Hope you have a great weekend! I'll be reupholstering a chair. Or, sourcing artwork, or touching up paint, or pulling weeds. Or, all of the above. I truly can't wait!
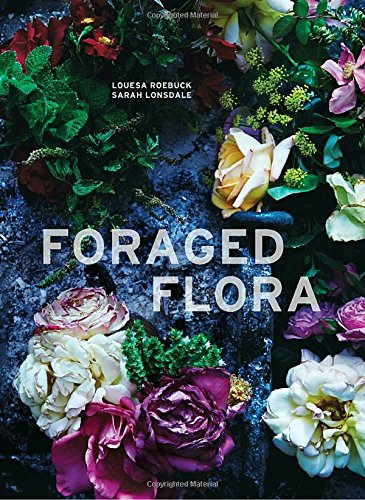
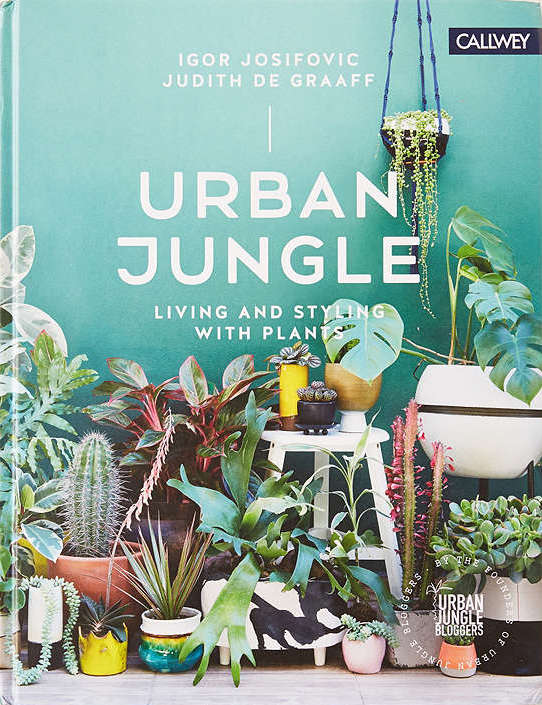
One Room Challenge Week 3 - How To Install Picture Rail Molding

I'm back for week three of the One Room Challenge! If you're just tuning in, I'm mid-way through transforming an unloved spare bedroom into a cozy, moody space. Last week, the room underwent a metamorphosis with radically different paint in a deep green. This past week, we tackled installing the picture rail molding.

If you're unfamiliar with one of my all-time favorite old house features, picture rail molding is a narrow piece of trim that runs the perimeter of the room near the top of the walls. My house's picture rail molding sits atop the door and window frames. Some homes have the molding closer to the ceiling where crown molding would go. If you're in an old house with crown molding that doesn't quite touch the ceiling, then you may just have a picture rail! This lil' piece of wood trim has a notch at the top that allows you to put a small hook over it from which you can hang a frame from a wire. This is oh-so-handy because you never have to put holes in the wall to hang artwork. It saves me from patching holes whenever I want to change pieces - which is a big deal for someone that has major art indecision. It's also great for an old house because you don't risk damaging the plaster (that we all know I'm a fan of) by pounding a nail into the wall. (Side note, hammering plaster walls can really damage them so I always use screws rather than hammering a nail if I ever put anything into the wall). The living and dining room still have their original picture rail molding, but the rest of the house was stripped of their decorative trim at some point over the years. It's my job to put it back!

Enough about why I love this molding, let's get into how to install it.

Supplies:

The first step is to find molding that fits with your home. The profile we bought was the closest we could find to the existing molding that is still intact in select rooms. If your home never had the molding originally, or you don't know what it looked like, you can research profiles for colonials, victorians, etc. to find what would have likely been in your home. If you have a unique profile and can’t find it at any salvage shops, online retailers, or specialty wood retailers, you can have a blade custom made so wood can be milled to match your existing profile. Finding someone local that does millwork can help you to either make a custom blade to cut your profile or even see if they have one already made.

The Gold Hive How To Picture Rail Molding

The brand new molding has such crisp edges, but the existing trim in the house has a softer edge, so I took some sandpaper to each of the planks to give them a less brand-new look. The piece on the left is right out of the package, and the one on the right received a light sanding. Can you spot the mild difference?

After smoothing the edges a touch, I primed each plank with my go-to primer while Ross drafted up the plan of lengths and angles we would need.

The Gold Hive How To Picture Rail Molding

We measured each length needed, and noted the direction of the cut. Drawing it out on a floor plan helped us keep track of where each cut would go, then labeling the backside of each piece ensured we didn't get any mixed up.

The trim spans the perimeter of the room so it sits on top of the white doors as well as the green walls. I could have painted it all white to match the trim, but I decided to match the trim color to the surface color it would sit on. So, door and window pieces would be Simply White and the wall trim would be Salamander. Once we had a plan, Ross cut the pieces, while I gave them a couple of coats of their corresponding paint color.

The Gold Hive How To Picture Rail Molding

Once we cut all of the pieces, we did a dry fit. Using a level and several hands, we held up multiple pieces to see how each piece would fit against the next and how that would fit with the next and so on and so on. With old walls that aren't totally square, we had to sand down the edges a little, and we had to pull a few pieces from our spare cuttings.

The Gold Hive How To Picture Rail Molding

Since the molding would need to hold the weight of heavy frames, mirrors, or whatever I choose to dangle from the trim, it needed to be darn strong. The only way to do this is to nail the trim directly into the studs. Since plaster walls are constructed with wood throughout their backsides (learn more about old walls here), a traditional stud finder (the electronic ones that beep) won't work. THE best way to find studs in plaster walls is with this handy $10 tool. Seriously. It’s the best.

Once you find a stud, measure from that stud a distance that you think your studs may be spaced out. Common distances are 16" or 24." My house has studs 16" apart, so I used blue tape to mark each stud. You could repeat finding each studs with the handy tool, but this is more efficient. This is one of the few occasions when I actually use blue tape on walls.

The Gold Hive How To Picture Rail Molding

After we found the studs and dry-fit all of the molding, came my favorite part. We quadruple checked level before I nailed in each piece into the stud. We used this cordless electric nail gun that was such a beauty to have around because it was free of needing a noisy air compressor. Not having the buzzing compressor noise ongoing in the background made the cha-chunk sound of the nail gun so much more satisfying!

The Gold Hive How To Picture Rail Molding-0438.jpg

It felt great to finally cap the door with trim it always should have had. The doors are grateful to get their hats back.

The Gold Hive How To Picture Rail

After all of the trim found its home on the wall, I retraced our steps to fill in all of the nail holes with putty, and cleaned up the seams with caulk. Two walls had long stretches without interruption so they needed more length than the 8' trim piece, so we had to sister them together. My trusty putty,  caulking, and another coat of paint erased all of the blemishes.

The Gold Hive How To Picture Rail Molding

I'm still finalizing the artwork. Until then, the hooks will rest patiently on the trim.

The Gold Hive How To Picture Rail Molding-0158.jpg

And there you have it! That, my friends, is how you add oodles of charm with a few pieces of wood. Oh, and I jumped the gun and put the couch in the room already. I'm in love with these colors.

If you're here because of the One Room Challenge, I hope you'll subscribe to the blog to get future blog posts in your email! Be sure to follow along on Instagram, too!

One Room Challenge progress:
Week 1 - the before, the inspiration, and the plan
Week 2 - paint, paint, paint
Week 3 - how to install picture rail molding
Week 4 - sourcing the artwork
Week 5 - refreshing a chair
Week 6 - the reveal!

Make sure to check out the other room transformations that are coming along swimmingly! So many featured and guest bloggers are doing amazing things!

Taking The Bathroom Down To The Studs

I've been distracted with working on week 1 and week 2 of the One Room Challenge (this week's update coming Thursday!) so I've left you hanging since first introducing you to the bathroom remodel. Sorry! But, we're back and headed into demo.

As a refresher, here's what the bathroom looked like.

The Gold Hive Bathroom Before

Since most everything was leaking, rusting, failing, sinking, or otherwise not super pretty, nearly all had to go. But as an old home lover, original features don't get ripped out that easily. Only a few elements had been there for a century. The original medicine cabinet would need patching and cleaning, but it could get freshened up to be a real stunner. The hardwoods were original but were rotten beyond repair rotten and couldn't be salvaged. The bathroom door and trim were original and would definitely stay. So, those keepers would get saved, but  the rest of the bathroom would go.

The Gold Hive Bathroom Before

That tubular thing in the crawlspace is our HVAC, but it reminds me of the dragon in The NeverEnding Story.

The Gold Hive Bathroom Remodel

Isn't a wall of exposed lath so pretty? It's like my very own Agnes Martin installation.

It isn't uncommon during remodels to demo only select parts of the room. You don't always need to pull all the drywall down and demo into the attic and crawlspace like we did. Yet, demo only happens once, so it's the only chance to expose everything and repair anything. With evidence of bigger problems, and knowing the plumbing has been there for a century, we didn't hesitate to take everything out to start from scratch.

A contractor that I interviewed to do the project proposed putting the new floor tile directly on top of the existing hardwood. Let me count the ways that it was not a good option. 1. Adding tile on top of existing flooring would leave a perfect place to stub my toe walking into the bathroom with the floor an inch higher than the hallway. 2. The hardwoods and the subfloor were visibly rotting, so adding a new floor atop certainly wouldn't resolve that issue. 3. The plumbing would have never been revealed to see how corroded it was.

The Gold Hive Bathroom Before

Yum.

Thank goodness we didn't heed the advice of that contractor because those 100-year-old pipes were at the end of their life. We also found that the vent pipe had a big crack down the back of it.

The Gold Hive Bathroom Before

Also, inside of the exterior wall, we found a beehive. A hive! 

The Gold Hive Bathroom Find

I suspect that the bees found a hole in the exterior wall and started to build their home, only to get locked out when someone noticed the buzzing and sealed their entrance. I saved the honeycomb but have yet to find a use for it. Any ideas?

Even though we spent a bit more time gutting the whole room, we've gained so much peace of mind having fresh materials. I realize most renovators know that the advice to layer new material on top of failing material isn't the smartest move, but if you ever had any doubt, let this be a lesson. You just might find a beehive!

For more bathroom progress, click the link below, and then subscribe for more - I’ll be adding a new bathroom in 2019!

Weekly Roundup

Did you see the incredible kitchen transformation that Julia, Chris, Kim, Scott, and Daniel (from the respective blogs Chris Loves Julia, Yellow Brick Home, and Manhattan Nest) accomplished? Talk about dream team! These folks completely gutted and rebuilt a kitchen in three days. Yes, three DAYS. Oh, and for a mere $4,500. Click the links above to see how these insanely talented people did it.

I mentioned the other day that I'm loving the podcast S-Town - and I'm not even that far into it! NYT rounded up 9 podcast episodes that are worth discussing, and I can't wait to tune in to each one. The article fails to mention Radiolab's episode Playing God which totally moved me when I heard it last summer, and I still can't get over it. Seriously, it was so thought-provoking and emotional. I do not cry easily yet I was a mess listening to those stories. That episode will stick with me forever, just like each episode of the show Black Mirror surely will. What do you recommend I watch/listen to when I want to be an emotional wreck?

Hunting for new artwork to use in the One Room Challenge has been all-consuming. I spent some time exploring historic photos in Google's LIFE free image archive. But I took a pause when I learned that The Library of Congress recently digitized rare 19th-century photographs of black women activists. They are gorgeous and rich in remarkable history.

If you're looking for Museum artwork images that have been made available for free, click here for several resources.

Happy Friday! See you next week with more progress on the One Room Challenge!

One Room Challenge Week 2 - It's All About That Paint

The biggest transformation for the One Room Challenge's makeover of the den/guest room is the paint. And we're getting into it first!

I had loads of inspiration and lists of paint colors that had been used successfully in multiple spaces. I was trying to marry the wall color with the blue velvet couch that I planned for that room to give it a dark-on-dark upgrade without making the room look monochromatic. As a reminder, here's the before, inspiration, and design plan.

Clockwise from upper left we have Salamander by Benjamin Moore, Hunter Green by Benjamin Moore, Pine Grove by Clark + Kensington, Tarrytown Green by Benjamin Moore, and Narragansett Green by Benjamin Moore.

I painted swatches on the back of a foam core presentation board, since I already had it on hand (I use it as a reflector for photos) but you could instead buy the paint sample boards at the paint store. I was quick to rule out a few colors, then painted my favorites on the wall. By the end, Salamander won our vote.

While rolling on the paint in broad strokes provides immediate satisfaction, my painting specialty is cutting in the edges. I don't use blue tape to get crisp edges, rather a steady hand and some trusty tools.

I use the HANDy Paint Cup whenever painting edges, when I need to be more mobile than a gallon of paint allows, or when I'm working with small amounts of paint. This convenient tool fits in your hand, has a magnet to hold the brush, and cleans up so easily (just let the paint dry in the cup, then peel it off - so satisfying!).

The Wooster Shortcut paint brush is perfect for cutting in. I'll use almost any 2" angled brush for the job, but this lil' one is so comfy with its rubber handle.

When scooching around on the floor to paint the edges on the baseboard, a kneeling pad is a must. I use it for gardening, painting, tiling, etc. While I don't think you'll find this crouched painting position recommended on HGTV, it works for me.

In addition to the walls needing a couple of coats of paint, the baseboards hadn't been touched since before the floors were refinished. They were scuffed up from the sander and I just left them like that for two years. A nice coat of Benjamin Moore's Simply White was all they needed to look their best. The baseboard, three doors, and a window all needed some paint love. Lucky for me, I had the S-Town podcast to keep me company during the hours and hours of painting.

After a weekend's worth of cutting in, I'm swooning over the freshly painted room. The green is so pretty and has a velvety look when the light hits it mid-day. At night, it's nearly black - which is just what I was going for.

Next week, I'm tackling the picture rail moulding installation! Come back over the next few weeks as this room gets a total overhaul. Don't forget to admire the work of the featured and guest bloggers participating in the One Room Challenge!

If you're here because of the One Room Challenge, I hope you'll subscribe to the blog to get future blog posts in your email! Be sure to follow along on Instagram, too!

One Room Challenge progress:
Week 1 - the before, the inspiration, and the plan
Week 2 - paint, paint, paint
Week 3 - how to install picture rail molding
Week 4 - sourcing the artwork
Week 5 - refreshing a chair
Week 6 - the reveal!

Weekly Roundup

Who finished Big Little Lies? That show was so good. The apartment featured in the final episodes is on the market! The seashells lined up on the end of the bed isn't my fave design element, but the Monterey setting is so pretty.

Speaking of that show, Laura Dern's home was featured on Architectural Digest. Is it any surprise that the black exterior and the greenery has me all heart eyes? Did you see Laura's show Enlightened? I love/hated her character in that series. It's well worth a watch.

If you aren't interested in buying an apartment on the beach in California, how about a 10-foot-wide house in Boston? The Skinny House (aka Spite House) is for sale for $895k.

I can't wait to tune into this new show hosted by Amy Poehler and Nick Offerman! They are actively casting, so apply now if you're a crafter.

This week, the One Room Challenge is on my mind. I'm participating, but I've also been sucked into exploring all of the transformations-to-be. Have you checked out the featured and guest participants in this season's challenge? There are nearly 300 bloggers participating - wowza! 

This weekend I'll be doing lots of painting for the One Room Challenge. Hope your weekend is just as thrilling!

One Room Challenge Week 1 - A Moody Makeover

I'm currently digging moody colors. Deep blues, forest greens, and dark grays are all I'm pinning as of late. I mentioned a few weeks ago that I was contemplating painting my kitchen cabinets (again!) to give them a deeper hue. Since it's not the best use of my time, I've directed my color affection to another space. Luckily, the One Room Challenge is starting at the perfect time to scratch the moody color itch! Scroll through to see the room I'll be transforming over the next six weeks.

If you found me through ORC, welcome! I'm Ashley and for the past two years I've been restoring a craftsman bungalow in San Diego, CA. Learn a touch more about me here, and preview the before-and-after room transformations here.

Without further ado, here is the inspiration.

See where I'm going? What I particularly love about these spaces is how they play with dark on dark tones. Studio McGee's emerald couch against the navy walls and Julia's black sofa on the deep green are what moody dreams are made of.

So which space will earn its dark makeover? The family room/den/media room. What is a good name to call a space that we pretty much use only to fold laundry and watch TV in? The internet tells me that an alternate to the word "den" is "snug." I kinda like it. Please weigh in.

This room has received little to no love over the past two years. 100% of the furniture pieces were brought from our rental, so I've grown tired of them. The paint color is a reject color that I bought for our master but didn't like once painted on all of the walls. (lesson learned: paint BIG swatches before you buy a gallon of paint). Also, the trim never got its final coat of paint. 

The Gold Hive One Room Challenge Week 1

The room is fine, but it could become the dark hued space of my dreams. I'm looking forward to spending the next six weeks transforming it. I hope you'll stay tuned and check out the featured and guest bloggers participating in the spring 2017 season of the One Room Challenge!

One Room Challenge Mood Board - The Gold Hive

Sources: couch / rug (one of a kind) / lamp / pillow / chair (existing) / chair fabric / credenza (vintage) / painting

If you're here because of the One Room Challenge, I hope you'll subscribe to the blog to get future blog posts in your email! Be sure to follow along on Instagram, too!

One Room Challenge progress:
Week 1 - the before, the inspiration, and the plan
Week 2 - paint, paint, paint
Week 3 - how to install picture rail molding
Week 4 - sourcing the artwork
Week 5 - refreshing a chair
Week 6 - the reveal!

Bathroom Plans

Last week I shared some of the inspiration for our bathroom. The collection of images made a few must-have elements pretty clear: subway tile with dark grout, moody walls, hex tiles, marble, and period-appropriate finishes.

The Gold Hive Bathroom Mood Board

SOURCES: paint / medicine cabinet (ours is original) / faucet / hex tile / sconce (ours is vintage) / cabinet latch / pendant (ours is vintage) / register (ours is vintage) / subway tile / grout / console sink

We had a pretty good idea of the plans for the bathroom, but small tweaks were made over the course of the renovation. The below designs were drafted early on, so don't take these measurements as an exact blueprint of the finished product. Rather, a starting point for where we were headed.

The Gold Hive Bathroom Plan View

The layout of the existing bathroom had no reason to be changed. I like having the toilet tucked in the corner, the sink has ample room around it, and the tub configuration allows for storage at the foot of it. Many bathrooms like this are only 60" wide which gives the tub just enough room to fit wall to wall. Since we had another foot of space, we could have gotten a longer tub to stretch the length of the room, but we opted to make two spots for storage, seen in the upper right corner of the above image. The little square that measures 6.5" deep is accessible from the shower. A perfect place to nestle bottles of shampoo without having them on display.

The Gold Hive Bathroom South View

The 13" space on the right is a cabinet for toiletries, refill bath products, cleaning supplies, and more. I think it's my favorite feature in the whole bathroom.

The window shown here is a sizable improvement from the existing one, but we ended up going even bigger!

The Gold Hive Bathroom East View

Because the sink is floating in between the toilet and the tub, I didn't want a traditional vanity. I think vanities are really pretty when they look like built-in cabinetry as an extension of a wall. But on their own, vanities can look like boxes floating in the middle of a room. Thus, we opted for a console sink that visually opens the space. Sure, we gave up storage, but I'm a-okay with that. Neither Ross nor I own a lot of products for primping, so the storage at the end of the tub is perfectly adequate for us.

Other than a few tweaks, those are the plans for the bathroom! If you want to jump two years into the future, you can see the finished bathroom here and here and here.

For more bathroom progress, click the link below then subscribe so you don’t miss out when I add a bathroom in 2019!

Weekly Roundup

I've already mentioned that I love touring houses, but I also just love looking at listings online. While scanning listings just outside of the San Diego area (I have dreams of owning a cabin in the woods) I found this cute a-frame and so desperately want to buy it just so I can paint it black!

So many fresh blossoms are coming out with the new spring air. Here are a few books to get you in the floral mood if your neighborhood isn't seeing the wildflower super bloom like Southern California is experiencing.

One of my favorite shows of yesteryear is coming back! TLC's Trading Spaces had its fair share of wacky room renovations, but I adored every second of it. I tried so hard to convince my mom to let us go on the show but she was smart to steer clear of Hildi and her living room filled with sand.

I couldn't agree more with the slow decorating method. Although I get antsy when corners of the house aren't put together and want to buy all the things, I'm glad to have the space (in the house and the wallet) to pick treasures up as I find them.

I wish I loved my water heater as much as this little girl!

Cheers to the weekend! What do you have planned? I have the spring cleaning fever and want to get rid of everything I don't love (à la Marie Kondo). Next week on the blog: the bathroom!

Hashtag Bathroom Inspo

You asked for it, so the bathroom remodel is next to share!

Since we were putting a new bathroom in an old house, I wanted the design to pay homage to the old house charm. I'll never know what the original bathroom looked like before we got our hands on it, so the design options were vast. Should I do classic black and white or colored tiles? Bold or understated? Authentic period pieces or reproductions? Simple or a bit more eclectic? Entirely vintage or a mix of old and new? Minimal or snazzy?

Here are a few of the spaces I took inspiration from when designing our bathroom.

I love how soft yet high-contrast this feels. A clawfoot tub is also oh-so-dreamy. We ultimately weren't able to incorporate a clawfoot soaker in our bath remodel, but maybe there will be room in the next bathroom that we hope to add on.

Don't even get me started on my love for floral wallpaper. This Ellie Cashman paper is gorgeous. The pedestal sink is such a perfect way to show off wall details.

Source: Clay Squared

Source: Clay Squared

This sink with the look of turned legs is so quaint in the best way possible. The tile is understated but filled with detail. There's hex, a variation on greek key, a pencil liner, decorative cap, and subtle cove base tile. The chair-rail height tile surrounding the whole room was a must-have on my list.

A painting in lieu of a mirror is fine by me. The tile work here is far simpler than the detailed profiles above, but it exudes character. I adore how the aged sink legs and worn tub coexist with the new hardware.

That window is perfectly gigantic. If privacy were no issue, I would have installed a window the full size of the wall.

That retro green tile is to die for, but it's all about that recessed soap dish.

Source: Unknown

Source: Unknown

The moody wall color was definitely a feature worth stealing. I think I need to add more artwork, though, because this is the bee's knees.

Why do moody walls when you can do a moody ceiling? I love how this bathroom has a bold and modern feature without sacrificing the traditional tile. 

Storage is key in small bathrooms, so why not borrow space between the studs for recessed cubbies? Our final bathroom design allowed for this, but in a slightly different variation.

I borrowed an element from each of these bathrooms, and the many others on my Pinterest board to create the bathroom that's perfect for us. Stay tuned!

Weekly Roundup

Domino compiled a collection of some gorgeous wallpapers for spring and I think this floral one from Sandberg Wallpaper's Brunnsnäs Collection is my favorite. 

On Wednesday, I shared the story of our floor refinishing. We hired the job out, but it's totally DIY-able. Cathy and Garrett of The Grit and Polish did it by themselves and boy, do those floors shine!

Last week, I asked you to weigh in on whether or not I should re-paint the kitchen cabinets a deep green. The votes are split, so I don't know what my plan is, yet. With color on my mind, I was taken aback by this house in a nearby neighborhood that hit the MLS this week. Wowza!

Colorful-house-in-golden-hill

Michaels is having a killer sale on frames right now, including online. Alternatively, if you need custom framing, here's $10 off your first order at Framebridge.

I've watched every.single.one of Casey Neistat's videos, so I've developed a crush on his wife and her entrepreneurial, no-nonsense, sarcastic spirit. Resource Magazine featured her so I can't wait to get my hands on a copy. I searched all around town for the latest edition but couldn't find one, so I read the preview online. Candice and Casey are each highly driven makers - truly inspiring for this couch potato.

I'm not a big clothing shopper, but I did get some new shoes this week. I've been wearing Birkenstock clogs for ages so these are a major upgrade in the style department. And yes, those are technically men's shoes, but so what - plus, my feet are too big for lady shoes. 

We went to the movies for the first time in probably two years (I've mentioned I'm a homebody, right?) to see Get Out. It was exceptional. I can't stop thinking about it, and I can't stop listening to this Childish Gambino song that was featured in the film. Speaking of songs in movies, I'm also digging this song by Michael Kiwanuka which plays during the opening of the show Big Little Lies.

Spring has sprung so the front yard is gaining new blooms. San Diego is still getting much-needed rain which is making the fresh plantings very happy. The Arabian lilac is one of my favorite new plantings with its half-purple and half-green leaves.

Happy Friday!

Refinishing Our 100-Year-Old Oak Floors

The Gold Hive Master Bedroom Floors

Refinishing the hardwood floors was the last step in remedying the odor issue. Once all was said and done, the smell disappeared and the flooring was revived – win win!

As a reminder, here’s what the flooring looked like.

flooringbefore

The 100-year-old rift and quartersawn white oak was actually in pretty great condition throughout most of the house. However, the urine stains (the dark spots seen above) and termite damage warranted repairs. Plus, there's no better time to restore the floors than when not living in the house - you’d have to move eeeeeeverything out off the floors otherwise.

The very first step was to make a mess. All drywall, painting, and bathroom construction (stay tuned!) occurred before the flooring crew set foot in the house. There's no sense in making that oak perfect and shiny, to then drag a bag of demo debris over it. I've heard professional painters say to paint after floor refinishing because dust can get into the paint, but I sided with the hardwood guys that said to paint first. It makes so much more sense, I mean, I've been known to drop a cup of paint from the top of a ladder.

Oops. Thank goodness for rosin paper. Once I was done spilling paint, the sanding process could begin.

That freshly sanded oak makes my heart skip a beat! I also have a crush on this sander. Ain't she a beaut? Looking back, I think that retro pale green influenced my kitchen cabinet color.

The floors had previously been refinished, but in the back of the closets was the original wax finish. It was pretty dull, but there's something so special about finding a part of the house that hadn't been messed with over the years - even if its a small bit of dingy flooring. Below, you can see the wax finish transition to the glossy polyurethane before getting sanded down. Also, note the termite damage.

All of the boards that were brittle from termites gnawing on them had to be replaced.

It's no surprise to find a few boards that are beyond repair, but the bummer was discovering that termites had eaten through the subfloor, too. It was so chewed on that I could easily poke my finger straight through to the crawl space. Half of the master bedroom flooring had to go. This is where I can't stress enough the importance of house maintenance. This back corner of the house was termite heaven because of the moisture that built up in a non-vented crawl space. There's also no record of termite treatments after 1982. People, these are BUGS inside of your floors/walls/furniture/etc. Get them out before they do this!

Local suppliers were out of the same type of flooring we have (2” x 1/2” rift and quartersawn white oak) and tried to convince us to use plain/flatsawn wood. We insisted on using the same type of cut as the existing flooring, and even though it delayed our move-in date, it was well worth the wait. Once the matching hardwood arrived, it had to acclimate to match the house's humidity.

During the acclimation time, we brainstormed how to finish the floors. The sanding did wonders for the small stains and scuffs, but the urine damage was still noticeable and would stand out even more when coated in polyurethane.

I was prepared to stain the wood a dark shade in order to hide the stains. But at the last minute, Ross made his biggest design contribution to date - he declared, "no stain!"

The ghosts of urine blemishes remain, but we couldn't be happier with the choice to keep the white oak light and natural.

After an application of wood putty and another few rounds of sanding, the floors were coated in an oil-based satin polyurethane. The finish is just shiny enough without being glossy, and its amber tones add to the patina of the 100-year-old wood. Choosing to do oil-based was in my goal of keeping with the history of the house - giving it the warm amber look and using finishes customary from years ago. But I kind of which we didn’t do the oil based poly and instead left the wood even more pure in it’s lighter hue. It’s okay, though!

We hired out the project and spent about $5k on the whole process. It was well worth it considering we were in a rush to move in and had lots of other things going on. But, I do yearn for the day when I can refinish floors myself! The Grit and Polish shared how they refinished their floors themselves and included the cost to do so here.

Once the flooring was complete, it felt like a whole new space - almost ready to be lived in. But before moved-in, there was still so much more to do. Which of those projects do you want to hear about next? The bathroom remodel? The kitchen update? More odds-and ends?