Picking a Kitchen Floor Pattern
/The phase 1 kitchen earned several upgrades already, like new paint, hardware, concrete countertops, and even more countertops. However, the floors didn't get much love other than a coat of poly when we refinished the the rest of the floors. As much as I love the fir, the wood was pretty damaged. Nearly every plank had either huge gouges or was brittle from years of termites gnawing on the softwood. The previous owner made attempts at repairing the mangled boards by filling the cavities with wood putty, but it definitely didn't help the aesthetics.

These photos don't do justice to the damage. We lived with the flooring as-is for a couple of years letting those termite gaps fill up with a hefty amount of cat litter and crumbs. But, I lost my patience and had to remedy it. Knowing that the kitchen will eventually get a full gut renovation, I had the opportunity to do whatever I wanted without it impacting the future plans - even if it pushes my design boundaries. So, I jumped on to the graphic look and committed myself to installing a funky pattern that I like, but wouldn't be my first choice for a permanent kitchen floor. This transitional renovation fix lets me get the bold/graphic/retro vibe out of my system before having to make the forever-flooring decision. Win win.
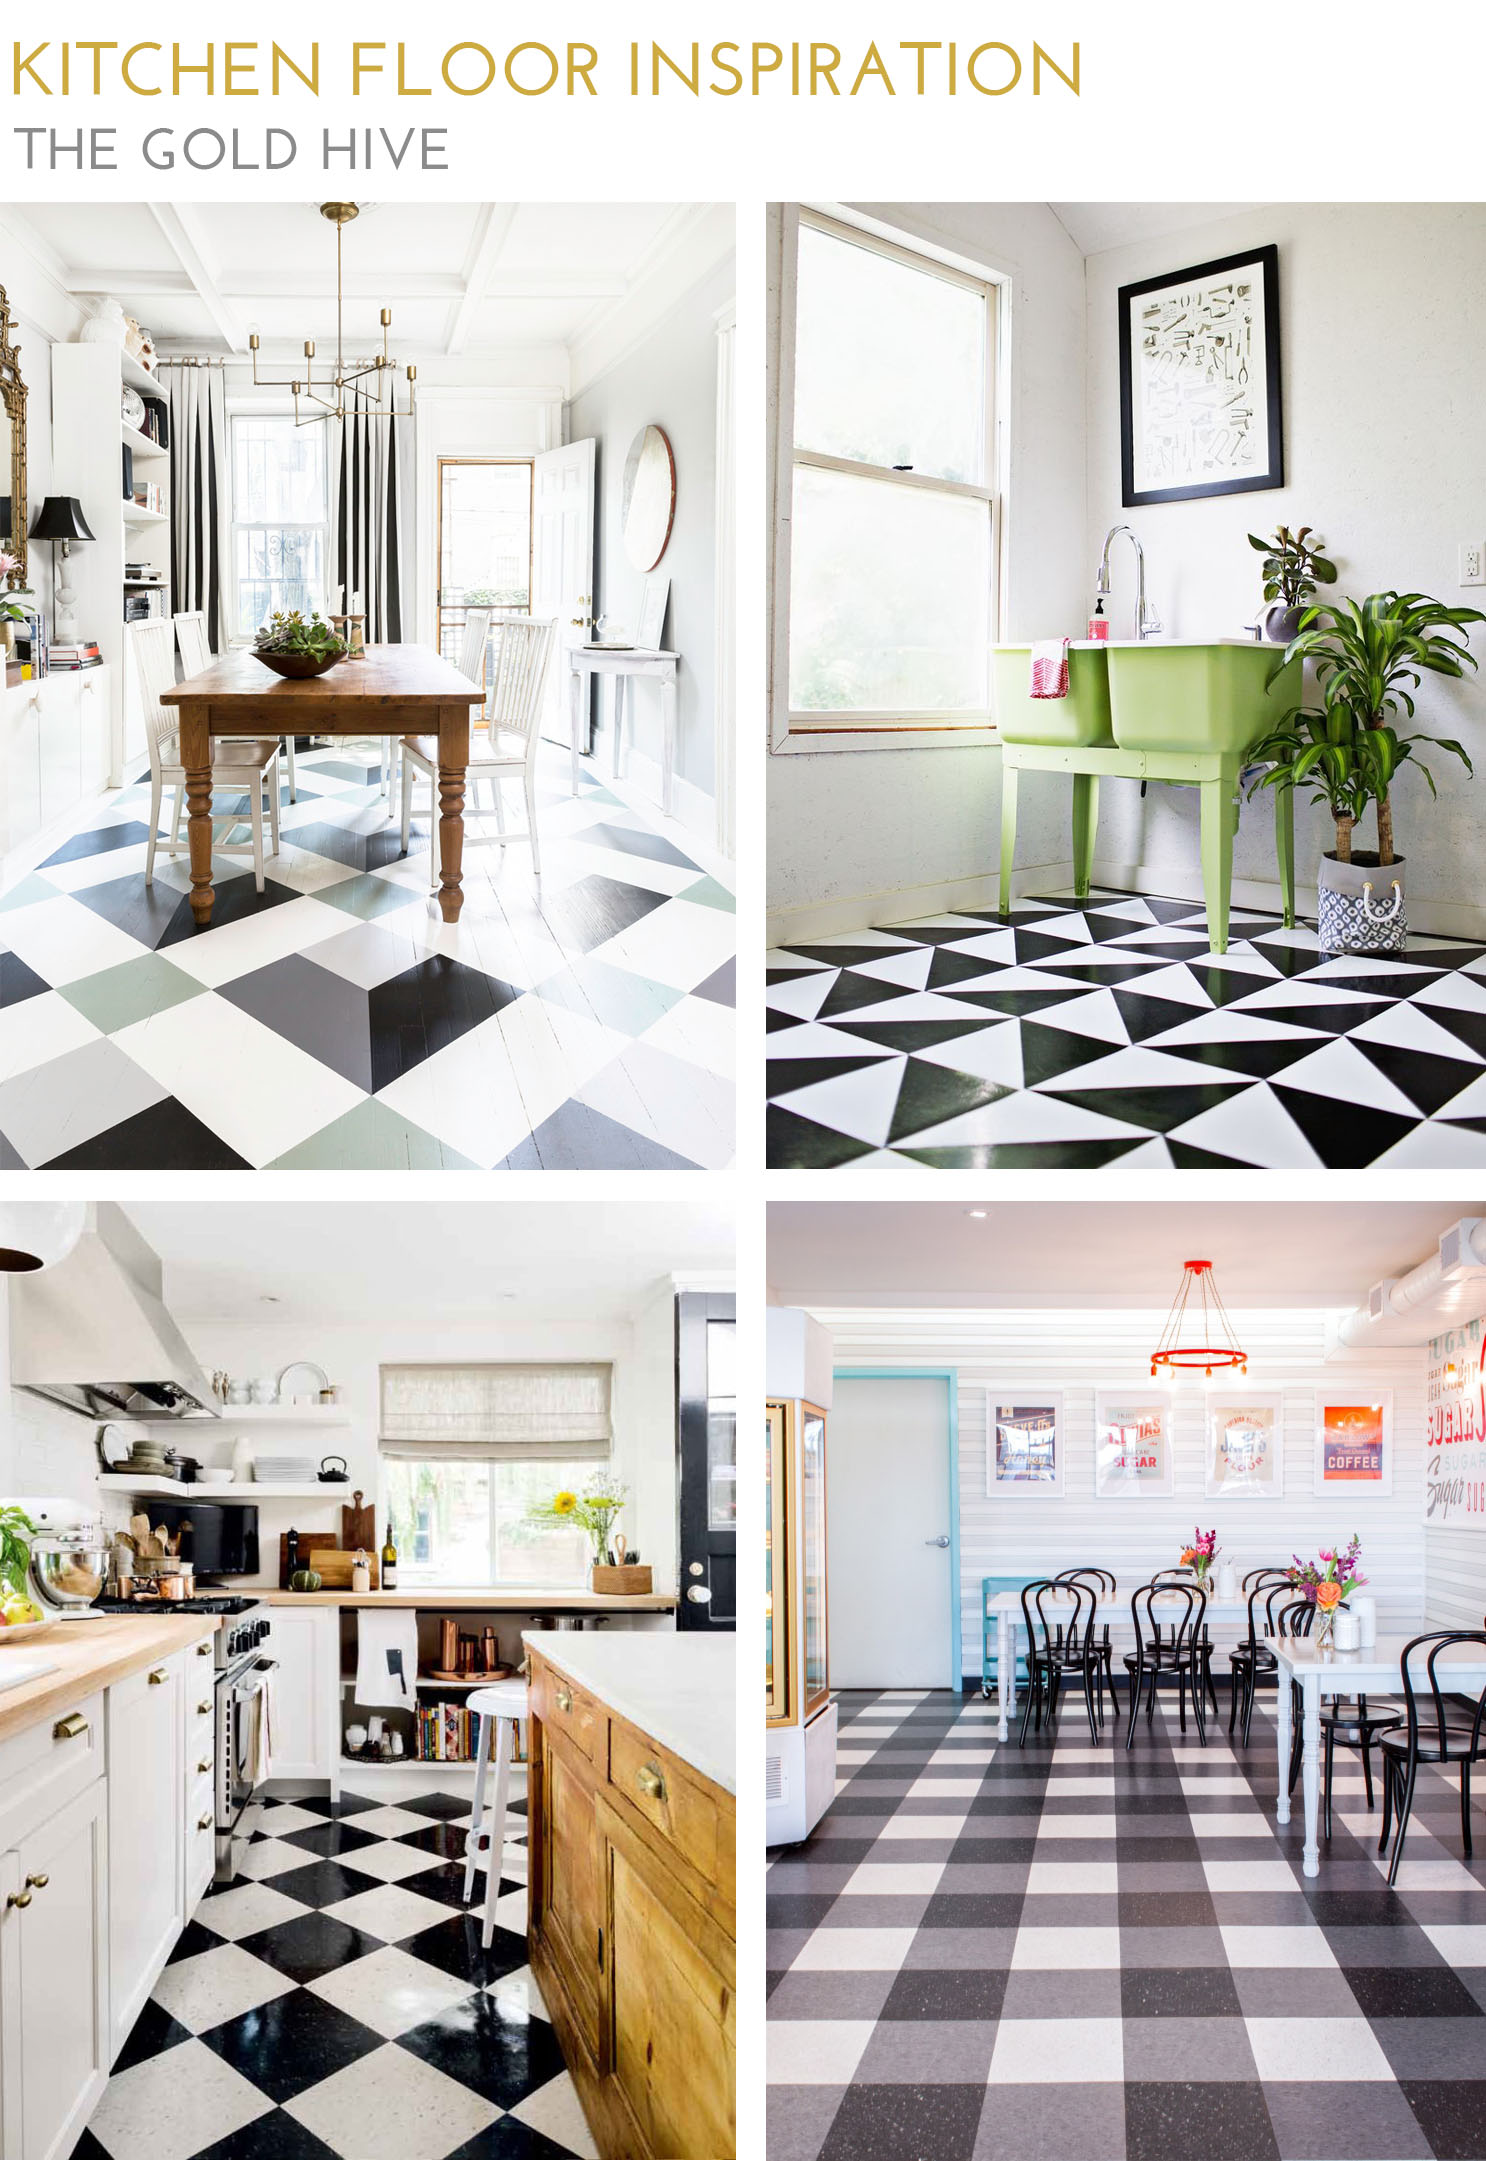
Sources clockwise from top left: Megan Pflug Designs/A Beautiful Mess/Allison Burke Interior Design/The Art of Doing Stuff
At first, I was sure that I would install the checkerboard pattern to get that retro diner vibe. But after a few Photoshop mock-ups, I realized that with the large amount of uninterrupted floor space, the high contrast of black and white was too busy and could give us vertigo. The idea of modern geometric shapes was also appealing, but I worried I'd spend years cutting the tiny pieces. It didn't take much for me to fall for the buffalo check pattern. The grey neutralizes the high contrast black and white, while also adding texture with the illusion of the weaving pattern. It also has enough style that I can feel confident I didn't play it too safe.
Since this was merely a temporary solution that really only needed a bandaid, I found a flooring solution that was quick, cheap, effective, and super easy to install. The perfect improvement project for a newbie DIYer or renter.
I couldn't be happier with how it turned out. The installation went swimmingly and the result is sleek, clean, and full of personality. Come back next week to get the full tutorial and link to all of the sources! Subscribe, so you don't miss out.


