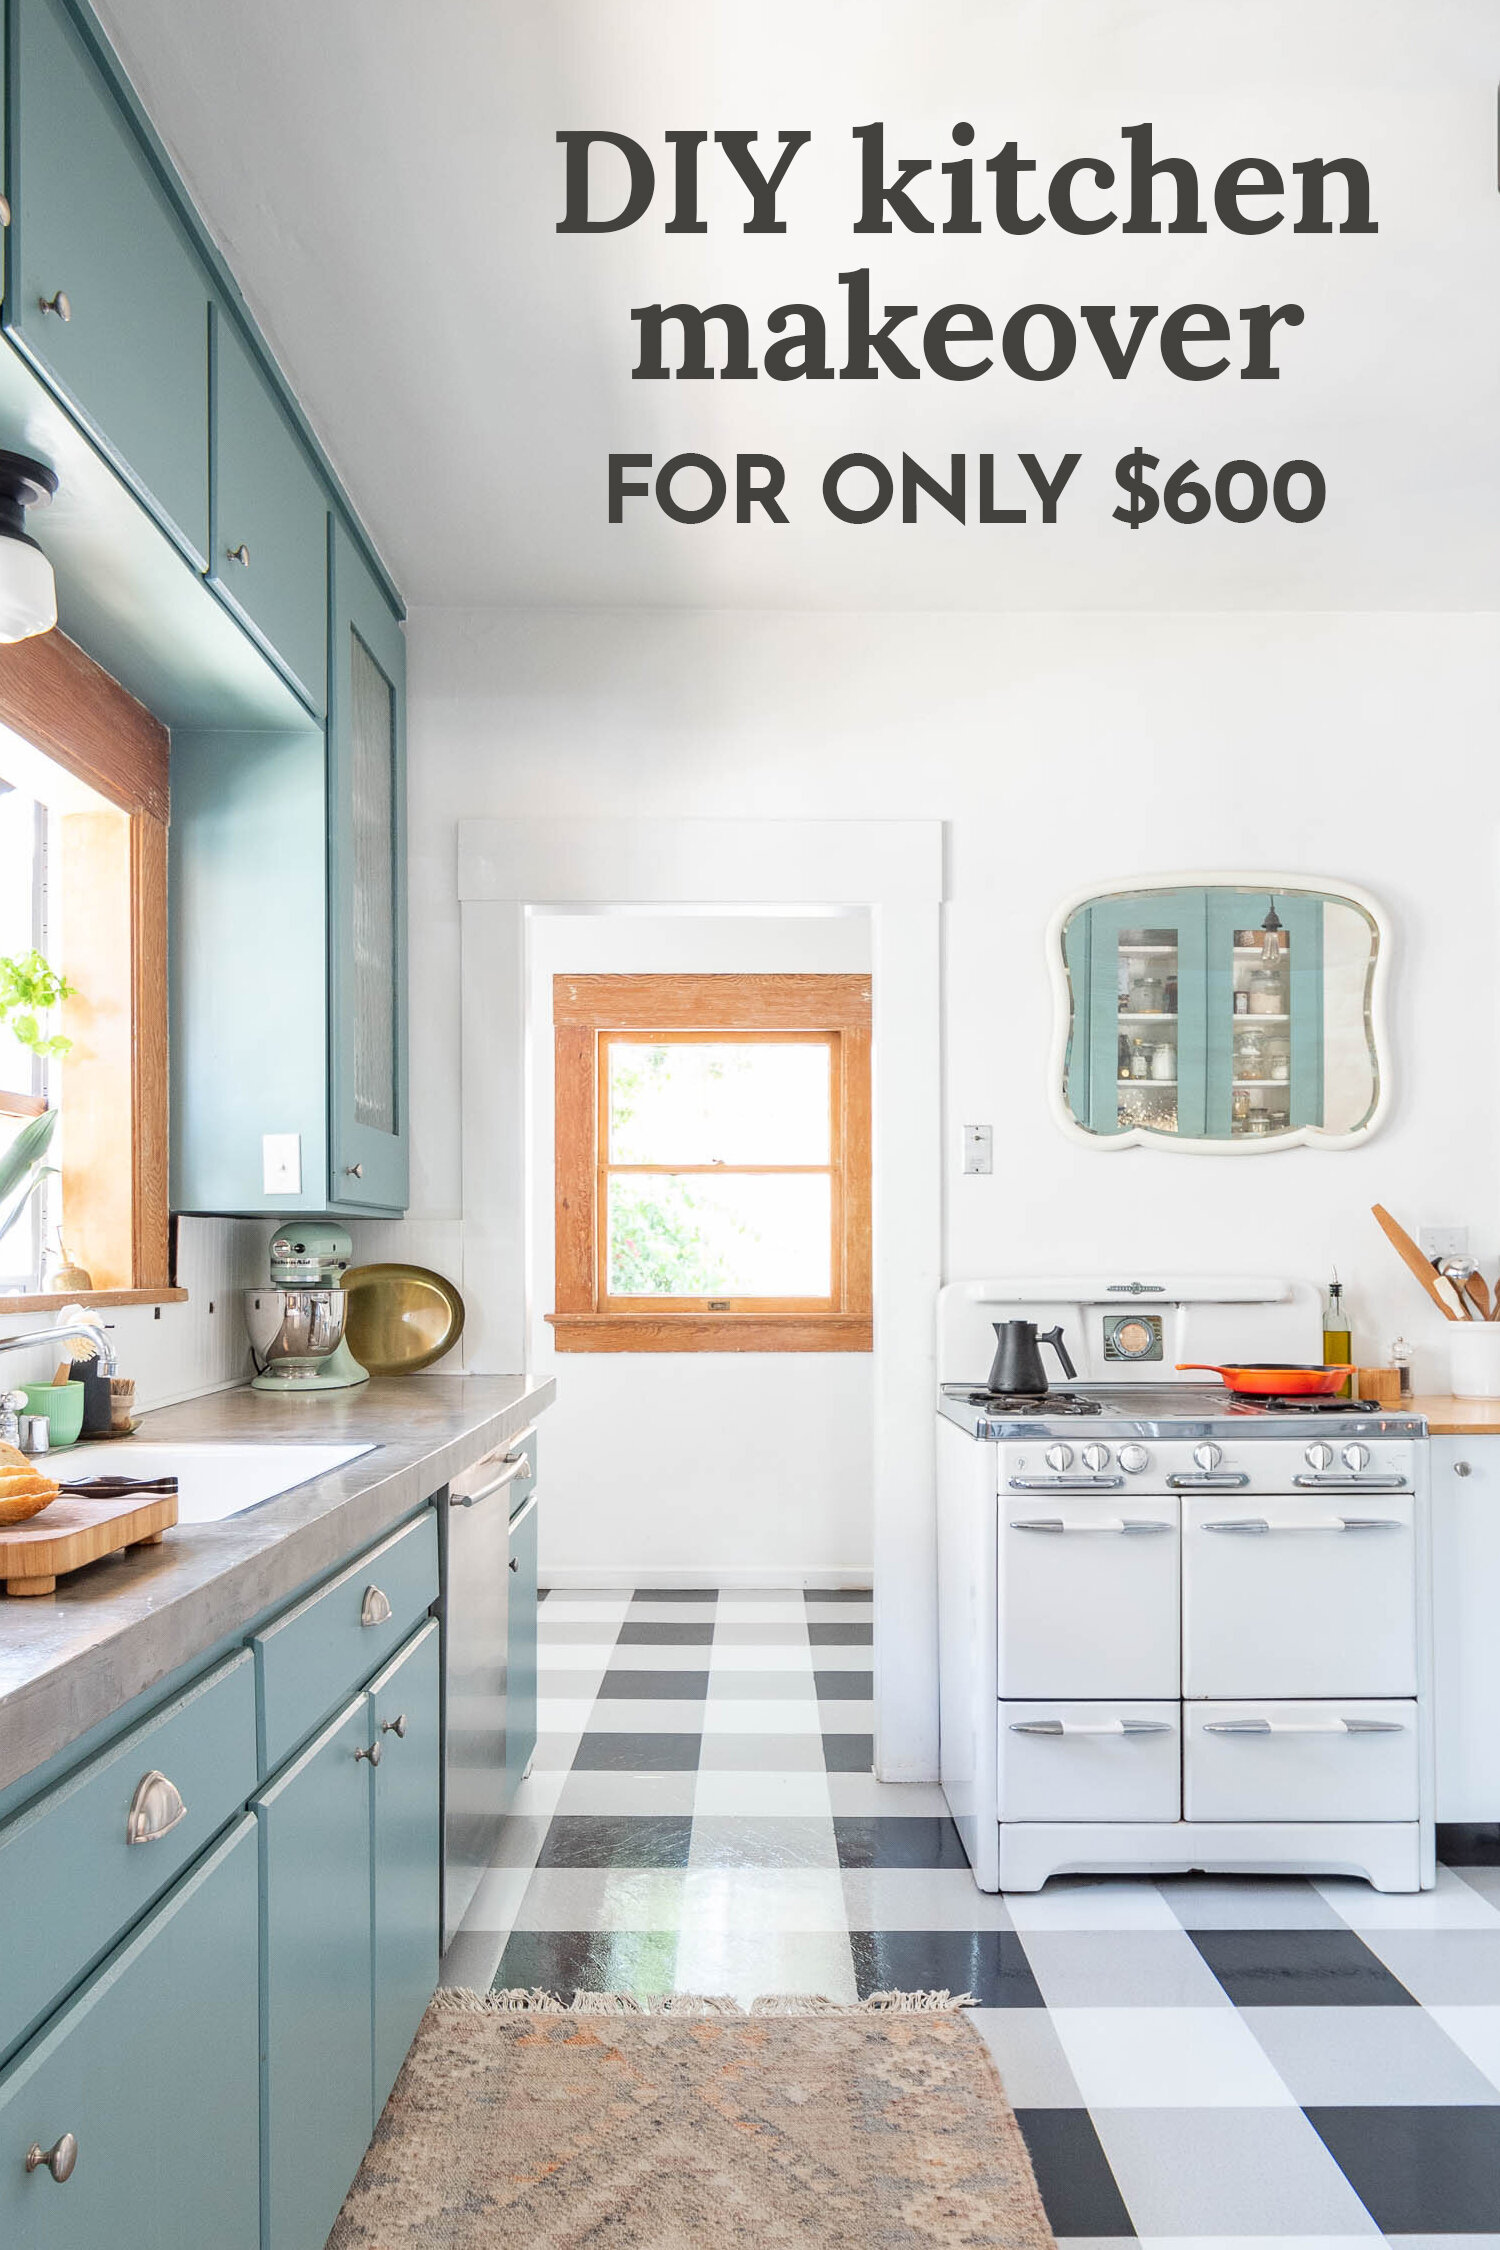
The Reveal of My $600 Kitchen Makeover
/It’s the reveal of my kitchen’s cheap stop-gap makeover! When we got the keys to the house, I didn’t feel comfortable touching anything let alone eating anything in there. So, I did cosmetic improvements, a few functional upgrades, and lots of cleaning! We didn’t want to put too much money into it because we knew we’d be remodeling soon, so I made over the space with $600 and some elbow grease.

If you’ve been following along on the blog for a while, you know I’m already talking about gutting and remodeling this room, so you may be wondering why I’m announcing a kitchen reveal. Well, it’s because I never wrote an official kitchen makeover reveal post! I shared the DIY projects along the way, but never gave an official tour of the space nor showed you those satisfying before and afters. Partly, because it never felt like there was an “after.” The space has evolved slowly so the only reason that this is considered the “after” is because I’m about to demolish all of it. So this is the end of this phase. Tear.
So, even though this is the “after” of this phase, this is just the beginning of the upcoming renovation makeover. So maybe this is the “before” or maybe this is the “progress” stage? Who knows. I’m even confusing myself. Let’s get into it, shall we?
Let’s go back to the waaaaay before. How about as far back as what it looked like when the previous owner lived here.


Do you think bead curtains will ever come back in style??
Alrighty. That’s what it looked like when I toured the house. And, if you aren’t familiar - Ross never set foot in the house until we officially bought the house and got the keys. He only had THESE photos to go off of. What a trusting guy.
If you want to get a better idea of the layout, click here to make sense of the space. You can also click that same link to look at all of the before photos for the whole entire house. It’s a doozy.
So, let me give you a few photos without all of the accessories in the space.


There’s definitely potential! But there’s also stained walls, termite-damaged floors, a weird backsplash, aluminum blinds in the garden window, twig hardware, unfortunate tile countertops, poorly used space, and general filthiness.
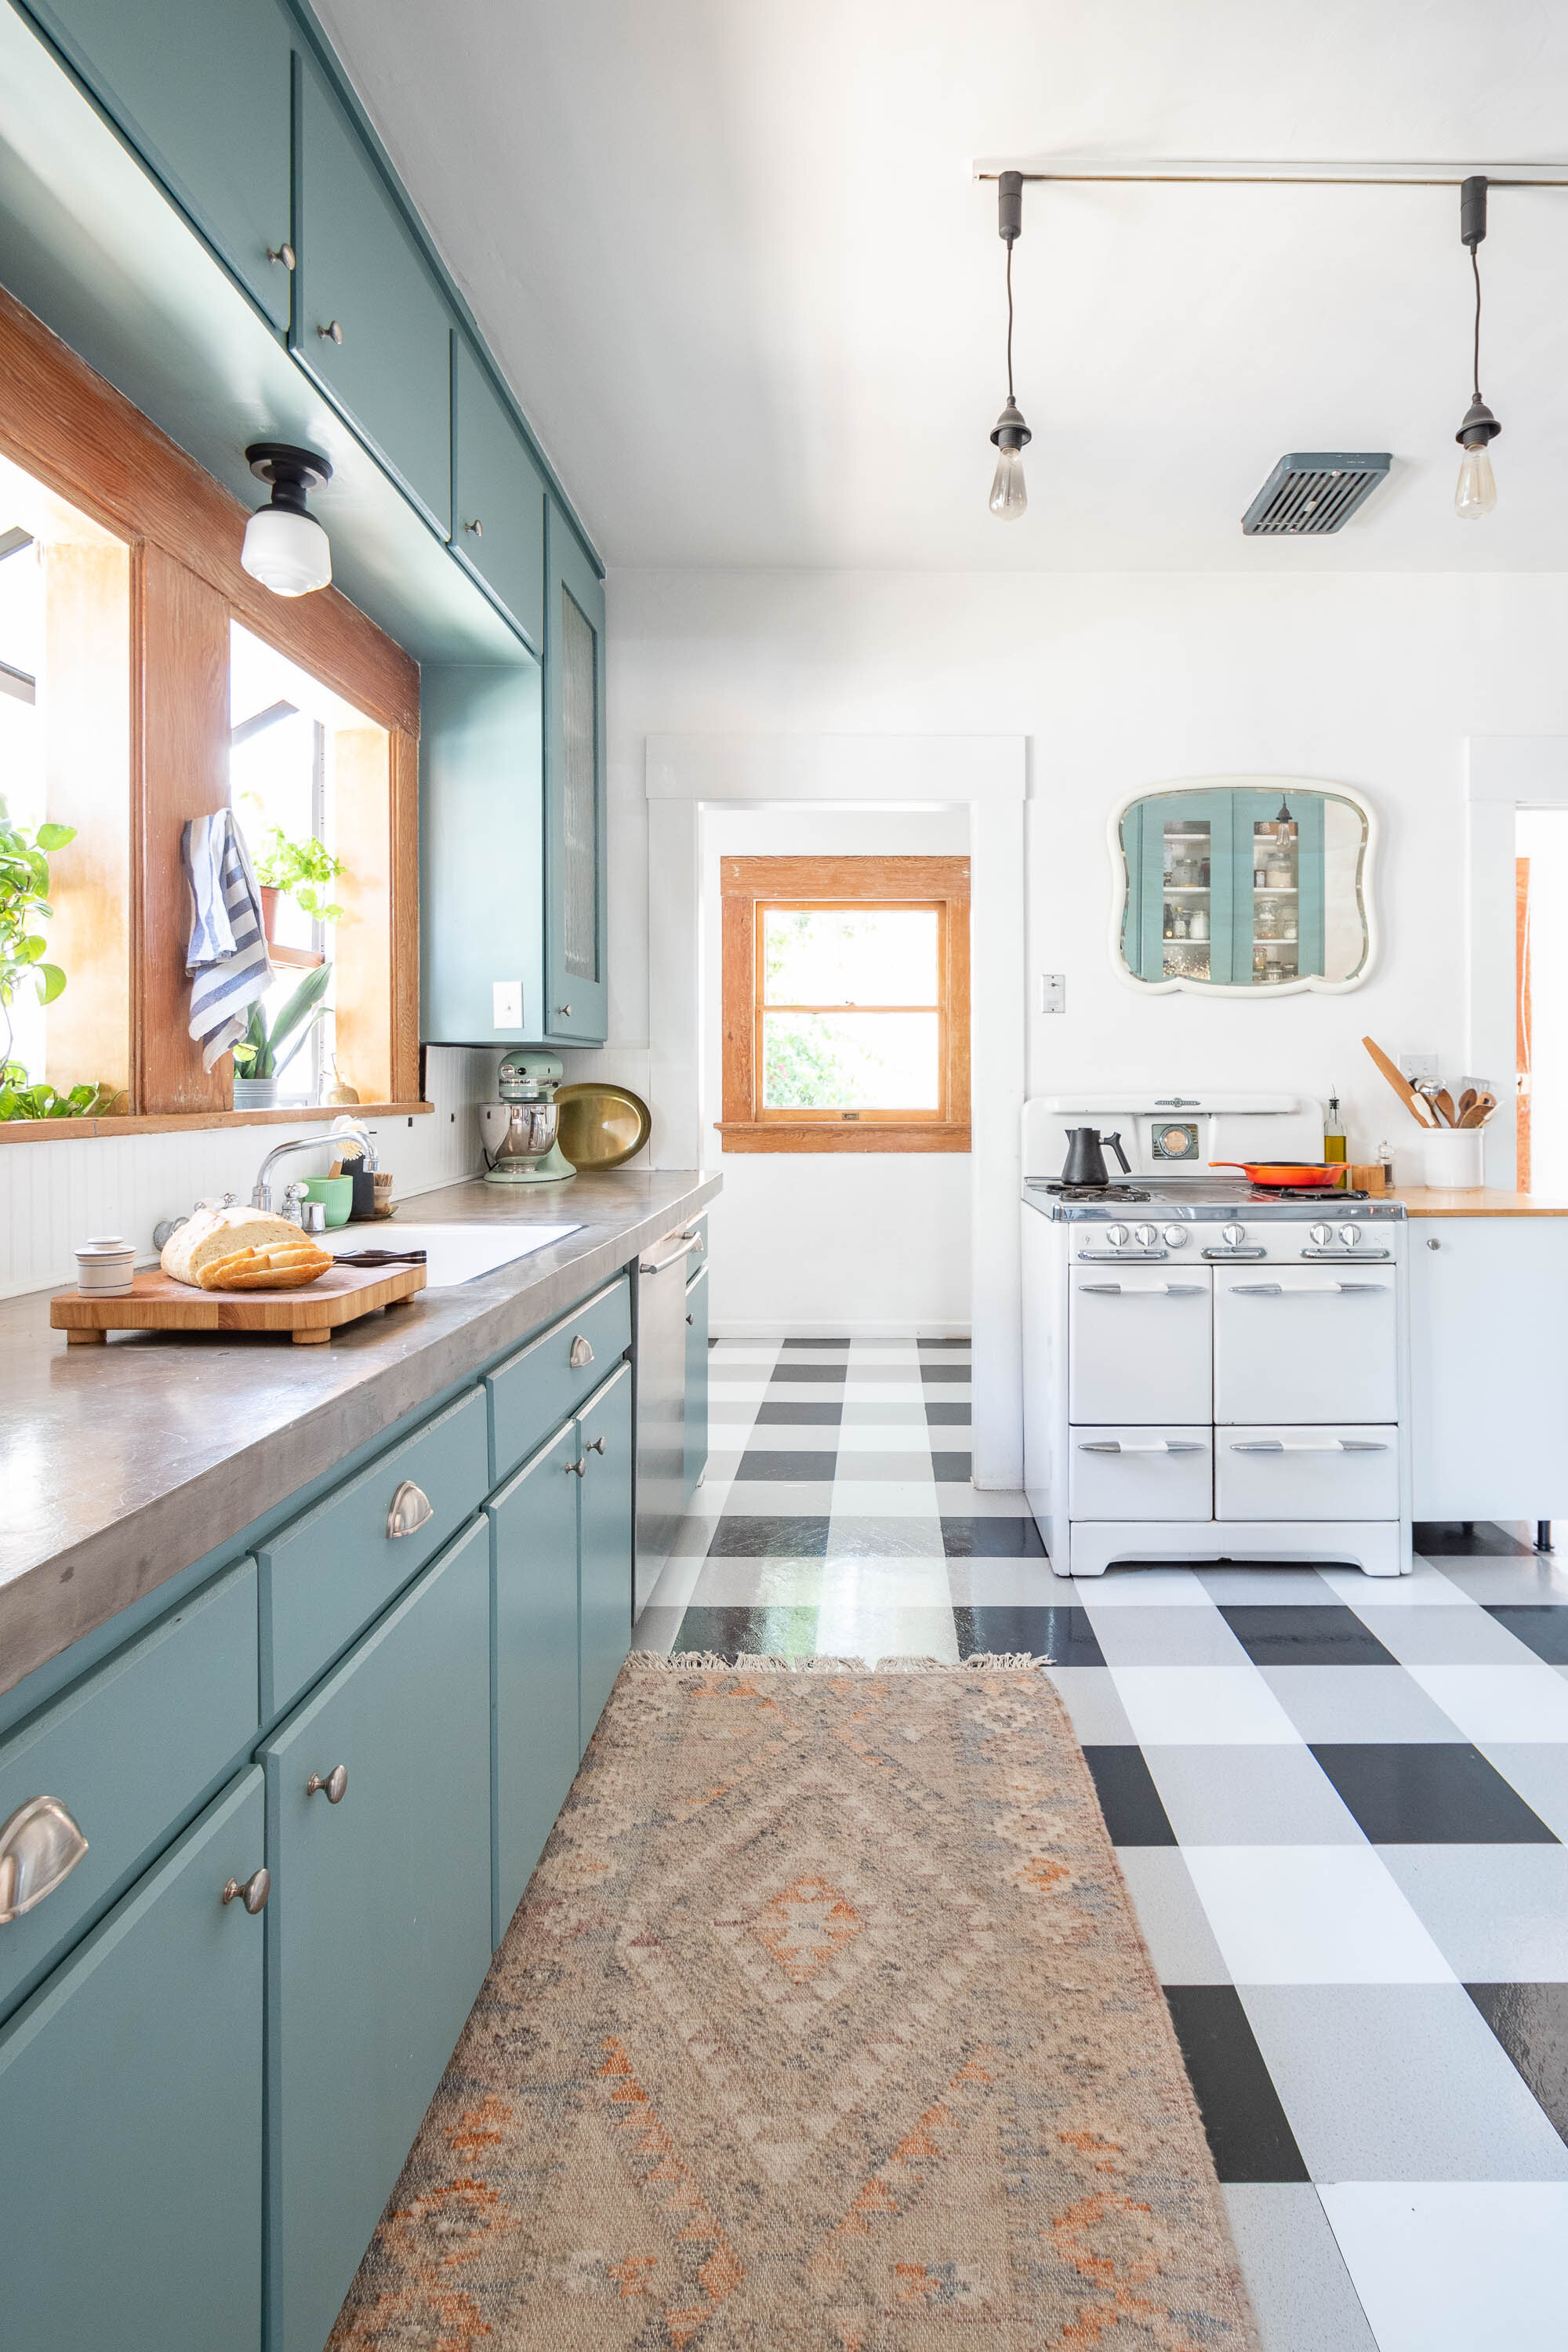
Now, take a look at what she looks like today. She isn’t perfect, but improved for sure.
The goal was to fix up the space so we could move in and then renovate about a year later. I didn’t want to invest a lot of time, money, or energy in the room. But, I wanted it to be functional and clean. The bonus was making a space that had some charm, character, and some fun elements.


I’ll take you around for a little tour and tell you about the space. At the bottom of the post, I’ll include a bunch of buttons and links to shop the house and learn more about the transformations, so get ready to click!

A simple change was lighting. For $20 I got this mini schoolhouse looking light for over the sink instead of the flush fluorescent. The track lighting had dusty shades that I removed and just left a simple exposed bulb. Not show-stopping, but definitely improved and most importantly, FREE!

Here’s the view looking to the backyard. This doorway is the one that previously had a bead curtain. Do you miss it? It also had a stacked laundry that stuck out into the door frame. We relocated the laundry and it made the space feel so much bigger. I’ll show this area in a sec. Hold on.

This is the view opposite the range, for context.
The metal storage unit is a recent solution. We had an old fridge there but replaced it and the new one didn’t fit. Luckily we have more than enough unused space, so it’s sitting in the corner to the left. It’s actually in front of what used to be a doorway. If you scroll back up to the before photos, do you see that view looking into a greenly-lit room? That room is our master which we used to be able to walk into from the kitchen, be we closed off the access from the kitchen to the master by removing the door.
I didn’t want to go crazy removing the upper cabinets to make room for the new fridge (since we’re literally about to demolish the whole space) so I just put the storage unit in its place. It’s not gorgeous, but it’s functional and it’s better than a big empty cavity. Right?


The metal rack houses my frequently used items like almonds for nut milk, black tea for weekly kombucha brews, the water filter for my water addiction, and tote bags because they’re the most handy thing ever.

The corner of the room that had housed the previous owner’s bar-height table became a big empty spot once it was moved out. It’s weird to complain about a kitchen being “too big.” But there is so much wasted space in this room, it’s silly. So, I built this floating work surface to extend the counter space and fill in the empty corner. I put some stools there, but it’s used more for kombucha brewing than it is for sitting at.


Opposite the bar seating and the pantry is a mudroom with access to the backyard.
Maybe now is a good time to mention the floors! They’re basically the biggest focal feature of the room. I DIYed those in an evening for less than $200 (you could do it for cheaper since my kitchen is an 18’x11’ space - which is big). The previous floors were once beautiful fir, but they were attacked by termites and years of neglect. They aren’t salvageable so I covered them up so I wouldn’t need to look at how painful they were.
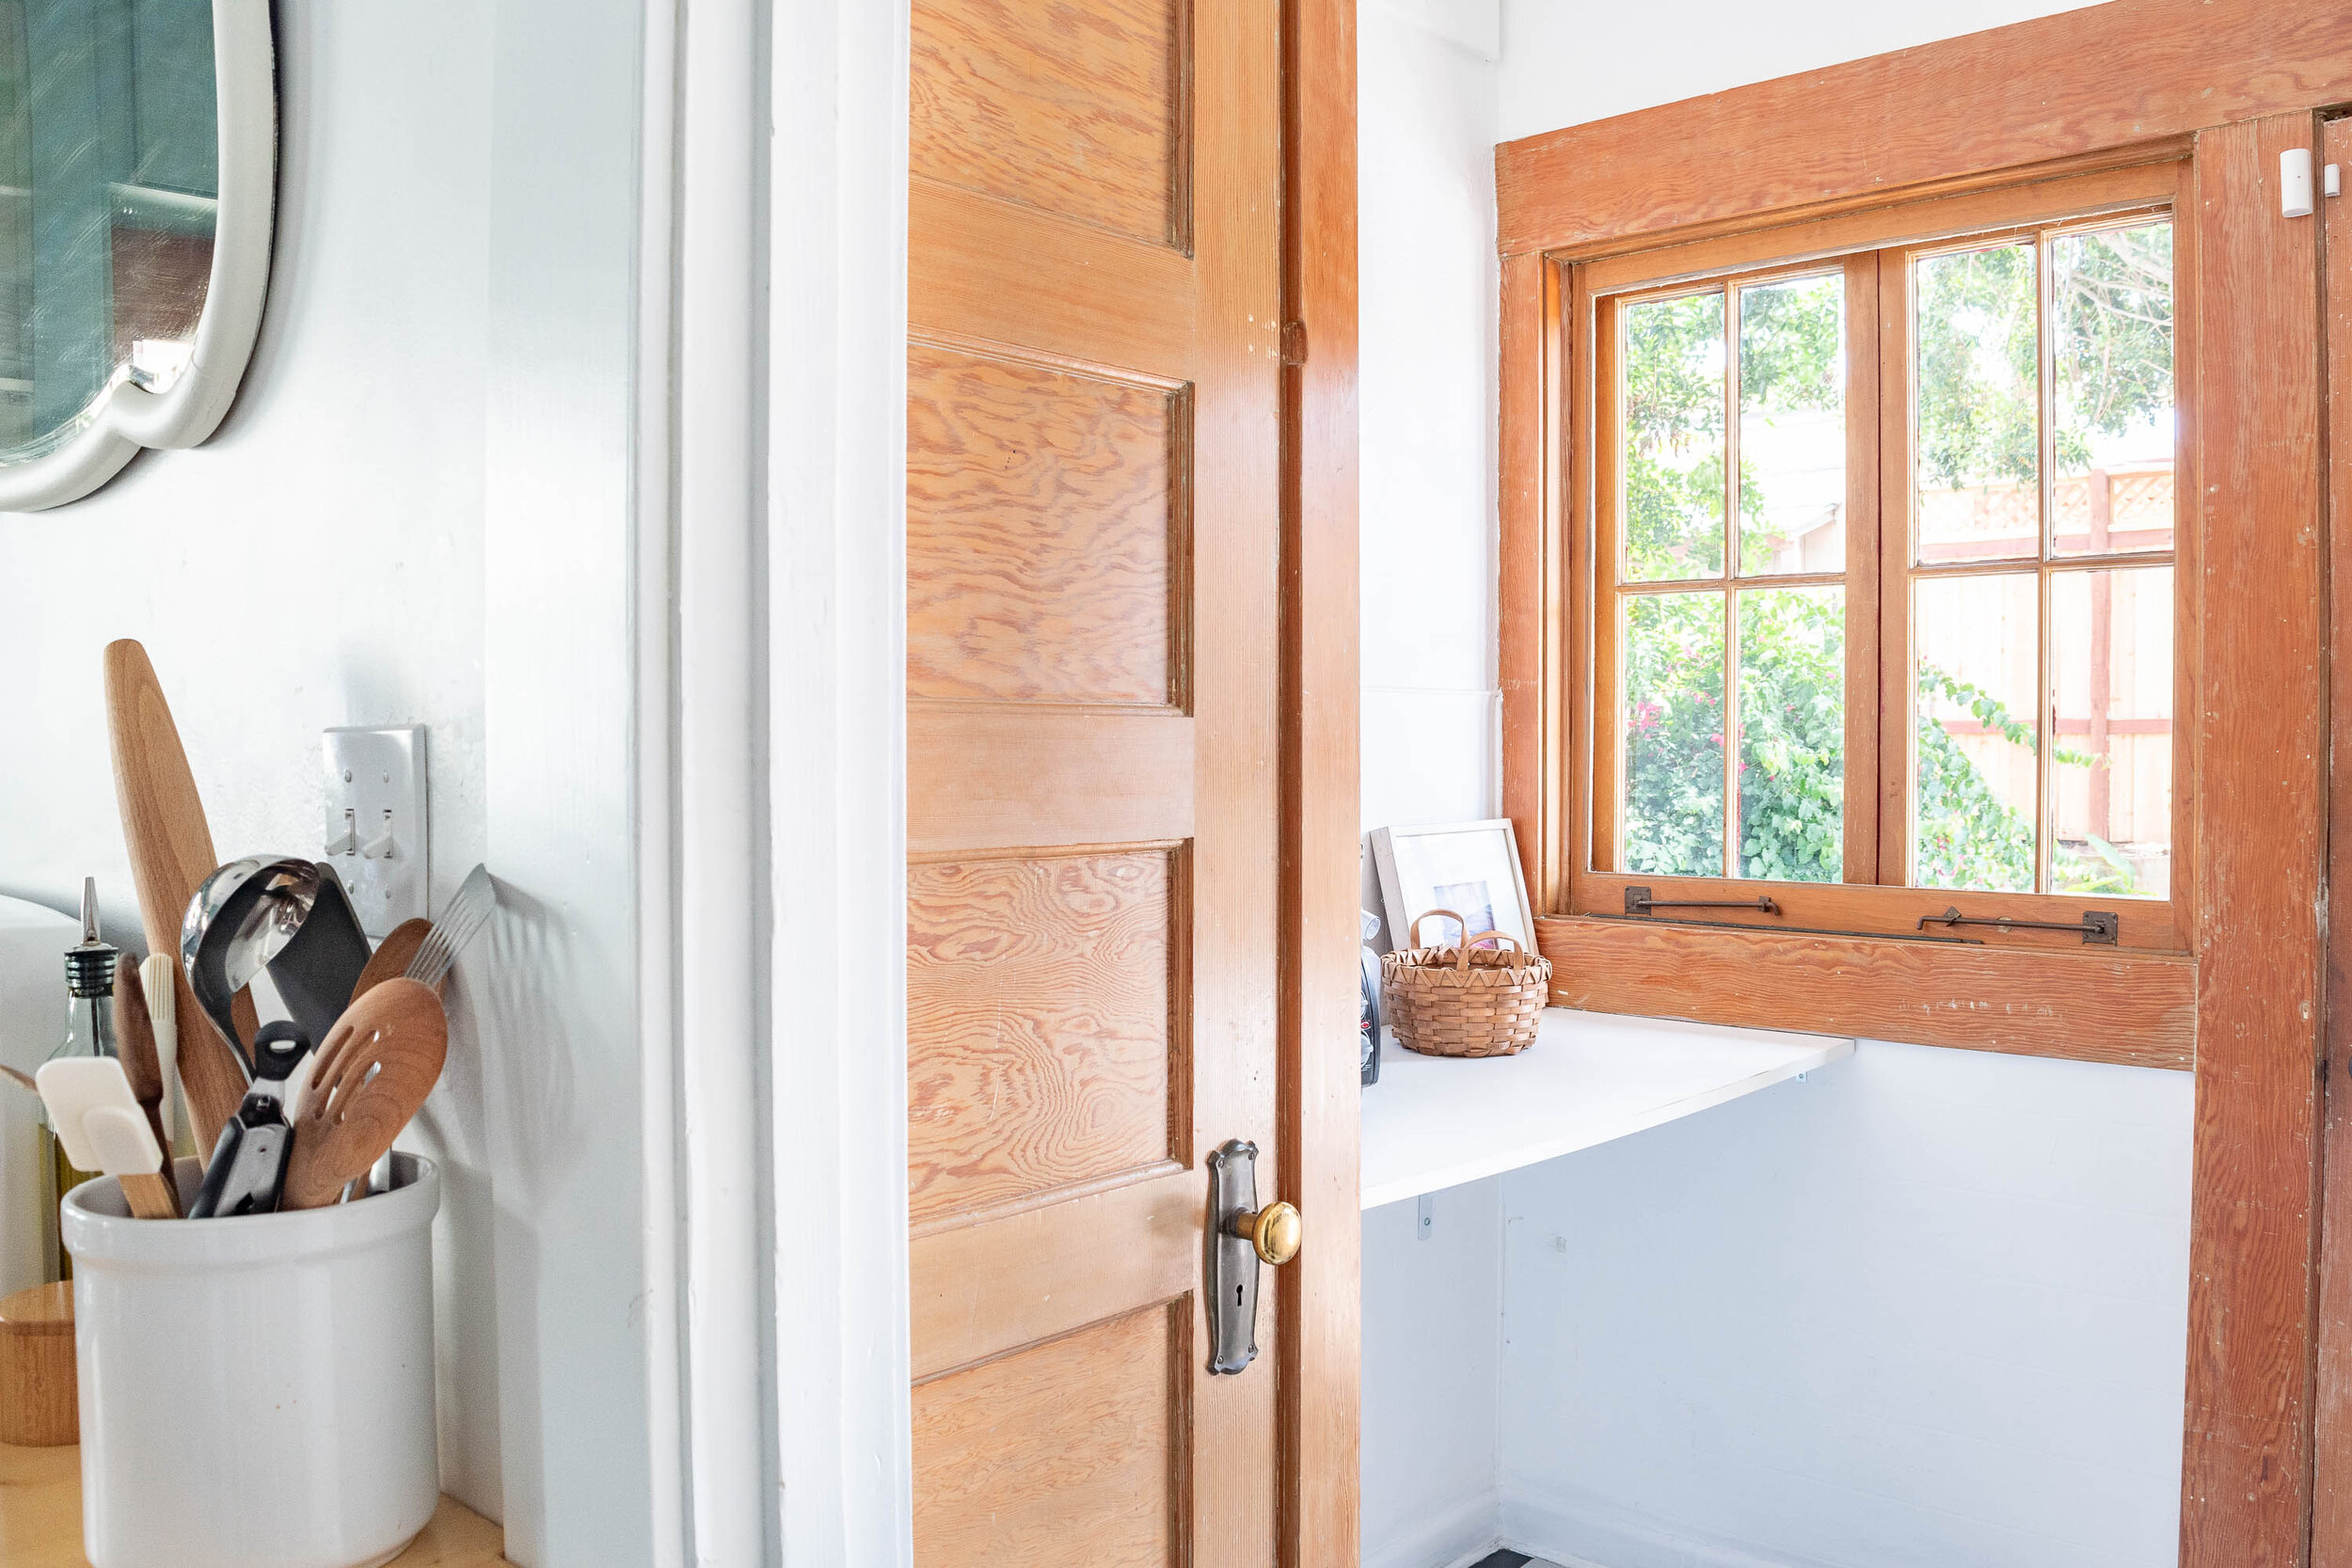
I also built this floating shelf in the mudroom for our toaster. But let’s be honest, it’s also where I pile ALL of my junk (not pictured) that I haul to and from the detached garage.

To the right of those beautiful windows is the door to the backyard. I keep my favorite garden clogs by the door and use them whenever I venture outside.

Heading back into the main part of the kitchen. The range sits on the wall between the two utility rooms. It’s such a cute lil’ stove. The only functional oven is the one in the upper right - the rest are storage.
Next to the range is another cabinet I built to get more prep space. Before, the range floated in the middle of nowhere so having a space to rest things is a game-changer. Plus, the cabinet stores our most-used cookware and oven mits. Isn’t she cute? I got the cabinet from IKEA and I built the wooden countertop from some simple craft wood at Lowe’s.
If you’re curious about what I store where, check out this quick video where I talk you through the whole kitchen and open every single drawer and cabinet. I also link to every single kitchen product I own in case you want to own the same cookware gadgets as me.

Team cast iron pans!


I realize mirrors in the kitchen isn’t really a THING. But, I love it. This mirror bounces light around, it adds depth, and it lets me check to see if I have remnants of my pre-dinner snack in my teeth before guests arrive.
This vintage one reminds me of an upside down slice of bread and I love it.

To the left of the range is the other utility room - the one that had the bead curtain and the laundry. Sometimes I miss the bead curtain.

The whole utility room is dedicated to my vacuum, basically. I also have a basket for my kitchen linens and more tote bags. In years past this room was referred to as “Mabel’s Office” because it stored her litter box. RIP baby girl.
I didn’t paint this side of the trim because I love that buttery yellow color. I wonder how many years the kitchen had this color scheme. I need to color match it and find a spot in the house to repurpose this color.
On a side note, this shot above is a good example of doorway trim evolution. See the trim on the top of the yellow door casing? Now see the unpainted casing in the kitchen with that stripe of white stuff at the top? Yeah, that’s where someone removed the original trim. *Shakes fist at that person*

The sink and faucet were already great, so I didn’t do anything other than clean them up. I love them both and I’ve considered keeping them to use in my upcoming remodel. Spoiler: I didn’t - so if you want them, holler!
The countertops were another major transformation. I skim coated over them in concrete to give them a consistent look and even out the grout lines of the tiles. I highly recommend this cheap concrete countertop DIY for anyone that doesn’t like the surface of their counters, but likes the layout. I spent about $100 and got an entierly new look - plus a clean surface I felt comfortable touching.


I covered the mix-matched backsplash with simple beadboard. I cut it to size, then glued it on.
I didn’t put a ton of effort into finishing the edges as I originally planned because I thought I’d only live with it for 6 months. So it isn’t the most perfect work, but it’s such an improvement over the hodgepodge backsplash that was there.
It’s not perfect, I’m not perfect, okayyyy?!

Also, I OBVIOUSLY painted the cabinets and the walls, too! I went for a bright white on the walls because I was craving cleanliness and contrast from what was there previously. And I did a blue/green color that changes hues throughout the day for the cabs.
Since I thought I’d only live with the room for a year (spoiler: it’s been 4 years), I figured it was a chance to enjoy some “funky” elements that I wouldn’t do in a permanent kitchen. The paint color on the cabinets was a playful choice that I don’t think I’d want to live with for a decade, nor spray onto $20k custom cabinets. But it’s super charming on these old particleboard doors. I’ve enjoyed them for a few years, but I’m ready for something with a different personality.
I get asked a lot, “I’m going to renovate in a few years, but need to paint my cabinets in the meantime. Should I do a fun color or go for neutral to not draw attention to them.” I vote to go funky. Live out whatever craving you have to get it out of your system. Then go for more color or less color, or whatever you want more permanently.


Here’s a handy before and after for you. Can you spot all the differences??

Alrighty. I talked about a bunch of things throughout, so here’s a bunch of links for you to sort through if you want to dive deeper.
Budget:

This cost break down doesn’t include each of my cooking accessories or the various decor items like the hanging plants or cookbooks. But I hope it goes to show that a budget makeover is possible and there’s no reason to live with a space you hate even if it’s for a short period of time.
Now, I gotta get back to planning on demolishing this whole kitchen! Stay tuned for the changes coming soon.