
How The Kitchen Makeover DIY Projects are Doing Four Years Later
/It’s almost time to start demo on my kitchen to make way for the new space, so this is my last chance to share whatever can be shared about the current iteration of the kitchen!
As you probably recall, the kitchen was just a phase 1 makeover to hold us over until our full remodel. I thought it would only be like this for 6 months, but it’s been over 4 years. Oops. Because I didn’t want to dump a bunch of money or time into the makeover, I did some quick cosmetic fixes. They weren’t designed to hold up for a long time, but some of them have. Before we get into it, take a look at the before photos. Didja look? Okay, now here’s the full report.
Painted Cabinets
I didn’t follow the painting rules when I painted these cabs! Do as I say, not as I do, people. I didn’t de-gloss, I didn’t sand, I didn’t prime, I didn’t even remove the doors off the hinges. I broke every rule in the book because I thought the paint only needed to last for a few months and I painted them pre-blog so I never expected anyone else to look at them.
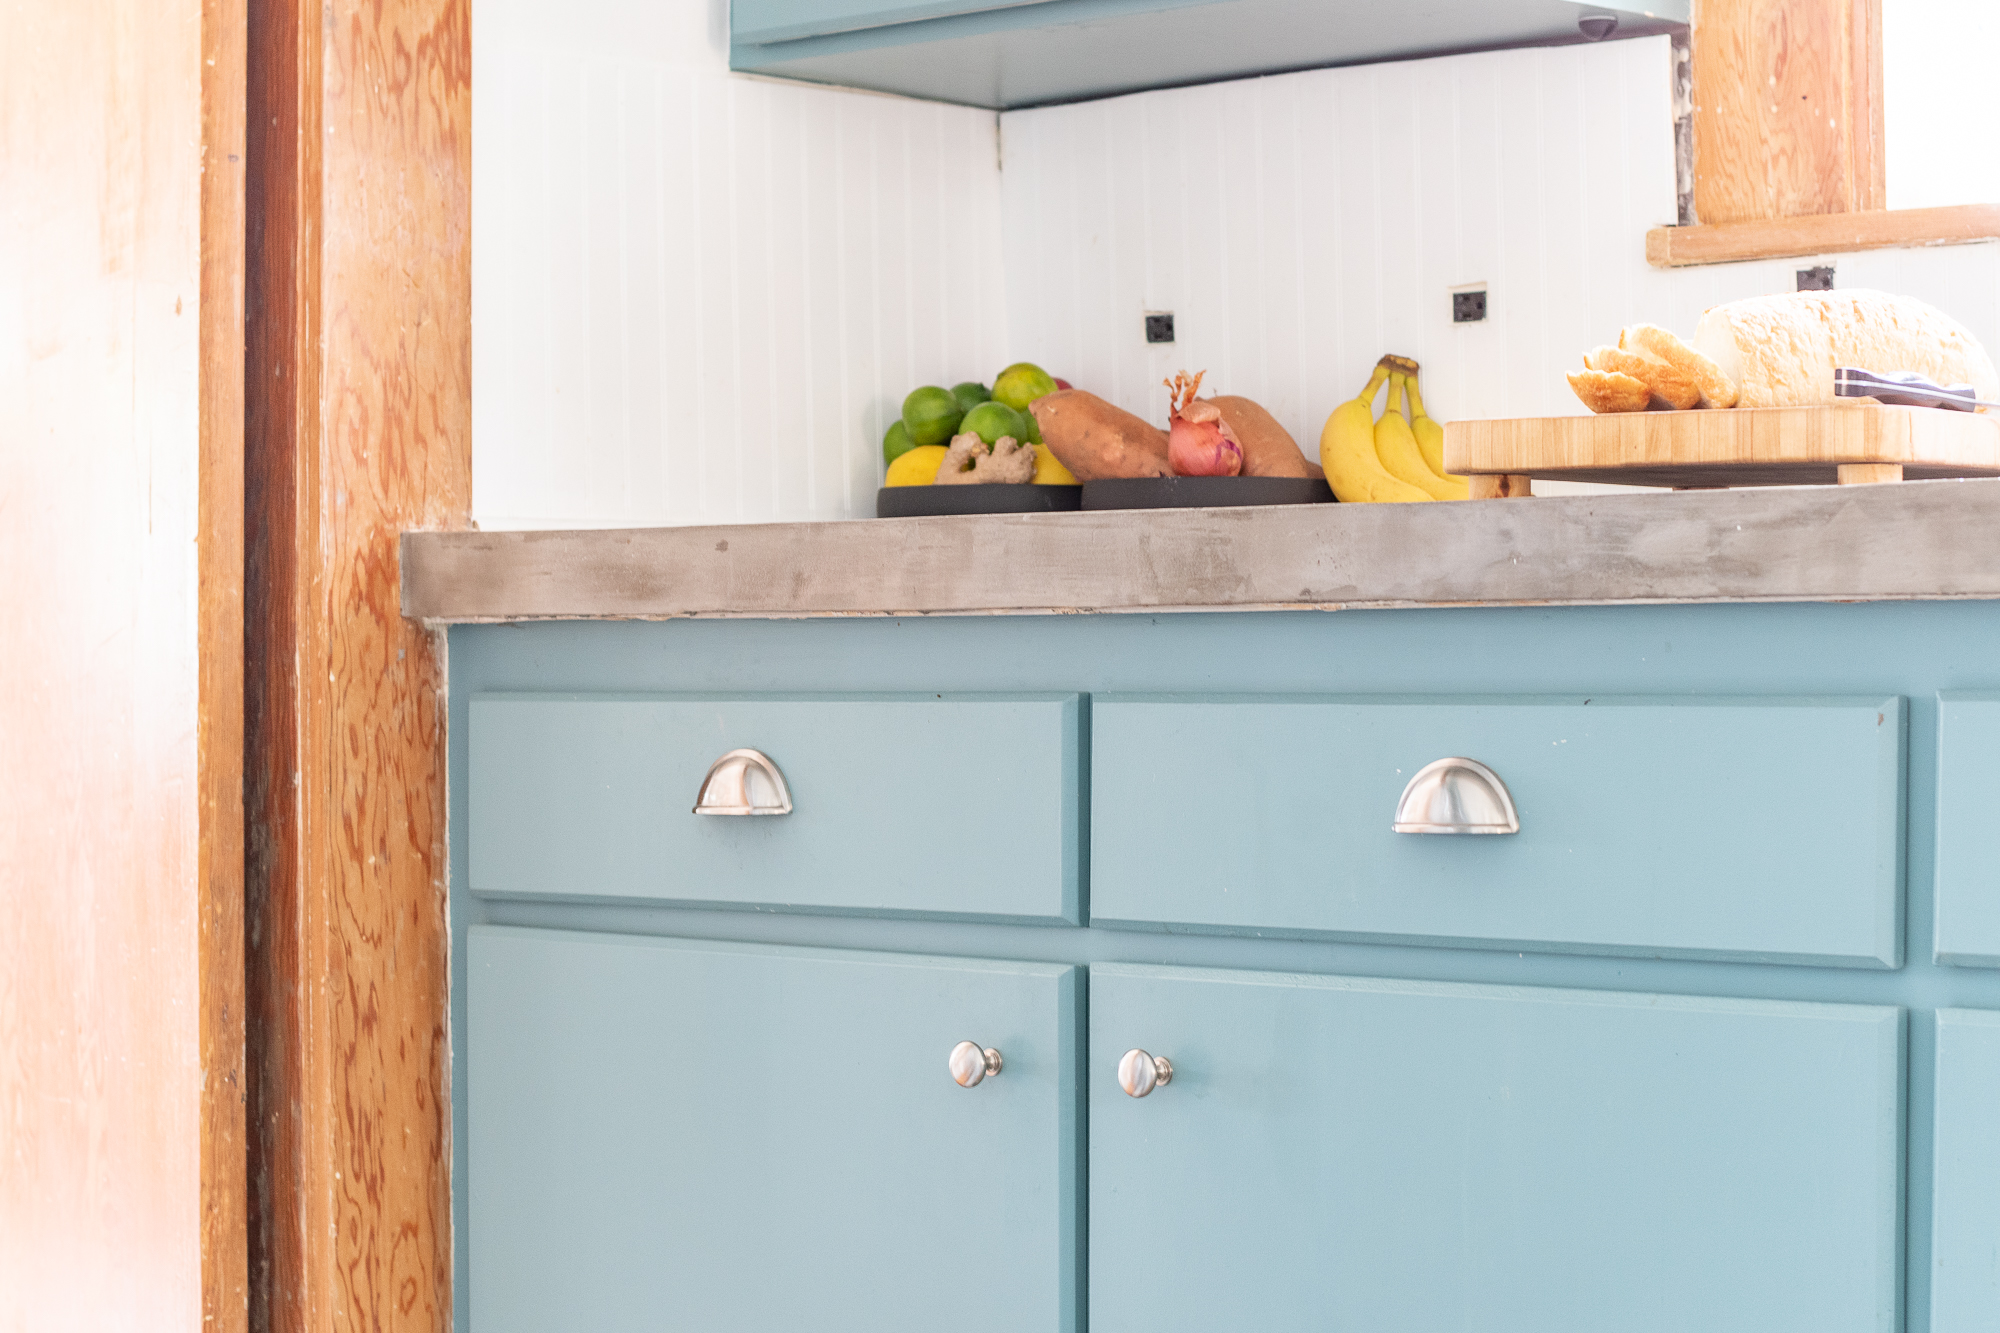
Surprisingly, the paint has held up really well, though! I painted the cabinets with a basic Behr paint (not even cabinet-grade) and they are looking really good still. The only spot that it has worn is where the under sink cabinet rubs the other cabinet because it’s off kilter.
Cheap Hardware
I bought some super cheap $1-3 hardware to swap out for the hardware shaped like twigs and roosters (yes, I’m serious). And it’s all doing well, too! They haven’t come loose nor has the finish worn down. A+
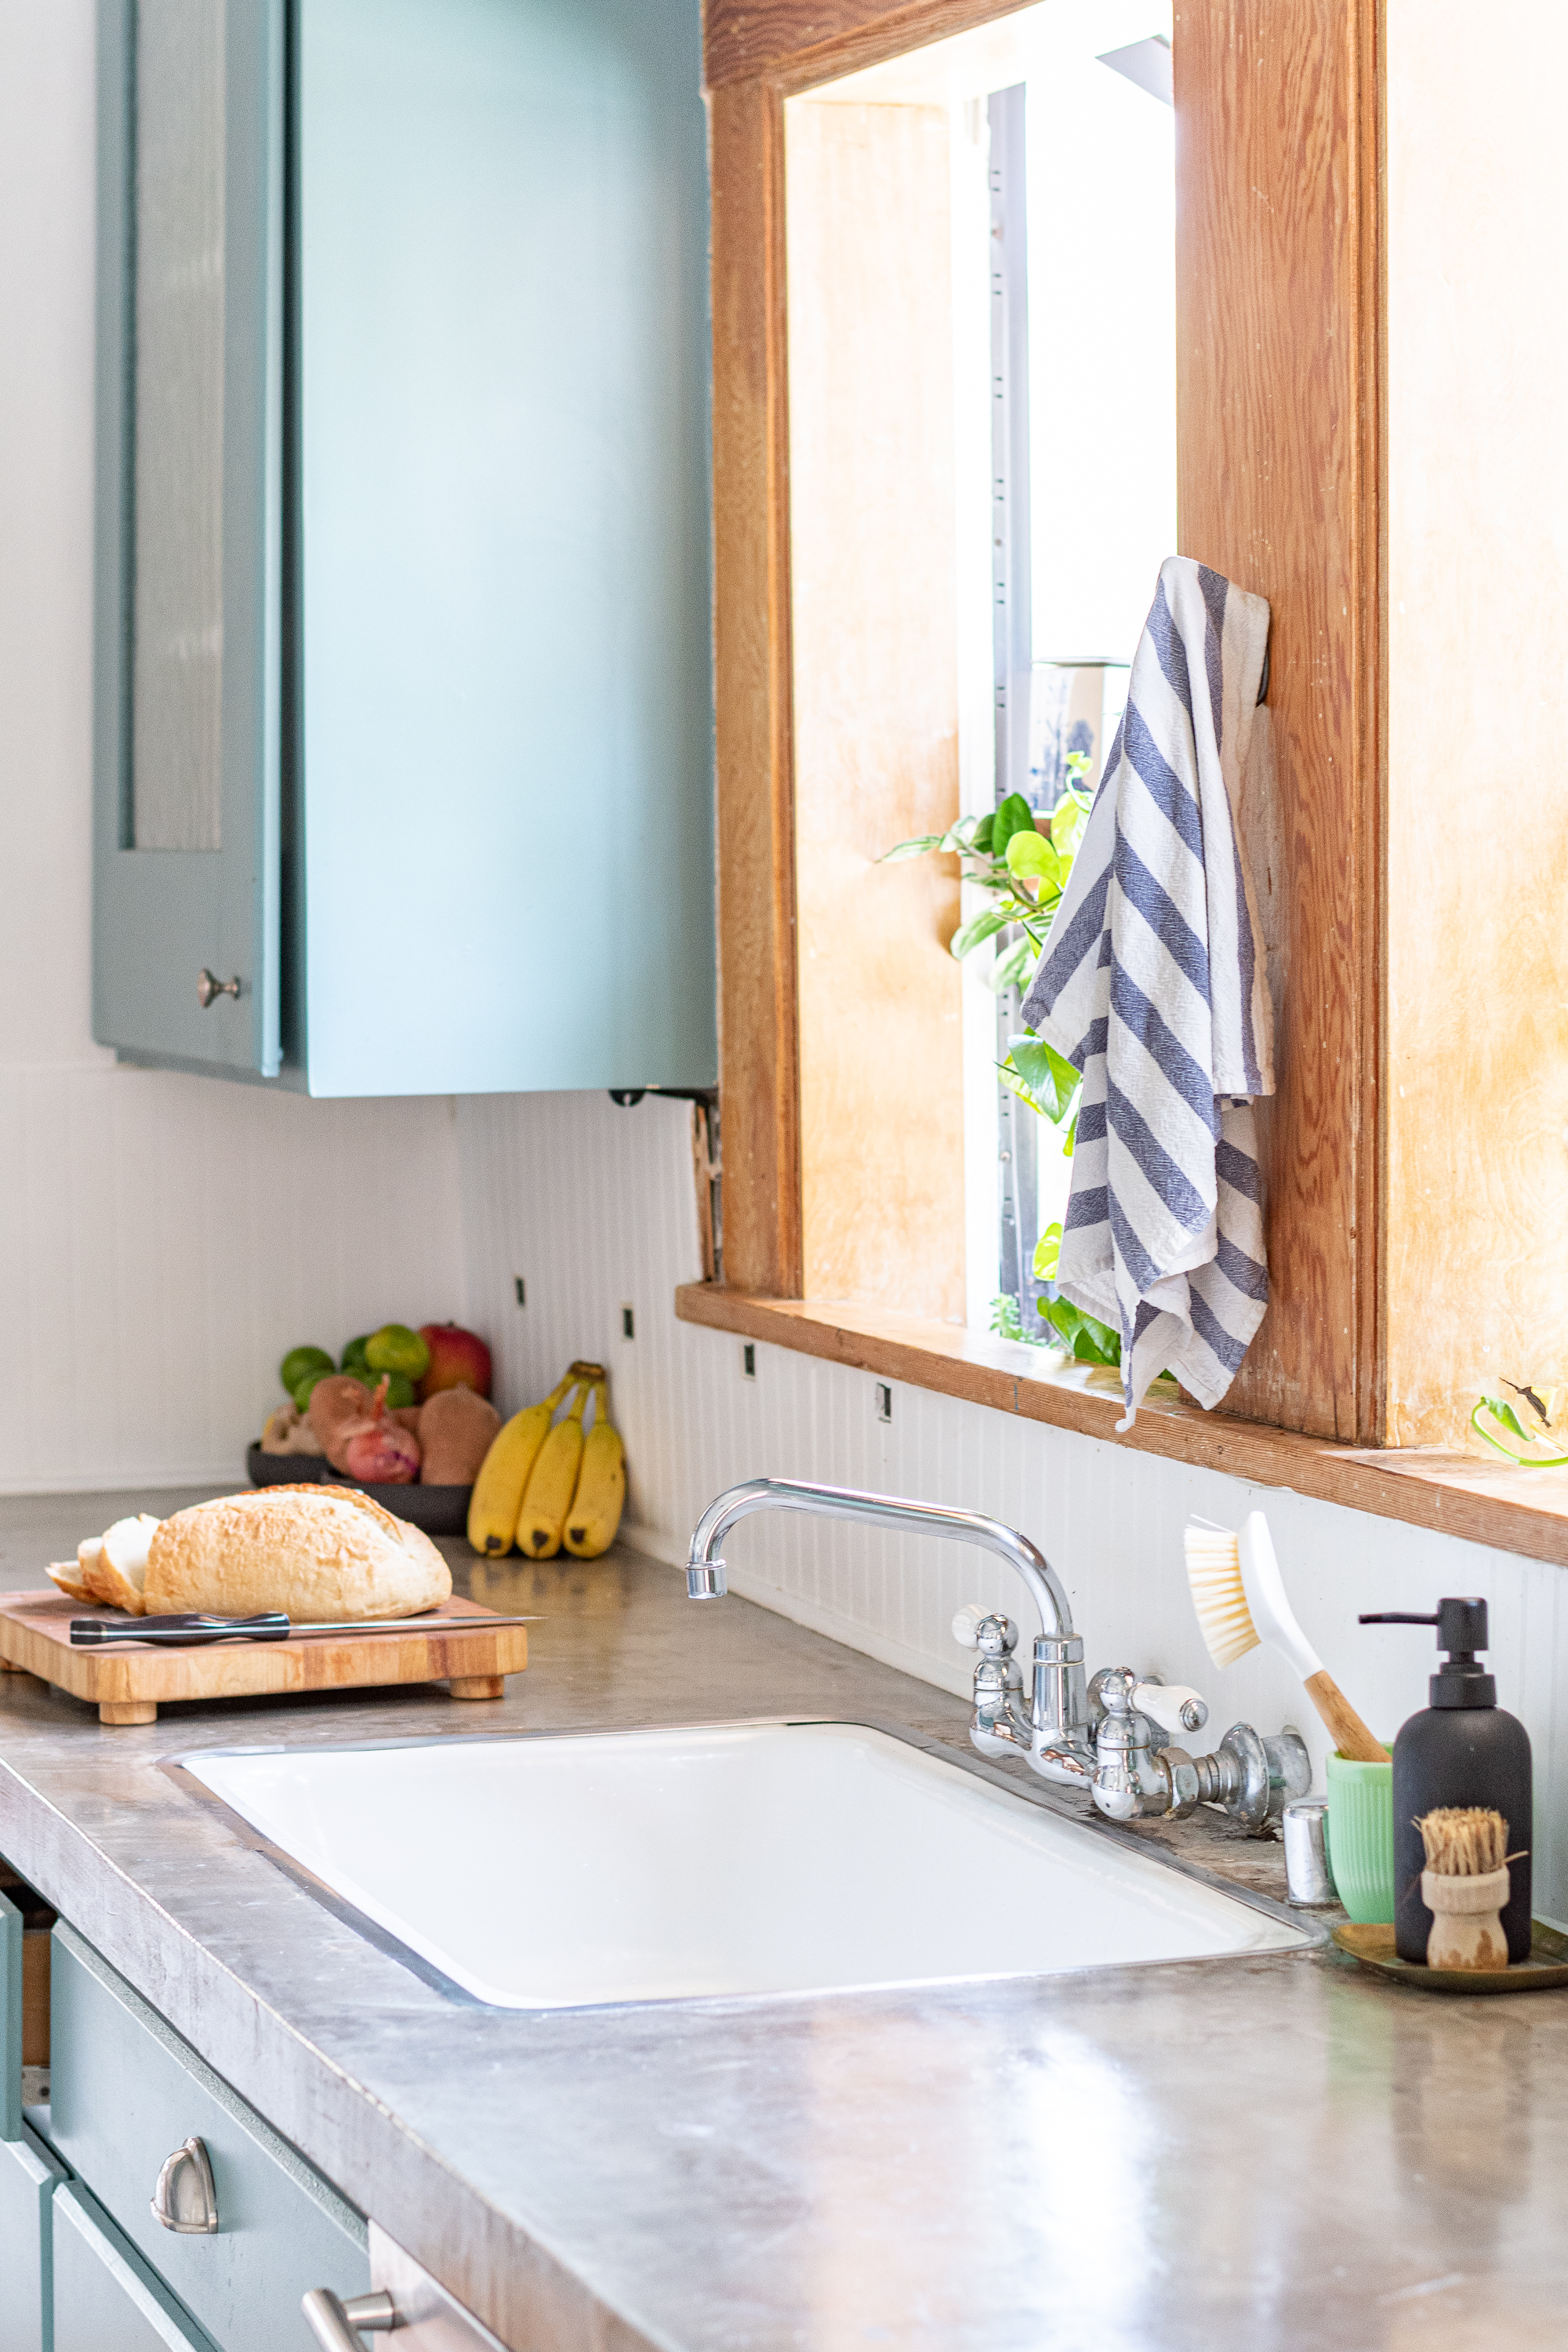
Beadboard Backsplash
I didn’t share this as a DIY tutorial post because it’s not something I’m particularly proud of. The existing backsplash was made up of mismatched brick and tile, then it had a bright white electrical thing-a-ma-jig as a racing stripe. I couldn’t take it so I cut down some pieces of beadboard, jigsawed the outlet openings, and secured them with construction adhesive. Then, I cut down some base moulding and glued that on where the countertops meet the backsplash. I gave it all a coat with exterior paint to make them as water resistant as possible. However, I had a pretty good feeling that within months they would be soggy moldy things. For this reason I didn’t recommend anyone else follow suit and thus I didn’t write about it.

But whadya know. It’s all held up just fine. It’s super hard to clean because it’s not the slickest surface. So, once I just painted over the sink splatters with more paint instead of deep cleaning it. I’m gettin’ real here, folks.
Lighting
The lights have been fine. I removed ugly brown glass shades, trimmed the cord to the right length, and painted it black before putting in some retro looking bulbs. It’s better than leaving it as is, but maybe if I knew we’d be using this kitchen for four years I would have just installed one nice bright light on a dimmer. These bulbs are super dim and super tungsten-y (amber-hued) and the look isn’t really something I admire as much as something that was better than what we had. They held up fine, but I give then a C+ for being just not super cute or illuminating.
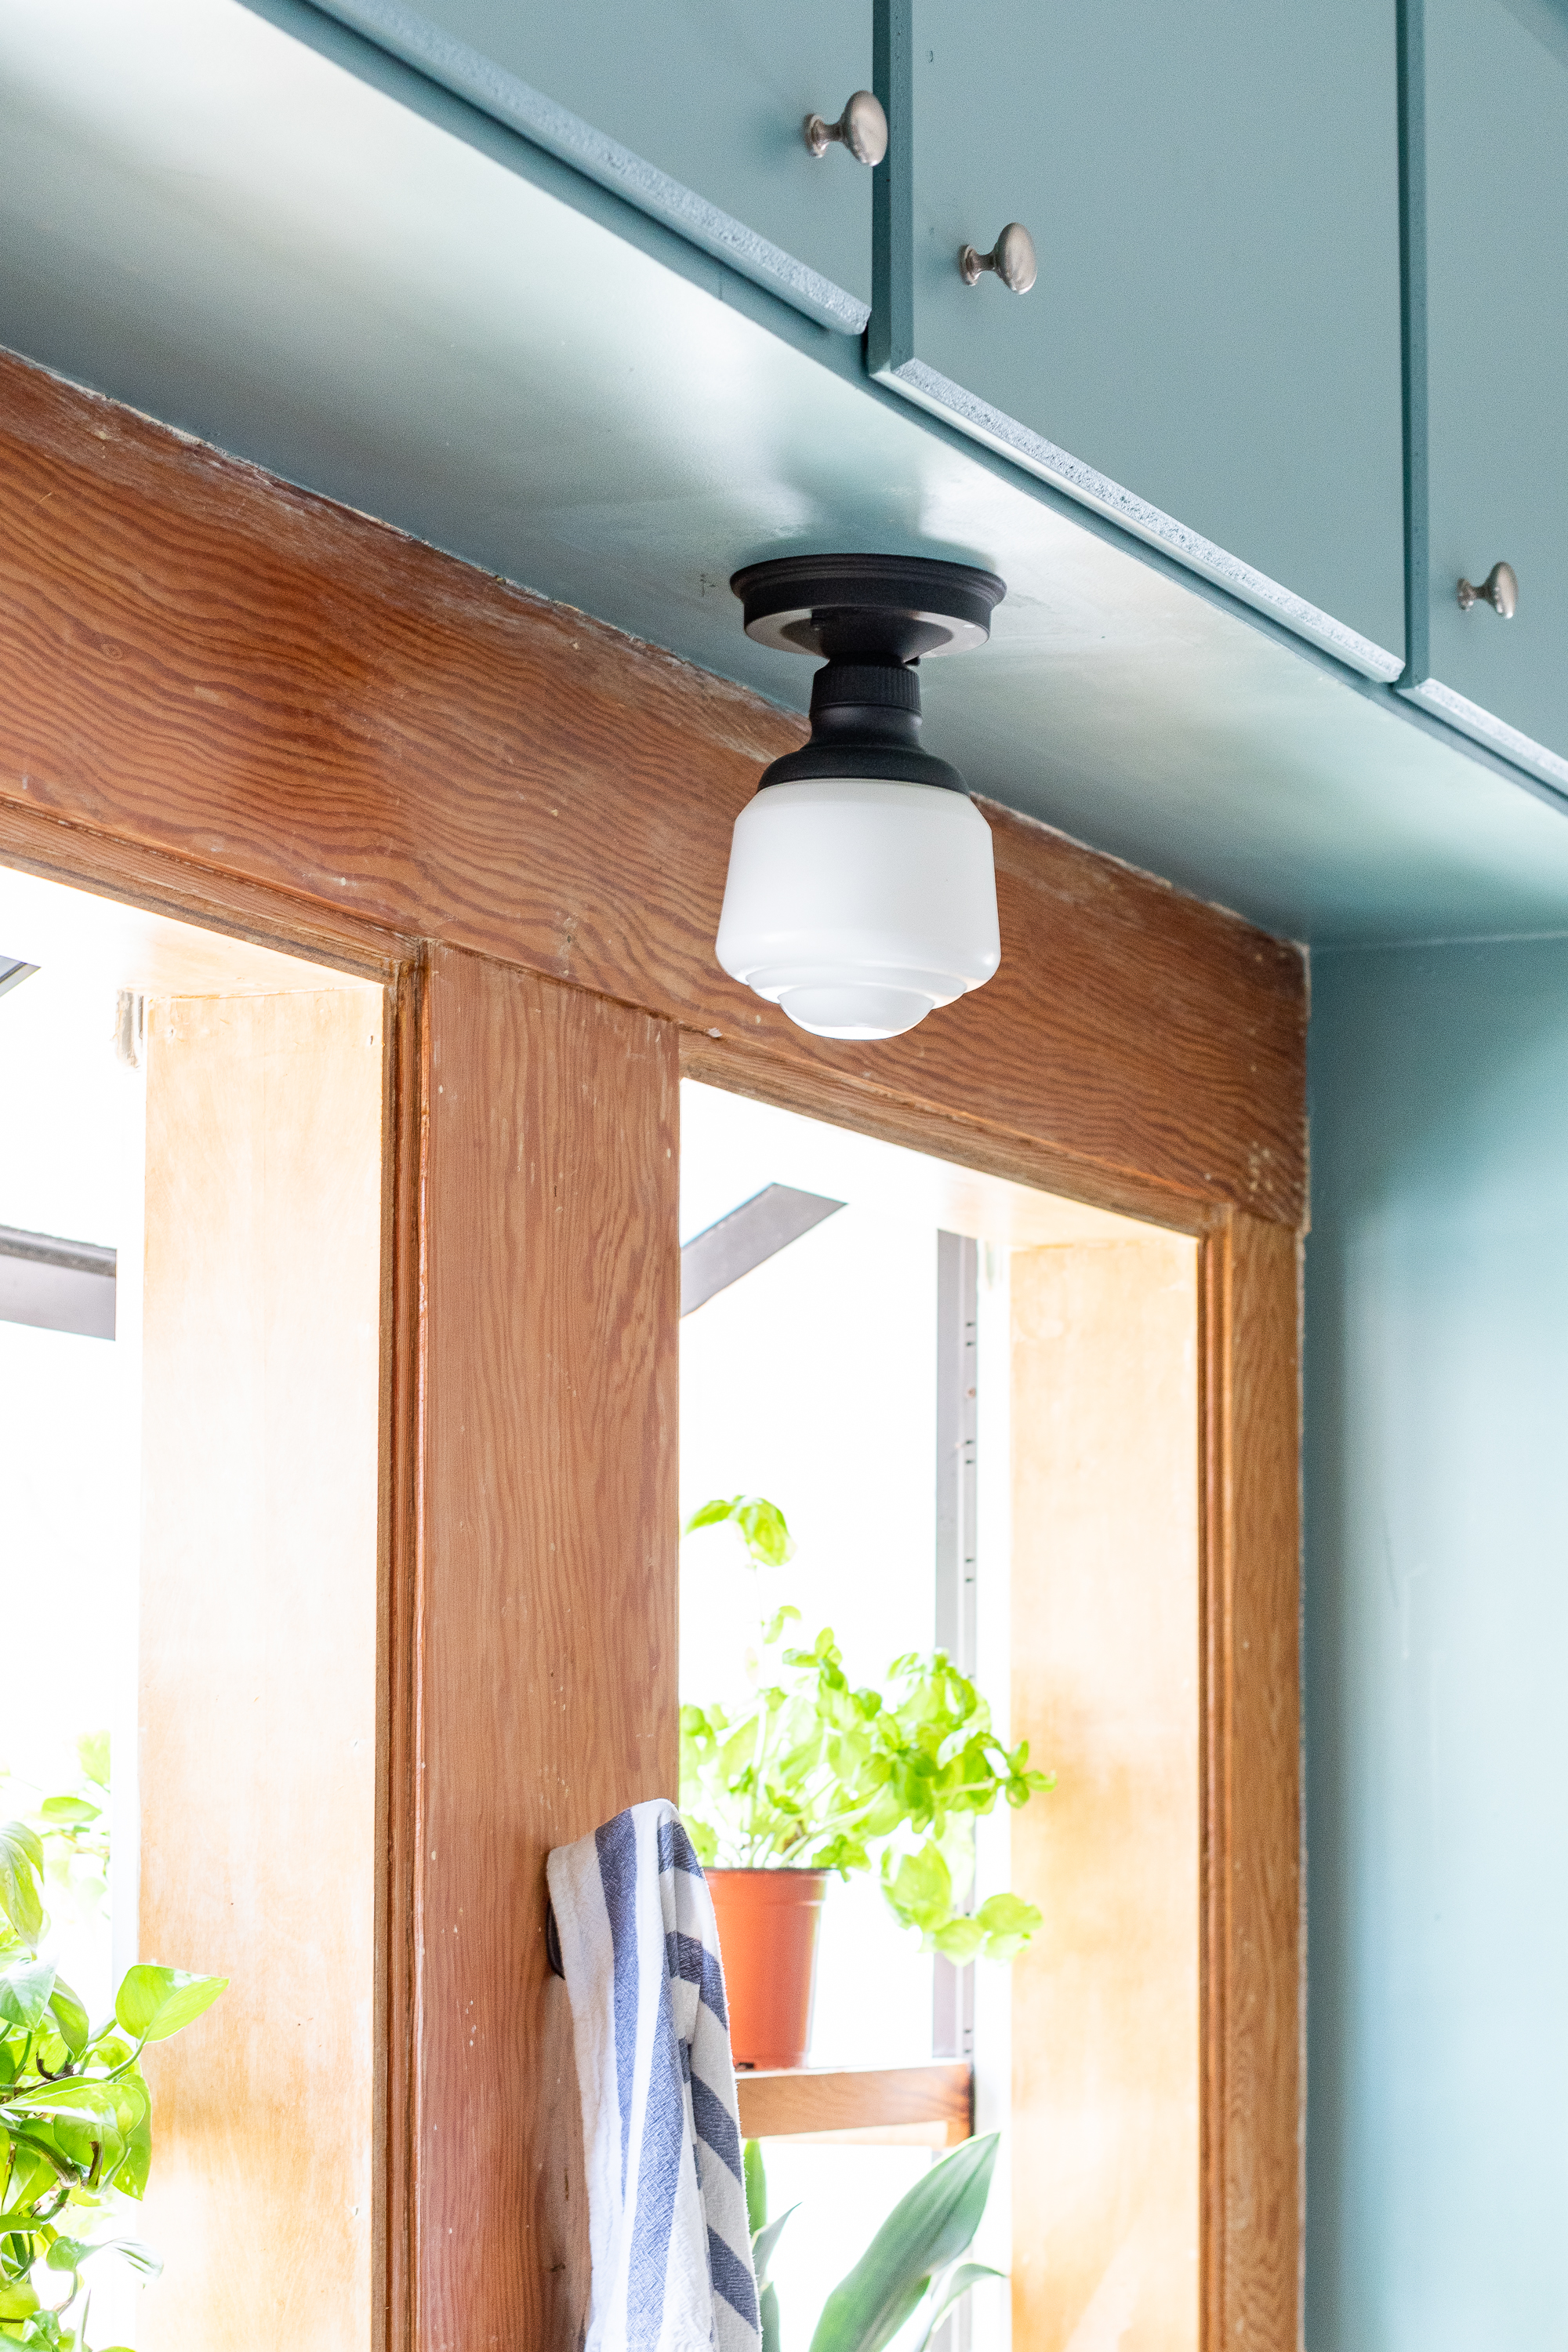
We did install a new light above the kitchen sink that worked out nicely. There was a fluorescent box light there previously which was purely atrocious. We put some family and friends to work to patch it and run new electrical while I ran to the store and picked up a cheap schoolhouse looking light. It did the trick!
Countertop Extensions
I wanted to extend our work surfaces without building cabinets or reconfiguring the layout, so my countertop add-ons worked well. Get the whole scoop on them here. The one I installed with cleats is holding up perfectly - like, surprisingly so. I’m pretty proud of myself because I just used some scrap lumber and stuff I had laying around and threw it on the wall.

The cabinet by the stove is great. The base is IKEA and I’m shocked it hasn’t caught on fire because it sits right up against our 60-year-old stove which gets blazing hot. I’ve burned myself just adjusting a knob on that thing so I’m glad the cabinet hasn’t been a fire hazard. The top I built for it is also going just swimmingly.

The shelf with brackets that holds up the toaster oven by the back door hasn’t done as well because somehow missed a stud when drilling one of the sides. Not entirely sure how that happened, but it did start to sag a touch. I fixed it when I saw the sag and she’s as good as new.
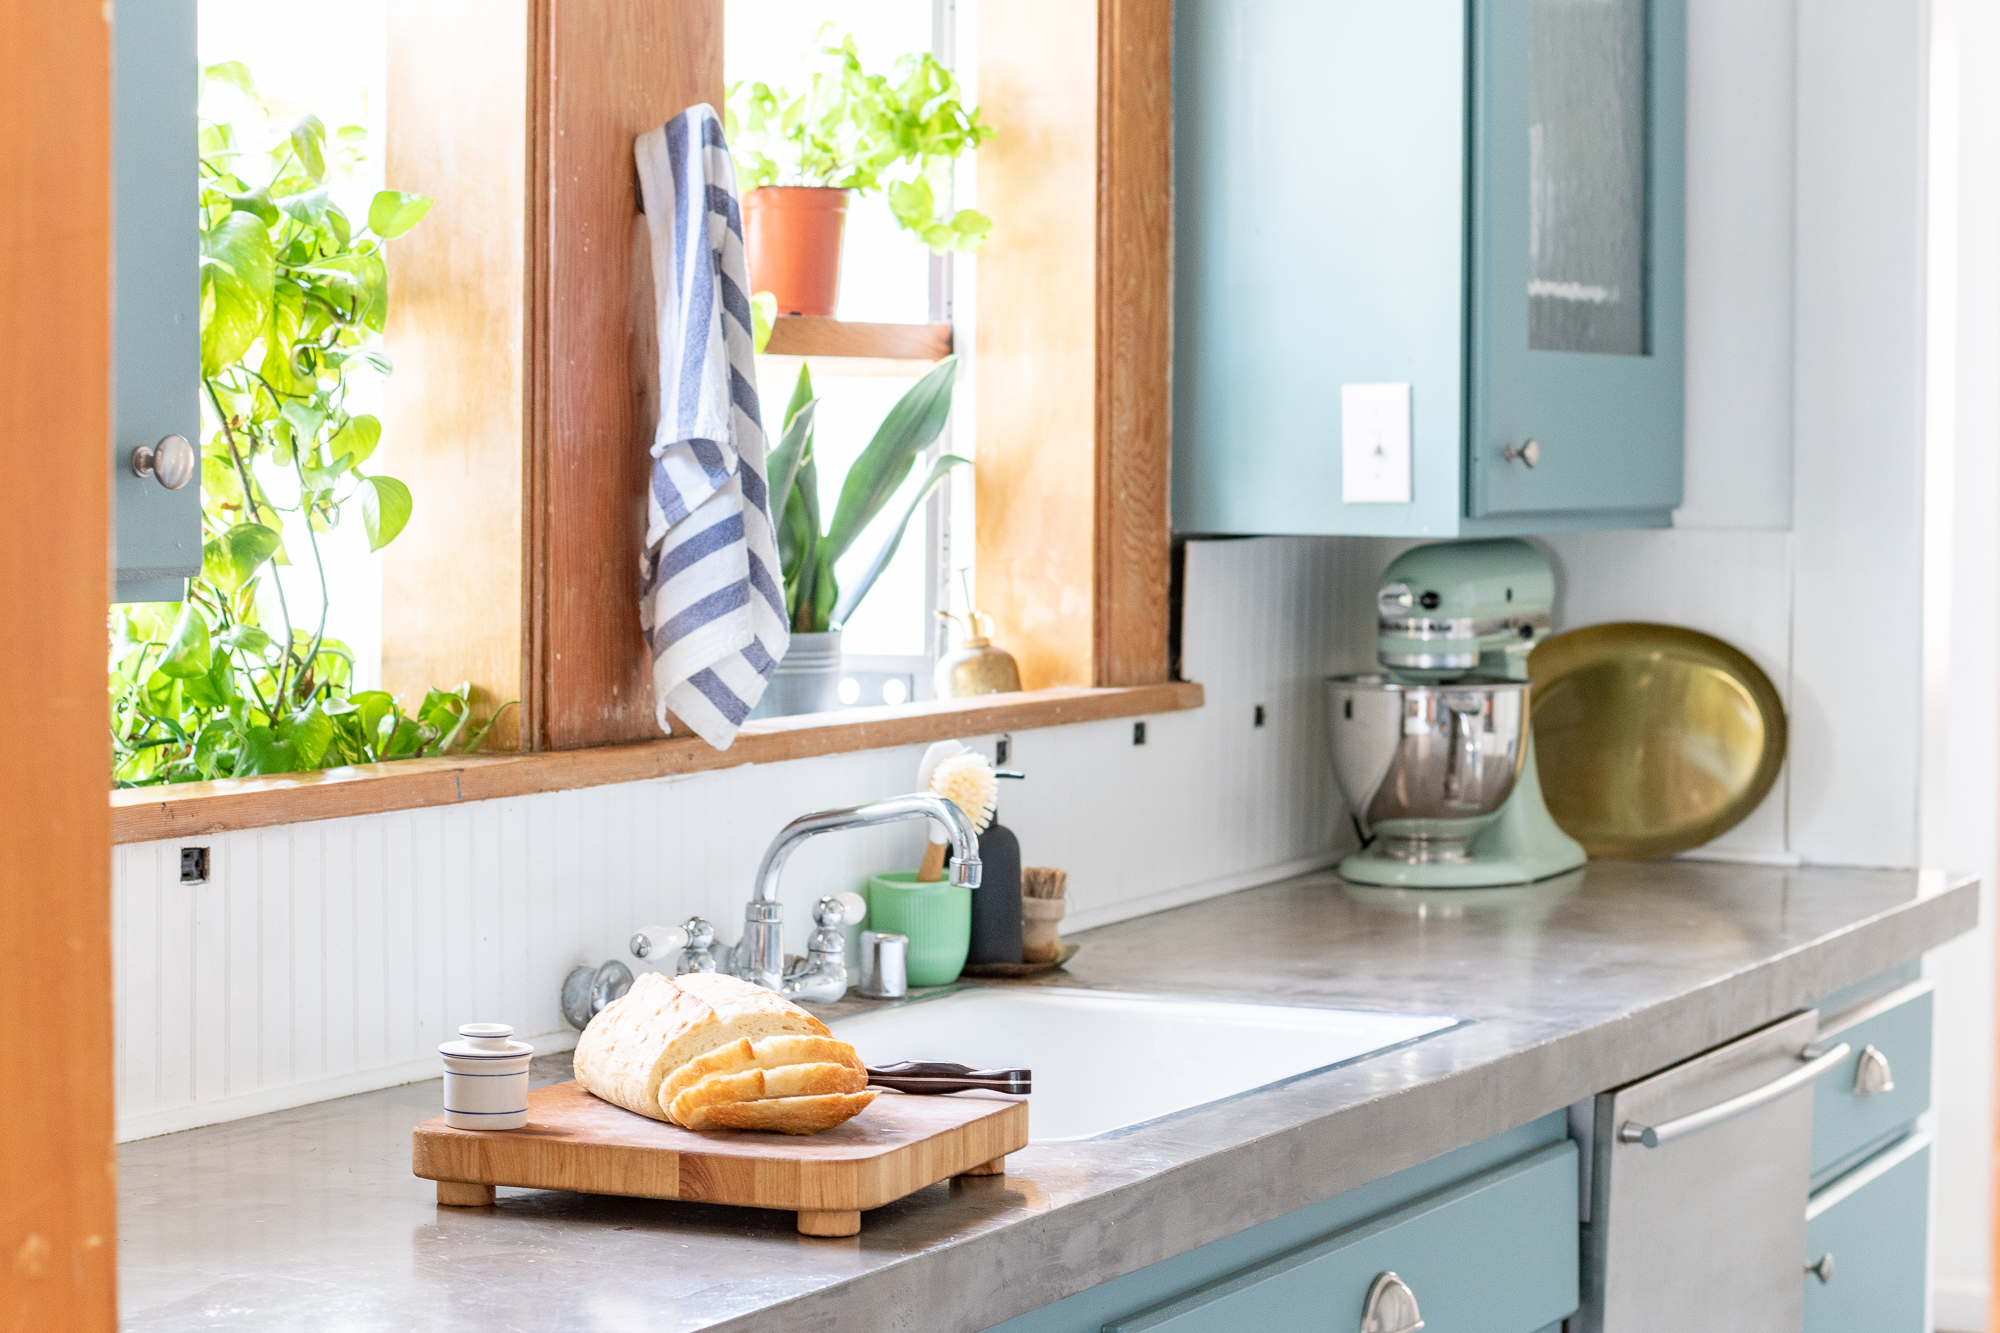
Concrete Countertops
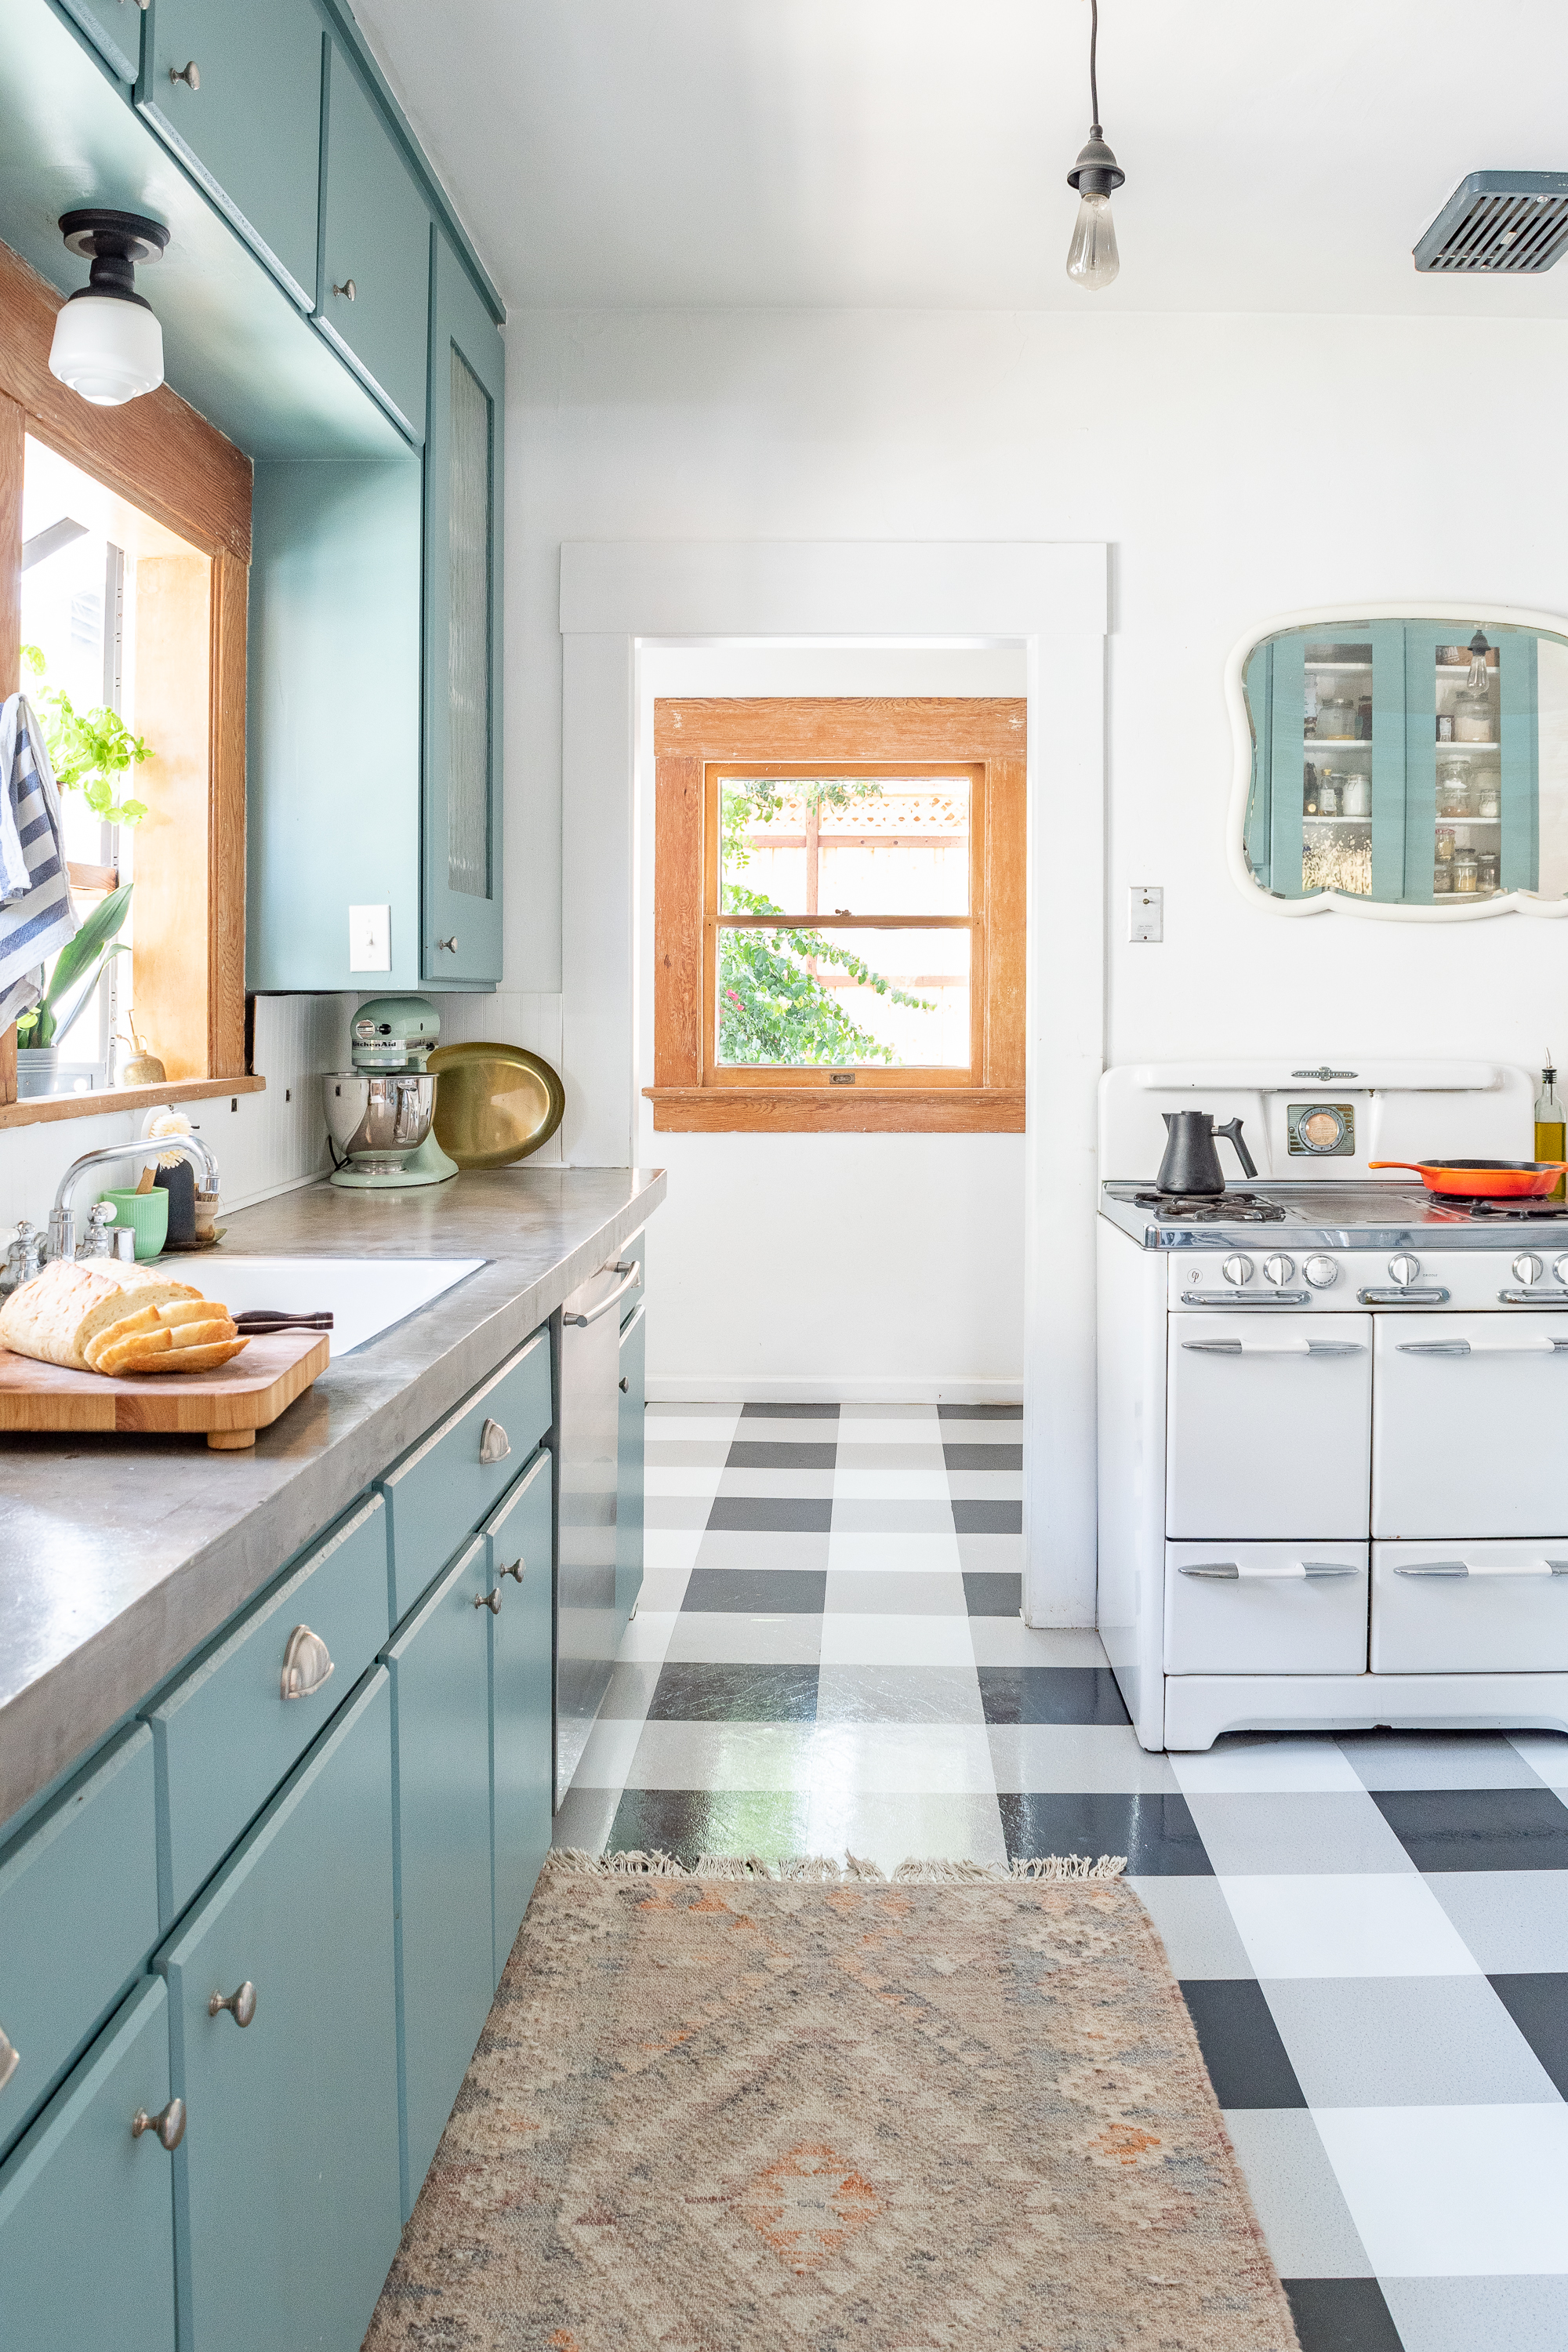
The concrete countertop is one of the most transformative projects I did! Covering the other counters gave me peace of mind knowing that the counters were totally clean and free of the grime the previous owner left behind, plus they made the kitchen look way way better. Like, way better.
The countertops have also done pretty well. They haven’t chipped, cracked, or fallen apart, but they have stained. A few select things have left rings on the surface but it never bugged me much because I wanted texture in the concrete anyway.
I didn’t pour concrete counters like some might do for a full remodel, I just skimmed concrete over the existing surface. I was able to layer on a few thin coats to have a substantial surface throughout except by the sink. Because I didn’t want to create a thick lip of concrete by the sink, I wanted to create a super smooth transition which meant I needed to do a paper thin coat of concrete. Most of these thing edges around the sink have done just fine, but the corner where I put the soap has worn down. It basically is always pooled with water over there and so it slowly started to dissolve the concrete and now I can see a small sliver of the original counters underneath. I’ve since learned my lesson and now put my soap and dish brush in a little tray.
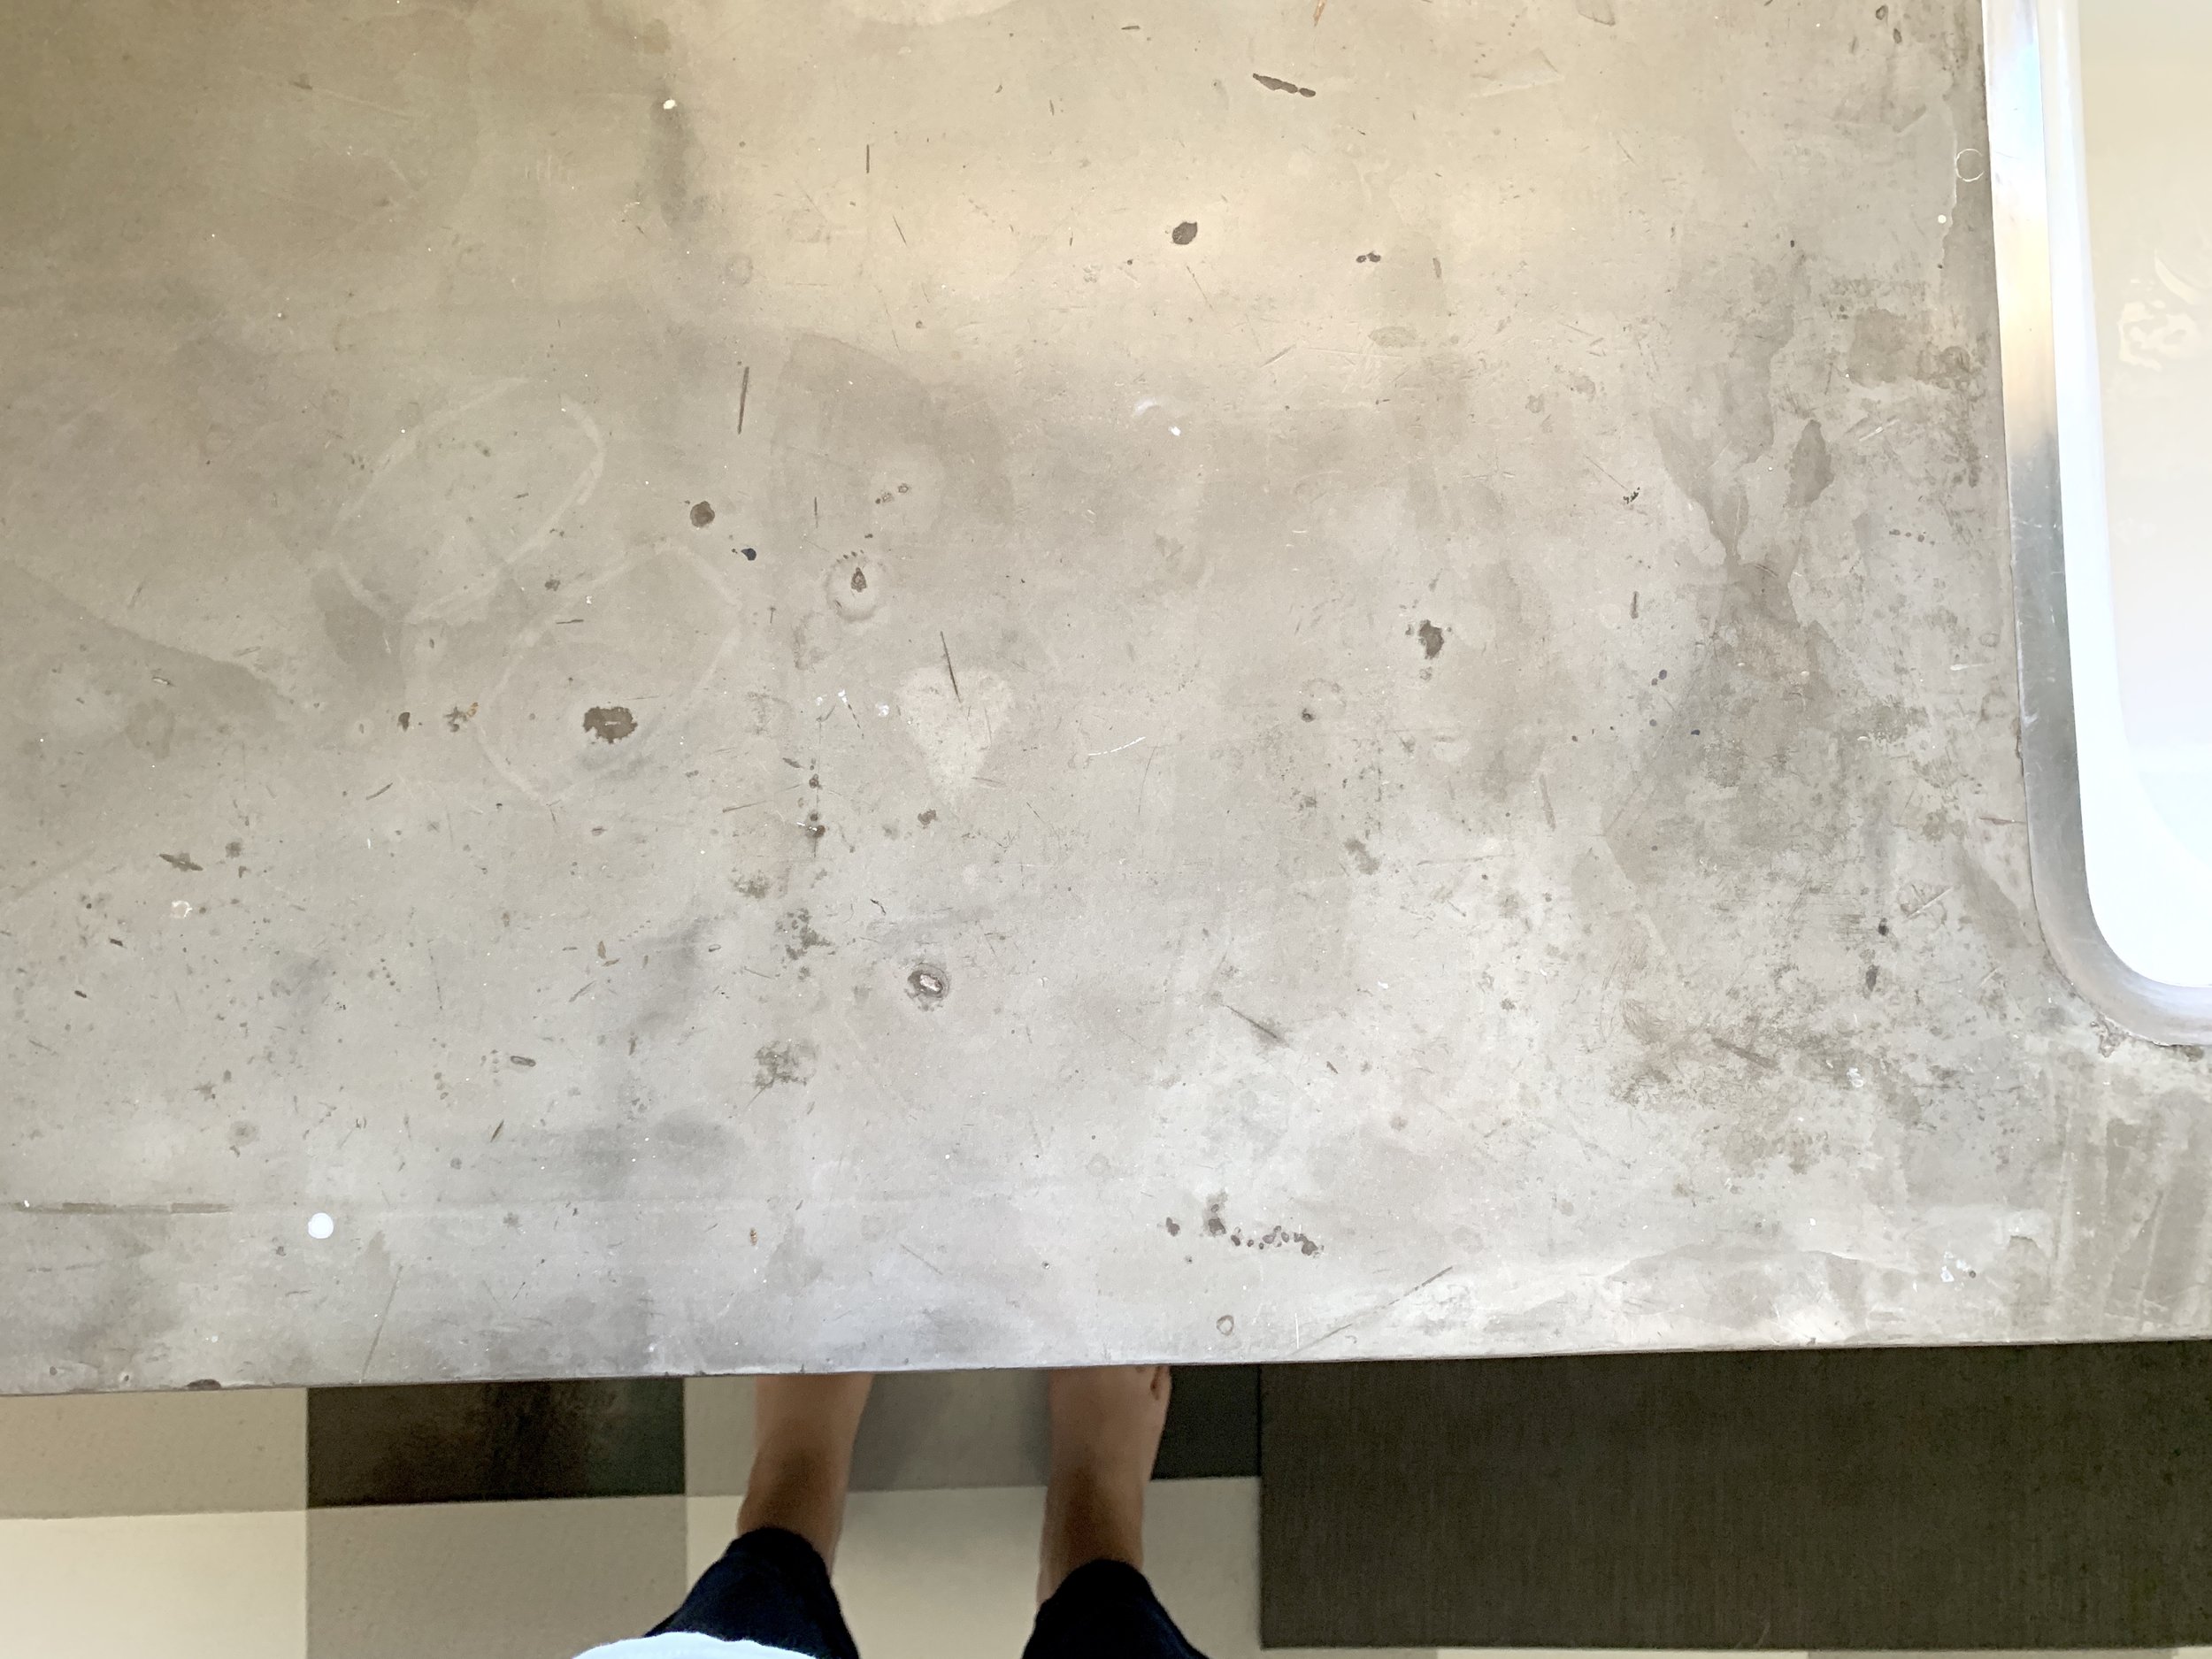
Here’s the staining as it is today.
Vinyl Tile Flooring
This is the one everyone asks about, so naturally I saved it for the end. I give the flooring a B+. I’m mostly proud of it for holding up as well as it has because they are literally just thick stickers all over the busiest room of the house. Logic says that they shouldn’t hold up well. While I’m proud of how study they are, the tile isn’t perfect. There are a few spots where the top layer of the tile has peeled up a little bit. There are also some areas that took an extra beating when the foster dogs and foster kittens were here and they were trying to escape the kitchen (which is where we kept them safely at night). I replaced those broken tiles really easily after the critters left, so no harm done. When I replaced the fridge, I had to really drag it around and disassemble it, so the wheels scuffed up a few tiles and pulled the corners up. The bummer with the tile is once it’s damaged, there’s no amount of glue or resting heavy books on it that will fix it. So I’ve had to pull out the pieces and pop in new ones. It’s no big deal if you have spares, though.
The biggest gripe I have with the floors is they aren’t good for the planet. They’re plasticky adhesivey chemically filled things that will ultimately end up in the trash. While I’m pleased with what they did for my kitchen the last few years, I do feel guilt encouraging folks to do the same thing I did since.
That’s it! Do you have any other questions about this phase of the kitchen? Speak now or forever hold your peace.


