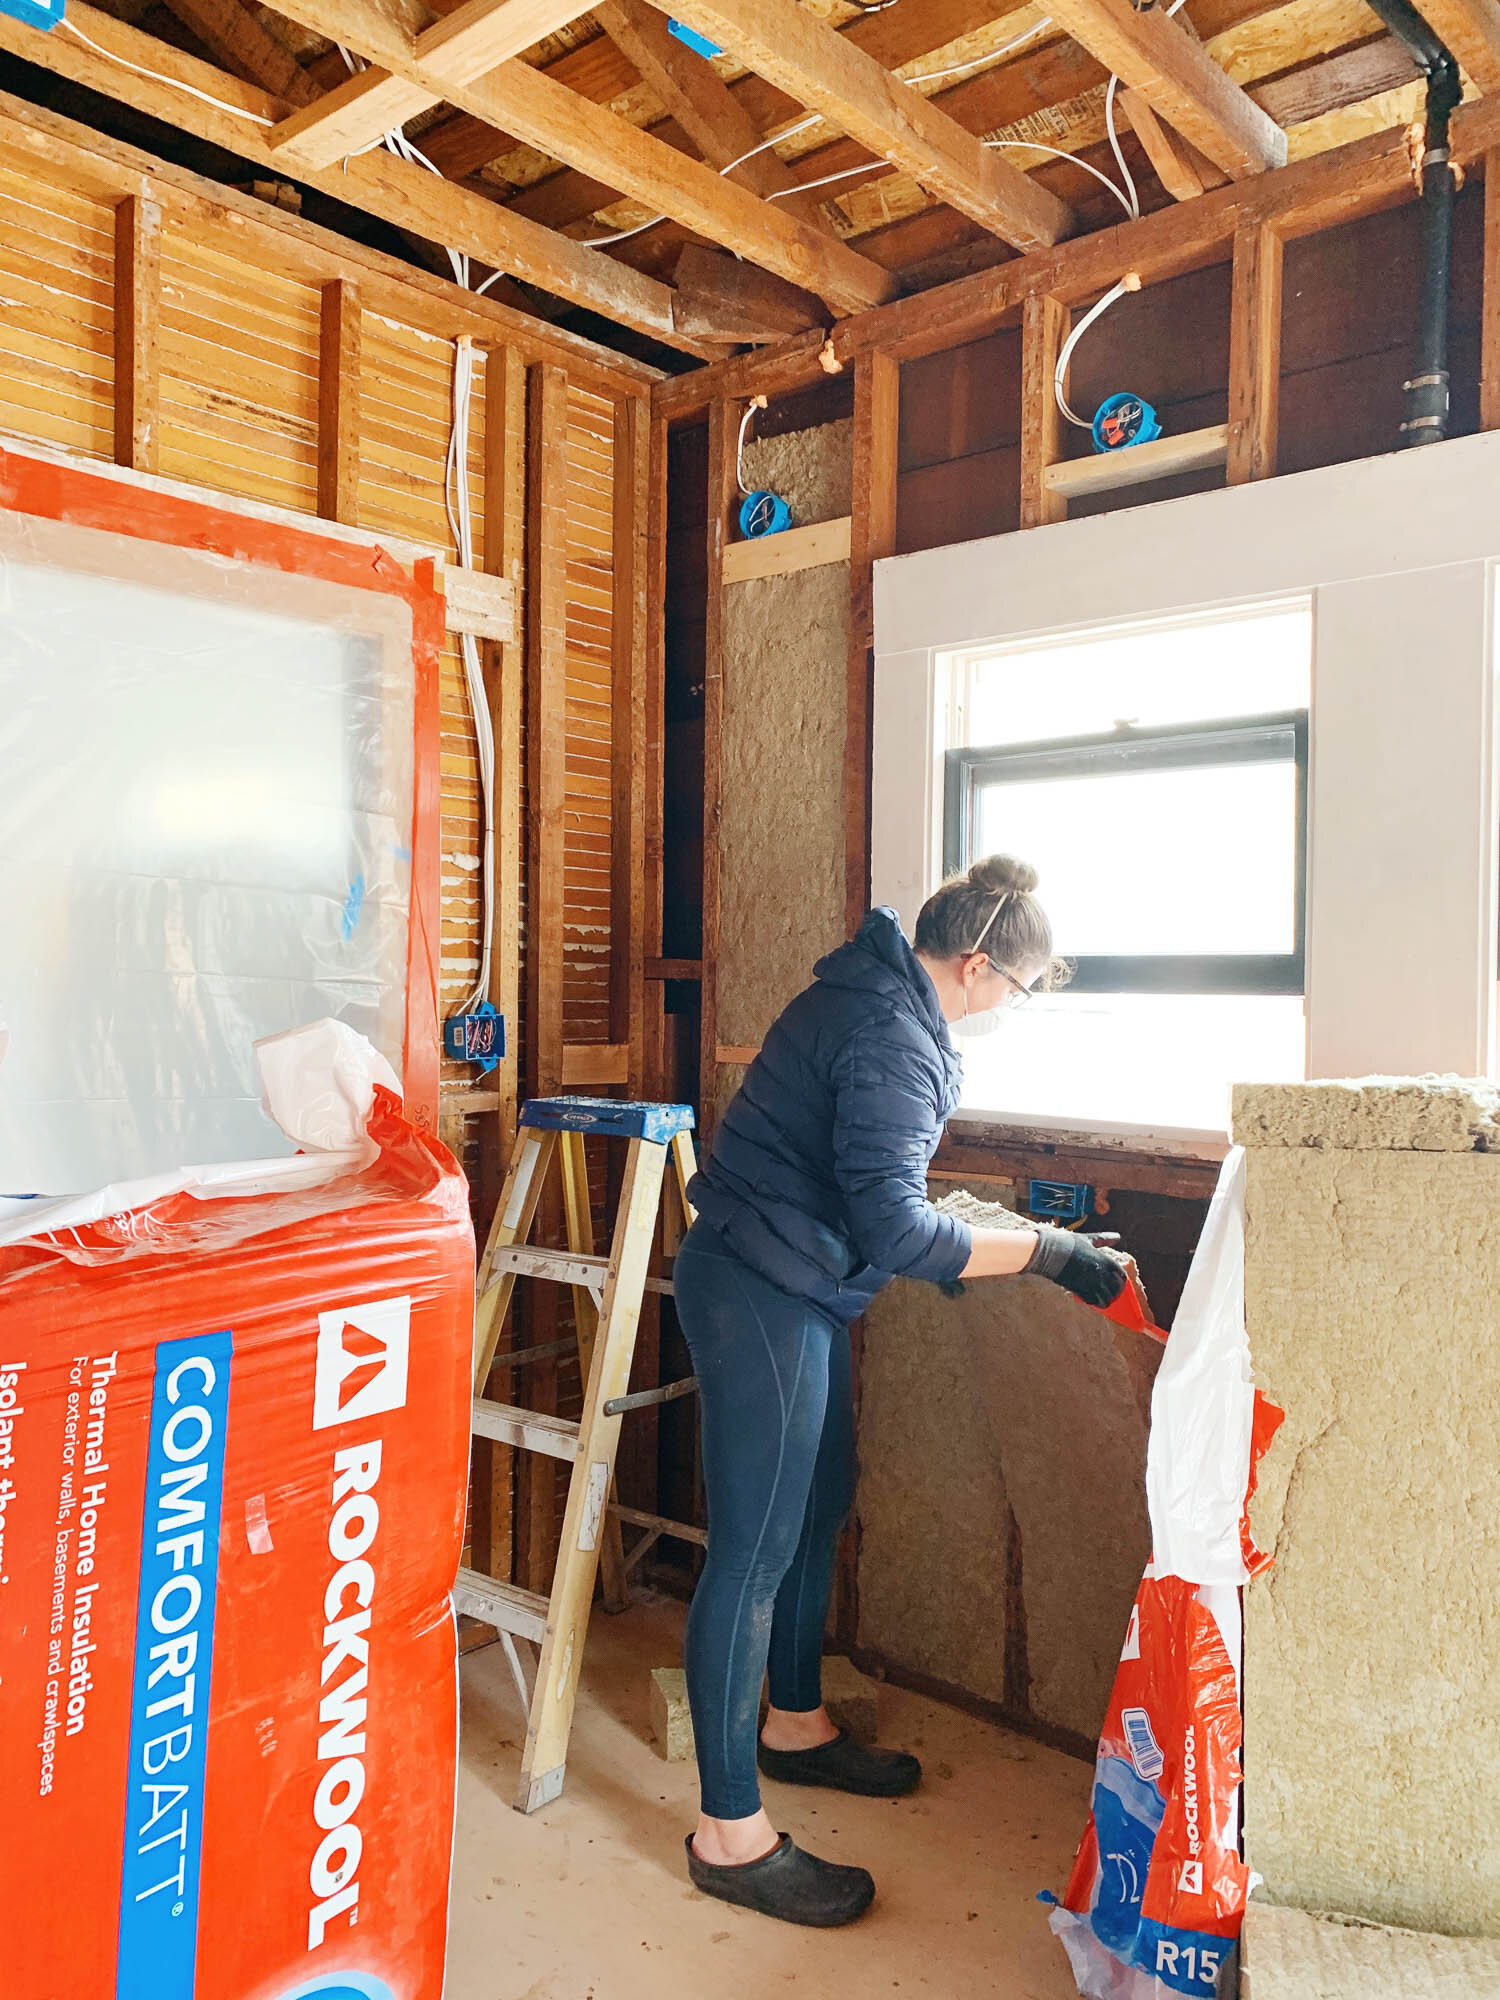
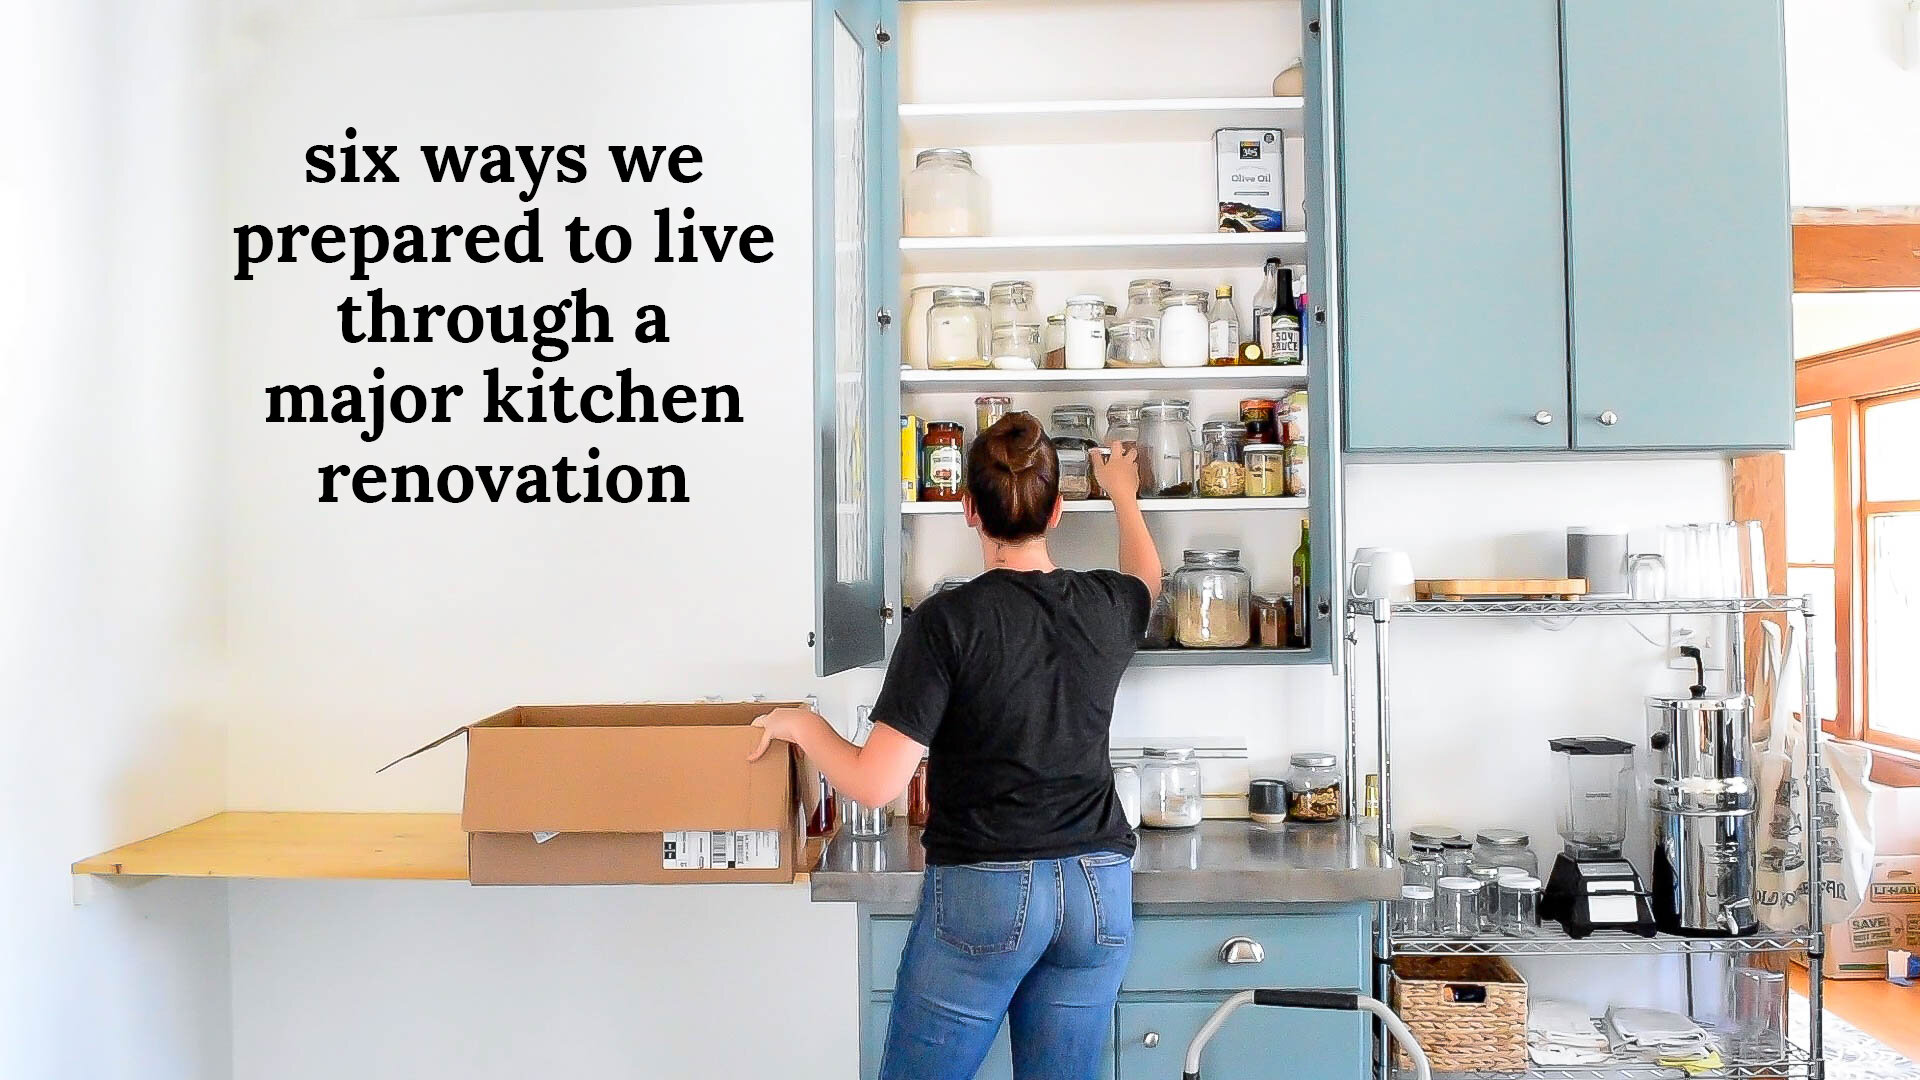
Six Ways We Prepared To Live Through a Major Kitchen Renovation
/Demolition has officially begun on the kitchen this week - yaayayayyay! I’m sharing all of the play-by-plays on Instagram Stories so please follow along there for the most up-to-date happenings. But before demo commenced this week, we did lots of prep work to get ready for the big day. With a goal of being tidy, efficient, and eating healthy, we took a few steps to maintain our sanity while living without our cooking space for a few months. Here’s what we did.
1. Tidy the rest of the house outside of the kitchen
You’re probably thinking I’m just giving you extra homework, I know. Why would you want to organize the entire house when you’re just trying to work on improving one room? Well, because construction trickles to other rooms. All of those deliveries that come in need to go somewhere until they can be installed. All of the things previously in the kitchen need a temporary home, too. If the closet or the garage or the drawers are already cluttered, there isn’t much space to store the displaced items. If that stuff doesn’t have a temporary home, it just sits on the floor for months and becomes an eyesore. Believe me - I know from past experience. The extra clutter makes the renovation stress so much worse. Try my month-long declutter and organization challenge and tips to minimize clutter here.

2. Assess all of the kitchen items
Now is the time to take a good look at what you own and see how you should plan on incorporating these things in the new kitchen. Assuming you haven’t already designed the space 100%, this is a good time to look at pain points and identify better storage solutions. Maybe even just measure your blender and take note of it so you can install your shelves at a favorable blender-height before moving back in after construction is done. While you’re at it, declutter those items so you don’t need rather than packing them away only to find you don’t want them. Donate donate donate!

3. Box up and store the seasonal stuff
Believe me, you’re not going to use the ice cream maker, the deviled egg tray, the holiday plates, or that difficult-to-clean juicer when your kitchen is destroyed and you only have a tiny sink or a backyard hose for cleaning. Box up those things and store them away in the attic, the garage, the car, your mom’s house, your office, wherever. Get those things out of the way! I did this about 3 months before doing the kitchen demo. It’s an easy way to feel like you’re getting started on the project without making a mess. (If you’re doing this way in advance, apply step 6 to these items)
4. Eat the pantry food
Give yourself a few months to eat up all of the things in the pantry. Pay close attention to things that will expire during the renovation and be sure to use those up. Make use of them by trying new recipes! Maybe even take advantage of step 5, too! I did a pretty decent job of eating things in the pantry (eating is my hobby) but I did have a few potatoes and squash and perishable baking items left over so I gave them away to neighbors on my Buy Nothing Group.
5. Prep frozen meals
We aren’t big on frozen freezer meals. It’s just not a habit we’ve gotten into and we tend not to make a lot of meals that keep well like that. However, we made and froze soups, vegan lasagna, sourdough english muffins, bread, burritos, and a few other snacks and quick meals. We don’t want to spend a lot of money on eating out and we don’t want to end up at our local taco shop every day, so this will hopefully provide us with some healthful home-made meals that are cheap, low waste, and free of preservatives. We’re also going to lean on our friends and family for their kitchens while we are without ours. We’ll probably steal all of their leftovers and also cook a few meals with family.

6. Deep clean all the things
Of course, make sure things are clean before storing them away. But I also recommend really deep cleaning all the things that will be in use while the kitchen is a mess. I removed the stains from the wine glasses, I soaked the blender in vinegar to freshen it up, and I removed any tarnishing from silverware. My logic was that I wouldn’t want to be fretting about the messy things when I don’t have a sink or the space to do deep cleans. There’s enough of a mess during construction so having super tarnish-free silverware is going to help me maintain some semblance of clean control.
Before removing the things you’ll donate - clean them! Run the dishwasher with some vinegar before you give it away, scrub the stove, and remove the build-up from the faucet. It will be far easier to clean those things now than when they’re piled in the backyard and you have no sink.

I realize I titled this post as having six things we did, but actually we did seven. I just can’t count, I guess. Oops!
7. Set up a temporary kitchen
I’m going to share more about this after we’ve lived with our temporary kitchen for a few weeks. But basically we cleared out as many tchotchkes as we could from the dining room, then moved the kitchen items in. We aren’t going to use single-use plates/utensils/cups/etc. so we need dedicated homes for our kitchenwares. We put those items in the drawers of our hutch, we set up a folding table with an electric hot plate, a microwave, and a toaster oven. Then we set up a metal rack to house all of the pantry items we’ll still use. We moved the refrigerator into the dining room and we’ll use the table as a prep surface. It should be all we need for making some simple meals! The biggest challenge is the lack of a kitchen sink. We’re using the bathroom sink and tub plus the outdoor hose and plastic bins for cleaning things, but we’re probably going to set up a temporary utility sink once the demo is done.
And that’s what we’ve been doing the last few months leading up to demolition! I’m sure I’ll learn other coping mechanisms and tricks for actually living through the renovation and navigating my temporary kitchen, so I’ll be sure to share that with you when the time comes.