We Hit Two Snags And Had to Refinish Our Floors Twice - A Deflating DIY Fail
/Hardwood floors were installed in the kitchen and they look so good. Well, sorta. I hit a snag - literally. And then hit another snag - figuratively. Uuuuugggghhhh.
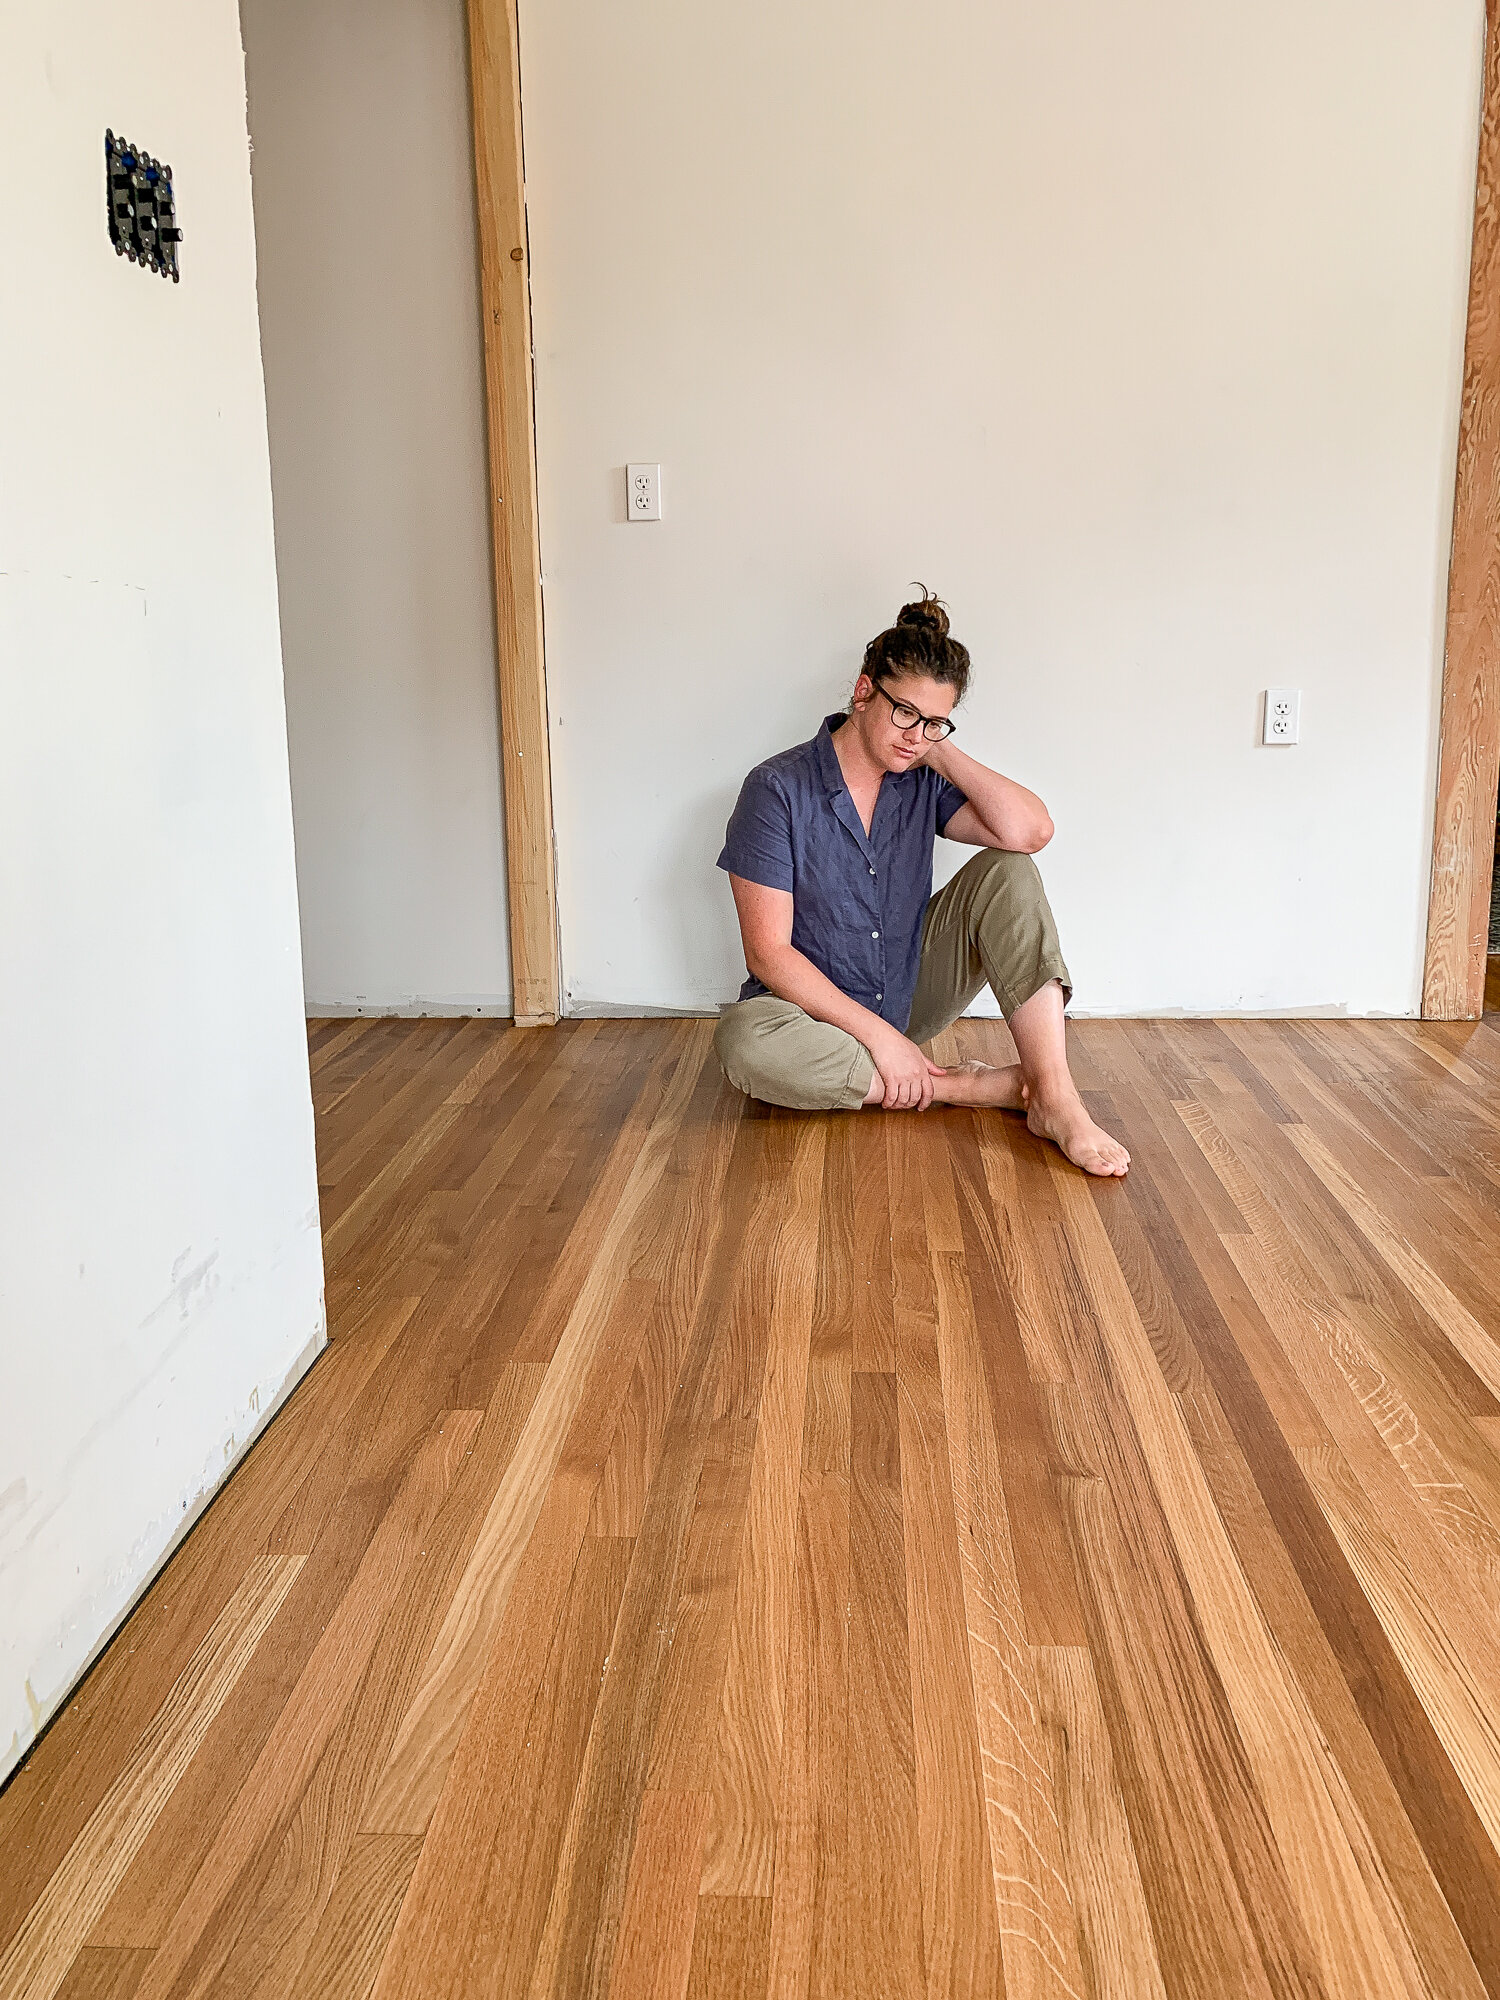
Above is my disappointed face. It actually isn’t all that dissimilar from my resting face. Or even my happy face. But this surely is me truly bummed about the situation.
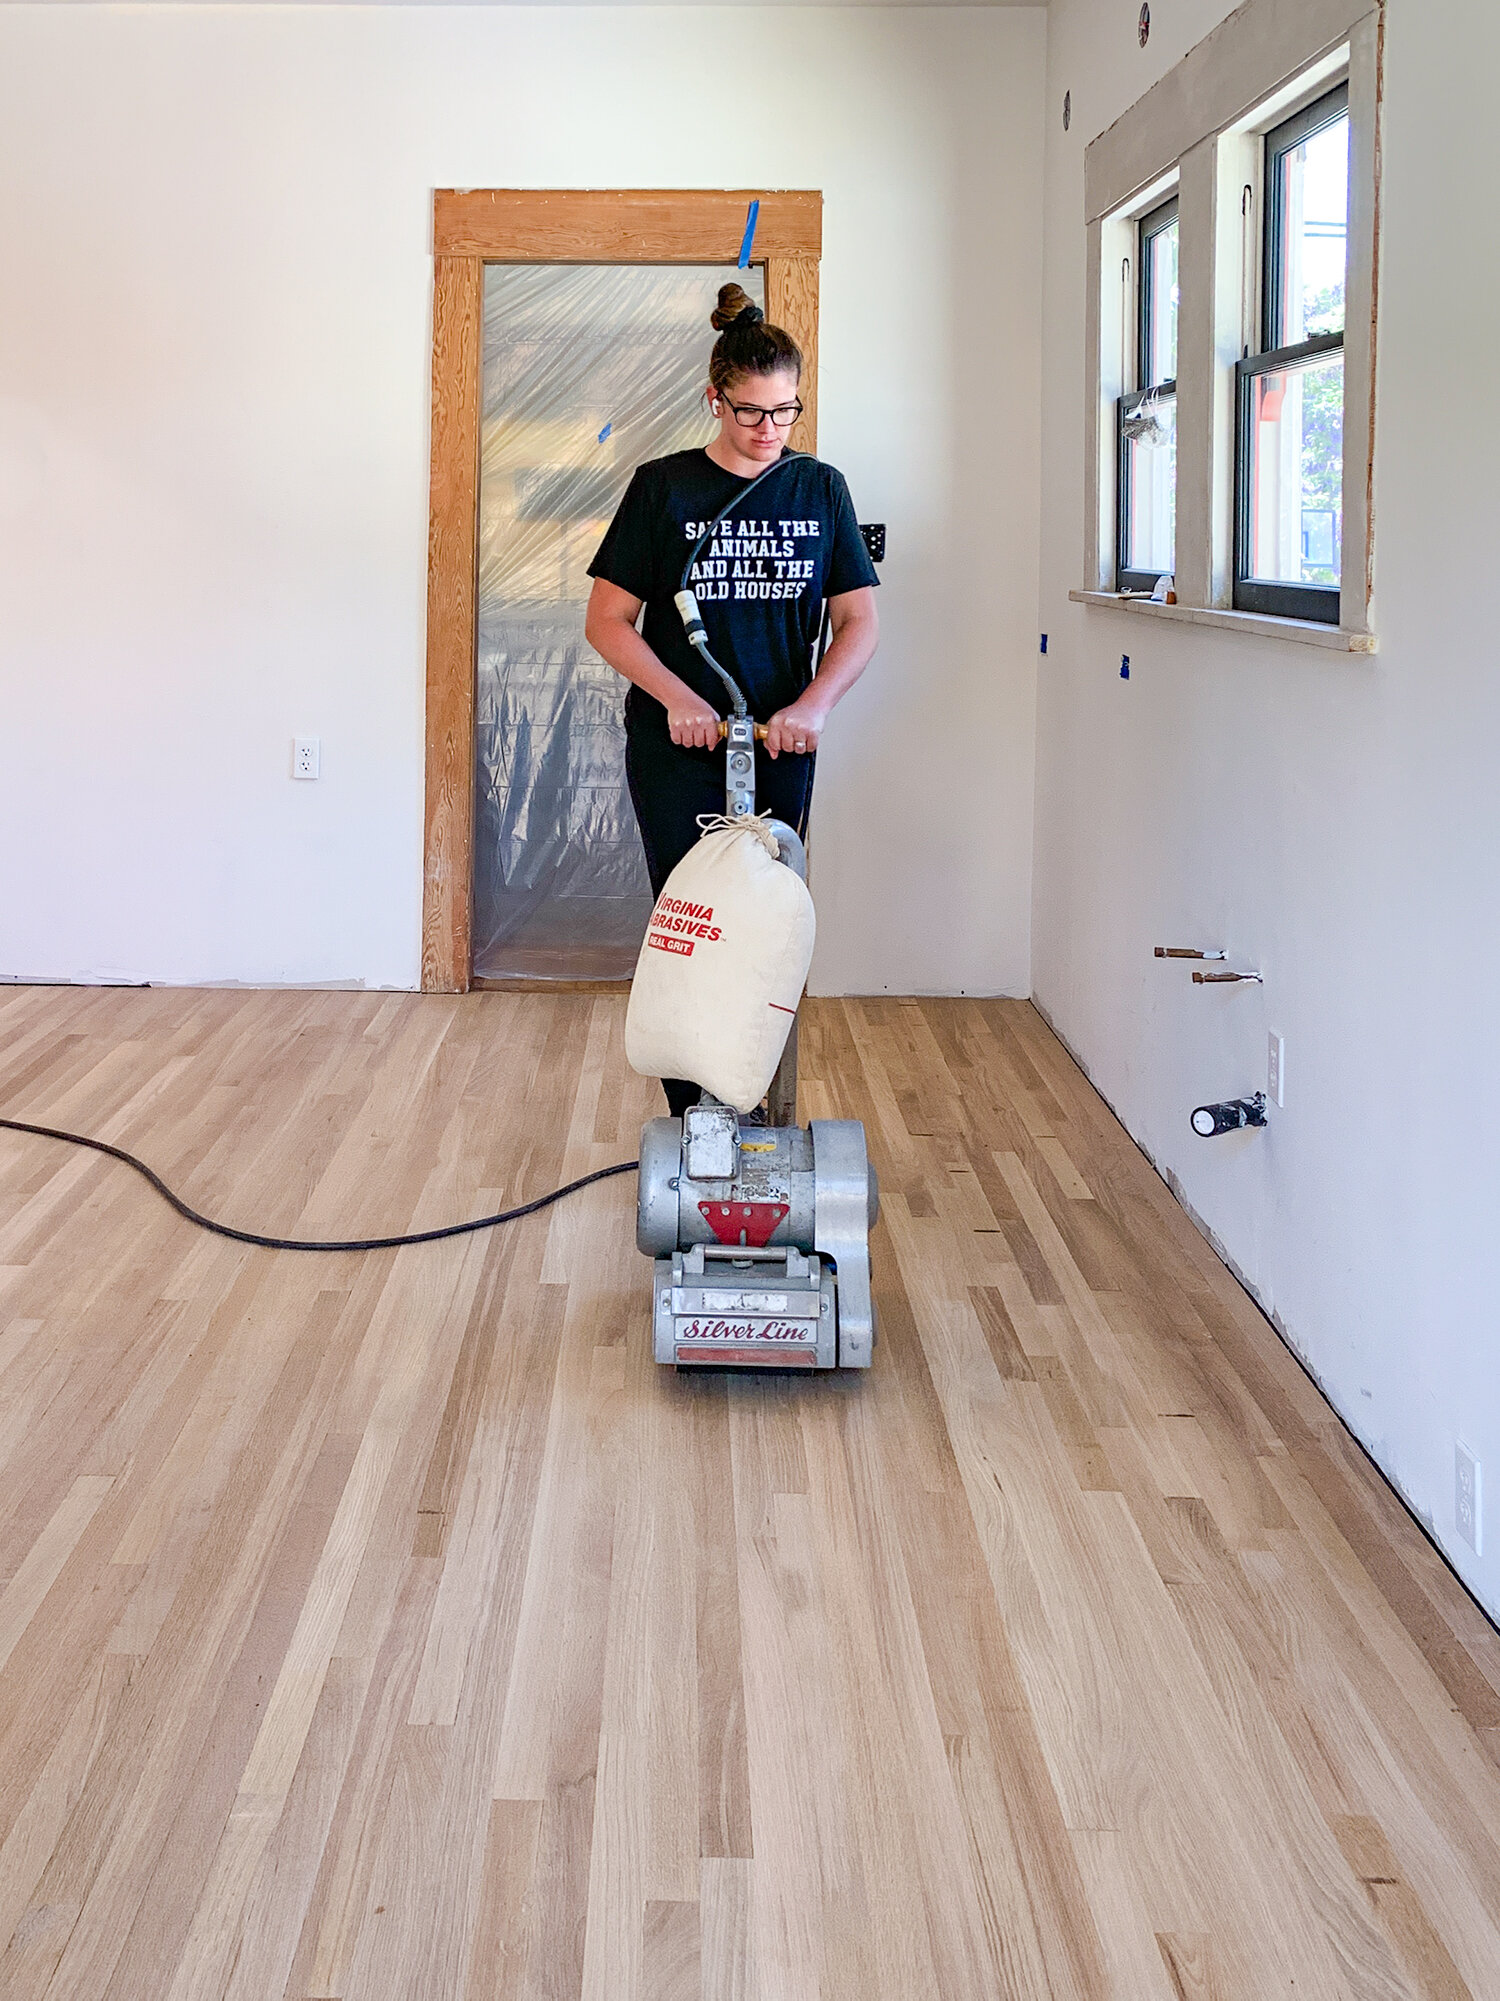
I’m not planning to write a tutorial blog post about the floor finishing because there are so many of those online, and I’d rather jump into what happened next. But, if you must know, here’s how you finish floors: you sand, sand, sand, and sand, then clean, then seal. I did put some video clips of this process together in a 15-second long video clip here.
And if you missed it last week, you can watch my full video tutorial of the installation here.
The floors are done. I should be thrilled. But I’m not.

The first issue came about when we were buffing the finish on the floor and a teeny tiny splinter on the side of the board got caught on the applicator pad. As the buffer spun, it tugged on the splinter and ripped a big chunk out of two floorboards. Above is what damage can be done with a teeny tiny nearly-microscopic splinter can do. I salvaged about eight teeny tiny pieces of wood and puzzle pieced them back in place. You can see above that it didn’t fill it in all perfectly so the damage is still noticeable. Ugh.
Did I mention that this damage is directly in the middle of the floor? Right in the main foot traffic area. Not underneath a future rug. Not hidden under a cabinet. Smack. In. The. Middle.
I was pretty sad about it. We had come so far with the installation and were nearly done, then this. Not only is it a cosmetic issue, but I could already anticipate years of having to be careful in this section of the floors. The finish we used was a penetrating sealer, so it doesn’t coat over the top like polyurethane to seal the gaps. The gouges would be only filled with wood filler. I could just imagine years of getting splinters in my feet, having to vacuum it extra well but also extra sensitively, having to use tweezers to pluck lint out from it. Ugh. I was not looking forward to this at a time when I should be rejoicing about a job well done.

Anyway, we put the splinters back in place, filled with wood glue, and then put a bunch of pressure on the spot by wedging a piece of lumber in between the ceiling joist and the damaged floor.
After the glue dried, we’d sand, wood fill, and refinish that section. I’ll show you the end result in a bit.
Now, for the next snag in the floor finishing process.

Do you see those horizontal stripes in the floor? Those aren’t supposed to be there.
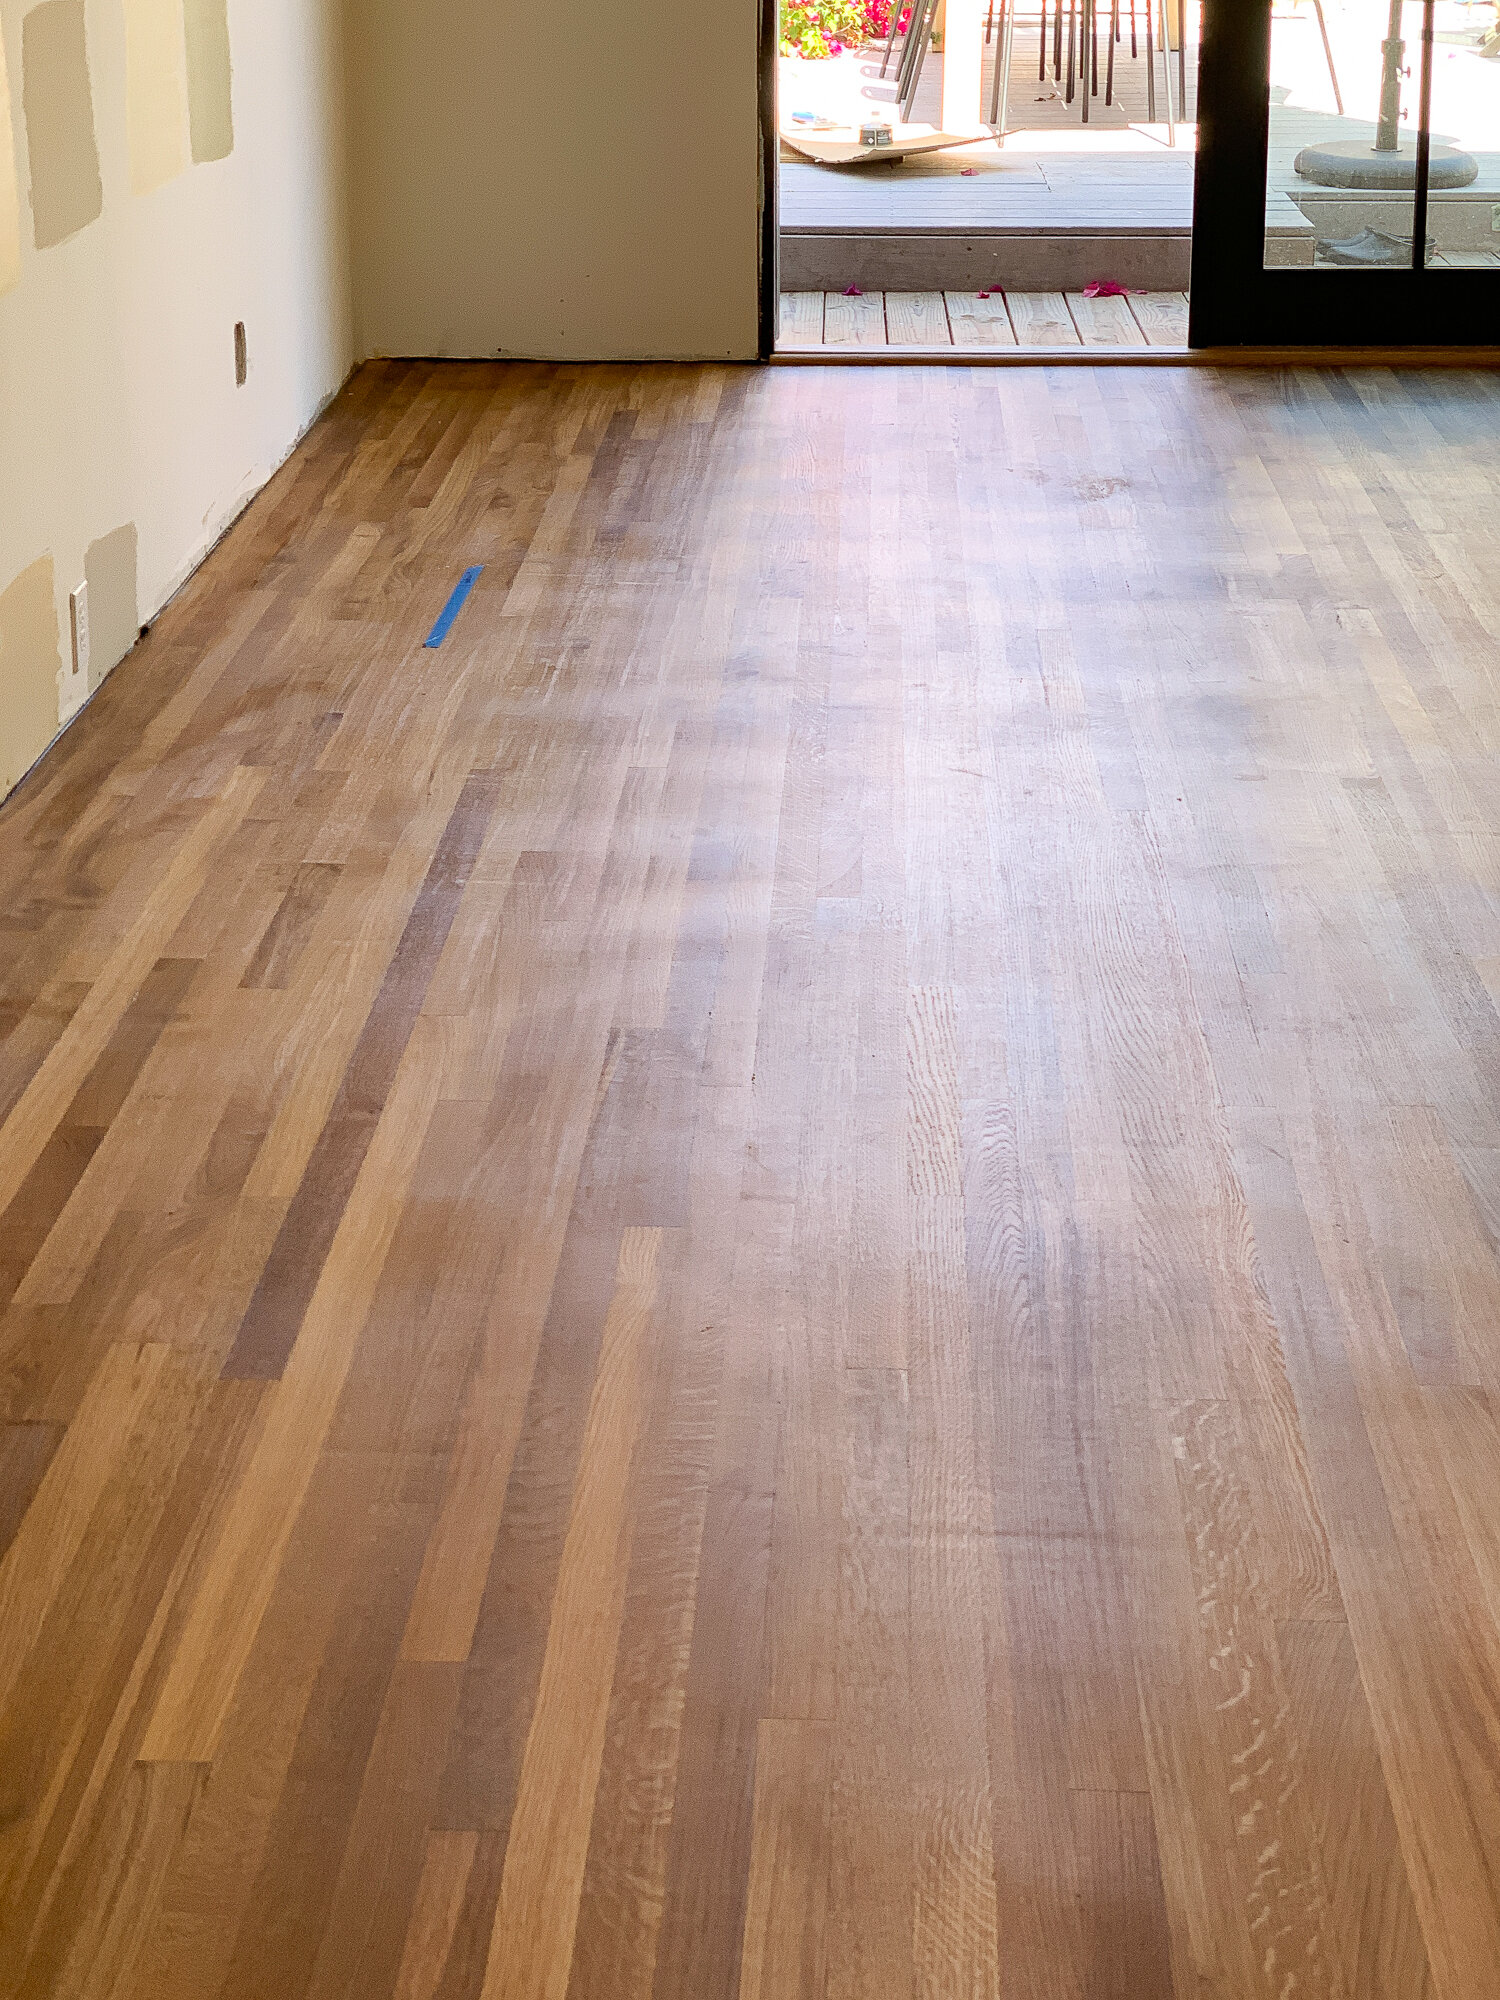
Here’s another angle. Ugggggh. I couldn’t enjoy the floors because I was so distracted by this weird stripe pattern in the flooring.
I realize I didn’t to a perfect job on the floor sanding. There’s a blemish in the foreground, I know. It was my first time sanding floors and the process is definitely error prone. It looks like and feels like an easy process, but it’s also super easy to accidentally gouge the wood with ever so slightly too much pressure. I’m not pleased with those marks, but I was willing to look past it.
But those foggy stripes - what in the world! I can’t get past those. I reached out to the sealer provider and they blame the sanding. But I just can’t imagine that I managed to make stripes all the way across the floors when I was sanding perpendicular to those stripes. When I said it couldn’t be the sanding, they said that maybe we didn’t buff the product off enough and there was excess material on the floors. But I can’t imagine that’s the case either. This product can be buffed off with just your hand and a terry cloth towel. We buffed with a big flooring buffer and buffed a lot! How could a using a buffer repeatedly leave excess material like that? At the end of the day, I don’t like the marks. And I couldn’t ignore them because they were highlighted with the glorious light streaming in from the beautiful french doors. Woe is me.
I really don’t know what happened. Maybe it was all my fault. Maybe it was the product. Maybe it was a fluke. Maybe it’s because 2020 is full of mean surprises.
There were a couple of options for moving forward:
Move on and live with it hoping that I don’t notice the marks over time or hope they magically disappear. Then refinish in a year if I still hate them
Try to reapply the same sealer and hope that fixes things. If not, sand and re-seal with the same sealer.
Sand it down myself and apply a different sealer like a polyurethane
Hire a professional to sand and refinish
Option 1 wasn’t really in the cards. It would be SUCH a pain to refinish the floors after the cabinets go in, and I also couldn’t bear to look at those floors. They were such a big reminder of a DIY gone wrong. I can live with making mistakes, but I can’t live with not fixing them.
As for option 2, I lacked confidence in being able to fix it by repeating the same steps I already did. Especially when I don’t know what caused the actual issue. What would I avoid? Also, what if I hit another snag with the buffer and rip up more pieces of wood??
Additionally, I was starting to doubt the product I chose. The stripe issue had me doubting the quality, but then I started to worry if I even liked it. I’m sure if it weren’t for the stripes and the possibility of sanding it off, I’d love it and be happy with it. But when thinking about having to sand it off, I can’t help but wonder if another sealer would be a good option.
I went with an un-tinted sealer to match the same tones of my existing oak. I mean, after all, the point was to match them to the rest of the house, right! The color was perfect but the sheen was a matte finish. Which I actually loved! But, the transition from the old floors to the new floors isn’t as seamless as it could be - due to the sheen. See in the foreground how shiny and reflective the window is? But in the background there’s barely any hint of the other window’s reflection? That’s the sheen.
Again, I loved the look of the matte, and I knew the sheen would be different than the rest of the floors. But, when faced with an opportunity to start over, maybe selecting a different sheen is a worthwhile consideration. Additionally, the oil based polyurethane throughout the house has held up really really well to moisture and scuffs and drops. I knew I’d be happy with it, whereas this new penetrating sealer wasn’t something I was 100% sure about.
I pretty quickly nixed the idea of option 2 or option 3 because I didn’t want to personally do the work of sanding and sealing again. What if I messed it up again?? Plus, I’d have to rent the tools and/or pay my friend to help me, so I’d be spending money anyway. Money that I was hoping to save by DIYing.
I decided to go with option 4. I paid someone to come out and re-sand and re-seal the floors. I also decided to go with an oil-based polyurethane to match the finish, sheen, and hue of rest of the floors.
The flooring guy I hired said we did a great job installing and sanding the floors (minus a couple little gouge marks). He said I should be so proud. He could tell I was feeling deflated. Like, really deflated.
I felt like a poor DIYer. I felt like I fraud teaching DIY on the internet. I felt like I wasted time and energy messing up the floors by thinking I was good enough to do it. I felt like I let Ross down by having to spend more money by hiring out. I felt a loss of pride in being a woman DIYer that needed a dude come fix my mistake. I felt annoyed delaying the renovation even further. I just felt frustrated with the whole thing.
This process also happened amidst a pandemic, after months of no kitchen, after the cabinets fell through, after months of Ross not working, as national politics felt particularly heavy, and as things were just feeling all-around rough. Everything came to a head and I was feeling blue about it. I don’t say this expecting pity - quite the opposite. I just want to be honest about the happenings and my personal experience. Renovations can be hard and things can go wrong - even more wrong than this! It gets emotional, and sometimes it just takes one straw to break the camel’s back. This process was the straw, and 2020 is the camel.

After I moved past the emotional let down, swallowed my pride, and accepted the increase in renovation costs, I called in a professional. He charged me $968 to sand down the 242 square feet of floors and apply three coats of oil-based polyurethane.

And I’m so glad I did. The stripes are gone! My amateur floor sanding blemishes are gone! And the floors look amazing!
Just look at that beautiful sheen and the way the light casts so perfectly on the finish!

I mean, look at those babies! That grain! Oooh la la. It’s amazing what an improved finish can do for the flooring itself. No longer am I distracted by a hazy mess, I’m looking right at the beautiful grain in those quarter-sawn pieces.

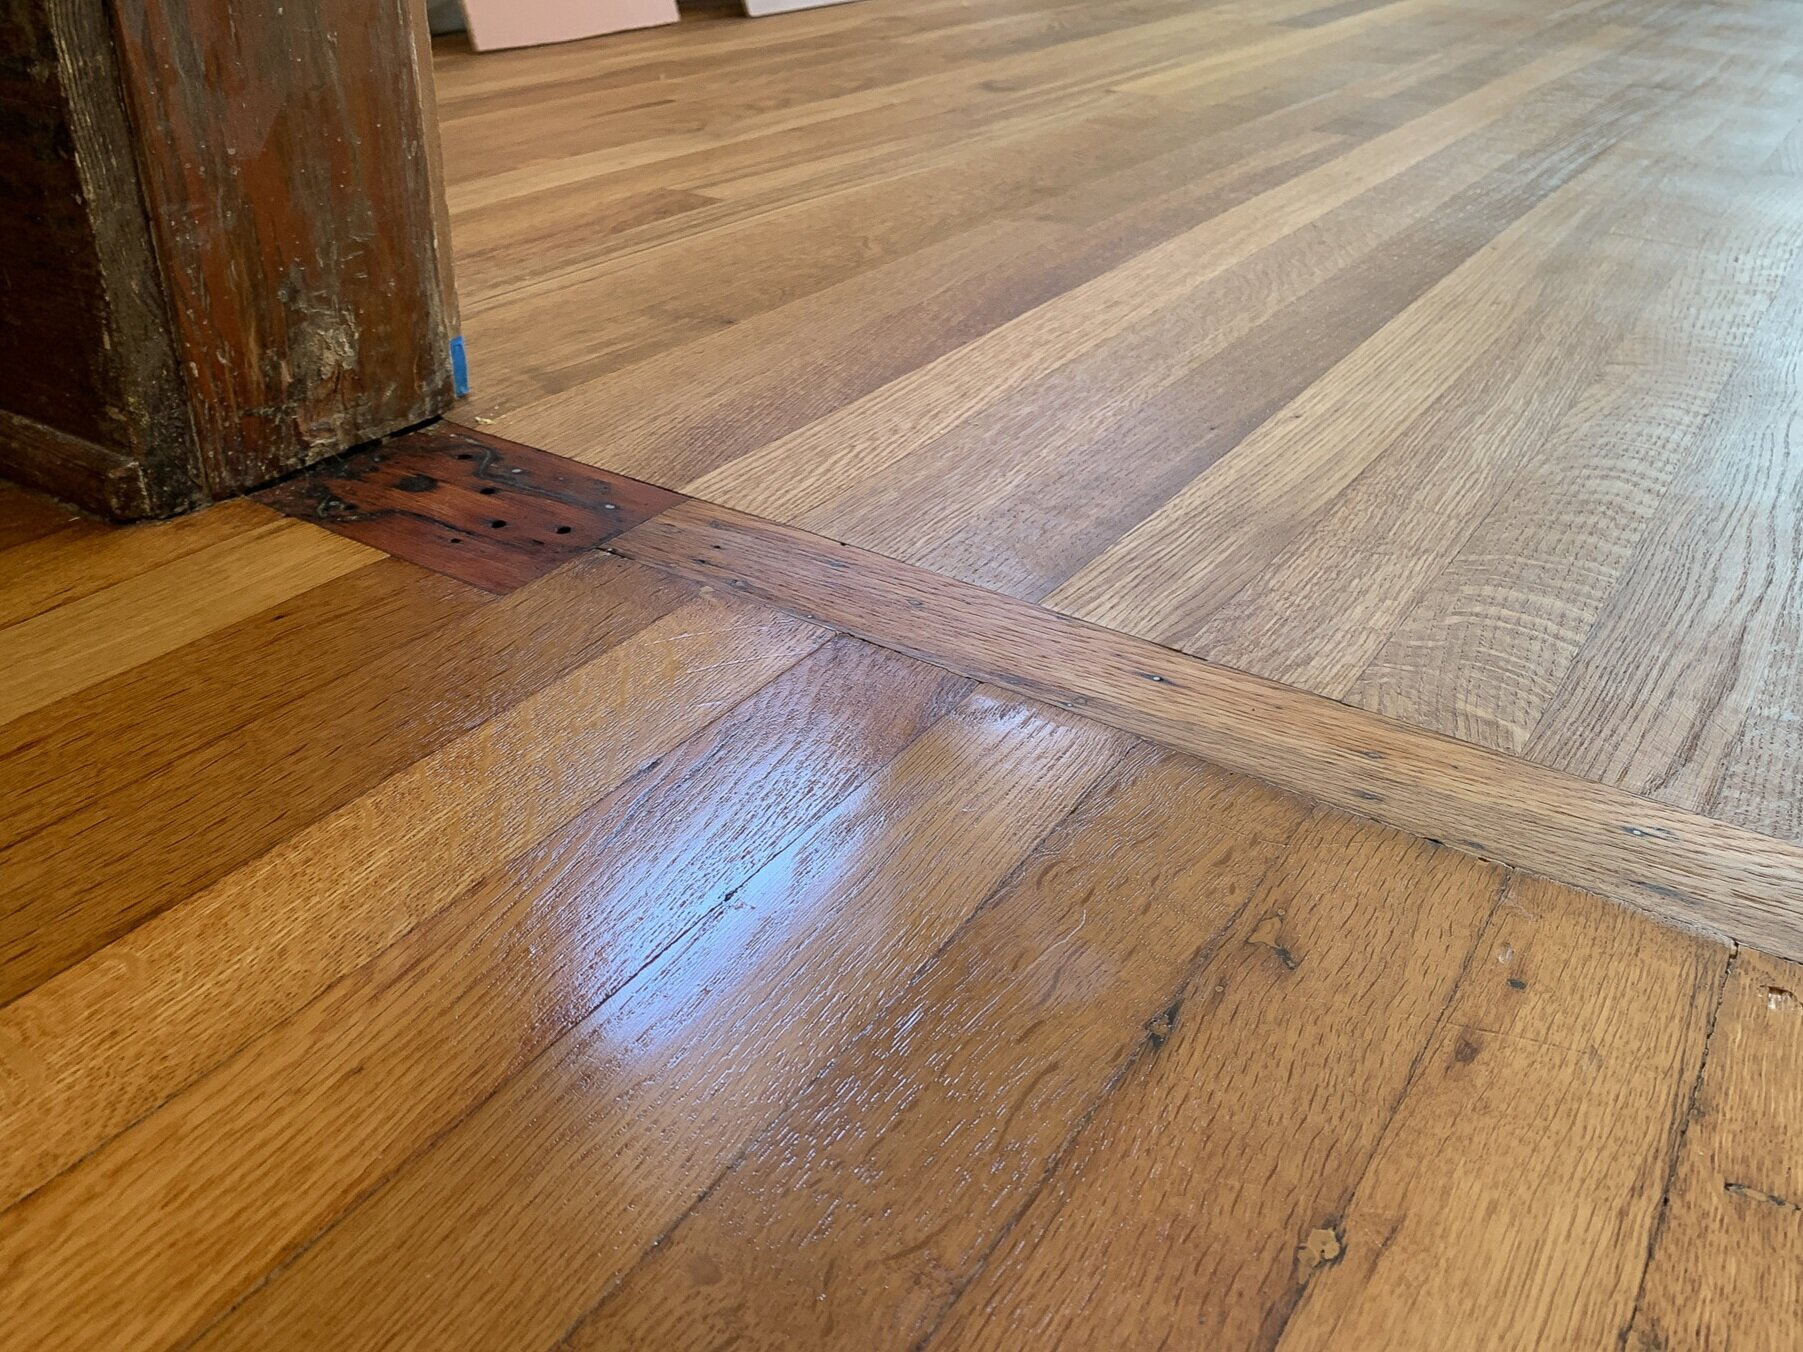
And the splinter snag blemish? Here it is now. You can still see that something weird happened there, but it doesn’t jump out at you like it did before the repair. And I most certainly won’t be getting any splinters from that spot, either.
I wanted to take pride in doing this project as a DIY, so it was frustrating to end up hiring it out. But, there’s no shame in hiring a professional! They know what they’re doing, and there’s value in having a specialist do the specialty work. There’s also something to say for supporting your local artisans and learning from the pros!
And there you have it. The flooring saga that nearly broke me. It didn’t go as planned, and the outcome isn’t what I was expecting, but alas. I’m so pleased with the finish and couldn’t be happier to be setting cabinets atop these shiny new hardwoods.