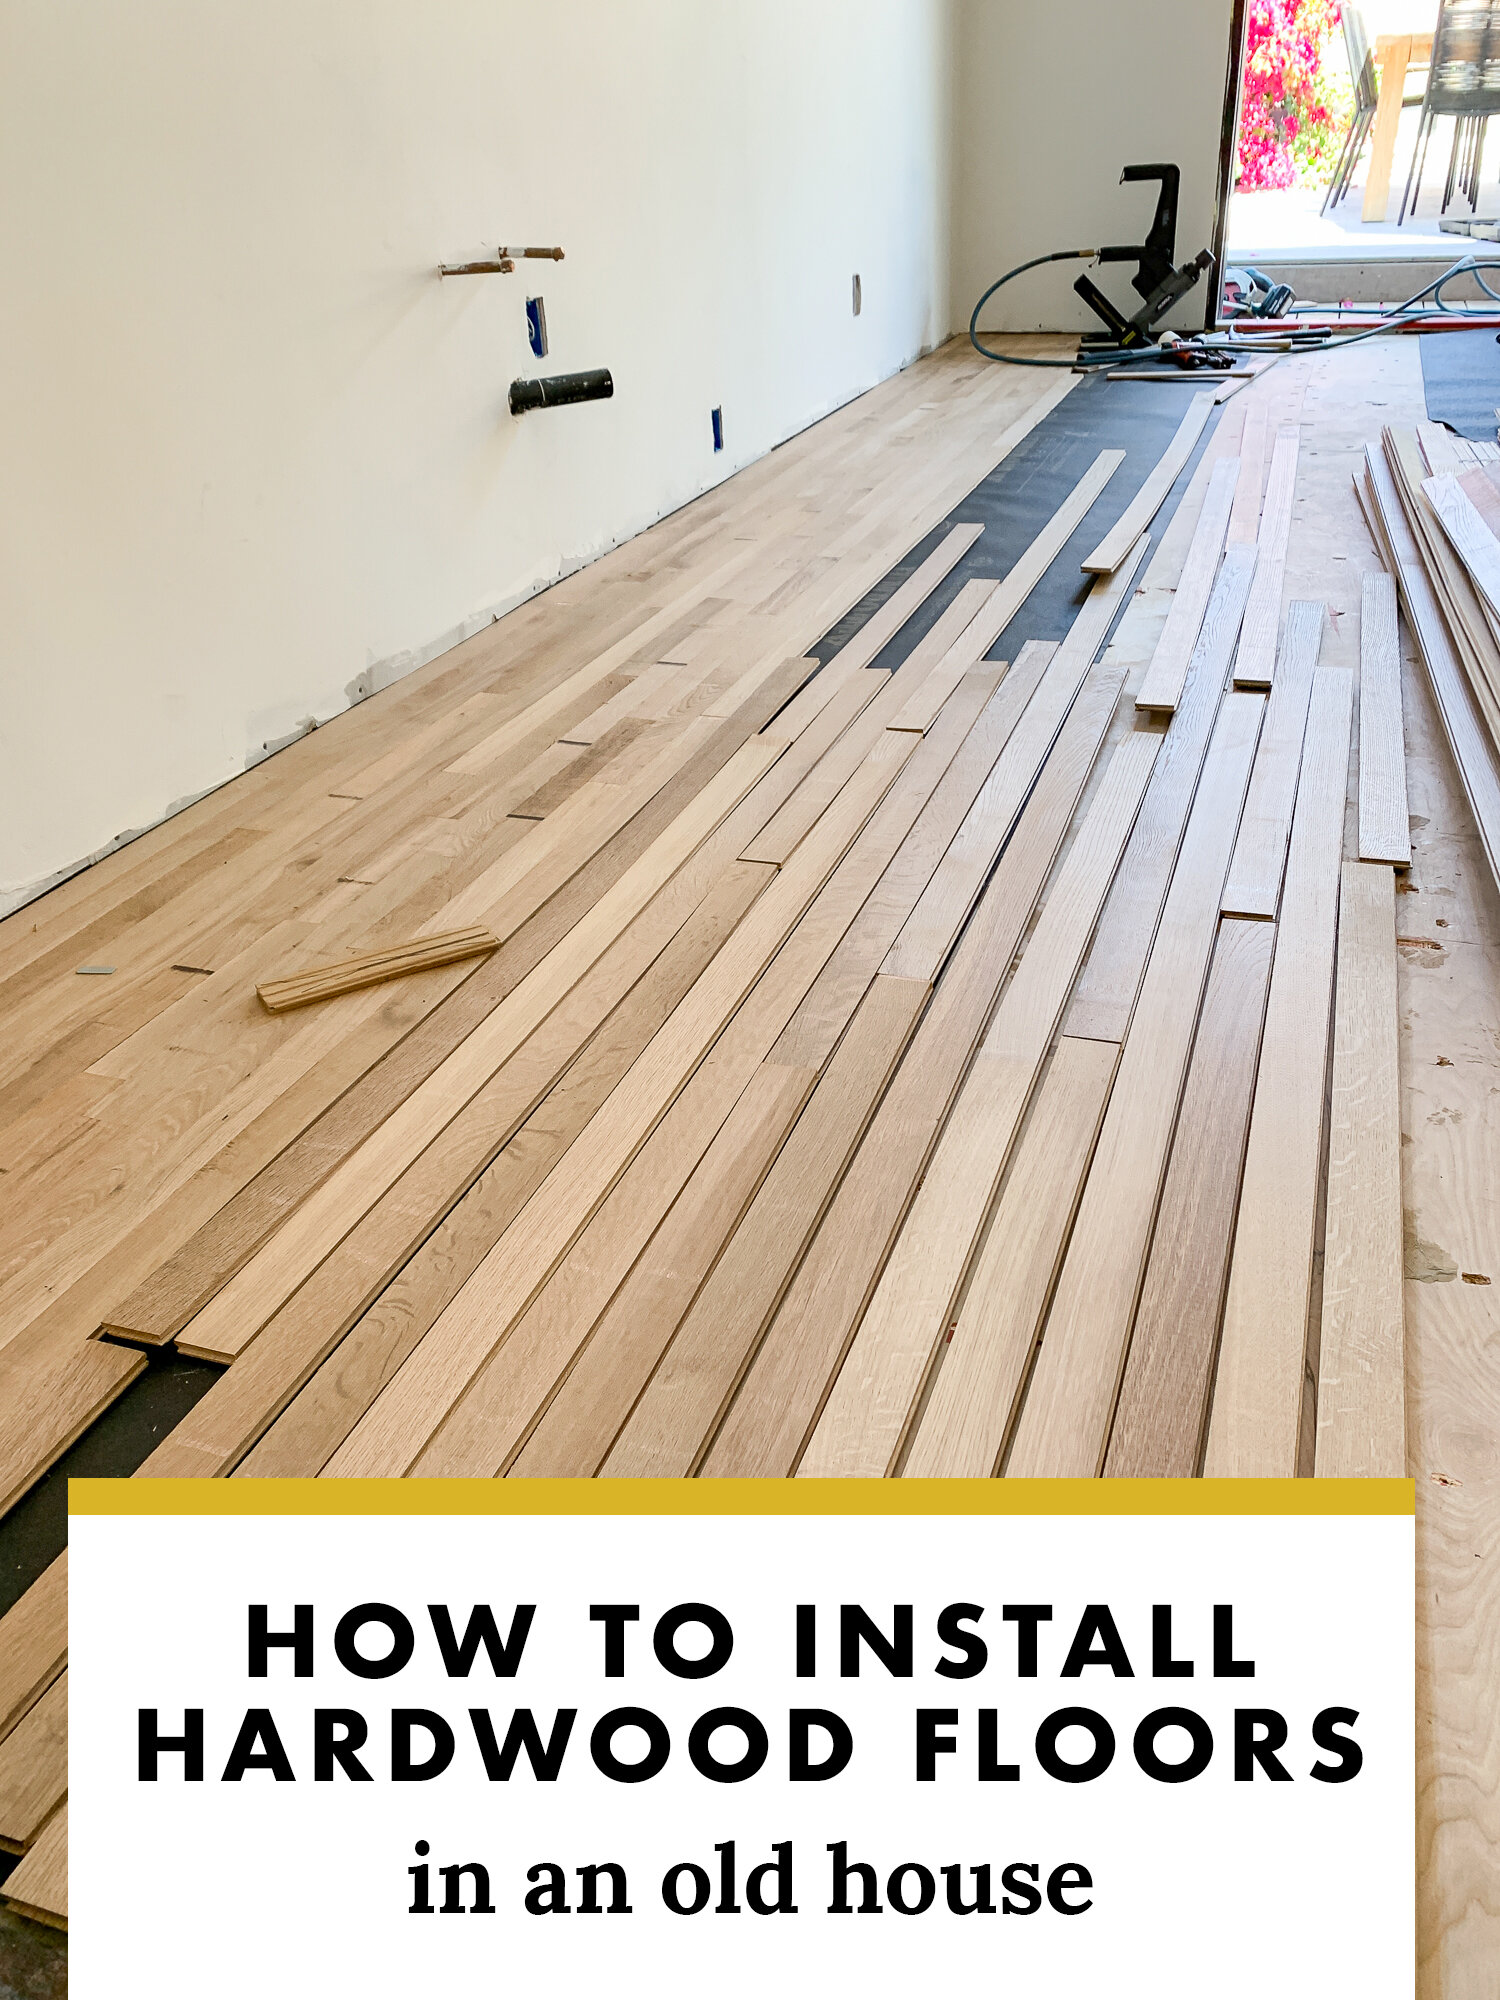
Installing New Hardwood Floors in Our Old Home + Vlog Video
/Our home is full of old-growth hardwood flooring that I adore. When faced with picking a new floor for our kitchen renovation, matching the existing hardwoods was a no brainer. Here’s the story of the sourcing and installation process.
I filmed an installation video and talked about the process along with some fun time-lapses and a pretty painful blooper, too! I’m not sharing these on Instagram, so if you like my videos where I share info and fun project progress, you’ve gotta tune in to the video below!
After the video, I’ll break down some of the details on the flooring process in text.
Watch The Video:
If that video isn’t loading properly, click here.
Did you catch the video? I love making these and I think video captures something text can’t, so I promise it’s worth a watch in addition to what I’ll share below.
Why and which kind of wood floors
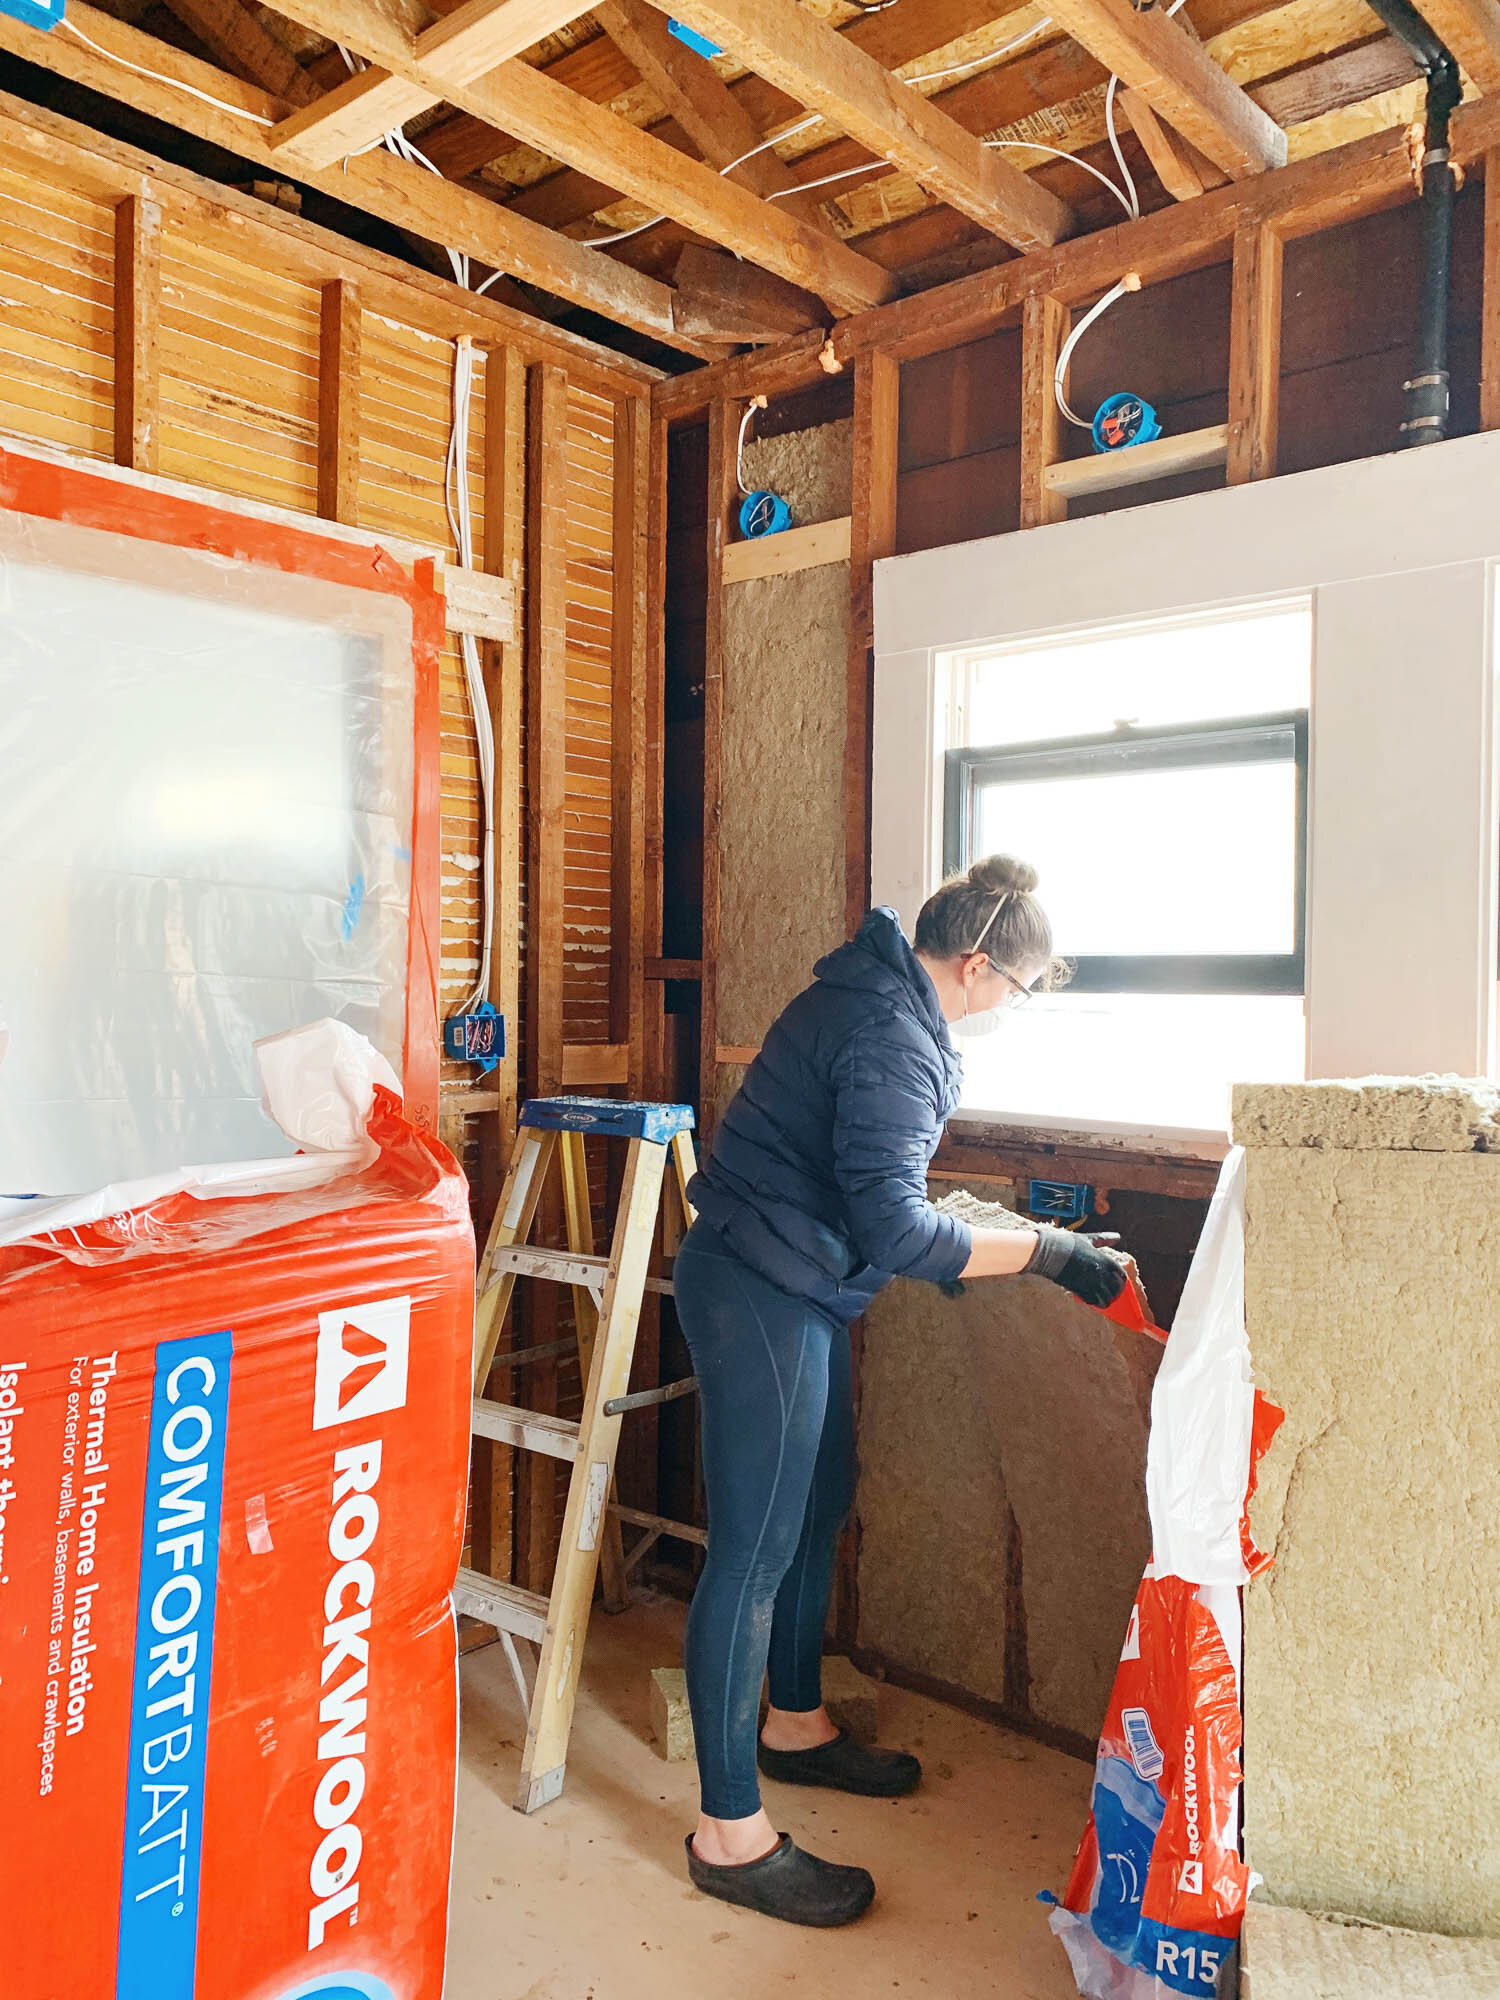
To back up, our original kitchen had fir flooring. But every single board was gnawed on by termites. The previous owner filled it in with putty, and then I covered them up with sticky tiles. When we demoed the kitchen, the termite damage was even worse underneath. The buggers ate through the floor, the subfloor, and the joists. Salvaging the fir wasn’t in the cards. I’m a big proponent for restoring old floors, but serious termite damage is just beyond restoration.
I was pretty set on adding wood back into the kitchen. It isn’t the most popular opinion, but I appreciate the softness of wood floors underfoot. Remember the 1914 book that referred to tile floors as “death to china”? That’s a case for wood, too!
I spent months looking for salvaged flooring that was identical to what we have in the rest of the house. I found a lot of old maple and reclaimed pine, but no salvaged tongue and groove 2” wide x ½” thick rift and quartered white oak. And especially not any that was in perfect condition and available with 300 square feet worth of wood. It was a pretty specific search, and I tried for over a year to get my hands on the floor, but with no luck.
Committed to finding the exact type of wood and the exact size, I started sourcing new lumber. The tricky thing is that most places that sell direct to consumers (big box stores, flooring centers, and renovation product websites) don’t sell the exact same type of floor. The biggest challenge was finding rift and quartered wood. Here’s what I mean.

It’s easy to find plain and live sawn lumber, but rift and quartered are often special ordered. It’s more costly to cut lumber like this, so it’s not the most available. But also, look at how pretty it is! These photos don’t do it justice, but know that quartered wood is some of the prettiest lumber out there. It literally glows.
I couldn’t get my hands on this kind of wood as just a homeowner anywhere from a local lumber yard because I need a flooring contractor’s license. But I wanted to install them myself and therefore didn’t need a contractor. I hunted and hunted and finally found them online at a website that sells directly to consumers! Flooring.org is so perfectly named, and carries the perfect flooring I needed: 2"x.25” rift and quartered tongue and groove white oak in random lengths. Woohoo! The folks at flooring.org were super nice, delivery was great, and the lumber was in great shape. I highly recommend them when you’re looking for hard-to-find flooring, or even easy-to-find flooring. They’re also transparent about where the floors originated - mine were milled here in the US.
Funny enough, I ordered the flooring exactly a year ago, and it’s sat in my living room ever since. This renovation has been sloooow.

Here she is just before flooring. Complete with an underlayment that I had to remove a million nails from and re-level in the corner. I’m still rolling my eyes thinking about this unnecessary work we had to put in.
Luckily, all that tedious work is behind us because the new hardwoods moved in!

Installing the hardwoods
Moving the planks out of the living room where they sat for nearly a year was a big deal. They were a constant reminder of the delays in the renovation and were becoming a bit of an eyesore. Moving them out of the living room was so great that I hardly needed to install them to get a thrill! But, you know, I gotta install those puppies!
I teamed up with a friend of mine to help get these installed. He’s a skilled carpenter/contractor that’s installed many floors. He lent me his equipment, I paid him for his time, and bought him lunch. The plan was for him to just get me started and make sure I’m all set, but then he ended up sticking around for the whole thing. I’m so grateful because this definitely does better as a two-person job. One person nailing, and one person sorting the planks. You can see our teamwork well in the timelapse of the video.

Step 1: Install a moisture barrier
I used this moisture barrier. It’s designed to prevent moisture from creeping up through the crawl space to the underside of the floors. I played around with it by pouring some water on it and testing to see how long it took to seep through. I honestly can’t remember how well it did because I got bored waiting for it to percolate through. It passed my test!
The roll cost $11 and it covered my 250ish square foot space. Well worth the price for peace of mind and long-term health of the floors.

Step 2: Establish the first course of planks
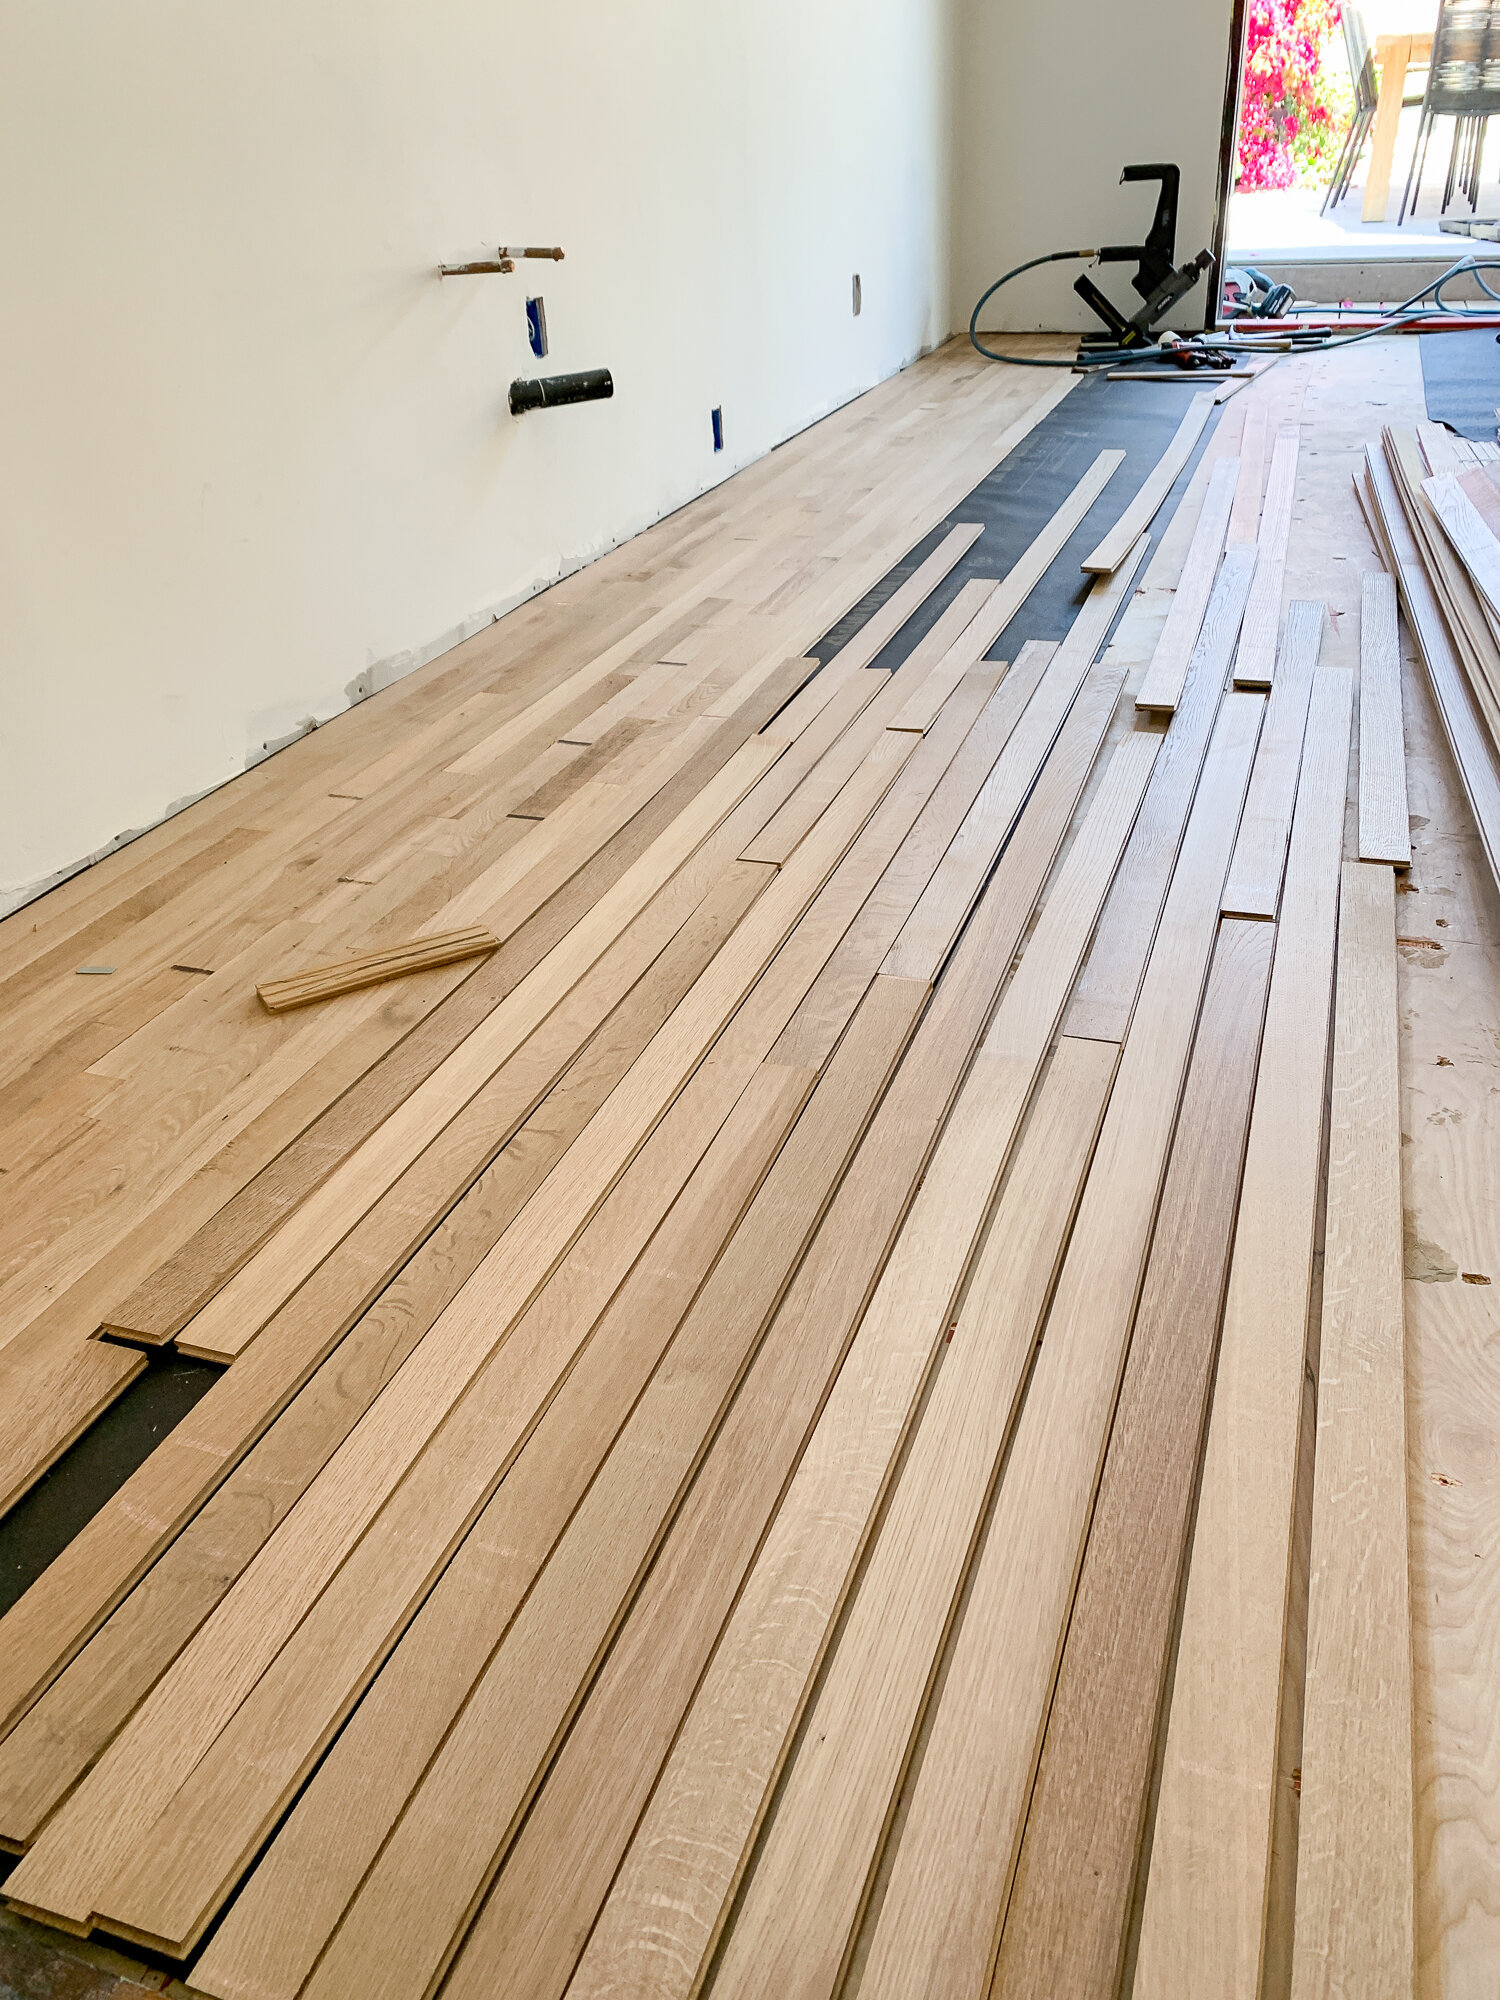
We stapled in the moisture barrier on one wall of the room and worked gradually across the floor one section at a time. We started on the longest wall, grabbed the longest and straightest boards, then went from there. Those first boards are essential in getting the rest of the boards to line up and not have wonky lines. We face nailed the first row with about ⅛” of space from the drywall for expansion, and used little 18 gauge nails. In the second and third row, we nailed into the tongue of the wood with the same itty bitty nails in the nail gun. After a couple of rows, we were able to fit in the flooring nailer. See the below photo of me with the nail gun to see how much space it takes up to nail using the flooring nailer. Again, this is demonstrated in the video.
Step 3: Sort the boards
Arranging the pieces and laying them out is just as important as doing a quality nailing job. There are a few tips I have for picking out boards and laying them out.
Open up all of the flooring and assess each and every piece. Pull out any that have mill burns, knots, gouges, or damage to the tongue. Set these aside into your “scrap pile.” You don’t want any of these damages in the floor, but you can still use them as off-cuts by just cutting off the damage, or by installing the tiny imperfections underneath cabinetry. I installed a lot of these ugly ones under my cabinets because I didn’t want to be stuck with them by the time we got to visible parts of the kitchen. In the end, it was moot because I had ordered so much excess that I could have used nicer boards under the cabs. Oh well!
When looking for damages, take the time to also sort by quality of the grain. Quartered pieces are the prettiest, variegated rift are second, and then clean straight grain was third - in my opinion at least. The idea of separating them is to ensure an even distribution of the really distinguished pieces so they aren’t all piled up in one section, and to also be sure they don’t end up in hidden corners or under cabinets. See that piece above that looks like its got a tiger’s eye pattern? I loved that one so I installed it right at the threshold where I’d see it all the time. Oh it’s so pretty!
While you’re sorting, also sort by size. It’s good to mix up the length of the boards to create movement and variety. It’s also smart to sort by size so that when you need to make a cut at a wall, you can grab a board that fits just perfectly, or only needs an inch removed. I didn’t want to waste any long boards by cutting off a 7” section then having the scrap piece that was too small to use throughout the room.
Lastly, lay out the next couple of rows that are about to be nailed. This gives you time to make sure the grain is how you want it, but also you want to avoid repeating joints. Avoid these joints circled in red!
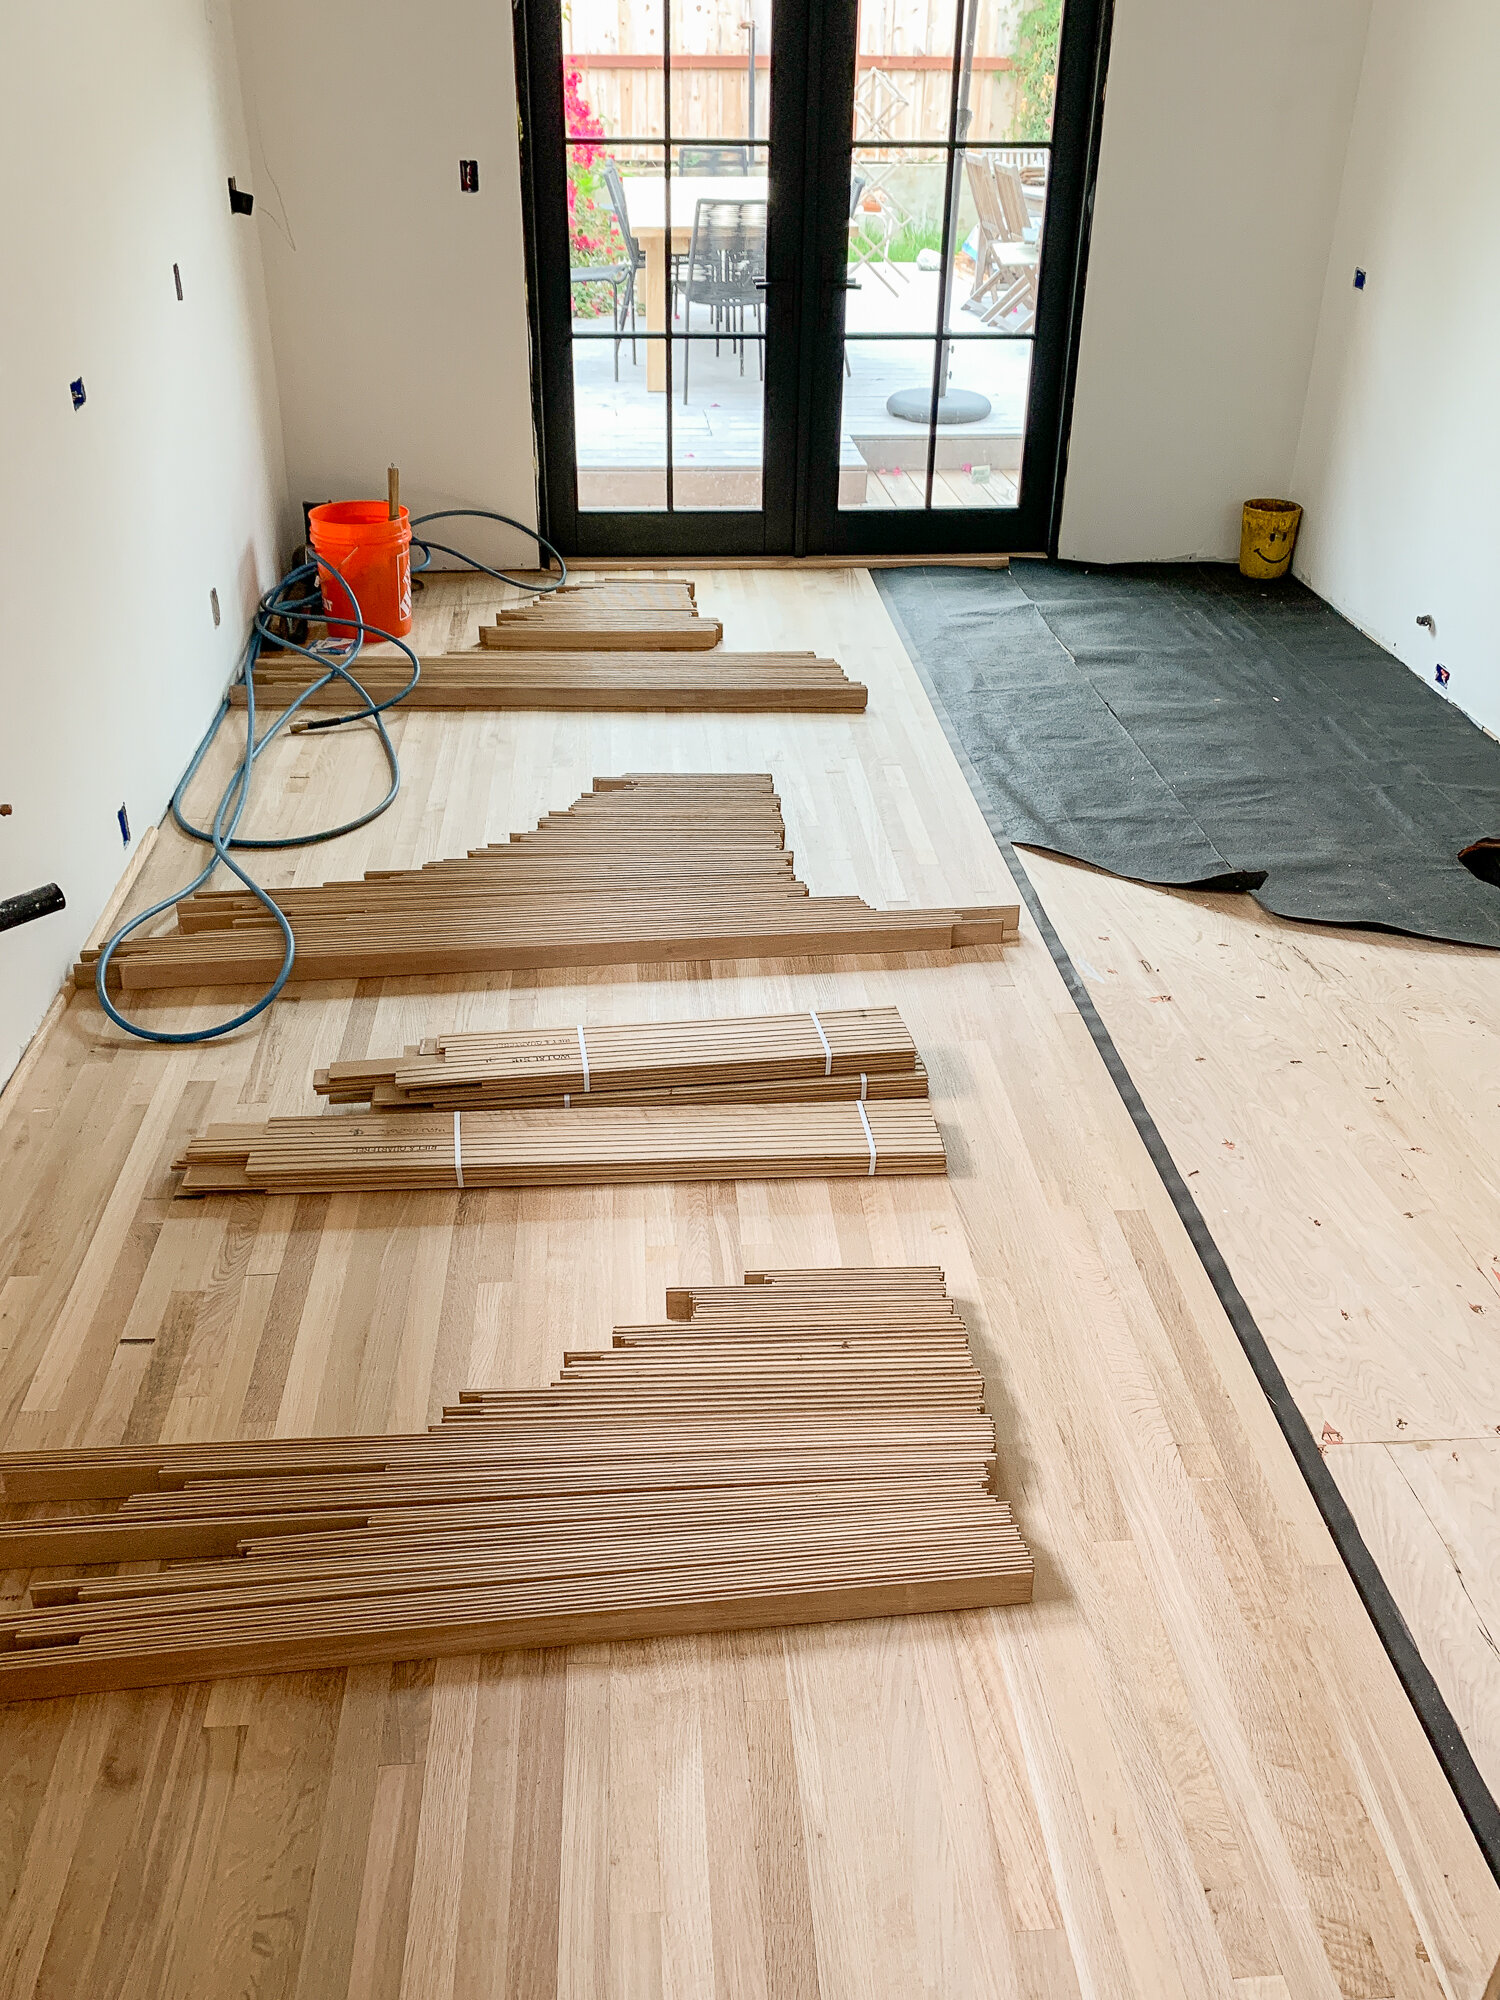
By the time we made it to the half-way mark across the floor, I had to move all of the floor boards that were piled on the right over to the finished floor. When moving, why not lay them out in perfectly organized piles so I can easily grab what I want?
Remember when I said this is a good two-person job? This is why. I spent all of my time organizing boards just the way I wanted to see them in the finished room. I don’t know that I could trust anyone else to do this job for me! (type-a over here, I know). While I sorted, my pal nailed in the boards that I laid out for him. Go team!

Step 4: Nail
Simply, you repeat this step over and over and over and over again, for like two days. It gets repetitive, and you get a real workout in your whole body. Even just moving the boards around I got a workout. By the end of the first day we were sore, by the end of the second day we were really feeling it and glad it was just a two-day job.
We used this 18 gauge flooring nailer which is surprisingly well priced for the quality. It’s a lot more light weight than other flooring nailers which is a real plus because you have to move that thing around a lot. I highly recommend!

The beauty of a flooring nailer is that it nails into the tongue of the wood, but you also use a mallet and an air compressor to push the board tight up against the previous one. Without the nailer, you’d have gaps, or you’d have to really push the flooring in tight to get a consistent and tight flooring.

In the flooring nailer, we used these 18 gauge L-shaped cleat nails. The ½” flooring is thinner than most, so we wanted to be delicate with nailing into the tongue as to not split it. These were great!

Step 5: Face nail against wall
Step 4 needs to be repeated over and over and over again. But when we made it over to the opposite wall, we had to face nail the wood into place because we couldn’t fit the flooring nailer anymore.
To maintain a tight joint like the rest of the flooring, we had to get creative using a scrap piece of lumber, a pry bar, and another piece of scrap. See above how my contractor used the trio of tools to push in that piece of flooring tight to the next one, then face nailed.
As we continued, we had to cut a skinny piece of a board to fit in the tiny gap. Luckily, none of it will be visible because its behind cabinets, but I can tell you that it sure looks nice, still.

Mind the transitions
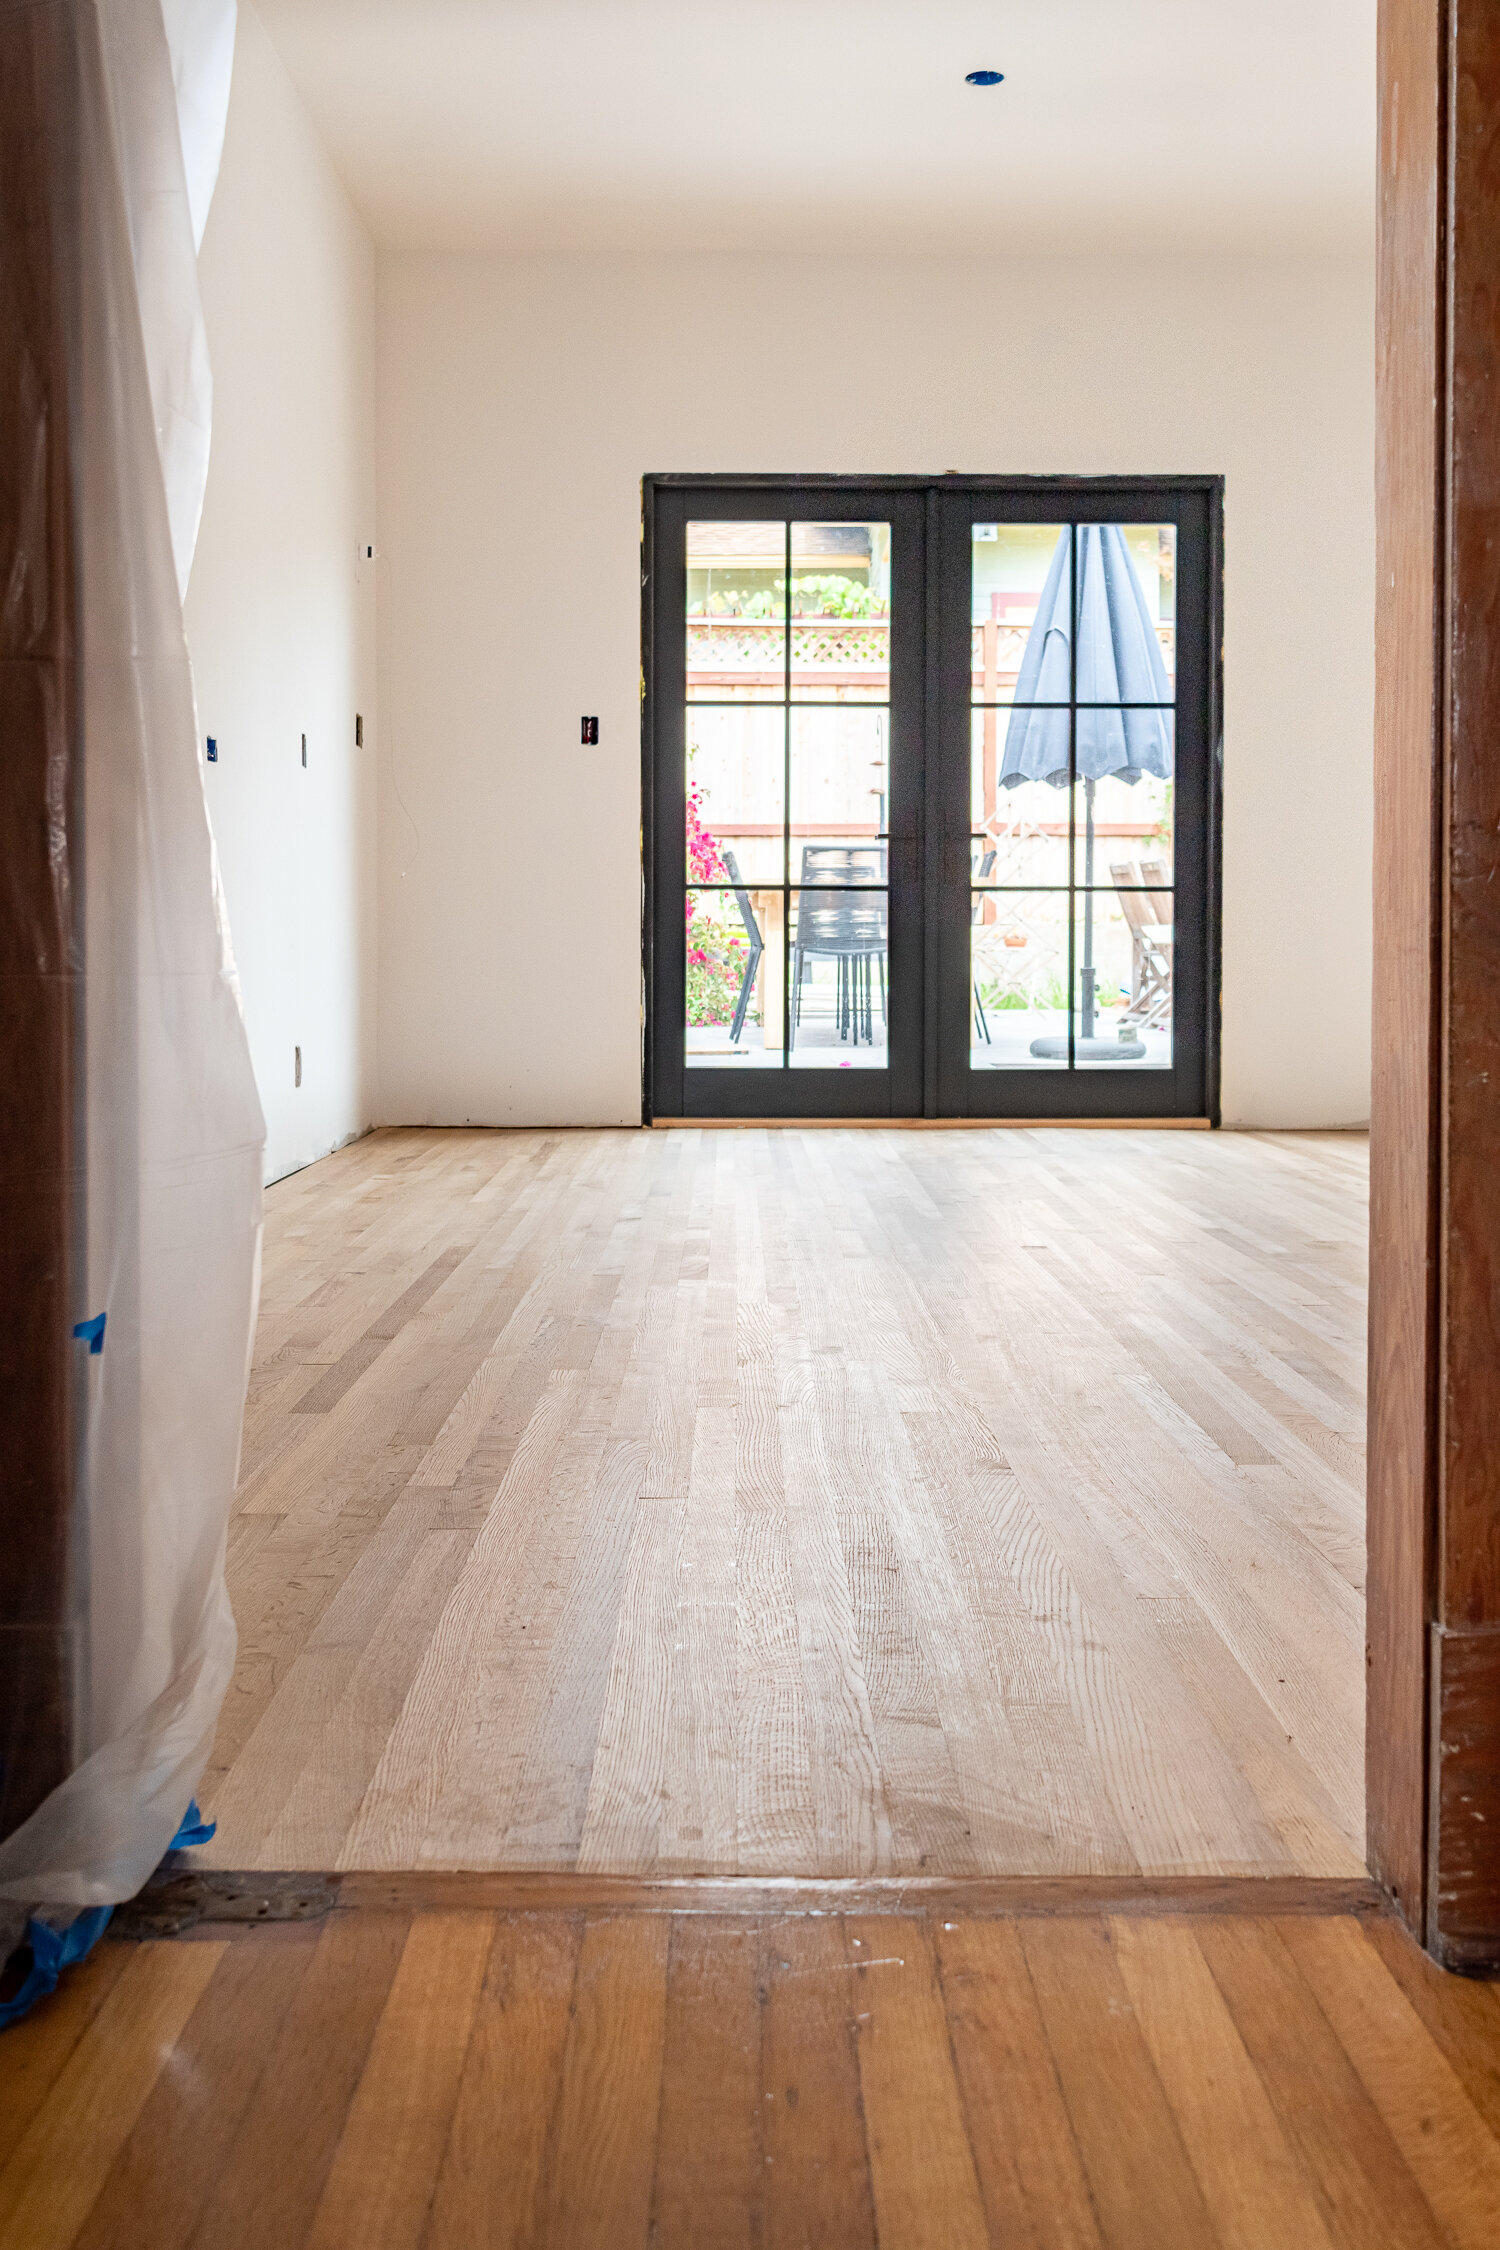
Something that was very very important to me was having a perfectly flush transition with the existing floors. That was part of the reason for using the underlayment to shore up the subfloor to be at the right height for the flooring.
You can see in the above photo just how flush we got the floors to be. We haven’t sanded yet, but once that step is done, it will be perfectly flush and totally unnoticeable! We left the horizontal piece of flooring because it’s original, it had a nice tongue to connect into, and there’s a door, so it’s a good transition space.
Do I wish the boards lined up with the original a little bit better? Yes. But I can’t have it all!

Here’s the other transition. The first one I shared was from the dining room to the kitchen. This one is from the closet to the hallway. We cut a hole in the wall and removed the baseboard here, so there’s some excess glue and whatnot on that piece there. But again, once we sand and seal, you won’t be able to see the seam at all.

Step 6: Admire
The best part is admiring your handiwork. I’m not going to take all the credit because I had a lot of help. But wowza do those floors look pretty. Once they’re sanded and sealed, they’ll really shine. But I’ll save that for another day and another blog post. Stay tuned for that!

So pretty, right? That quarter sawn piece is really showing off in the middle there.
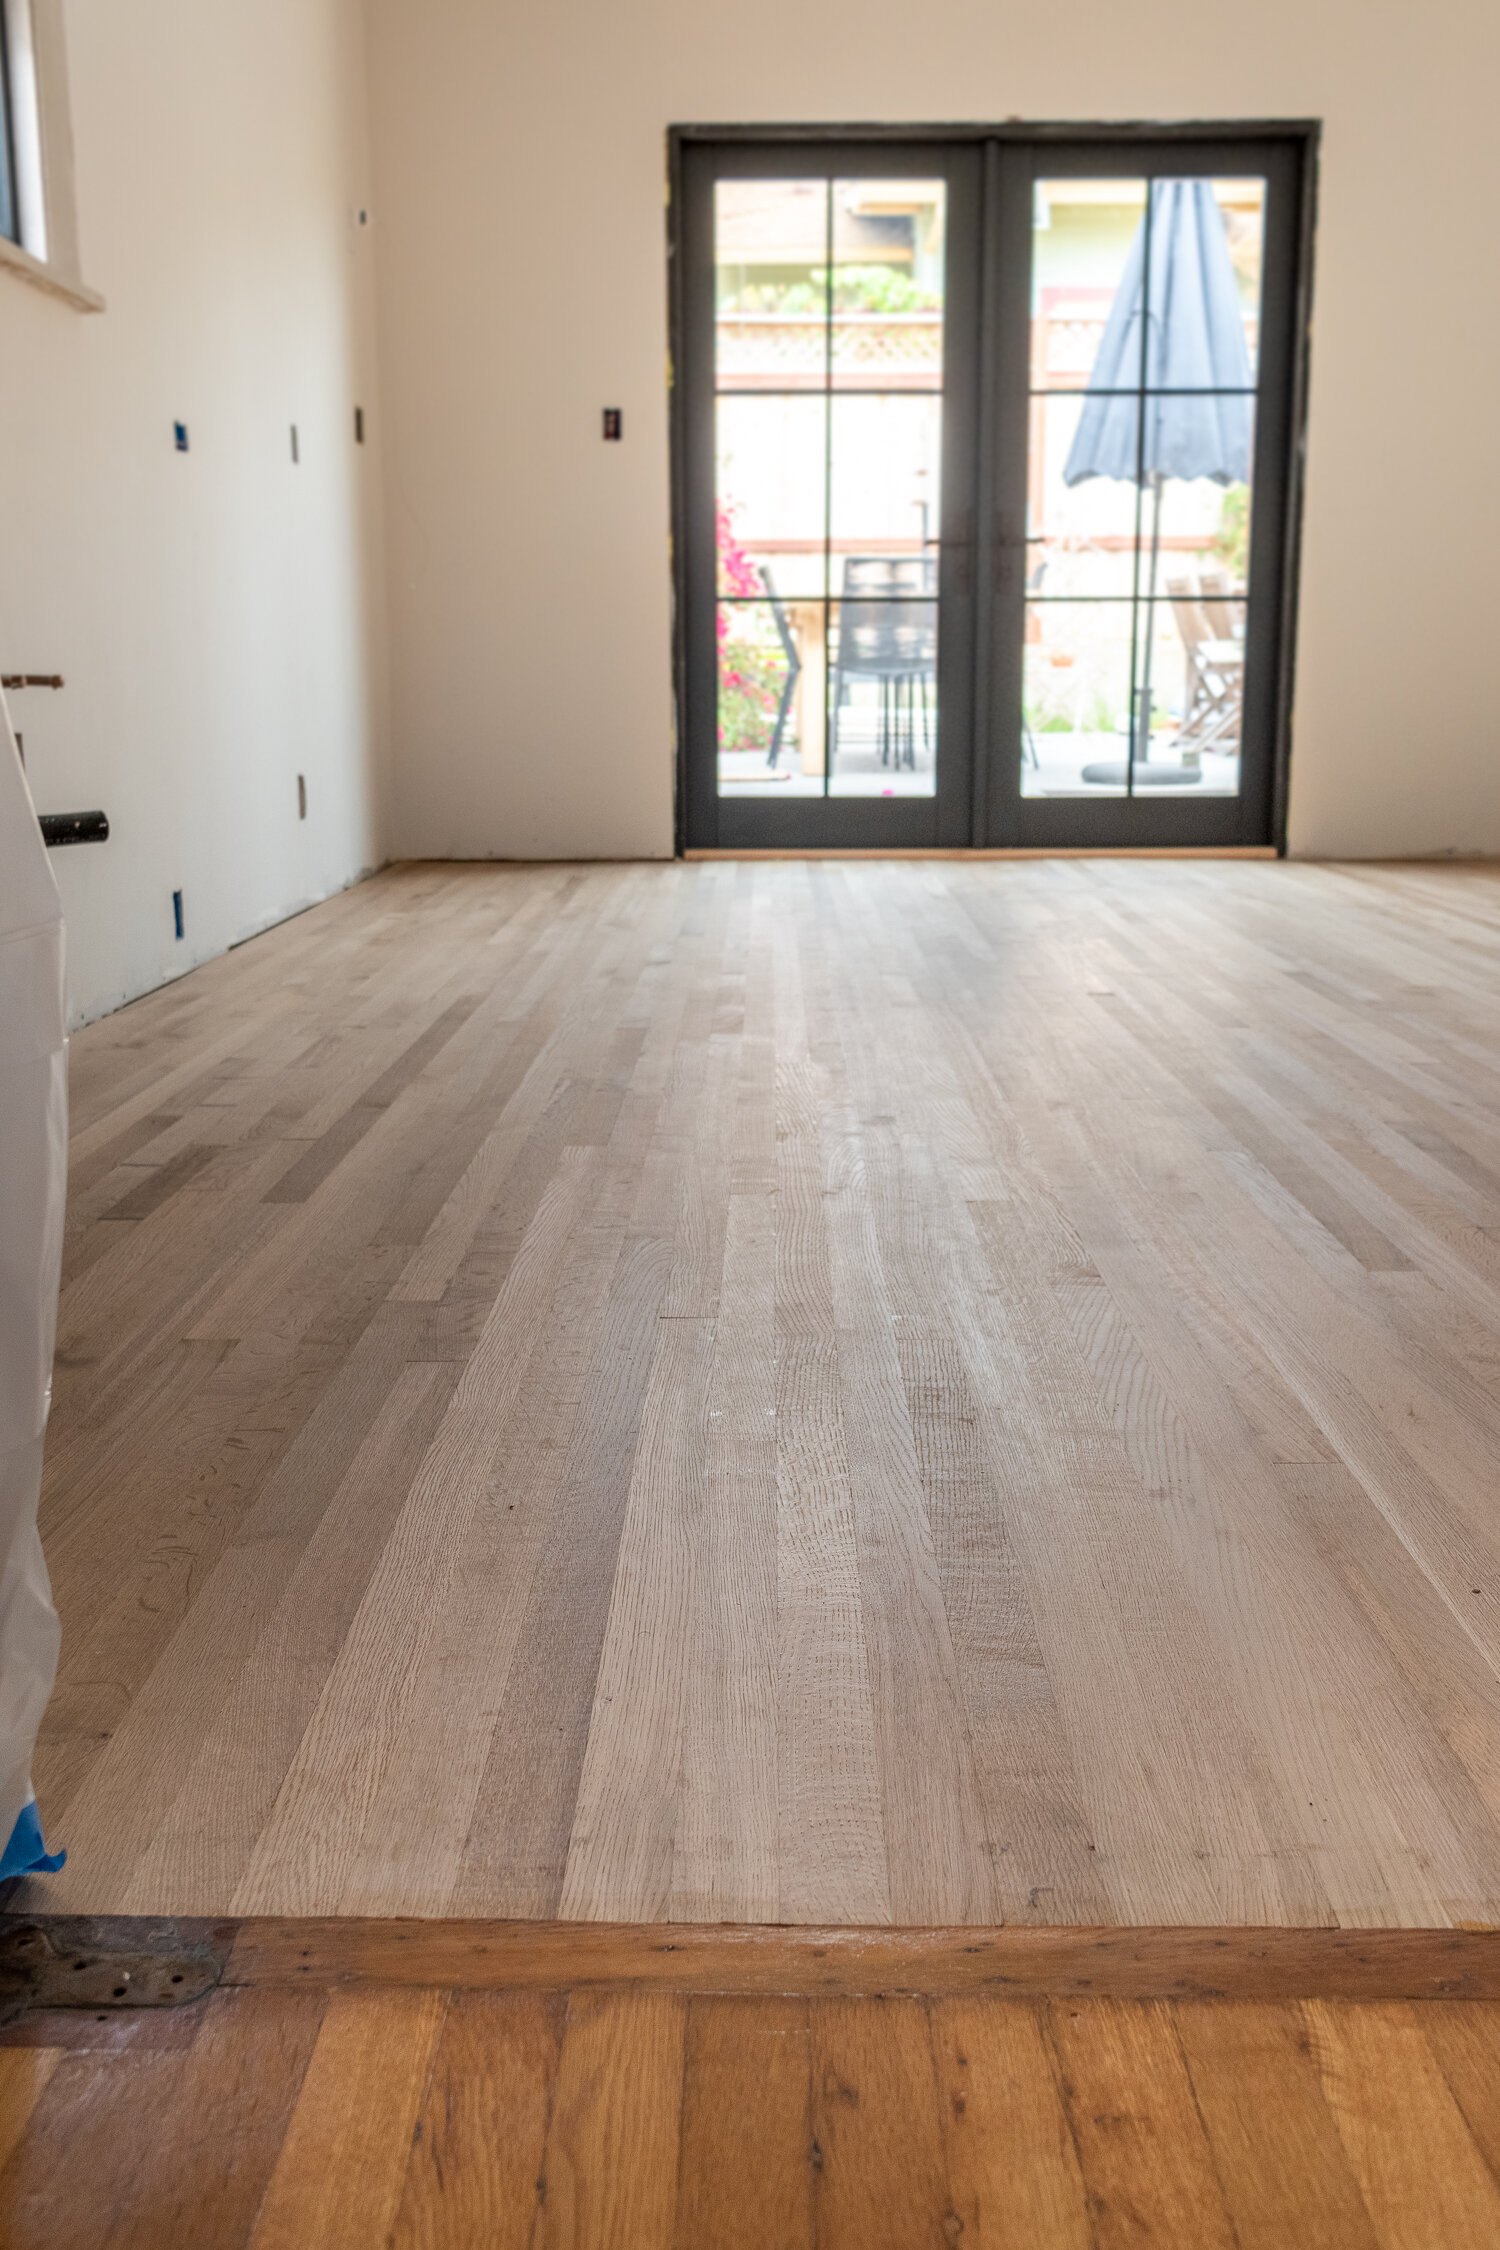
And one last photo to admire that transition and the pretty light from the french doors. I’m so so smitten with these hardwoods! I know the more popular opinion is to go with tile in a kitchen, but I’m team wood floors all the way. I adore the way these look, feel, and transition into the rest of the house.
I still have to sand and finish them, so check back in next week for those details. And don’t forget to watch my video about the installation here!
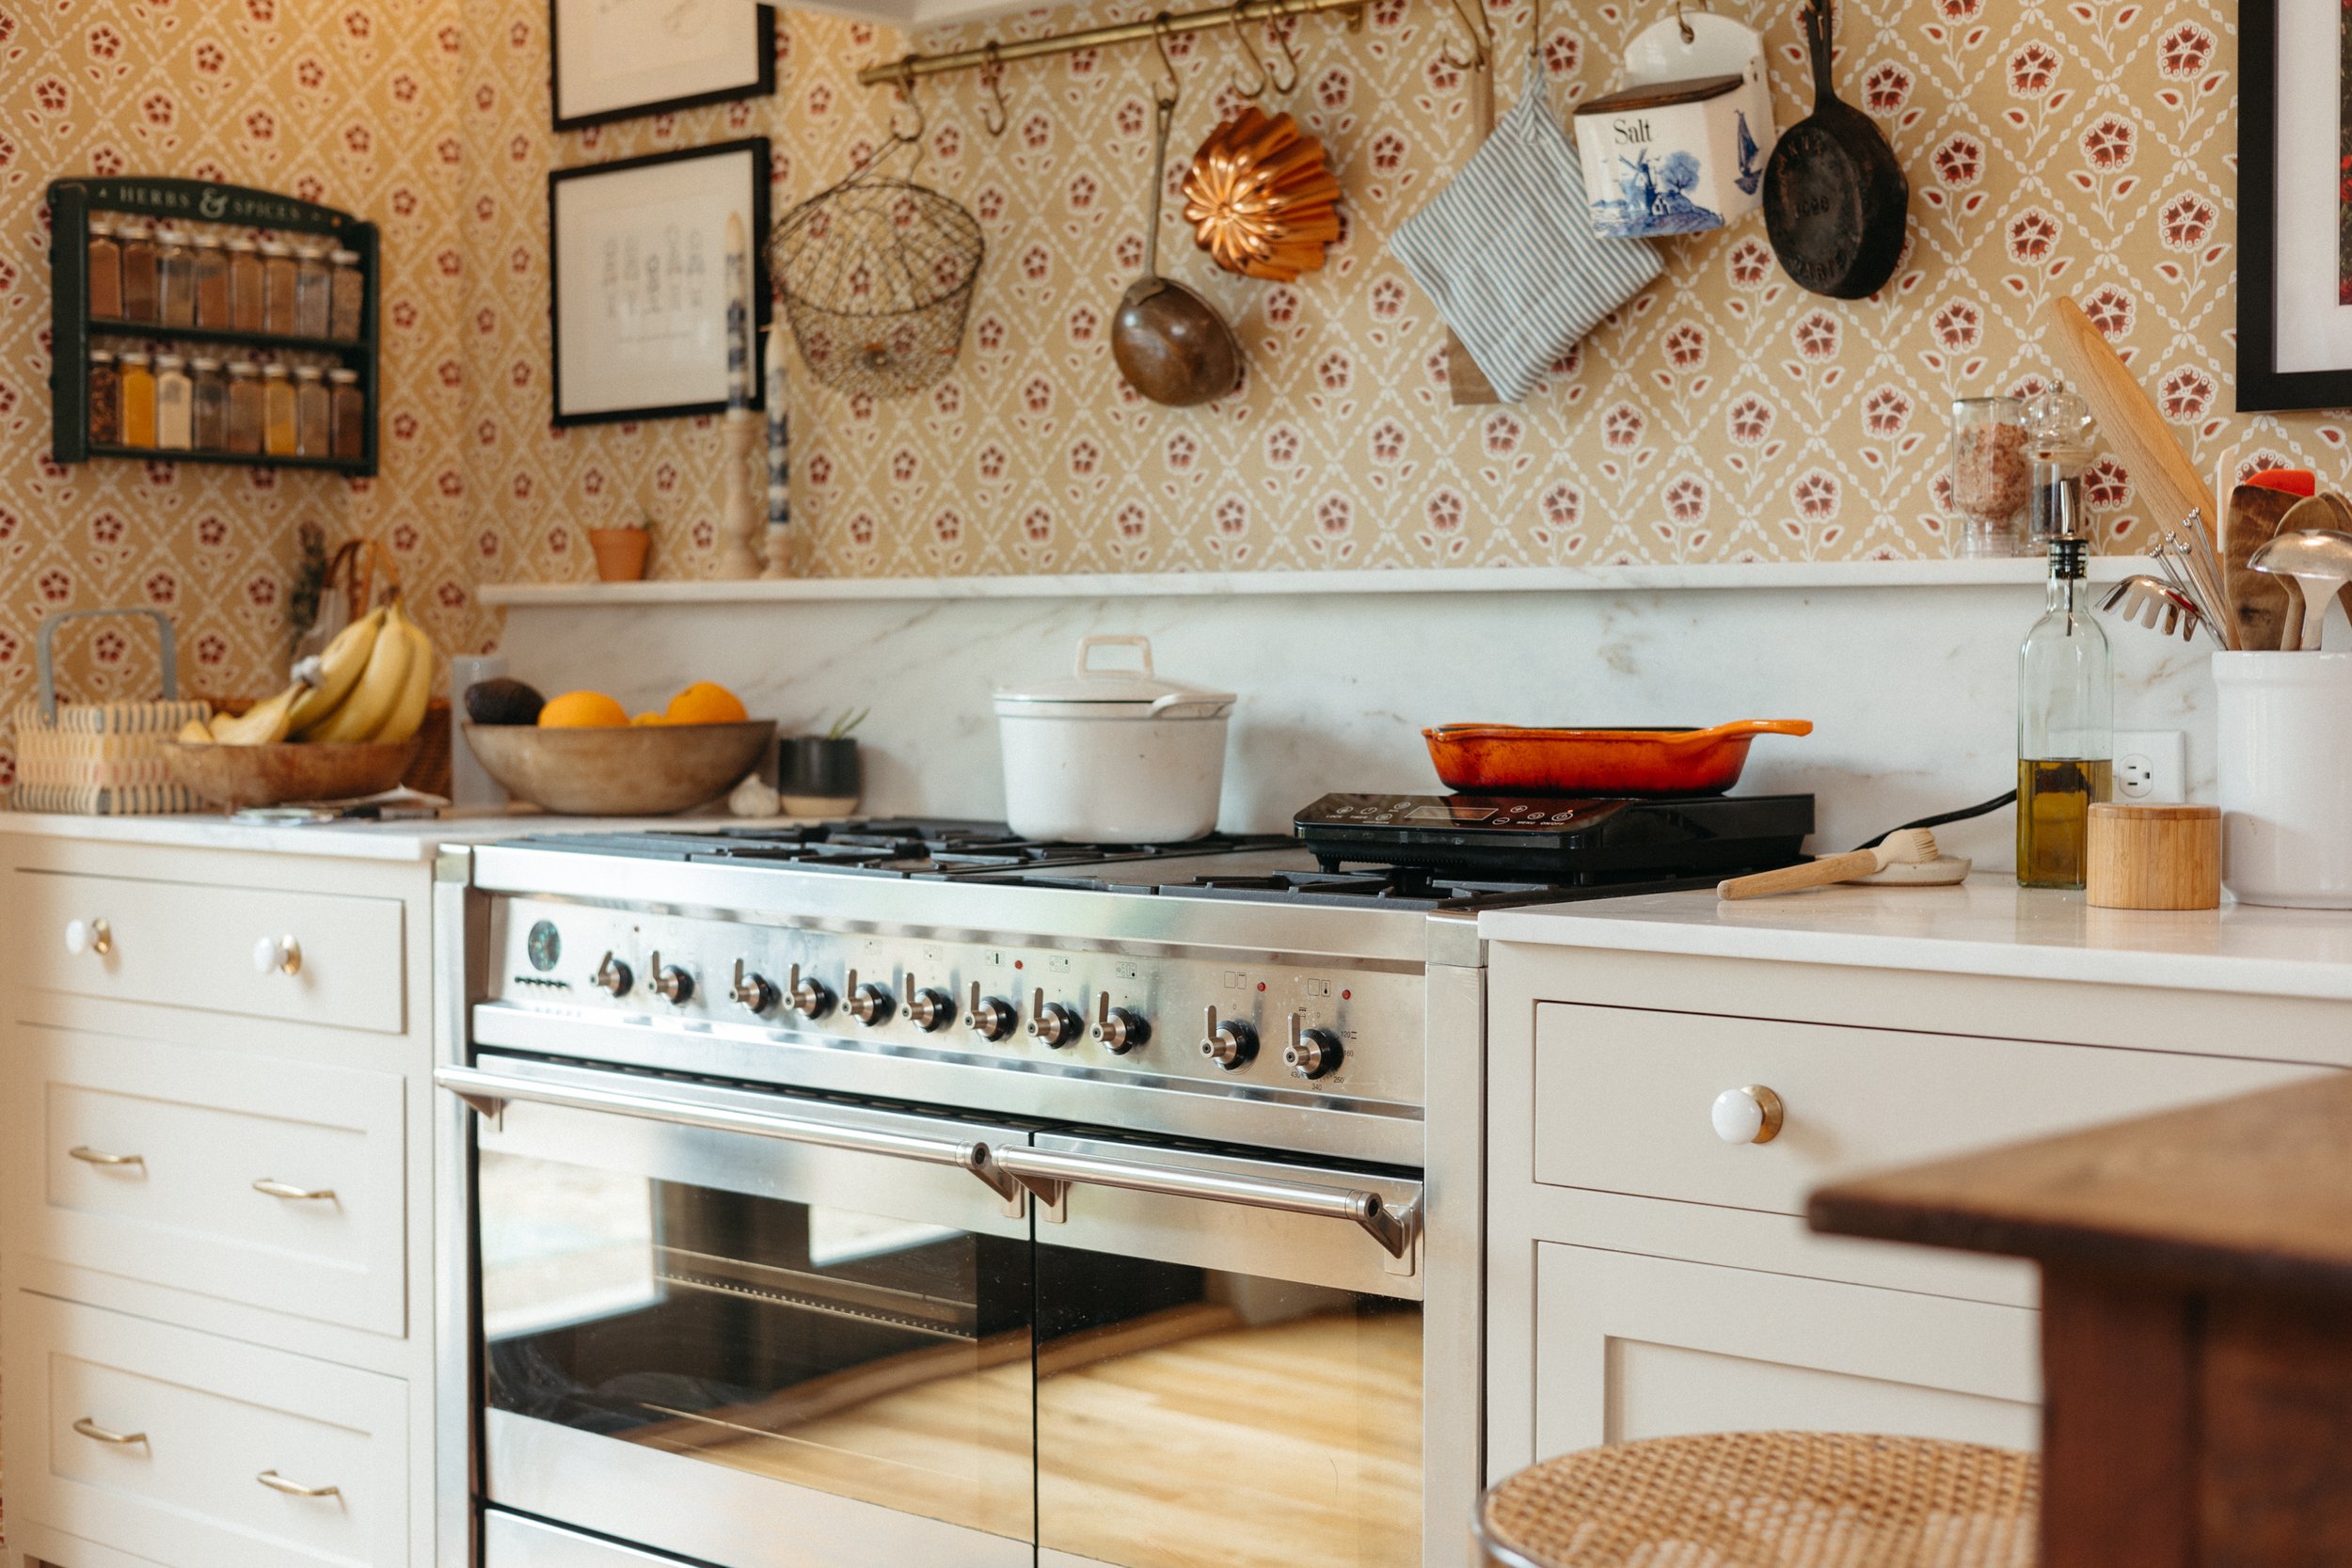
CHECK OUT THE LATEST KITCHEN RENOVATION POSTS


Want to save this post for later? Hover over the image below and tap the “Pin It” icon in the corner!