Free Kids Cardigan Knitting Pattern: A Quick Top-Down Raglan Knit
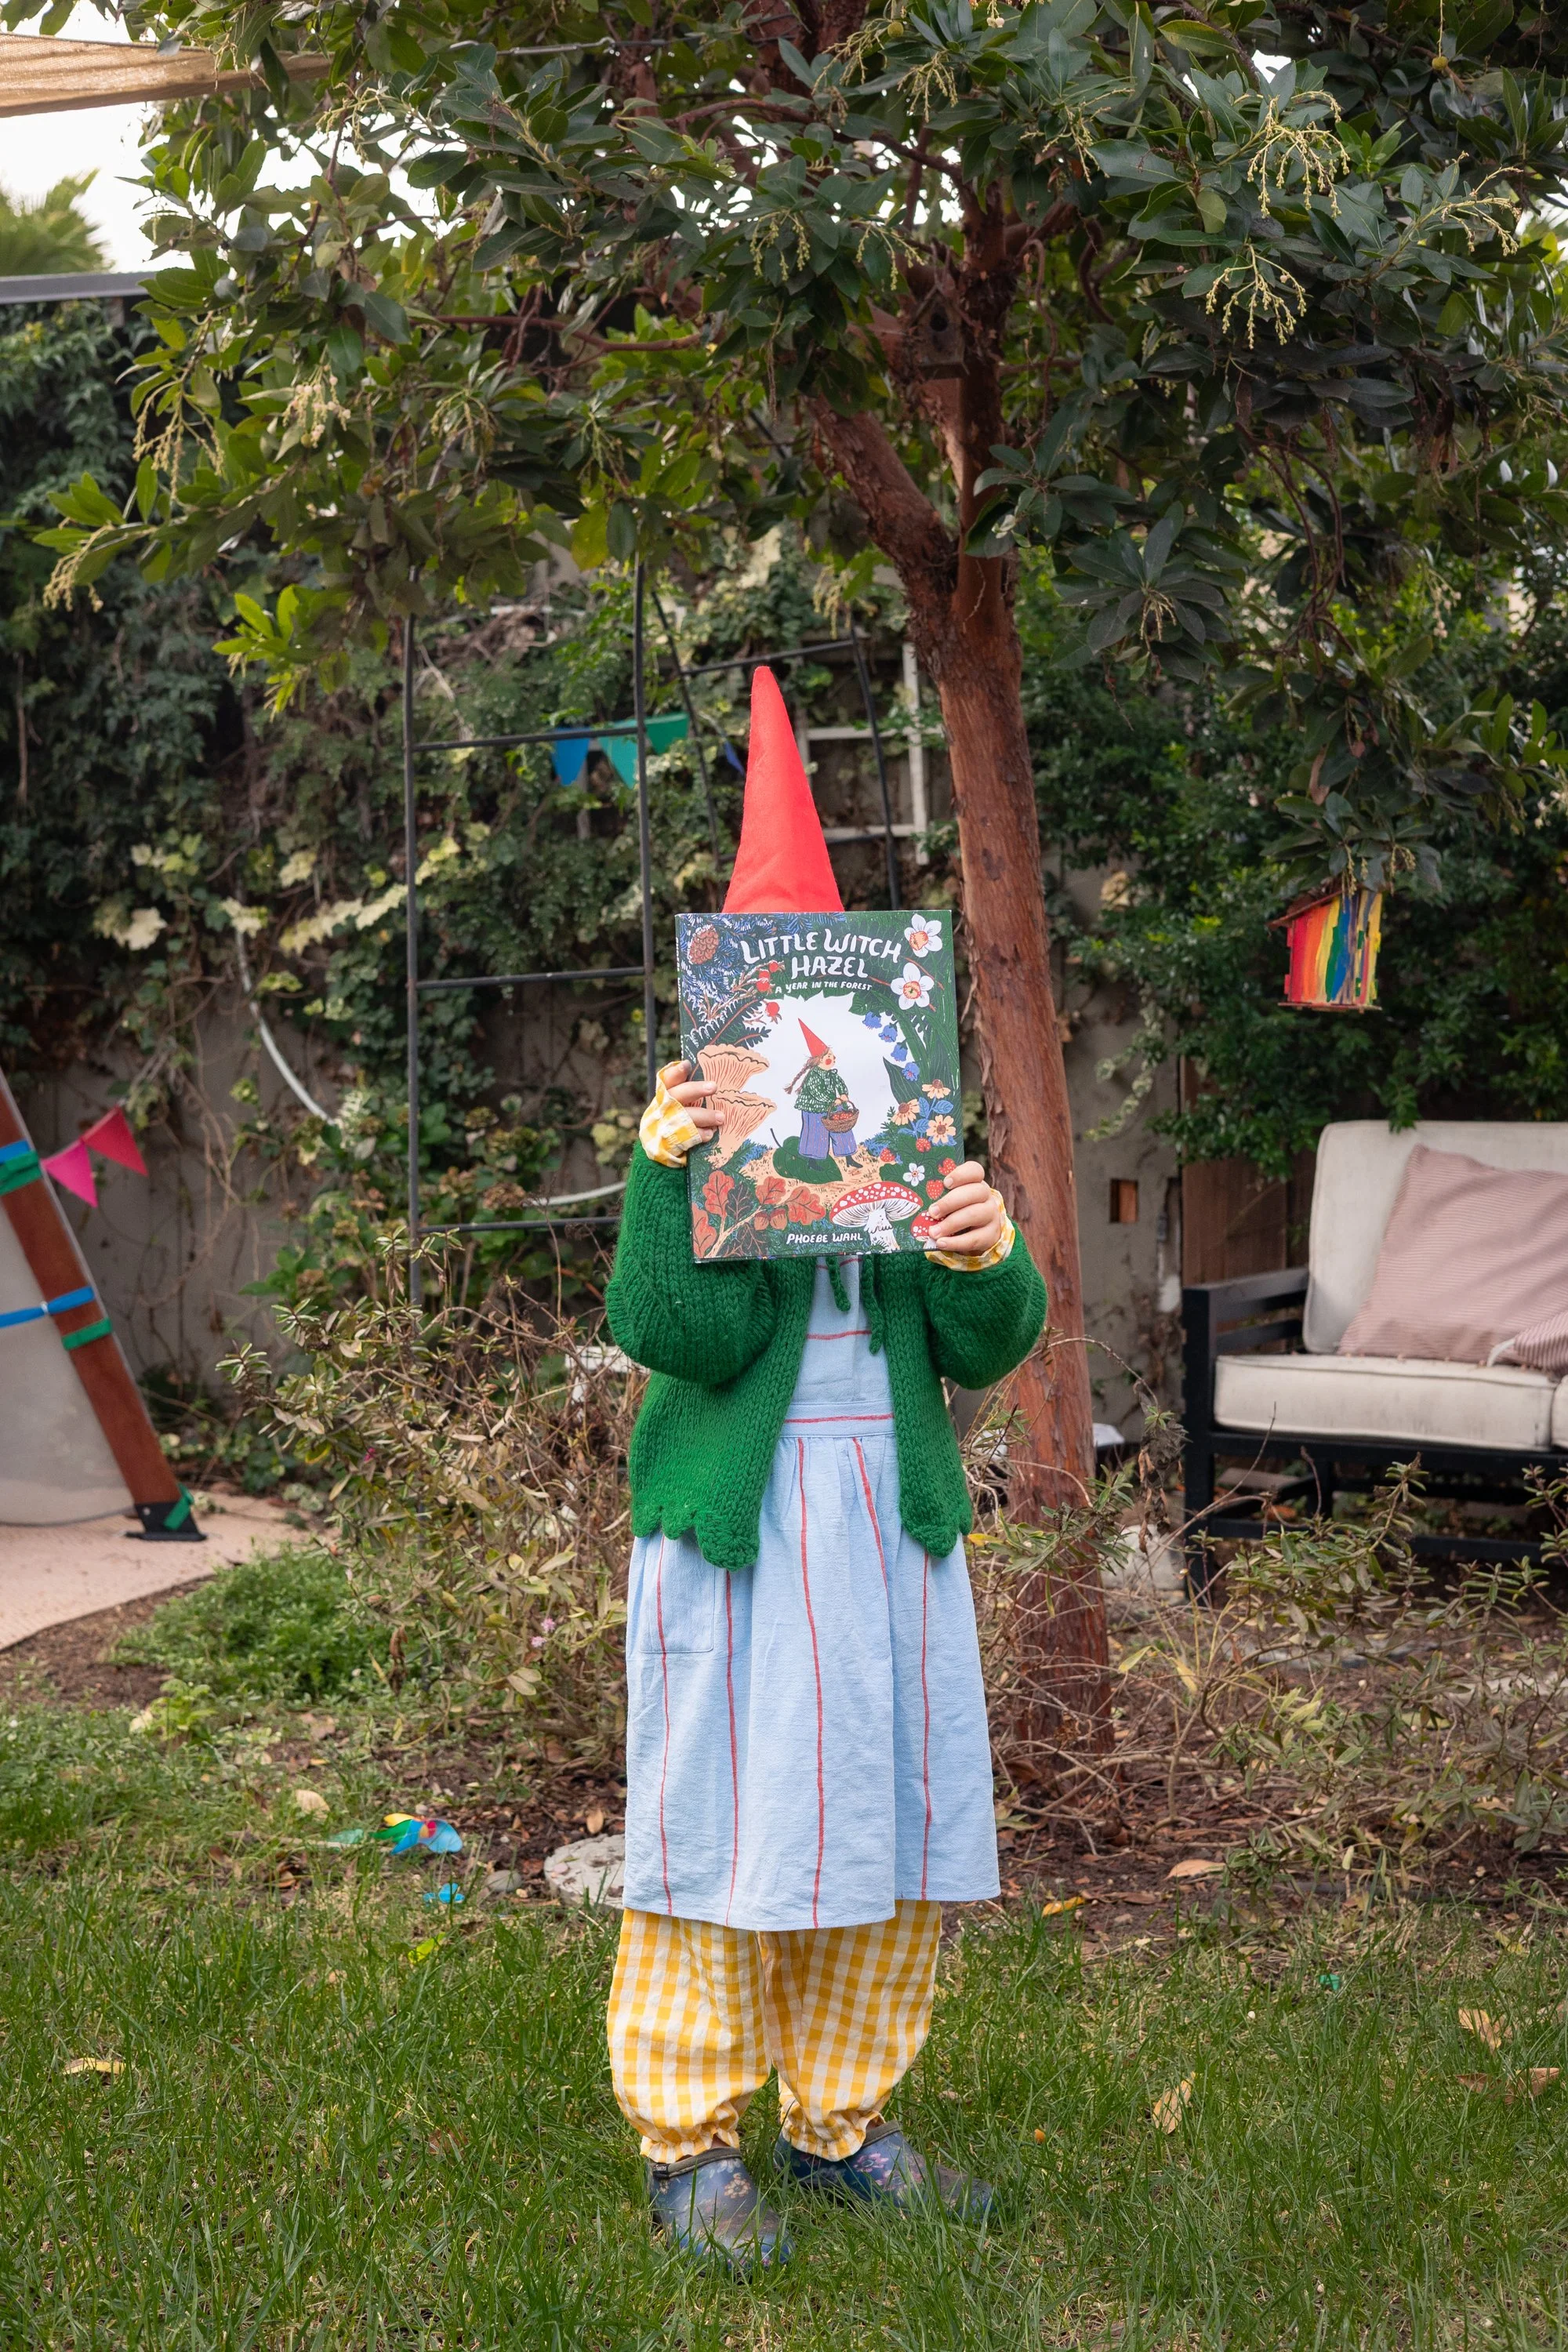
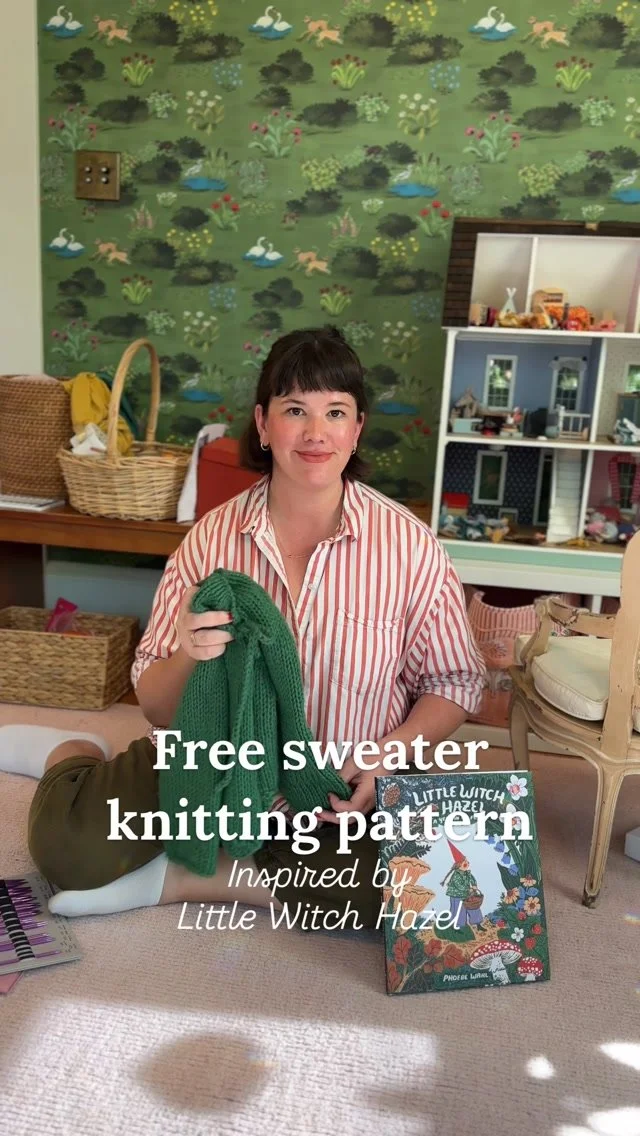
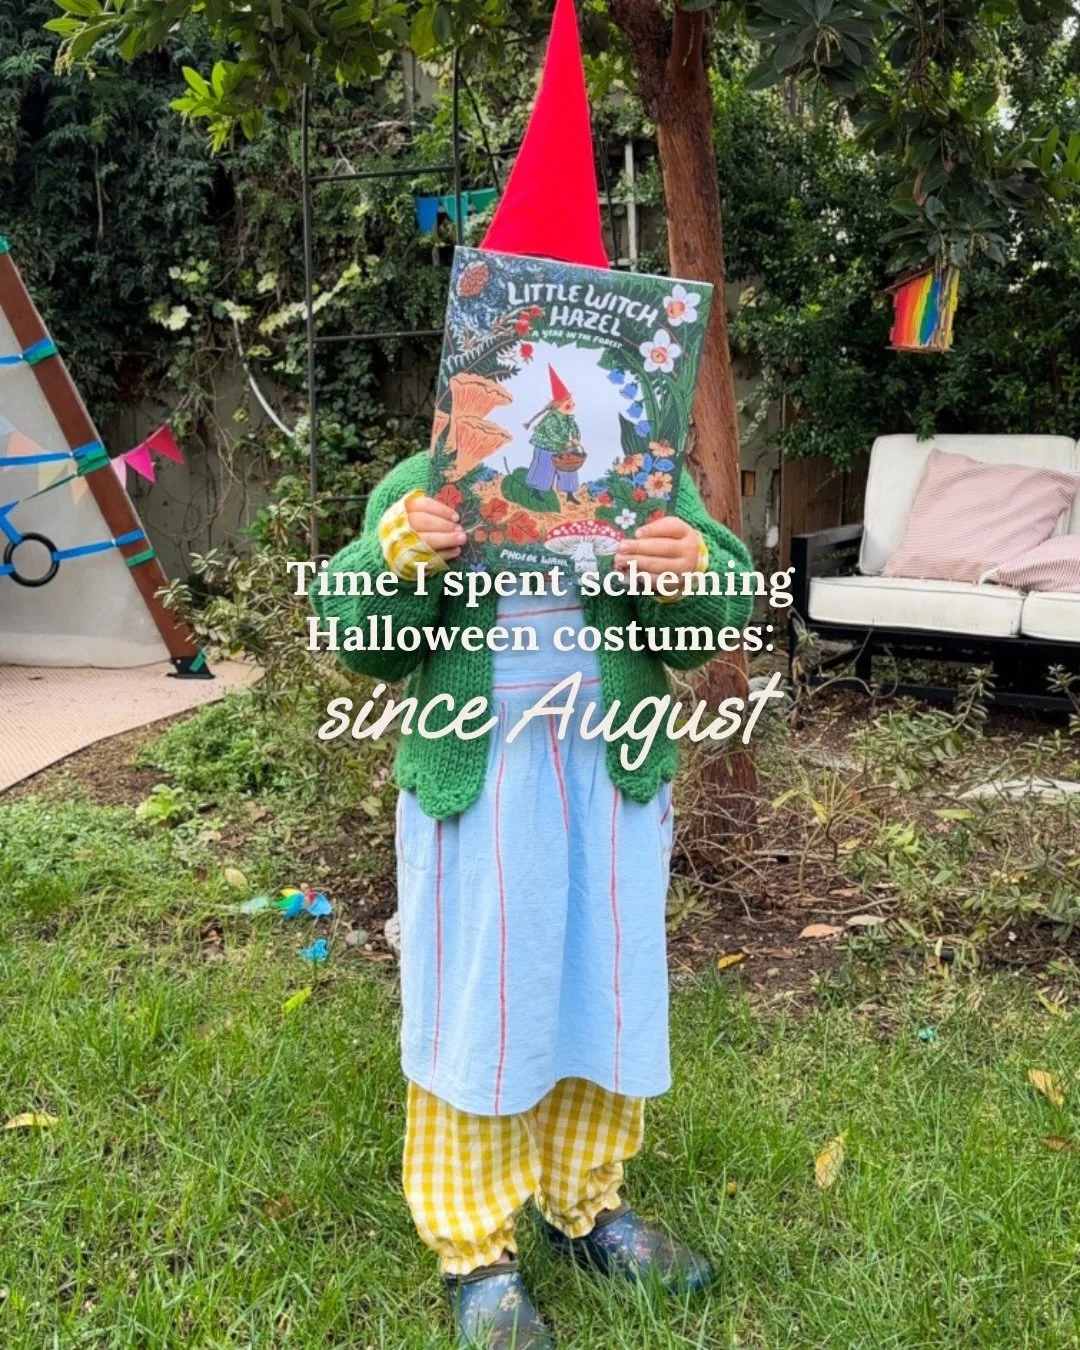
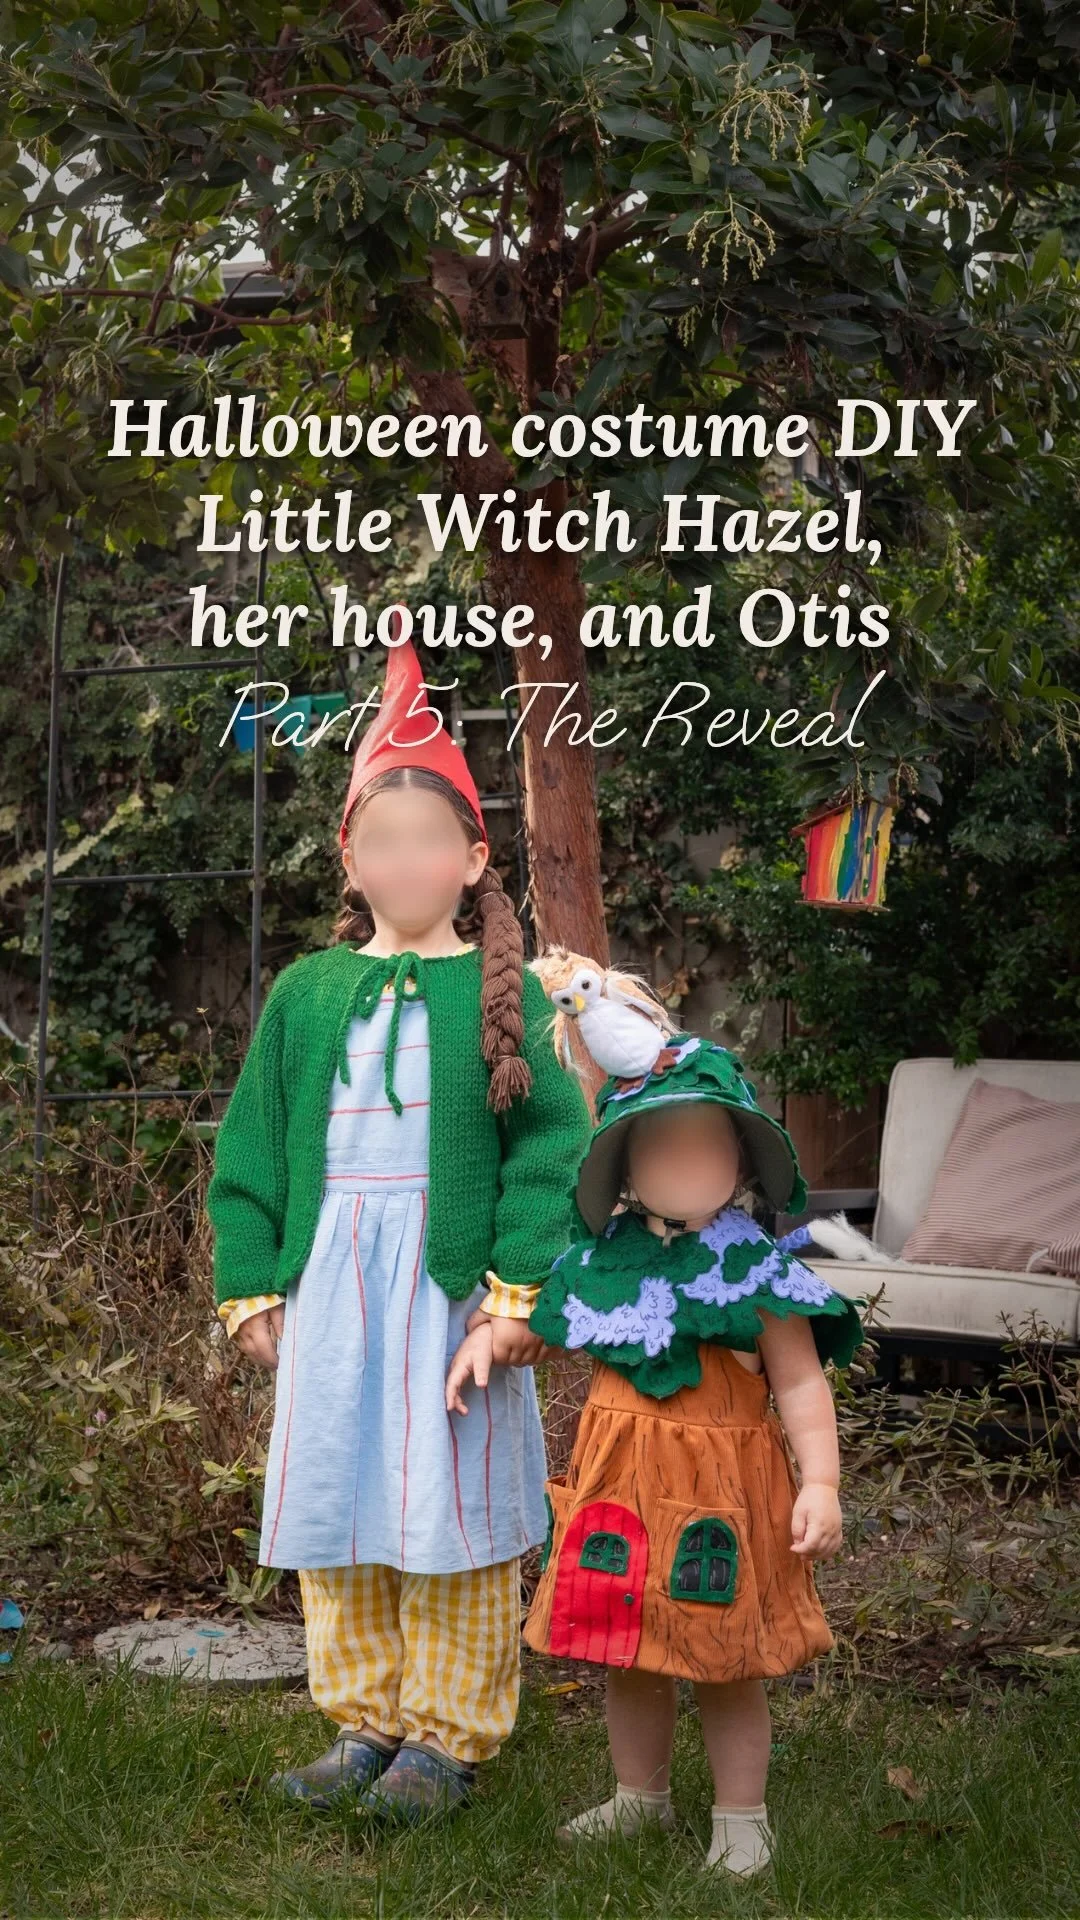
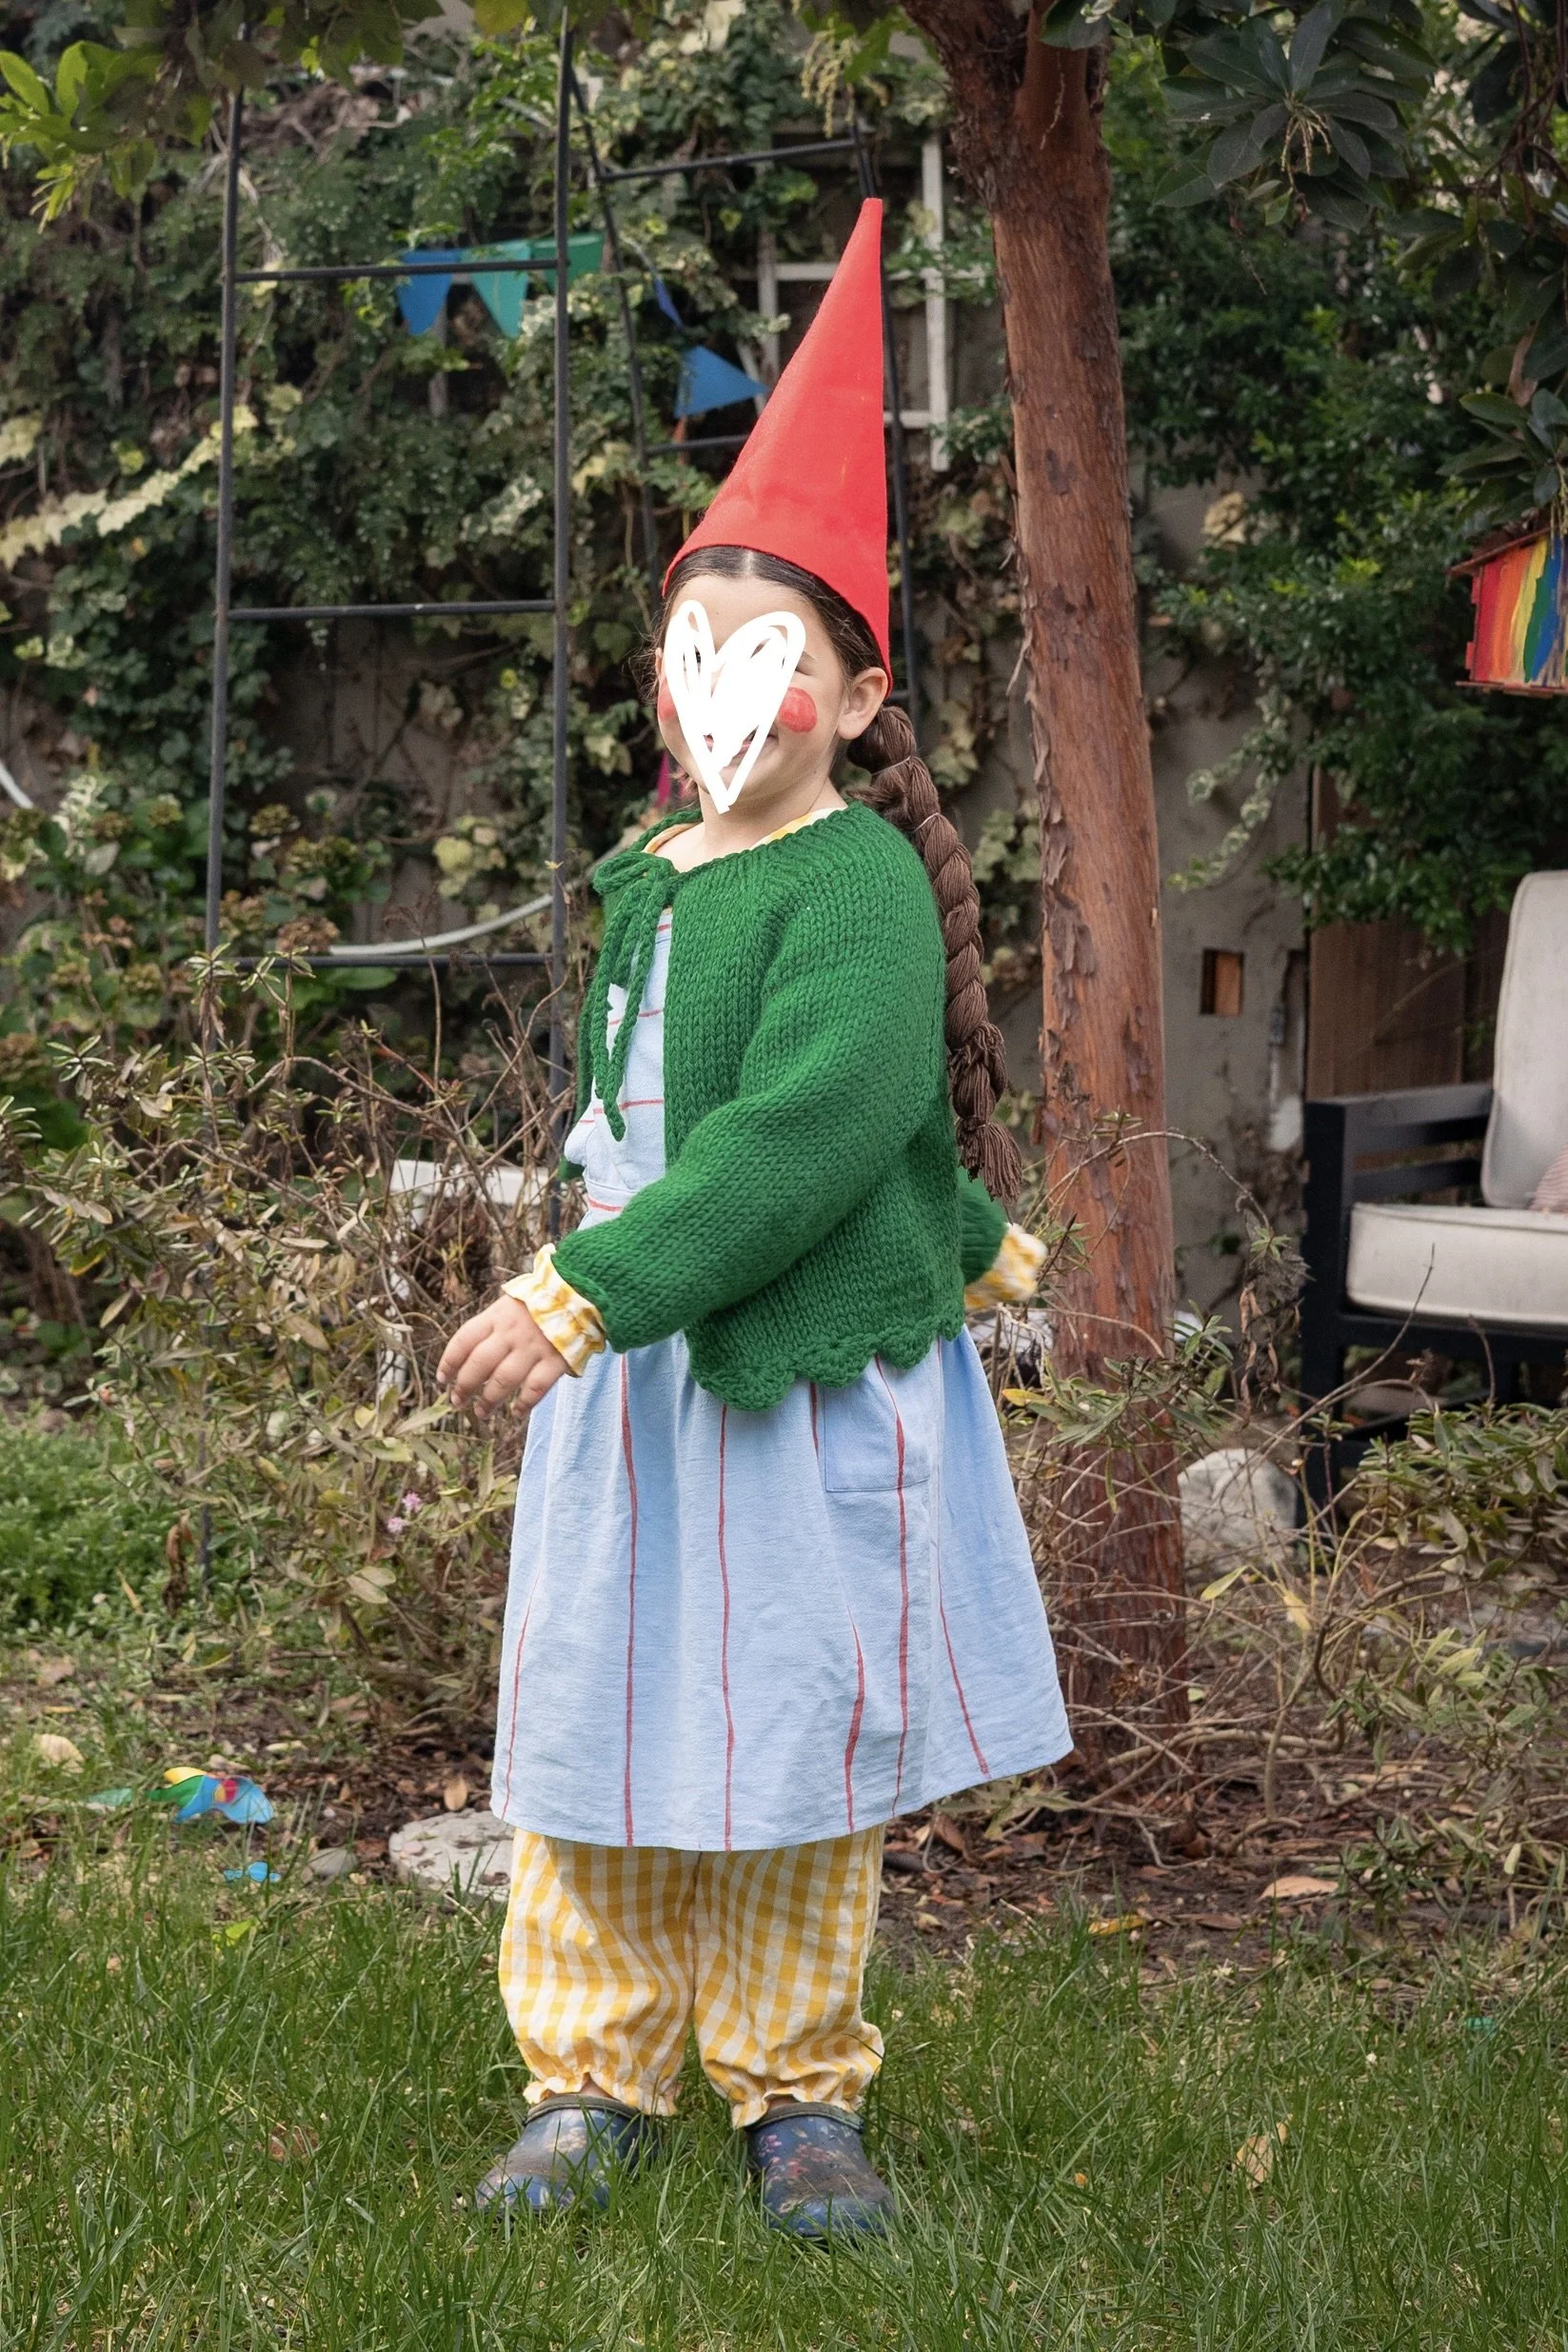
/My daughter wanted to dress as Little Witch Hazel for Halloween, so I got to work crafting a sweater that looks just like the one worn on the cover. What’s great is it’s a super fast knit on chunky needles! I’m not a pro knitter, but I finished this in about a week while watching TV after my girls went to bed, and during a few trips to the playground.
Note that I’m no knitwear designer, and I’m not trying to be!
The pattern is detailed below, but if you’re not ready to pick up your needles, you can save the pattern on Ravelry (note it will send you back to this page for the pattern.)
The pattern at a glance:
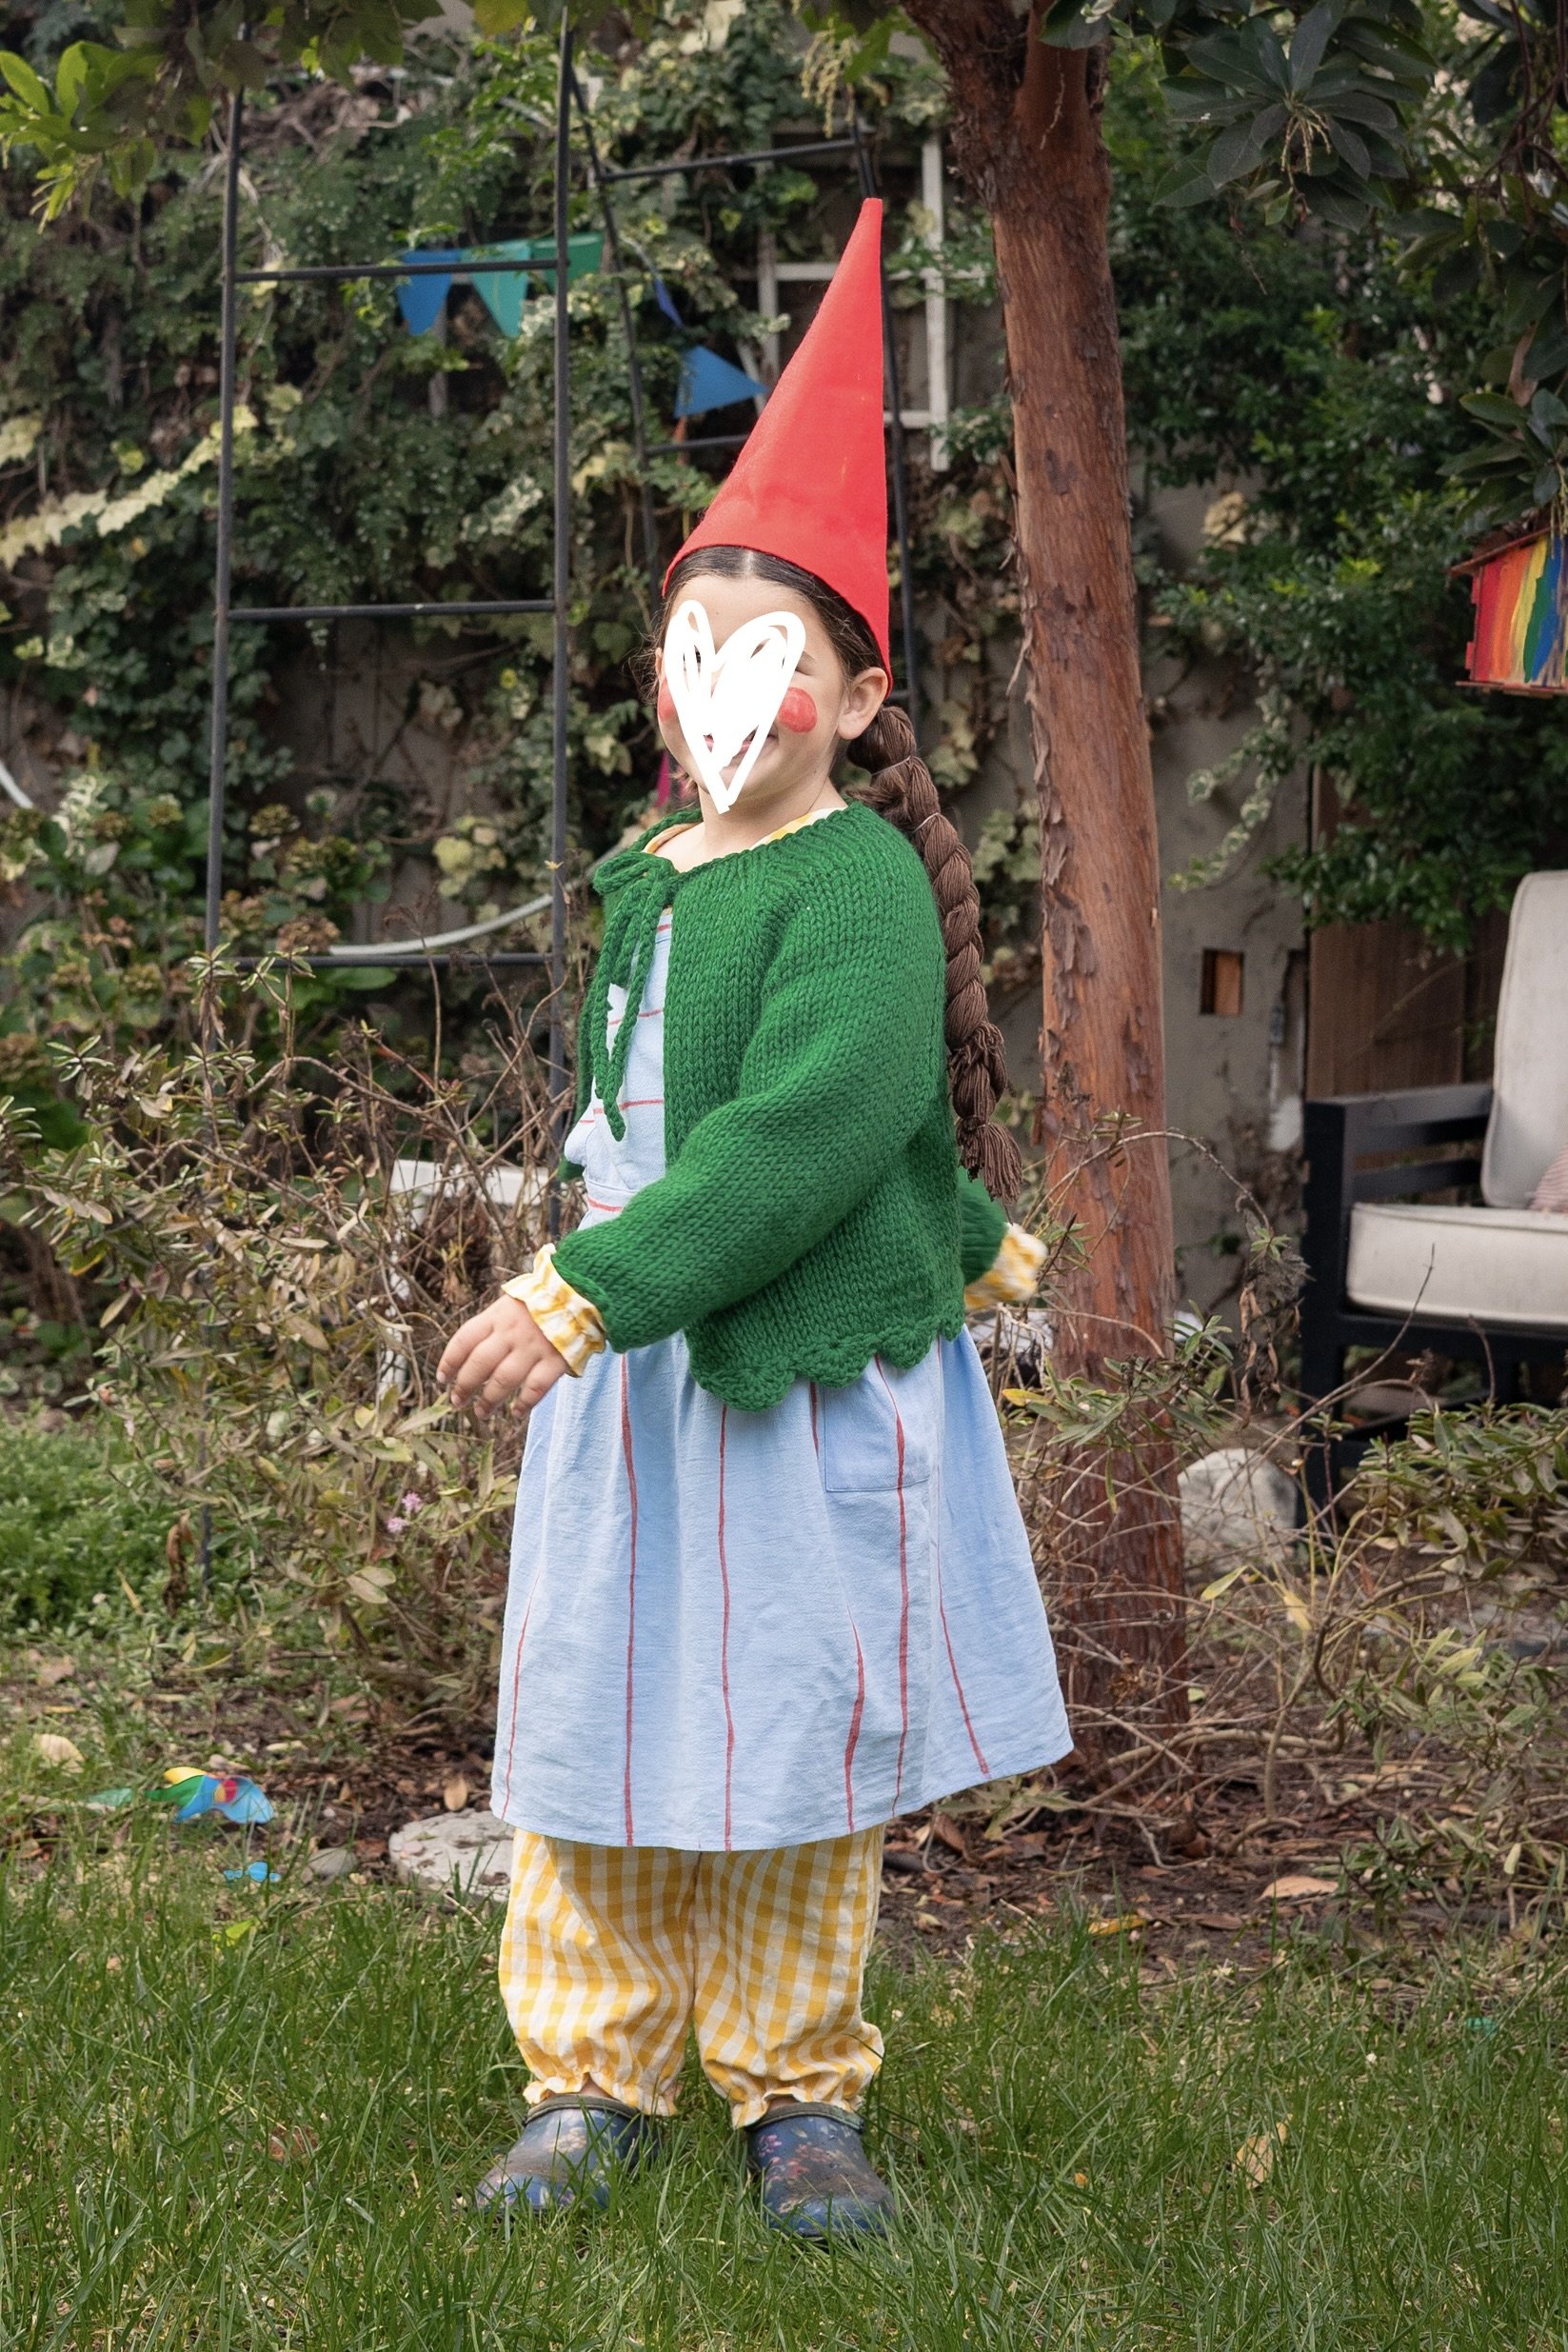
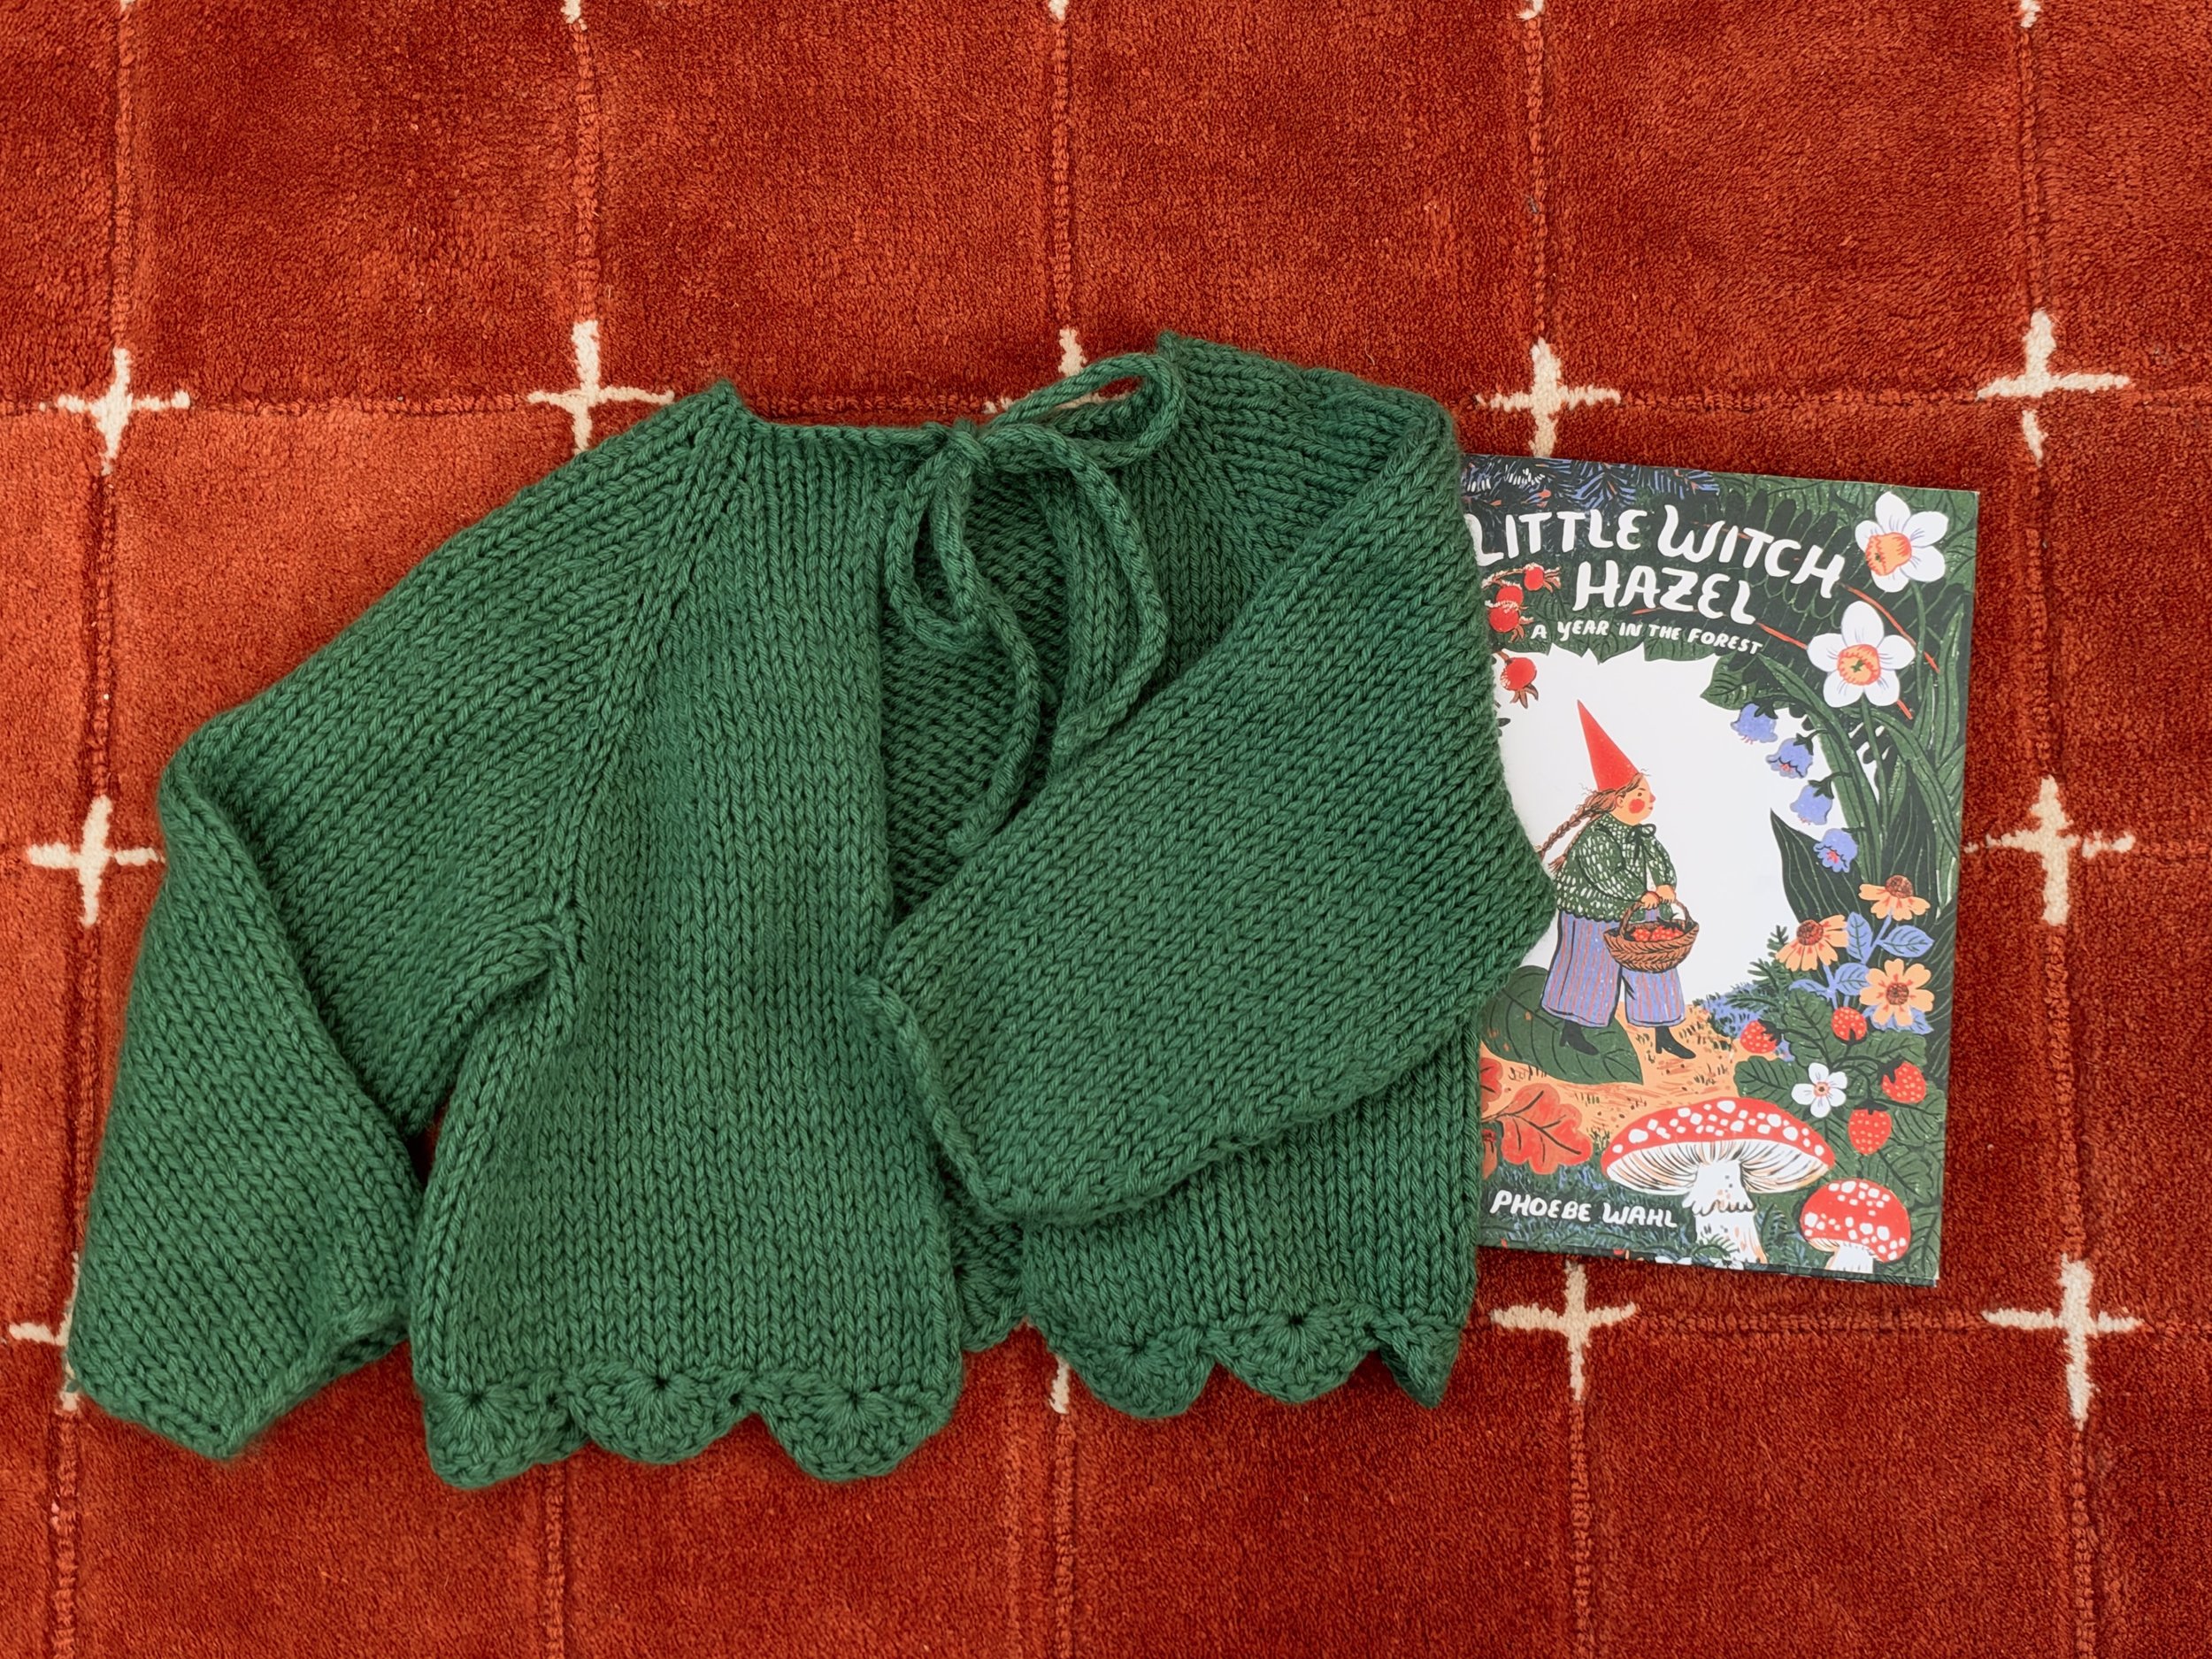
A cardigan with no buttonholes, knit top down raglan with A-line body shape, wide upper sleeves that taper to the wrists without ribbed cuffs, and applied i-cord ties with a scalloped hem.
Yarn: any worsted weight held double. I used 4 skeins (about 400m) of Wool of the Andes in the color Grass
Needles: circular 9mm (US 13) + same-size crochet hook
Gauge: 11 sts and 14 rows = 10cm (4") in stockinette, held double on 9mm, measured after blocking.
Size: Made to fit my tall 5yo with a 67cm chest but can be adapted. I started with her neck opening and then did raglan increases until I achieved her waist circumference (add fronts and backs together to get that number). And I knit the sleeves and body to her length. With those measurements, you can adapt for any body. This tutorial is helpful for teaching raglan and especially about how to custom fit to your size.
Finished, blocked measurements: Chest 74cm (29"), widening to 82cm (32¼") at the hem. Length 37cm (14½") from the back neck, scallop included. Sleeve 24cm (9½") from the underarm, or 43cm (17") from the back neck, tapering from 32cm (12½") at the top to a 22cm (8") cuff. The neck opening measures 14cm (5½") across laid flat, and each tie is 42cm (16½"). The hem is 8cm wider than the chest.
Inspired by but not associated with: Little Witch Hazel by Phoebe Wahl
All supplies including the pieces for the rest of the costumes are linked here.
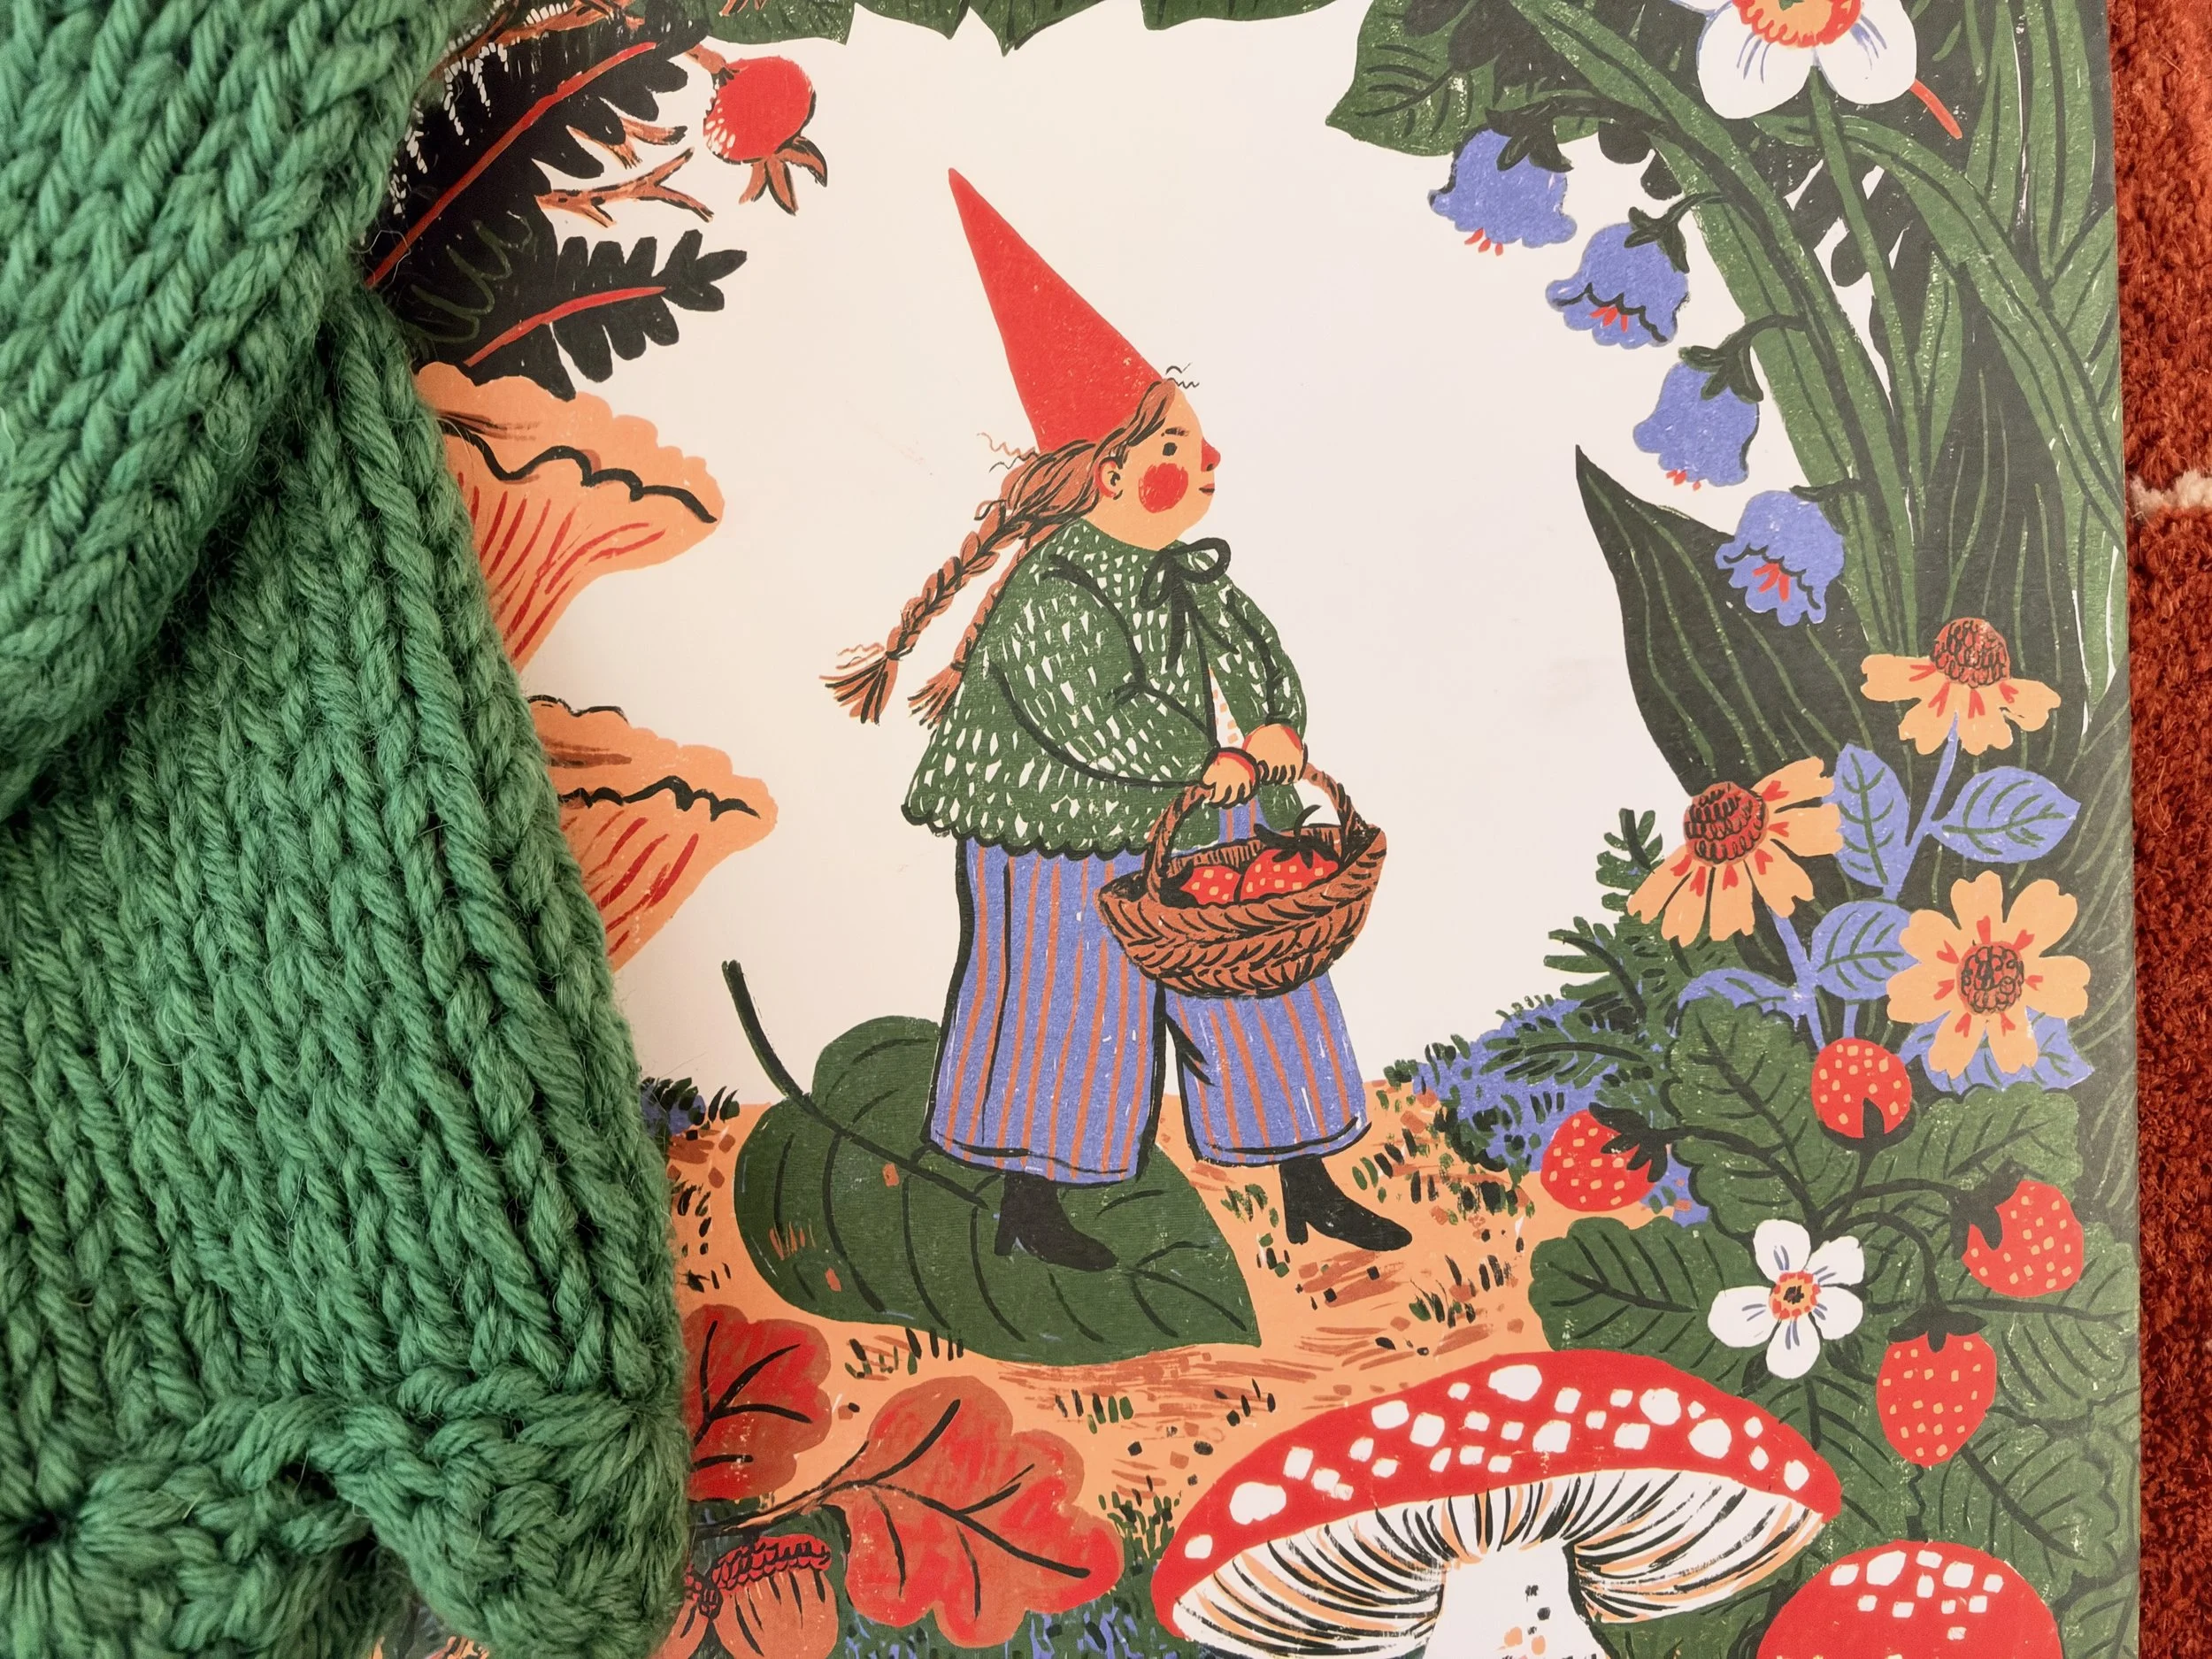
My goal was to make a cardigan as close as possible to the style of the illustration. A loose knit, with no ribbed cuffs, no collar, a scalloped edge, an a-line body shape, and tapered billowy sleeves. You can modify the pattern however you want to make it your own. How cute would it be to have scallops on the cuffs!
Abbreviations
k knit · p purl · st(s) stitch(es) · RS / WS right side / wrong side · m marker · sm slip marker · k2tog knit two together · ssk slip, slip, knit · M1R / M1L make one right / make one left · sc single crochet · dc double crochet
Crochet terms are US. UK knitters: sc = double crochet, dc = treble.
Before you start
This tutorial is really helpful if you’re new to raglan knits. And it’s especially helpful for outlining how to achieve the sizing you need if adapting this pattern. She outlines the math for the neck opening and the body circumference so you can easily modify my pattern.
Yoke
Worked flat, back and forth, from the neck down.
With 9mm needles and the yarn held double, cast on 44 sts loosely. Long-tail is fine. There is no neckband and no edging over this edge, so it stays visible on the finished cardigan. This cast-on number sets the stage for the rest of the pattern. Review the math part of this tutorial to understand how to size up or down.
Row 1 (RS): knit.
Row 2 (WS): purl.
Row 3 (RS): knit, placing 4 markers as you go — 7 (right front), m, 7 (sleeve), m, 16 (back), m, 7 (sleeve), m, 7 (left front).
Row 4 (WS): purl.
Then work these two rows:
Increase row (RS): at each of the 4 markers — knit to 1 st before the marker, M1R, k1, sm, k1, M1L. Knit to the end. 8 sts increased.
Next row (WS): purl.
Work this pair 13 times — 26 rows. Concluding with 148 sts: 20 each front, 33 each sleeve, 42 across the back
The yoke measures about 21cm (8¼") from the cast-on edge.
Separate, then the body
Separating row (RS): knit the 20 right front sts, slip the next 33 sleeve sts to scrap yarn, knit the 42 back sts, slip the next 33 sleeve sts to scrap yarn, knit the 20 left front sts. 82 body sts. Nothing is cast on at the underarms — front and back simply join. Place a marker at each join. Those two points are the side seams.
A-line shaping
Increase row (RS): at each underarm — knit to 1 st before the marker, M1R, k1, sm, k1, M1L. Knit to the end. 4 sts increased.
Work the increase row twice, on rows 4 and 8 of the body. 90 sts.
Then work straight in stockinette until the body measures 14cm (5½") from the underarm — about 35cm (13¾") from the cast-on edge. Bind off loosely. A tight bind-off fights the flare and the scallop will not sit flat.
Keep the final count at 90 sts. The hem scallop is a 10-stitch repeat, so it has to divide by 10. (However, if you’re sizing up or down, just make sure it’s divisible by whatever repeat you choose (see scallop section).)
Sleeves
Worked in the round. Both alike. Note that my gauge ran tighter in the round than flat — about 17 rounds to 10cm instead of 14. Knit to your desired length rather than to my round counts.
Return the 33 held sts to the needle. Knit across them, then pick up and knit 3 sts across the underarm gap to close the hole. 36 sts. Place a marker at the center of the underarm and join to work in the round.
Knit 23 rounds plain — about 13cm (5") from the underarm.
Decrease round: k1, k2tog, knit to last 3 sts, ssk, k1. 2 sts decreased. Work this every 3rd round, 6 times — 24 sts.
Knit 1 plain round. This keeps the bind-off from sitting directly on a decrease round, which would pull the cuff in.
Bind off loosely with a stretchy bind-off when the sleeve measures 24cm (9½") from the underarm — about 42 rounds in all.
The cuff finishes at 22cm, with no ribbing. That is deliberately loose: there is no stretchy ribbing, so the width has to be enough to get a hand through on its own.
Hem scallop
With the 9mm hook and the right side facing, work into the bound-off edge, starting at one front corner. Here’s a great tutorial on the technique and how you can modify the size.
*1 sc in next st, skip 4 sts, 7 dc in next st, skip 4 sts* repeat 9 times across
Each repeat eats 10 stitches, so 9 repeats consume all 90 exactly, ending at the far front corner. Fasten off. Nine scallops, about 9cm (3½") across each, adding roughly 2cm to the length.
Resizing the scallop
The repeat is yours to choose. Every version is built the same way — 1 sc, skip x, a fan of dc in one stitch, skip x — so the repeat is always 2x + 2, and the fan that fills it is about 2x − 1 stitches:
skip 3, 5 dc → 8-stitch repeat, scallops about 7cm across
skip 4, 7 dc → 10-stitch repeat, about 9cm — used here
skip 5, 9 dc → 12-stitch repeat, about 11cm
Pick whichever divides your body count evenly. If none of them land, add or subtract a stitch or two on the last row before binding off — two stitches at this gauge is under 2cm and nobody will ever see it.
For a deeper scallop, go up a hook size.
Ties
There are no buttons and no button band. The fronts meet edge to edge and the cardigan closes with a bow at the neck.
With the 9mm hook, join the yarn at the top corner of one front, right at the cast-on edge, and pick up two stitches there — then work a crochet i-cord outward from the garment to 42cm (16½"). I used this crochet technique which was far easier than the knit i-cord I’m used to using. Fasten off and weave in the end. Repeat at the other front corner.
Blocking
Do not skip this. Stockinette with no ribbing and no front bands wants to curl, so blocking is the only thing stopping it.
Soak for 30 minutes in warm water, squeeze the water out without wringing, then lay flat on the inside of a folded towel then roll it up, step on it, get out all the water. Then lay flat to dry to shape. I didn’t use pins because I got it pretty flat and it was already true to size, but you can pin to keep everything flat. Leave it until it is completely dry.
The fronts stayed flat afterwards with no edging (after blocking). That depends on untreated wool: superwash does not hold a block the same way, so if you substitute for superwash or a plant-based fiber, you may need to add a crocheted edge up the fronts.
Fin!
Tag @thegoldhive on Instagram if you make one!