How To Get a Building Construction Permit and My Experience With A Historic Home
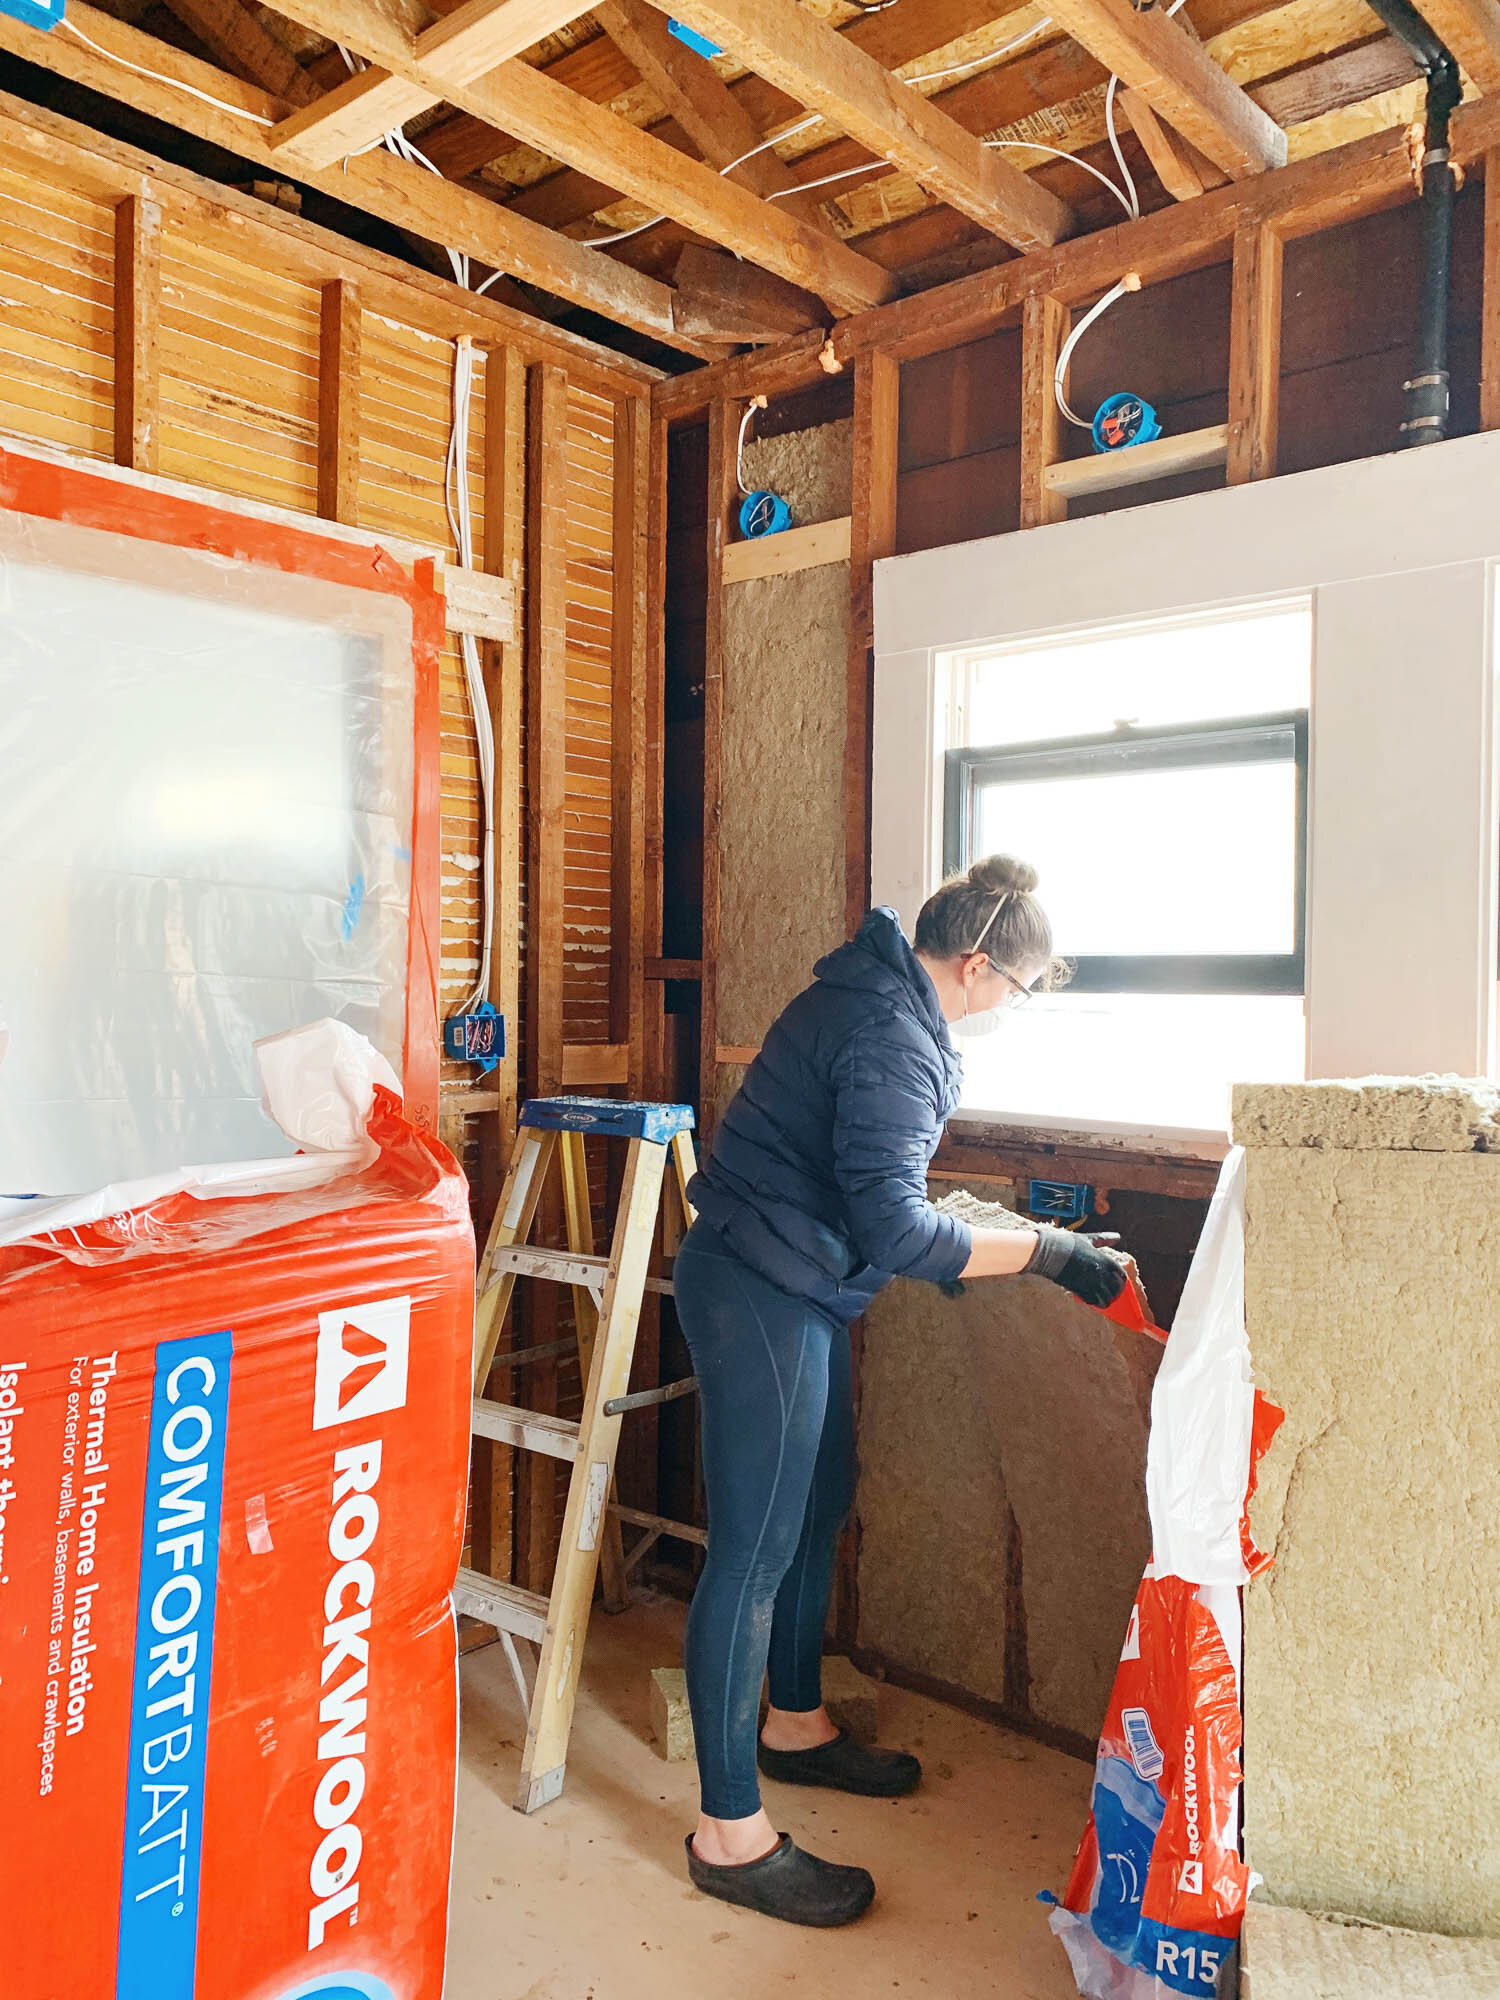
/We FINALLY have a construction permit to do our kitchen renovation. FIN.AL.LY. Whew. It’s taken awhile to get here for a number of reasons that I’ll share here. I’ll break down the steps we took, the costs we’ve incurred, and some of the story behind everything.
To be clear, I’m going to talk about MY experience getting a construction permit in the City of San Diego for a Historically Designated house. None of what I’m sharing should be taken as gospel - please consult your contractor/draftsperson/city officials for questions about your jurisdiction.

Step 1: Figure out the design
I didn’t hire an architect or interior designer, so I did the designing myself. I used the HomeStyler app to figure out my layout and I used my lovely blog community and blog friends to weigh in and help me make decisions - thank you! If you don’t have a network of helpers like I do, I hear people like the Houzz forums for uploading and getting feedback on their designs.
If your home is historically designated like mine, this is the stage that you want to start talking to the Historic Board at your City. Get them involved now so they can give feedback before you go through the time consuming and costly steps below only to have to start over from scratch. This is also the time to talk to anyone at the City regarding other concerns. For example, I’m under the flight path, so I can’t add three stories to my house - the Structural department is who to talk to about this. If you’re near a school you may want to discuss more with the Zoning department. If you have an HOA, you definitely want to know what you’re allowed and not allowed to do to your property. Start asking the questions now!
It’s worth noting that a lot of the details should be decided at this stage. Changes can be made later, but the more clear the plans are, the less negotiating with an inspector later on. For example, I knew I wanted sconces over the sink. But how many? Where did I want the switch to turn them on? Would I want that switch to turn on any other lights at the same time? Should they be on a dimmer? Where will the switch be in relation to the doorway? Should I move the pocket door so I can get the switches just where I want them? Now, repeat this questioning for every. single, other. thing. It’s a lot of decision making!
Step 2: Get the plans drawn up
If you don’t have a professional already involved in your design process, this is when you’d hire a draftsperson (sometimes known as a draftsMAN but I’m all about gender equality here, so I say draftsPERSON. However, you may need to use the “draftsman” term to search for professionals in your area). If you have an architect, this will be included in their scope of work. I talked to a draftsperson that quoted me $1,000 to draw up my plans which is the minimum he charges.
When the draftsperson draws the plans, they aren’t just making your design sketch look prettier, they’re including a bunch of information to provide a full understanding of the project. They draw up the existing layout, the roof pitch, elevations of each side of the house, setbacks, detailed dimensions, notes about where the HVAC is, where the downspouts are, how thick the walls are, and so on and so on. It’s very comprehensive. The information can be collected by the homeowner, but I wouldn’t say this work is easily DIY-able. The formatting and the boiler plate text is a bit much to make the plans from scratch and the drawings an be tough to perfect without familiarity of the CAD software.
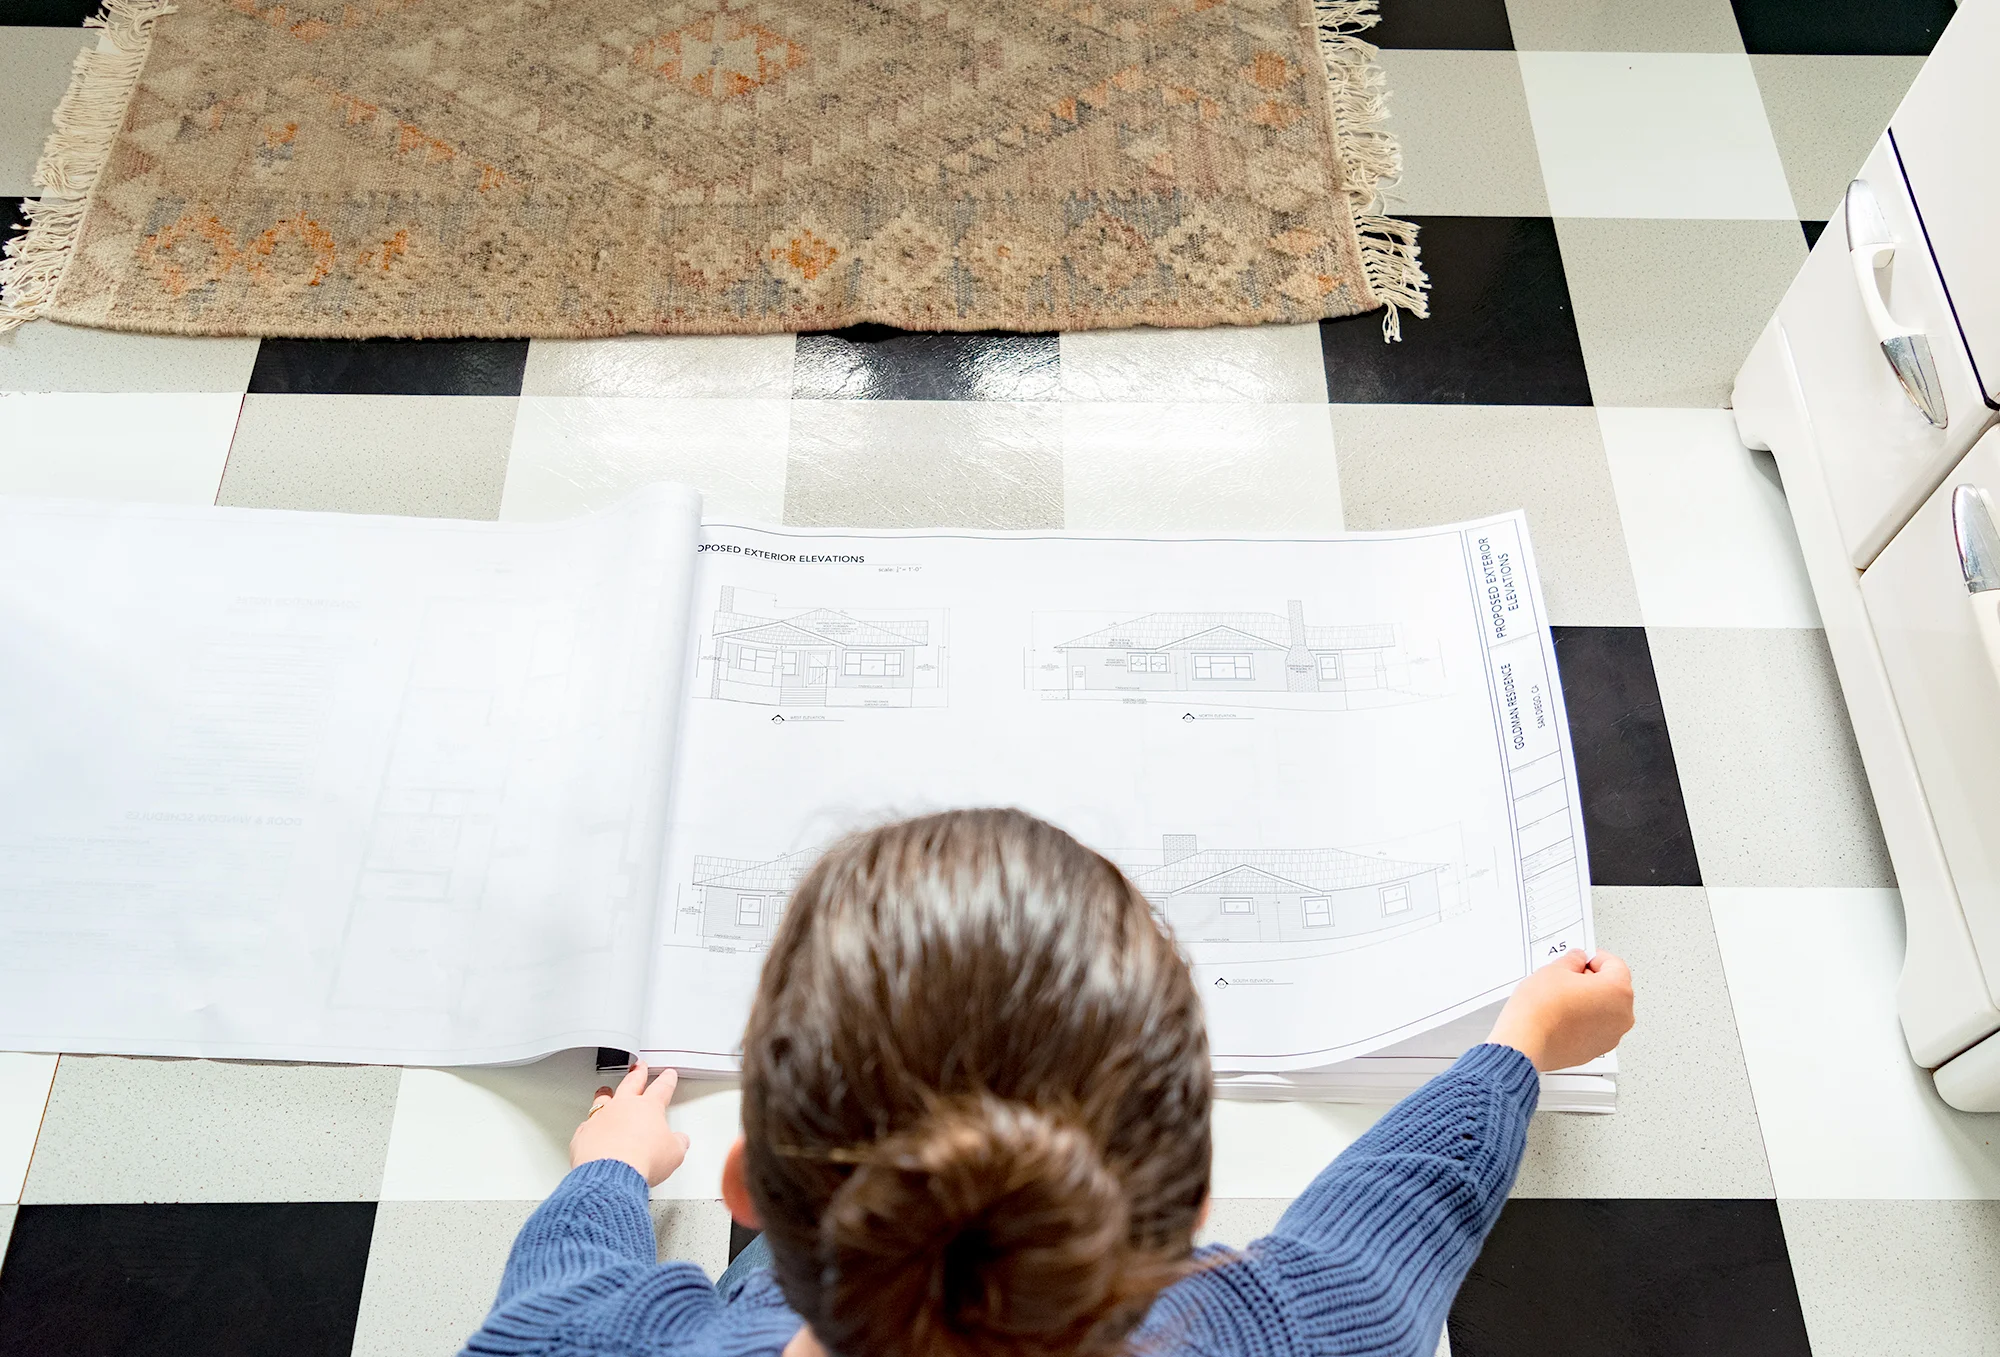
I’m lucky to have a good friend that’s an interior architect, so she drafted up these plans for me in exchange for my photography of some of her projects. It saved me $1,000 and I got to hang out with a friend while we measured my house. Win!
Step 3: Hire a Structural Engineer
Along with the plans mentioned above, we’re also required to submit calculations and drawings done by a licensed Structural Engineer. I hired a firm that was recommended by my Interior Architect friend. The Structural Engineer charged $975 for their work.
Step 4: Hire a Title 24 Assessor
Title 24 is a California Program designed to asses the home’s energy efficiency - you can learn about it here. This is a report that needs to be hired out by a pro that specializes in it. Luckily, many of the pros you would have worked with by this point have a person they refer you to, or they’ll send the info to them directly. We paid $250 to have this report drawn up.
Are you adding up all of these fees in your head? Yeah, I don’t blame you. I’ll put a cost breakdown at the bottom of this post for ya.
Step 5: Complete necessary documents for the permit review
In addition to the reports and the plans included above, there are a few other documents to complete. Every City is different and the documents vary based on the scope of the project, but here are the ones I completed: General Application, Water Meter Data Card, and Storm Water Requirements. Obviously, don’t take my word for it, there’s a bunch of confusing and time consuming links to click through on the City’s website to “help” you to navigate it.
Step 6: Print everything out
We’re getting so close to submitting the plans - not yet though! First, we print. The documents in step 5 can all be printed at home, but the large architectural drawings of steps 2 and 3 need to be printed at 24x36” and then bound. These are printed at a reprographics shop that can print on such a large scale.
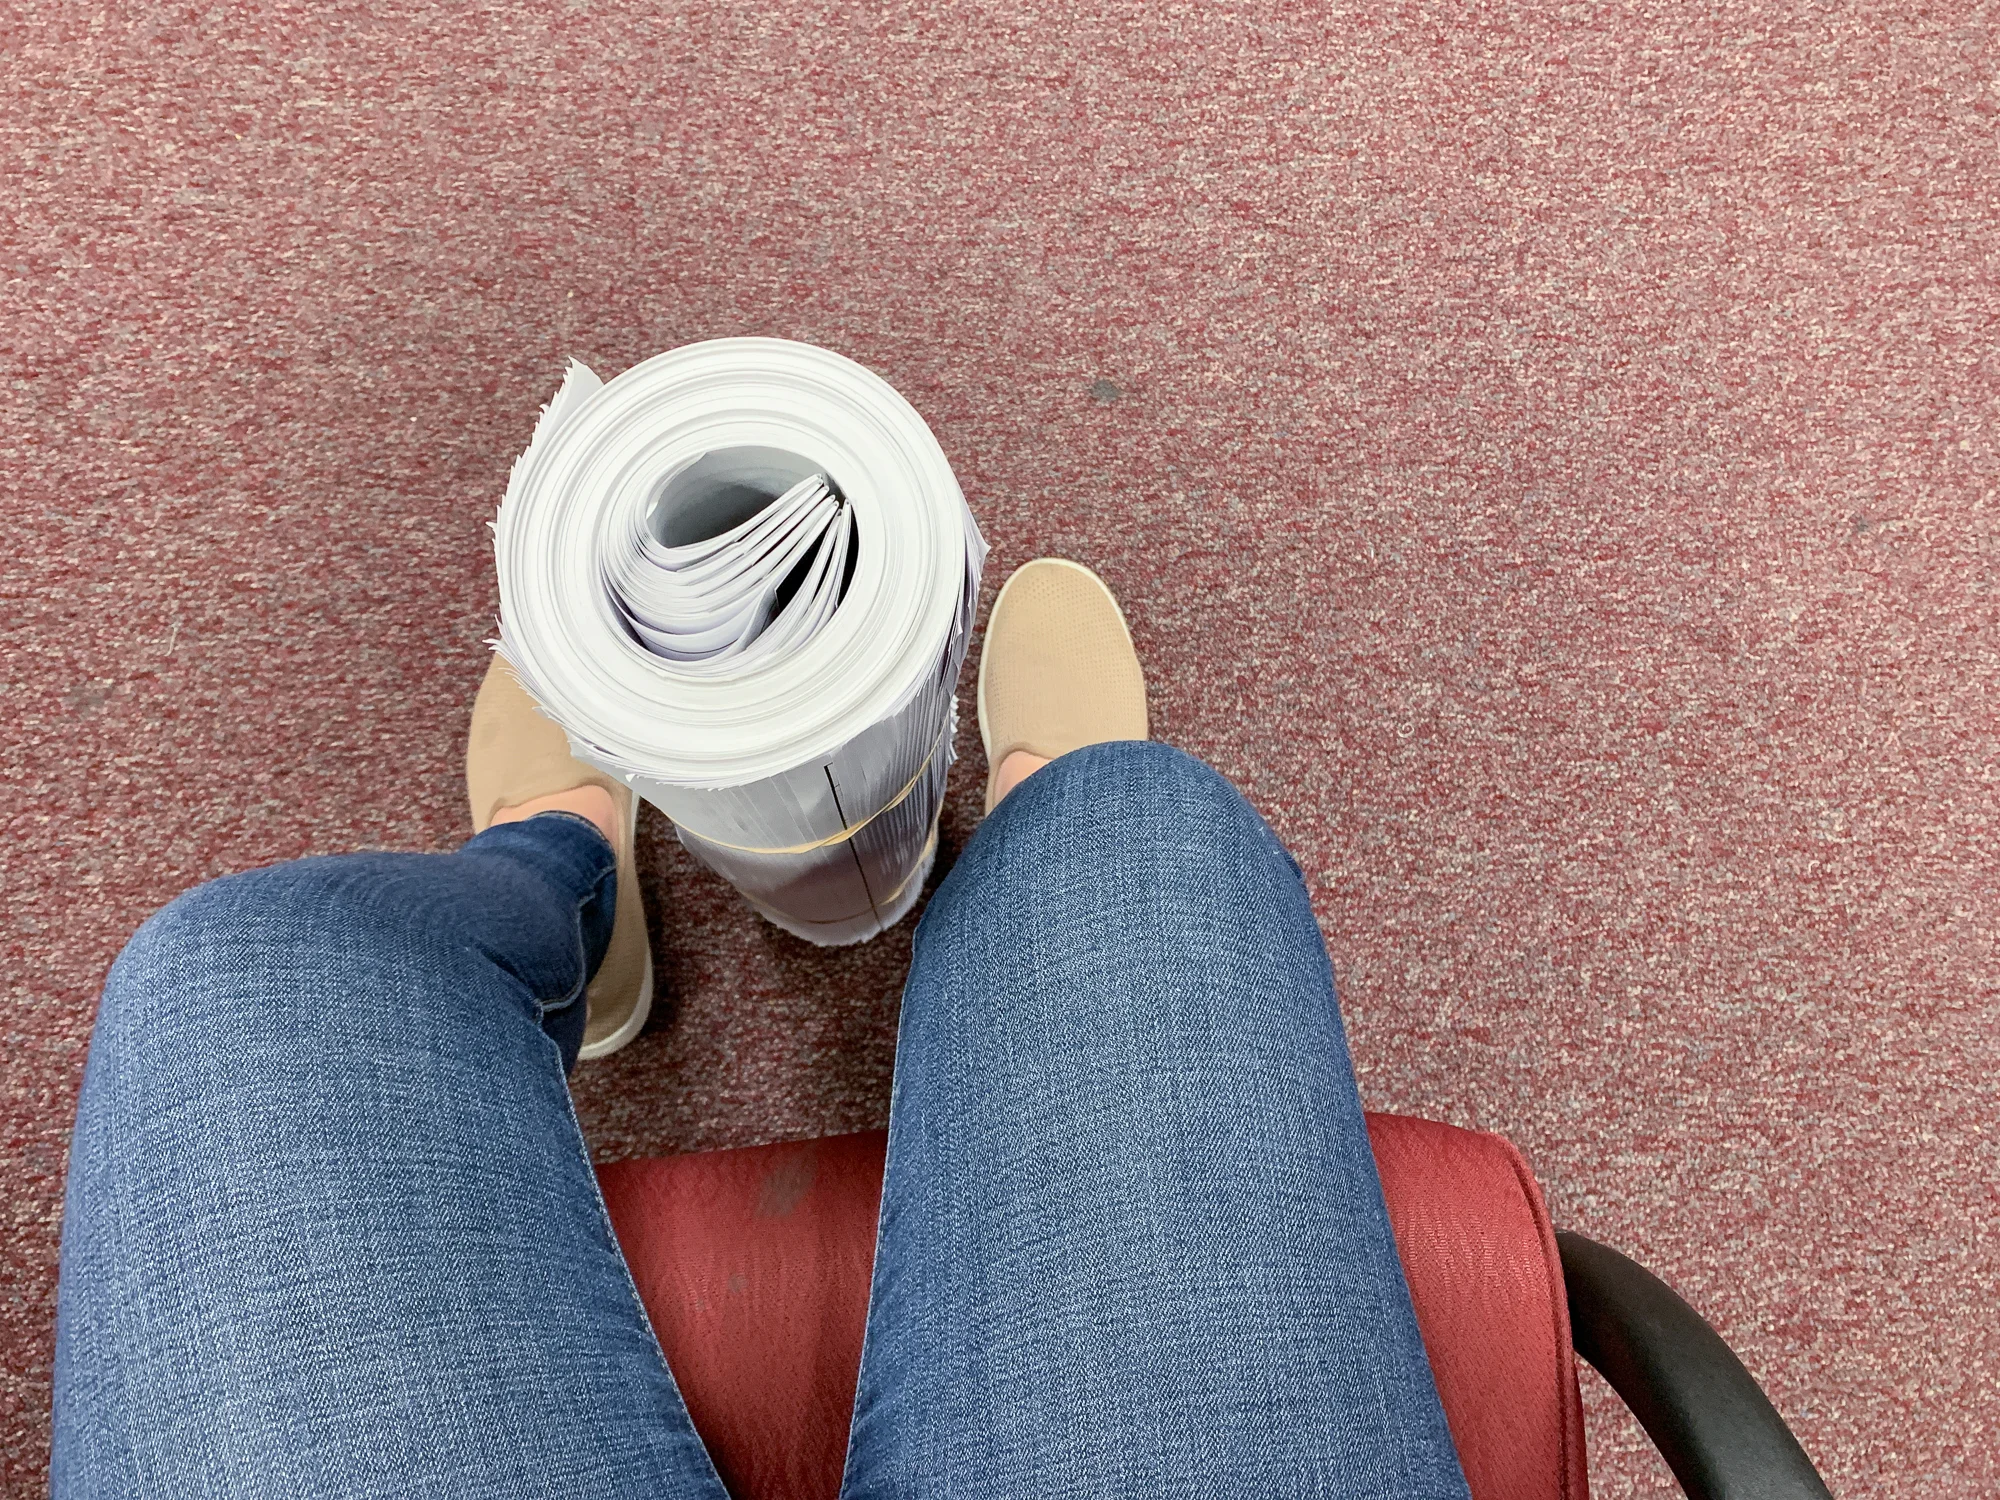
We had to print one set of plans per department that will review the permit. But, we weren’t sure how many departments would need to review the plans, so we printed 7 copies. But, we only needed 4 - oops. For this first round of printing, we did 7 copies of the architectural 24x36 drawings, two copies of the Structural Calculation packets, two copies of the Title 24 report, and one copy of each document listed in step 5. This print job came out to $191.
Step 7: Submit!
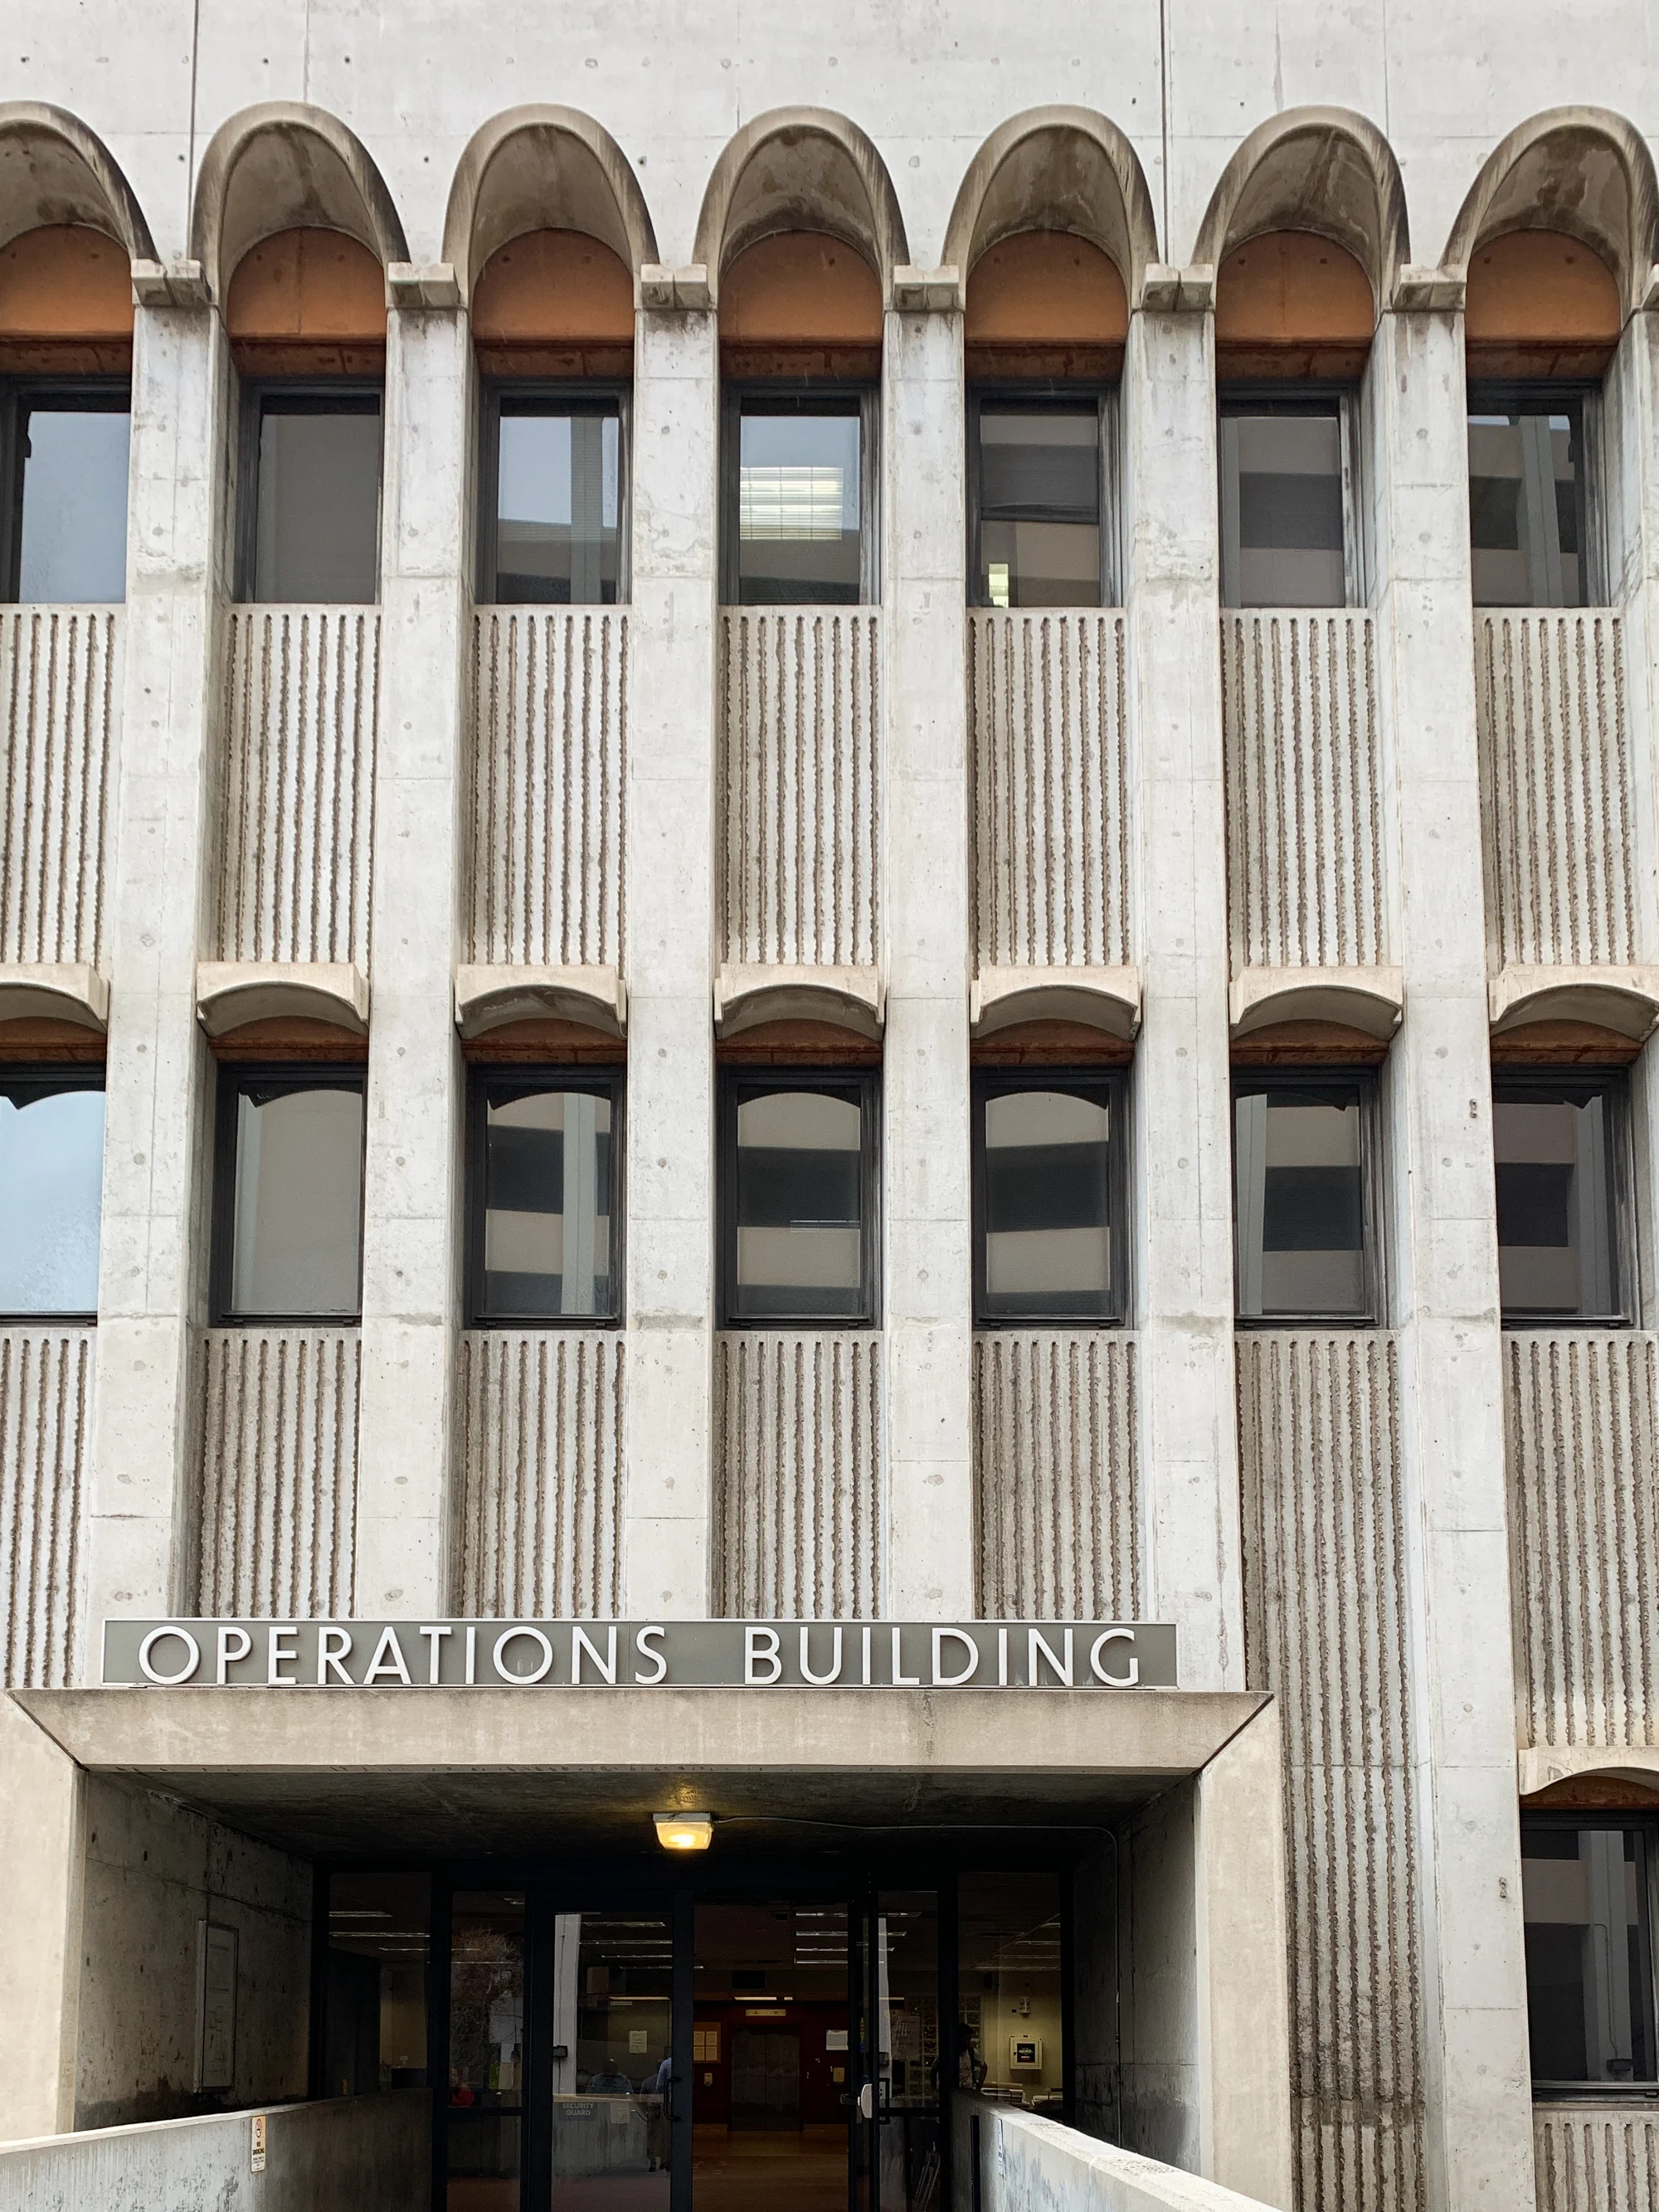
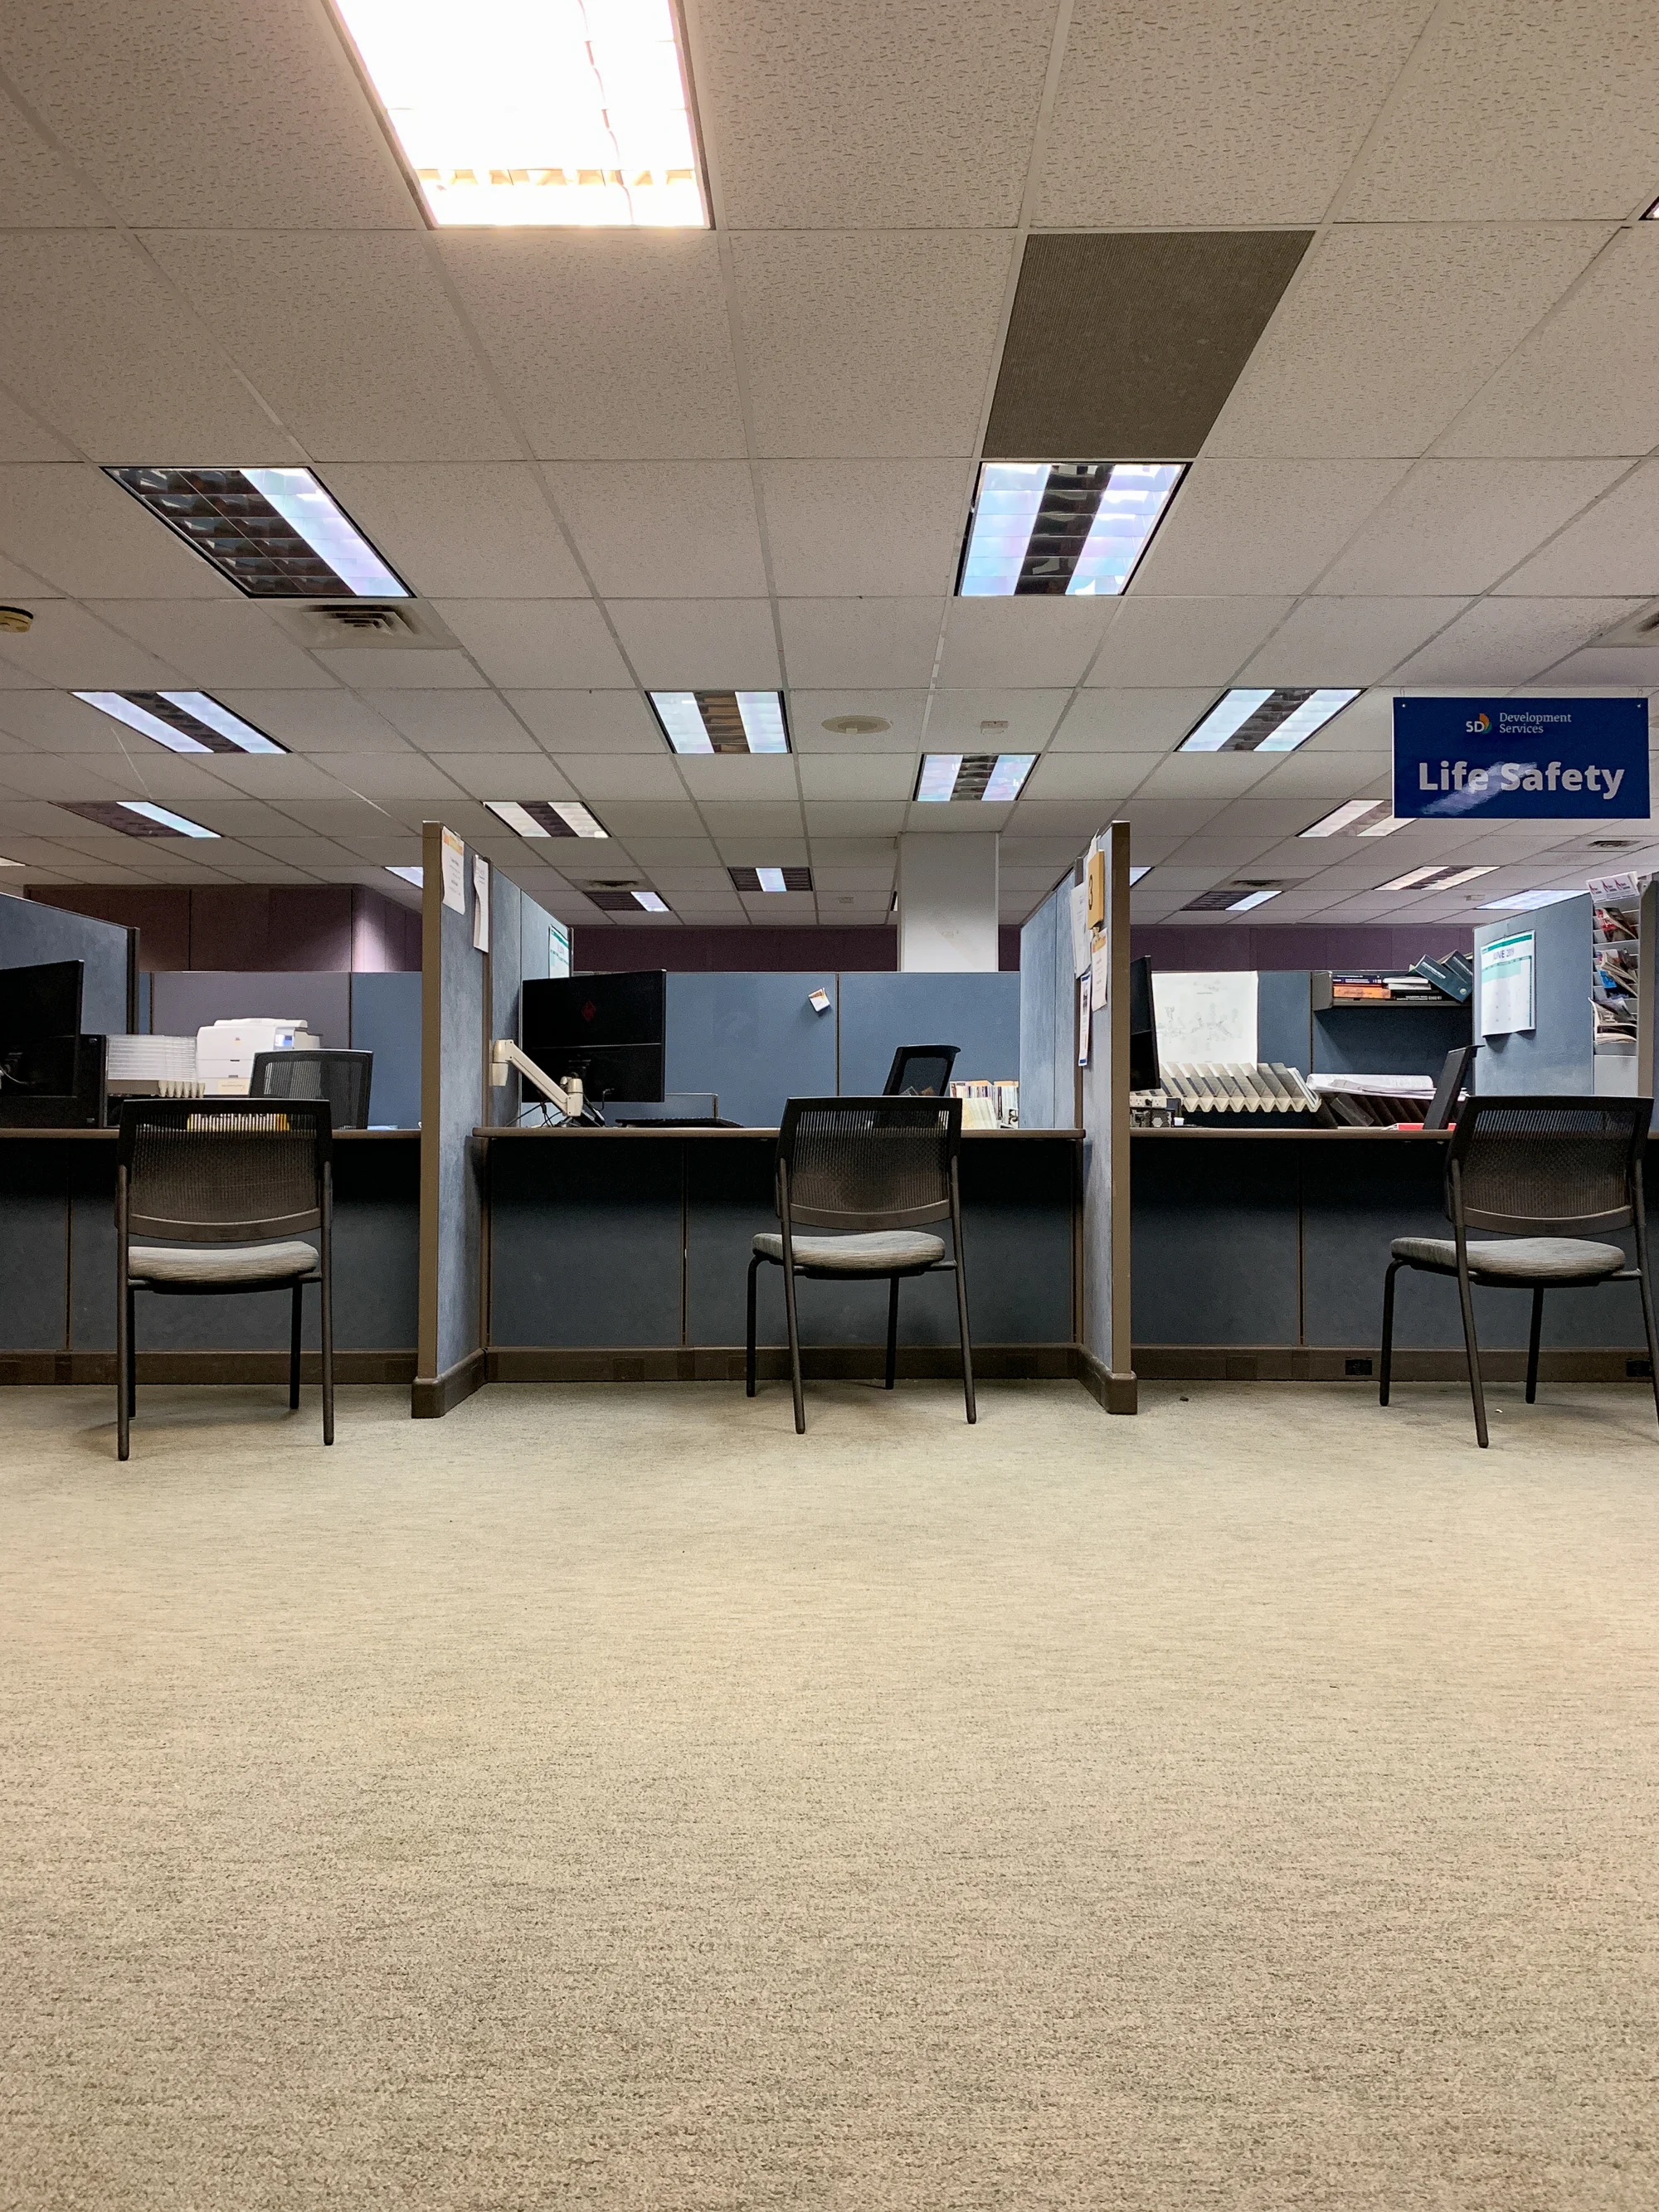
Once everything is printed, then submitting is next. It feels like it will be really exciting, but basically you just hand everything off and then wait. I made an appointment which saved me a bunch of hours waiting in the lobby. When my name was called, I sat down with a fella that went through everything. He didn’t go through it to give any feedback but rather to input the data into the computer so there’s a record of the scope of work, the square footage we’re modifying, the address, historic status, specs, and things like that. Through this inputting process, he determined how many departments the permit would get checked by, and how much of a fee I needed to pay upfront. Ultimately, my permit needed to be looked at by 4 departments: Combined, Structural, Historic, and Zoning.
As for the fee, there’s a general $285 fee for submitting, and then a cost per square footage being modified. So, I paid $1,381.22 to the City the day I submitted the documents just to get the process rolling. It deeeeeefinitely started adding up.
Step 8: Wait
This was really hard for me. I scrambled to get all of the documents together and spent thousands of dollars, then handed everything off not sure of the future. I was petrified that the Historic department would say I needed to start over and pay the fees a second time. But, there’s nothing to do other than wait. When submitting, we were told that we could expect to hear back from each department within about 3 weeks but that Structural was overwhelmed and we’d have to wait a few months. The anticipation killed me.

Step 9: Receive and respond to comments
After a few weeks of waiting, the department notes started to roll in. One at a time I got notes back from Zoning, then Combined, then Structural, and then Historic. The notes are bulleted lists of things to change. 98% of the required adjustments weren’t about the design itself, but just the way we display the info on the plans. We got notes like “add this text here” or “specify which type of X you’re using for Y” or “repeat the text on A1 on each of the other pages.” It was all pretty simple. Thank heavens.
It was a Christmas miracle when the Historic department didn’t have any major edits! I was petrified they’d tell us to start from scratch, so it was a celebration when they gave us the green light.
Once I got the comments back from each of the departments and we knew there weren’t any major changes to make, I sent them to my friend that did our drawings and she updated the documents. A few things needed to be updated by the Structural Engineer, too. Going back and forth took a bit of time especially since my friend gave birth to a human baby yet still managed to help me with my project. Whatta friend!
Even though the changes were simple, we didn’t resubmit the edits to each department as they came. We waited to get all four of them, then re-drafted the drawings to reflect all of the edits.

Step 10: Re-Print
Once we re-drafted the plans per the City’s edits, we printed them fresh. This time, I printed only three sets of plans. Even though there were four departments to review the plans, we only needed three sets at this stage for the submittal process. One goes to the County Recorder’s office, one stays with the Development Services office, and one stays on the jobsite to be reviewed by the inspector when they visit.
The reprint cost $118
Step 11: Submit Plans
It took about three months since starting step 2 but finally, the day to get the stamps had come! I went to the City with my reprinted plans, copies of the departmental notes, and some snacks to keep me satiated during the meetings.
Depending on the request of the plan checker at each department, they may require the plans be resubmitted or if the edits are relatively simply, they will review them in person. I got lucky being able to do in-person meetings. I spent about 4 hours meeting with each of the departments, but eventually got stamps on all of my plans!
FINALLY!
Step 12: File Permit
Once I got all the stamps from each department, it was time to submit them all officially. This last stepped involved signing off on a few papers and watching the gentleman input a bunch of info into the computer. Then, by the end of it, I had a permit! He sent me home with one set of plans complete with each department stamps and some special perforation from the City. I also had a final bill to pay to cover the costs of the hours each staff person spend on my project. This bill came to $1,763. Oof.
Cost:
If you were keeping mental notes of the costs this whole time, I’ve gone ahead and totalled them up for you.
Item |
Cost |
|---|---|
| Draftsperson | $1000 (though my friend waived this) |
| Structural engineer fee | $975 |
| Title 24 fee | $250 |
| Plan printing | $191 |
| Permit application fee | $1,300 |
| Plan printing (take two) | $118 |
| City permit fee for staff time | $1,763 |
| Total | $5,598 |
I had no idea that pulling a permit would be this expensive and time consuming. A friend in upstate New York said their kitchen permit cost just $500. What!
Well there you have it. That’s what I’ve been up to the past few months. I’m going to miss visiting the parking lot across the street from the City building, but I’m more excited to get going on this reno! Now, I need to get products ordered and start demo! I’ll be sure to come back to keep you updated on the inspection process, too.