Our Full Home Tour as Featured on Design*Sponge
/I've been reading Design*Sponge for a decade, so just imagine my thrill seeing our home on one of my favorite design resources! In case you missed it, the full write-up including before-and-afters, as well as a source list, is below. Enjoy!
Before & After: A San Diego Home Balances Restoration & Modernity
Ross and Ashley Goldman and their cat, Mabel, have lived in their 1915 San Diego, CA craftsman for two years. Much of that time has been spent making their house into a home, highlighting the beautiful original details of the century-old structure, and creating a modern respite fit for sitting back and reflecting on all of their hard work. All of which led Ashley to create a blog to document their renovations, The Gold Hive — a name created from a combination of their last name and the literal hive that was found in their home when they bought it. When she’s not working on the house, Ashley can be found at a local art museum where she works on programs with school kids, anthropomorphizing her plants and vintage portraits, or making pies.
Ashley and Ross both grew up in the suburbs, in 70s tract housing, only a few blocks away from each other. When they were looking to purchase their first home, they knew they wanted one with a little more history than those in which they spent their childhoods. Unfortunately, San Diego isn’t replete with historic districts. The couple looked for two years before they found their craftsman gem in a neighborhood only 15 minutes from downtown that somehow retains a small-town charm despite its proximity to the city center. With all of the charm, the mom-and-pop shops and restaurants, it’s not hard to imagine how difficult finding an available house in that neighborhood would be — Ross didn’t even see their house before Ashley had to put an offer in because he was working out of town (he’s an audio engineer for live events) and there were only two days the home was being shown!
One thing the “before” photos can’t accurately depict is the stench that awaited the industrious couple. Ashley remarked that it was so bad at first that they could barely stand inside — a delightful combination of old cigar smoke and pet urine. “It took us three months of floor refinishing, wall retexturing, cleaning, electrical updates, and a restored bathroom before we could move in. We did a lot upfront to get the house to a place where we could put our things inside, but for the past two years since then, we’ve taken a slow approach to renovations and decorating,” Ashley shares. While there was something of a rush to make their home livable, since then the actual decorating of the space has had an organic flow that took shape as Ashley stumbled upon a perfect piece of art, vintage piece, or as they needed furniture. They’ve also not rushed into remodels, but instead lived in their home, hosted parties, friends, and holiday gatherings learning exactly what their needs are before launching into a project. While they don’t feel like their home is “done,” they actually relish in the process and the discoveries they make in getting there, and now, at least for a little while, they get to kick back and watch their favorite Netflix dramas. Follow along to see the work they’ve done so far, and hear what they still dream of changing up. —Rebekah
Photography by Dani Toscano
Image above: “Here is a view into the den and down the hallway to the bathroom. It isn’t the biggest of masters, but with the adjoining den, it feels like a suite. One day, we hope to add a bathroom to the master. The photo over our bed is from our wedding and it is printed as an engineering print for $7 at Staples. I hung it up two years ago when I felt like I needed something temporary on the walls and it’s stayed this whole time,” Ashley explains.

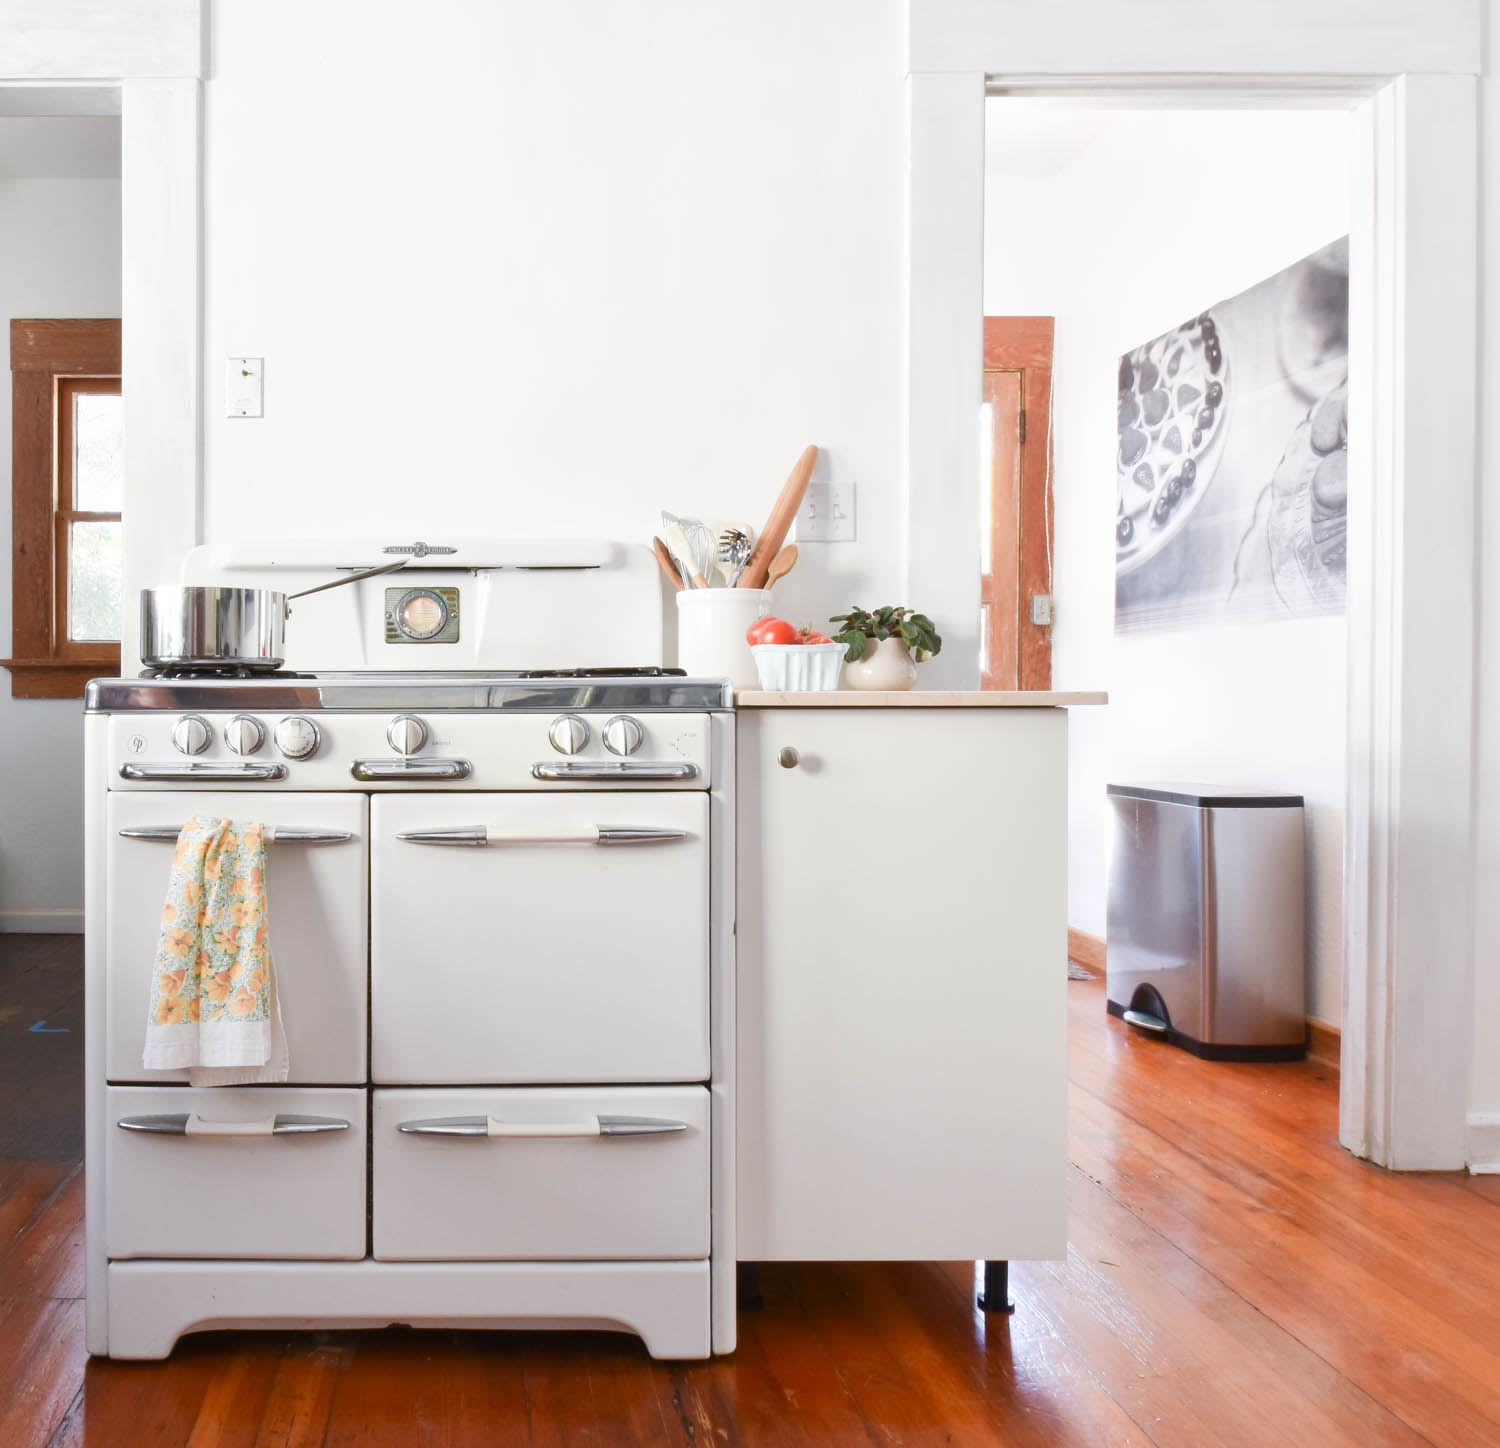
While Ashley and Ross' kitchen has gone from dark and dated to bright and welcoming, it's not yet in its final iteration. The couple will be doing a remodel at some point in the future to make their kitchen more of a workhorse. "The kitchen earned so many changes without affecting the footprint. New counters, paint, hardware, lighting, appliances, counter space, backsplash, and flooring. The only thing that stayed unaffected by the kitchen updates was the fridge. It merely got a heavy cleaning," Ashley shares.

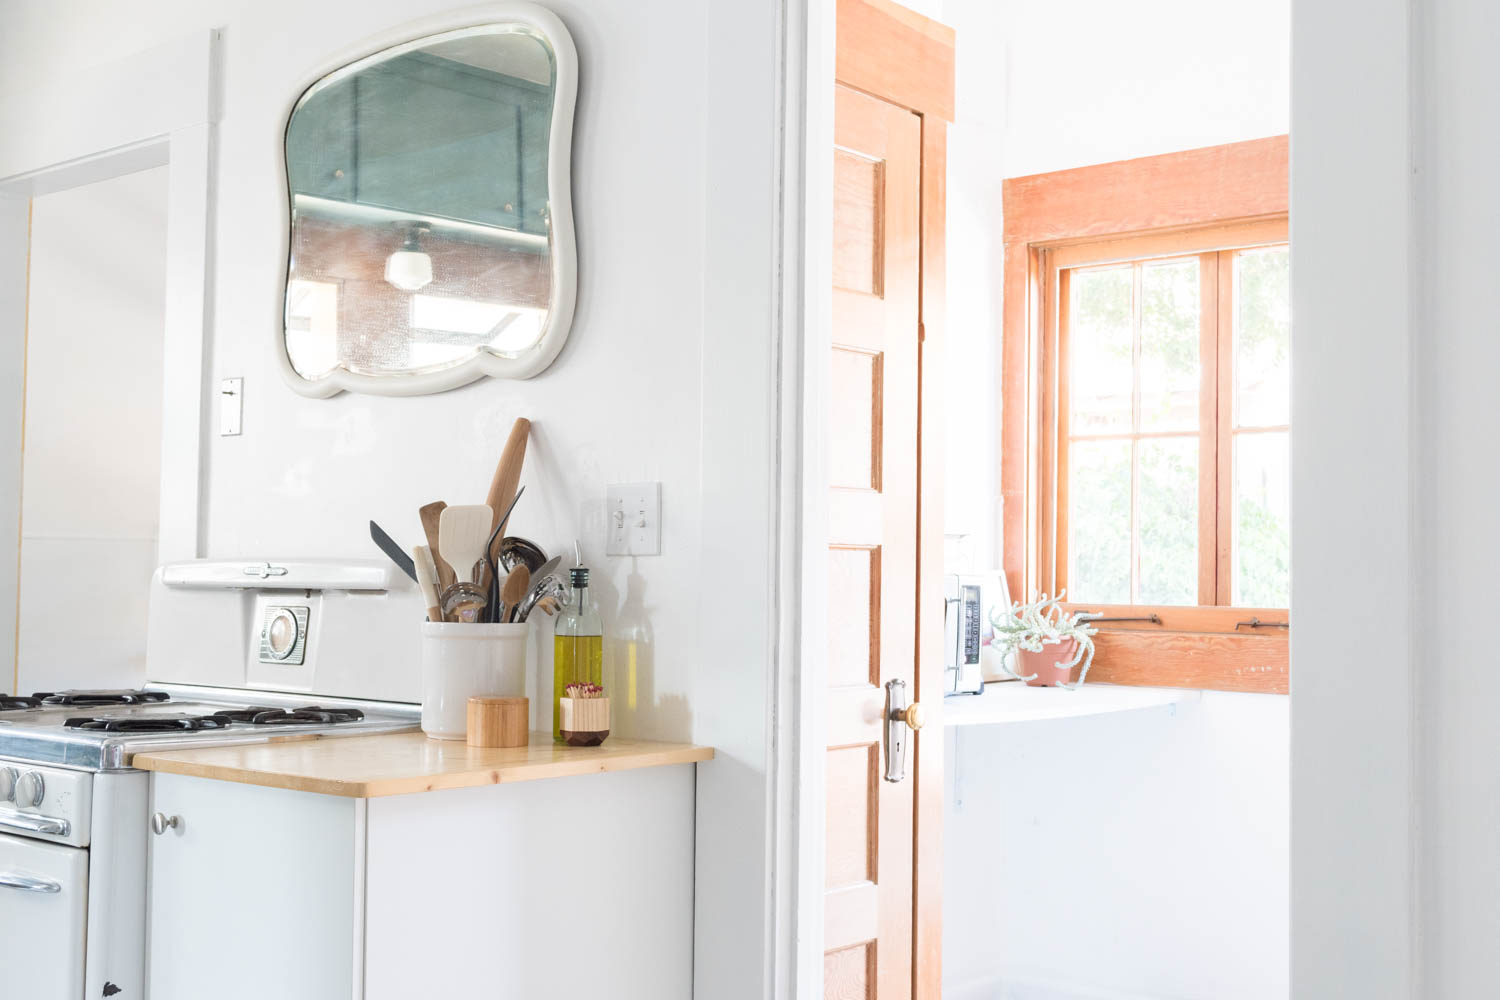
Ashley's rare find proves new isn't always necessary, "I got this vintage O’Keefe & Merritt stove at an estate sale down the street when I found that the existing one was in disrepair. I’ve scrubbed the whole thing clean, and it works just as well as the day it was made."

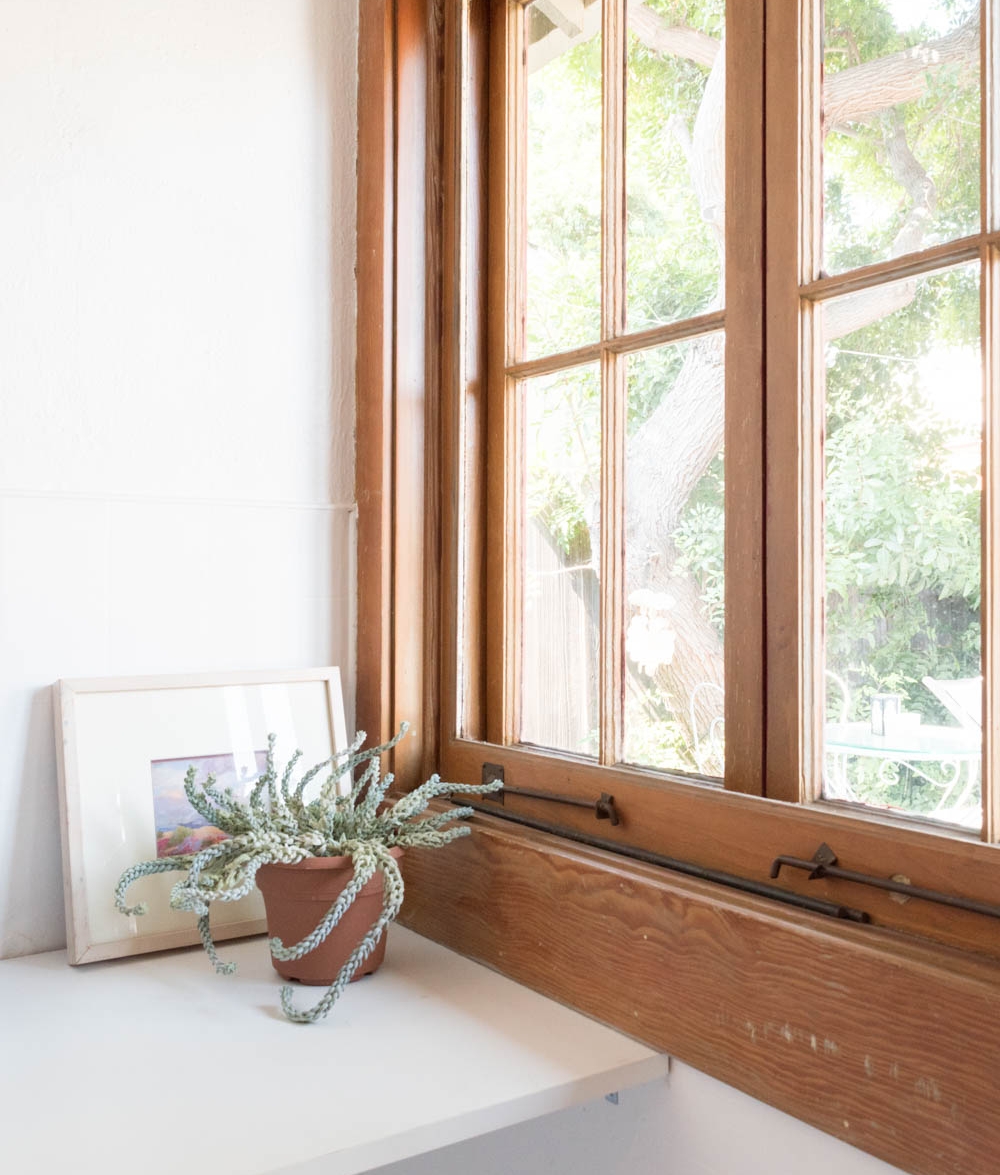
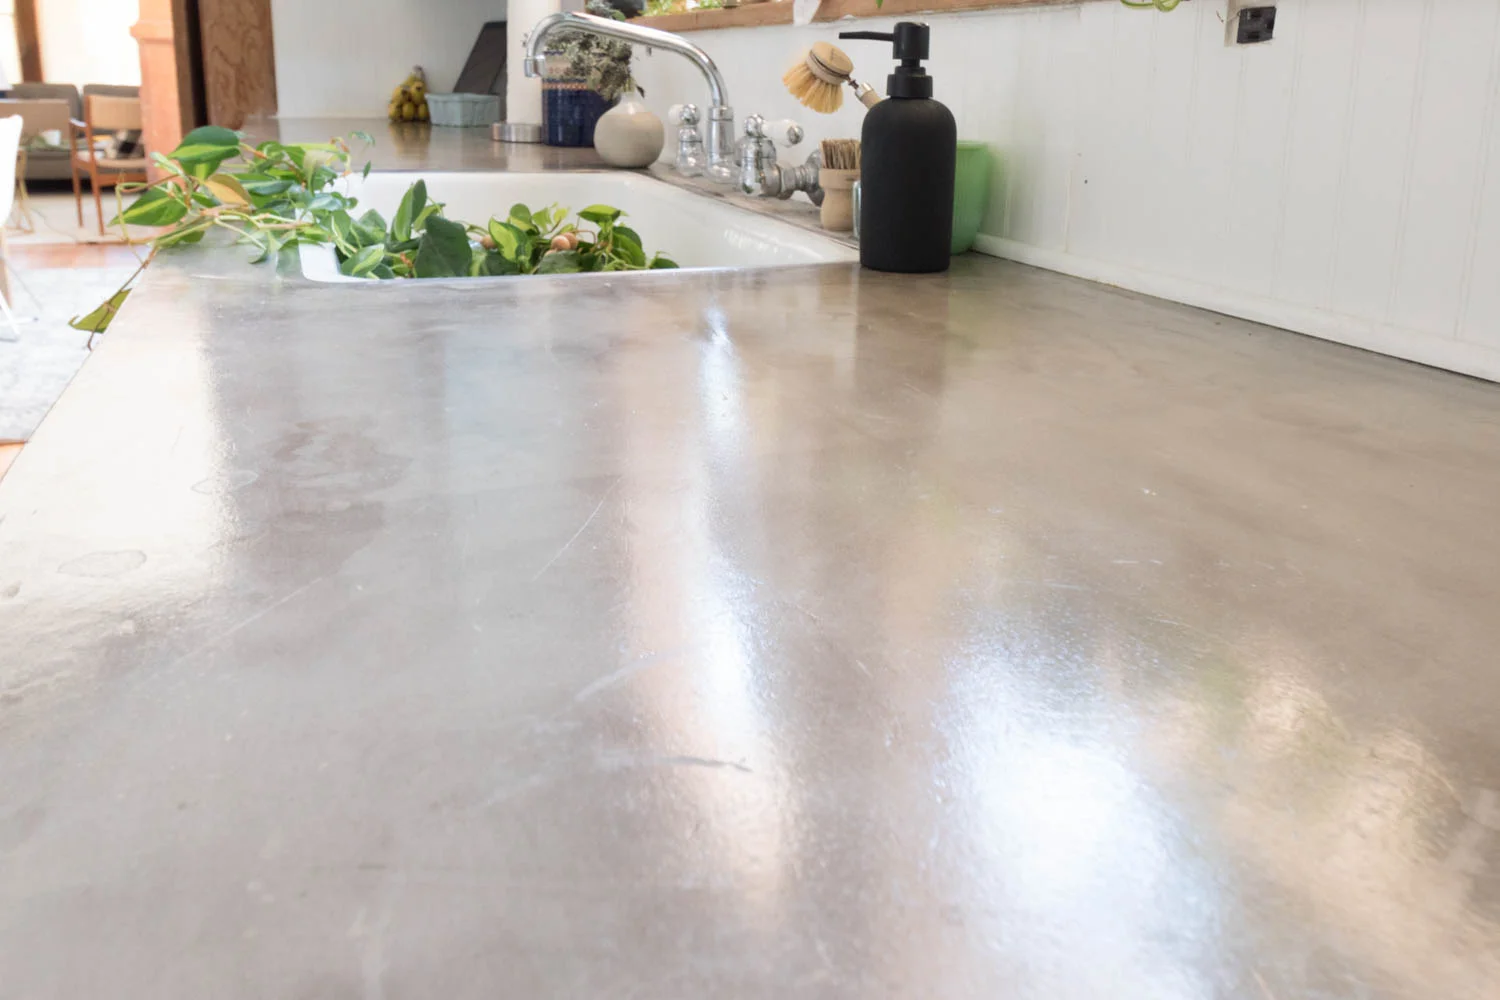
"The garden window above the sink is the perfect home for houseplants. They do double duty as greenery decor as well as hiding the neighbor’s trash cans," Ashley admits.

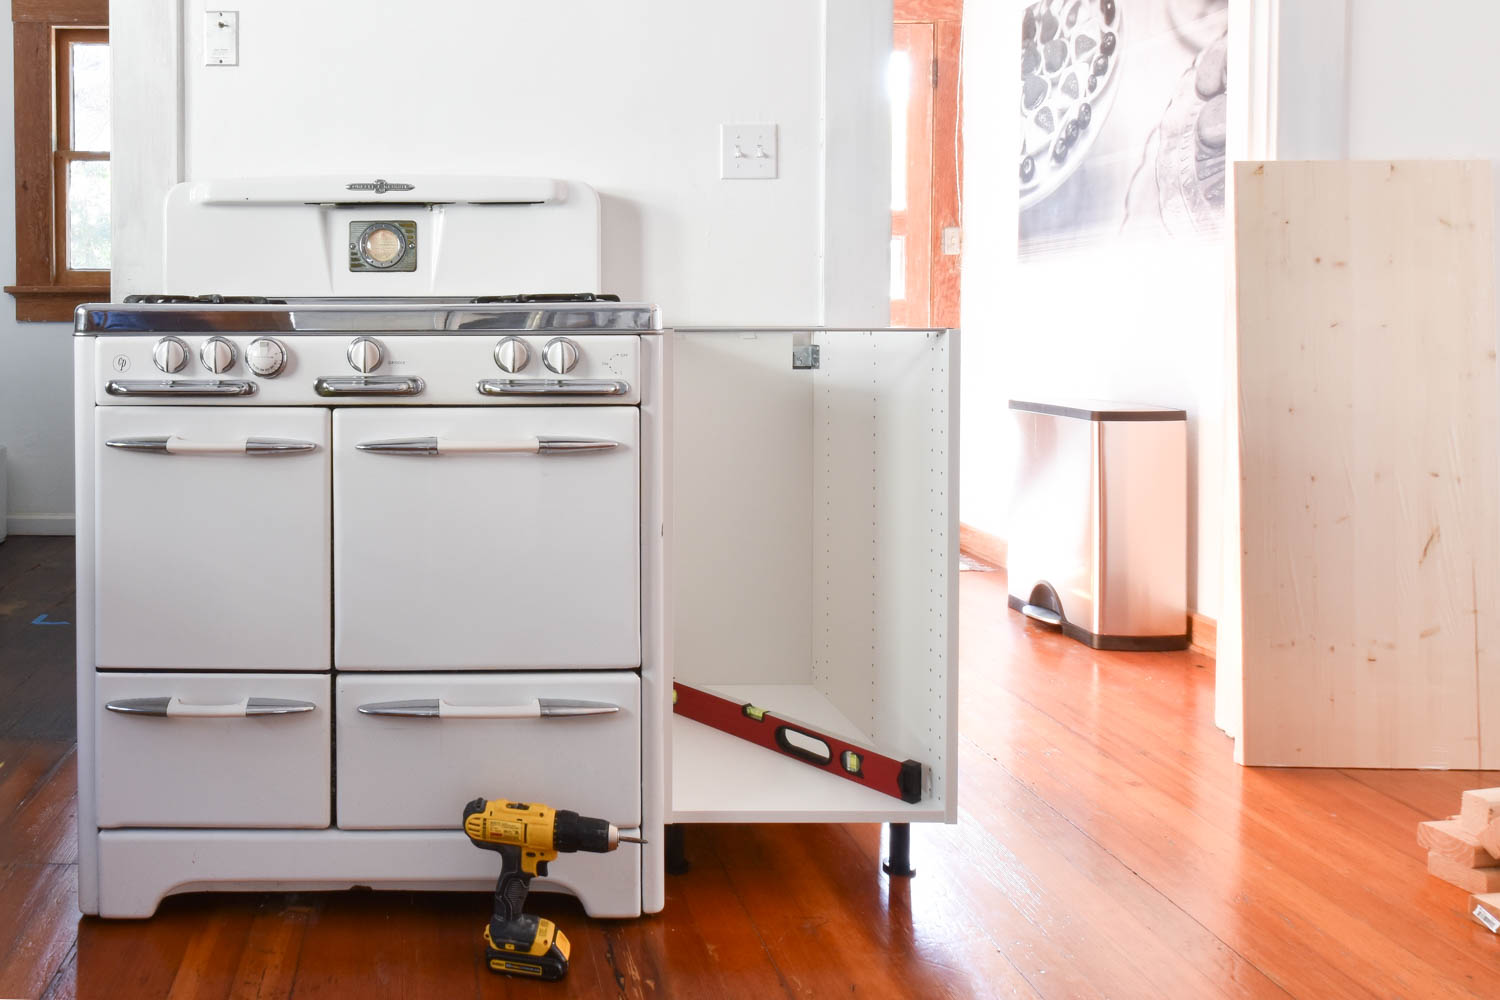
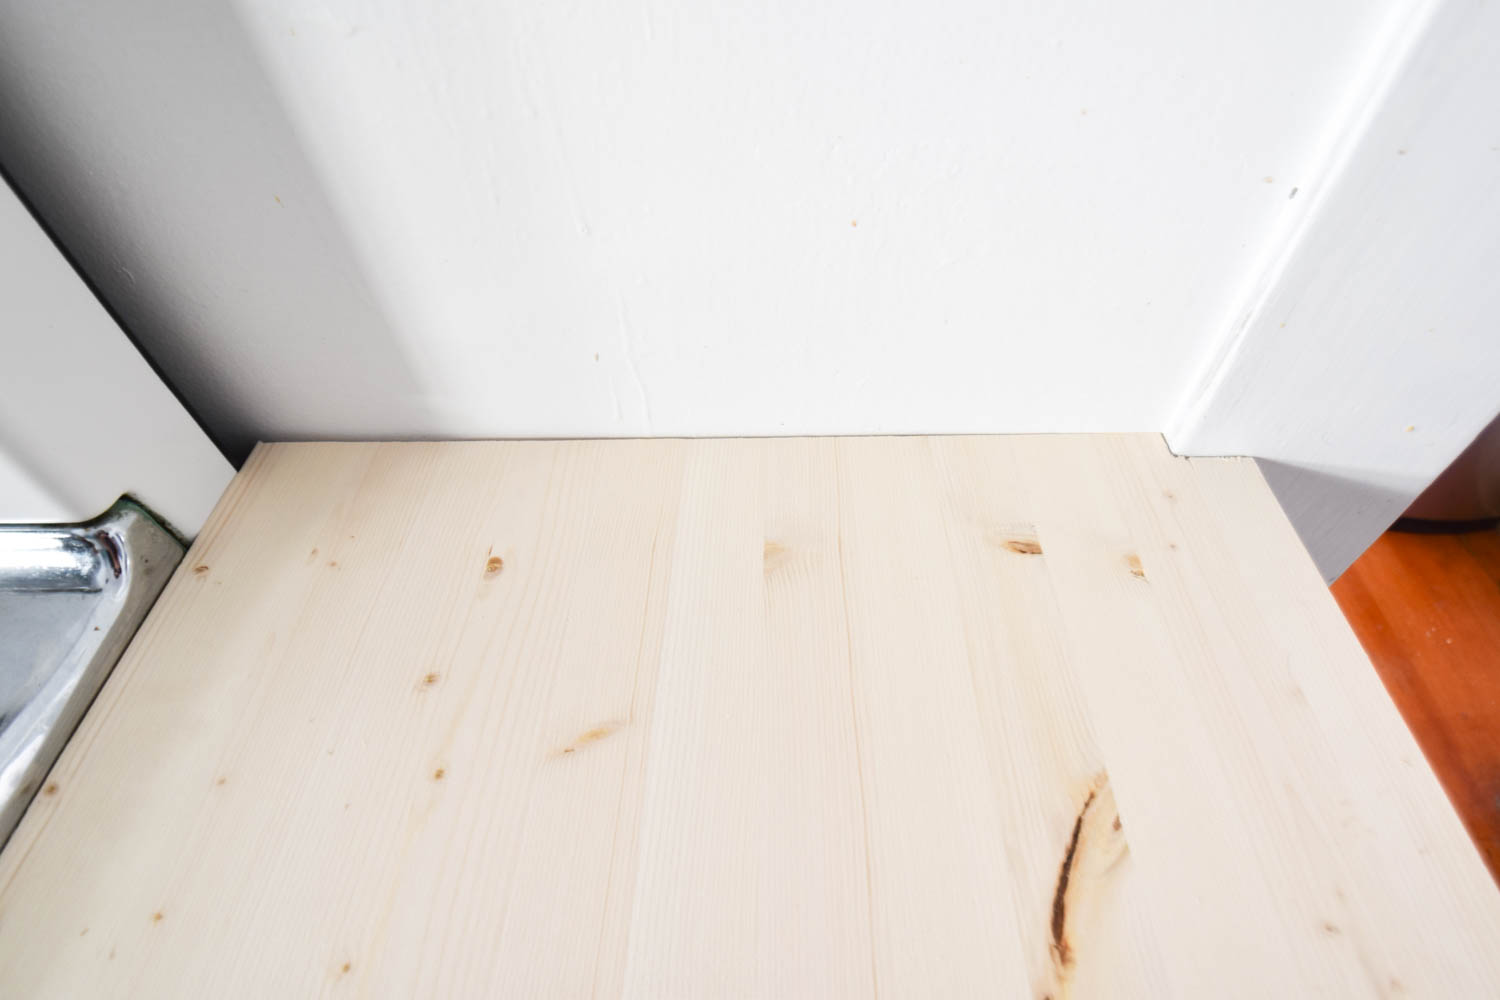
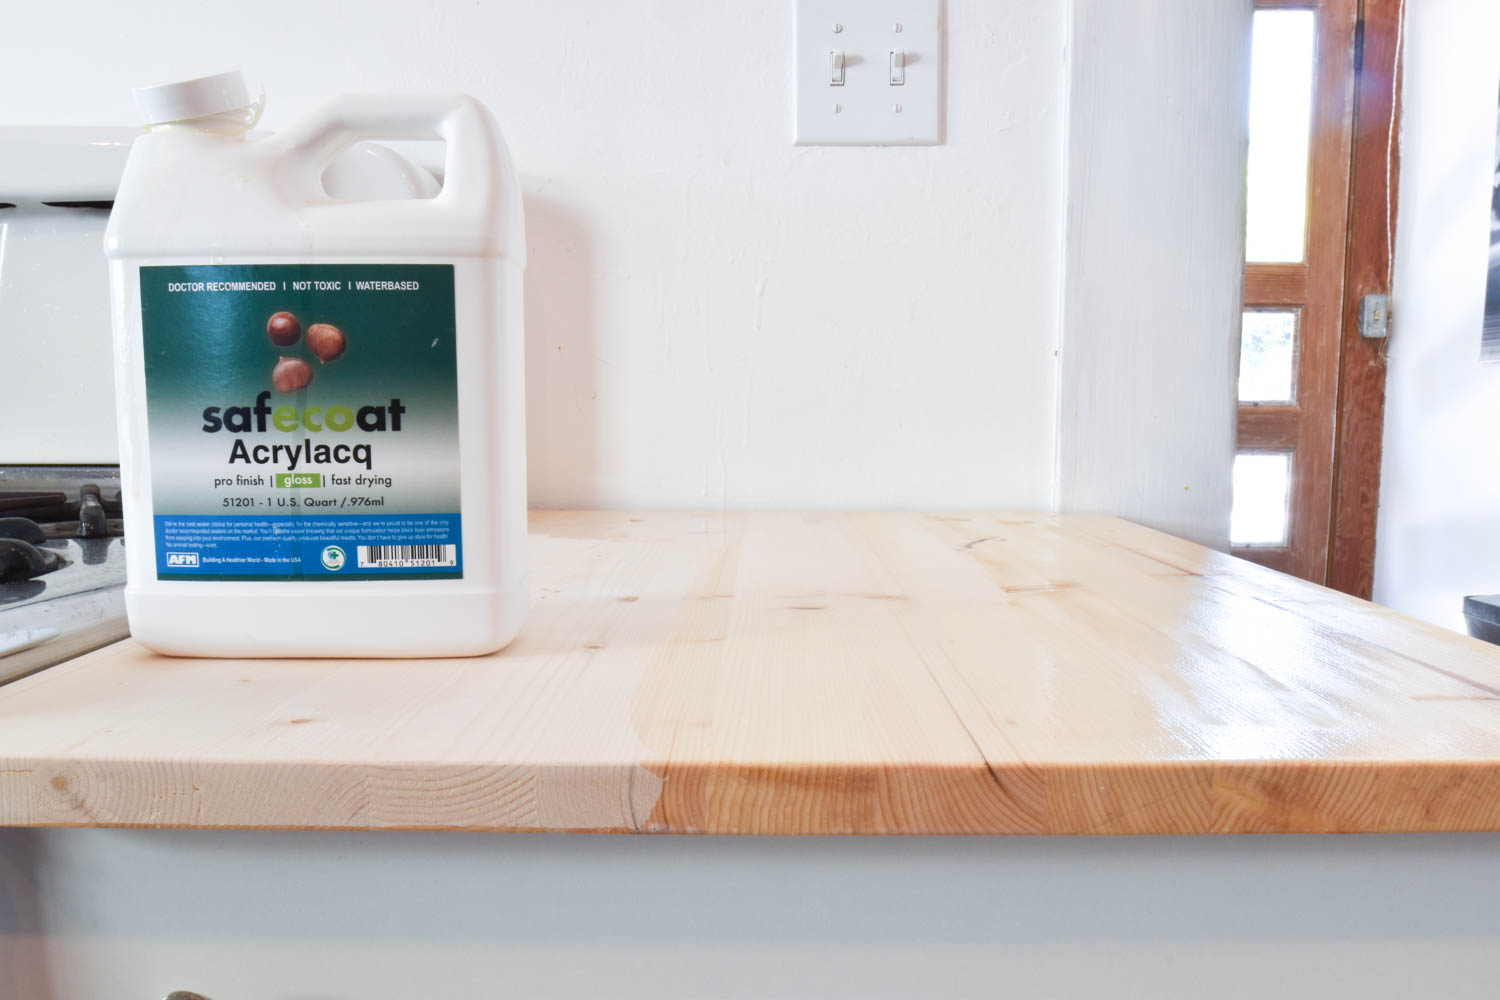
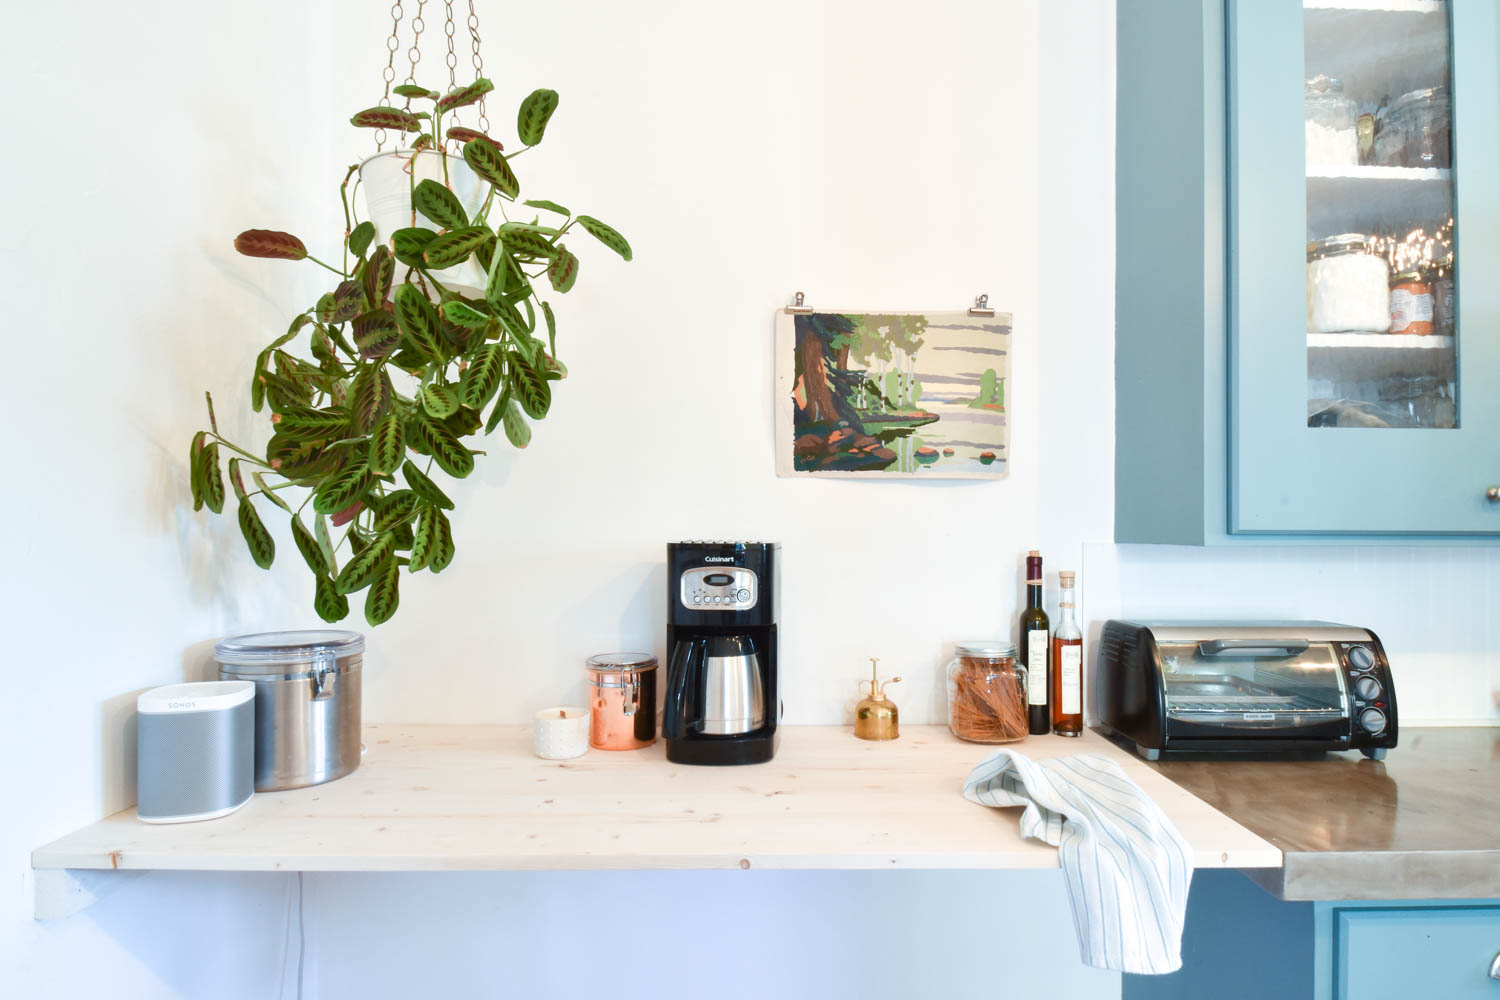
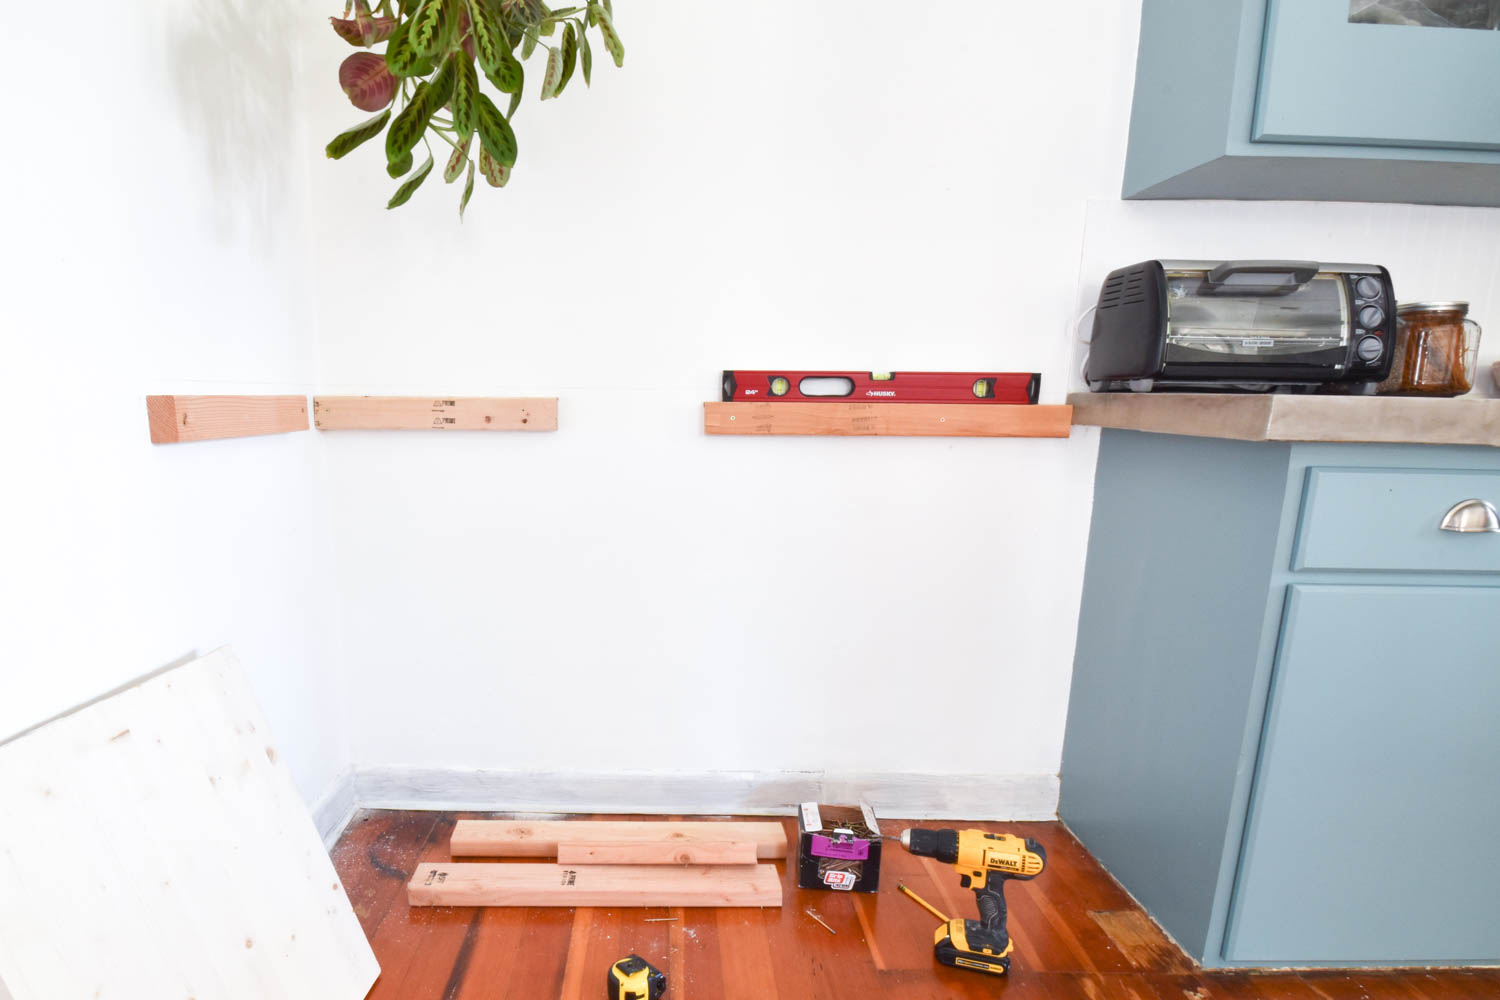
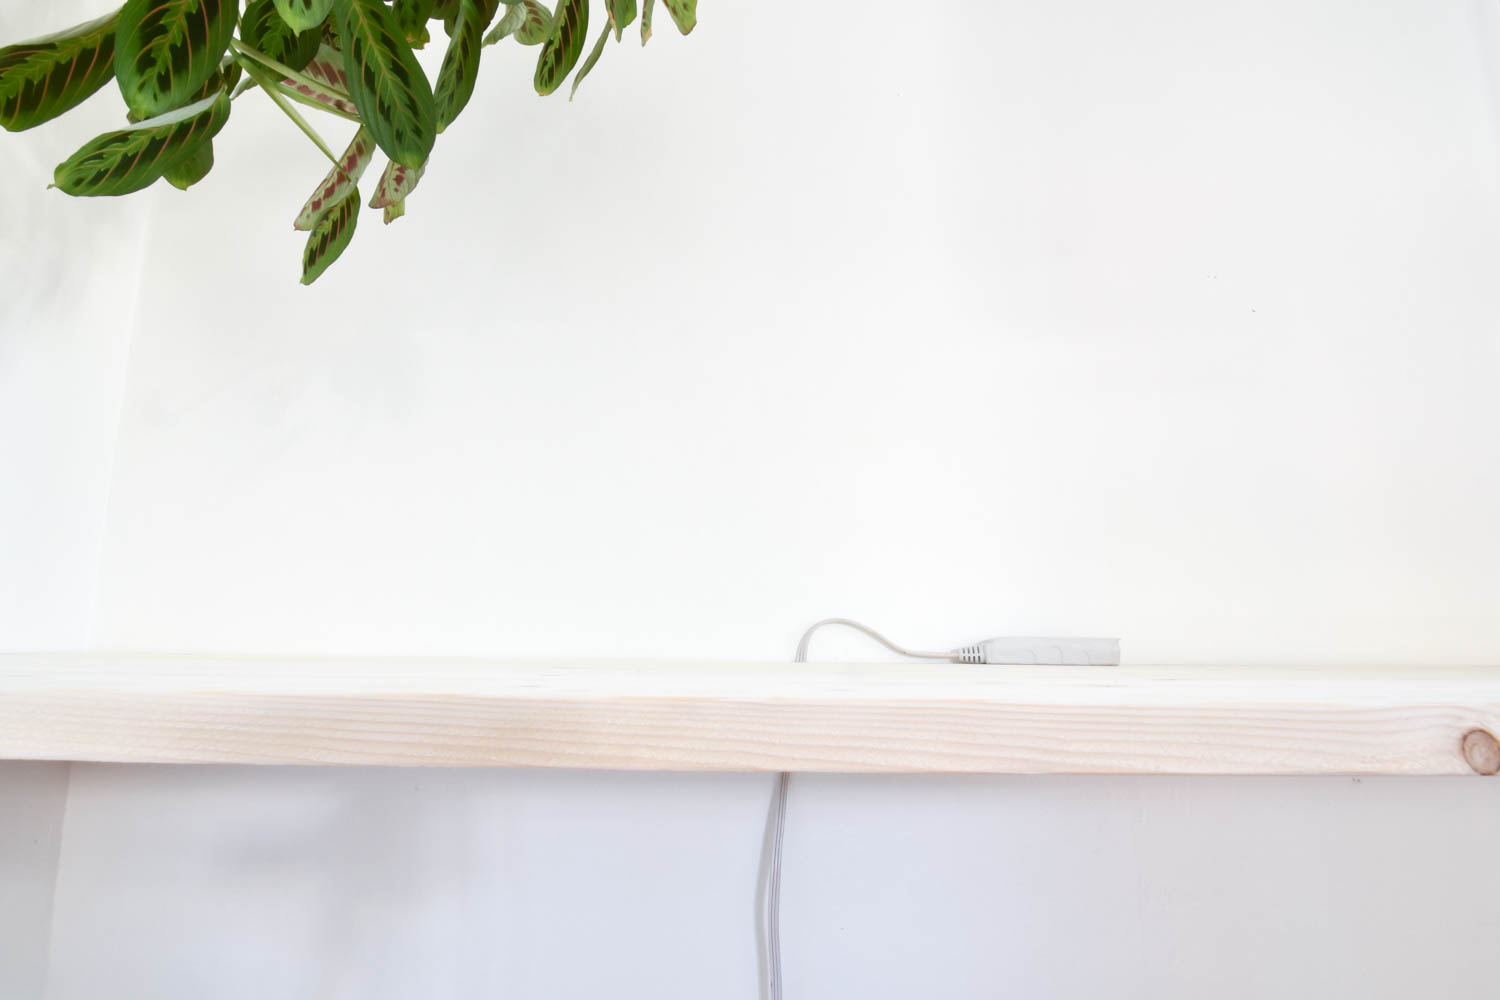
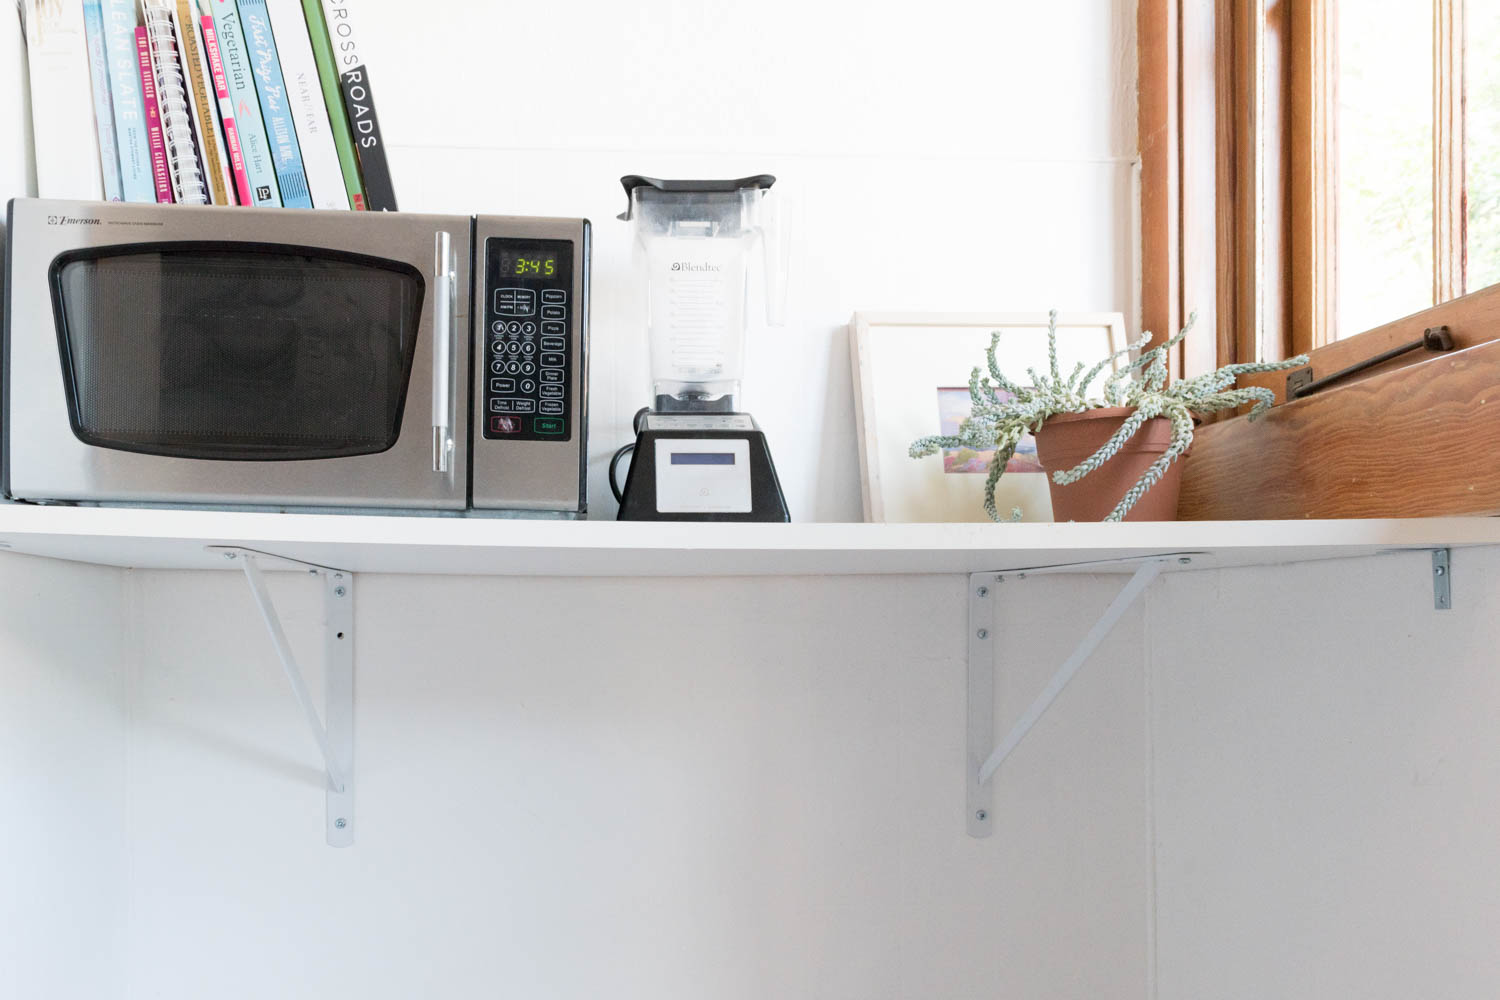
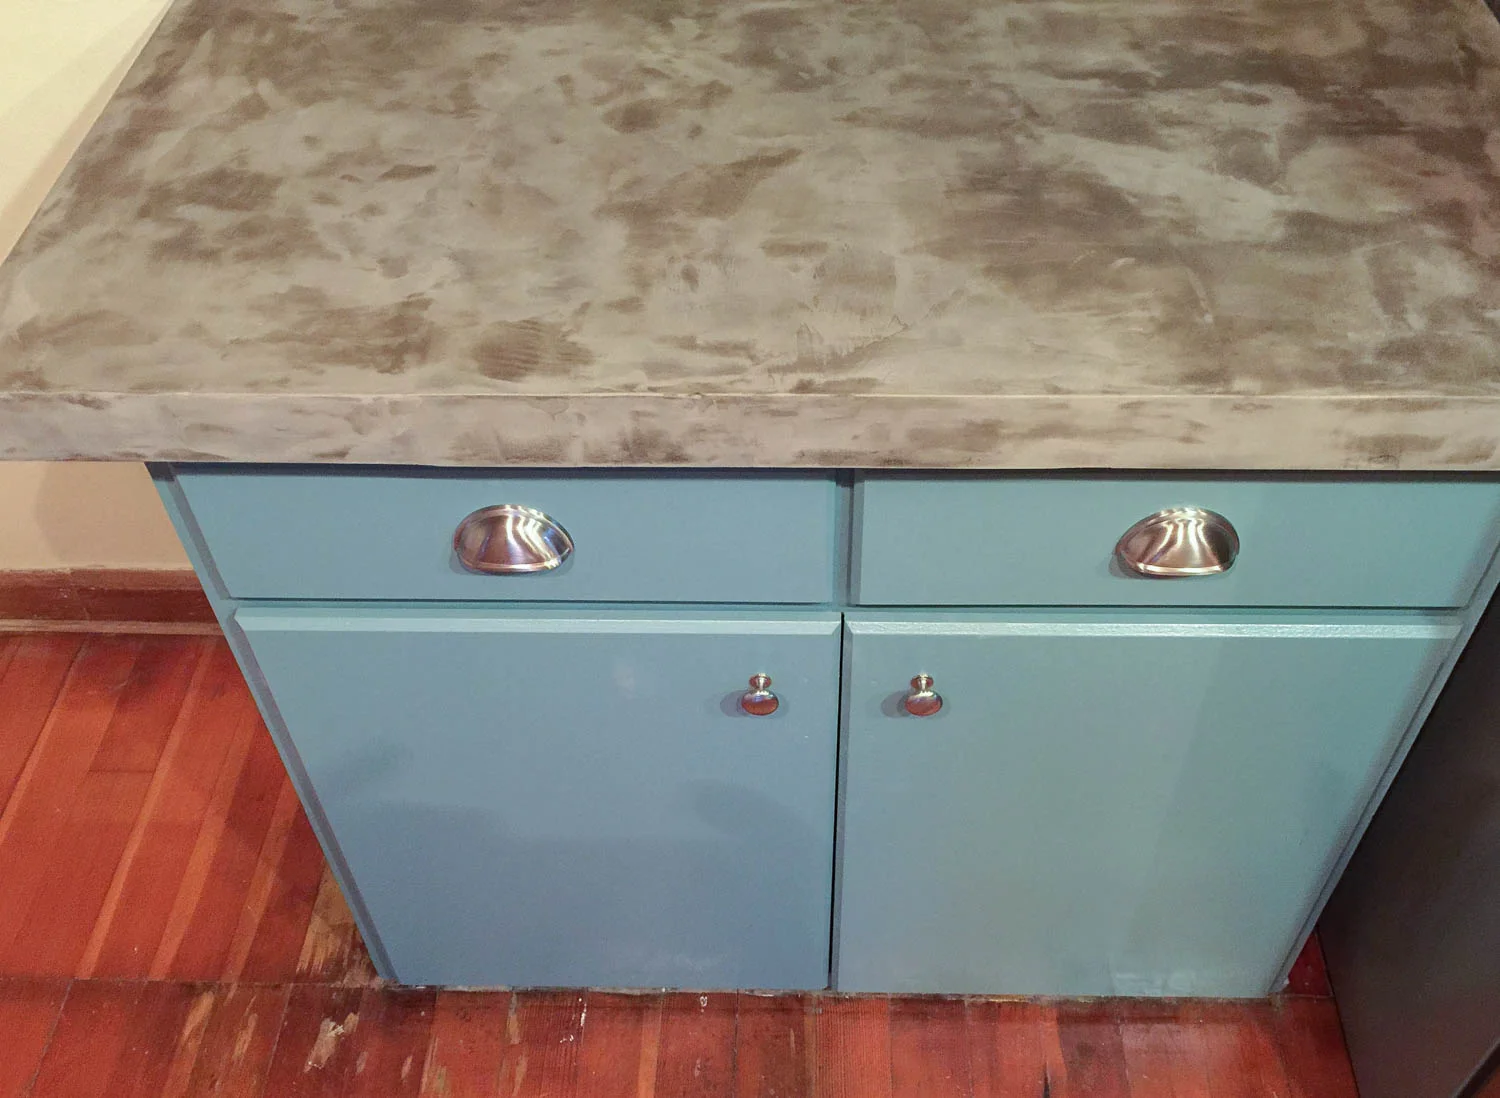
Ashley's problem-solving creates a stylish corner and further functionality: "The corner of the kitchen had no storage or counter space, so I made a floating countertop to extend our work surface and prep area."
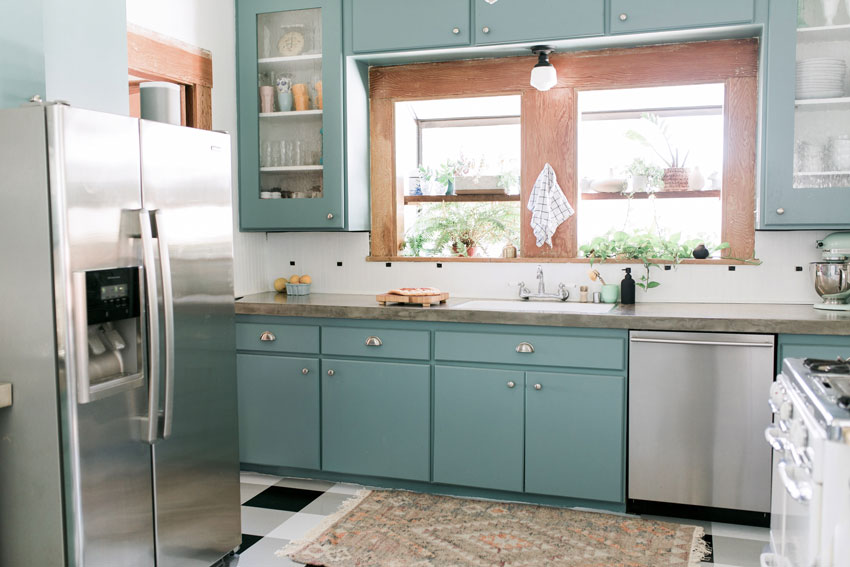
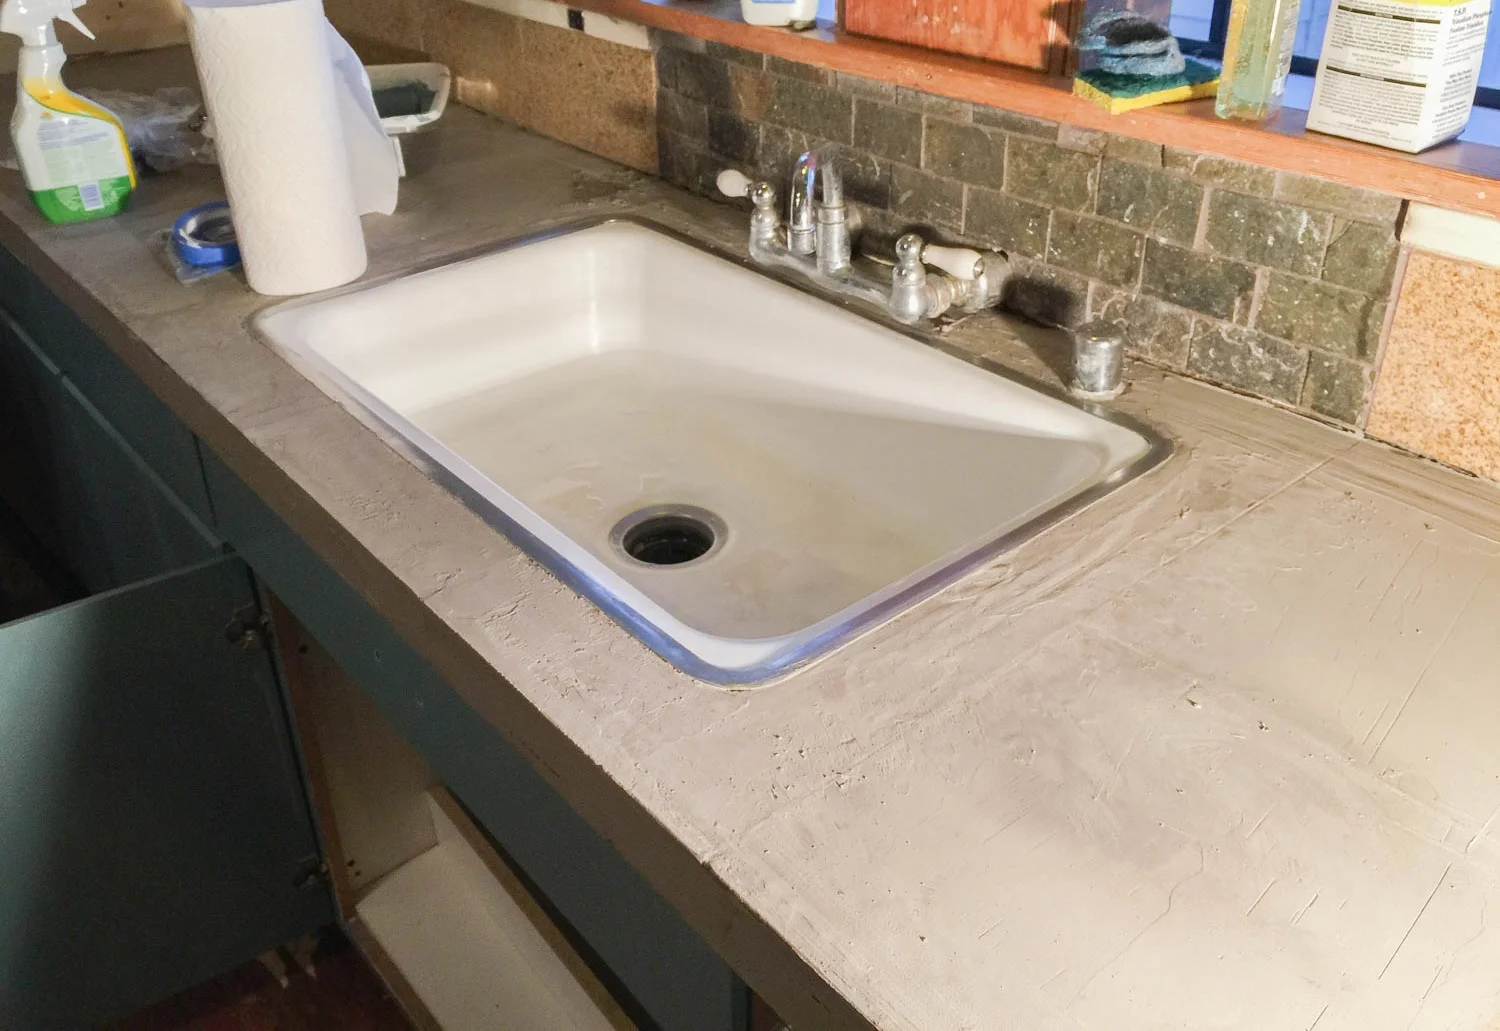
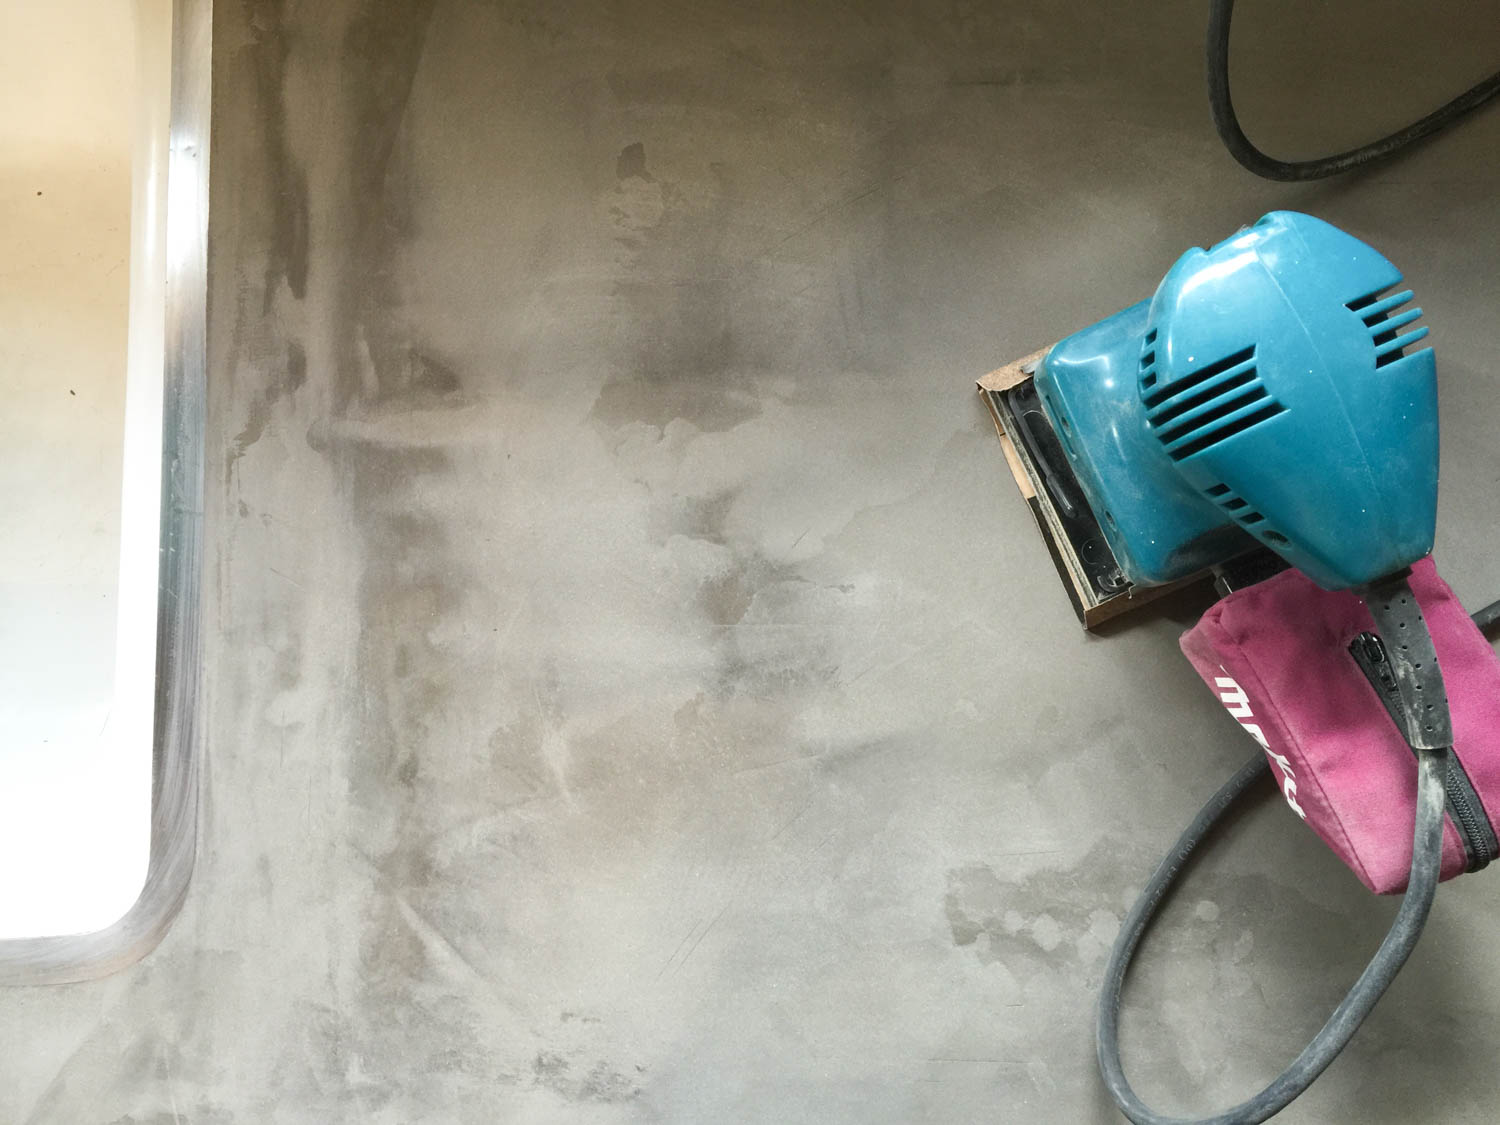
"It’s amazing what some paint and new hardware can do. I also coated the tile counters in [a] few layers of concrete," Ashley explains.

"My hobby other than restoring the house is making pies and experimenting with new recipes," Ashley shares.

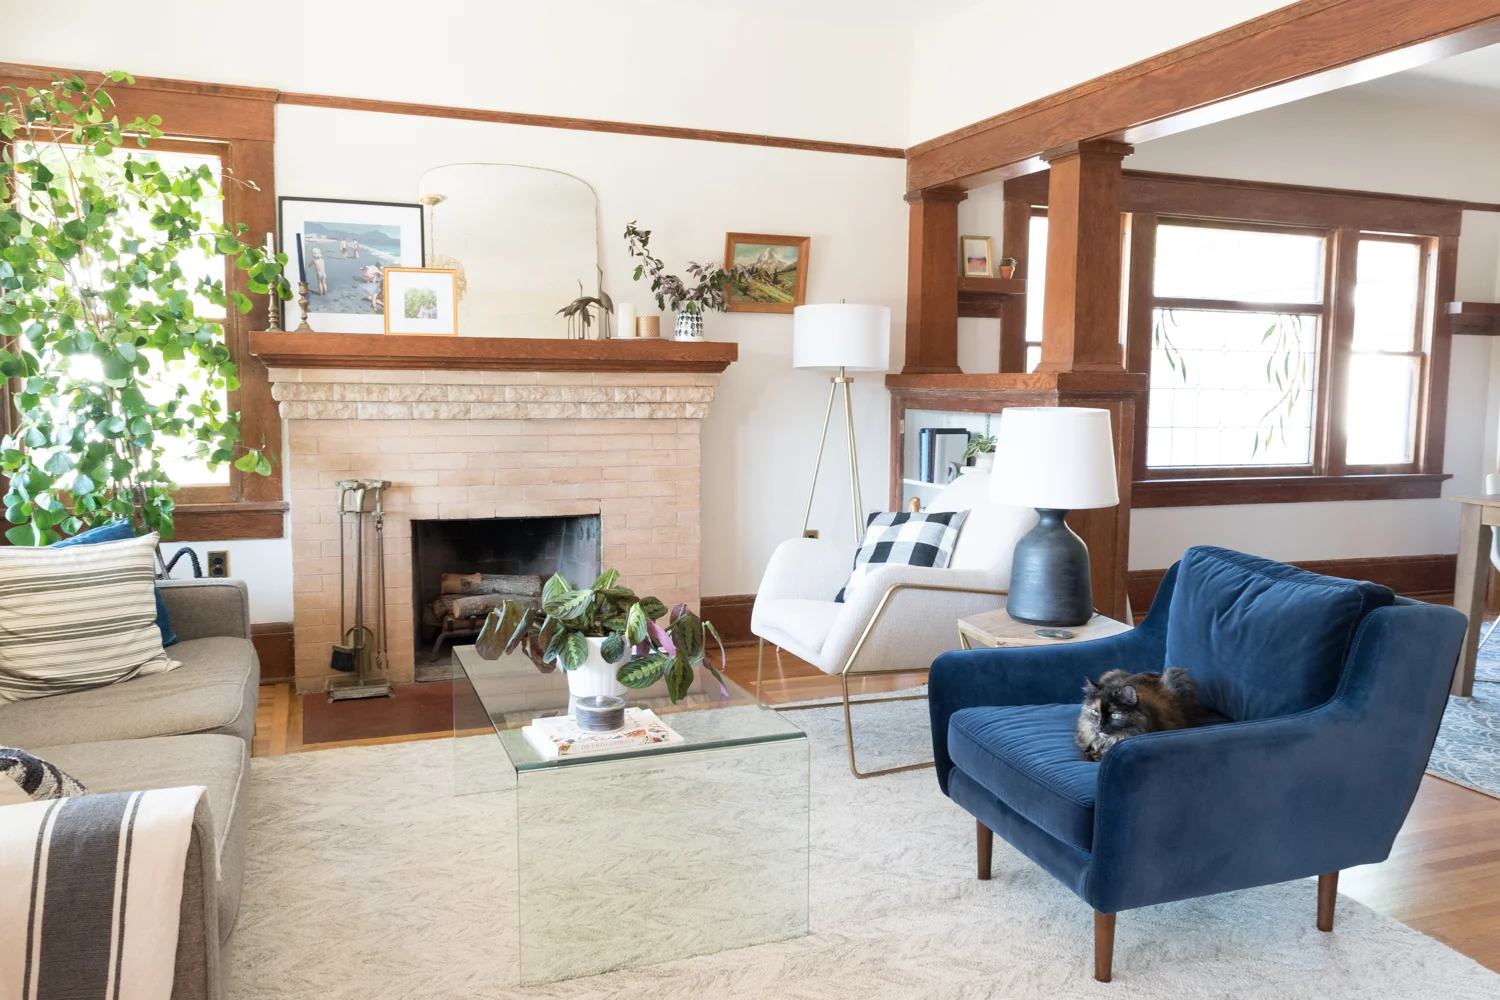
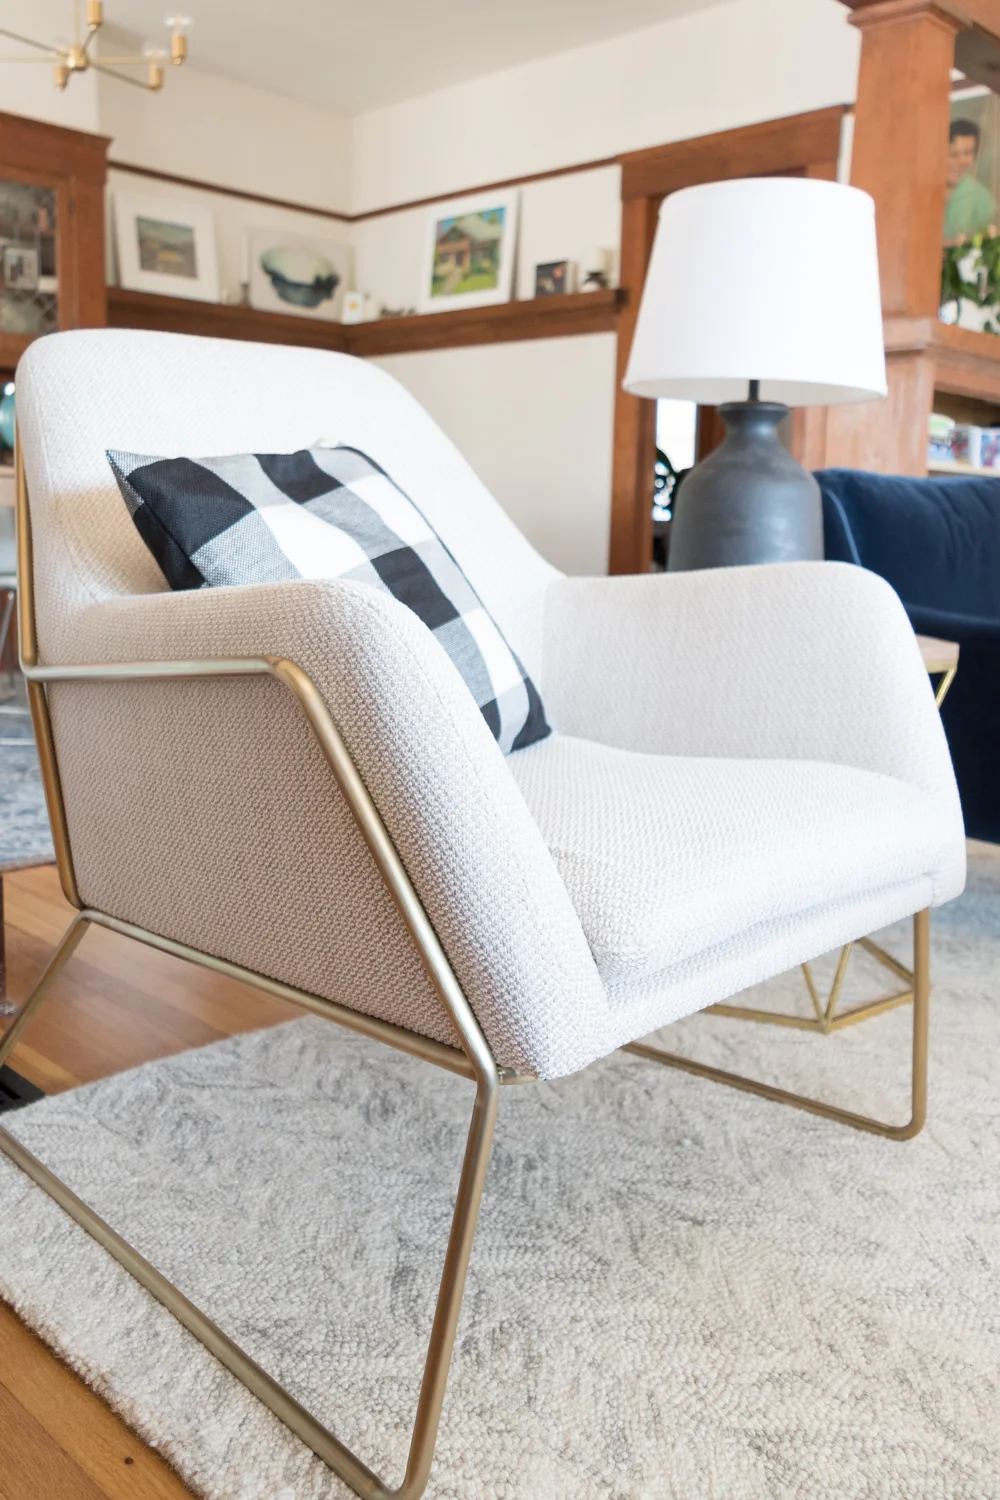
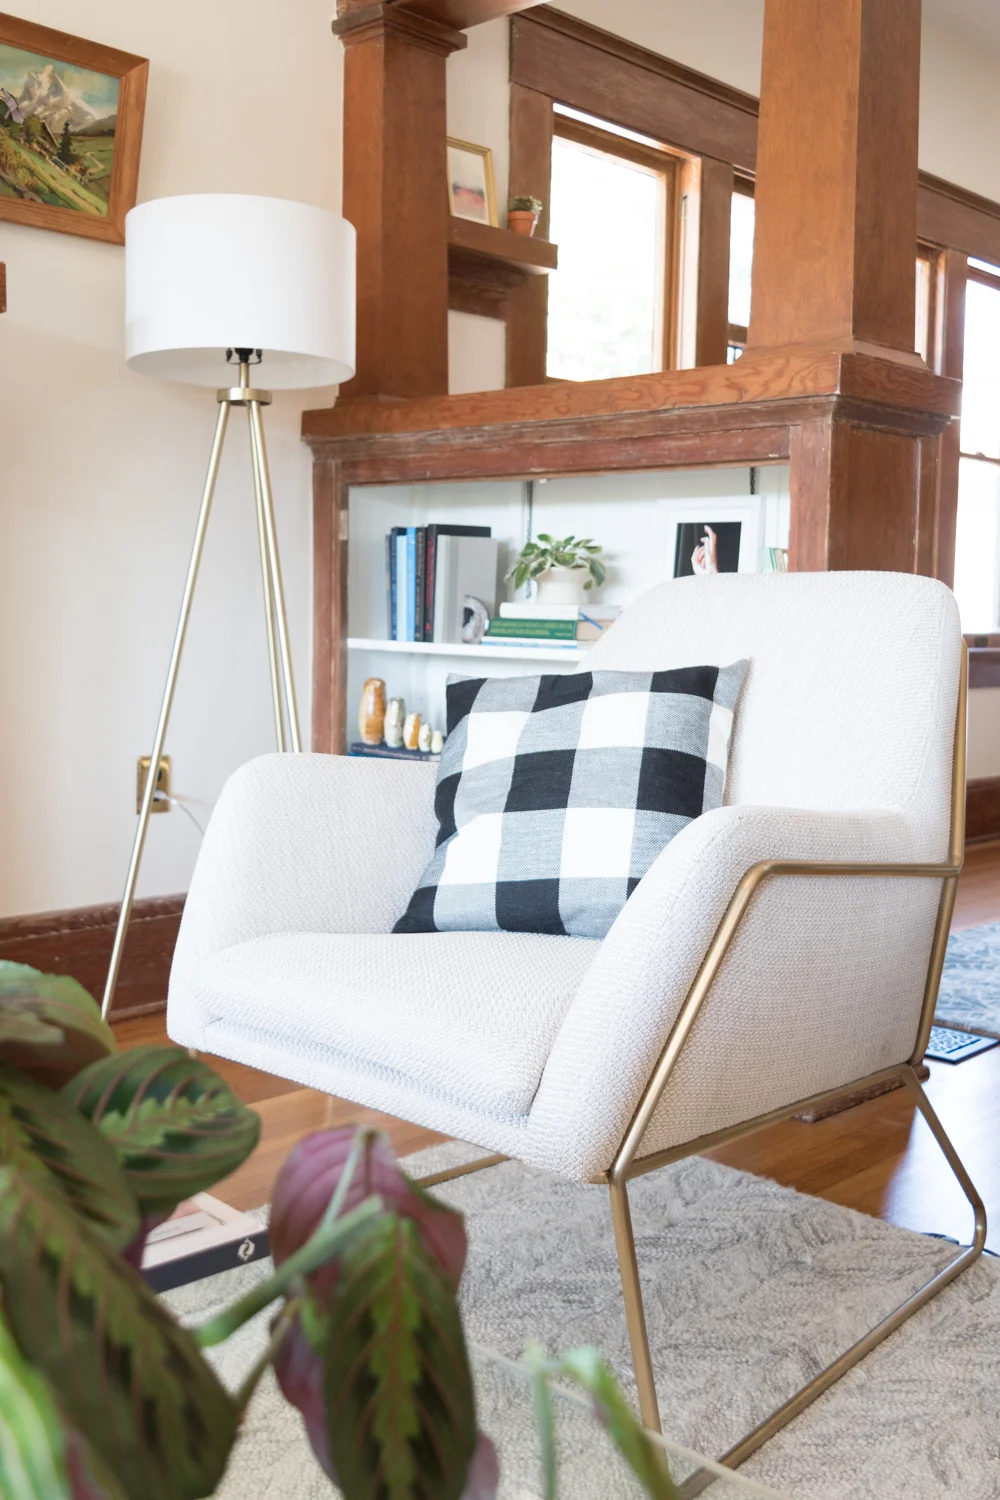
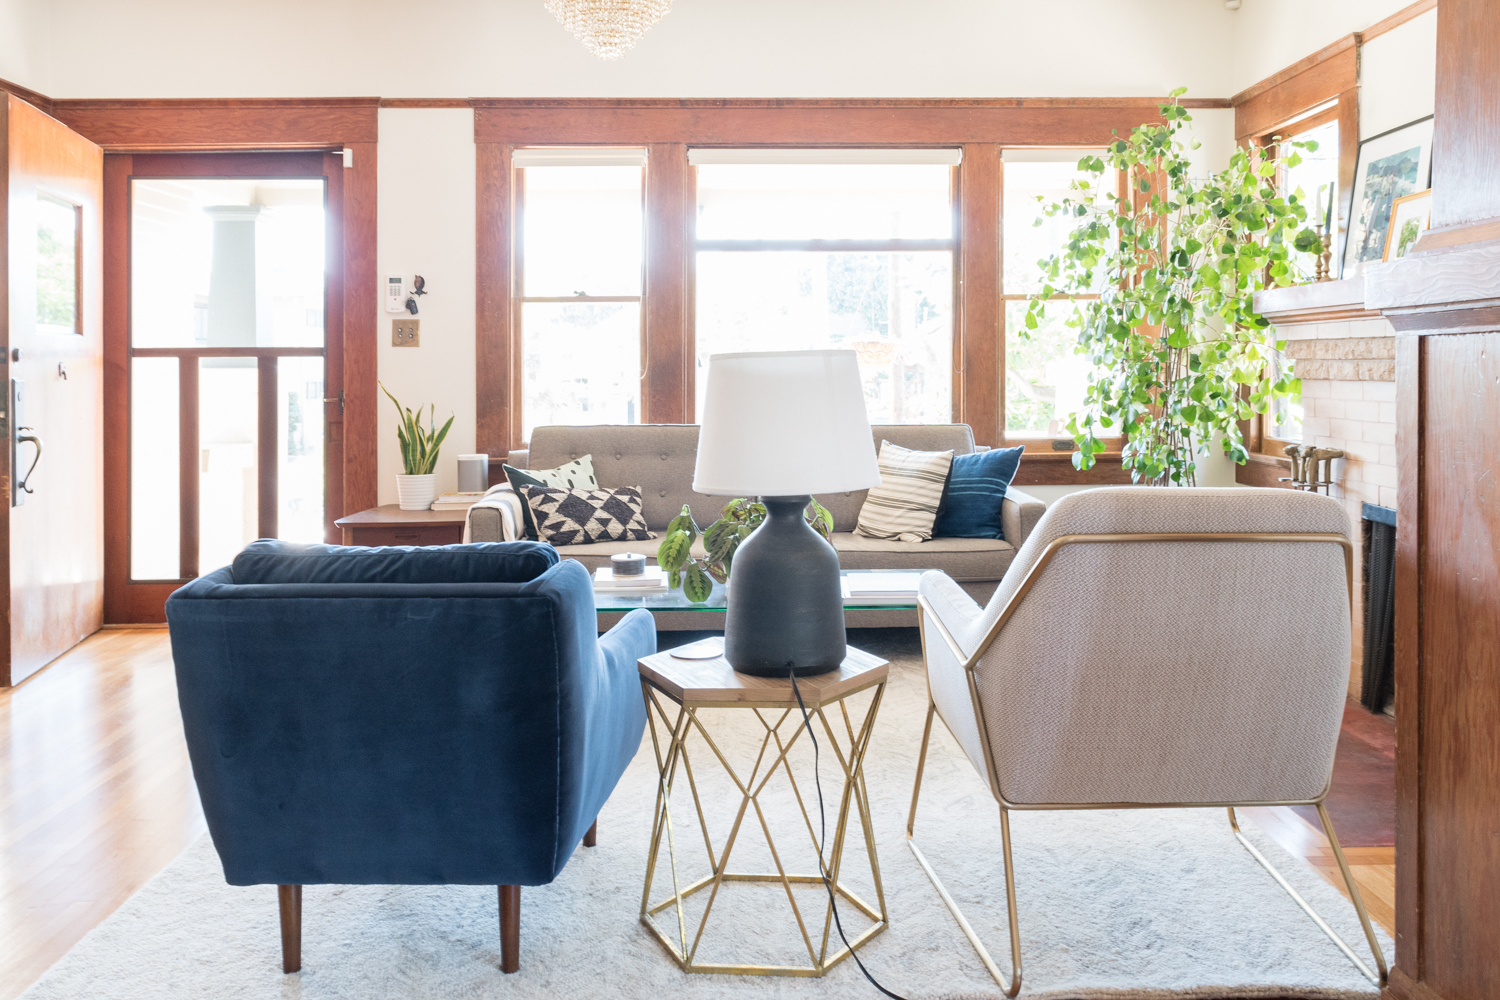
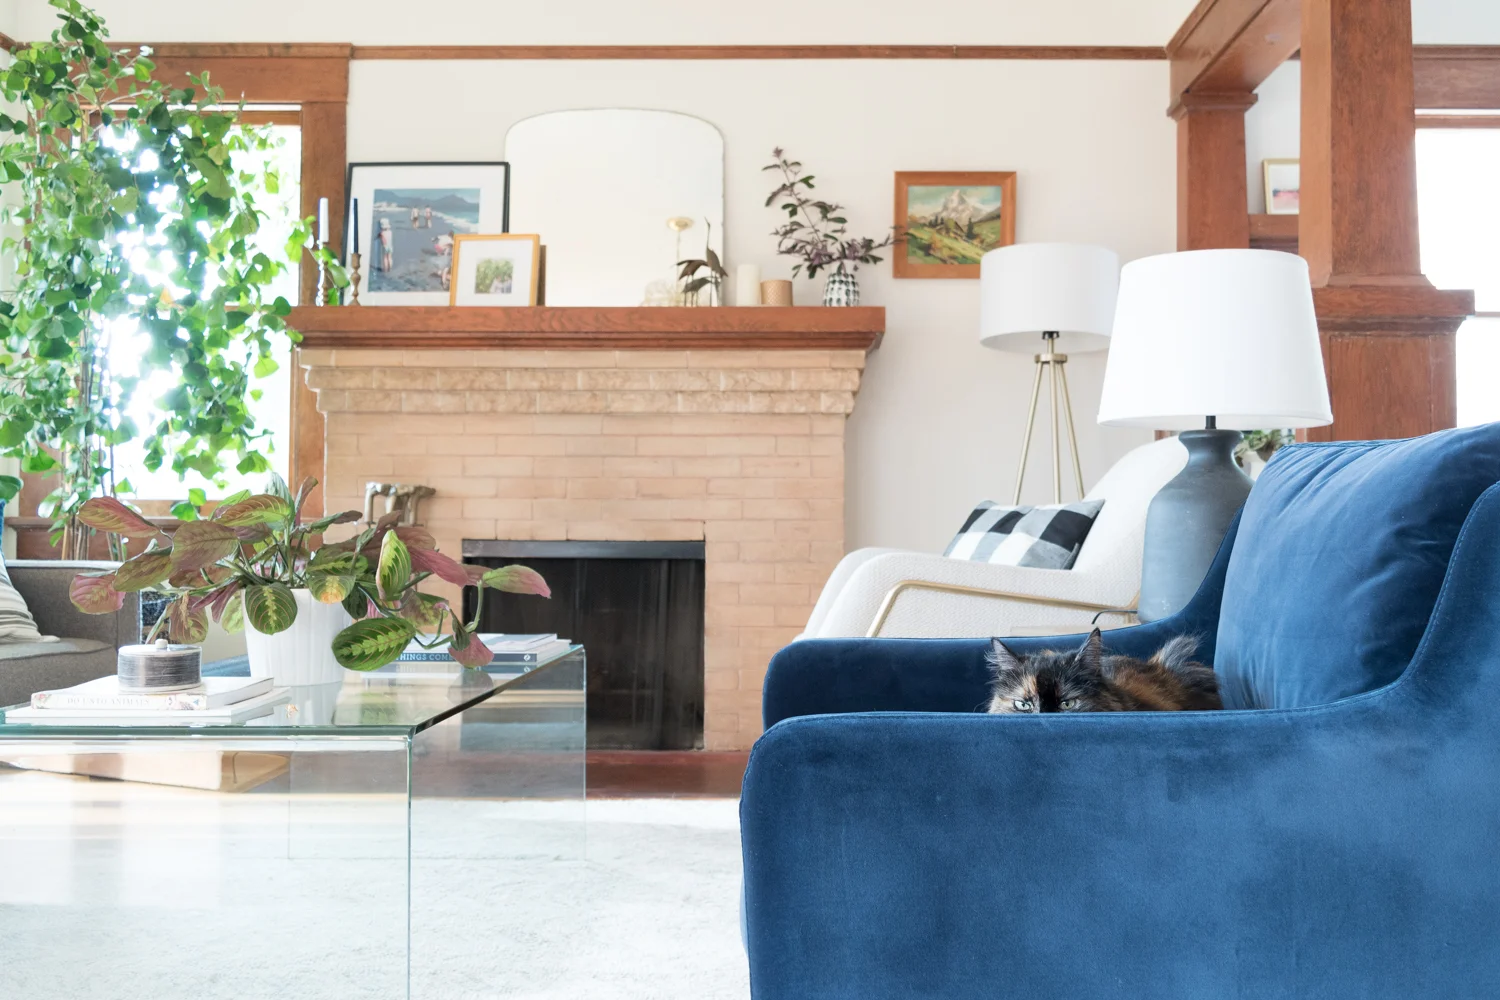
“We kept all of the original stone and woodwork, but gave the walls a new texture coating after repairing all of the cracks throughout the home. The living room is a formal sitting room. We love the architecture in this space, so we opted not to put a TV here. While it’s a ‘formal’ room in the sense that it isn’t designed to be a place to binge-watch Netflix, I want the space to be comfortable. I chose to pair two non-matching chairs to make the space feel more casual,” Ashley explains.

“Between the living room and office are a set of French doors. I love how the individual panes frame the view of the fireplace.”

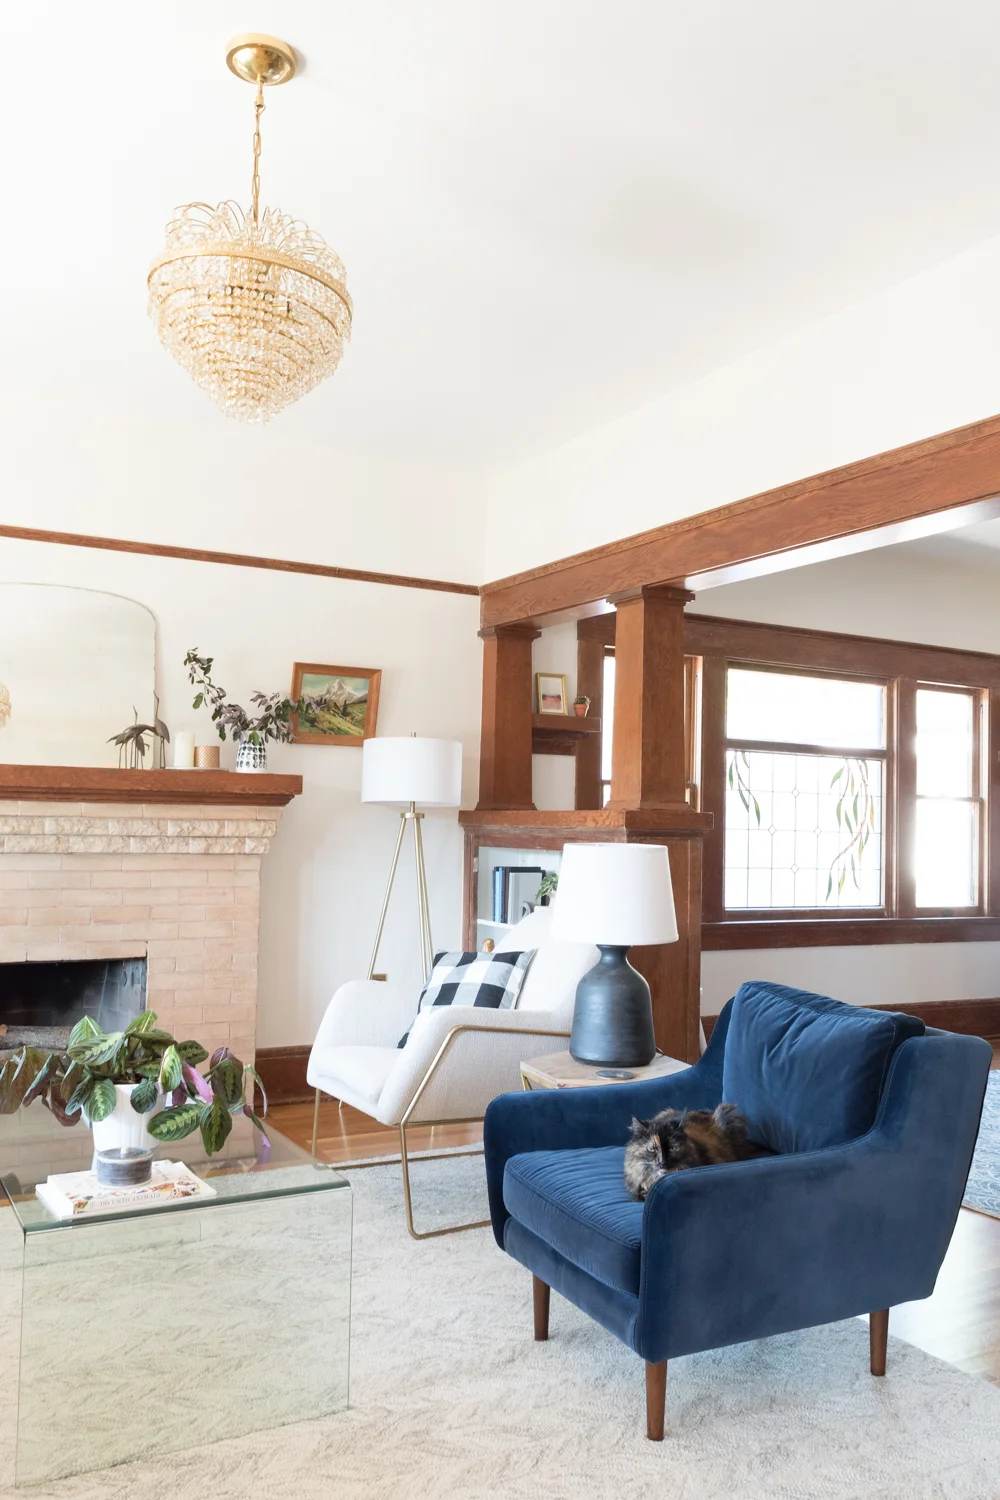
Ashley explains what makes their little family such a good fit, “Our cat, Mabel, is big on snuggles and plush pillows. She fits in nicely with us because we like the same.”

Ashley shares the story of where her chandelier came from in a most relatable way: “I got this art deco chandelier after I fell in love with a similar one on Nicole Curtis’ show, Rehab Addict. It’s called a wedding cake chandelier and I love the round, feminine shape it adds to a room that’s full of rectangular shapes.”

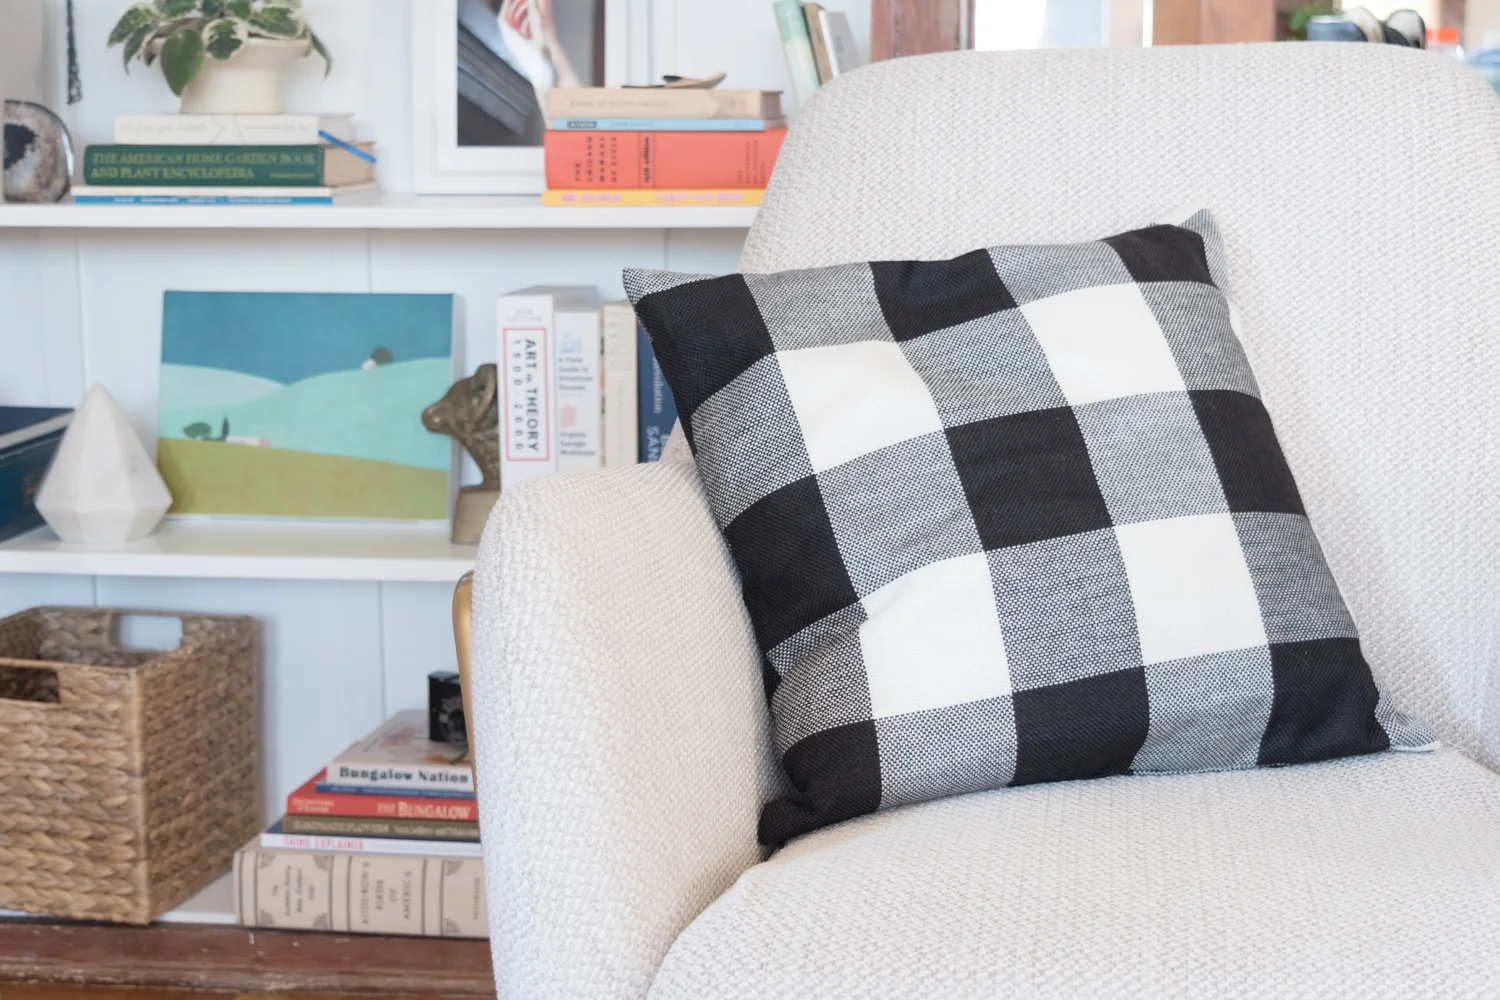
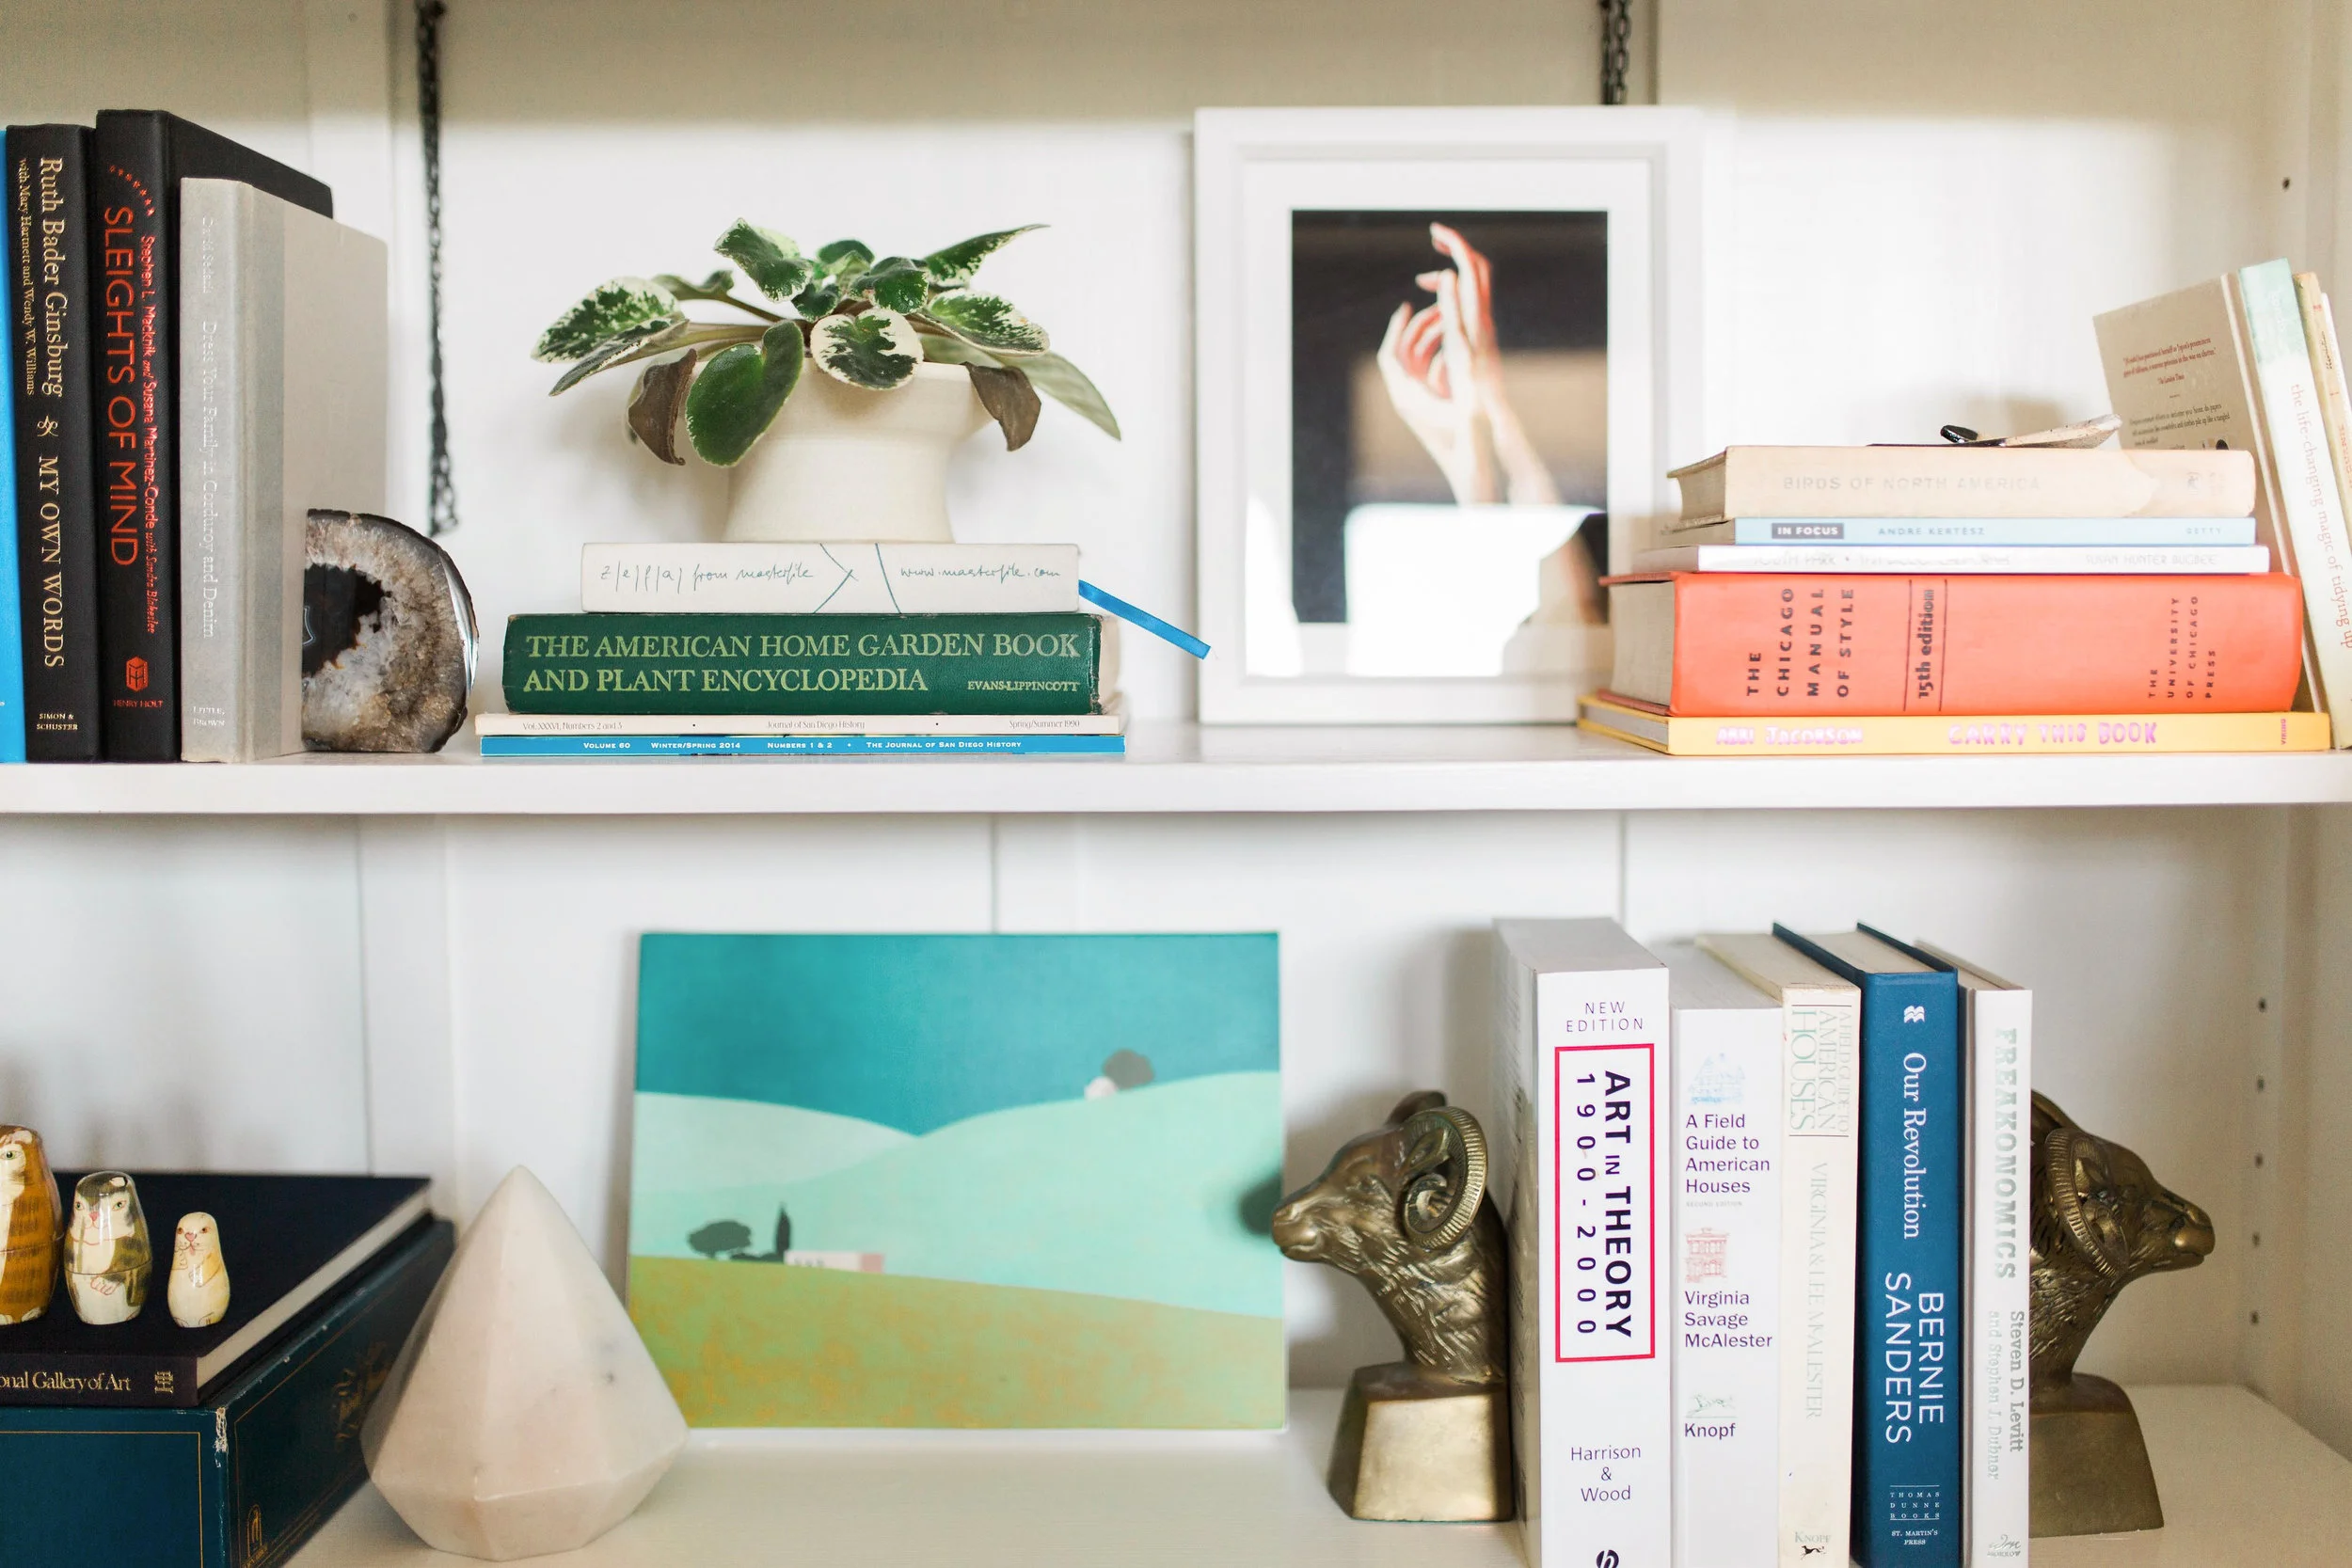
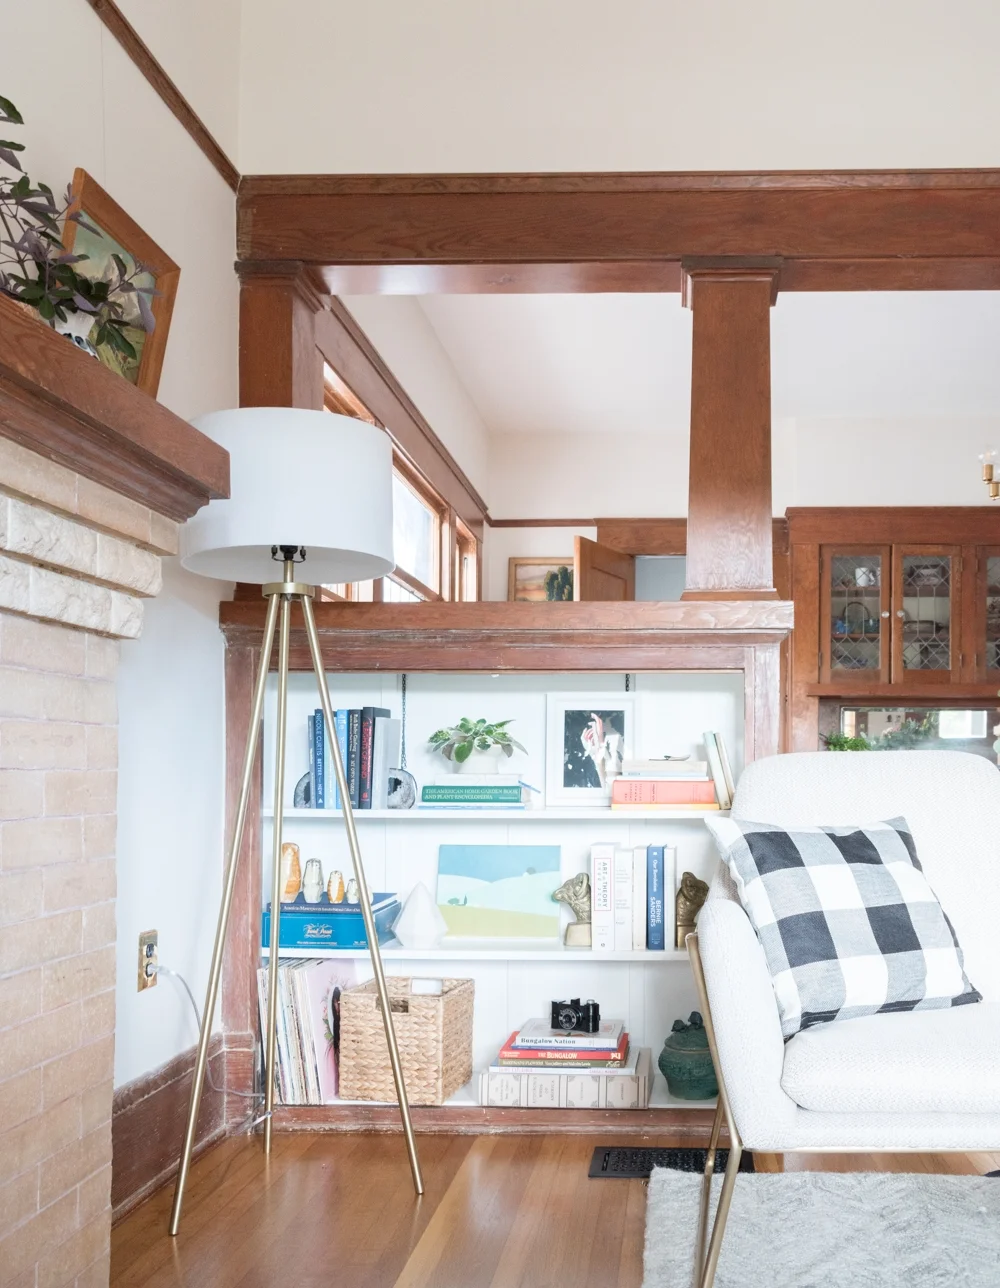
“The built-in room dividers between the living room and dining room have ample space for my tchotchkes and a few of our favorite reads. I try to sprinkle art around the home no matter how small,” Ashley explains.

Ashley describes her style, “I’m drawn to basic and minimal designs that still have something special. This chair from Article has an interesting metal shape that complements that brass throughout the house. I’m also a big fan of buffalo check and it makes an appearance in nearly every room.”

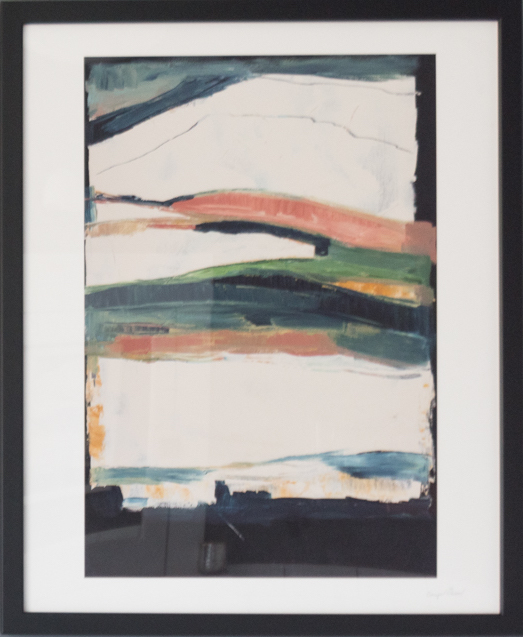
“On the mantel live brass candlesticks and a mirror from a local estate sale along with a few of our favorite framed pieces. The Kids on the Shore print by Tali Yalonetzki came from Artfully Walls and I adore the painterly quality and blue tones. It’s a reoccurring theme with the art I gravitate towards. The photo of Ross and me is from our wedding day when we got married in the gardens of the historic Marston House Museum,” Ashley shares.

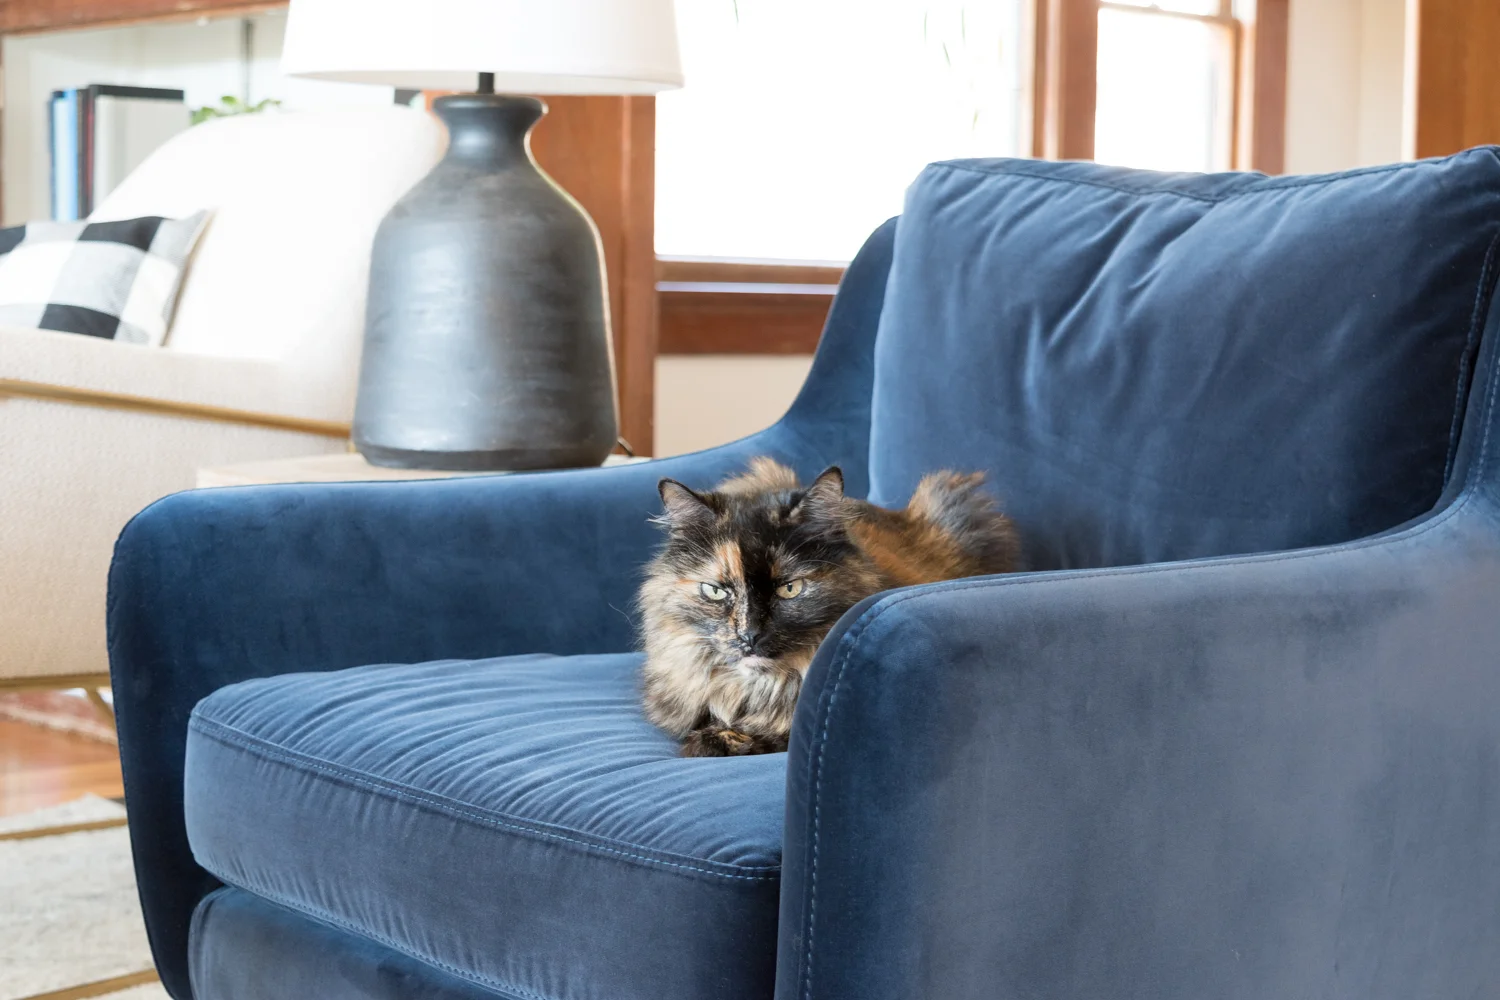
Ashley found a luxurious solution to Mabel’s destructive habits, “The cat loves scratching on our furniture and we’ve found that velvet is the one material she can’t destroy. Not only does she not ruin this chair, but it’s her absolute favorite and she can be found lounging in it all the time. It’s from Article and what I love about it is that it’s a scaled down version of a wingback chair.”

“When I toured the house it was a nighttime, so I had no idea how much natural light would flood into the house. We have lots of windows, and these west-facing Chicago style windows show off great views of the sunsets, and even 4th of July fireworks,” Ashley explains.

Ashley describes some of the steps they took to making this space more livable, “The hardwoods in the dining room were marred by pet stains. The floors were refinished and much of the damage is repaired, or hidden under the rug. I painted the walls the same color from floor to ceiling to make the space feel bigger. The built-in buffet is what truly sold me on the house. The intact leaded glass and 100-year-old mirror were added bonuses! The door to the left of the buffet swings both directions and leads into the kitchen. The chairs are inspired by the classic molded Eames chair, but these have a plush seat which makes long meals extra comfy.”

“I wanted a chandelier more modern than the one in the living room, and one that had a slim profile that wouldn’t compete with the buffet. This piece was custom ordered to fit our space from an Etsy shop,” Ashley explains.
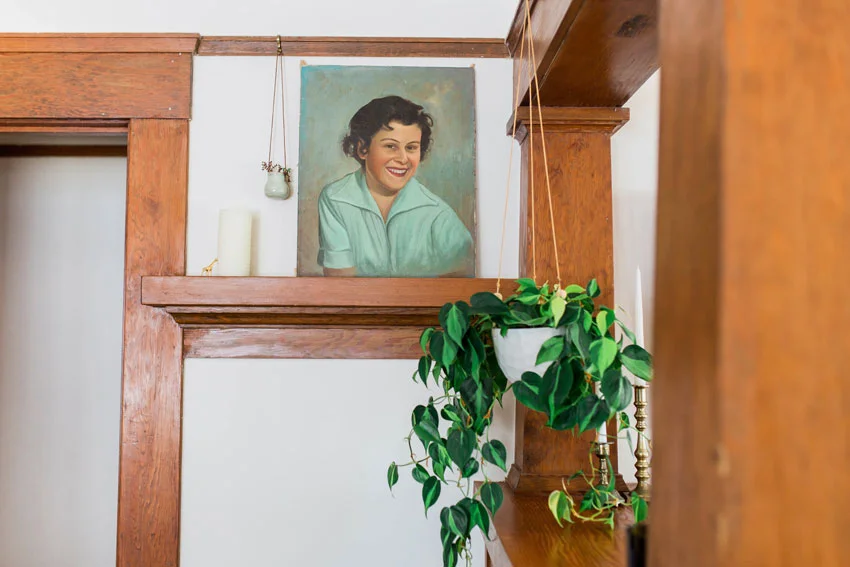
“I’m a sucker for vintage oil paintings, especially portraits. I refer to this gal as ‘my pretty lady’ and feel like she’s a part of my family,” Ashley admits.

“The previous homeowner left us a bunch of dirt and grime to clean up after him, but he also bestowed this painting of our house from a decade ago when it was featured in the historic home tour.”

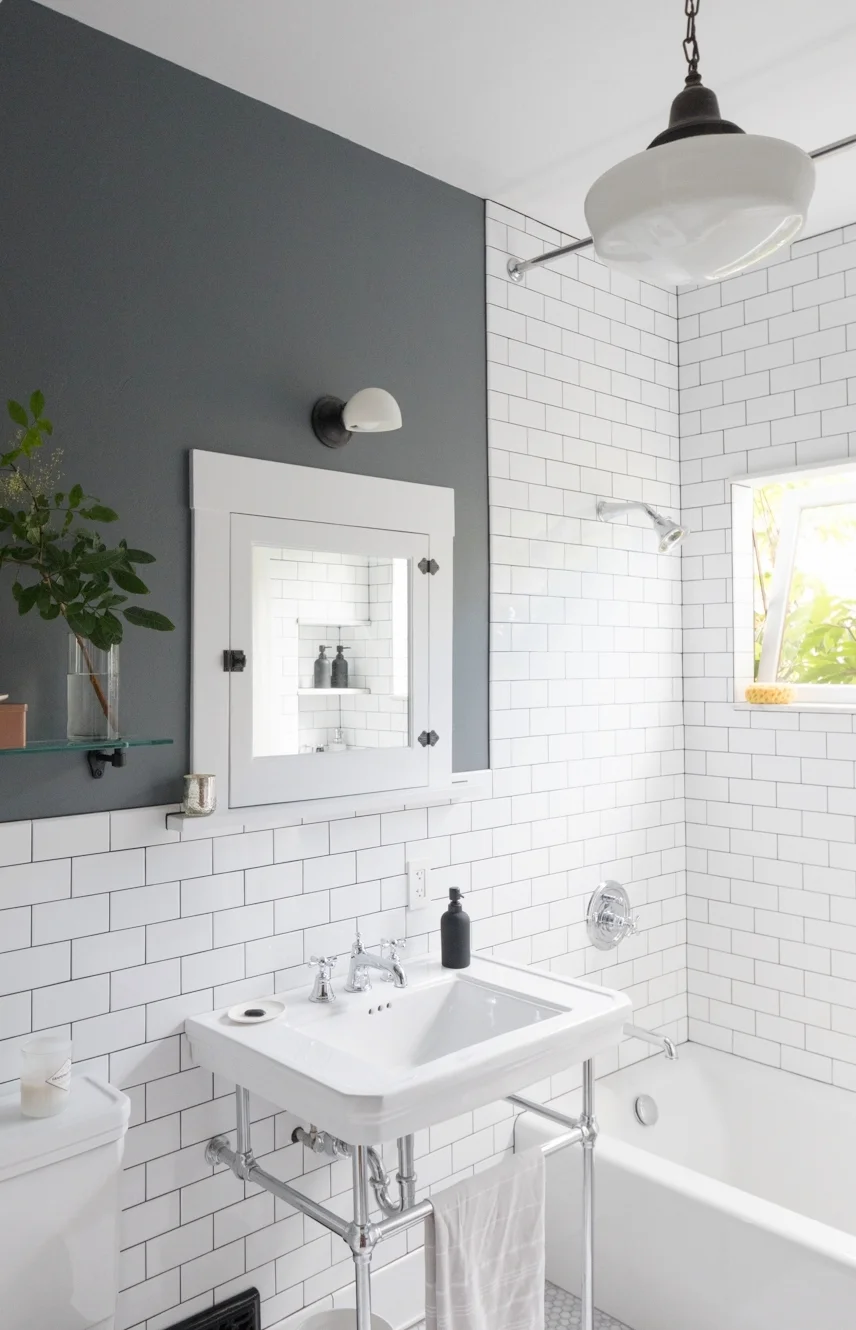
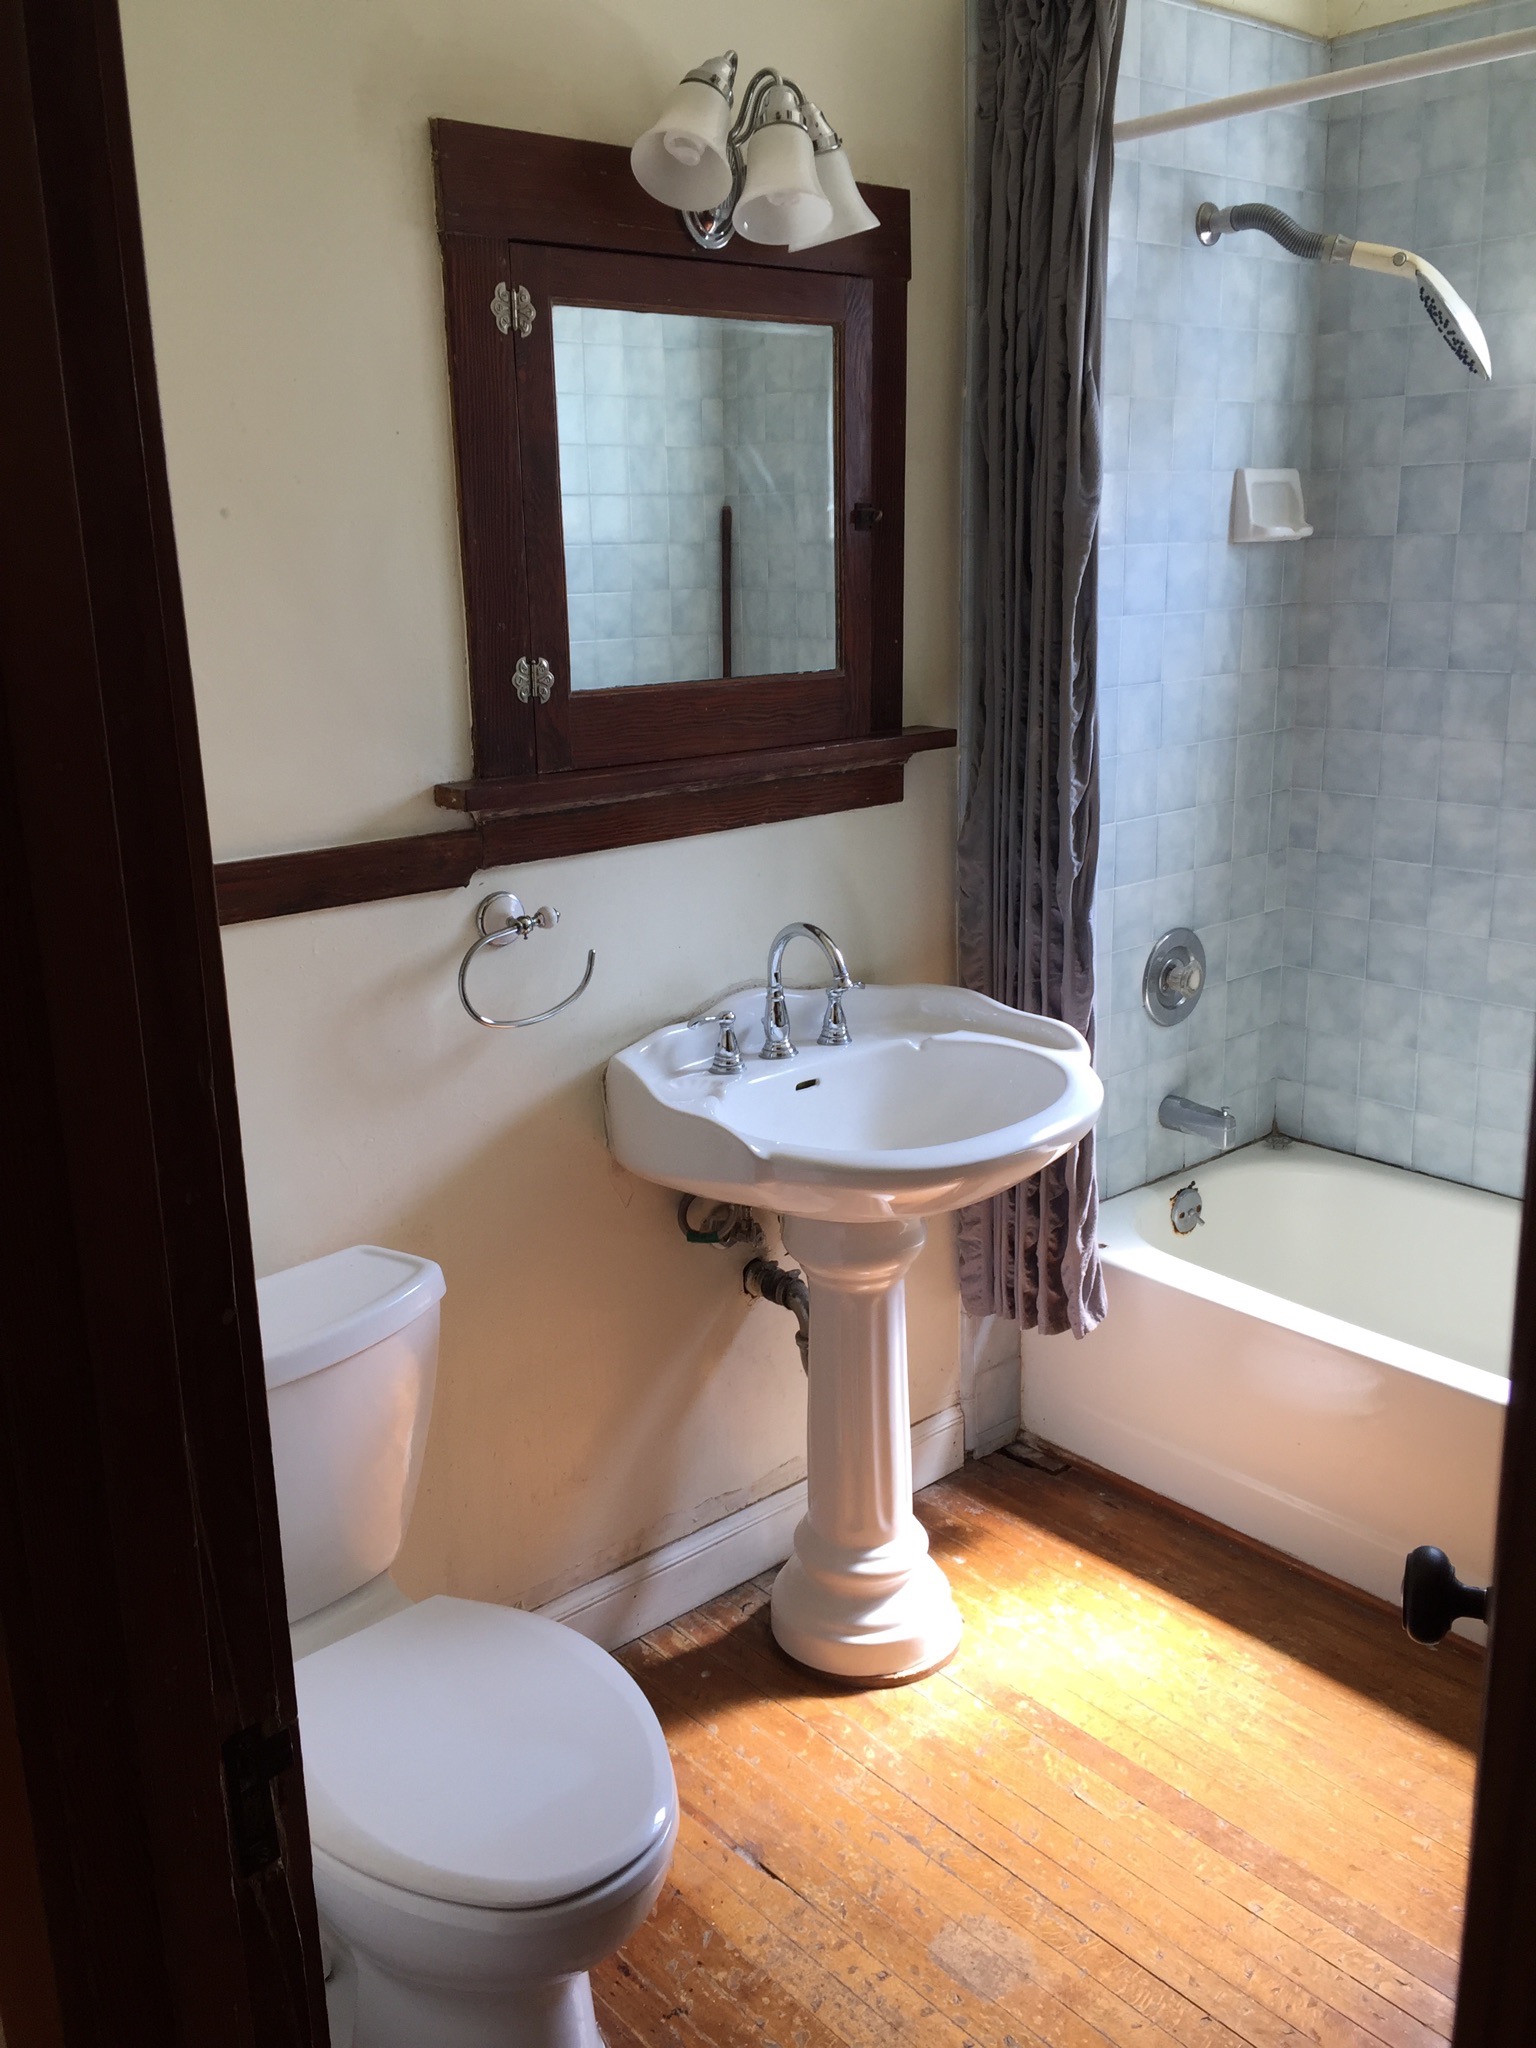
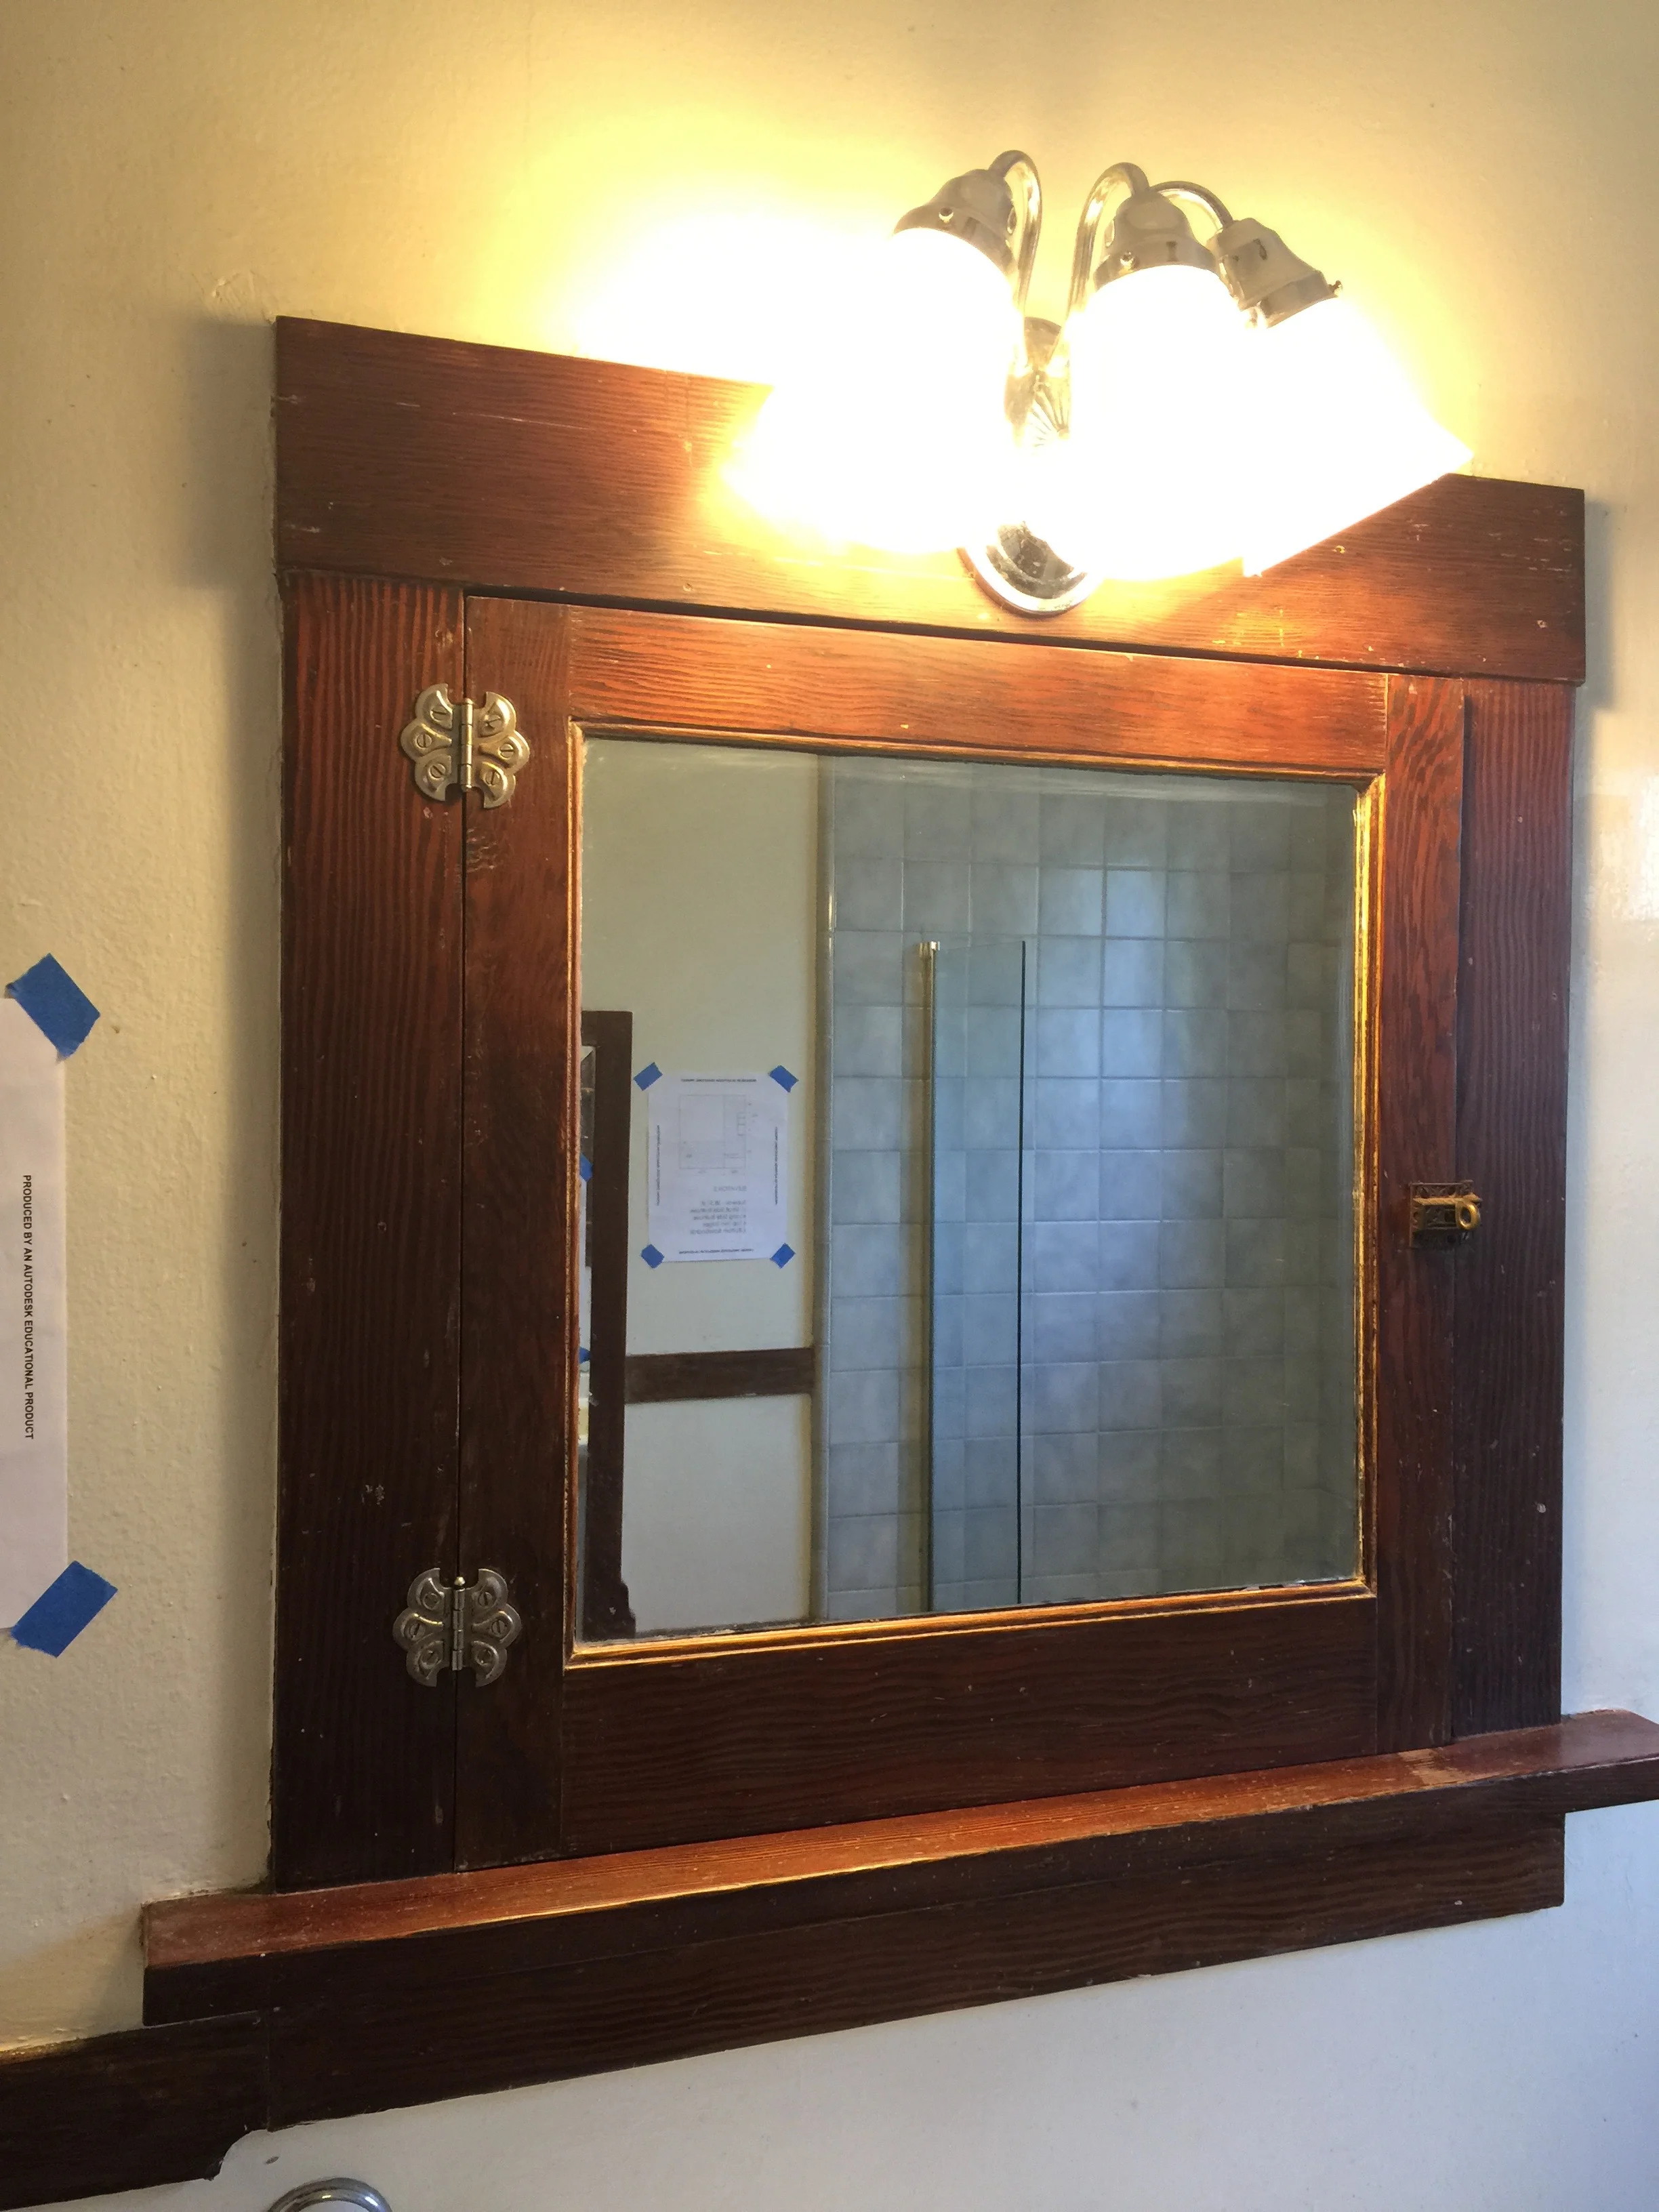
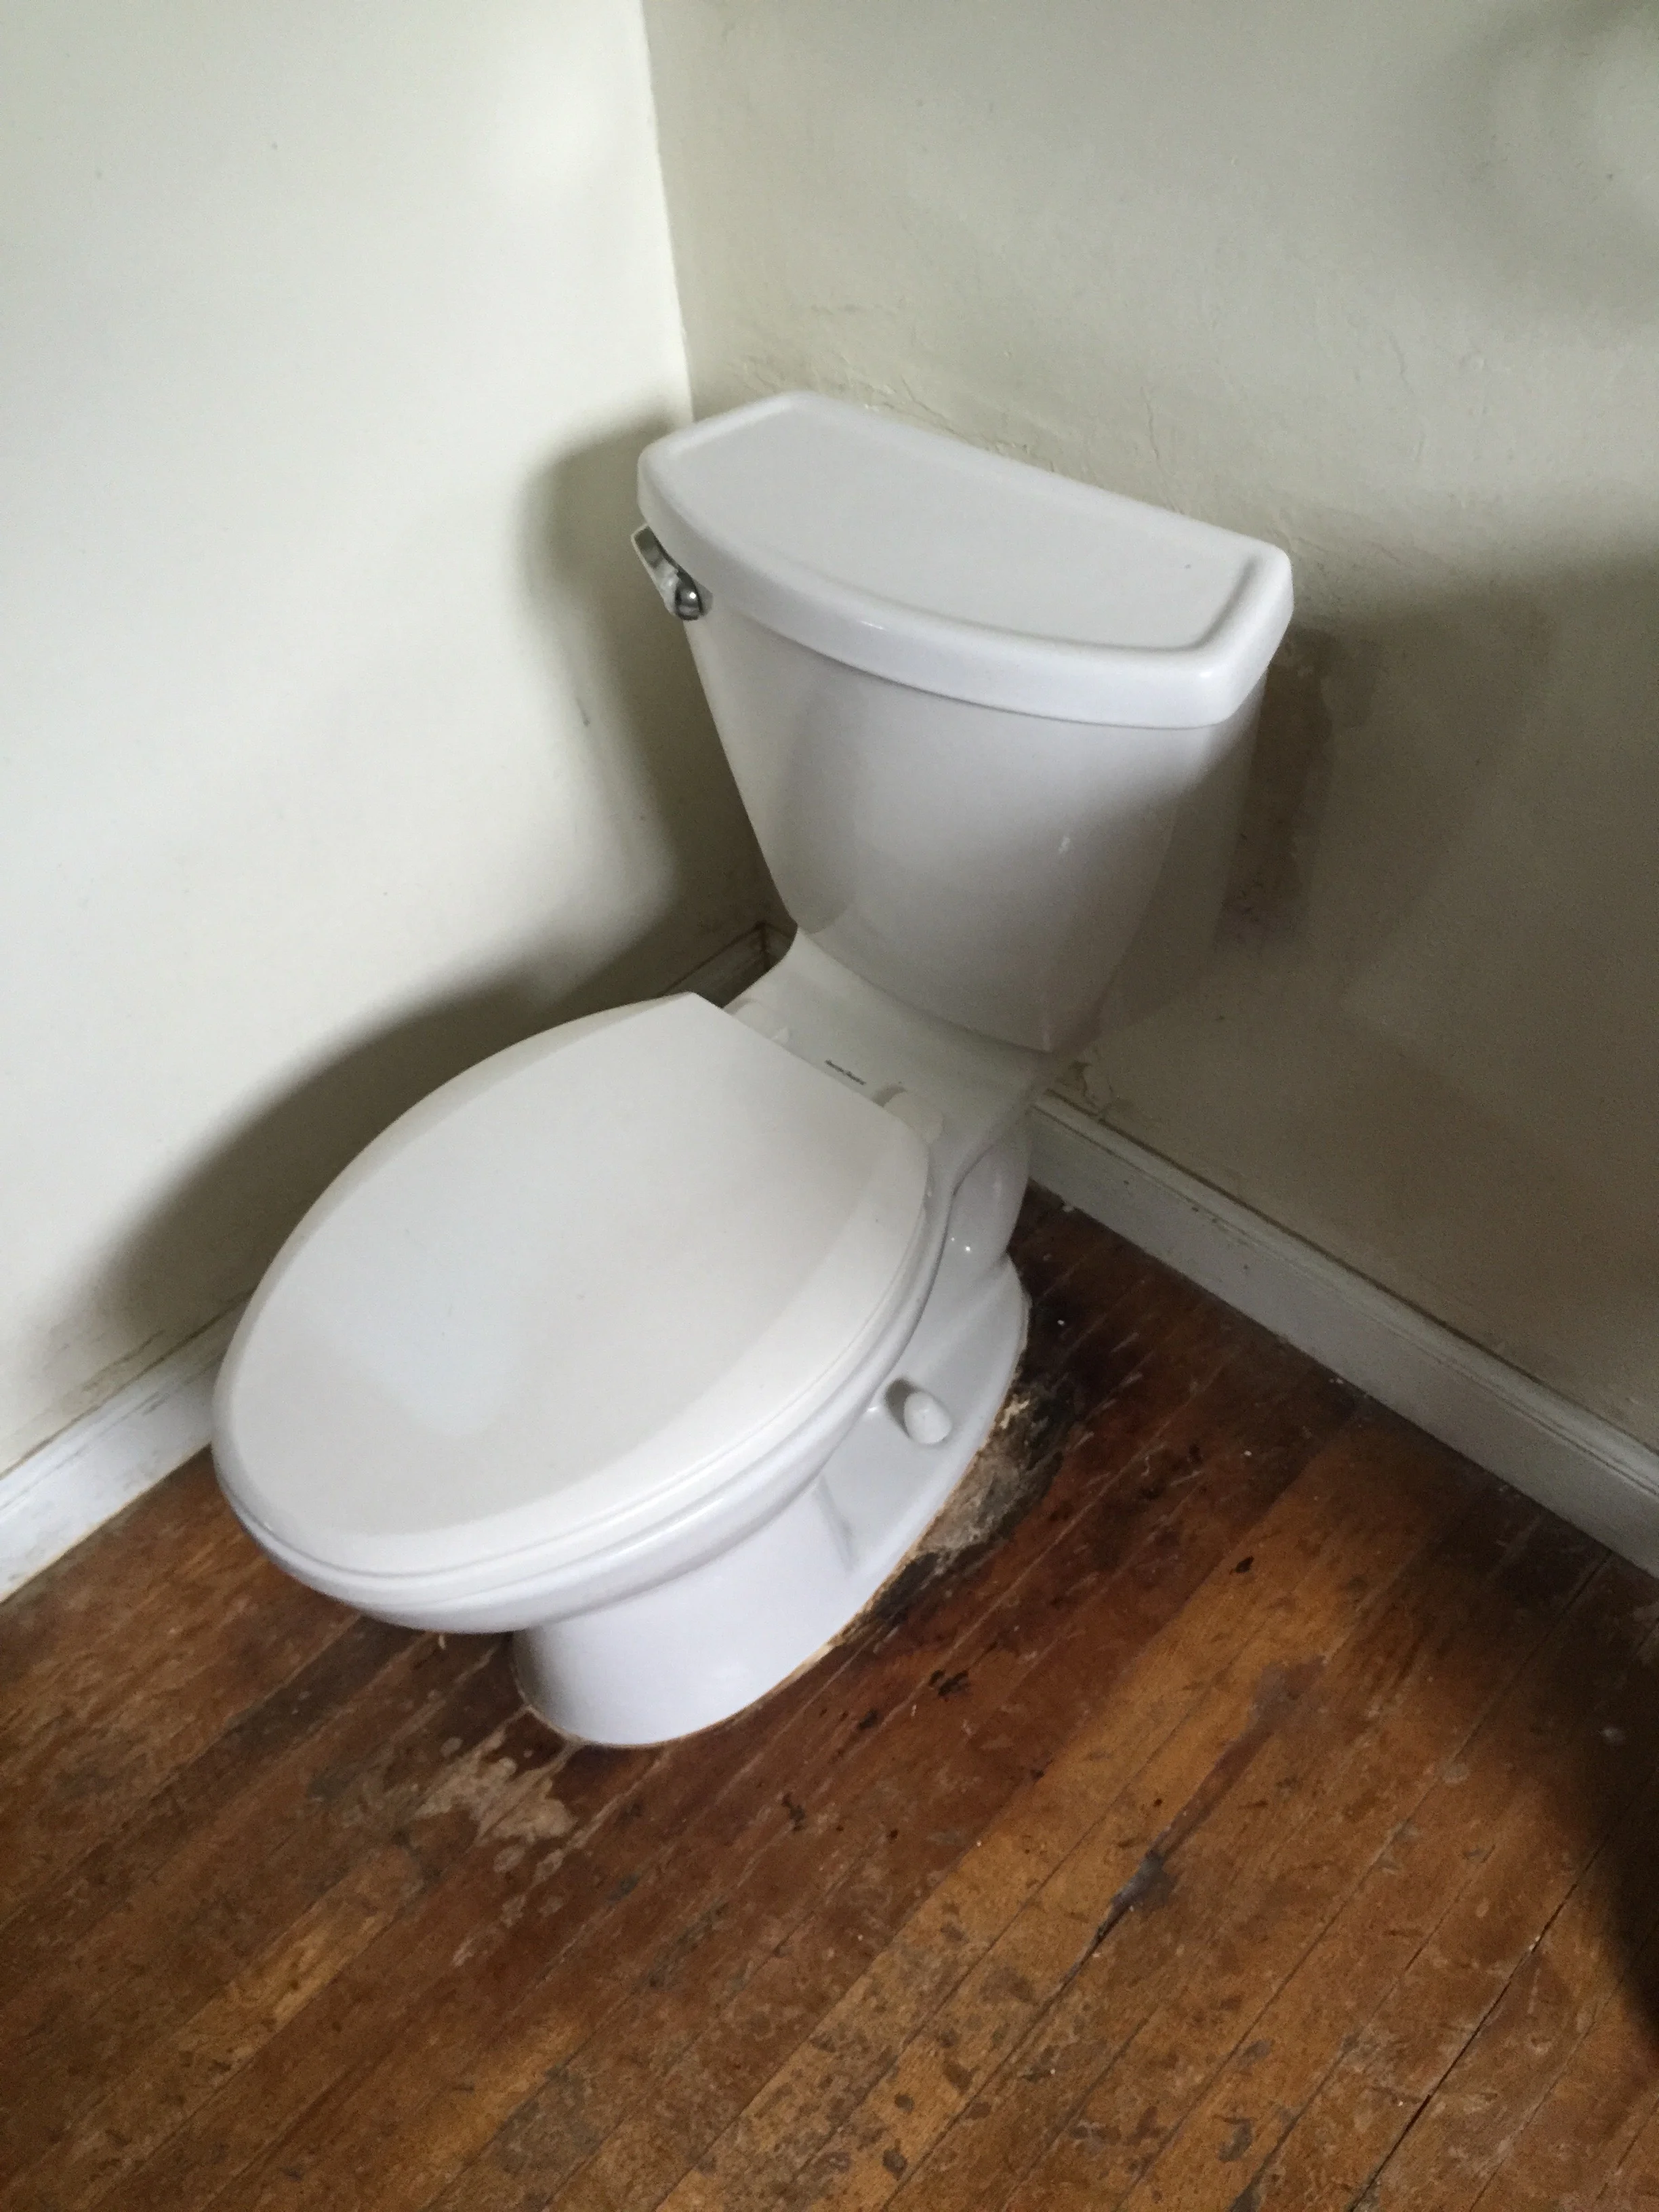
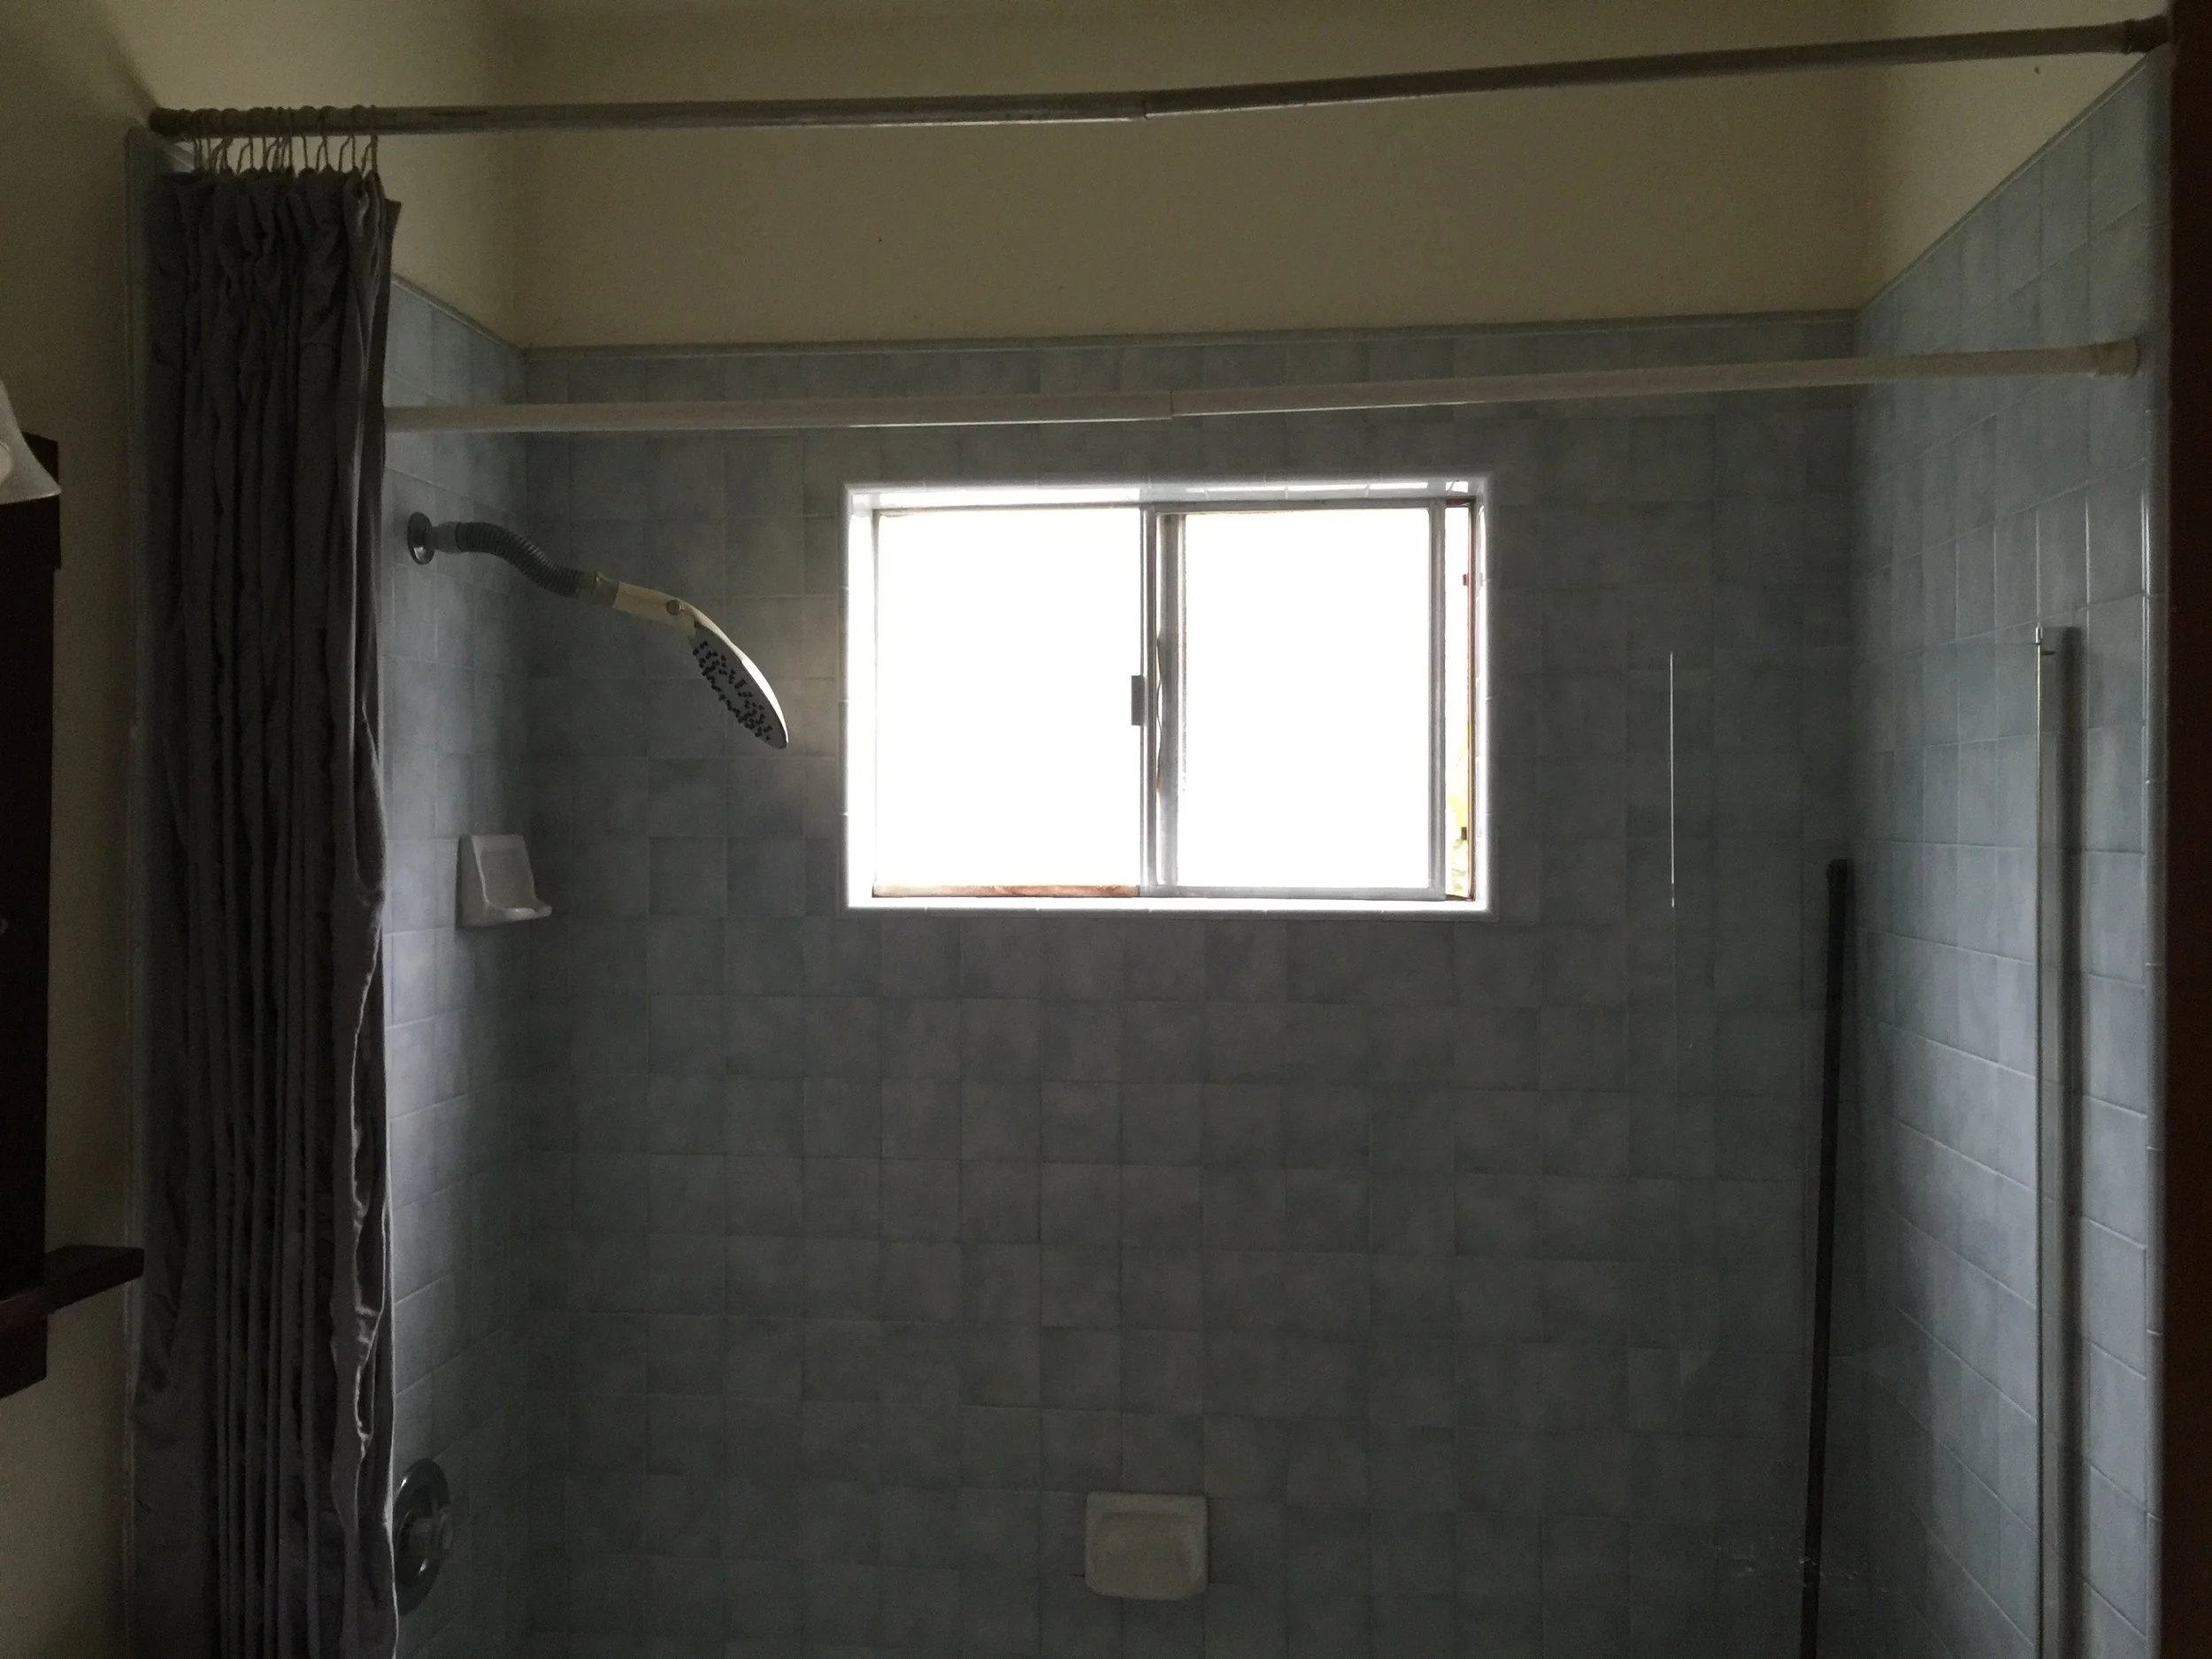
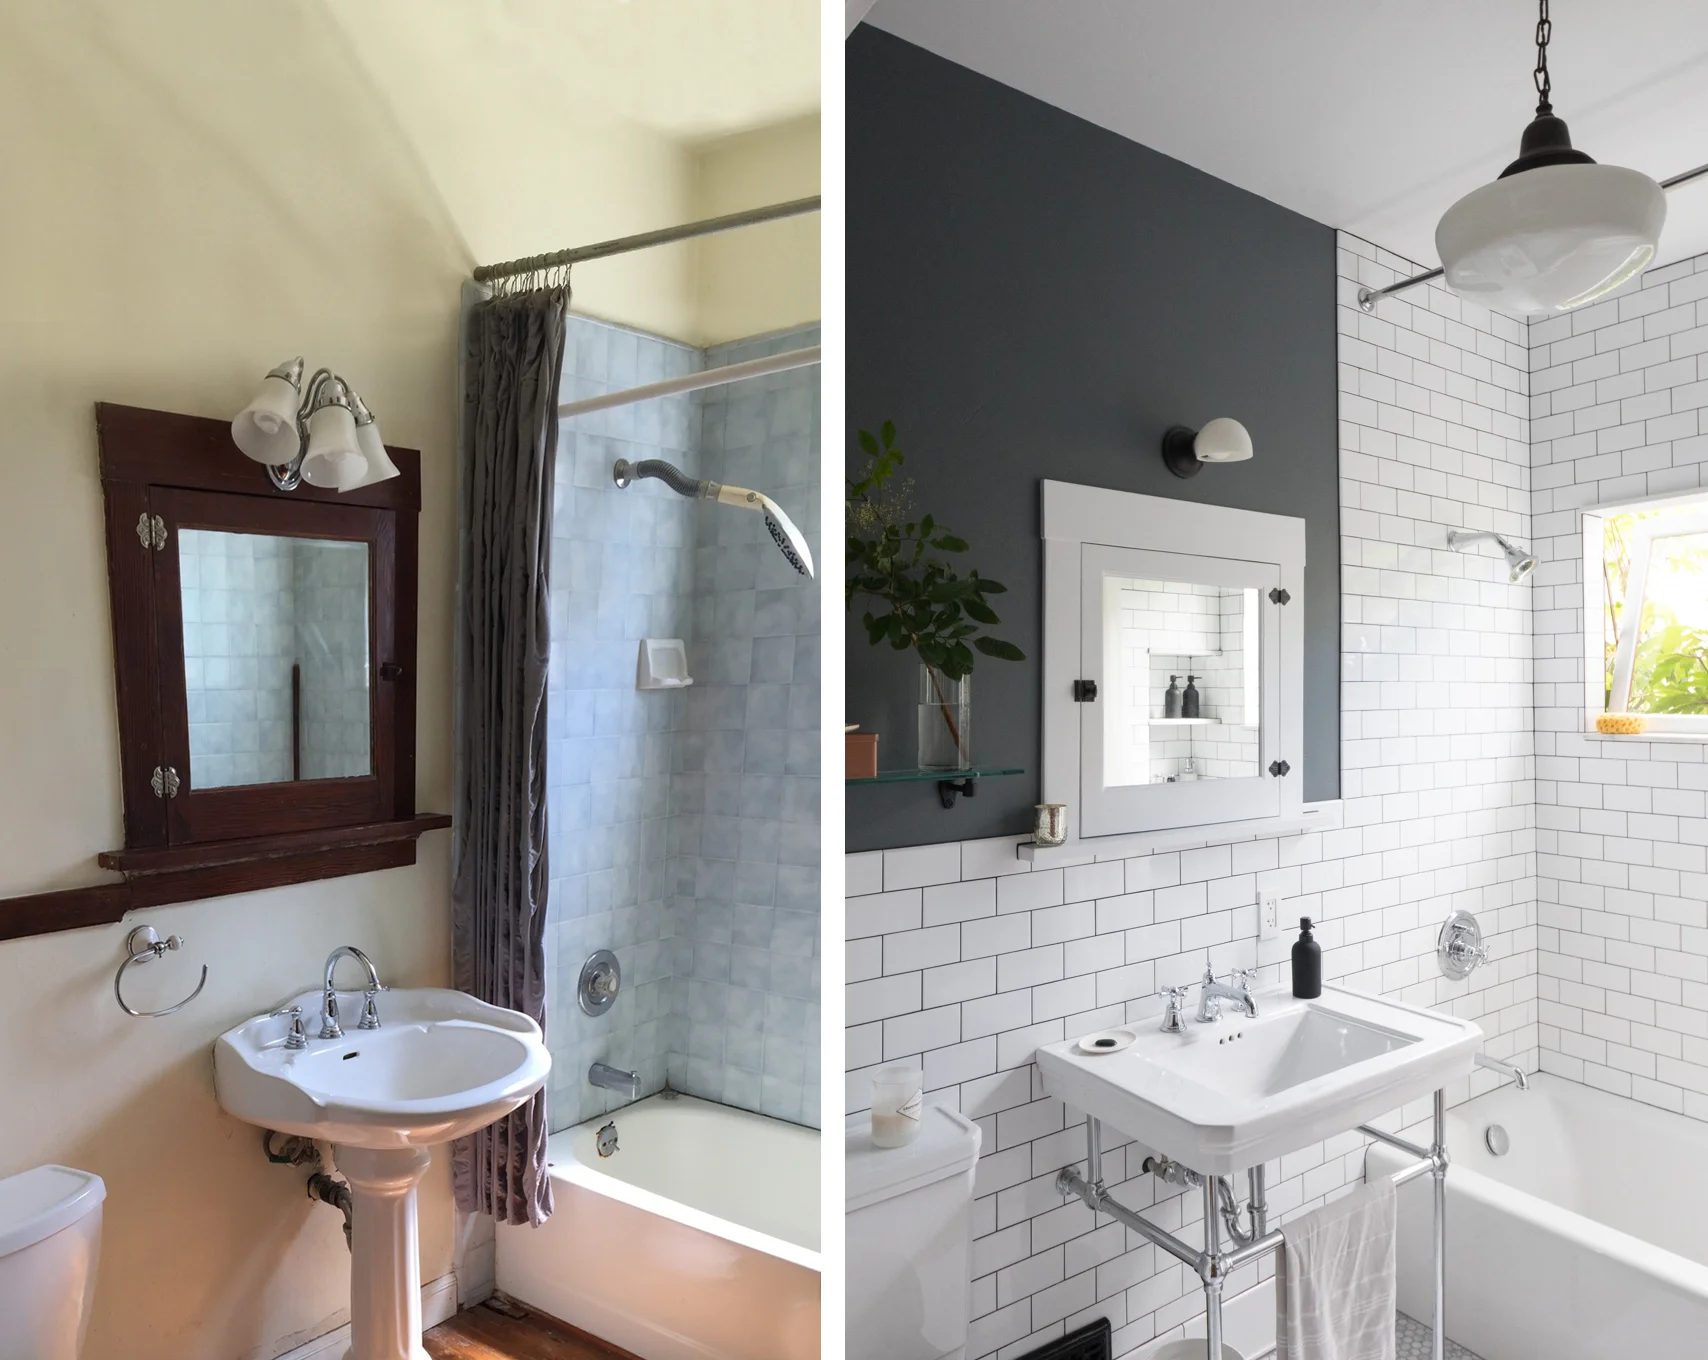
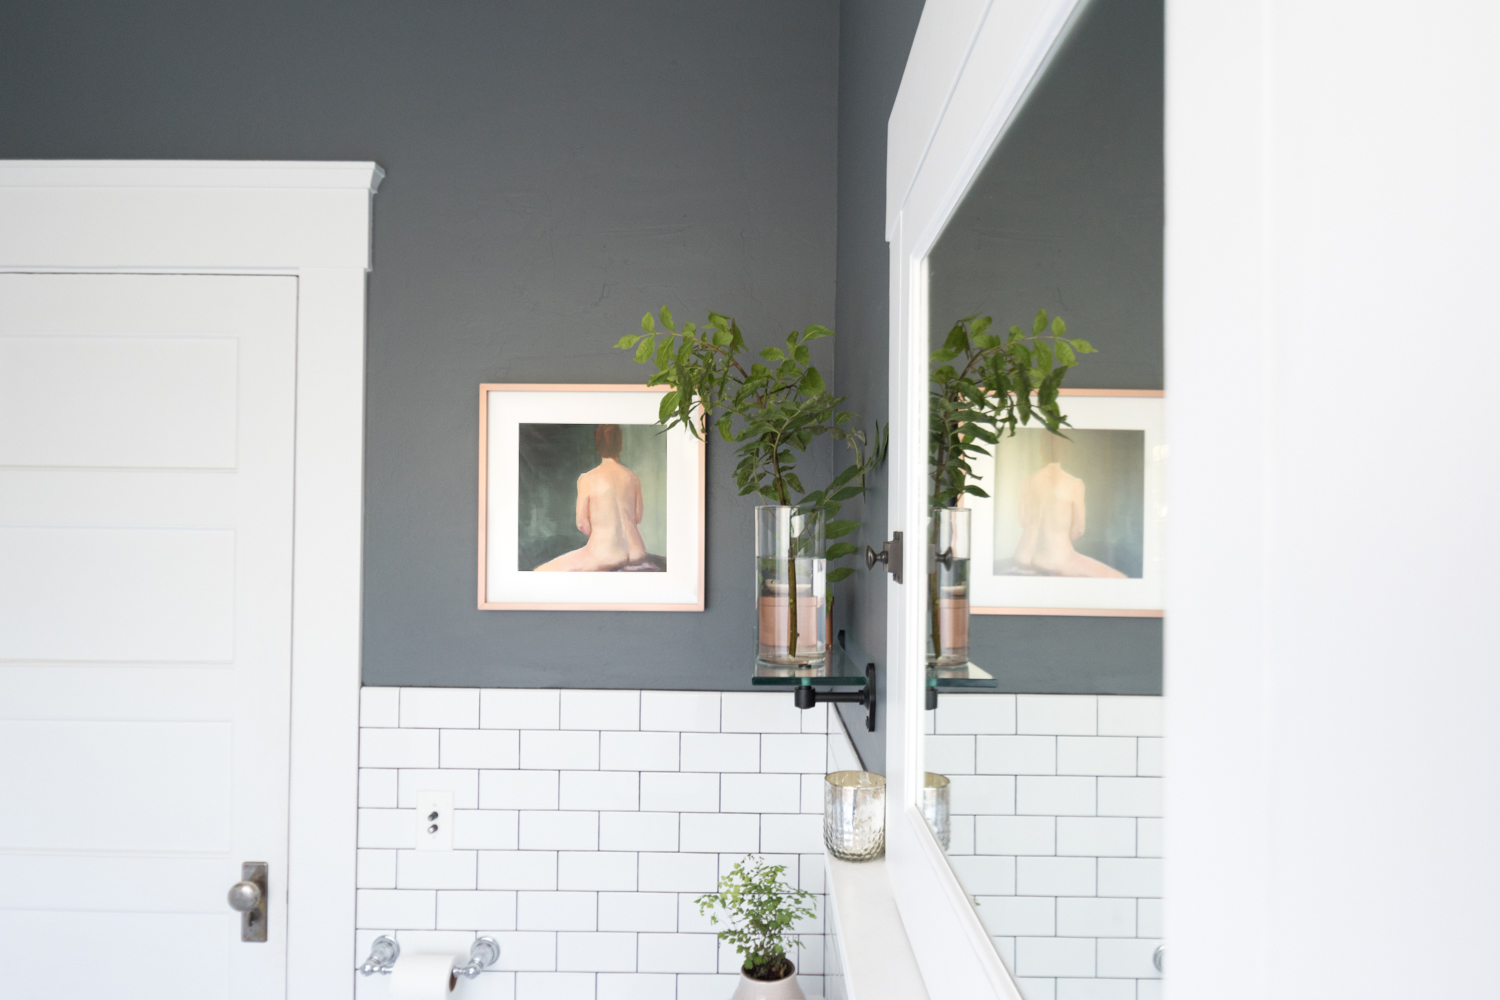
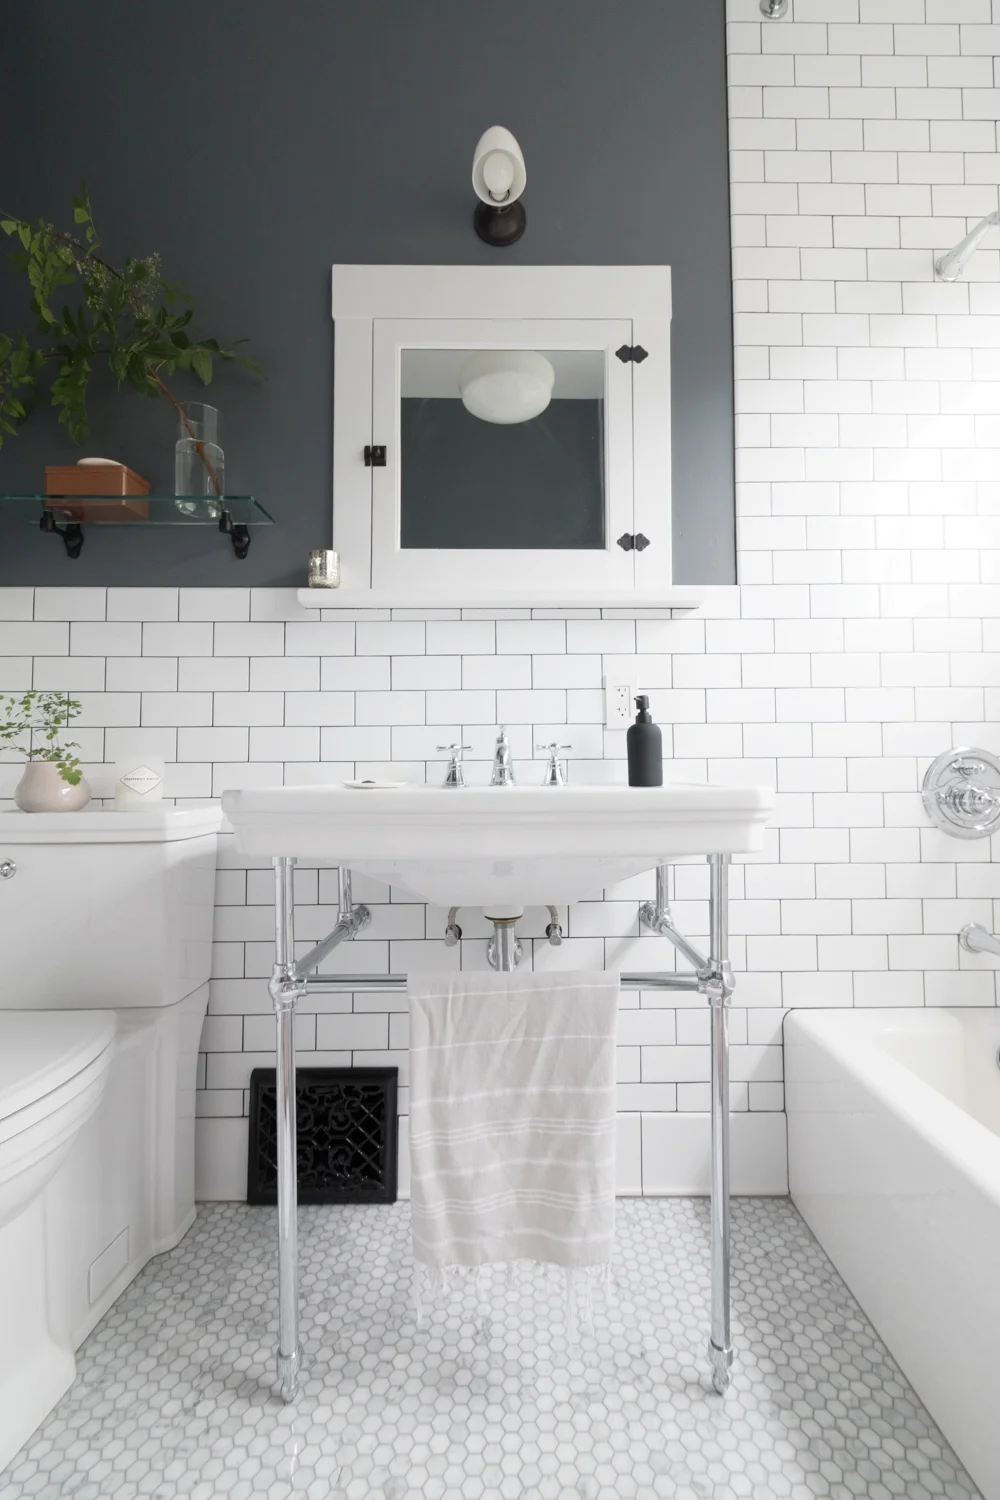
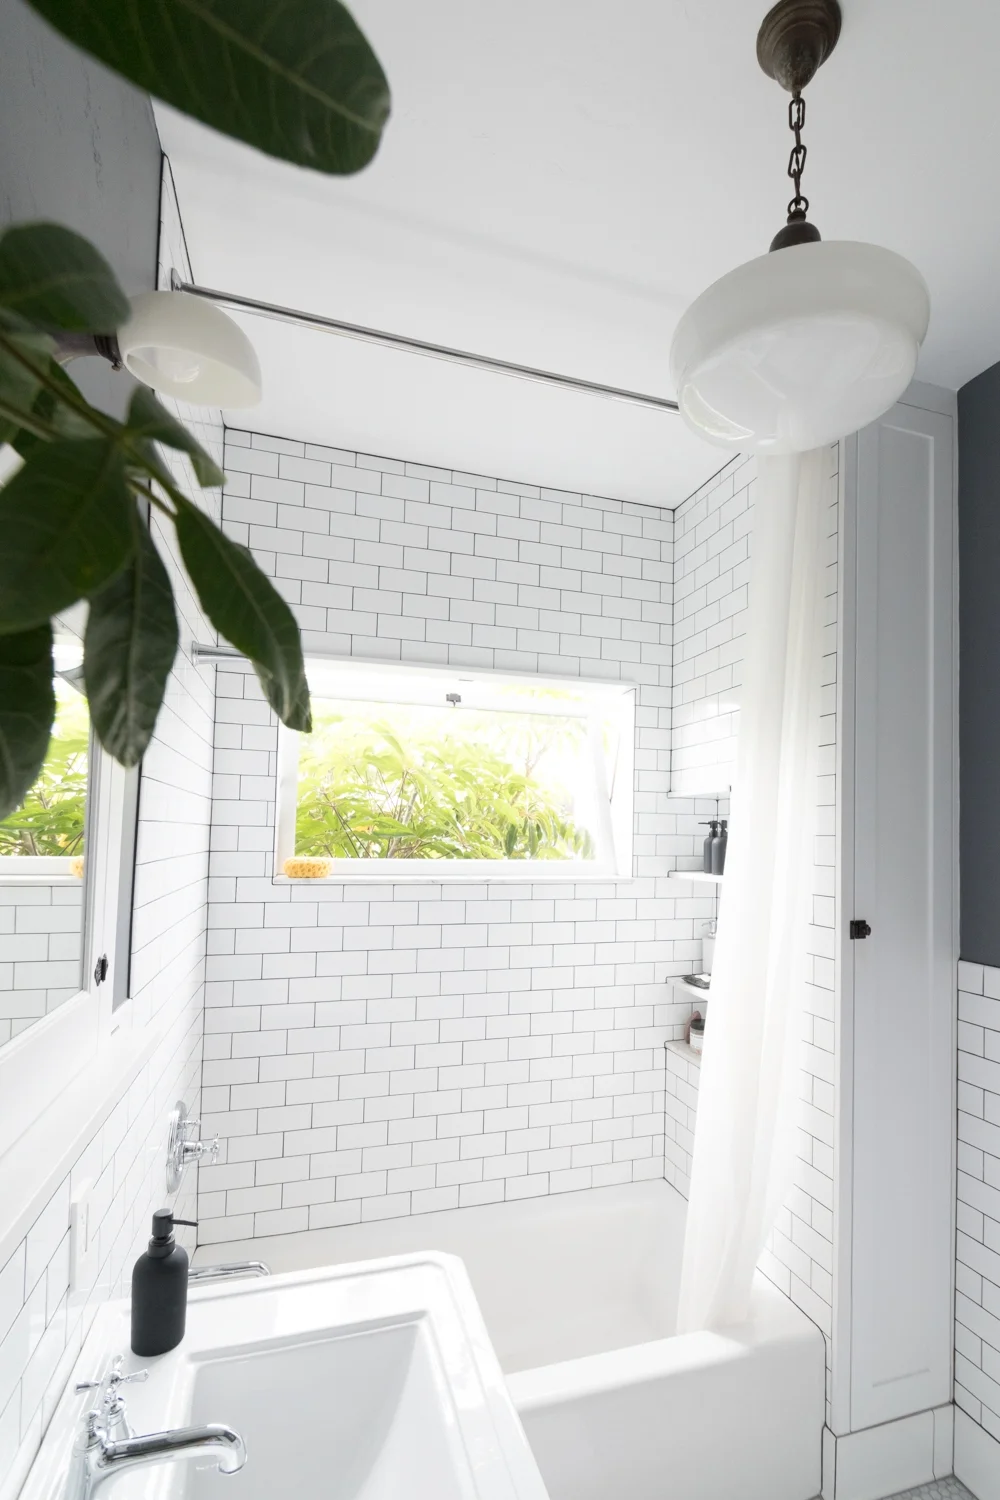
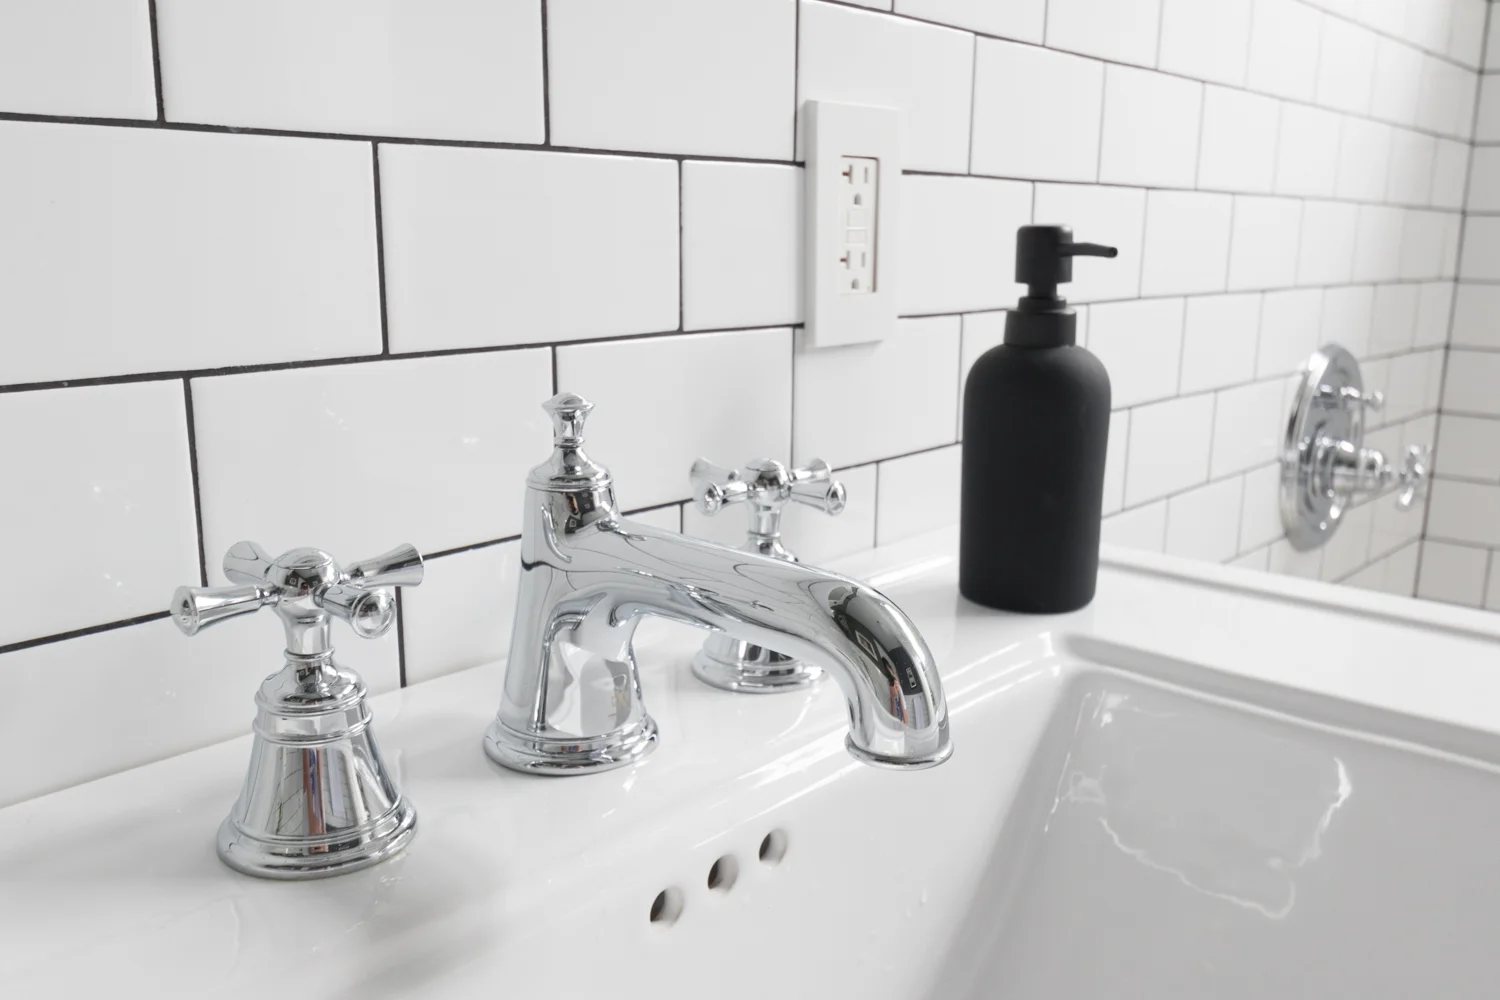
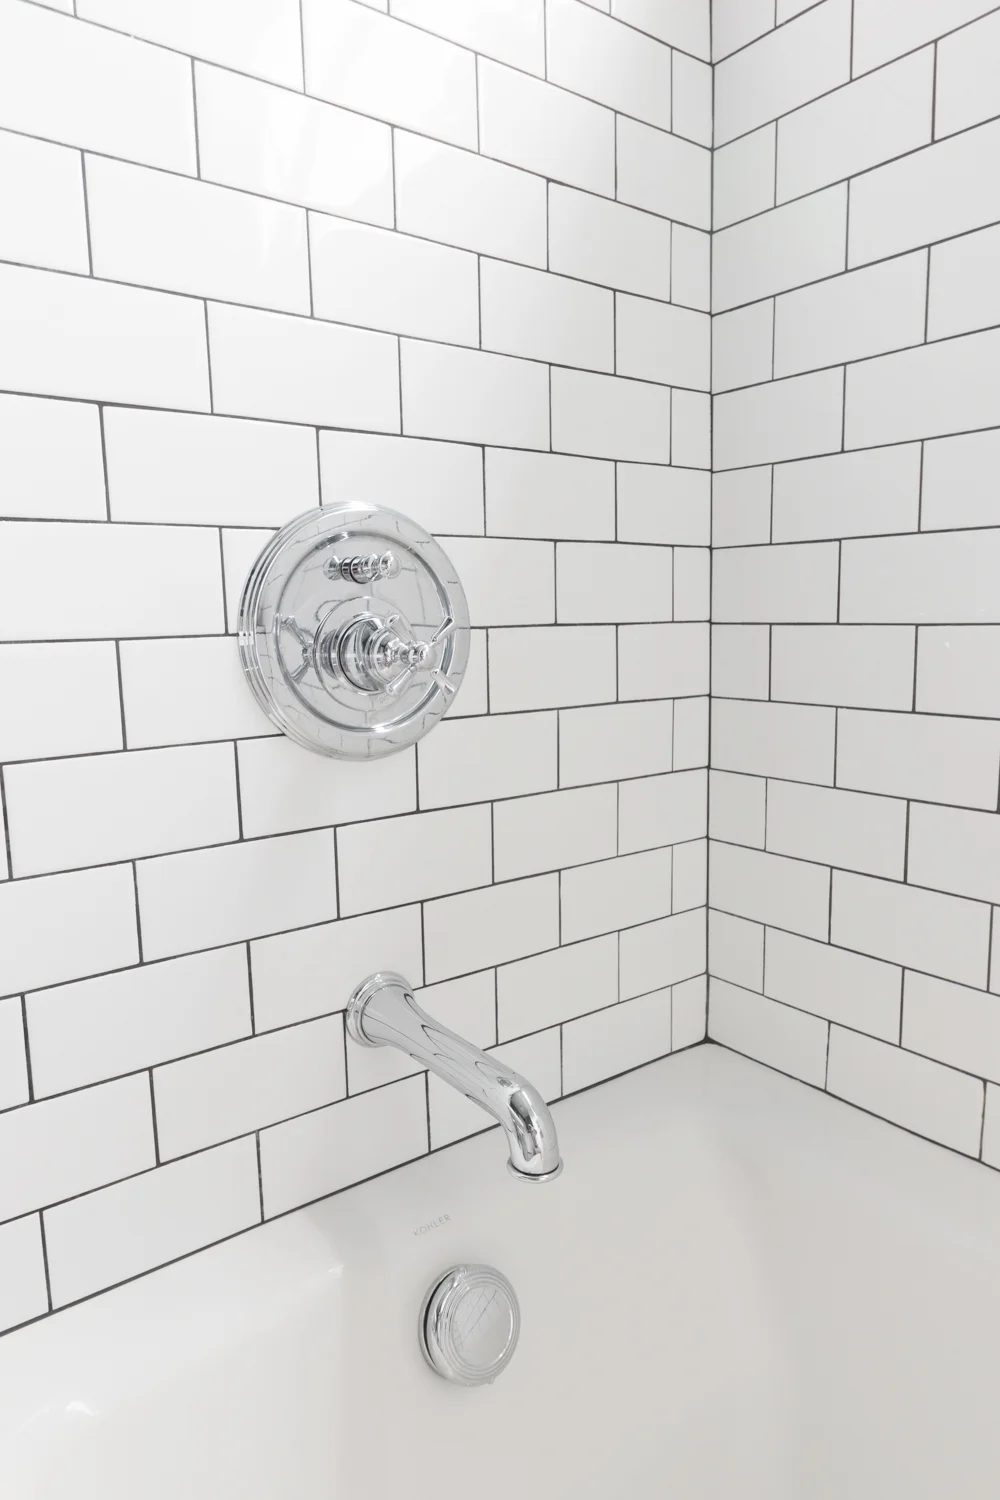
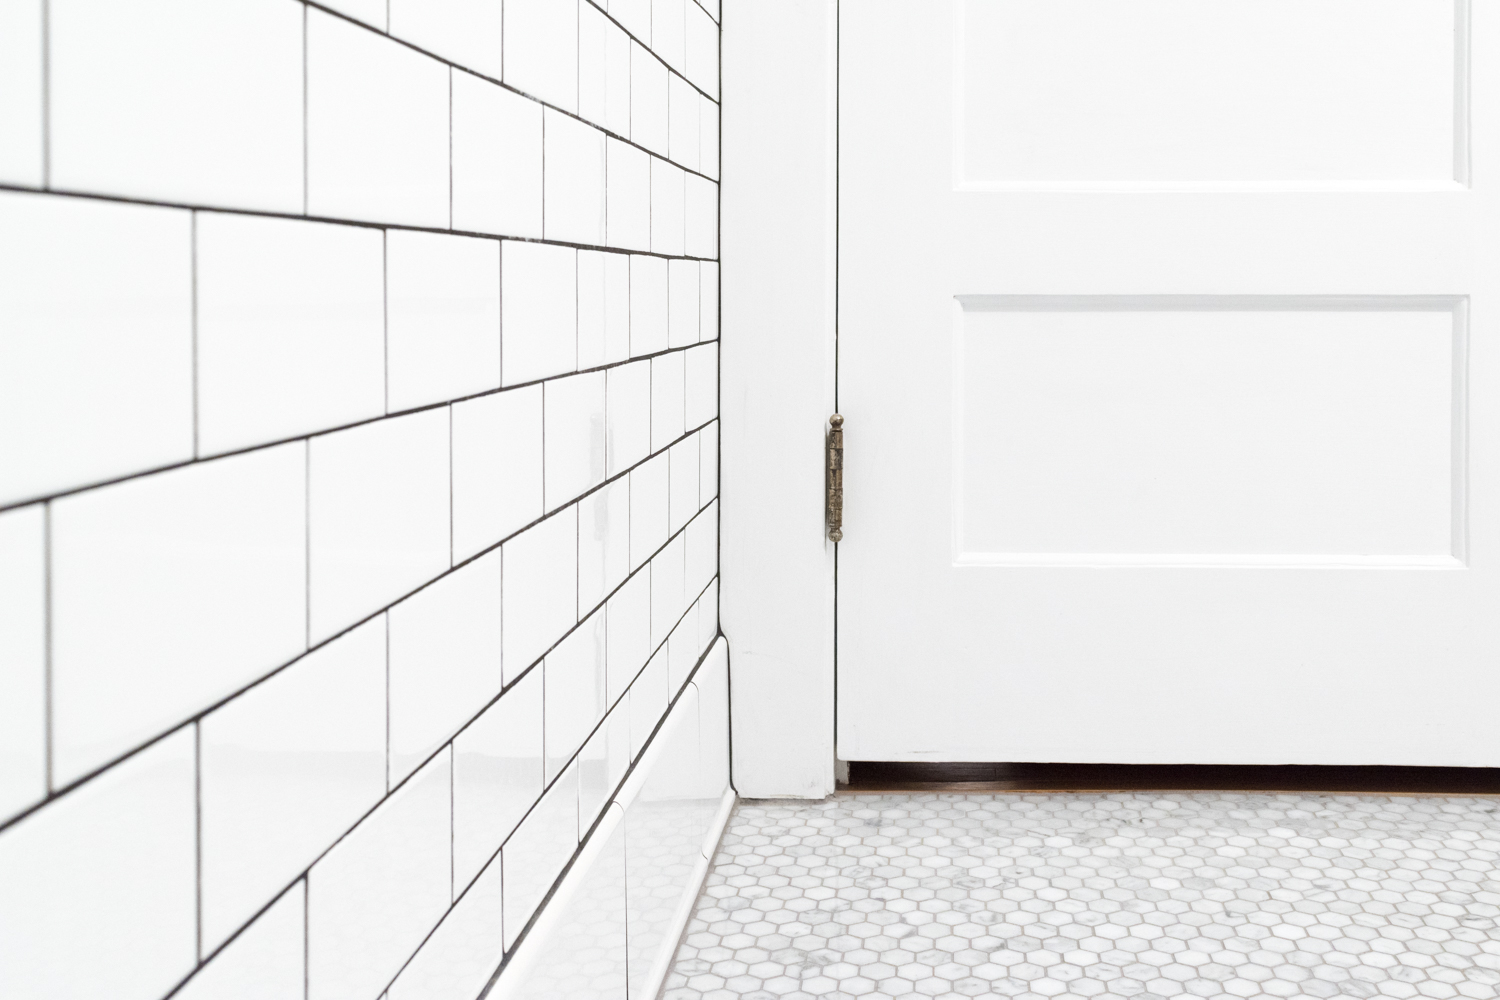
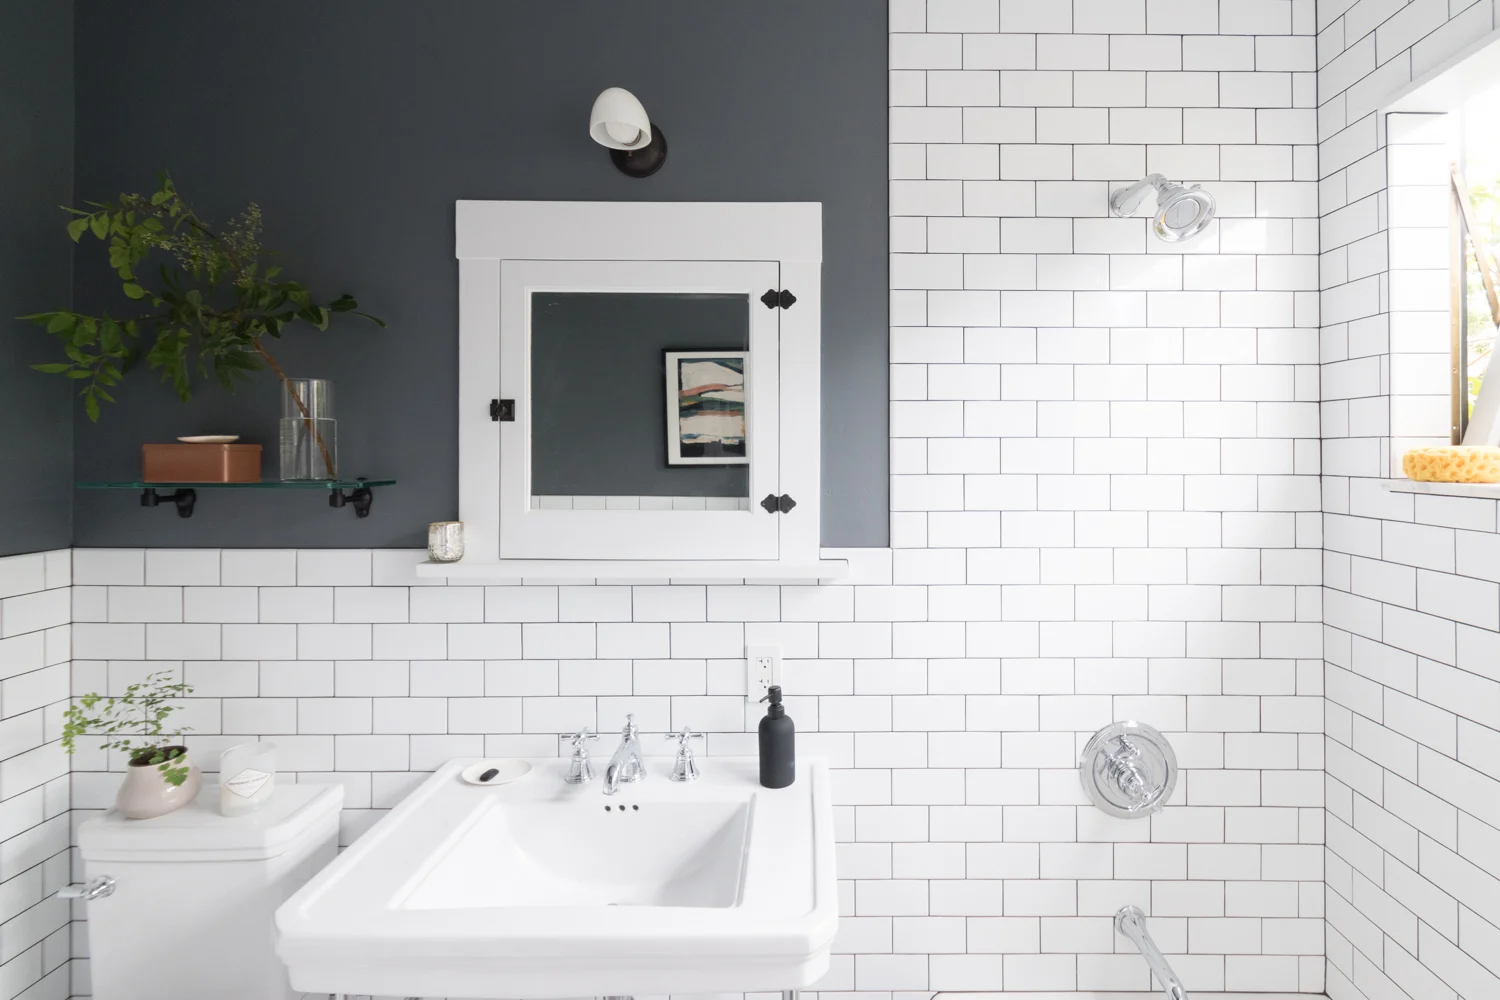
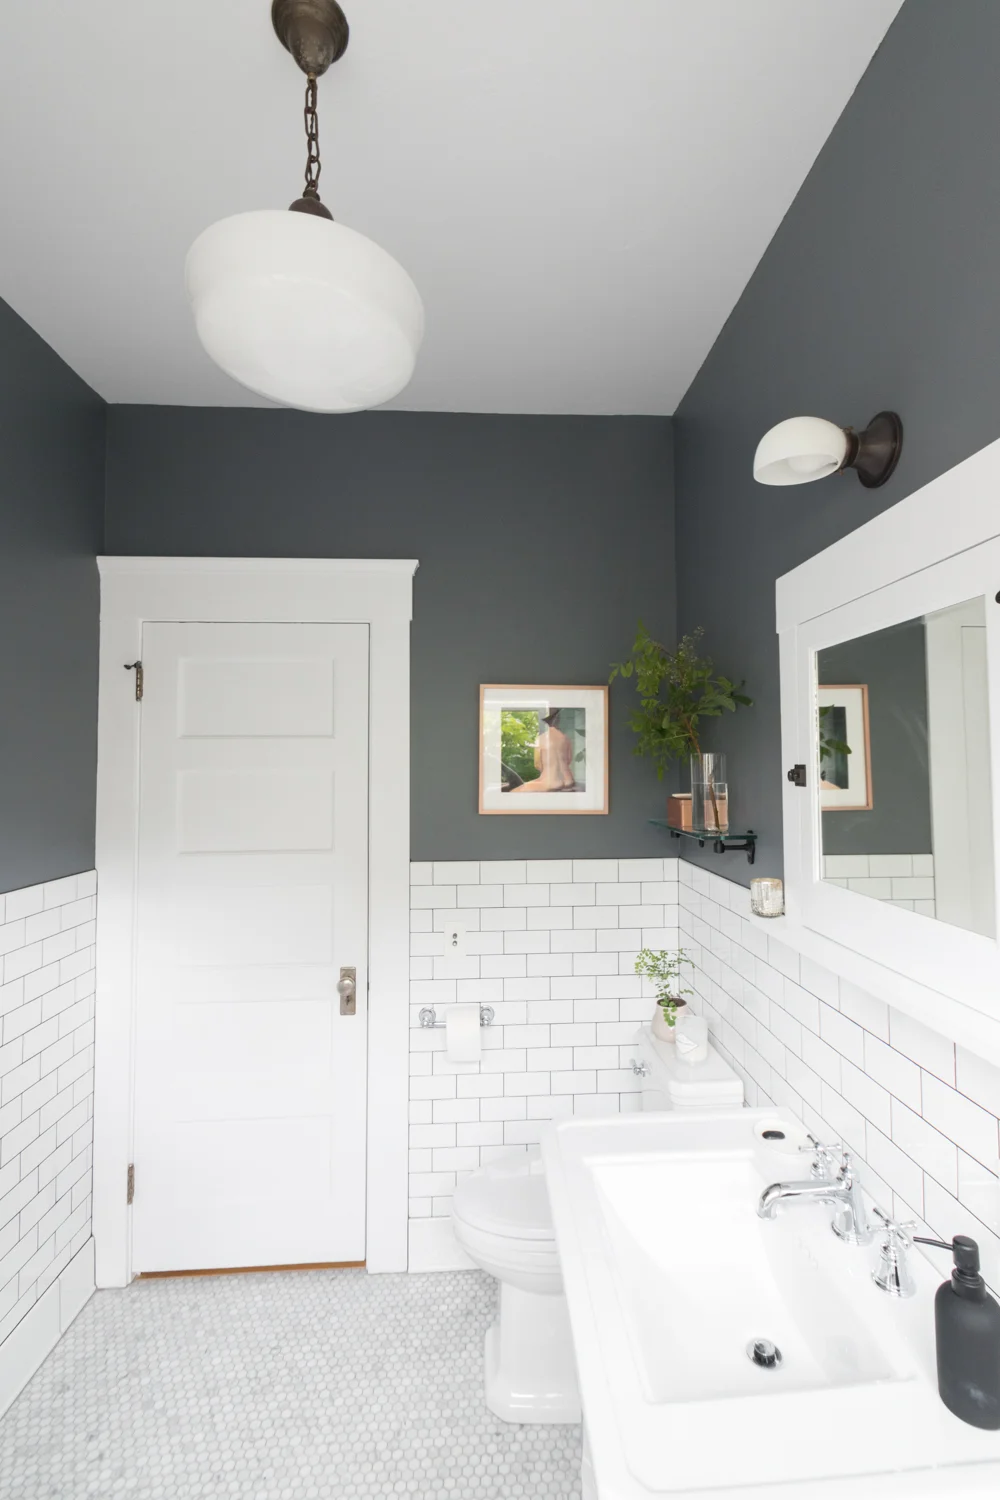
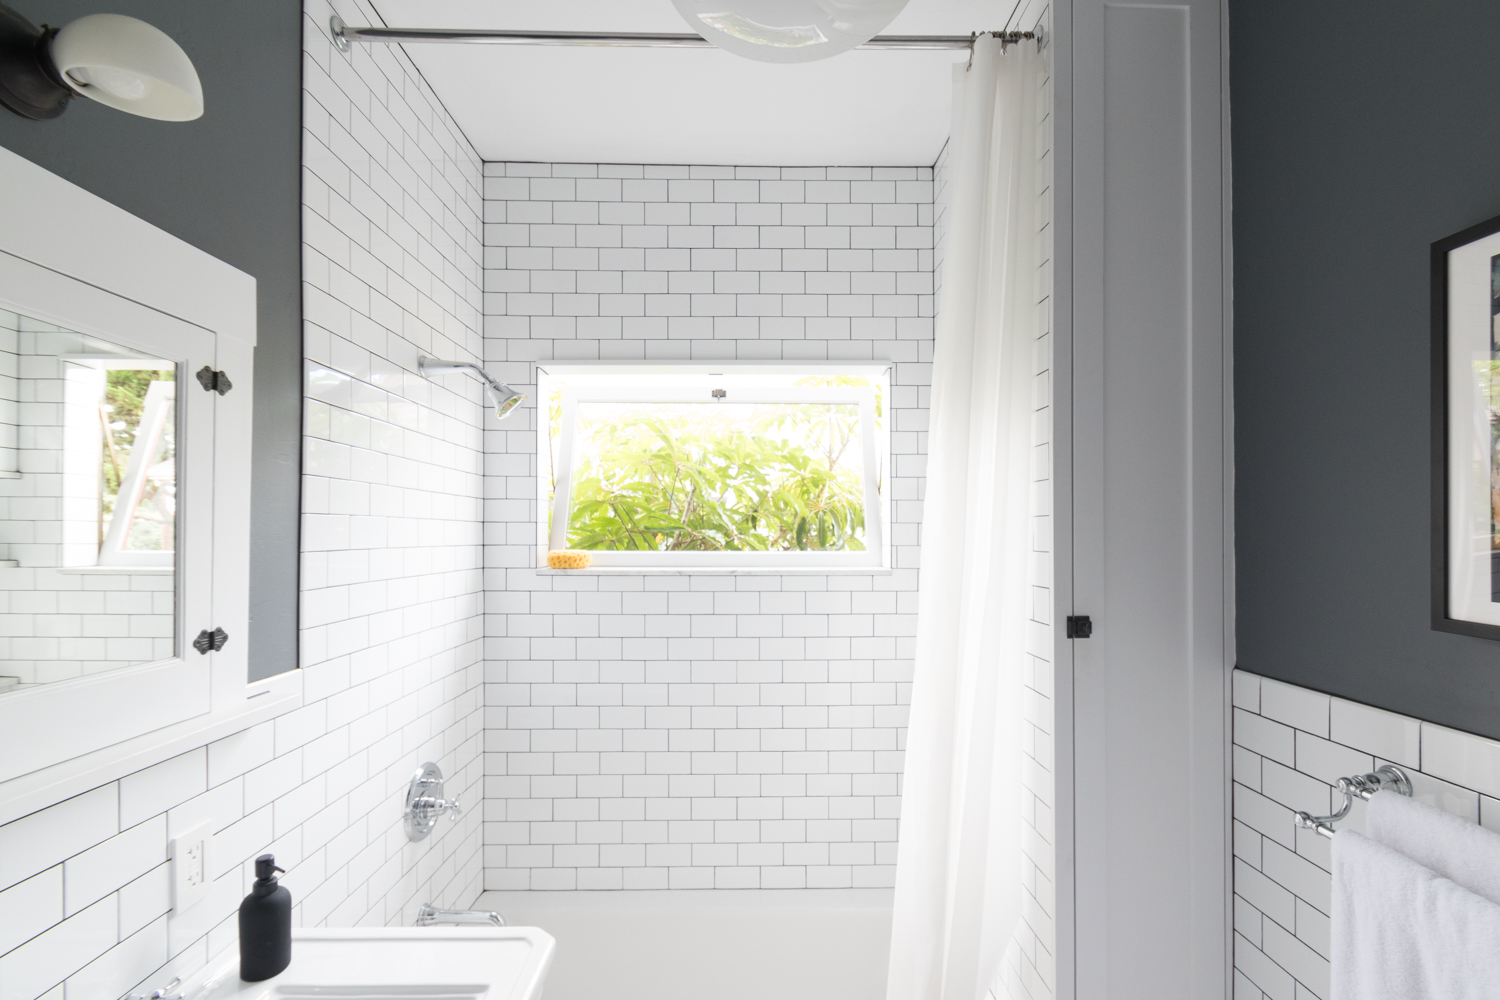
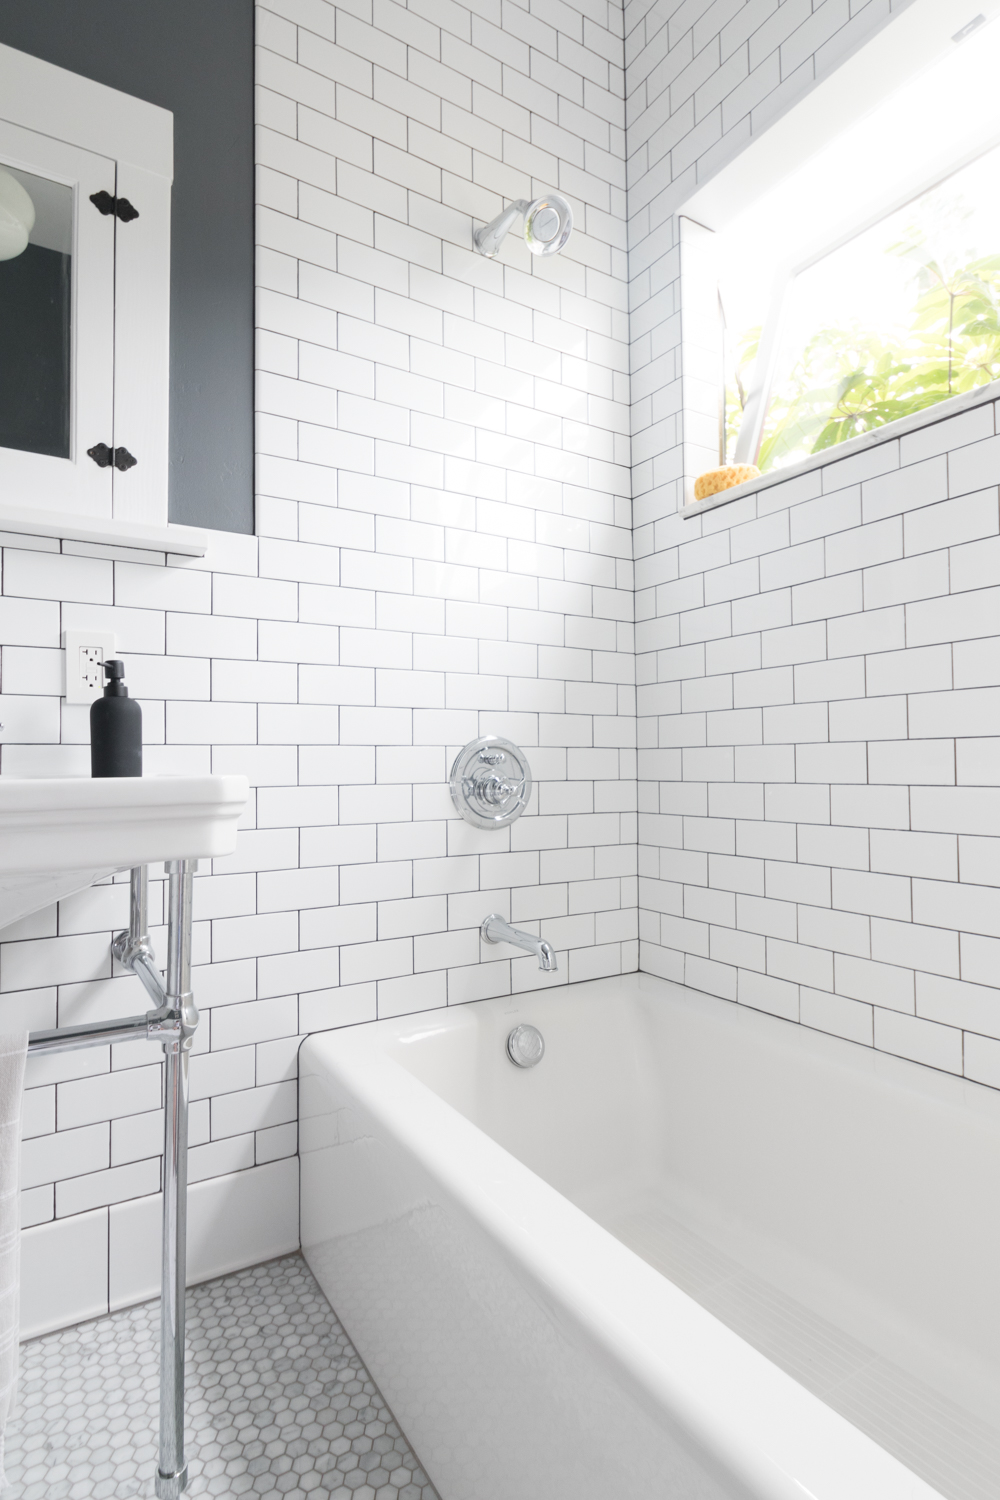
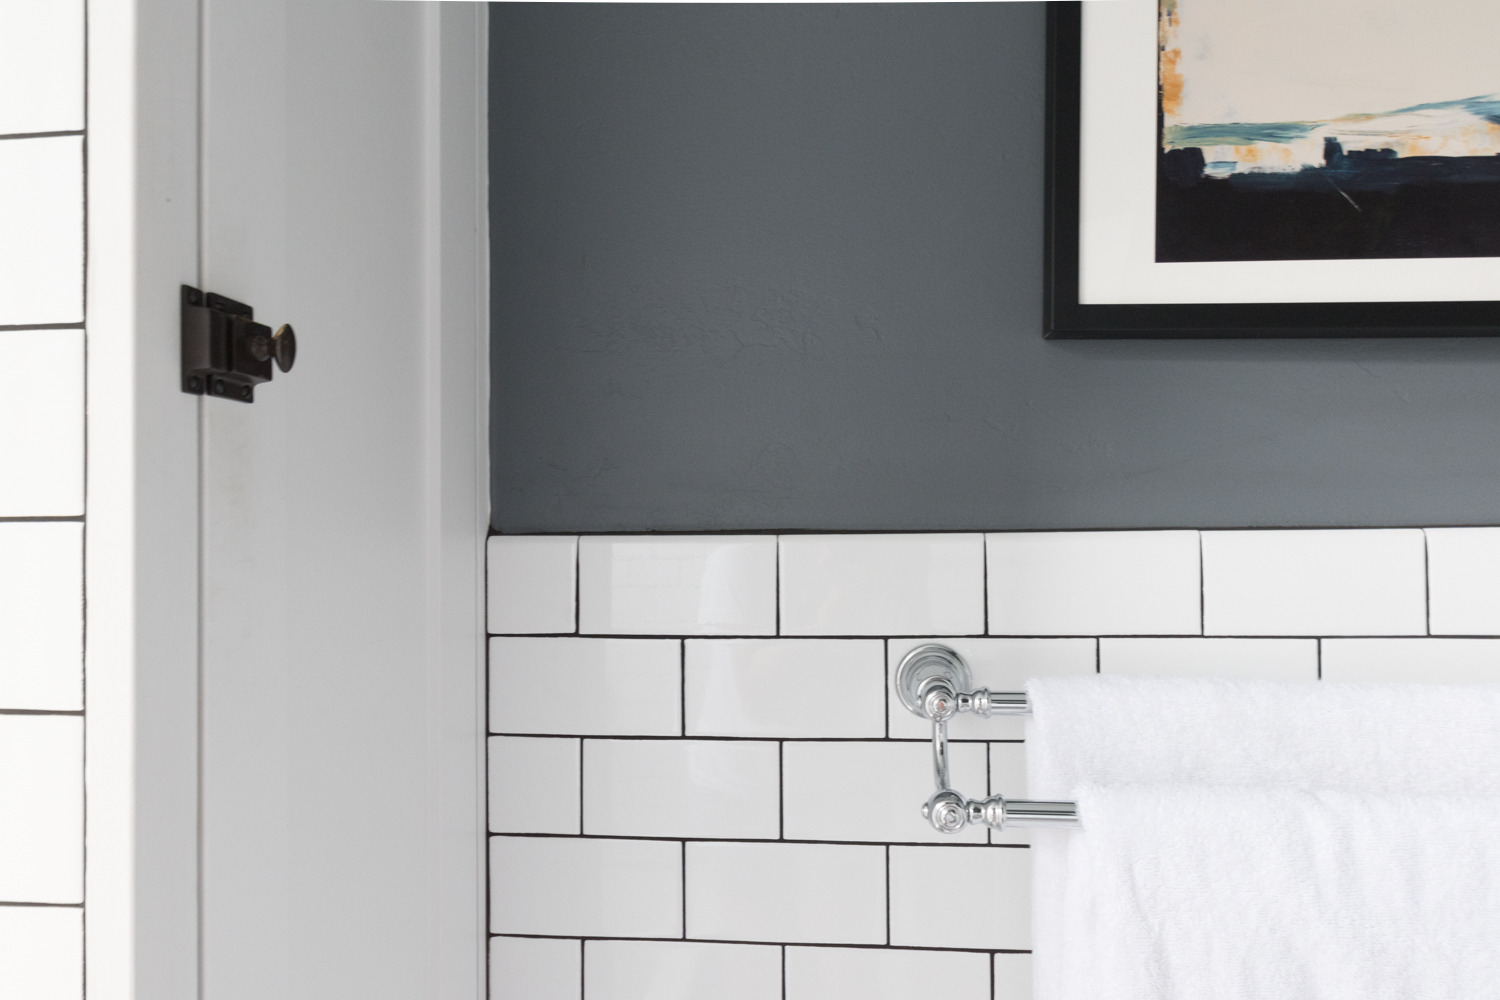
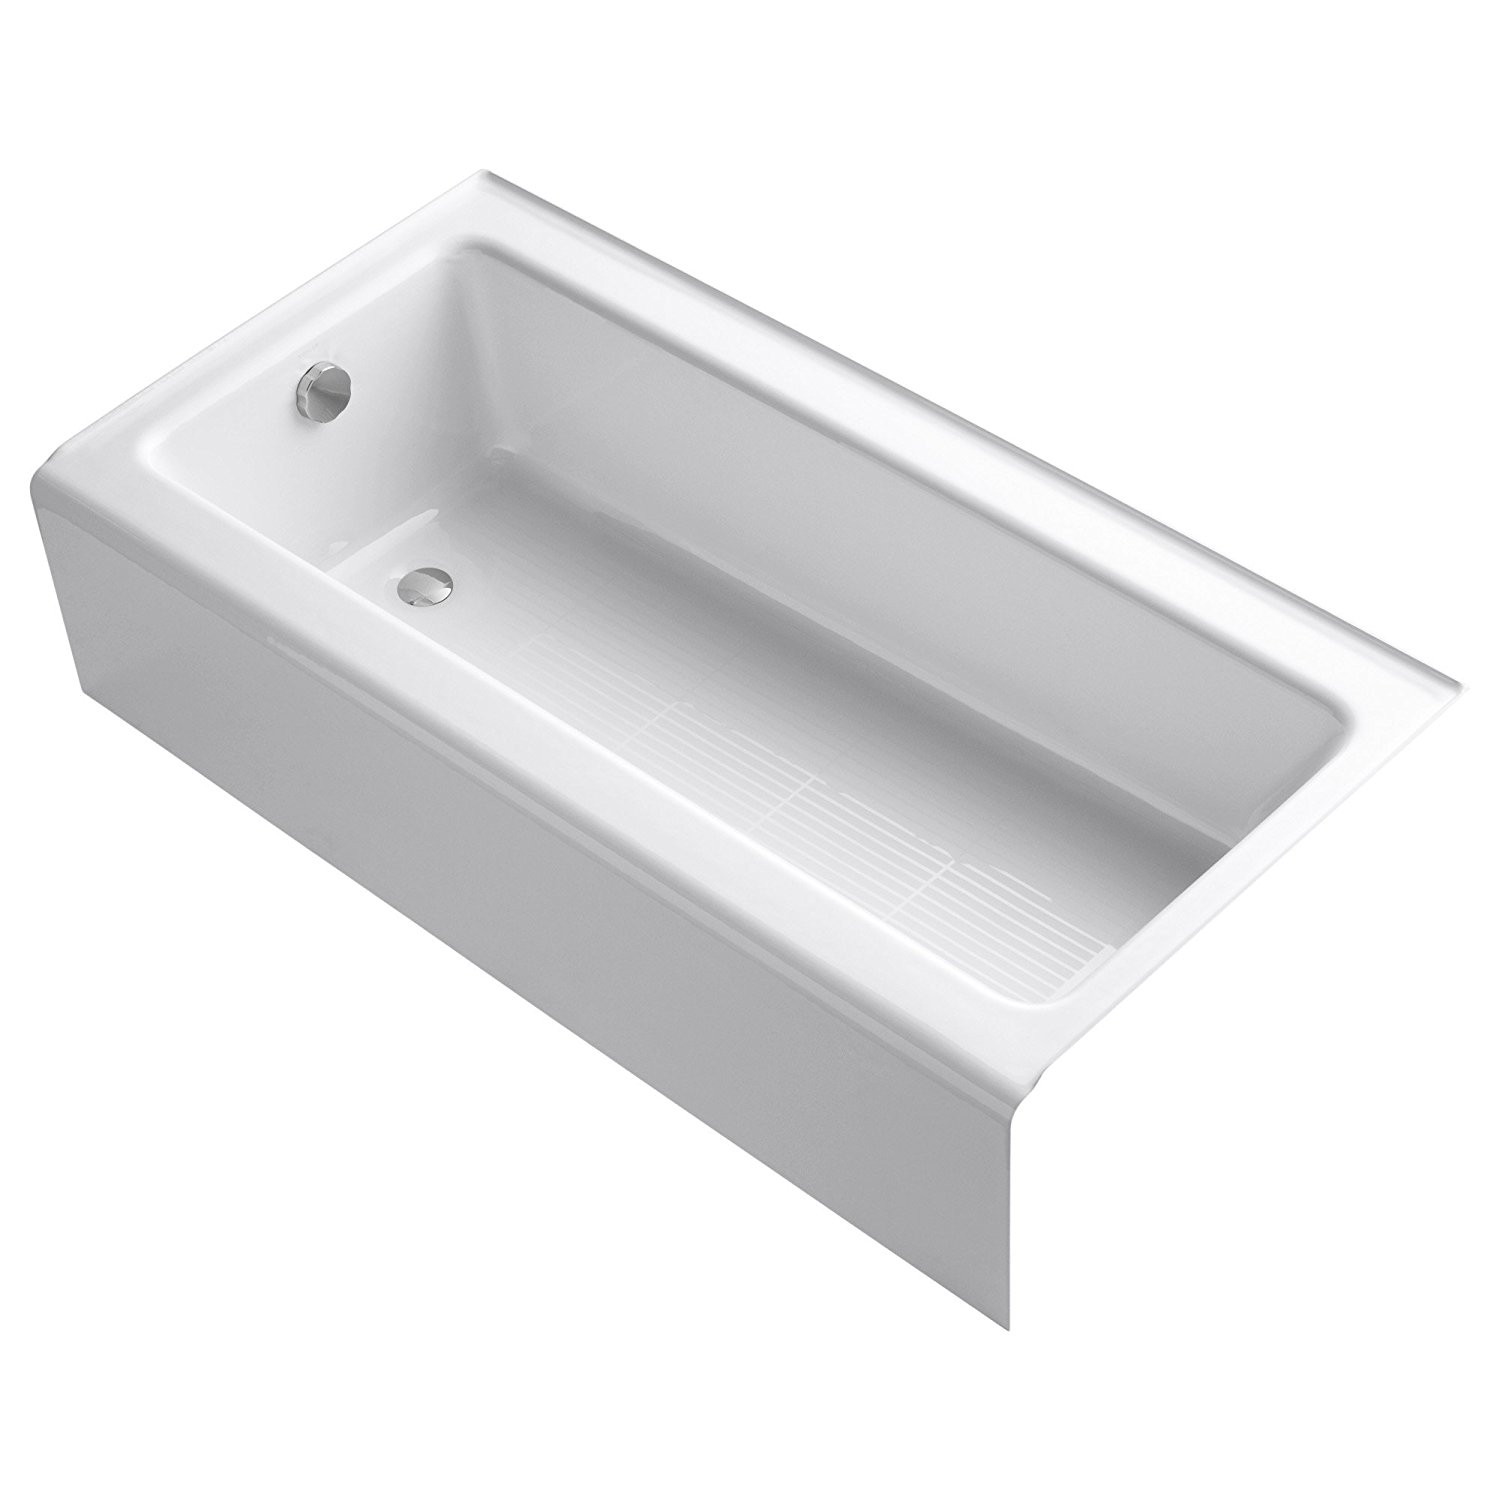
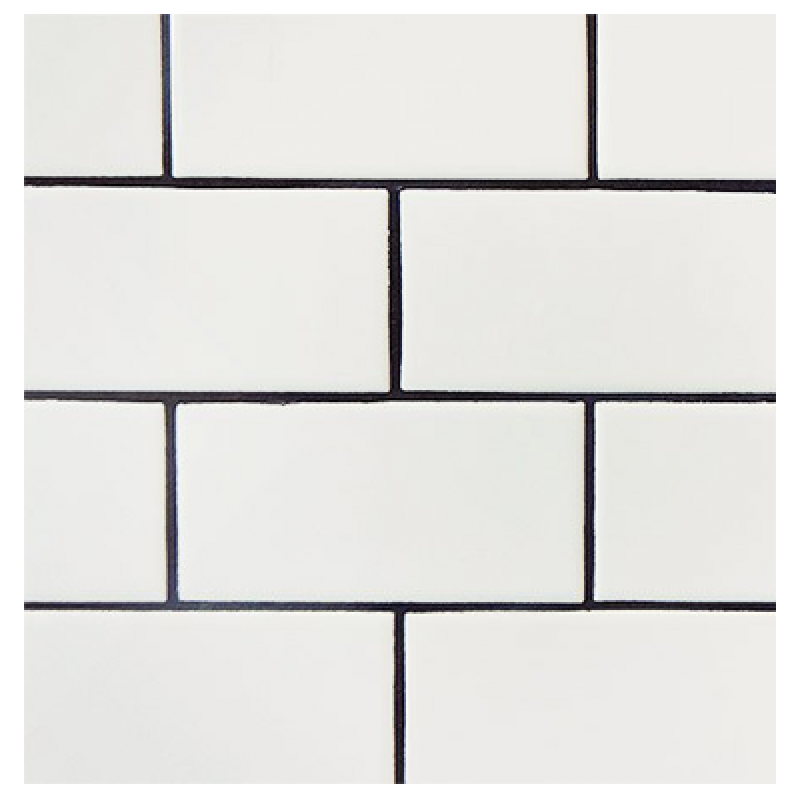
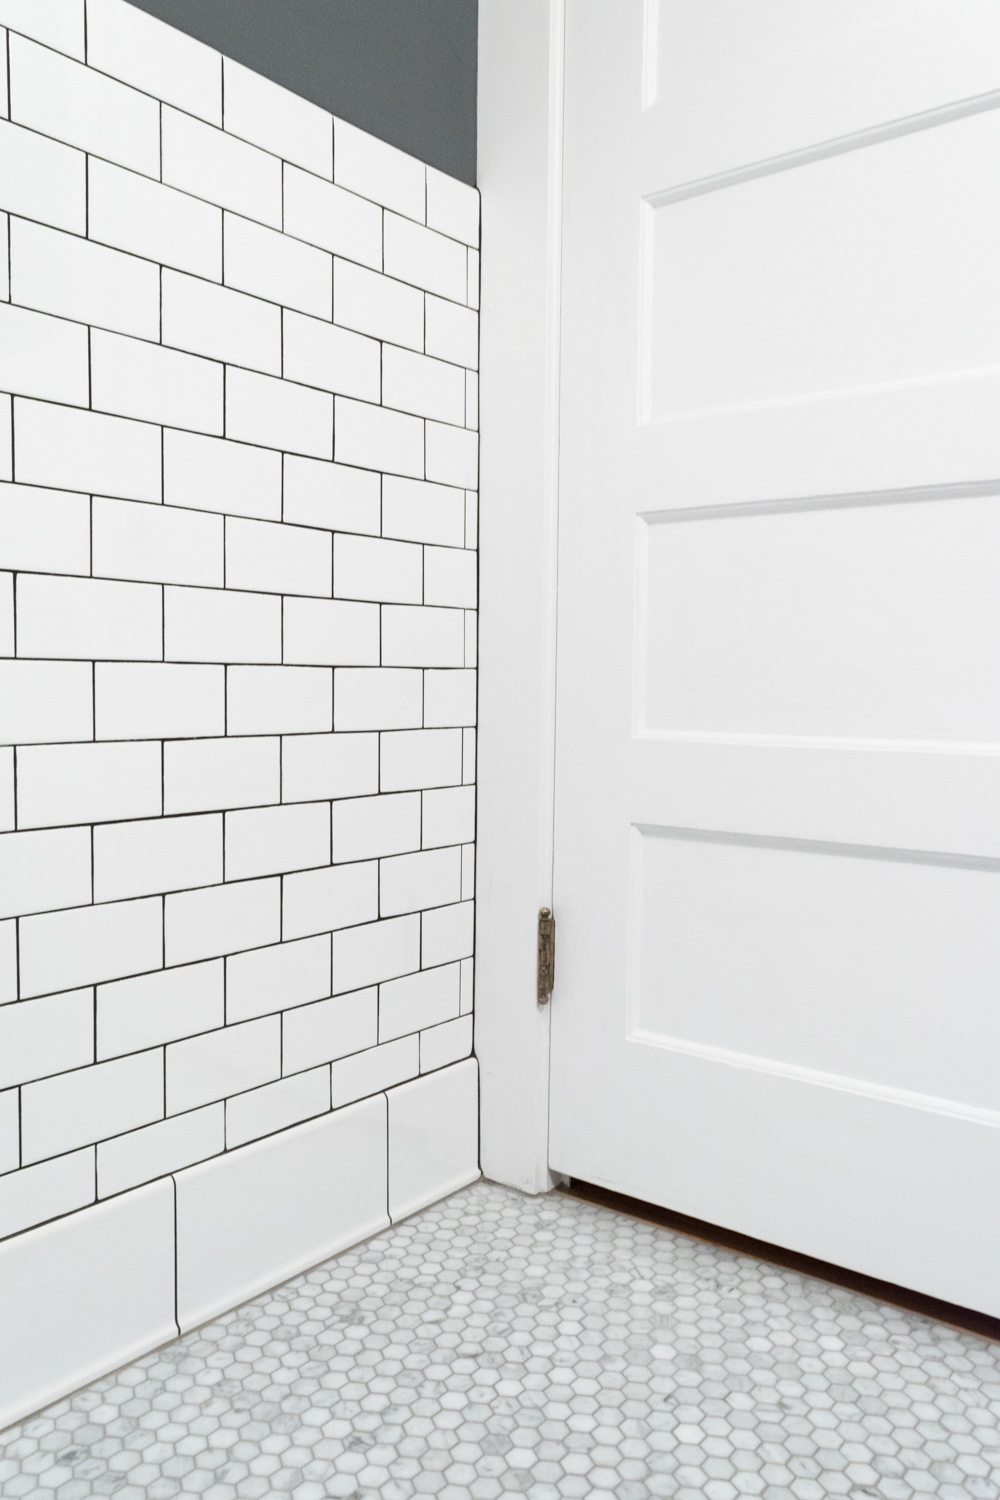
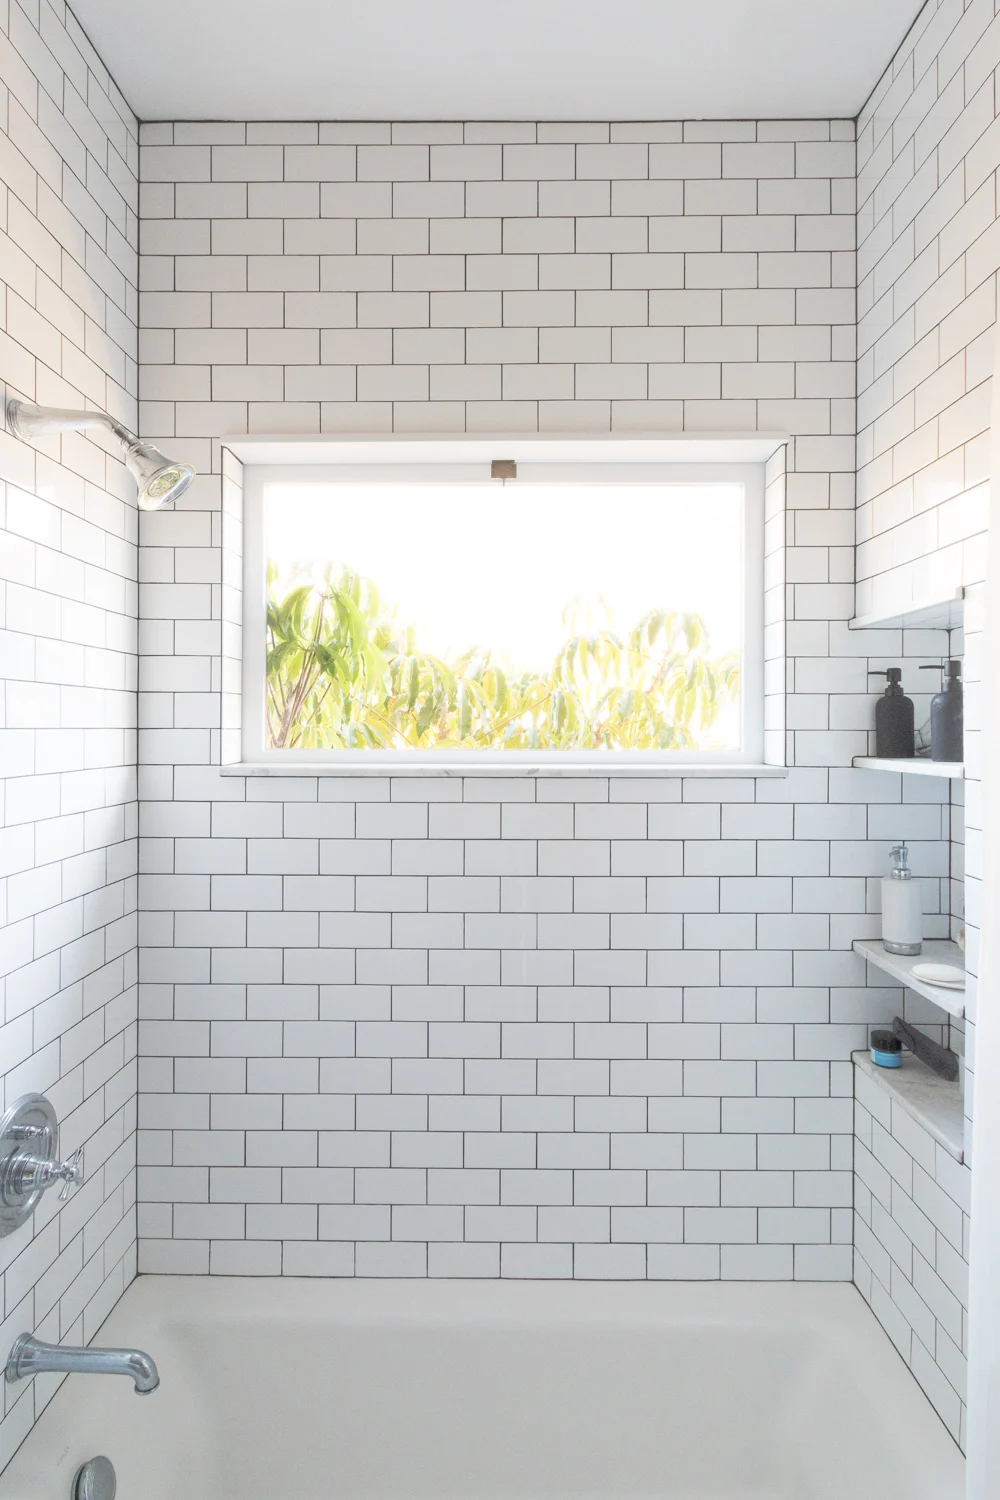
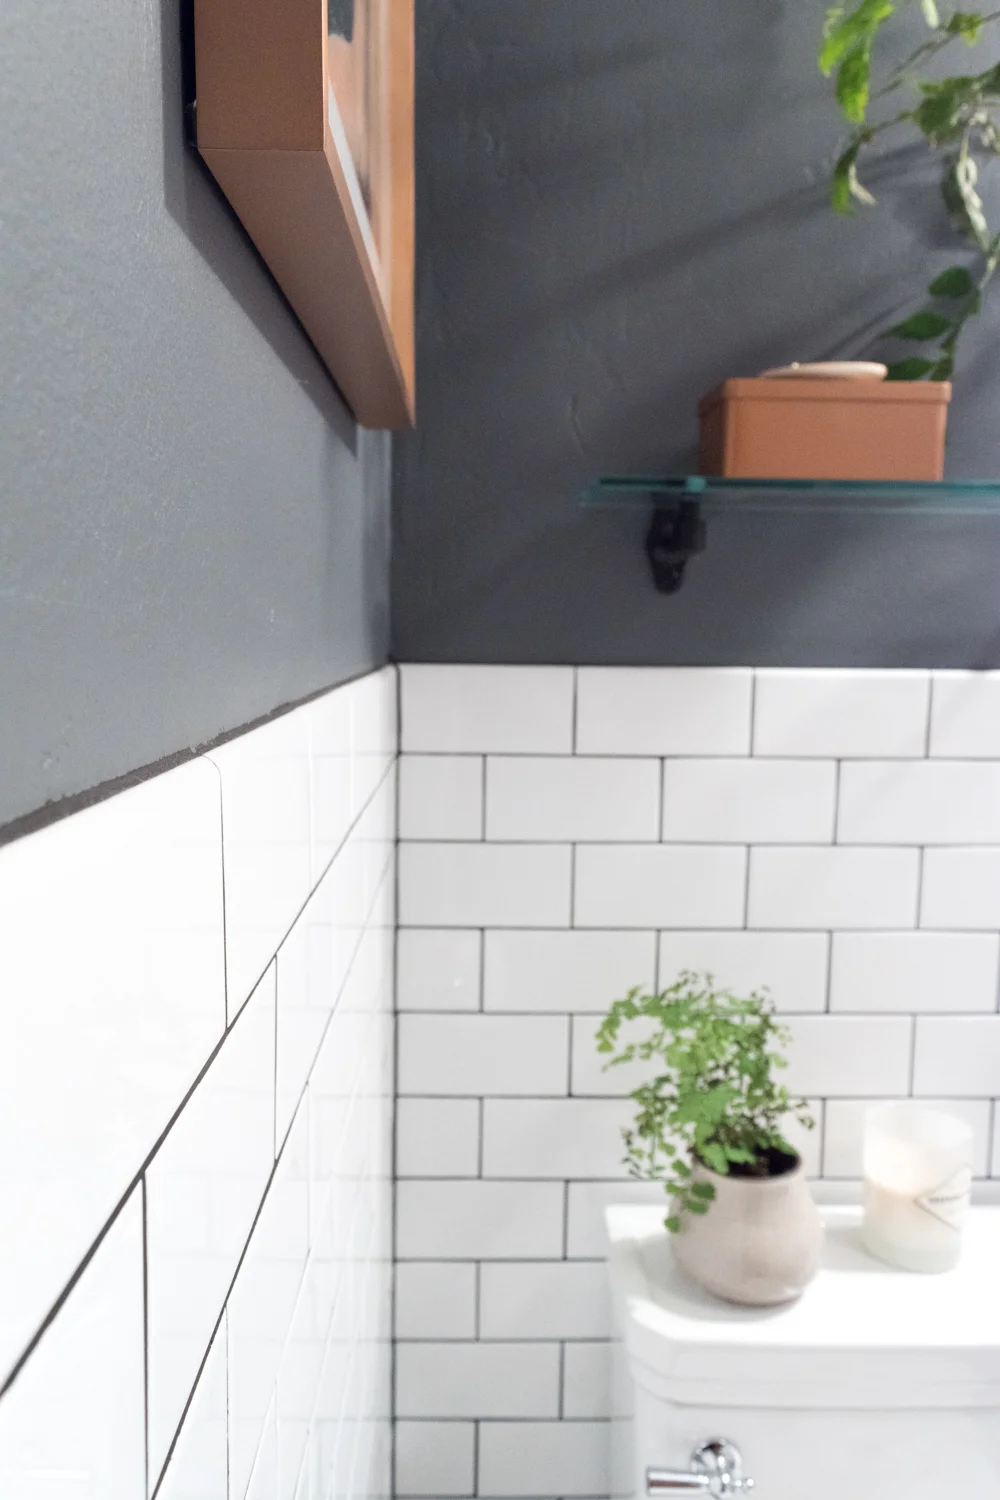
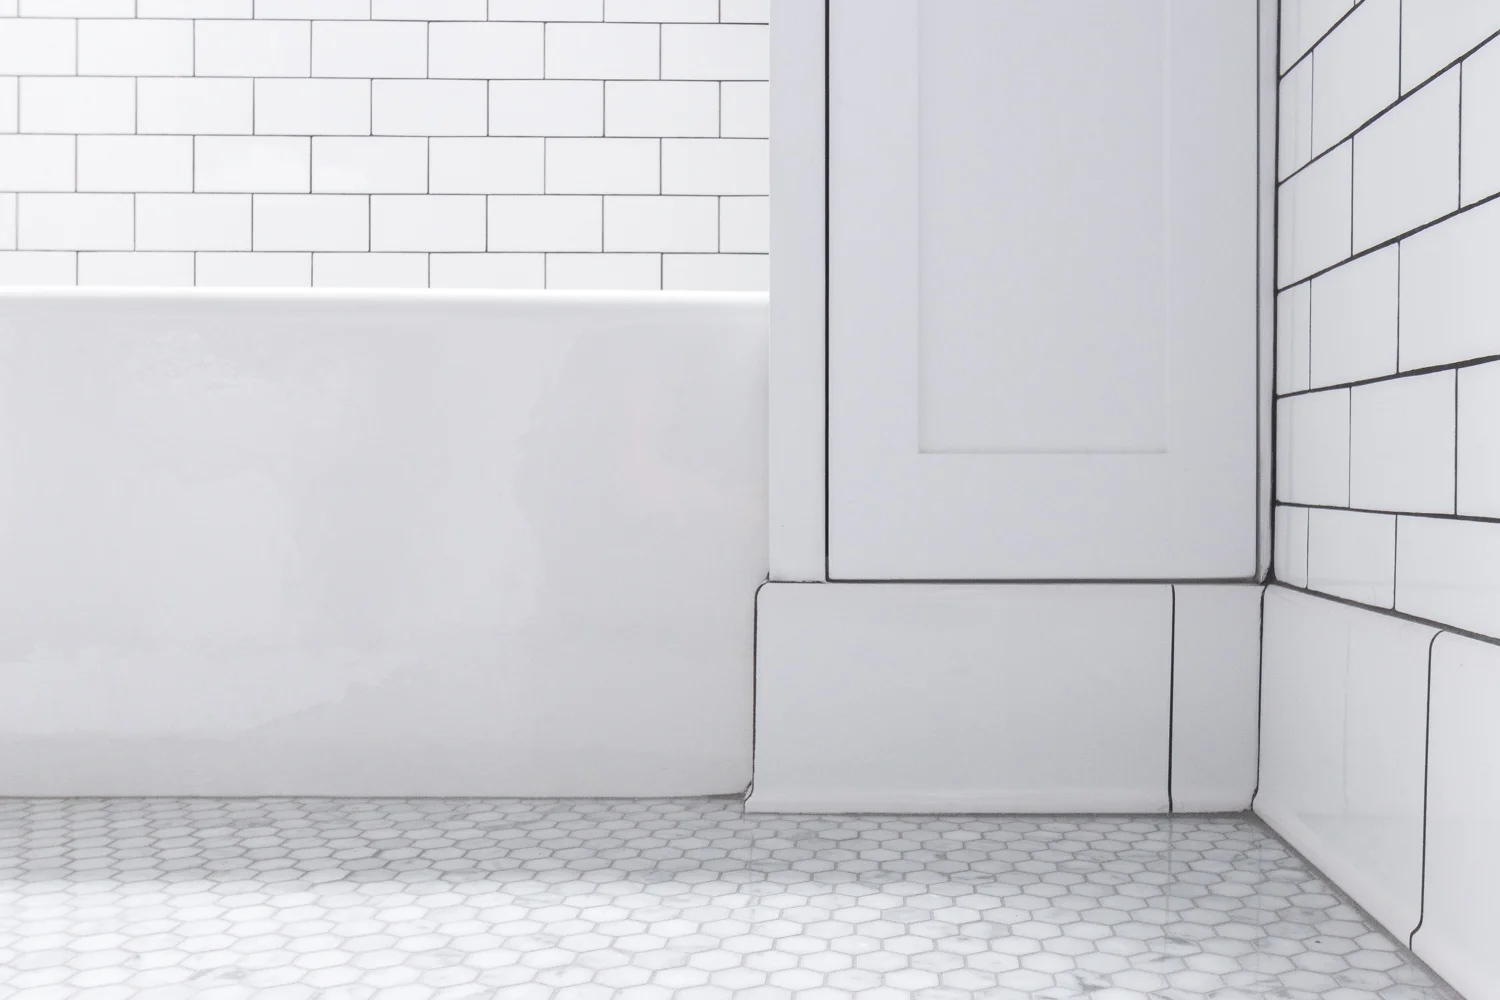
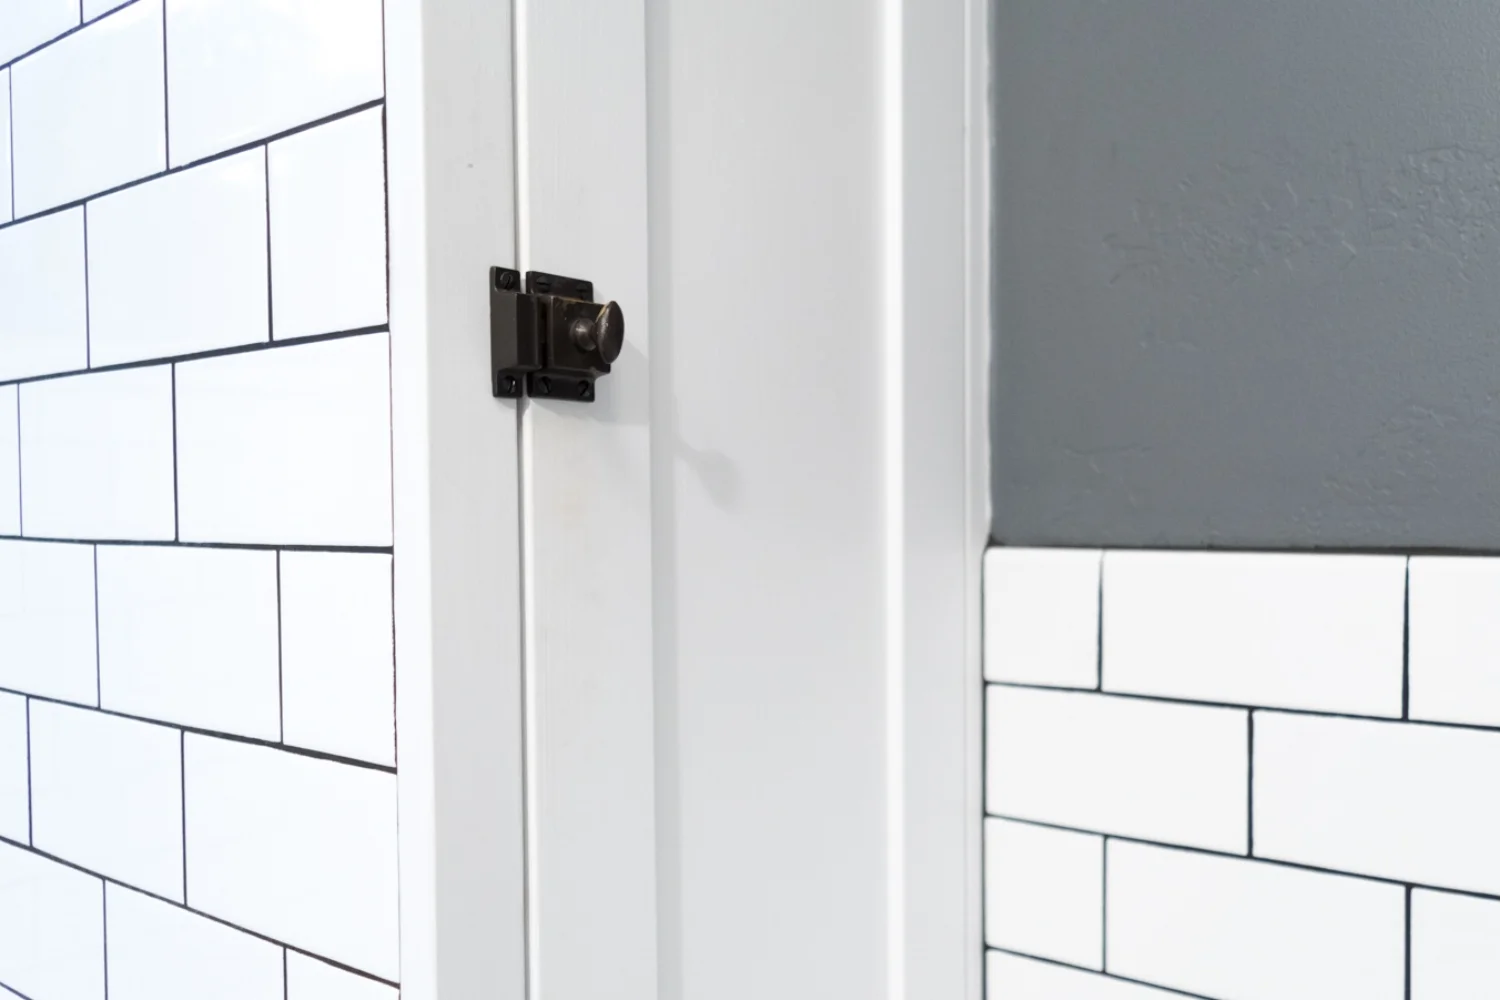
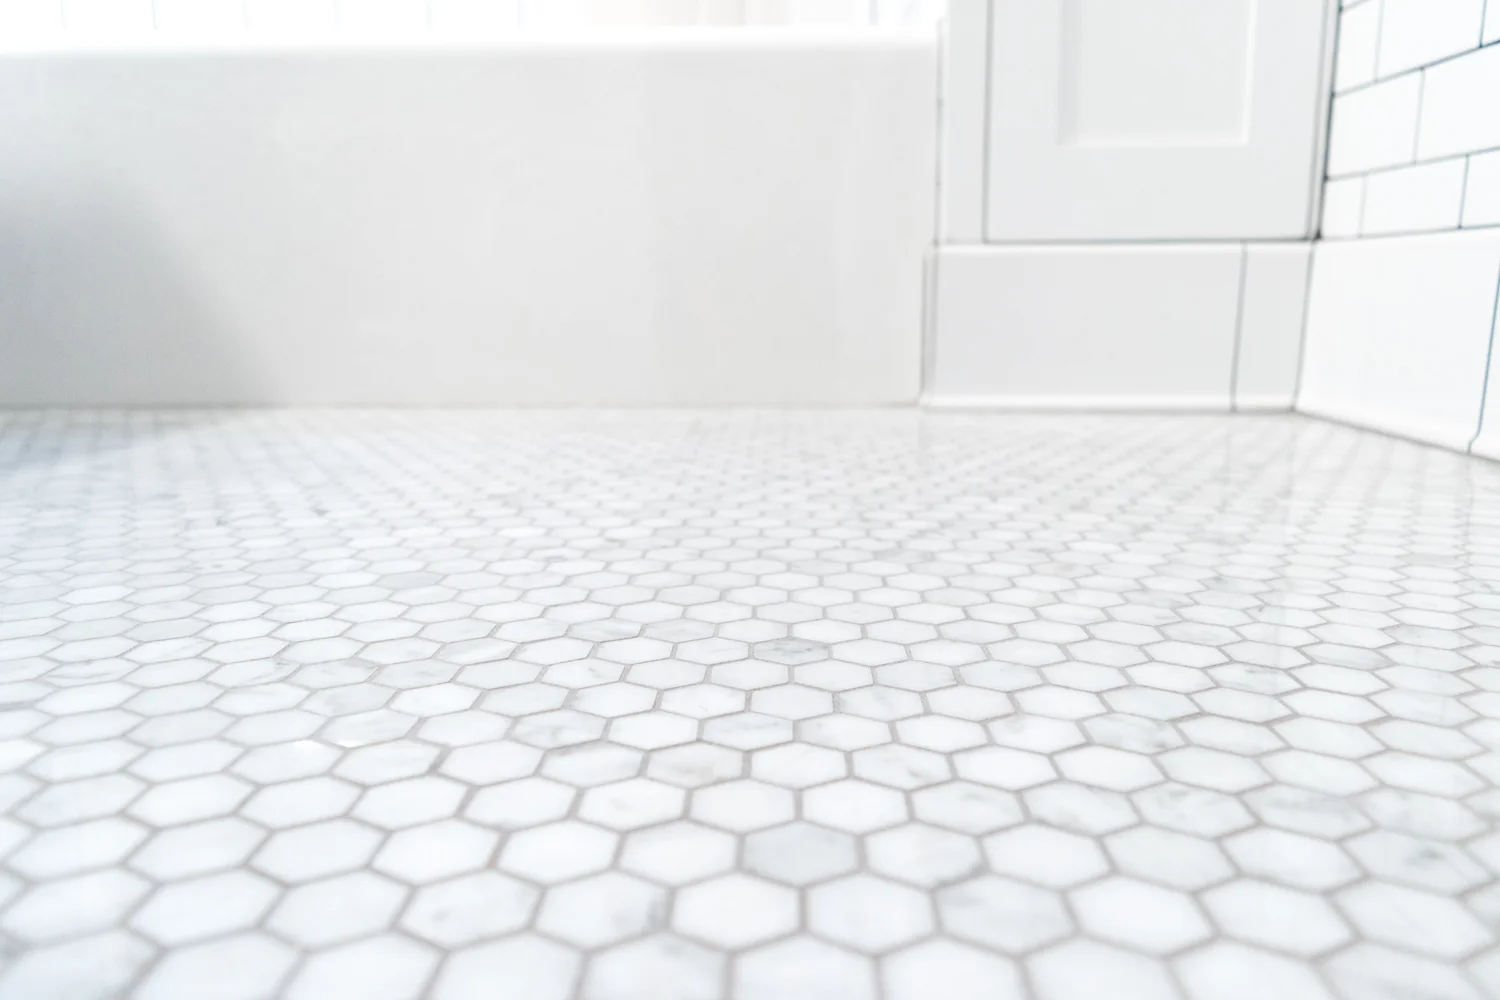
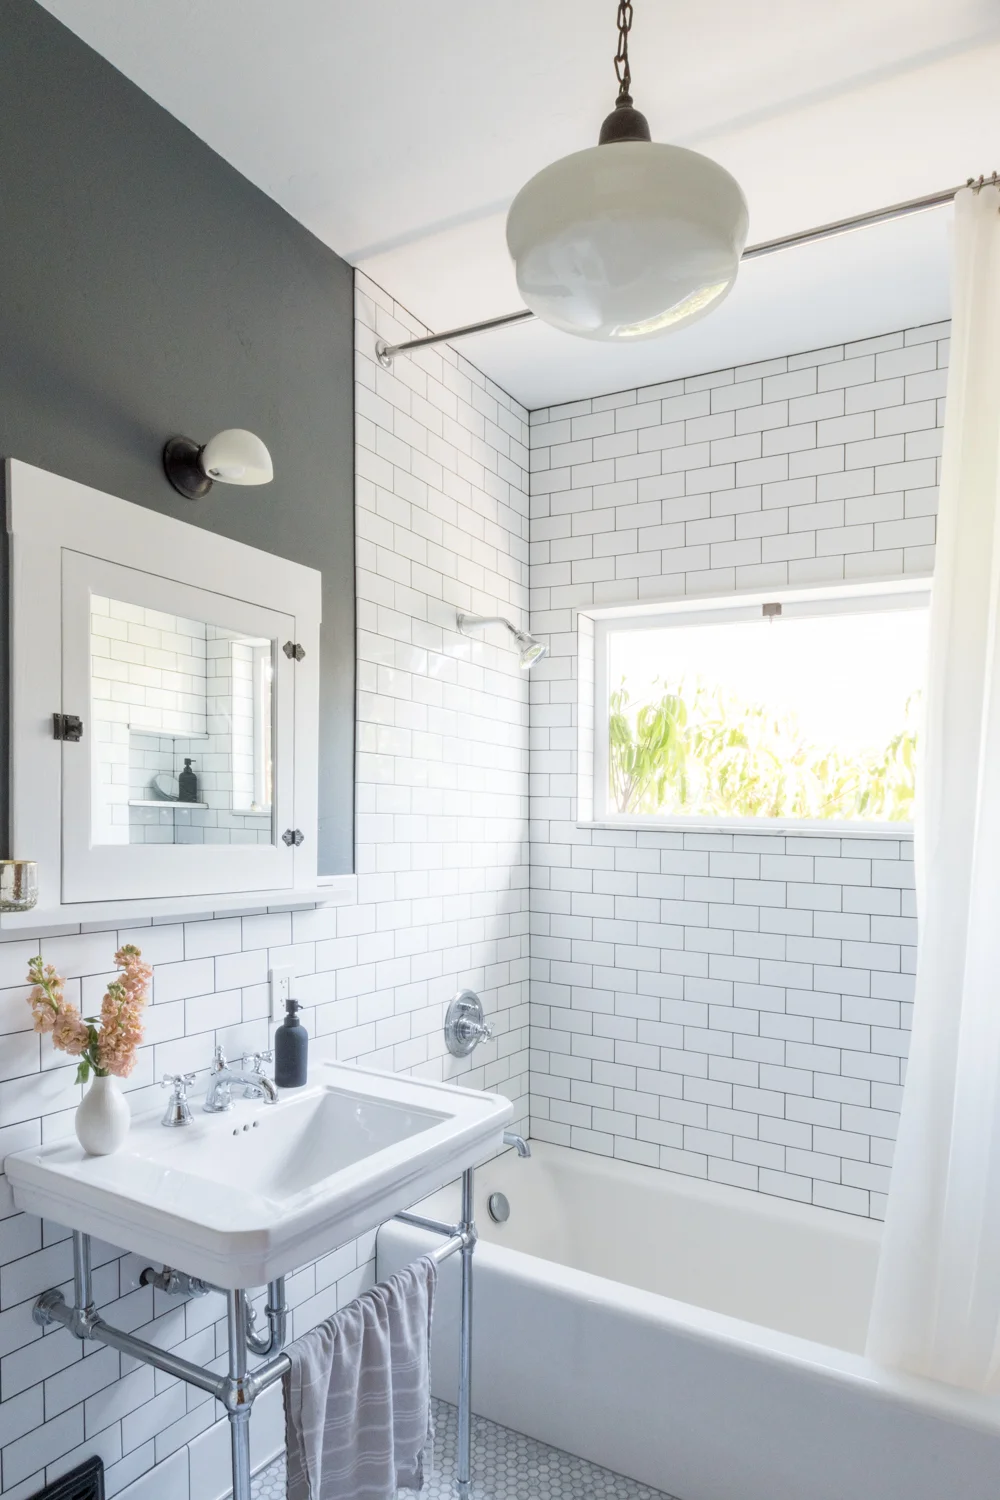
“The bathroom was entirely gutted down to the crawl space and up into the attic. The floor was rotting and the plumbing was corroded. This space was the first big remodel when we got the house and it’s still a favorite. We took the classic subway tile all the way to the ceiling in the shower, and at a chair rail height around the rest of the walls. The dark grout gives a heritage feel and ties into the dark paint on the walls. Everything in the space is new except for both of the light fixtures and the original medicine cabinet.”
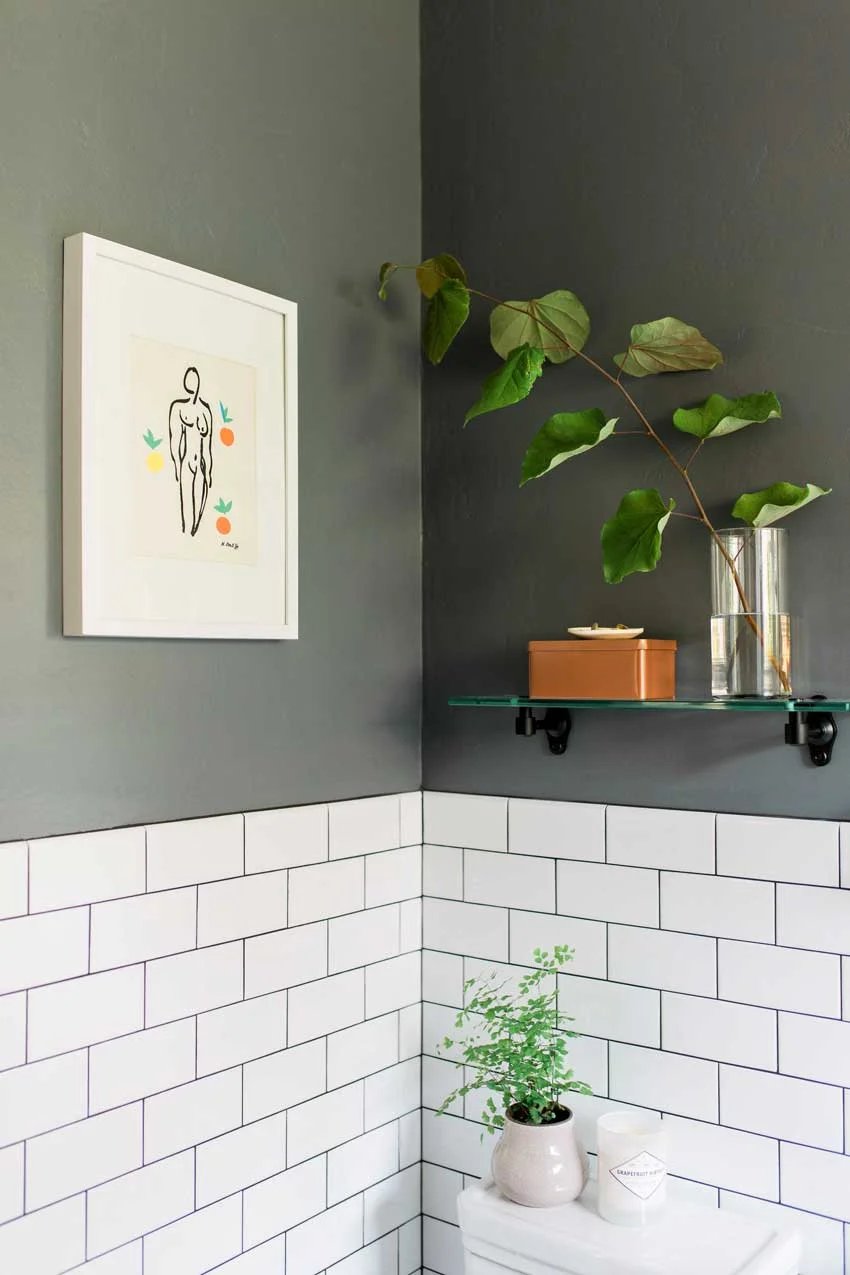
“We did a dark charcoal on the walls to add contrast to the bright white tiles,” Ashley says. “I played with mixed metals in this space and did black, chrome, and brass. Some may not love the combination, but we do.”

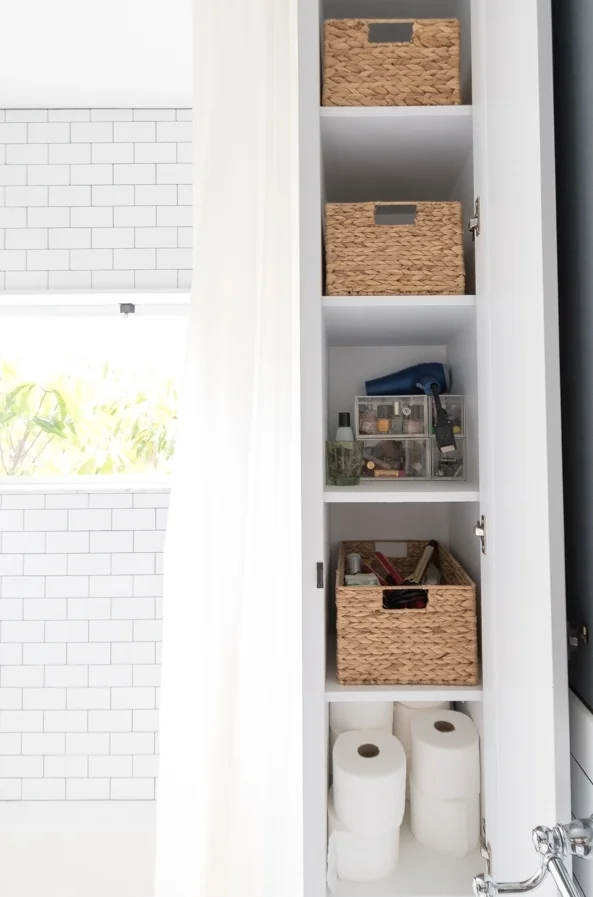
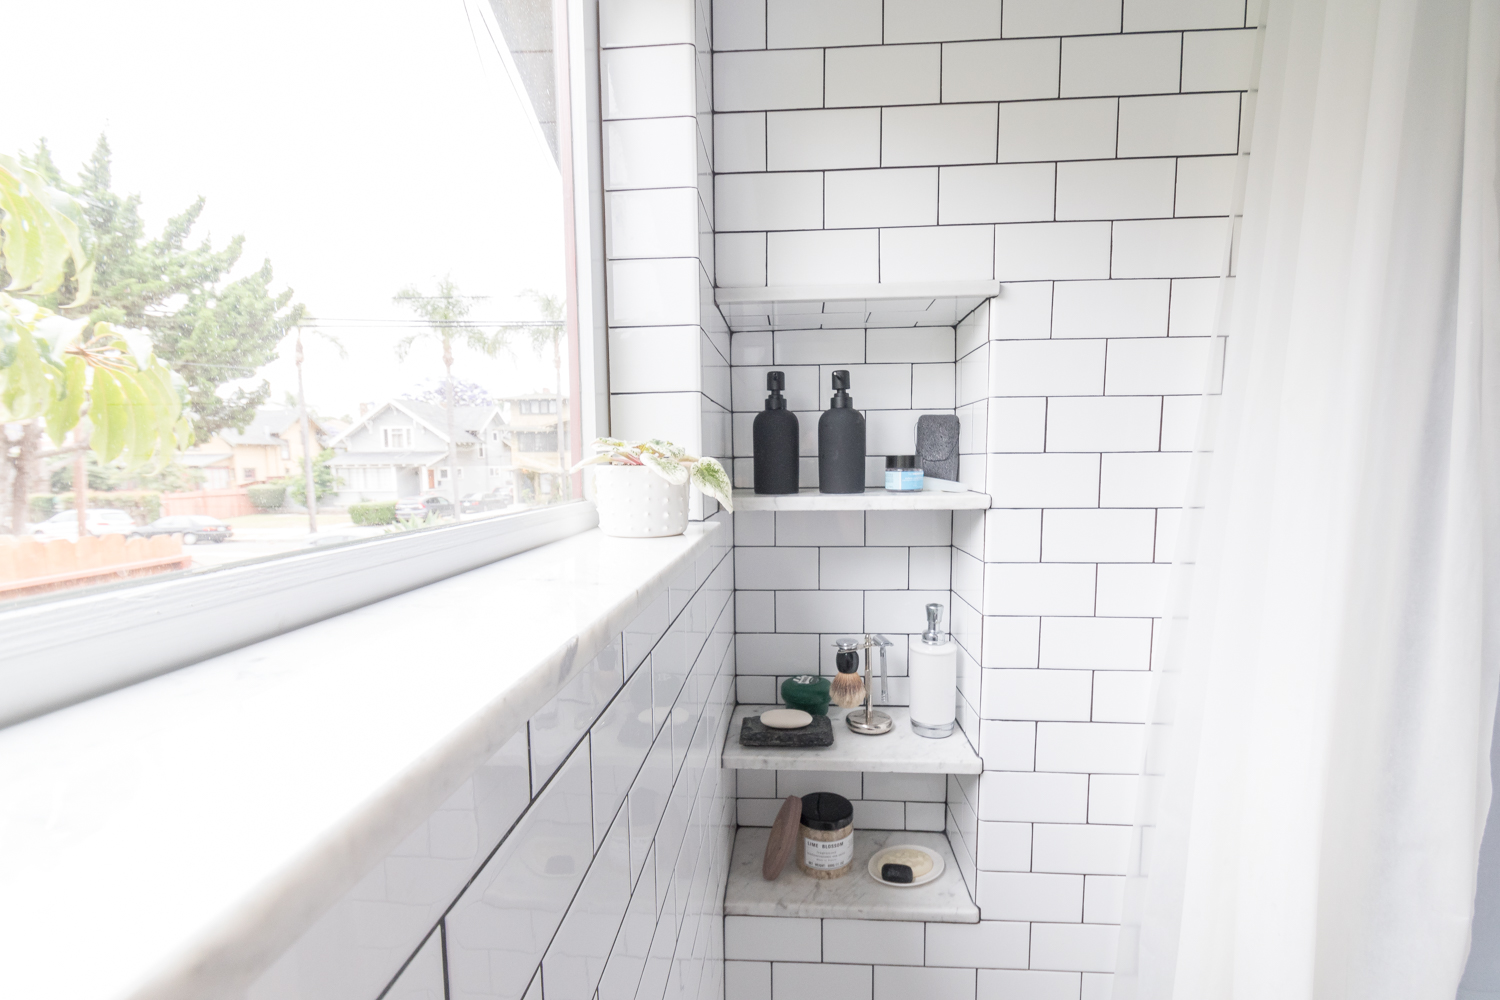
The remodel revealed a little unexpected extra storage, “When we redesigned the space, there was room at the foot of the tub for a tall storage unit and behind it was space for a recessed niche in the corner of the shower. It’s tucked out of sight of guests, but so handy while showering.”

Ashley goes over the before and after details of the second bedroom that was turned into a den: “This room got refinished floors and retextured walls like the rest of the house. We also removed the garden window and replaced it with a wood double-hung window to match the style and materials used throughout the rest of the house. The second bedroom is where we watch TV, and it doubles as a guest bedroom with this pull-out couch from West Elm.”

“This St. Bernard print from painter Mary Sinner is one of my favorites in the house. It pops on the green walls that transition from green to blue to nearly black throughout the day,” Ashley shares.
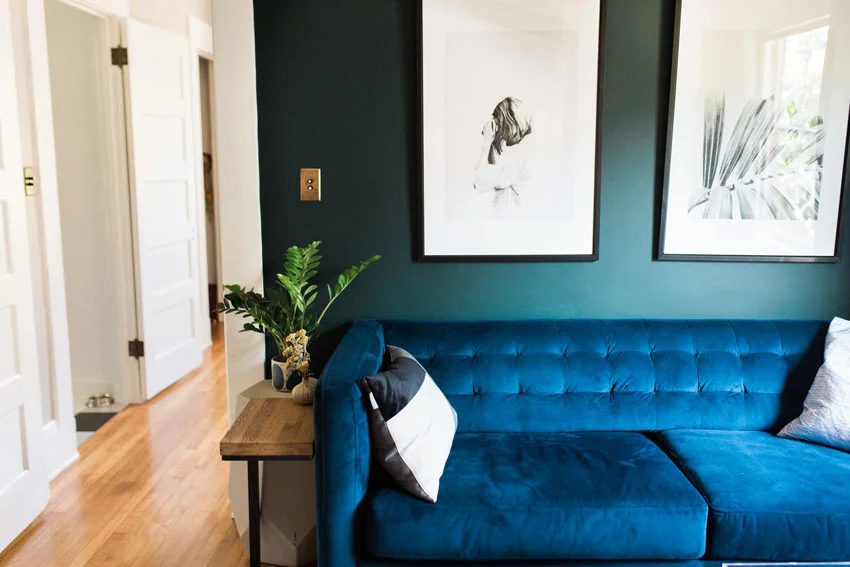
“This room is right off of the master and close to the kitchen,” Ashley explains. “You could walk the house in one loop and pass through each of the rooms. The flow is perfect for us now, but we may move some walls when this room becomes a kid’s room.”

“I reupholstered that chair, and decorated with layers of blues and greens,” Ashley shares.
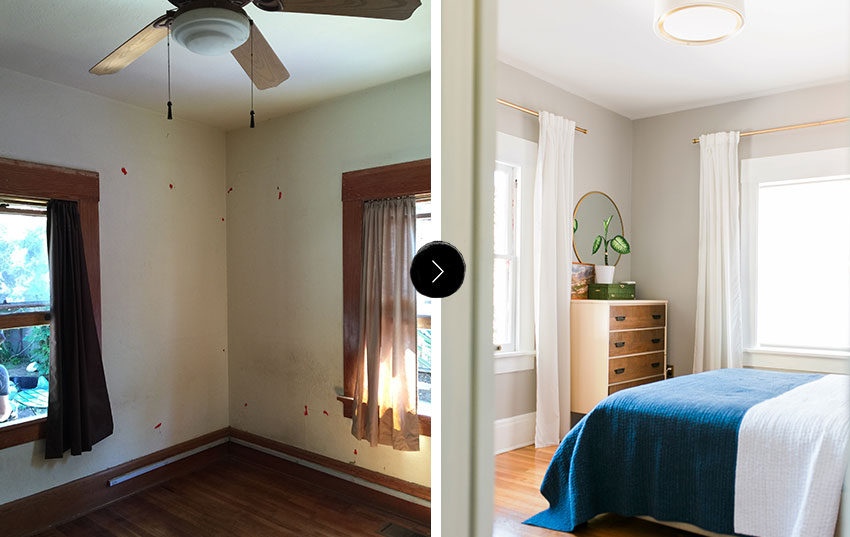
The beautiful refinished floors and freshly painted walls continue into the master bedroom makeover.

“The painting is from a flea market, the jewelry box is from Etsy, the dresser is from Craigslist, and the mirror is from Target. This is a perfect example of how I collect items for our home. The Sonos is never not playing music or a podcast at home. When Ross travels for work, our soundtrack keeps me company,” Ashley shares.

“The quilt is handmade and purchased from Etsy — perfect for our summery days. All of the furniture in the master came from our old apartment and I’m growing tired of it. The beauty of buying off Craigslist is selling the same items on Craigslist,” Ashley explains.

“This early-1900s painting sits on the floor, but that doesn’t mean I love it any less.”
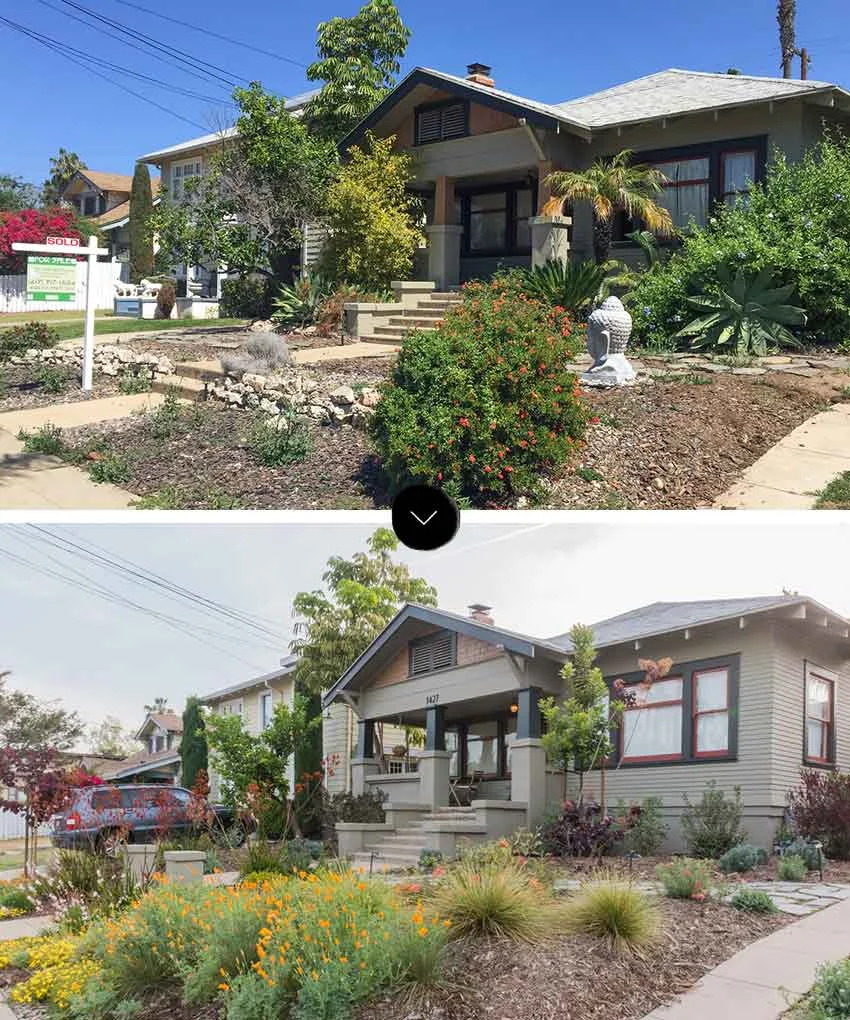
“The chunks of concrete and overgrown landscape were taking over the facade of the house. The craftsman elements were finally able to breathe after we cut back all of the overgrowth. We recently installed a low-water garden in the front yard. It’s still young but already flourishing,” Ashley shares.

Ashley, Ross, and Mabel, all sitting pretty in their lovely home.

A clear layout of Ross and Ashley’s 1,400-square-foot, three-bedroom, one-bath, 1915 San Diego craftsman home.
SOURCE LIST
Living Room
Paint color- “Sail Cloth” by Behr
Green and brushstroke pillow – Cotton & Flax
Art on Mantel- The Kids on the Shore print by Tali Yalonetzki from Artfully Walls
Paint-by-numbers painting of mountain- vintage (similar)
Brass cranes- vintage (similar)
Brass fireplace tools with horse heads- vintage (identical)
Wedding photo- Photographed by Stacy Keck, framed by Framebridge
Striped Blanket- Paradise People
Blue velvet chair- Article
Ivory chair- Article
Floor lamp- Target
Table lamp- World Market
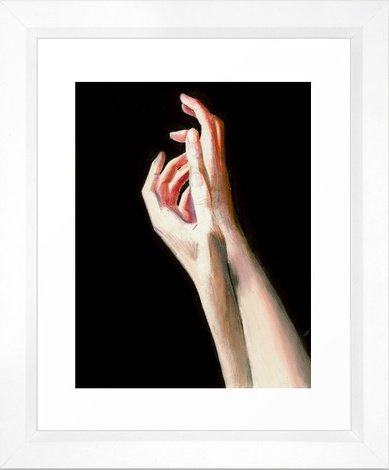
Hand print- Society 6
Green landscape painting- Artfully Walls
Ram head bookends- vintage (identical)
Side table- discontinued from Target (similar)
Polka dot vase- Anthropologie
Chandelier- vintage (similar)
Coffee table- Craigslist (similar)
Rug- West Elm
Buffalo check pillow- Amazon
Dining Room
Paint color- Sail Cloth by Behr
Table- World Market
Chairs- Amazon
Rug- West Elm
Chandelier- custom from Illuminate Vintage on Etsy
Flowers- Native Poppy
Print- The Denny’s Parking Lot by Esther Pearl Watson from 20×200
Droplet art- Anthropolgie
Pretty Lady painting- vintage from Mesa Vintage (similar)
Hanging planter- Wayfair
Bathroom
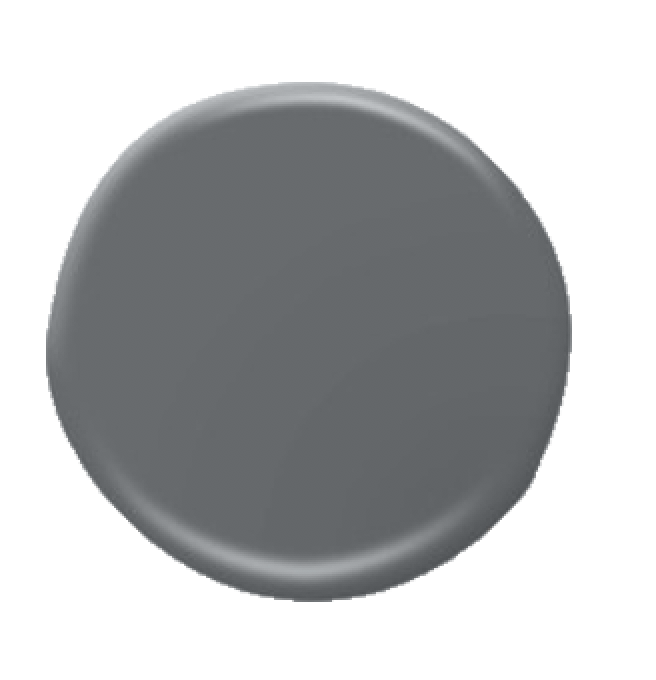
Paint color- “Antique Tin” by Behr
Tub- Kohler
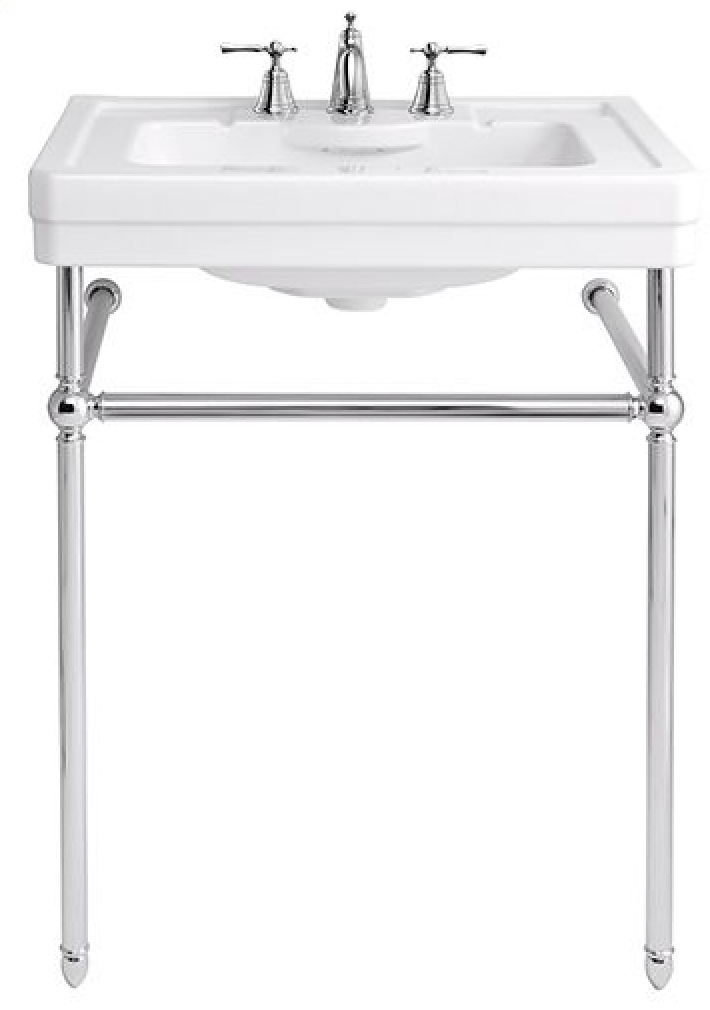
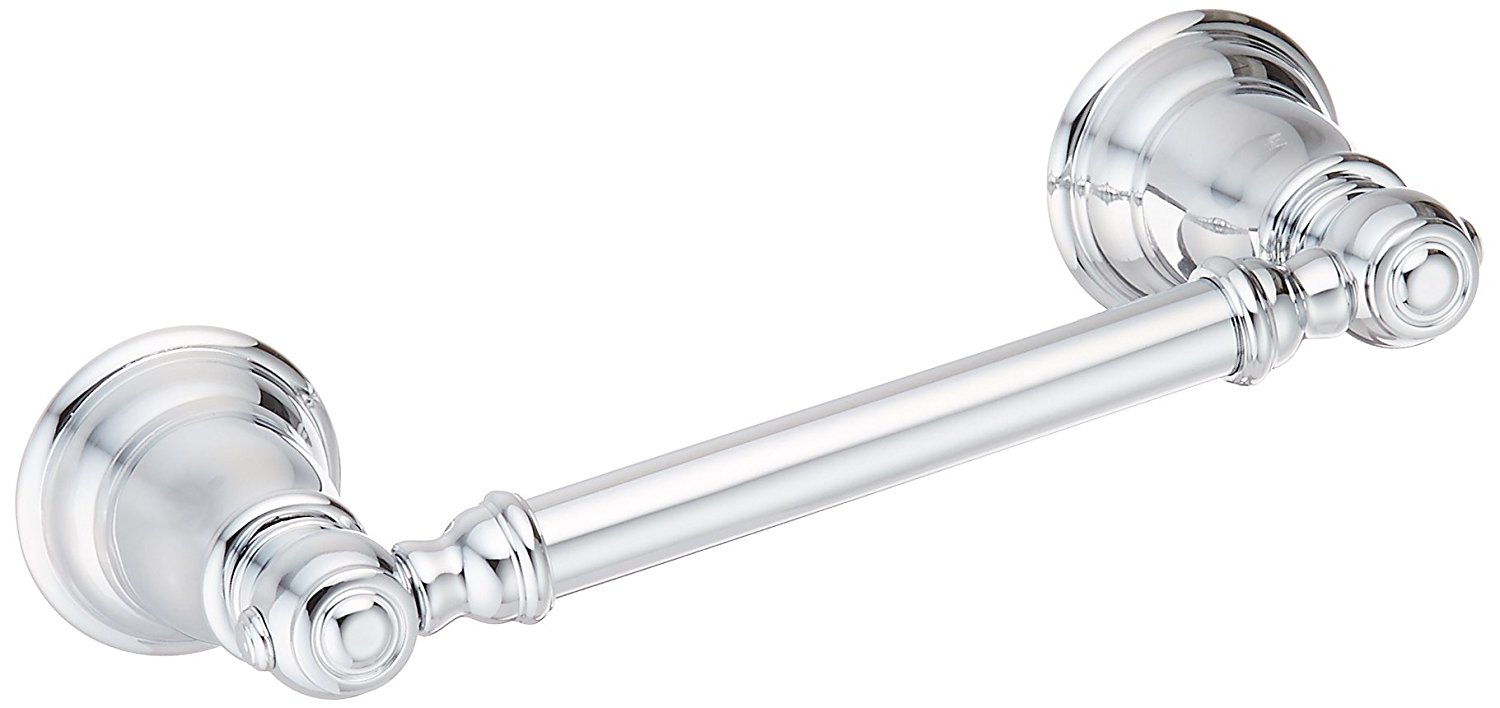
Shower and sink fixtures- DXV
Console sink- Signature Hardware
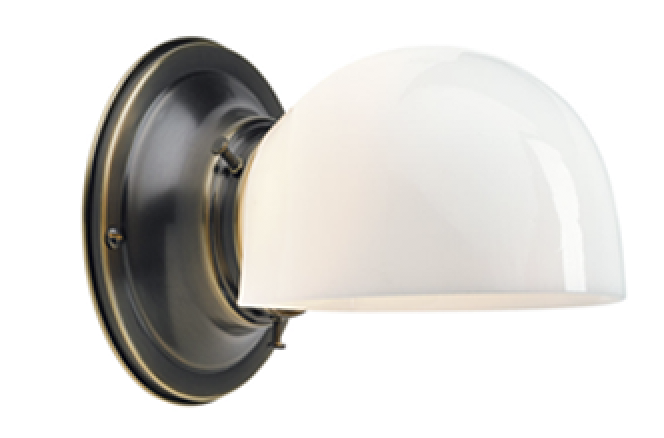
Wall sconce- vintage (similar)
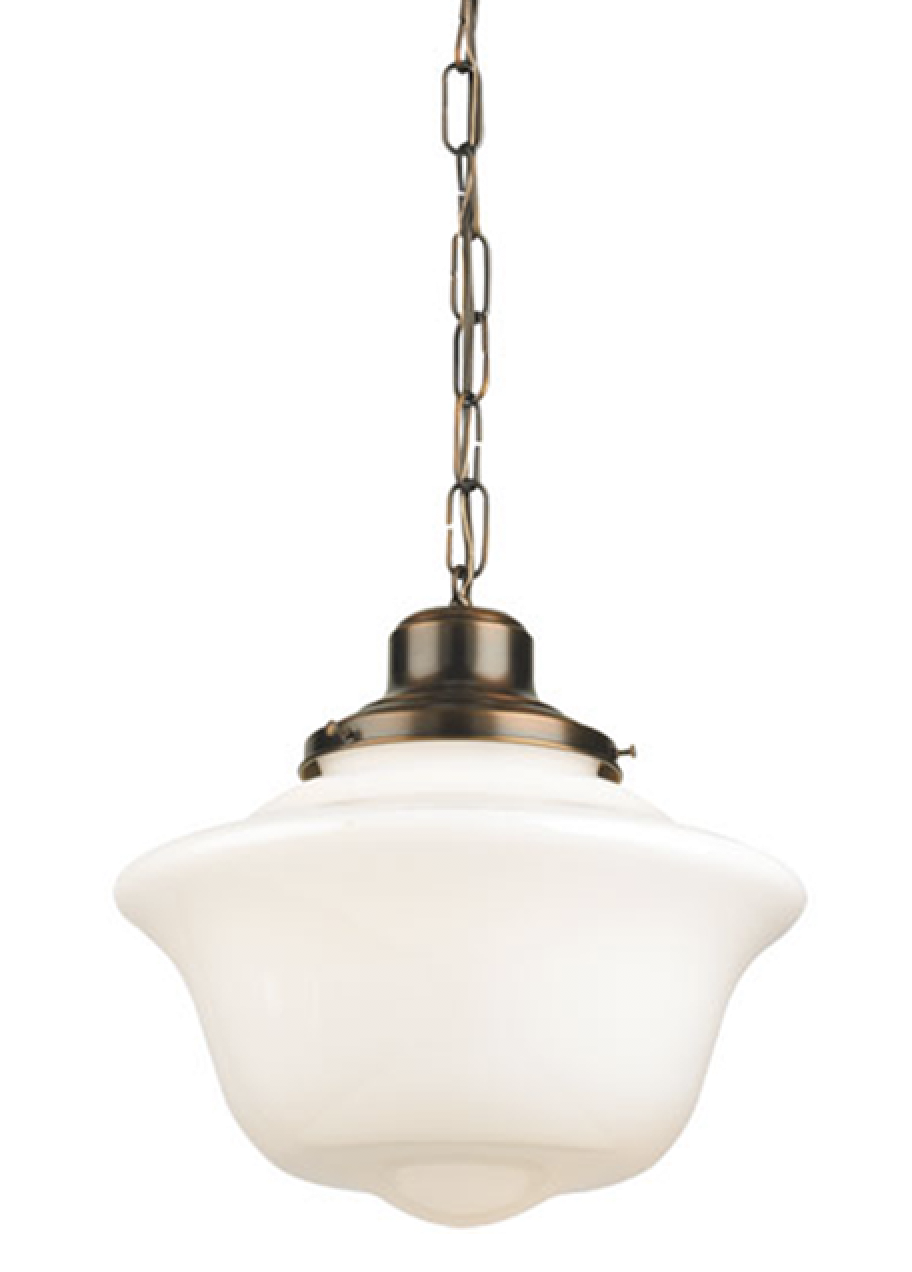
Pendant light- vintage (similar)
Wall tile- The Tile Shop
Floor tile- The Tile Shop
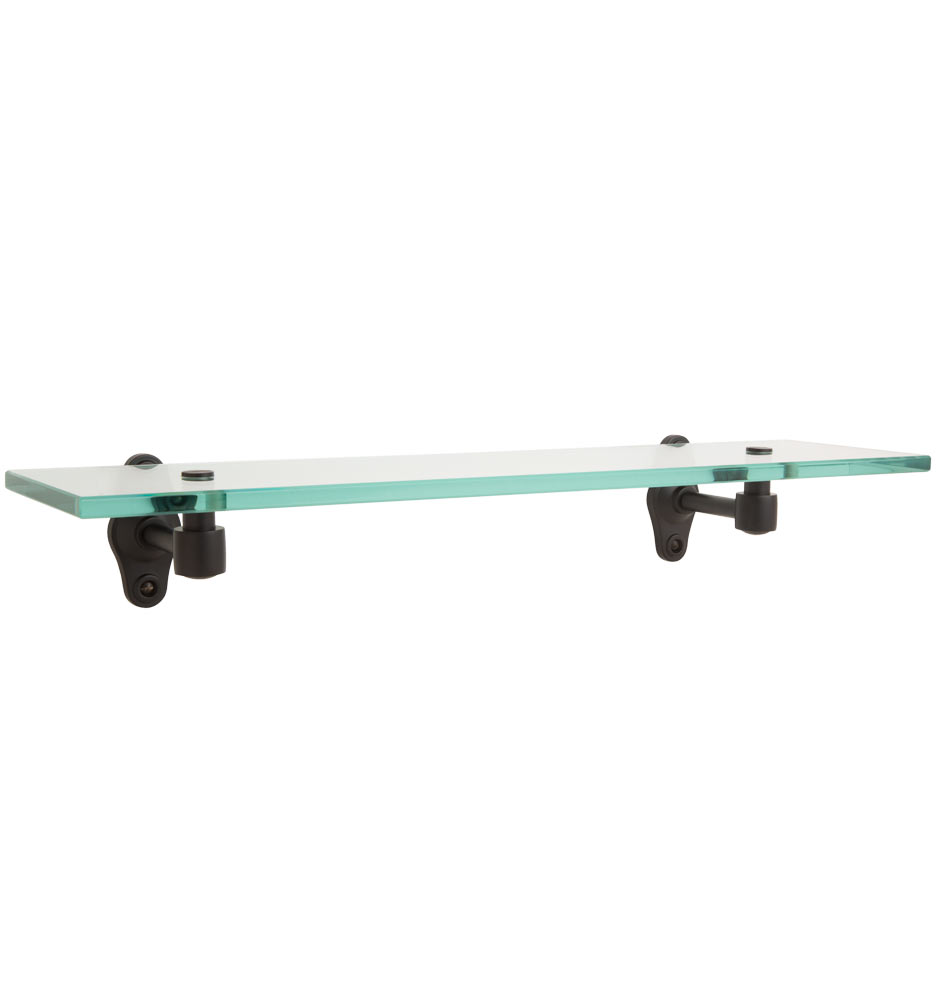
Glass shelf- Rejuvenation
Soap dispenser- CB2
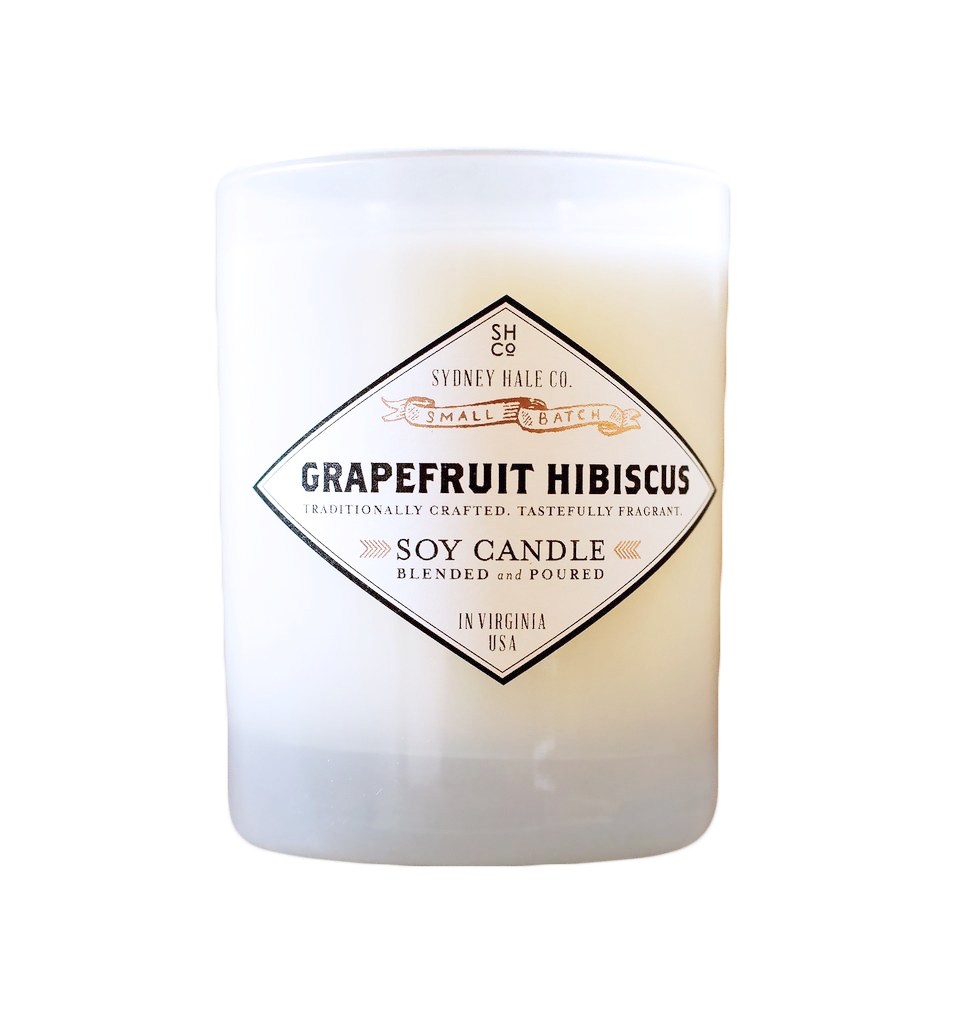
Candle- Sydney Hale Company
Medicine cabinet latch- House of Antique Hardware
Medicine cabinet hinges- House of Antique Hardware
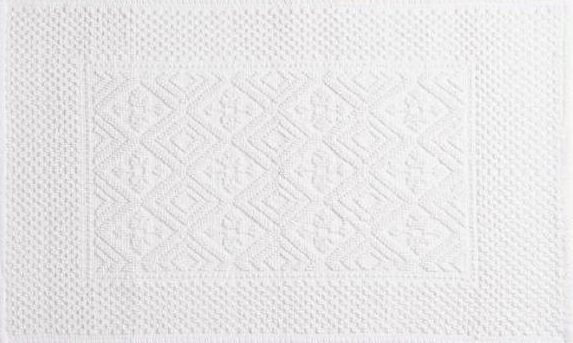
Turkish hand towel- Amazon
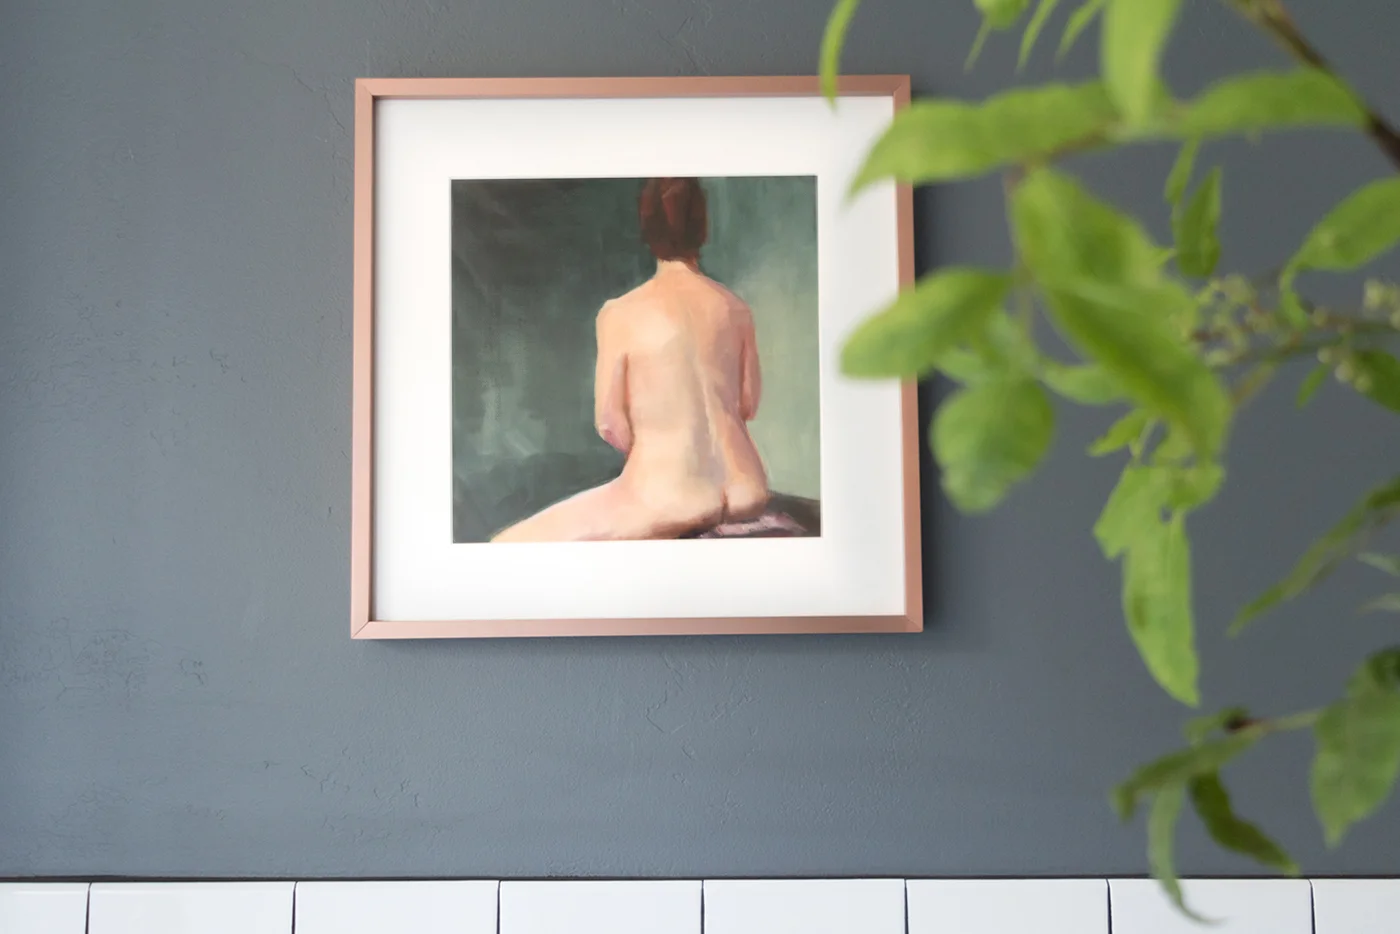
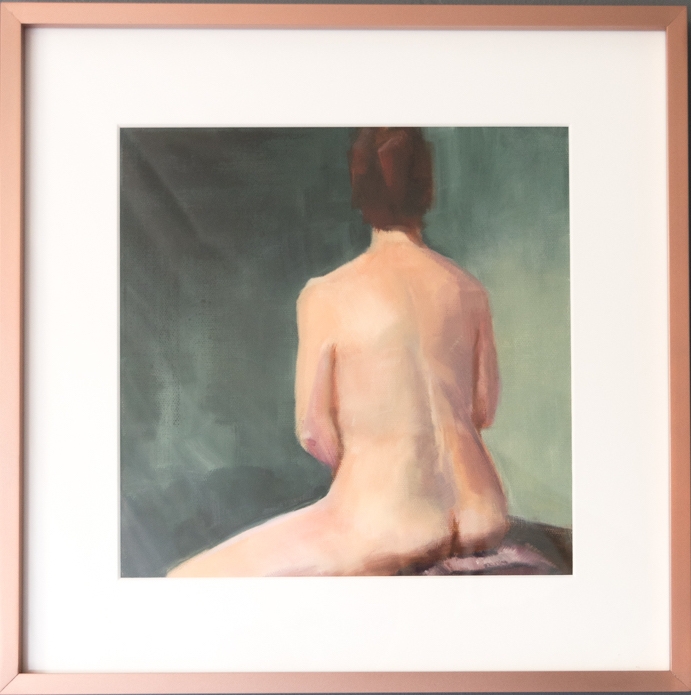
Nude print- Etsy
Kitchen
Paint color- “Schooner” by Behr
Rug- Rejuvenation
Tile- Amazon
Stove- vintage (similar)
Mirror- Vintage from Loveseat (Similar)
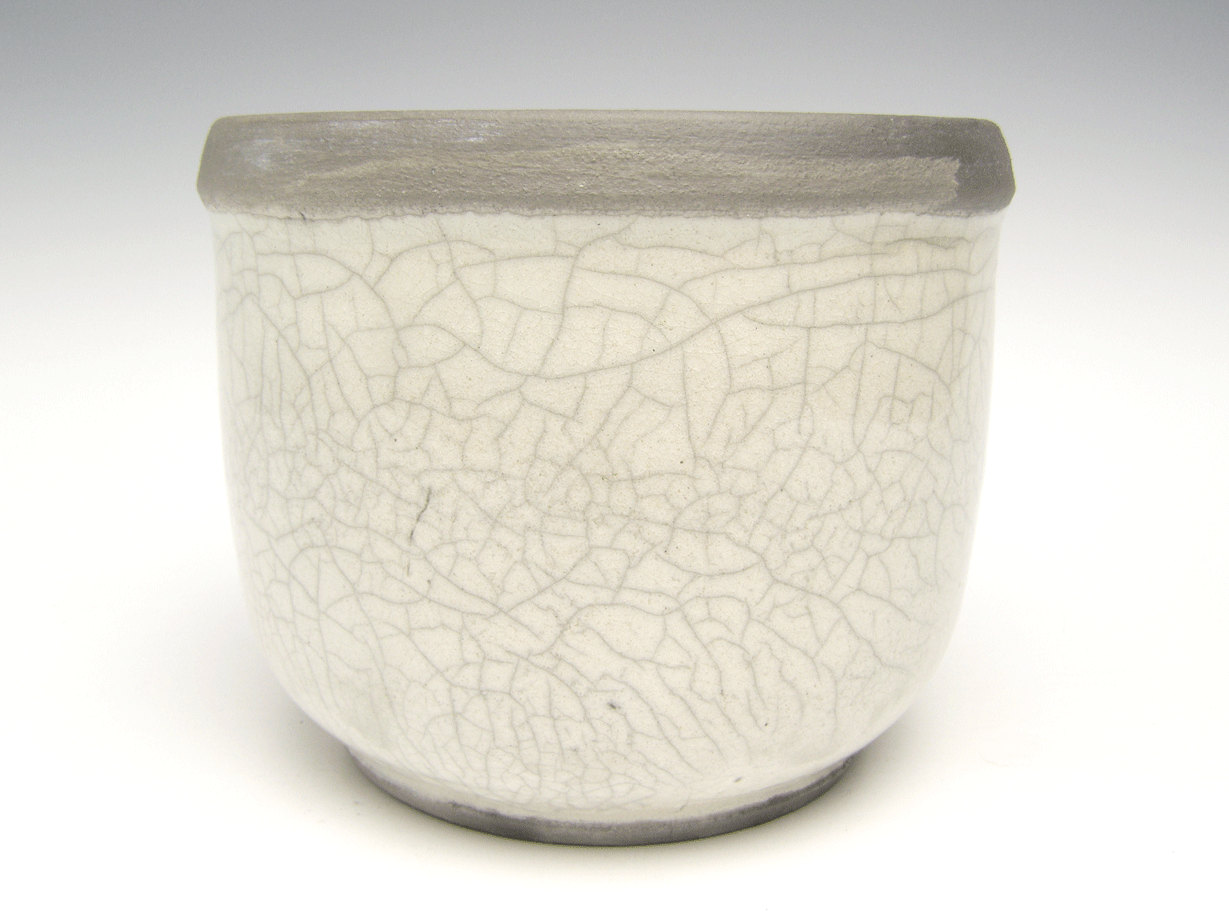
Planter by cookbooks- Moonbird Pottery
Light over sink- Amazon
Mixer- Amazon
Den
Paint color- “Salamander” by Benjamin Moore
Rug- eCarpet Gallery
Curtains- Ikea
Couch- West Elm
Side table- Article
Wall art above couch- Lucie Birant from Society 6
Pillow- Article
Ottoman- Minda Living
Tray- CB2
Floor lamp- Article
Chair- Craigslist (similar)
TV cabinet- vintage (similar)
Chandelier- West Elm
St. Bernard print- Mary Sinner from Artfully Walls
Feral House print- James Griffioen from 20×200
Floral pillow- Society 6
Picture rail molding- House of Antique Hardware
Picture rail hooks- House of Antique Hardware
Candlesticks- World Market
Table lamp- vintage (similar)
Master Bedroom
Paint color- “Silver City” by Behr
Quilt- custom from VLiving from Etsy
Curtain rods- Amazon
Curtains- Ikea
Sconces- Allmodern
Bedding- Target
Bed- Amazon
Dresser- vintage (similar)
Side table- vintage (similar)
Print above bed- Photographed by Stacy Keck (smashingweddings.com), printed as engineering print at Staples
Flush mount light- Rejuvenation
Mirror- Target
Jewelry box- vintage (similar)
Sonos- Amazon
Landscape painting- vintage (similar)
Fruit painting- vintage ( similar )


What I’ve been up to - from gardening, to film photography, and the books and shows we’re enjoying. Plus a house tour that requires a closer look, grass seed to always have on hand, cedar shake excitement, historic window screens, and the privilege I’m reminded of daily.