Kitchen Renovation Week 2: More Demolition & New Framing + A Video!
/Another week, another kitchen renovation progress update. The crew has been finishing up demo, working on termite repairs, and starting on framing lately. Let’s recap what’s been happening!
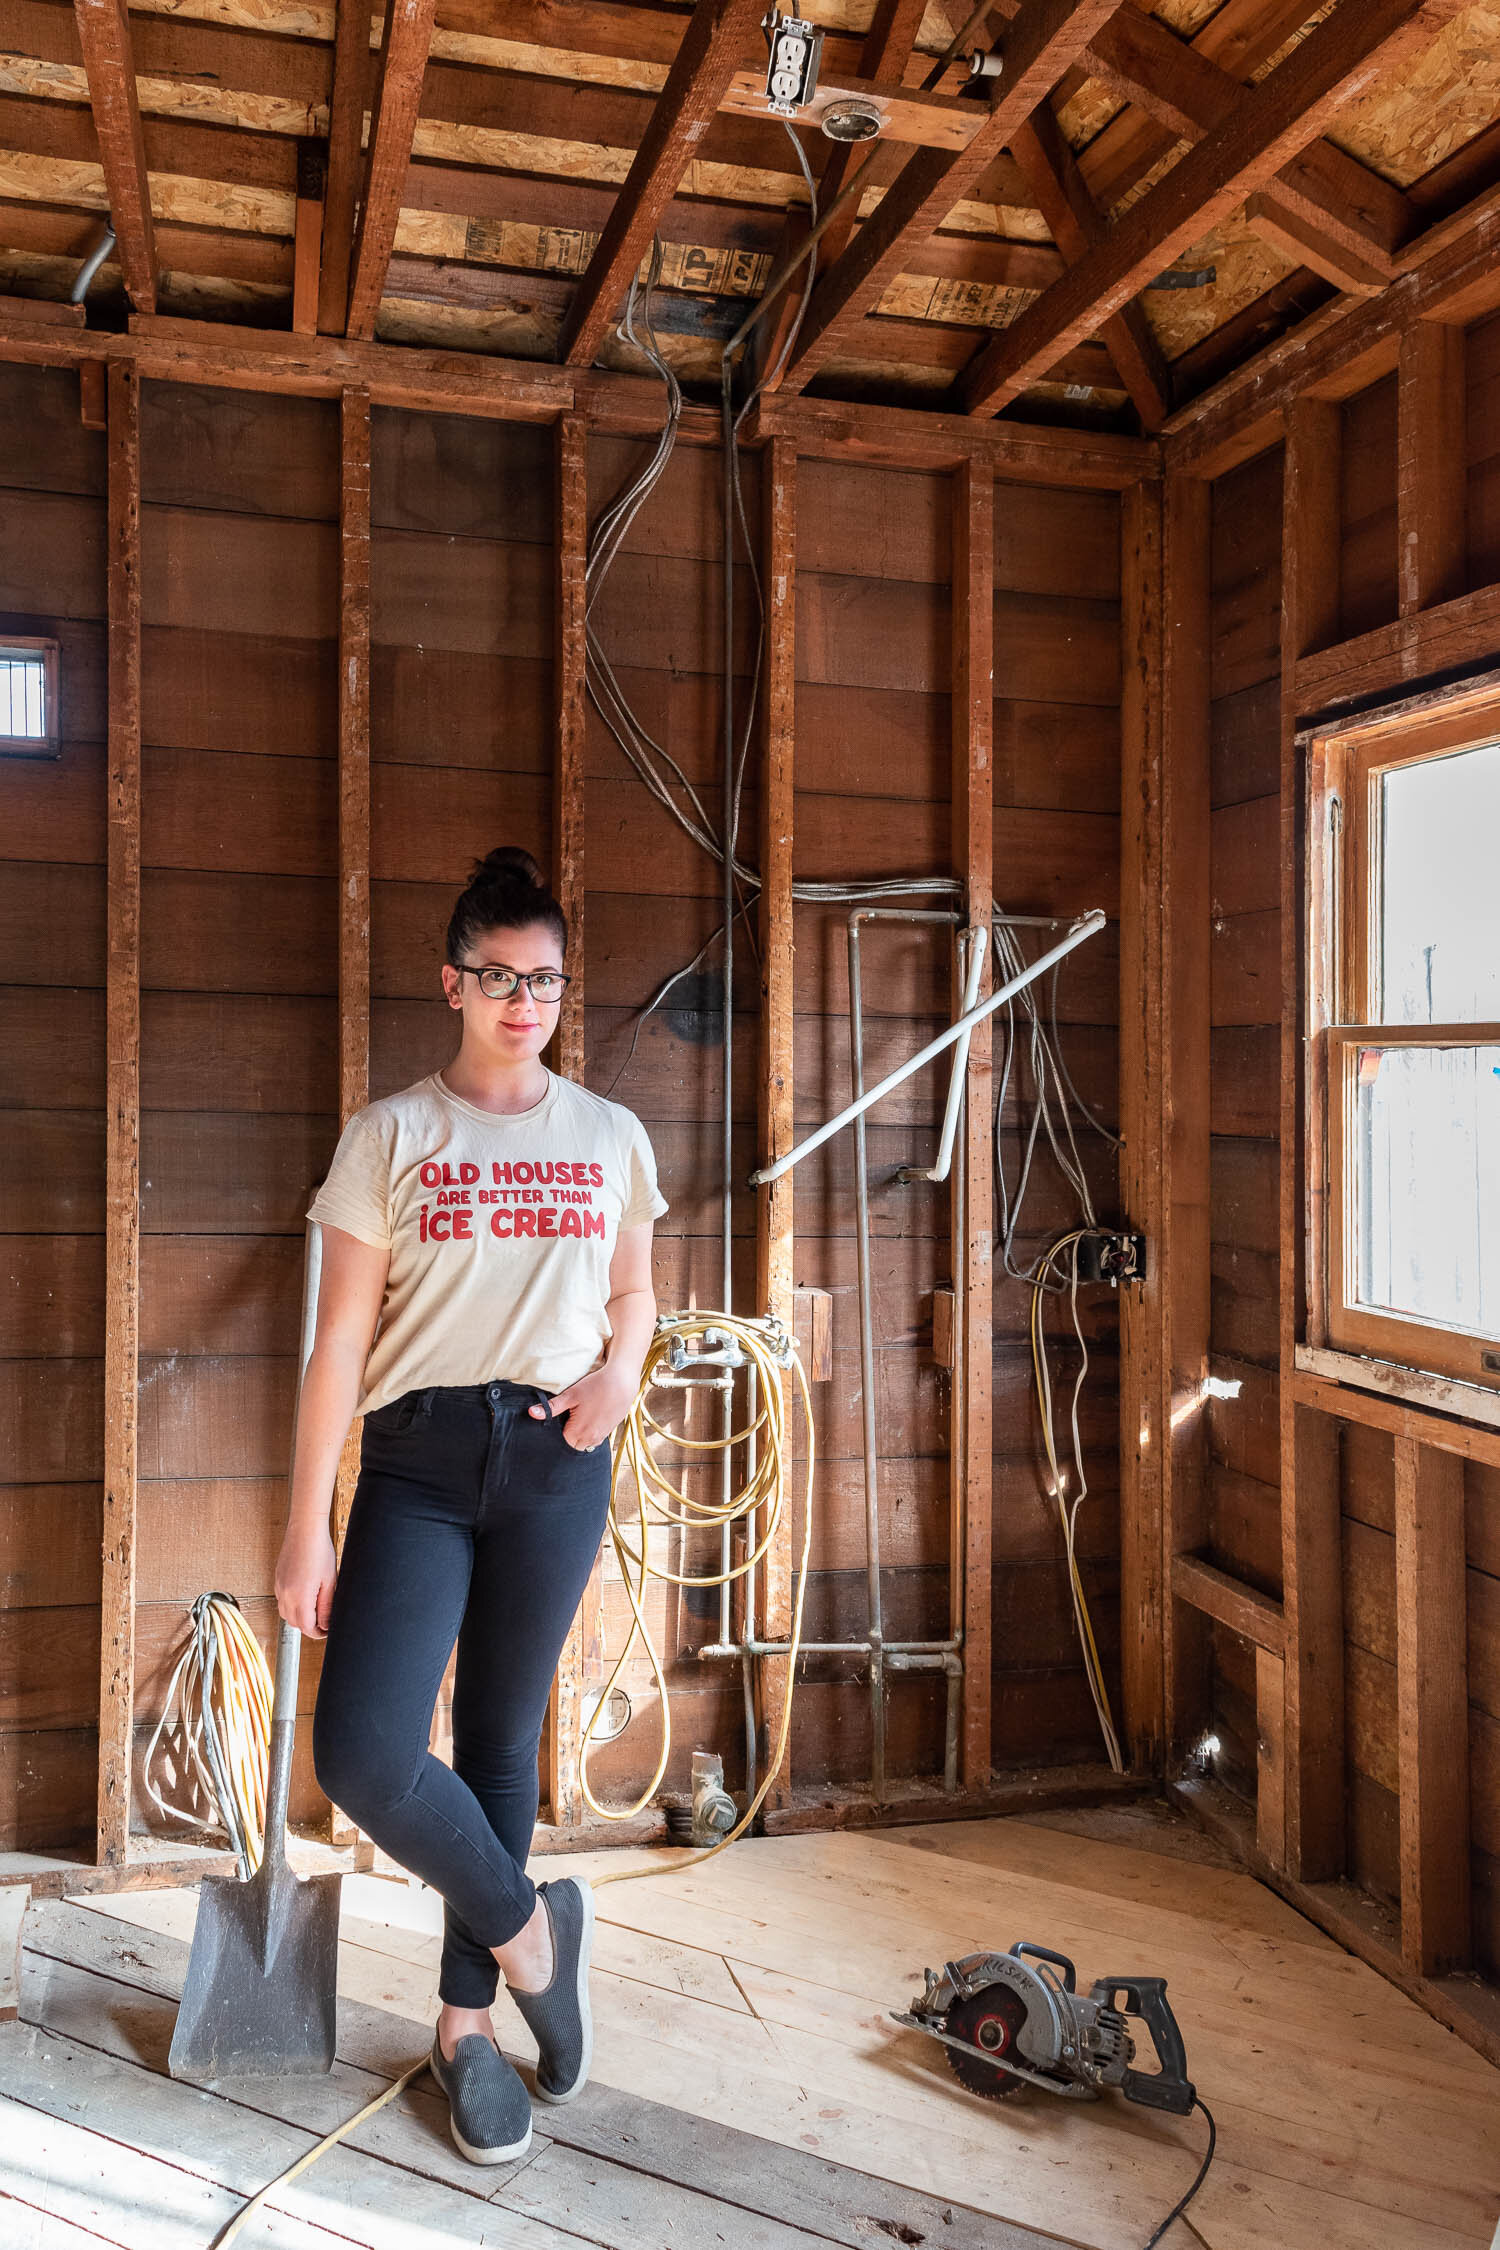
First of all. Which is better? Old houses or ice cream? It’s a tricky one! Psst! I got that shirt here and they have oodles of other great tees and products for fellow old-house lovers.
I last updated you on week 1 of the renovation which involved emptying the space, removing the plaster, salvaging the lath, taking down the walls, and tearing up the floors. If you haven’t been caught up on that, click here. We also found fun things in the walls which you can read about here.
The week 2 progress isn’t huge. Still significant and exciting! But it’s still a pretty empty box. Each day, there’s only ever one guy working and he puts in max 5 hours. So if you’re thinking, “holy cow, if this is how slow renovations go, I can’t possibly undergo this!” then hire yourself a team that has a bigger crew and isn’t working 4 other jobs. I’m actually okay with the slowness because it’s allowing me time to struggle with making decisions. I waited until the walls were opened up to make final decisions on the door and window sizes, so we have 4 weeks of waiting for those beauties to be custom-made, so there’s plenty of time to do the other stuff. In hindsight, I should have ordered those doors sooner, but alas, I didn’t. So, slow demo and slow rough-in gives us time to wait for the production and delivery of the big stuff.
This slow evolution of the room is also a good reminder that renovations take time and lots of human power. I said it before and I’ll say it again - HGTV timelines aren’t realistic. Things take time, especially if you’re being mindful not to overwork your crew, if you’re doing the project yourself, if you’re learning as you go, if you didn’t hire a professional designer, if you like to see things visually before making decisions, and if you want it done right.
Enough of that, let’s get into what’s actually been going on, because progress has been made!
Watch The Week 2 Video of Demo & Framing!:
I’ve been sharing videos of the progress on Instagram Stories, but not all of you follow me there, so I put the Instagram clips into a 17-minute YouTube video so you can see the whole evolution and get a good sense of the layout, too.
The video is formatted vertically, so it’s best watched on your phone - but it works on your computer, too!
If that video isn’t loading properly, click here.
Here’s what’s been happening in week two, in text format:
Day 5: Worked on making door decisions
We’ve been planning on adding french doors to the backyard, but I never fully decided on the grille pattern for the french doors. We have the pretty 4-lite door in our master bedroom, but we don’t want things to be too matchy-matchy, and this historic board at the CIty told us we couldn’t be too matchy-matchy, too. So, we were thinking of doing a simple no-grille full-glass french door design (see below far left). But the more I thought about it and the more I consulted this great book about architectural details and designs, I started to change my tune.
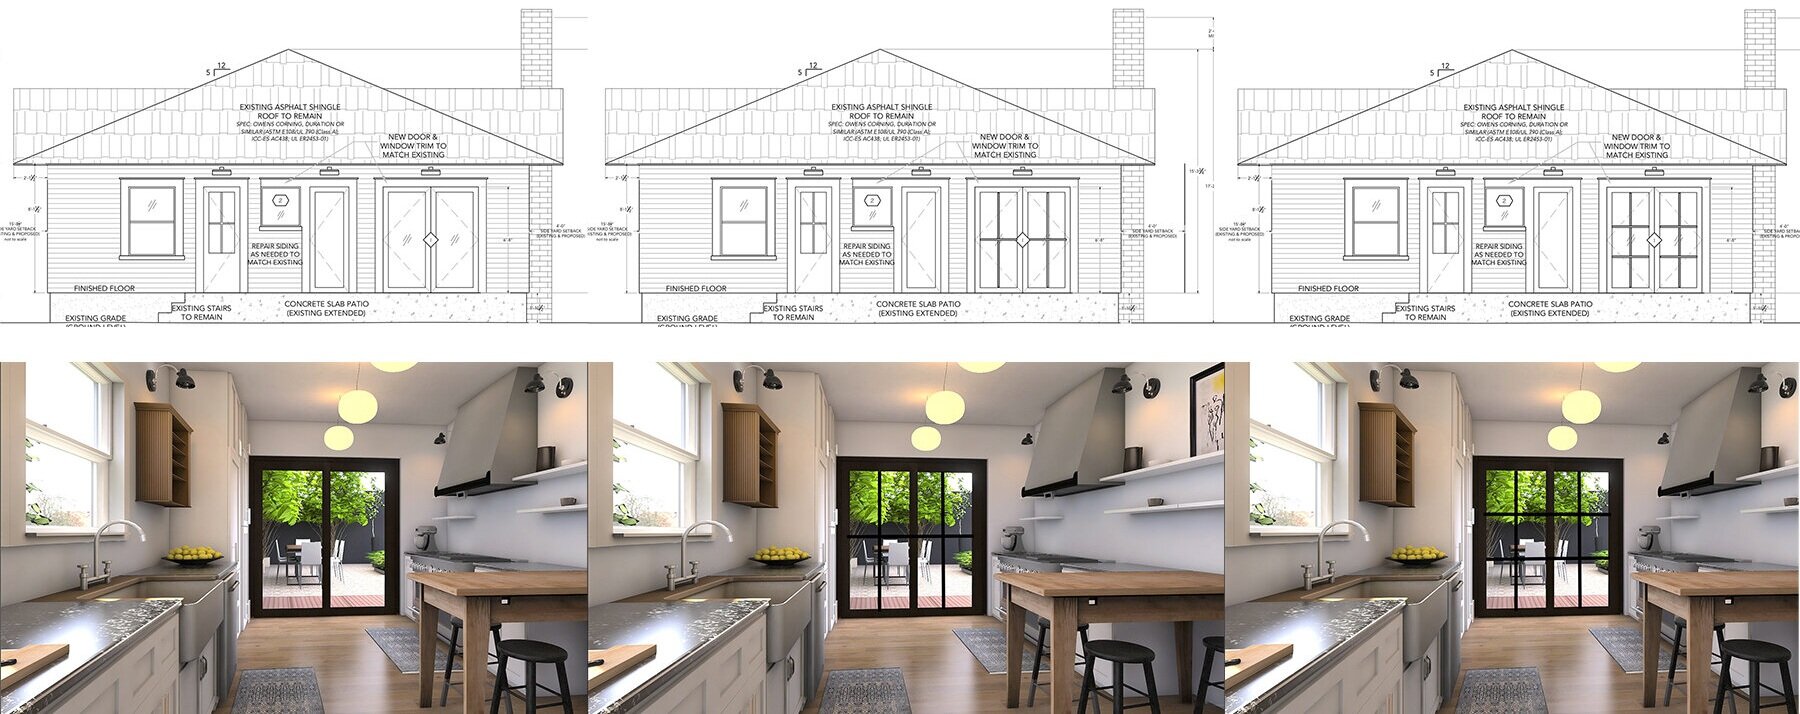
My house doesn’t have any grille patters - at all. The only window that does is the one in the kitchen that inspired the door in the master bedroom. But since doing demo, I’m thinking that window was added in the late 1920s rather than when the house was built originally in 1915.
My house is simple dimple so going for no grilles felt fitting, avoided any loss of visibility, and had a look that wasn’t too try-hard. I worry that adding new things to old houses can make people swing too far into the “old house” look and it can miss the mark on the actual design of their home. And my house is pretty plain and simple with very little flourish. Hey, it’s the craftsman bungalow way!
But, we’re adding grilles! I’m going to keep it a secret to keep you on your toes, so stay tuned!
I thought also about salvaging the casement windows with an idea to turn them into interior transom windows. I’ll let you get a better idea of it by watching the video starting at the 4-minute mark. Click here.

By the end of day 5 the crew removed the sink base cabinet, started doing more termite repairs, and just all that fun clean up.

It was on this day that we found the evidence of an old California cooler (seen as that little square on the wall). Curious about what that is, click here to learn about the coolest old-house energy-efficient system.
Day 6: More demo clean up
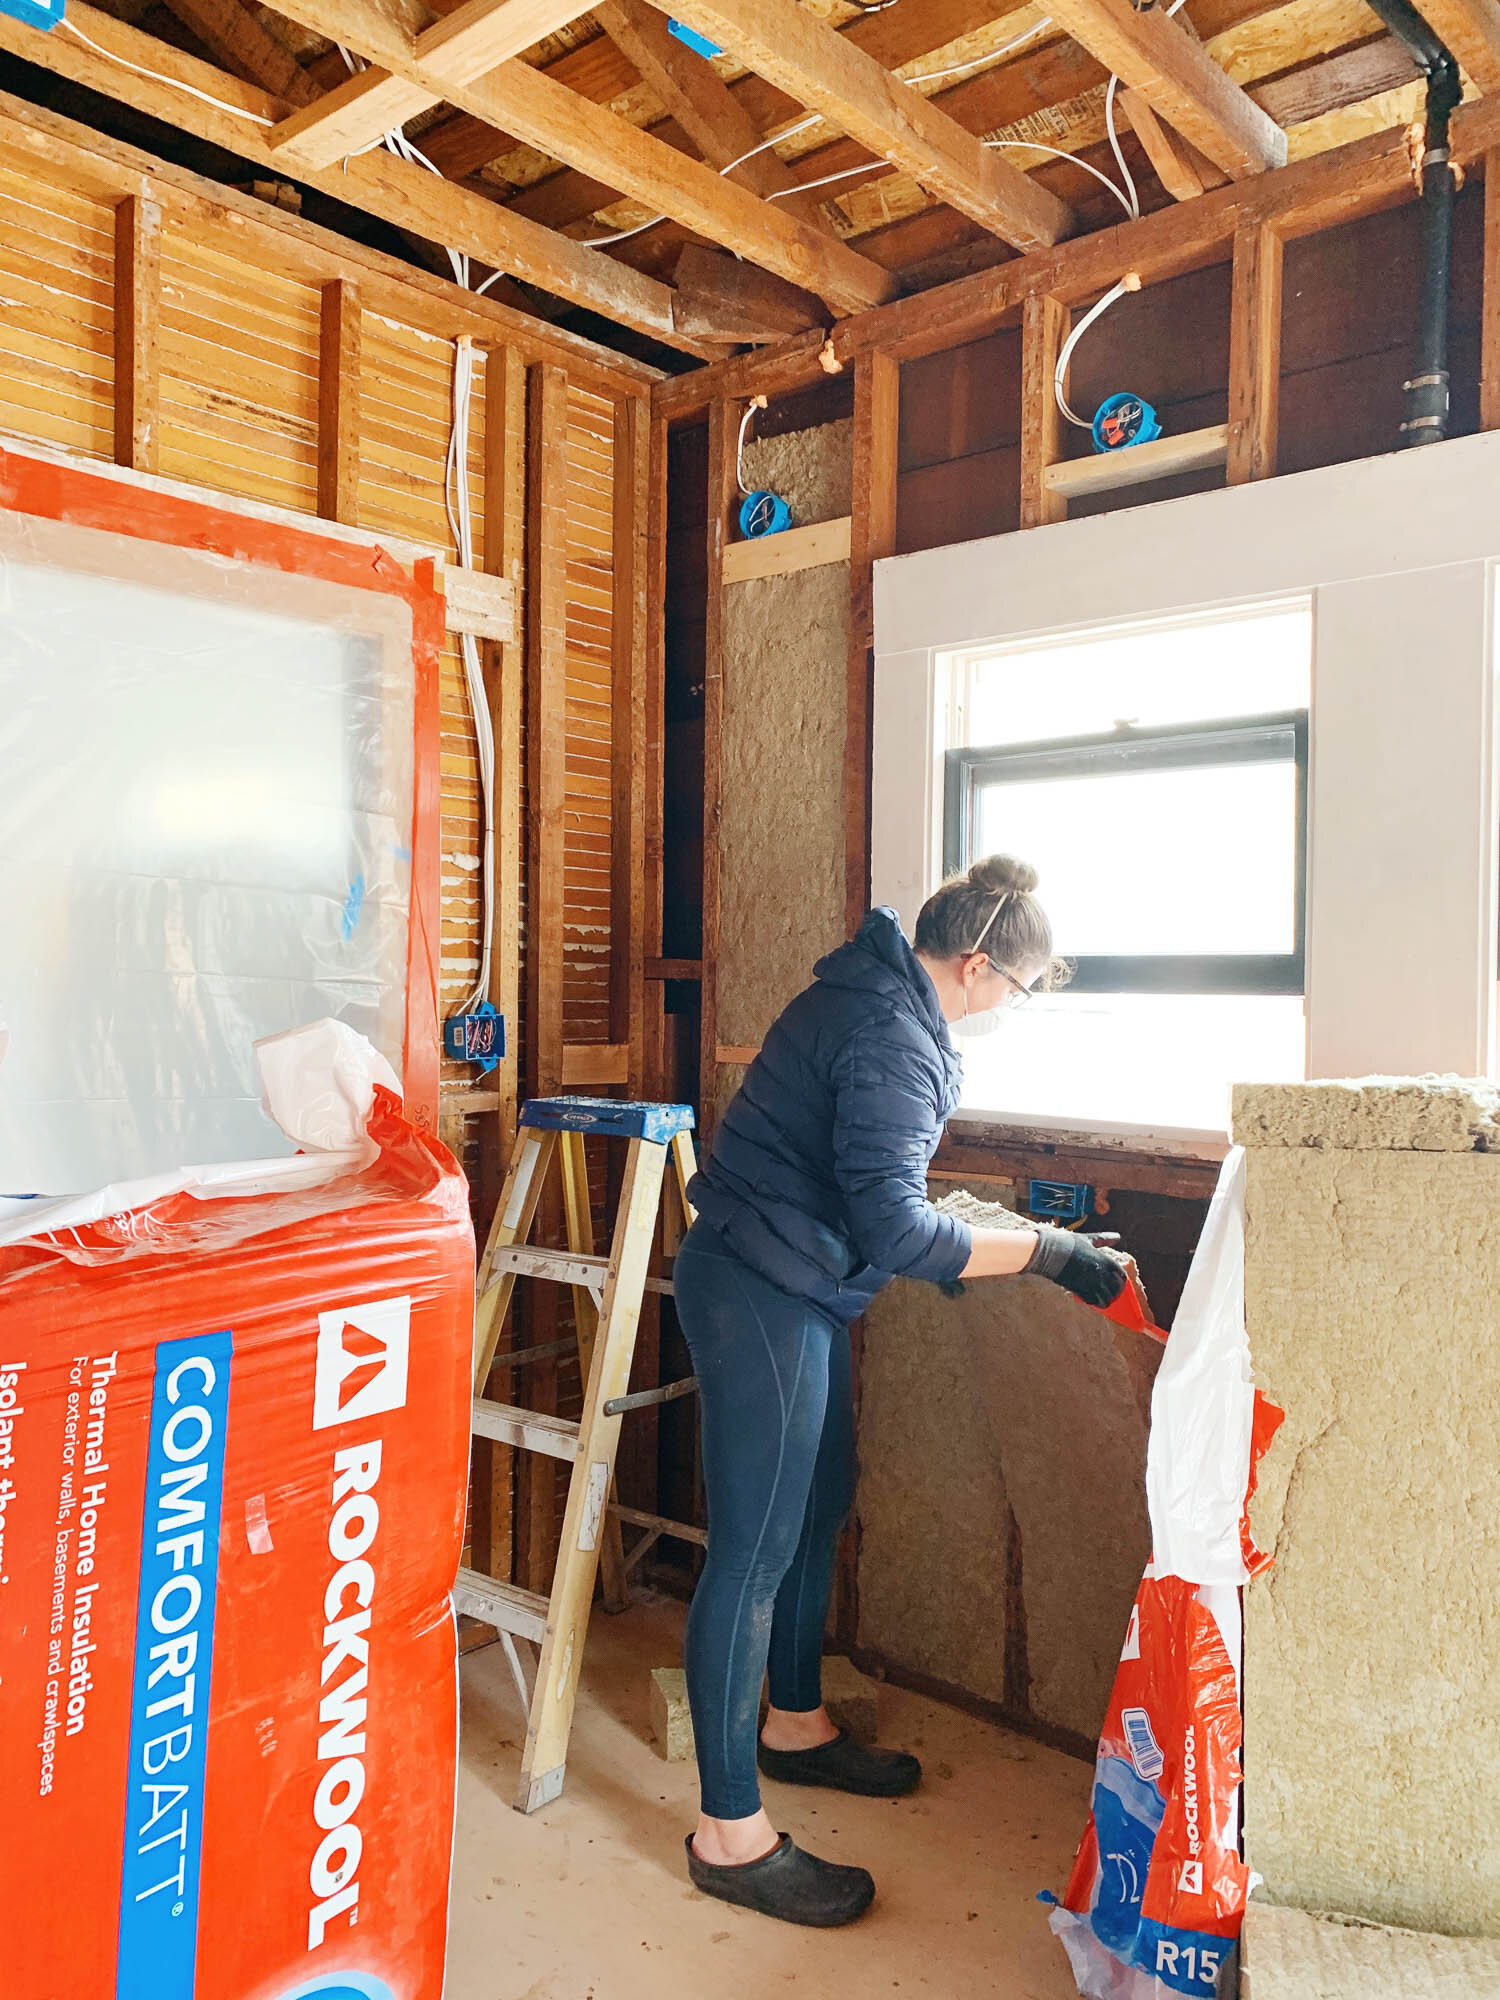
The crew spent a couple of hours doing some necessary clean up. The went through all of the electrical and removed the wires that aren’t in operation, they removed the random plumbing that is old and not needed, and they pulled nails to make the framing ready for drywall, and they yanked out all of the insulation that was caught in the corners of the ceiling and the walls. Clean slate people, clean slate!
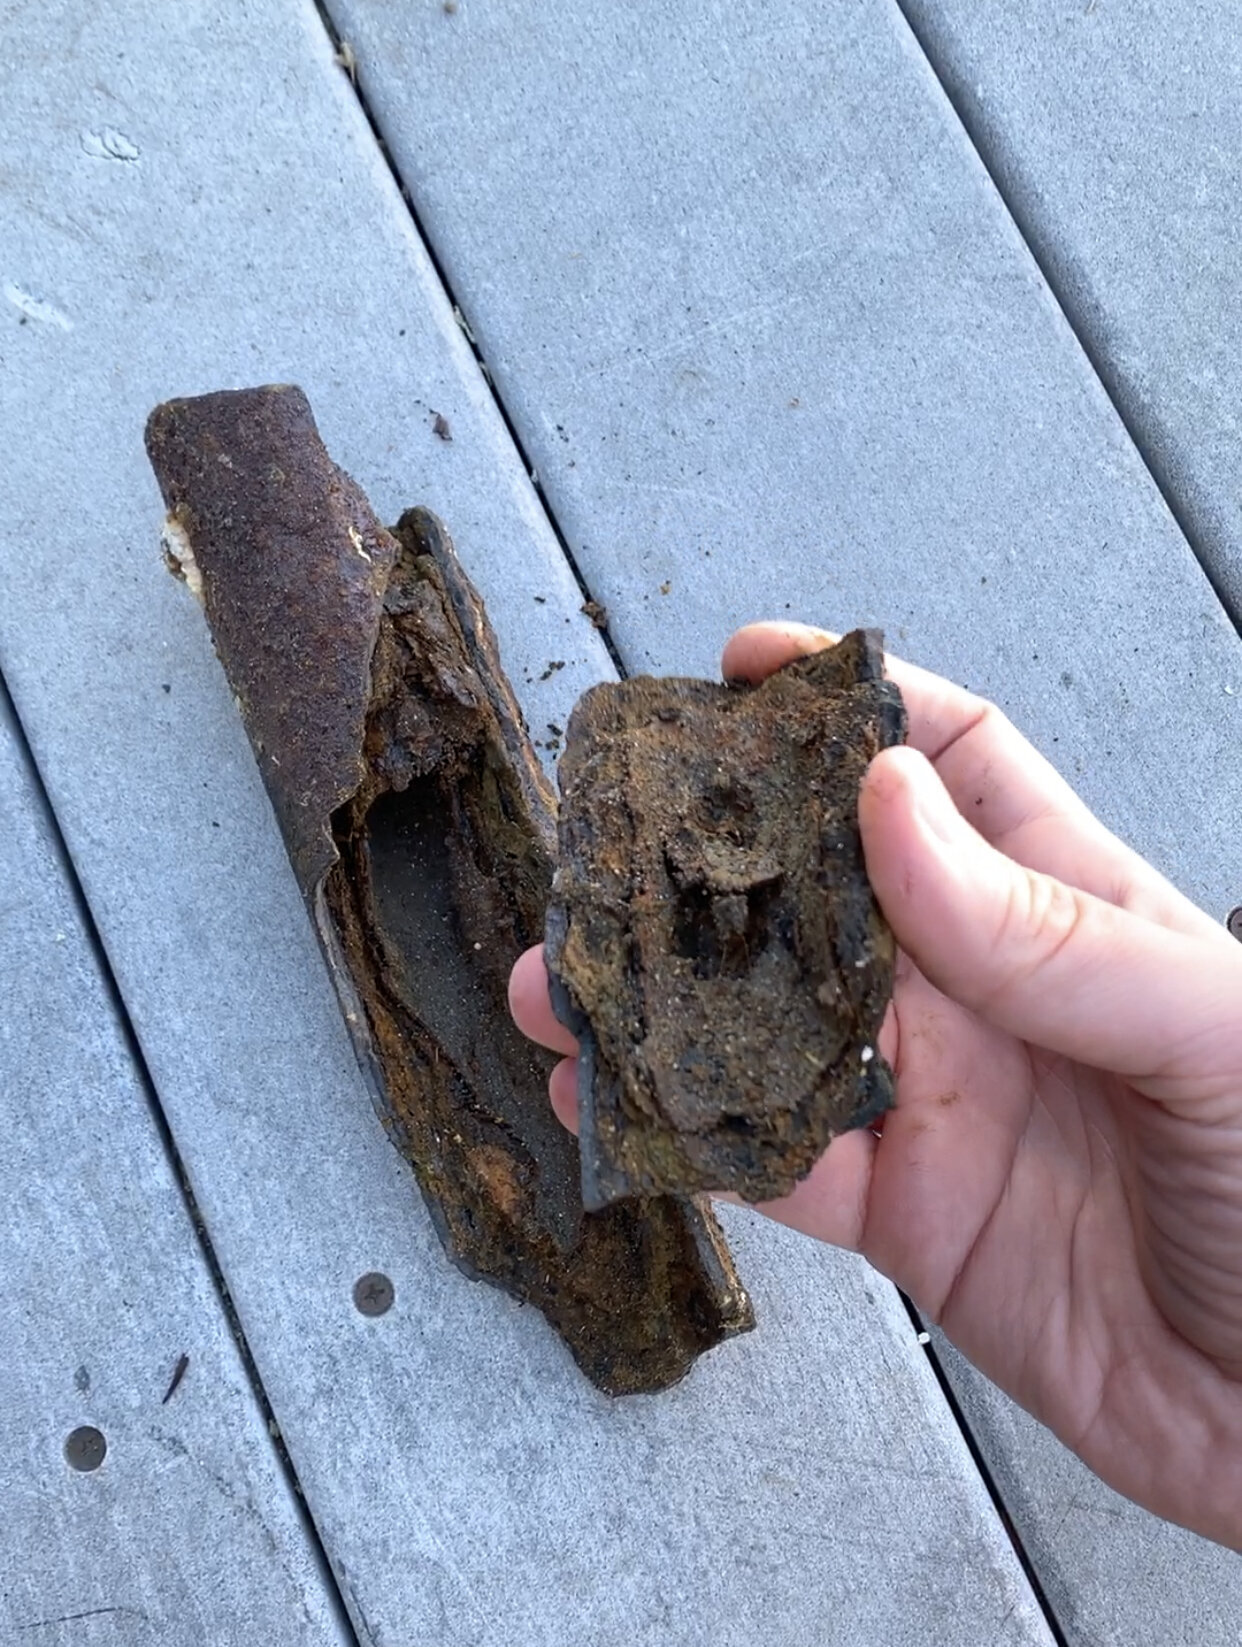
They also removed some cast iron and galvanized plumbing which I want to share with you. I talked about them in my post about what we found in the walls last week but I’m going to repeat the next two paragraphs here in case you missed it.
Cast iron vent pipes break down and crack after 100 years. Galvanized plumbing also rusts and corrodes - which could be why you have low water pressure, poor drainage, or smelly plumbing. It’s to be expected. When we renovated the bathroom, we replaced of the cast iron with ABS plumbing. When the cast iron main sewer line cracked and leaked sewage water under the house, we replaced all of the main line so it didn’t happen again. When we put new plumbing fixtures in the bathroom, we ran all new copper pipes. Now that we’ve opened up the kitchen, we’ll do the same.
On safe drinking water:
I shared this on Instagram Stories and I got a few reactions along the lines of, “oh no!!! Do you not drink your tap water?! How do you filter that!? Should I replace all of my plumbing?!” I get it. This is rather gross and alarming. First of all, the cast iron is used as a vent and as sewage, so no fresh water comes into contact with that before coming out of the tap. The gross galvanized plumbing definitely is an avenue for your water before coming out of the sink. Replace it when you can, sure! But keep in mind that your drinking water touches your home’s plumbing for maybe 0.5% of it’s route to your sink. Our drinking water runs through lots and lots of municipal plumbing. And to be honest, we should be more worried about that infrastructure which is aging and doesn’t have much funding for maintenance. The City’s pipes are probably way worse than what’s in my house. And that should be a concern for our drinking water and the millions of others that don’t have the luxury of replacing their home’s plumbing. We should be worried about our community’s drinking water and we should be taking action at a local government level to reform our drinking water. Here are a few resources for extended reading: NYT: Safe Drinking Water, AJ+: Is Your Tap Water Safe To Drink?, The Guardian: Nestlé is Selling Stolen Water to Flint.
Day 7: Sistering joists and re-leveling the floor

The termites ate through a joist near the back wall of the kitchen that was basically a brittle toothpick. The flooring was sagging because of a lack of support, so day 7 was spent fixing all of that up.

We had only one guy that day and he worked on installing a new support beam and then adjusted all of the floor to be level with that new support. It’s not anything you’ll notice when you walk into the finished kitchen, but we’re glad it’s being fixed now. So, not toooo much to look at in terms of progress on this day.
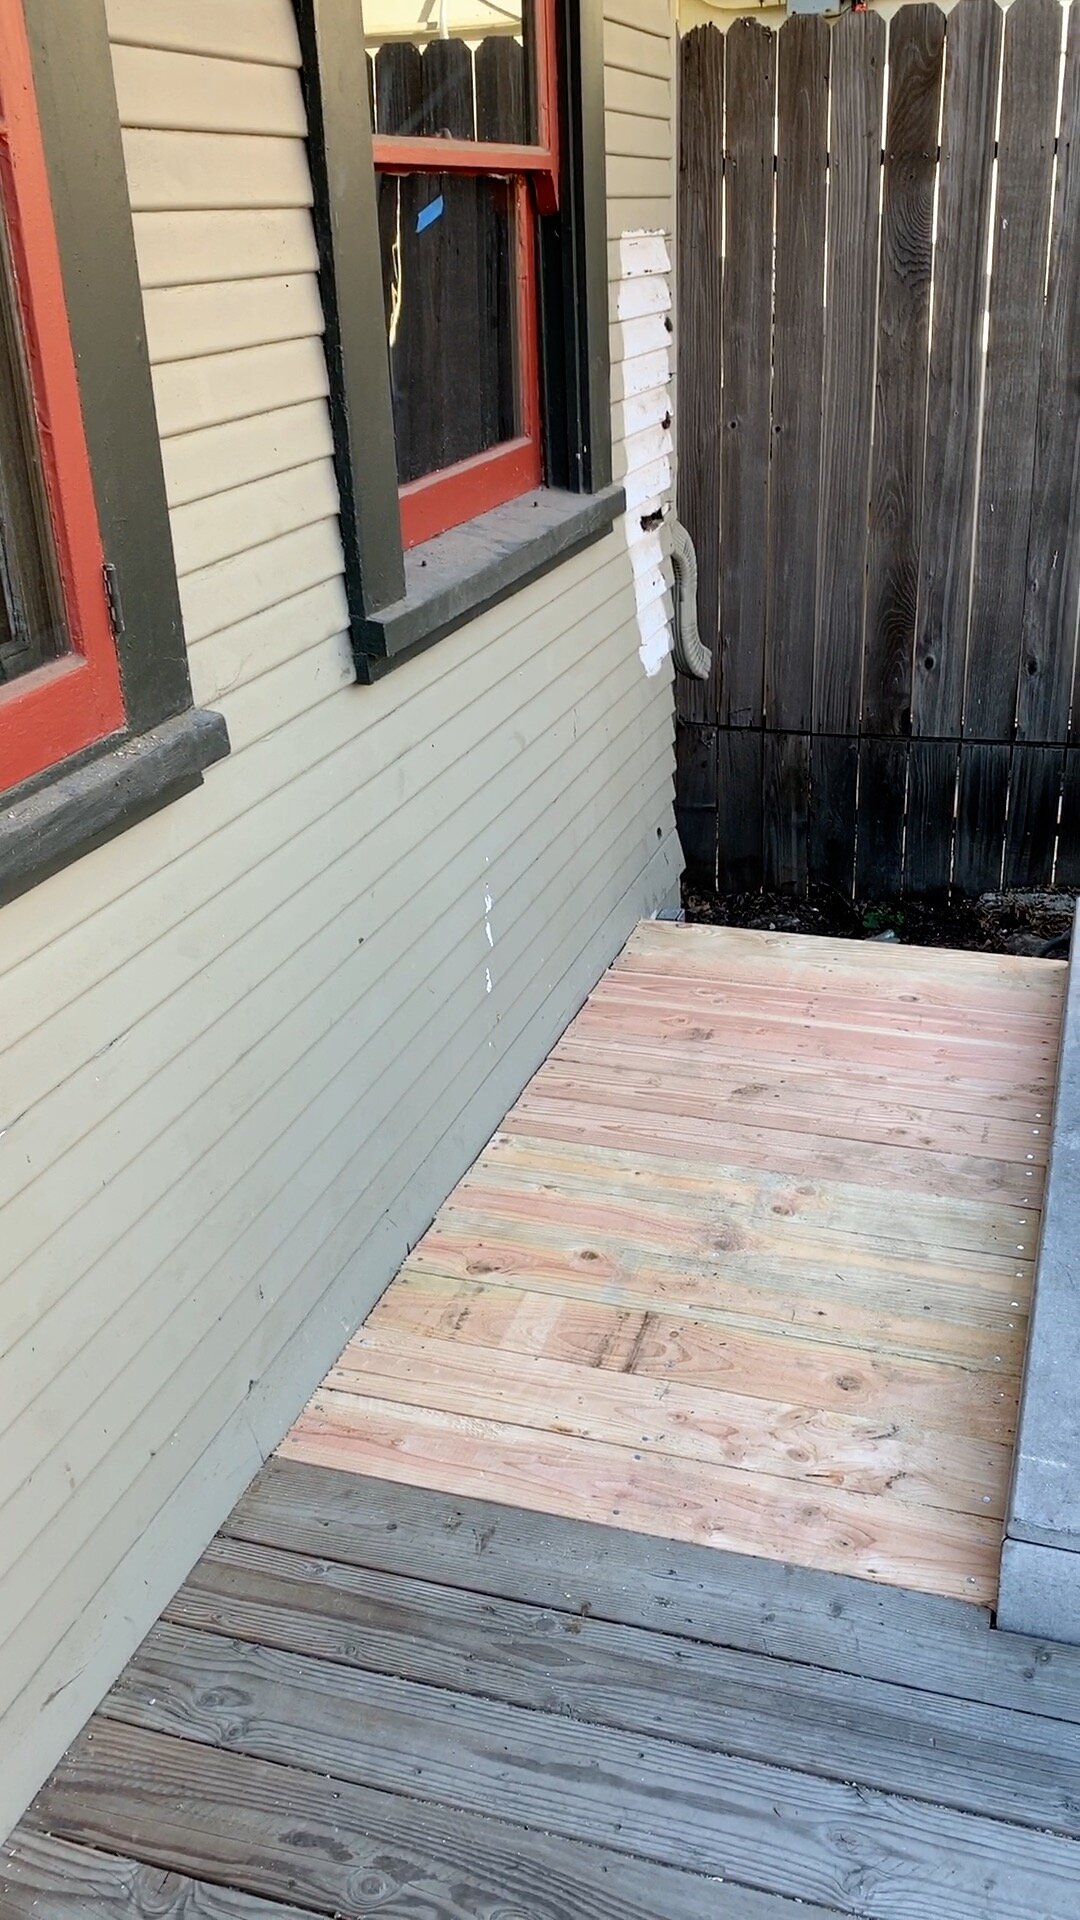
Oh, but he did extend our decking to the edge of the house so that way we won’t fall out when the new french doors get installed. Important work, here.
Day 8: New wall framing began!
As you likely know, we’re adding a wall down the middle of the big empty space to divide the kitchen from the bathroom. You can get an idea of our layout plans here. And then you can see what this wall looks like in video format here at minute 10 when I talk about the new layout in the demolish space.

The wall started to go up and it’s very thrilling! It’s the beginnings of seeing the design really come into place and I’m here for it!
What you’re looking at above is the beginnings of the new master closet and the opening for the pocket door. On the far left on the other side of the perpendicular wall is the shower in the master bathroom.
Day 9: Did more framing and prepped pocket door
There was some more build out of the pocket door framing. I talk about the doorway more and how the flow between the master, closet, kitchen, and hallway works in the video at the 12 minute mark here.
The door isn’t hung, but if you’re interested, we’re using this pocket door hardware for hanging my old door, and we also got two of these gizmos so the door soft closes and soft opens. Luxury!!
I’ll be sharing more about the pocket door installation when the time comes.
Day 10: Removed the windows to frame out the french door
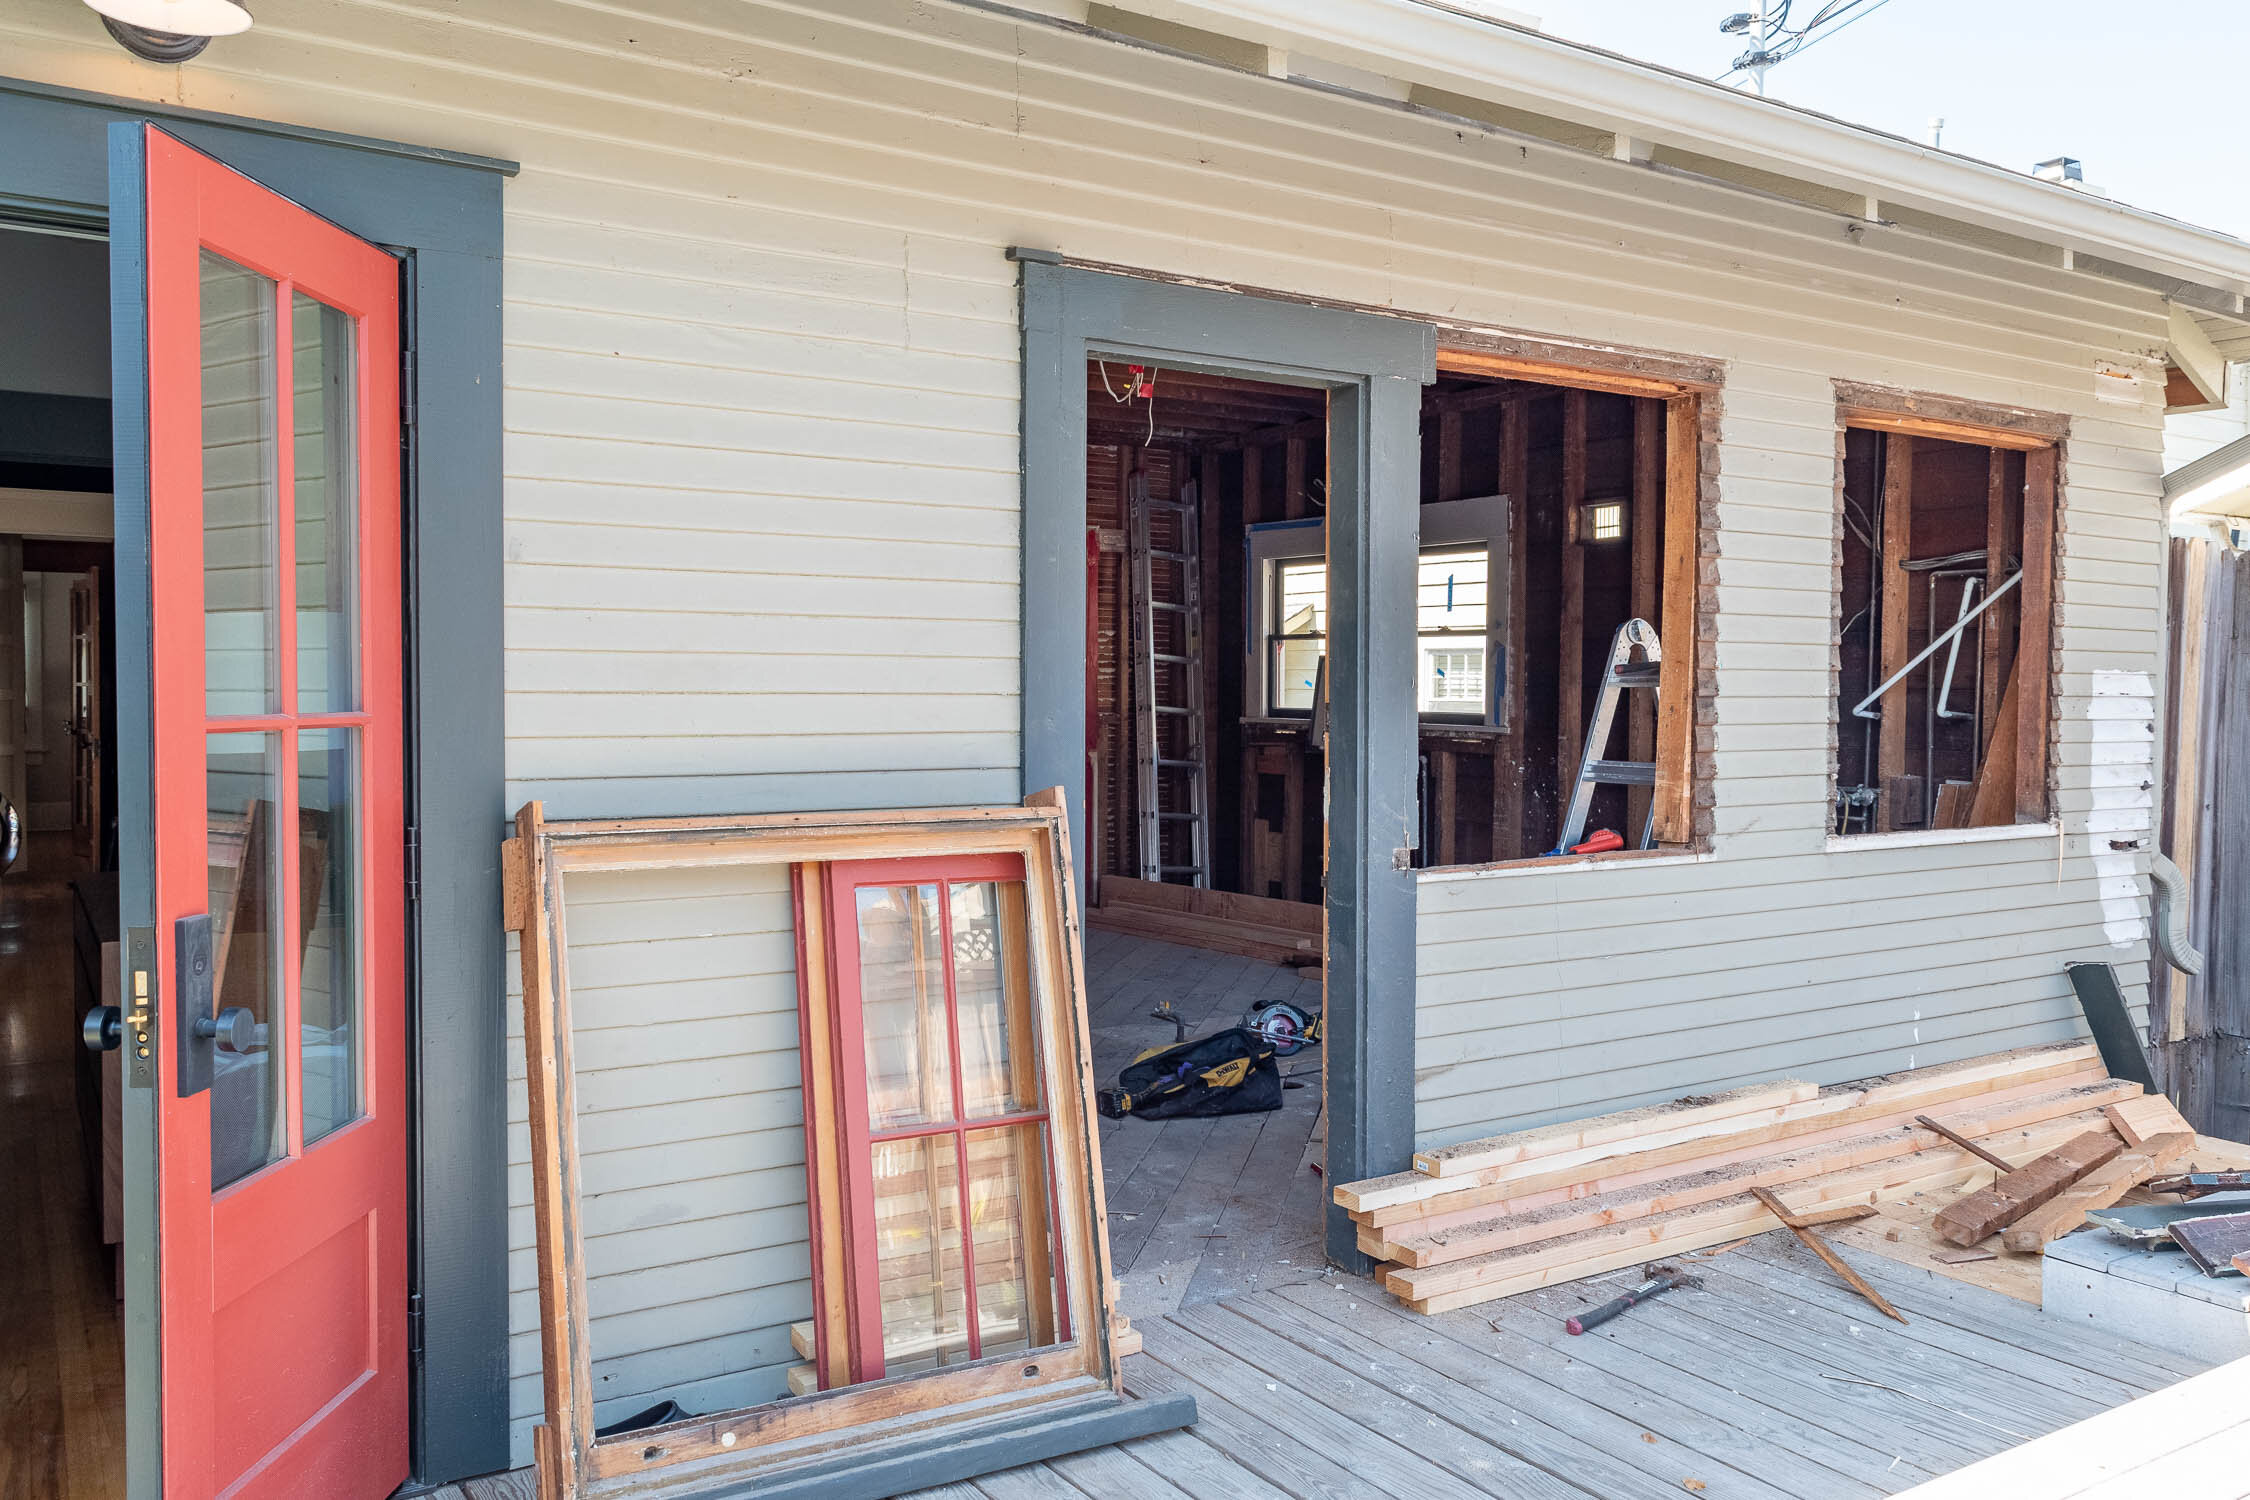
In order to install our new french doors, we’re having to remove two windows. It does pain me to remove two old windows, but it’s the way it’s gotta go if we want a door out of our kitchen into the backyard. I’m comforted knowing that many folks like to salvage old windows (like myself) and we removed the windows fully intact with all of their casing, pulleys, weights, stops, and sashes. The lucky recipient of these windows is going to be able to so-easily pop those puppies into their house and enjoy them for another century.
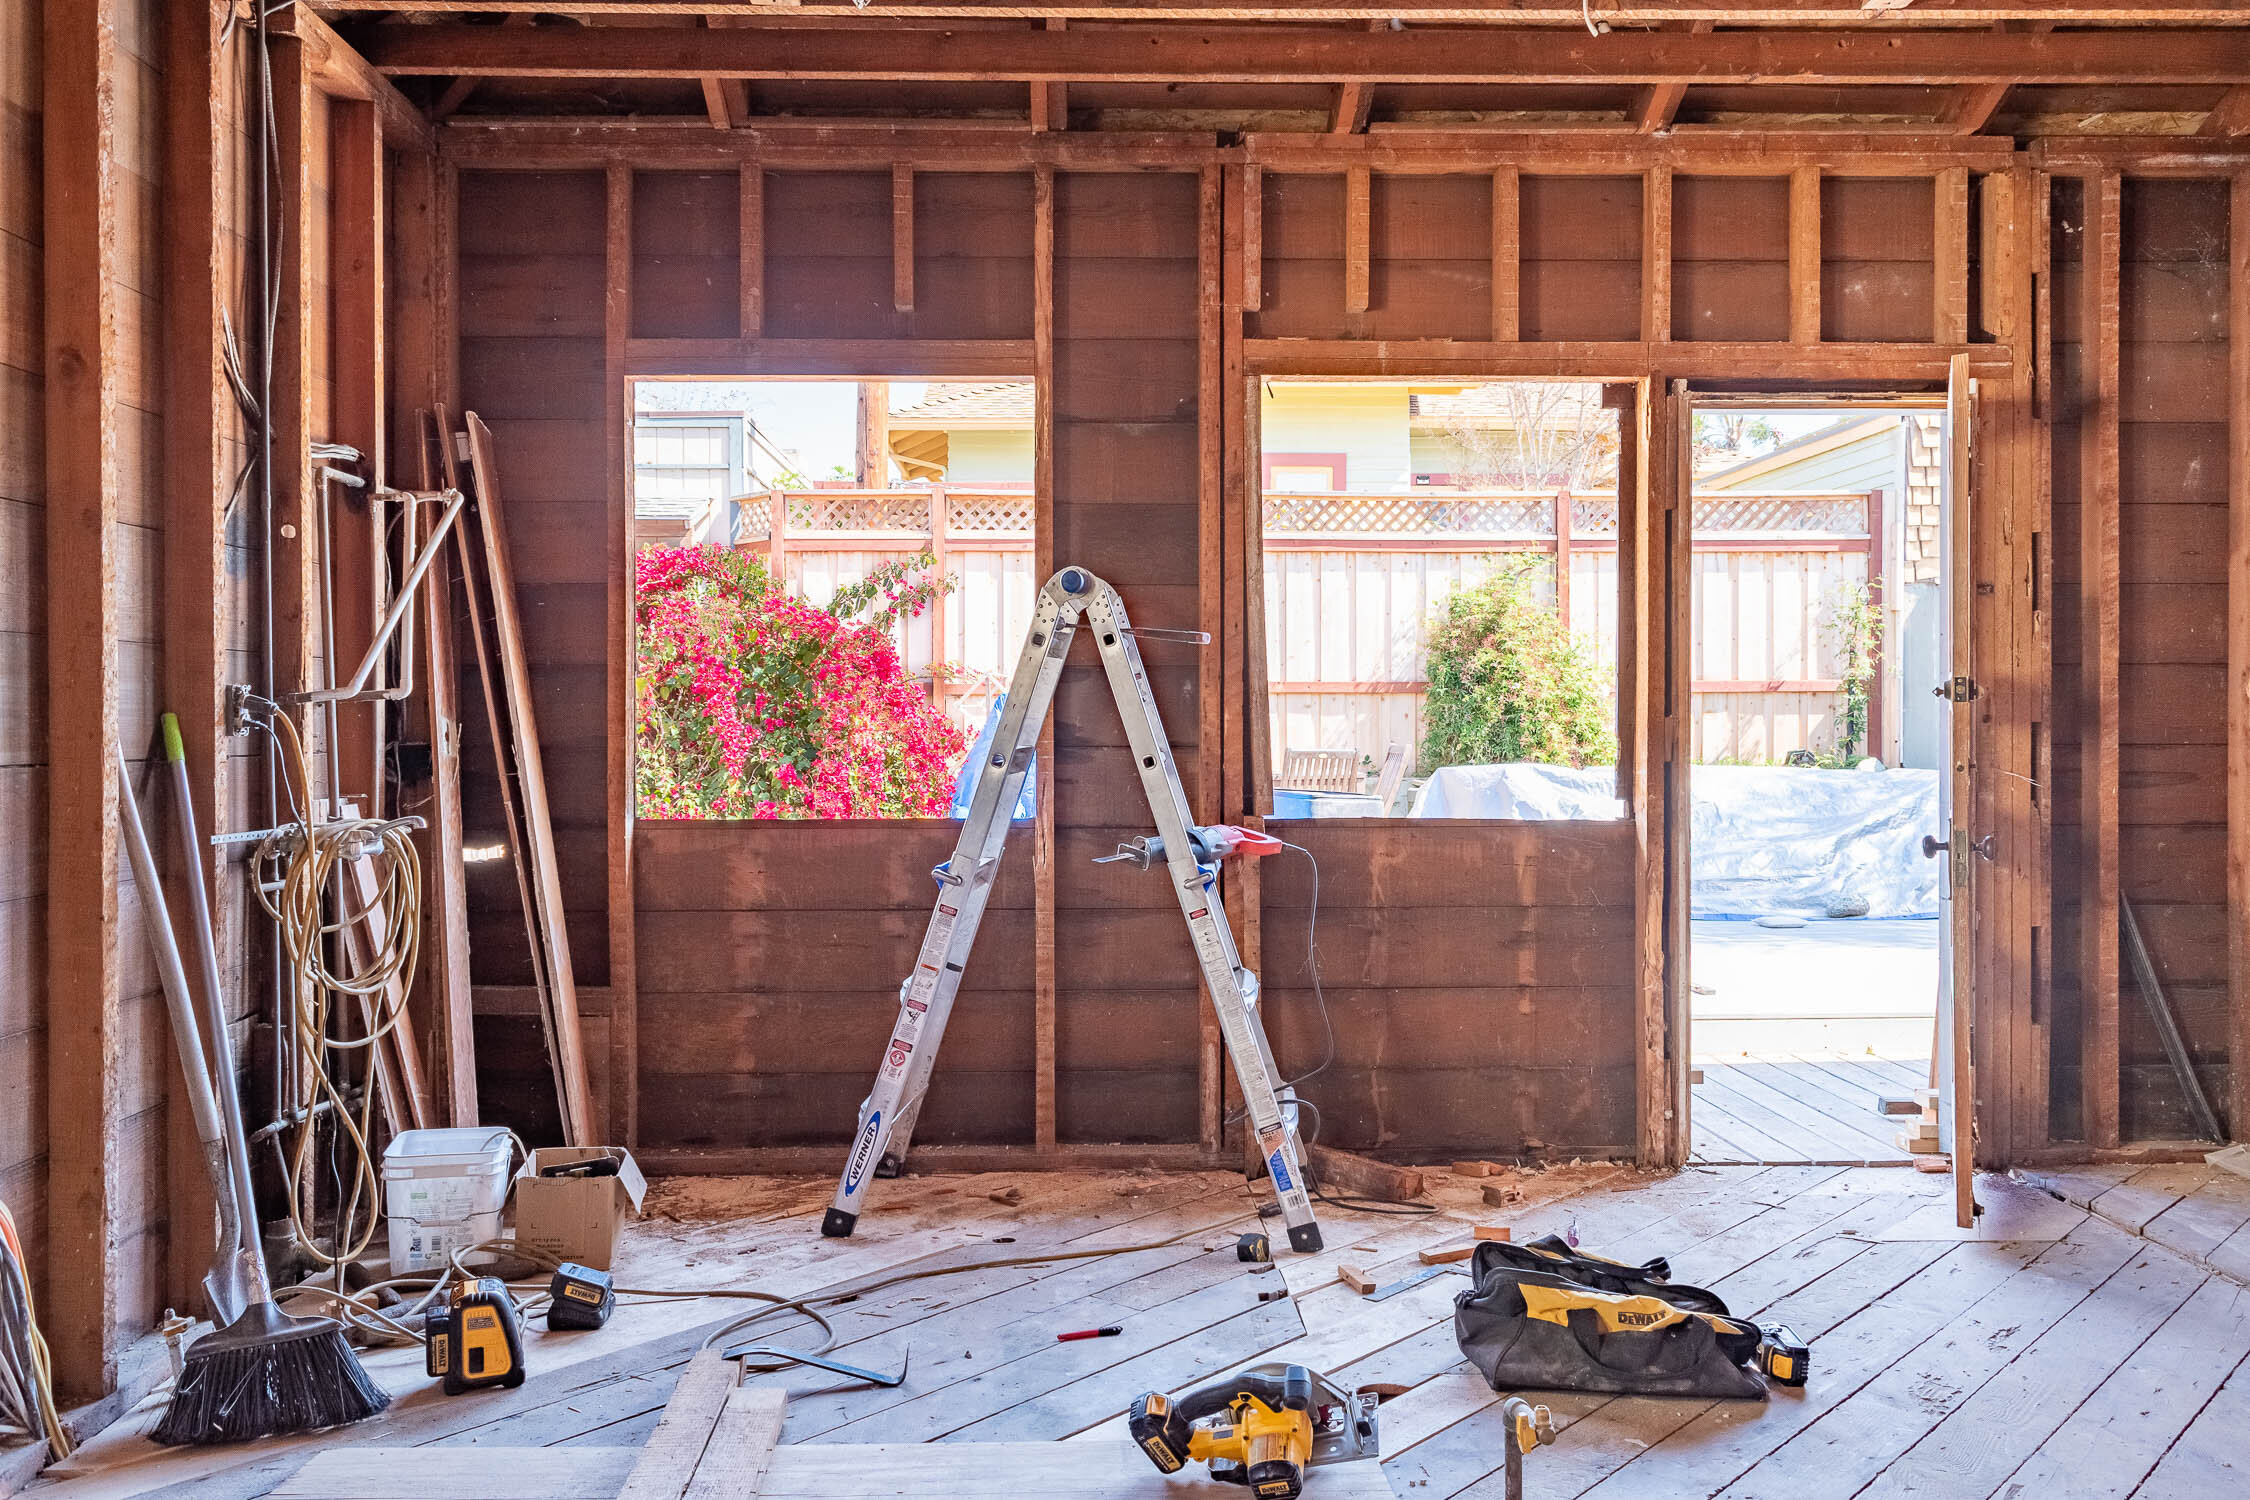
On day 10, the one crew guy on site removed the windows and started framing out the new french doors!

And then he promptly covered it up.
You can see above the fresh wood is framing the shape of the new doors. Those beauties are going to be six feet wide and so so pretty. But, since they’re being custom made, they won’t be here for a few more weeks. So, we’ve covered up the window openings in the meantime (so I don’t get kidnapped) and we’ll just have to wait patiently for the doors to arrive.
What to expect this coming week:
More framing is happening this week. The bathroom window needs to be framed out, and they need to finish building the wall dividing the kitchen from the bathroom. I’m hopeful they’ll get going on plumbing and electrical soon, too!
What’s on my agenda for this week:
Order the french door and window
Donate the removed windows
Hunt for salvage old house parts on my list
Share a bit more about the design plans with you all!
Come back next week or follow along on Instagram Stories for daily updates! And don’t forget to watch my video about the demolition here.