Memorial Day Sales!
/I LOVE deals and I pretty much only buy things on sale, so with this weekend's holiday sales, I'm pretty pumped. Before you get too comfortable lounging in our summery weather, take a look at these retailers below!
Read MoreI LOVE deals and I pretty much only buy things on sale, so with this weekend's holiday sales, I'm pretty pumped. Before you get too comfortable lounging in our summery weather, take a look at these retailers below!
Read MoreAs you probably know, I've been making weekly videos to show updates on each of the weeks of the One Room Challenge, so here's a recap of all of those videos with links to each blog post that has each and every detail included. Check out each of the five below!
Read MoreIT'S DONE!! I've officially completed my THIRD One Room Challenge and what a journey! The ORC has been such a big part of my home and blog - HALF of my house has been transformed through the design challenge. I'm so proud and grateful to participate! I mean, look at this new bedroom I get to sleep in, now!
Read MoreOMG it's week five of the One Room Challenge! The moment we've all been waiting for - the new exterior door was installed, and boy is it a beaut. We also built a deck this week (so I didn't fall to my death out the new door) and painted the room in the prettiest hues.
Read MoreI can't believe I'm saying these words, but I have an episode on Home Love Network's new show! GASP! I've been in love with Candis and Andy Meredith for ages now - you might know them as Old Home Love. For years, they've been fixing up old houses in the best possible way, they wrote a book that I treasure, they had an HGTV show before creating their own network, and they are just all around great humans. When they reached out to film at my house I had a mild panic attack from the sheer excitement of it.
Read MoreGuess what! I've decided to do a One and a Half Room Challenge with outdoor seating! The new back door will give access to the outdoors, which is such a great way to expand the size of our master. The problem is, our backyard isn't so great.
Read MoreIt's week three of the One Room Challenge! I spent this past weekend on adding a board & batten style wall treatment, so I'm here to give you the DIY tutorial of adding the simple detail to your walls!
Read MoreIt's week two of the One Room Challenge! I didn't start until I wrote last week's announcement blog post so I'm only a week into the challenge. 7 days down, 28 more to go!
If you found me through ORC, welcome! I'm Ashley and for the past three years, I've been restoring a craftsman bungalow in San Diego, CA. Learn a touch more about me here, preview the before-and-after room transformations here, and see my previous ORC rooms here and here.
The first week of ORC is always prep week. It isn't the most glamorous, but there's nothing like emptying a room and putting holes in the wall to feel like you're making progress. I find that this week is much more fun in time lapse and music video (minus any dancing) format, so I give you a video of the week's progress. If you like old-fashioned reading, then scroll down!
P.S. I promise the video is more entertaining than the text. It's less than 4 minutes long, so it's worth the watch.
Ross was out of town, so I emptied the room solo. Whenever I do that, it becomes my workout for the day. It's not a good habit, but I definitely find myself skipping yoga after doing demo, or heavy lifting, or really after doing anything sweaty.
Since we moved out of the master and I'm selling all of the furnishings, I needed a spot to sleep, so I moved into the den next door. The blue velvet couch is a pull-out, so I stacked our mattress on top of the couch mattress and I feel like the Princess and the Pea. If double mattresses weren't luxury enough, the den also has the TV, so I can watch my British crime shows fully reclined. Winning.
After emptying the room, I called in our trusty electrician who previously rewired the entire house to bring us into the 21st century. For this room redo, he moved an outlet to hide behind the nightstand, moved an outlet that would be in the way of the new exterior door, wired for the exterior light, put in a switch for the new light, added a 3-way switch for the overhead flush mount, and wired for the new bedside sconces.
While the electrician was here, I got inspired to do a project that was on my agenda for a long time. There have been three lines of conduit running the length of the back of the house to power clunky floodlights and a single bulb in the garage. I figured I'd leave them until we did more electrical work down the road, but knowing I'd be installing a new sconce right next to the ugly pipes, I decided to pull it all down. Now that it's gone I'm regretting not doing it sooner. It's really the little things that are most satisfying! (also, watching the time-lapse of it coming down is veeeery satisfying)
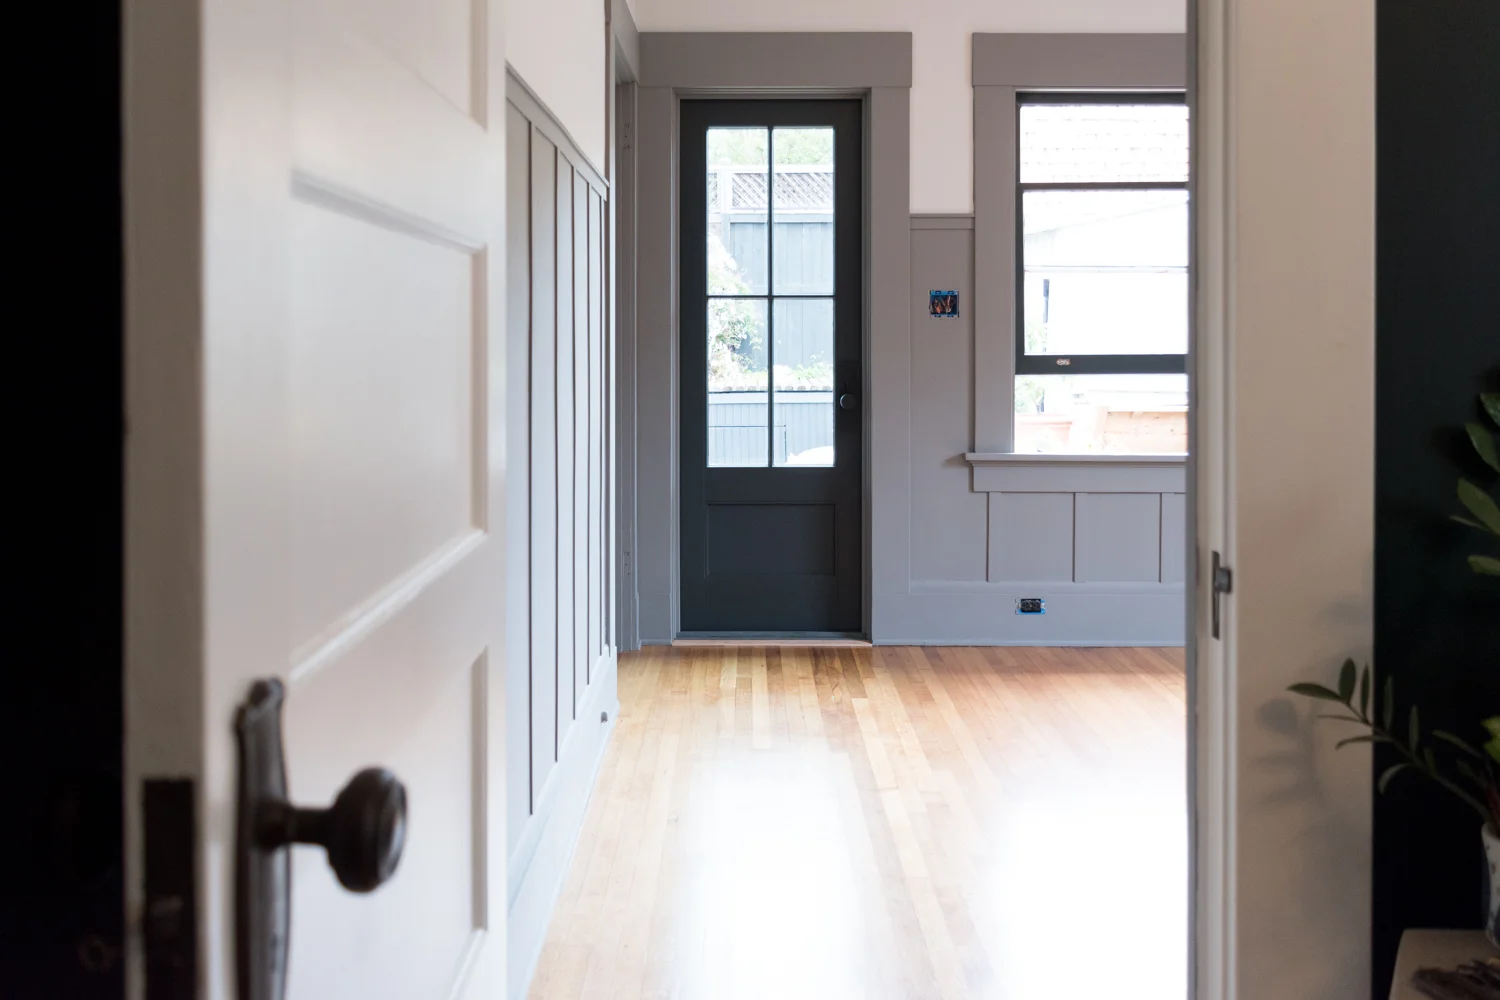
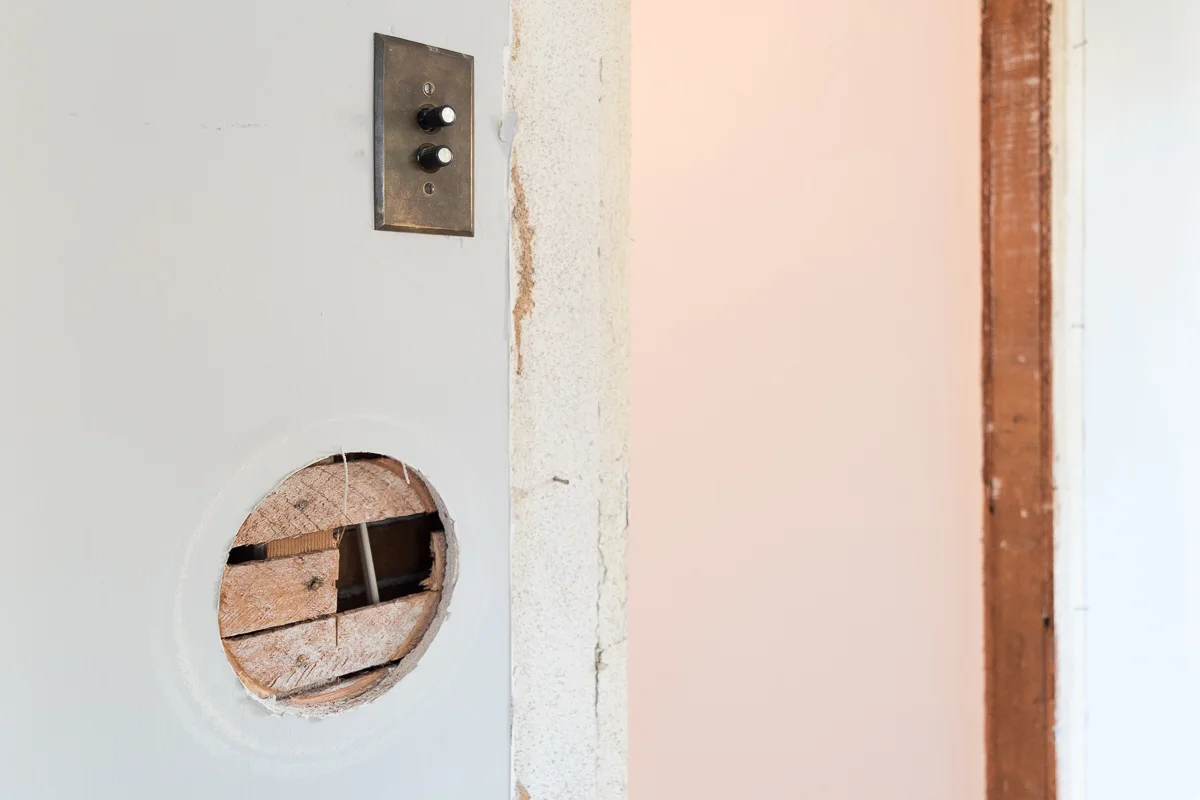
After putting holes in the walls of the bedroom for new electrical, I needed to close off a really big one - the doorway into the kitchen. If you recall in my week 1 plans, I'm closing off the door from the master bedroom to the kitchen. Removing this passageway is kind of a bummer, but it's the right thing to do for the layout of the bedroom. We'll be able to maximize storage and create a more open space. Don't forget, I'm adding a door with lots of glass to the backyard in a couple of weeks, so soon enough I'll have forgotten about the loss of the kitchen door.
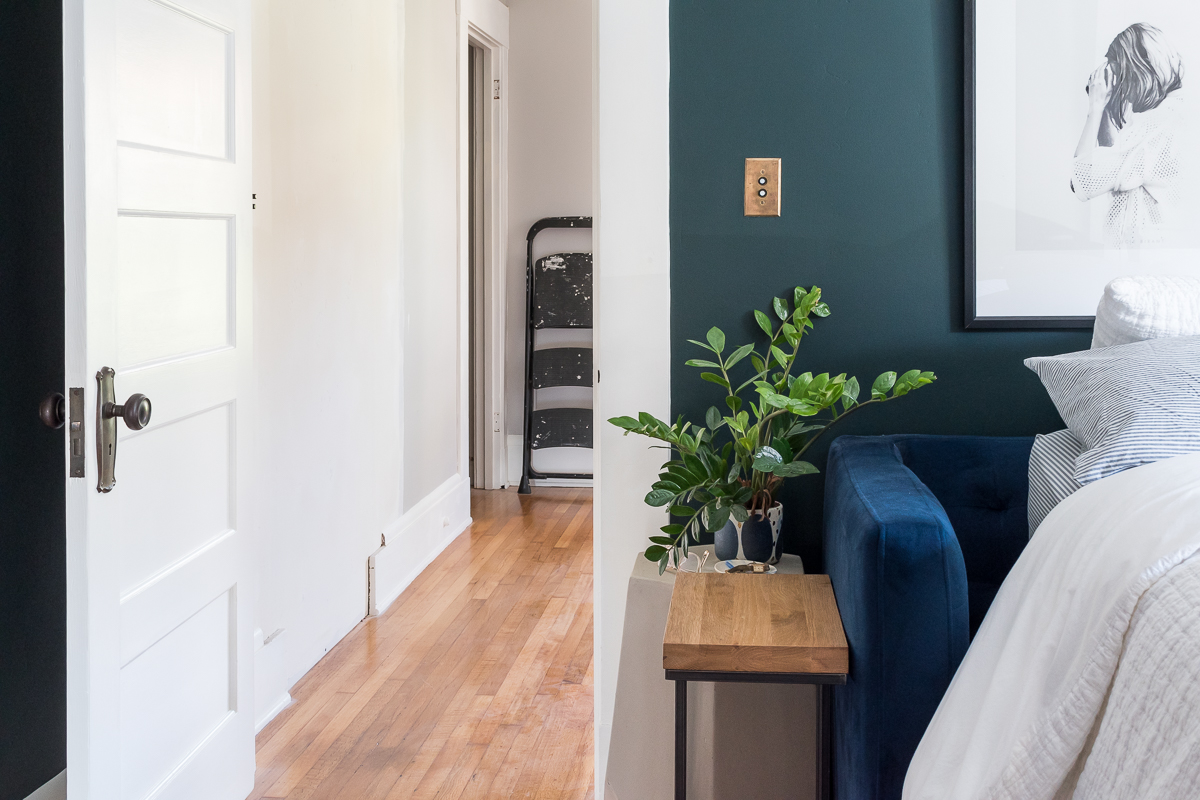
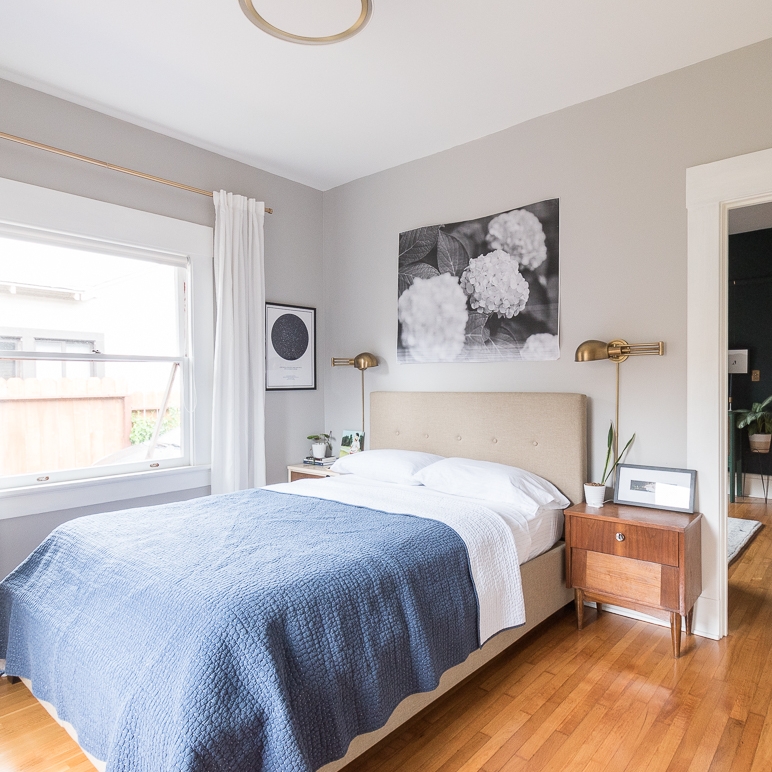
Below are the views sans door from the bedroom and the kitchen, respectively.
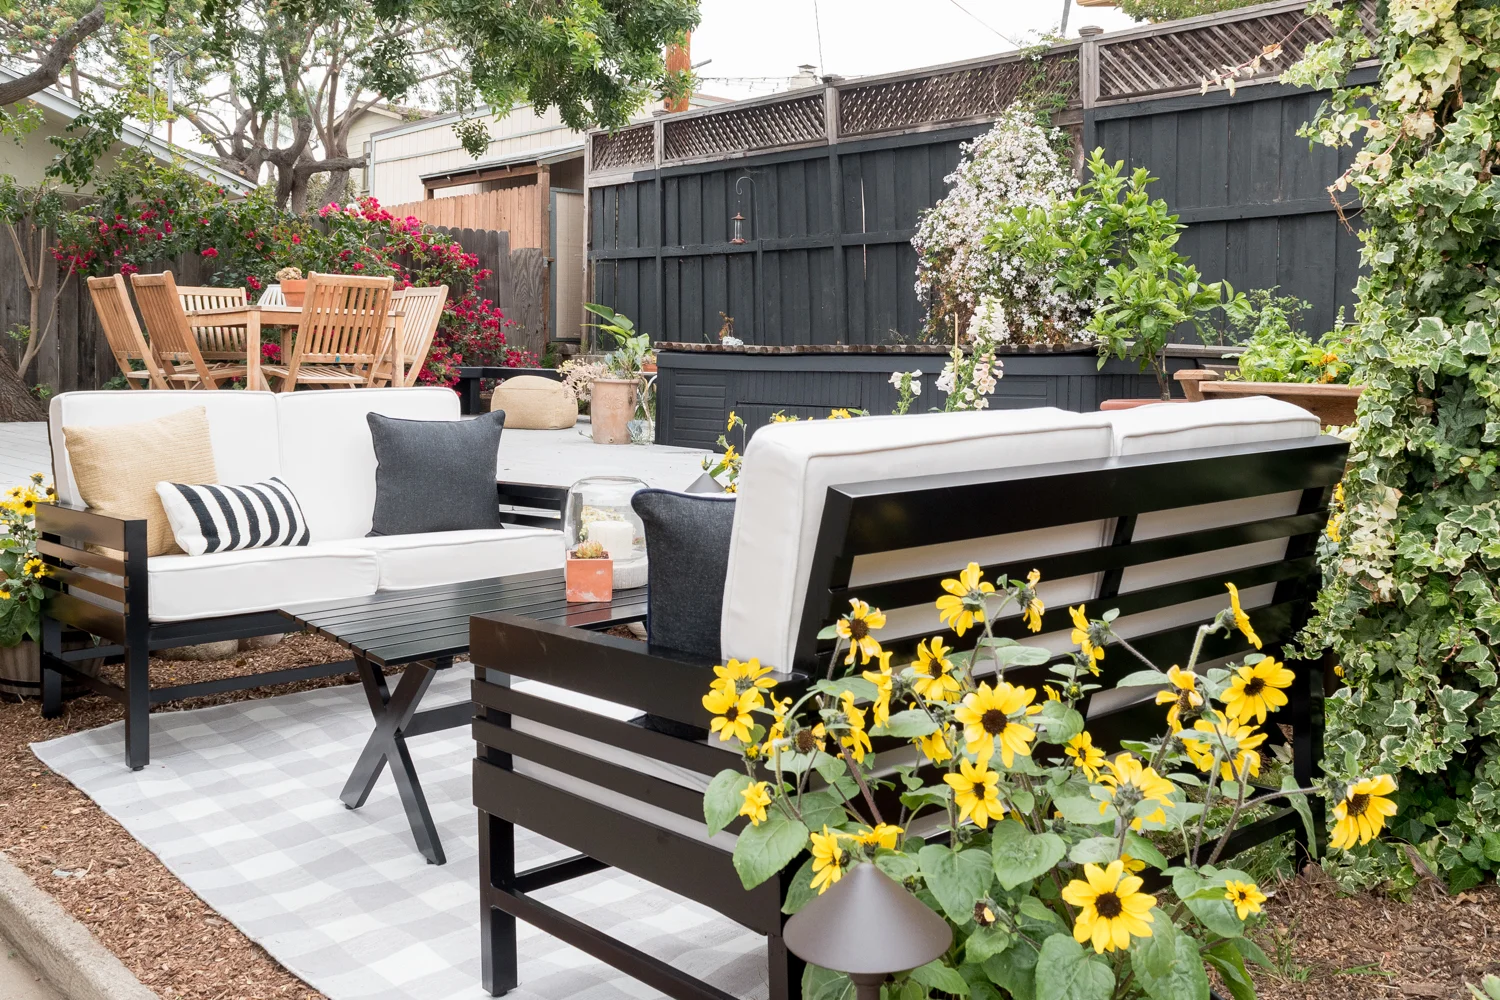
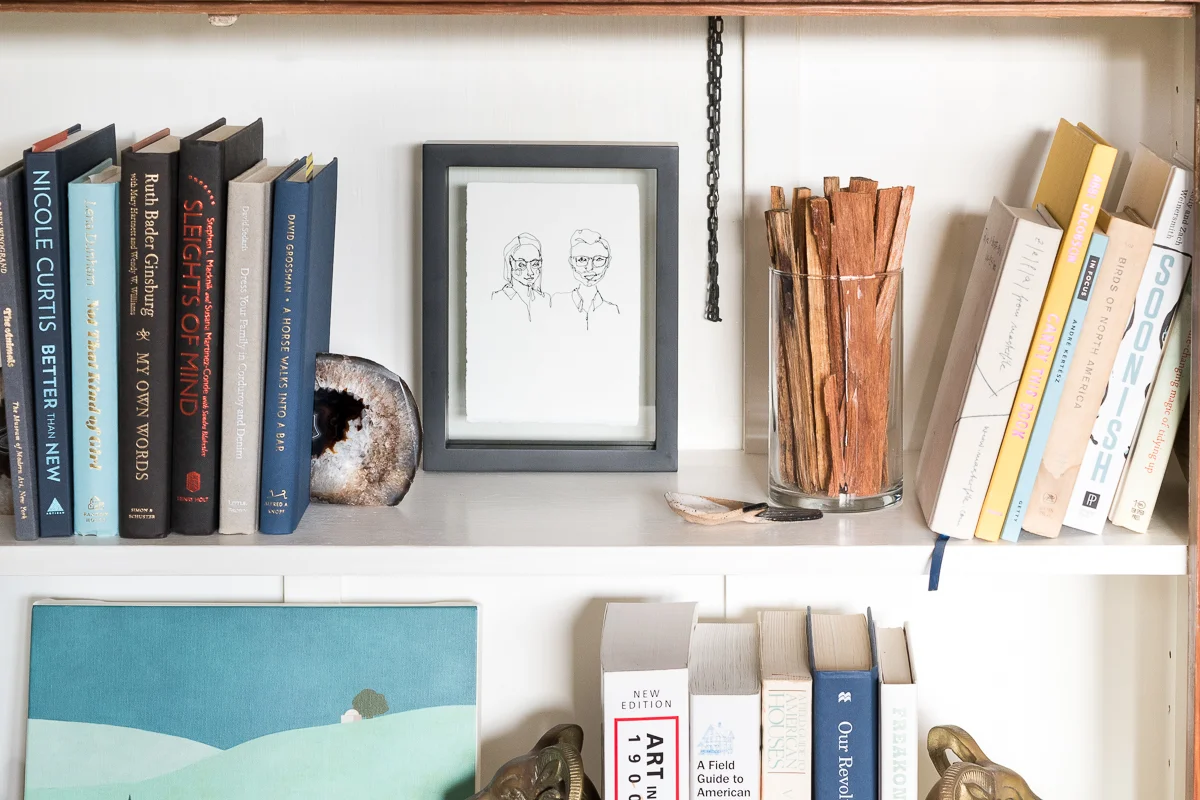
I pulled off all of the trim (delicately as to save it for future use) but hired out help to frame and drywall the opening. Getting perfectly smooth walls on a big patch is not the easiest thing to do, so hiring it out to the pros was certainly the right thing for me to do. Once I paint, you won't even know a door was there - unless you read this blog, of course.
That's all I finished between week 1 and 2 so come back next week for more progress! Be sure to follow along on Instagram Stories where I share live updates and ask for your advice when I can't make a decision! This is only the first of my ORC videos, so subscribe to my YouTube channel to support future videos. If you aren't already subscribed to the blog, you can do that here.
If you want a refresher on the plans and the before photos, you can review the week 1 post here.
Check out progress from my fellow featured designers below, and don't miss out on the guest participants!
Apartment 34 | Beginning in the Middle | Coco & Jack | The English Room | The Gold Hive
Gray Malin | Jenna Sue Design | Jojotastic | Kelly Rogers Int. | Linda Holt | Marcus Design
Michelle Gage | Natasha Habermann | The Painted House | Rambling Renovators
Sacramento Street | Shannon Claire | Sketch 42 | Stephanie Kraus | Bisou Style
Media Partner House Beautiful | TM by ORC
Psst! To jump into the future and see how this room turned out, click here!
I am the WORST at collecting souvenirs on vacation. I hate cheap touristy figurines, love vintage pieces that are too big for my suitcase, or spend too much time eating in restaurants to shop for reminders of the trip. I always come home empty handed. Well, I take that back, following a recent trip, I did come back with electrical tape that I bought at a gas station to tape up the hole in my shoe. Horrah!
But, I have a solution for bad travel shoppers: Artwork created by locals in the vacation destinations. The first thought may be to buy artwork OF the vacation destination like paintings of sweeping vistas or photographs of the city. However, by purchasing artwork made by people FROM the region, you can find pieces that speak to you more than the scenery of your locale - even though I'm a sucker for landscapes!
While not all artists exhibit in shops and since I may not even stumble into galleries, I like to look for artwork after-the-fact on the world wide web. I've rounded up pieces created by Australian and New Zealand artists following my recent vacation to these two fine lands.
Each of the below images is artwork by an individual artist. Click through to get the piece in your home, learn more about them, and see the rest of their collections.
We've already been to Phoenix and Boston since NZ and Aus, then we have Chicago, Pittsburg, Ojai, and several more trips coming up this year. So, should I make this a regular blog series by featuring artists from the locations I go to?
Where I’ve been, shooting on film, my dream house, retro costume inspiration, energy rebates, a magic cake, textiles I don’t need but want, a lampshade DIY, my best defense against mosquitos, a new podcast, what’s killing home remodelers, best decision-making advice, overheard parenting, Little Women on acid home tour, best marble etch remover, and more.
If you like florals and color, this bathroom is for you. If you don’t, well, maybe scroll through and you’ll be converted? Or not? Either way, here’s the reveal of a bathroom addition that’s finally here - after a whole three years of construction.
My baby is two! Time’s flying… we wish we could slow down these years… I can’t believe she’s two… and all those other cliché things to say. We celebrated her second trip around the sun in our backyard with a small gathering of friends.
What I’m binge watching, the things I ordered for summertime fun, an incredible legacy, ranking films, a dozen things to say to your kids daily, design decisions, sibling bonds, and more.
I have such love for my historic house, but I’ve shamefully been neglecting the exterior paint. The tired finish was peeling and the faded colors did no justice to the architectural beauty of my 1915 craftsman bungalow. It was time for a change - a transformation that would honor the home's history while infusing it with fresh energy.
The thrill of renovating outdoor spaces is they always get better with age. We overhauled our backyard last year and the plant growth during this last trip around the sun is wild! Get ready for lots o’ photos.
We overhauled our backyard it’s my new favorite “room” at our house. Here’s what it cost to completely transform the space.
Ashley has been restoring her craftsman bungalow since early 2015. The Gold Hive chronicles the journey of DIYs, restorations, renovations, and stories.
I'm Ashley, a type-A homebody fixing up my historic home at a snail’s pace in California. I share home improvement DIYs, tips for sustainable living, and renovation stories - all while aiming to add more color and present real, lived-in spaces.
© 2024 Ashley Goldman / All Rights Reserved
Please do not use any images without proper credit (a link back to my site/social channels within the first 120 characters).
The Gold Hive contains affiliate links in sidebar banners, in images on the Shop The House page, and as text in select posts. This means that I may earn a small commission if you purchase something I recommended. Sponsored posts or gifted products are noted as such. All opinions are my own. Thank you for supporting bloggers and creators.
Hammocks, cookbooks, gardening, sewing, and the other things I’ve been up to on my impromptu break, and more.