
Weekly Roundup
/
I’ve rounded up this week’s inspiration!
Read MoreA couple of weeks ago, our hot water heater failed. We took a few cold showers, asked for recommendations, and debated tankless or tank options for days.

Our unit was a whopping 26 years old (!) which is triple the life expectancy of today's water heaters. It lived a good life, but just had enough, I suppose. I get it, 2017 has been a rough year. It acquired a leak (maybe tears?) that dripped onto the pilot light, extinguishing the flame. We could relight the light, but the leak had already rusted out pieces of the heater and it got worse day by day.
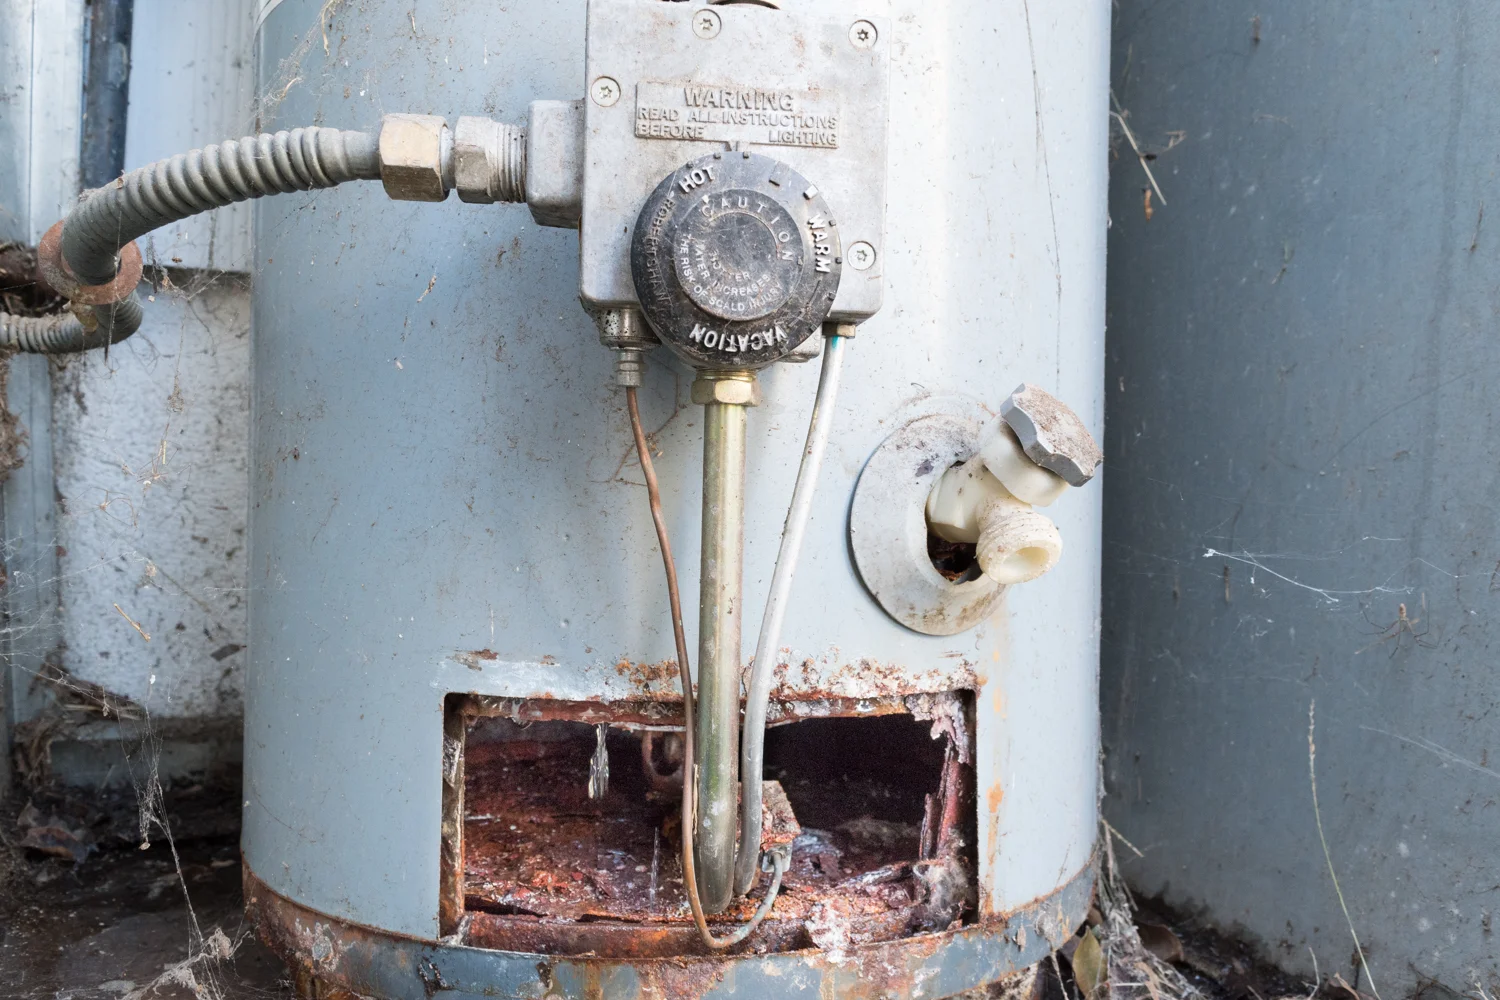
Thus, we needed a new hot water heater. Before I get into shopping for a new one, a brief PSA. Is your heater easily accessible? Do you have experience relighting the pilot? Have you already identified which valve shuts off the gas and which shuts off the water? If not, I recommend you take a look at your unit and get comfortable with how to make adjustments in case of an emergency. Either a cold water emergency or worse - gas or water leak emergency.
And back to shopping for everyone's favorite product. The biggest, and really, the only decision we had to make was if we wanted to go with the tank or tankless option. In short, the tank is your old fashioned giant cylinder hiding in your garage, closet, or backyard. Using either gas or electricity, it keeps oodles of water constantly hot. A tankless option is a small rectangle that sits on the wall patiently waiting for you to ask for hot water. When you open the tap, it turns on and heats the water as it passes through the unit. To decide which we wanted, we broke down the differences and evaluated how they fit our needs.
Tank: These big cylinders filled with 30-60 gallons of water don't do anything for aesthetics. They can eat up valuable real estate in a garage, closet, kitchen, bathroom, etc.
Tankless: They look like what someone in 1980 would imagine a 2020 backpack would look like. Or maybe more like a hand blow dryer in public bathrooms. They're little and mount on the wall instead of sitting on the ground. It's a perfect option for replacing a tank that sat in an ideal spot for anything other than a tank of water.
Our take: Our hot water heater sits outside of our house. It faces our neighbor's driveway and lives in its own hut attached to our exterior wall. It isn't bothering anyone at all, so we had no motivation to downsize.
Tank: Since the hot water is already heated, you get that hot water pretty much as soon as you turn on the tap. If you use up all of your hot water, you have to wait until the tank reheats itself which is not a fun thing to wait for while you're in the rinse and repeat stage of your shower.
Tankless: Since the water heats up when you ask for it, the unit needs a bit of time to heat up and get up to your preferred temperature. You'd have to keep the tap open and wait until the cold water becomes hot. But, you'll never run out of hot water once it's on so you can rinse and repeat all day long.
Our take: I lack patience and don't like wasting water waiting to get to the scolding hot temperature I need. Additionally, we've never run out of water, so the tank format is already working for our needs.
Tank: Imagine keeping a giant pot of water simmering on your stove at all times day and night. But imagine that pot is the size of a stout human. That's basically what the heater is doing. Not very efficient.
Tankless: It heats water only when you need it. Super efficient.
Our take: We love efficiency - this is the primary motivation to switch to tankless.
Tank: Gas tanks need only gas. Electric need only electricity.
Tankless: Even if your water is heated with gas, you need to run electrical to it so it can power the brains of the system.
Our take: Even though the tankless unit would be more efficient in terms of its energy to heat the gas, it's just one more device drawing power off the grid. Plus, we didn't have power available to easily run to the unit.
Tank: If a tank fails, it could leave you with a disastrous flood.
Tankless: If it breaks, you'll be without water, but luckily water won't be all over your floors.
Our take: Our unit is outside. If it failed, the neighbor kids could make a slip-n-slide in their driveway, and my garden would be happy. We're super lucky - not everyone has this luxury. However, if our neighborhood's power goes out (which it does frequently in the hot summers) we would be without hot water - which I guess we wouldn't really even want in the hot summers anyway. But I've heard some folks report that turning the tankless unit back on is a real pain and not just a something that turns on when that surge of electricity comes back.
Tank: If we experience a natural disaster (like a California eathquake) I like knowing that we have 50 gallons of drinking water that can easily be accessed. If our power goes out, we’ll still have 50 gallons of hot water in the tank that would still provide us with a warm shower until it cools to the outside temperature, or until the power goes on.
Tankless: Water isn’t stored in the tankless system, so we don’t have any reserve in the event of an emergency.
Our take: I’m by no means “a prepper” but I like being prepared and find comfort in having the water available if needed.
Tank: We were quoted $1,200 for a 40 gallon tank replacement.
Tankless: We were quoted $3,500 for a new unit.
Our take: Depending on how much you value each of the above items, the extra price of tankless may be moot. Or, depending on your area and capacity needs, the prices may be more similar. However, since we didn't need the smaller size or more demand, the extra price was really just to get a more efficient unit. Getting a return on the savings is debatable.
Are you still with me? Is a post all about my logic for buying a house utility at all interesting?
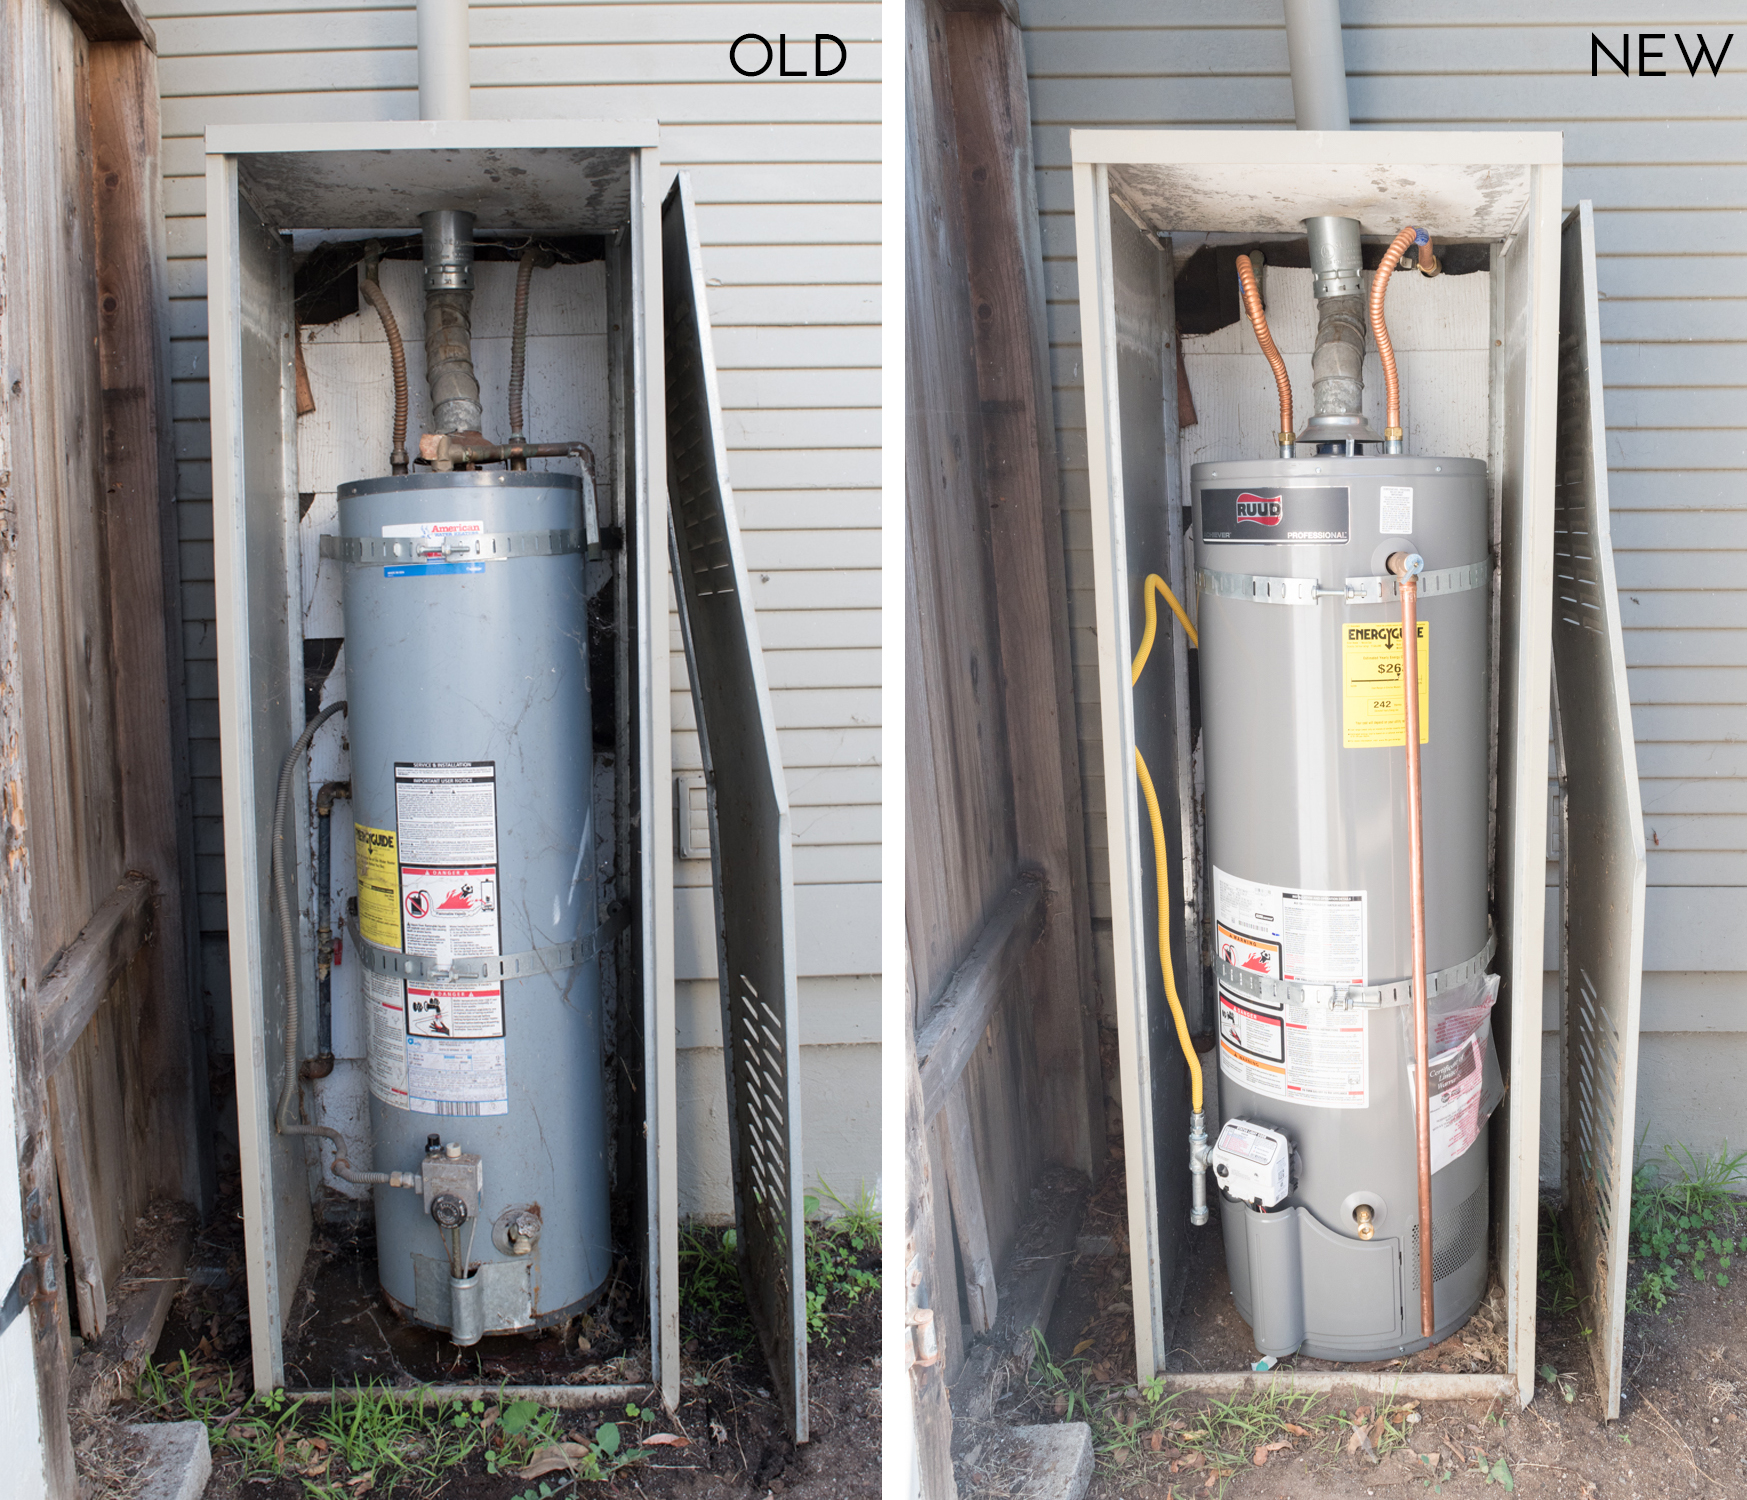
We bought a tank. A boring run-of-the-mill 40-gallon tank. You probably could have guessed it, but the benefits of tankless just don't apply to us. Maybe if we go solar we can get an electric thankless unit in a few years when the tank ultimately fails. (fingers crossed for solar!)
I drew all of my information from my online research and hearing from your experiences! But, if I missed anything, please use the comments section to weigh in and share your thoughts. I'd like to see this blog serve as a resource based on your experiences as well as mine!
Isn't she pretty?
A few weeks ago, Sarah of Room for Tuesday shared her favorite blogs. Some are the tippy top bloggers, and others aren't yet the hot shots (she even included me. meee??? I'm still blushing). It has me inspired to share some of the Instagram accounts that I adore, but don't (yet!) have the biggest following.
Without further ado, my favorite up-and-coming home/design/interiors Instagrammers with fewer than 2,000 fans.
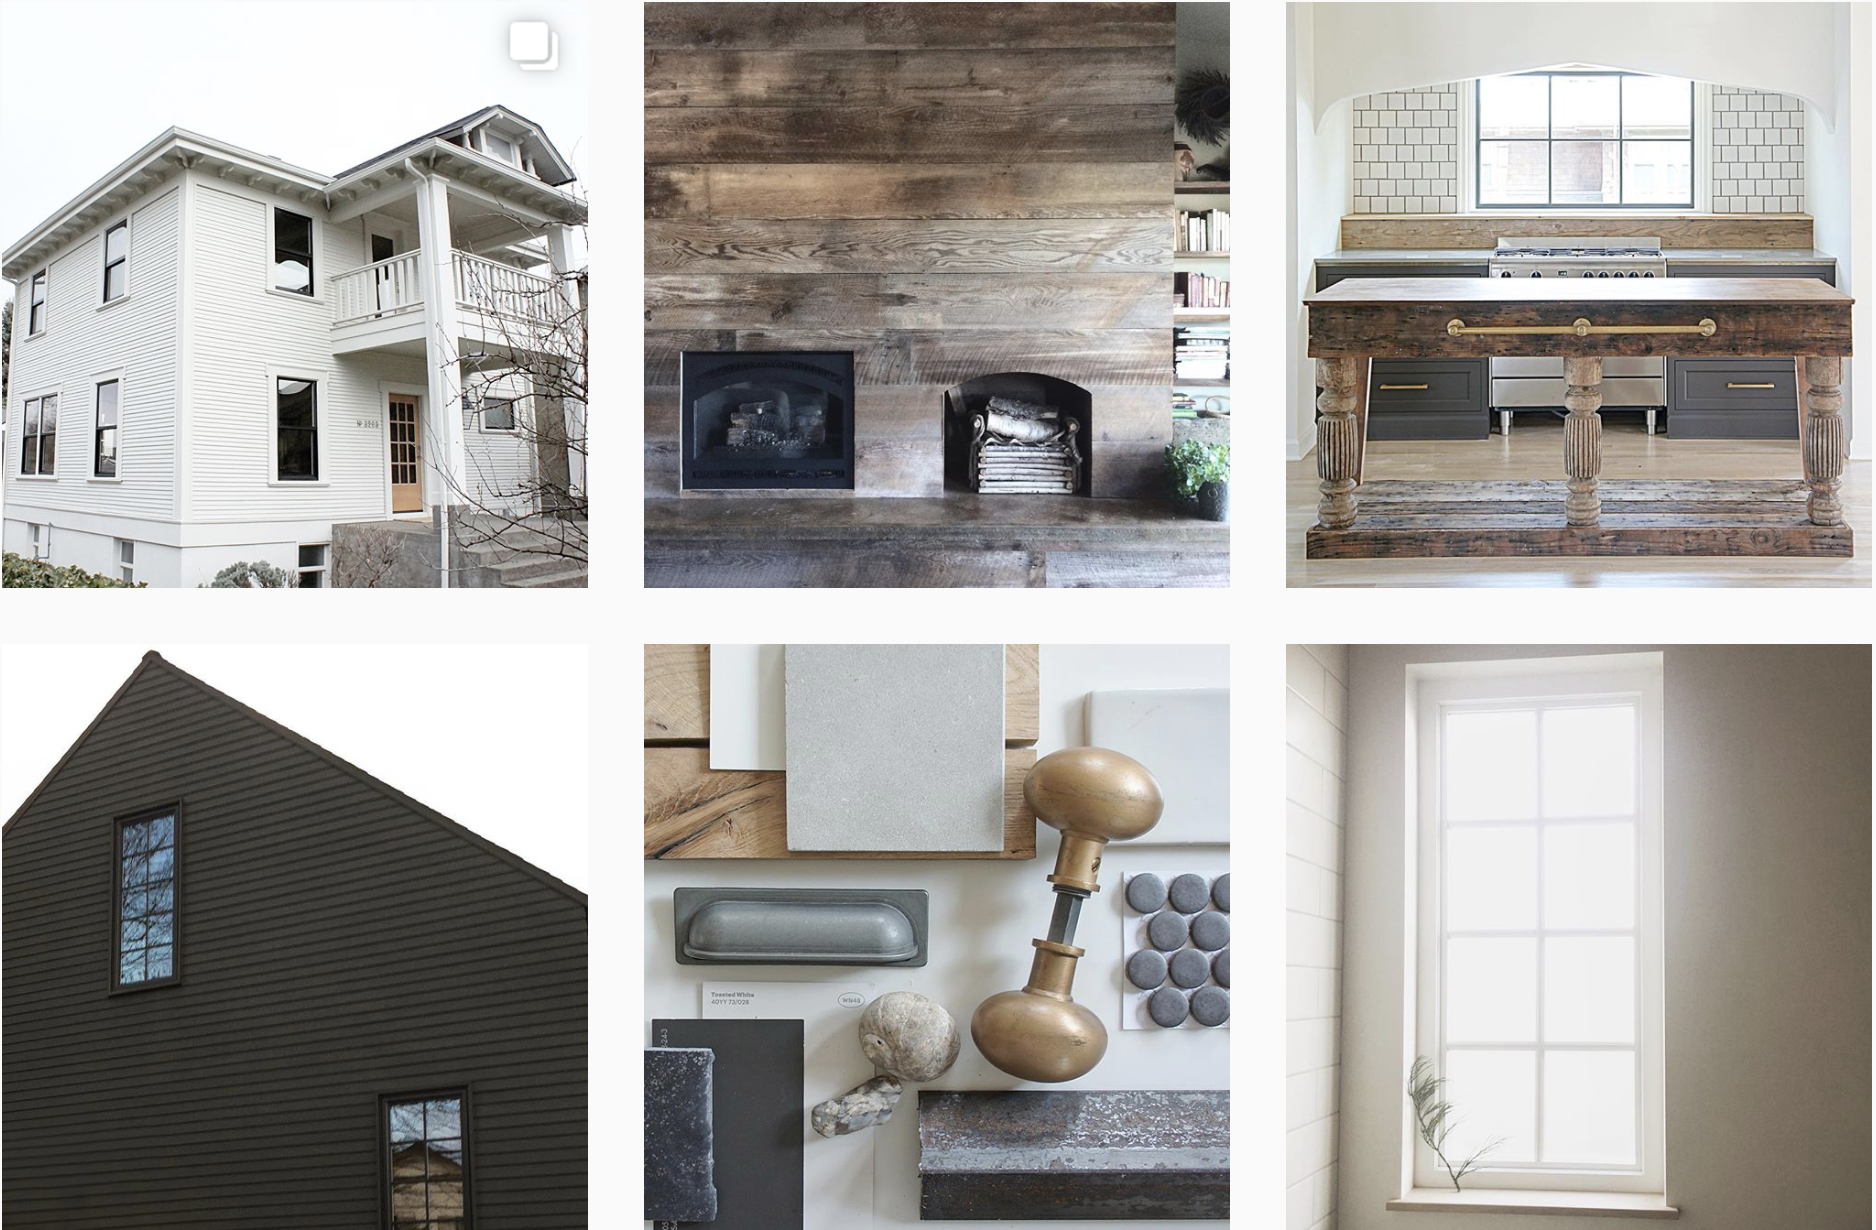
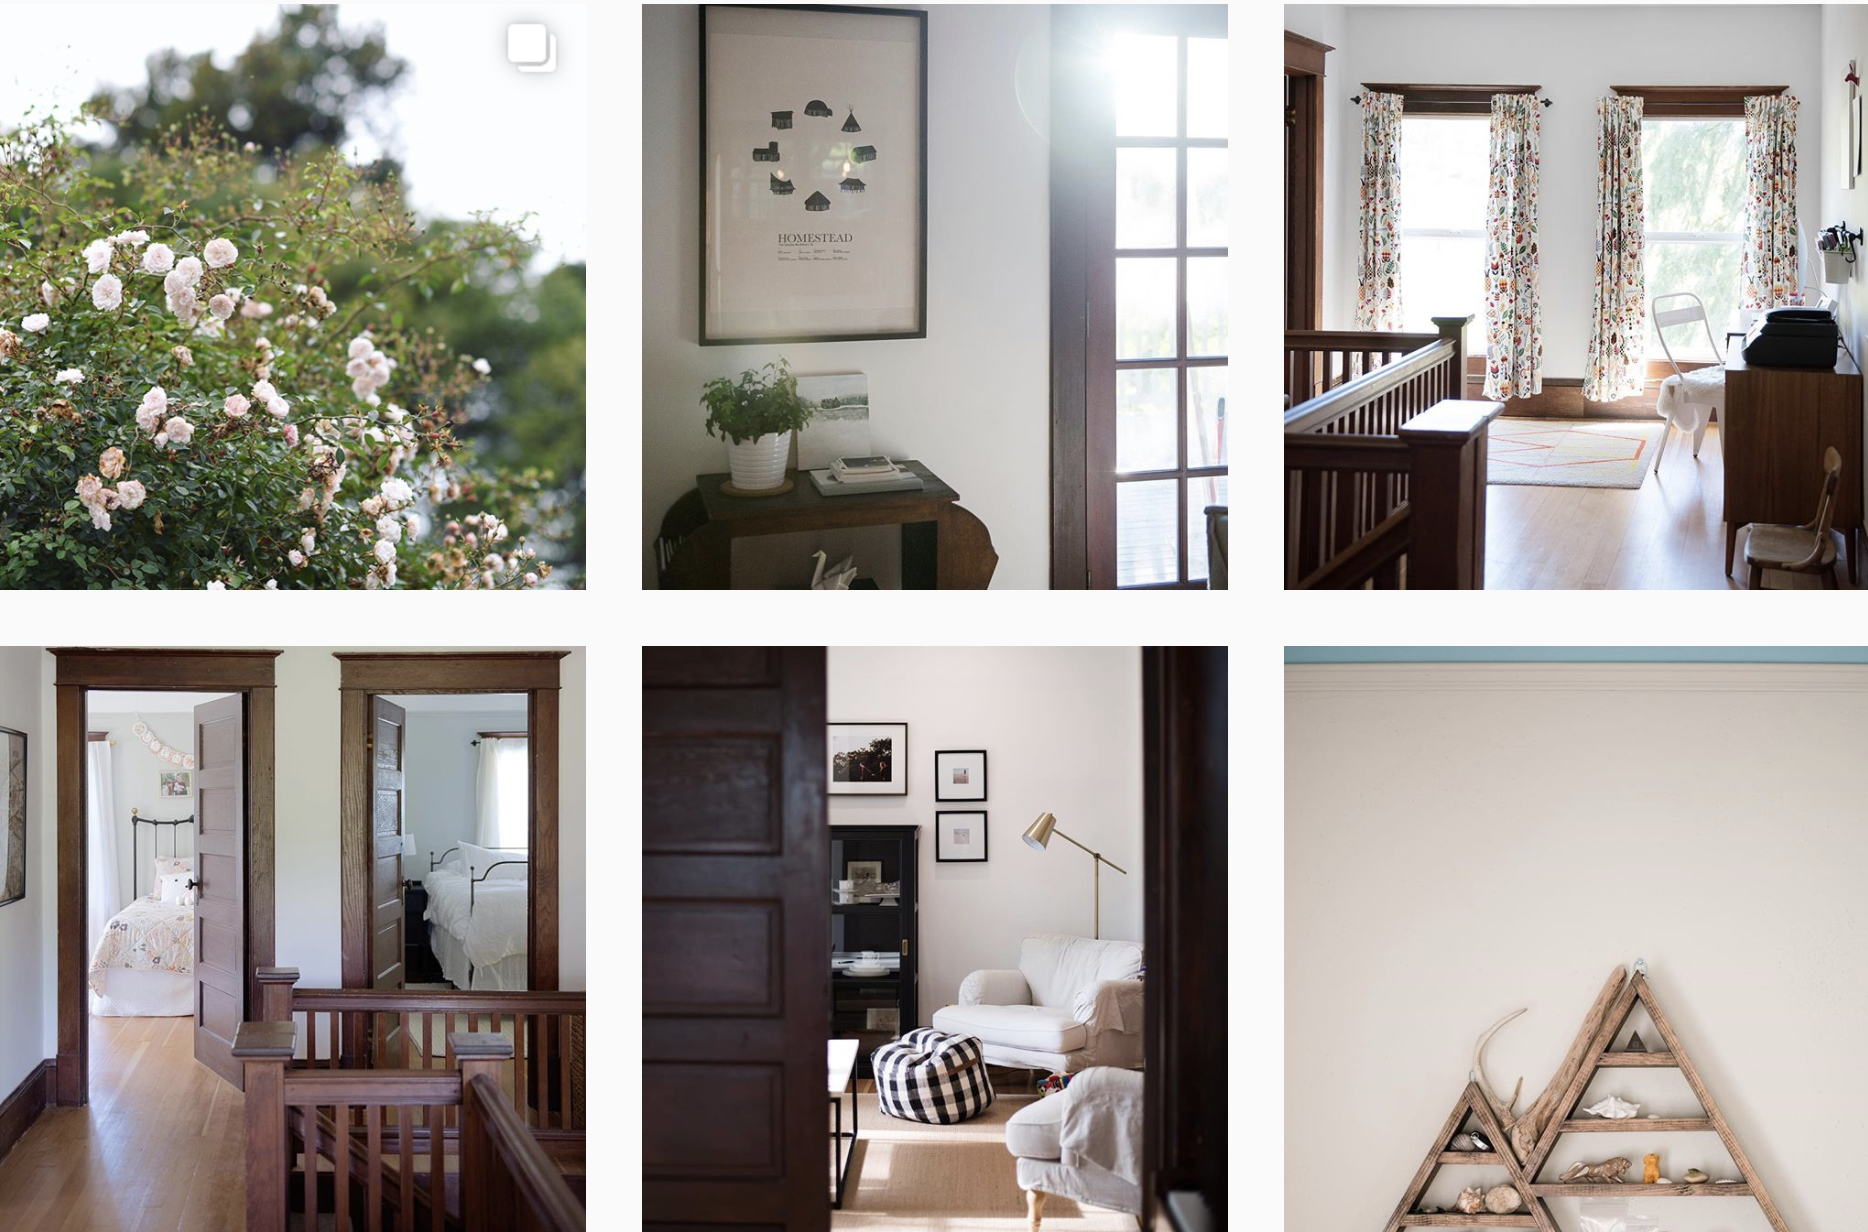
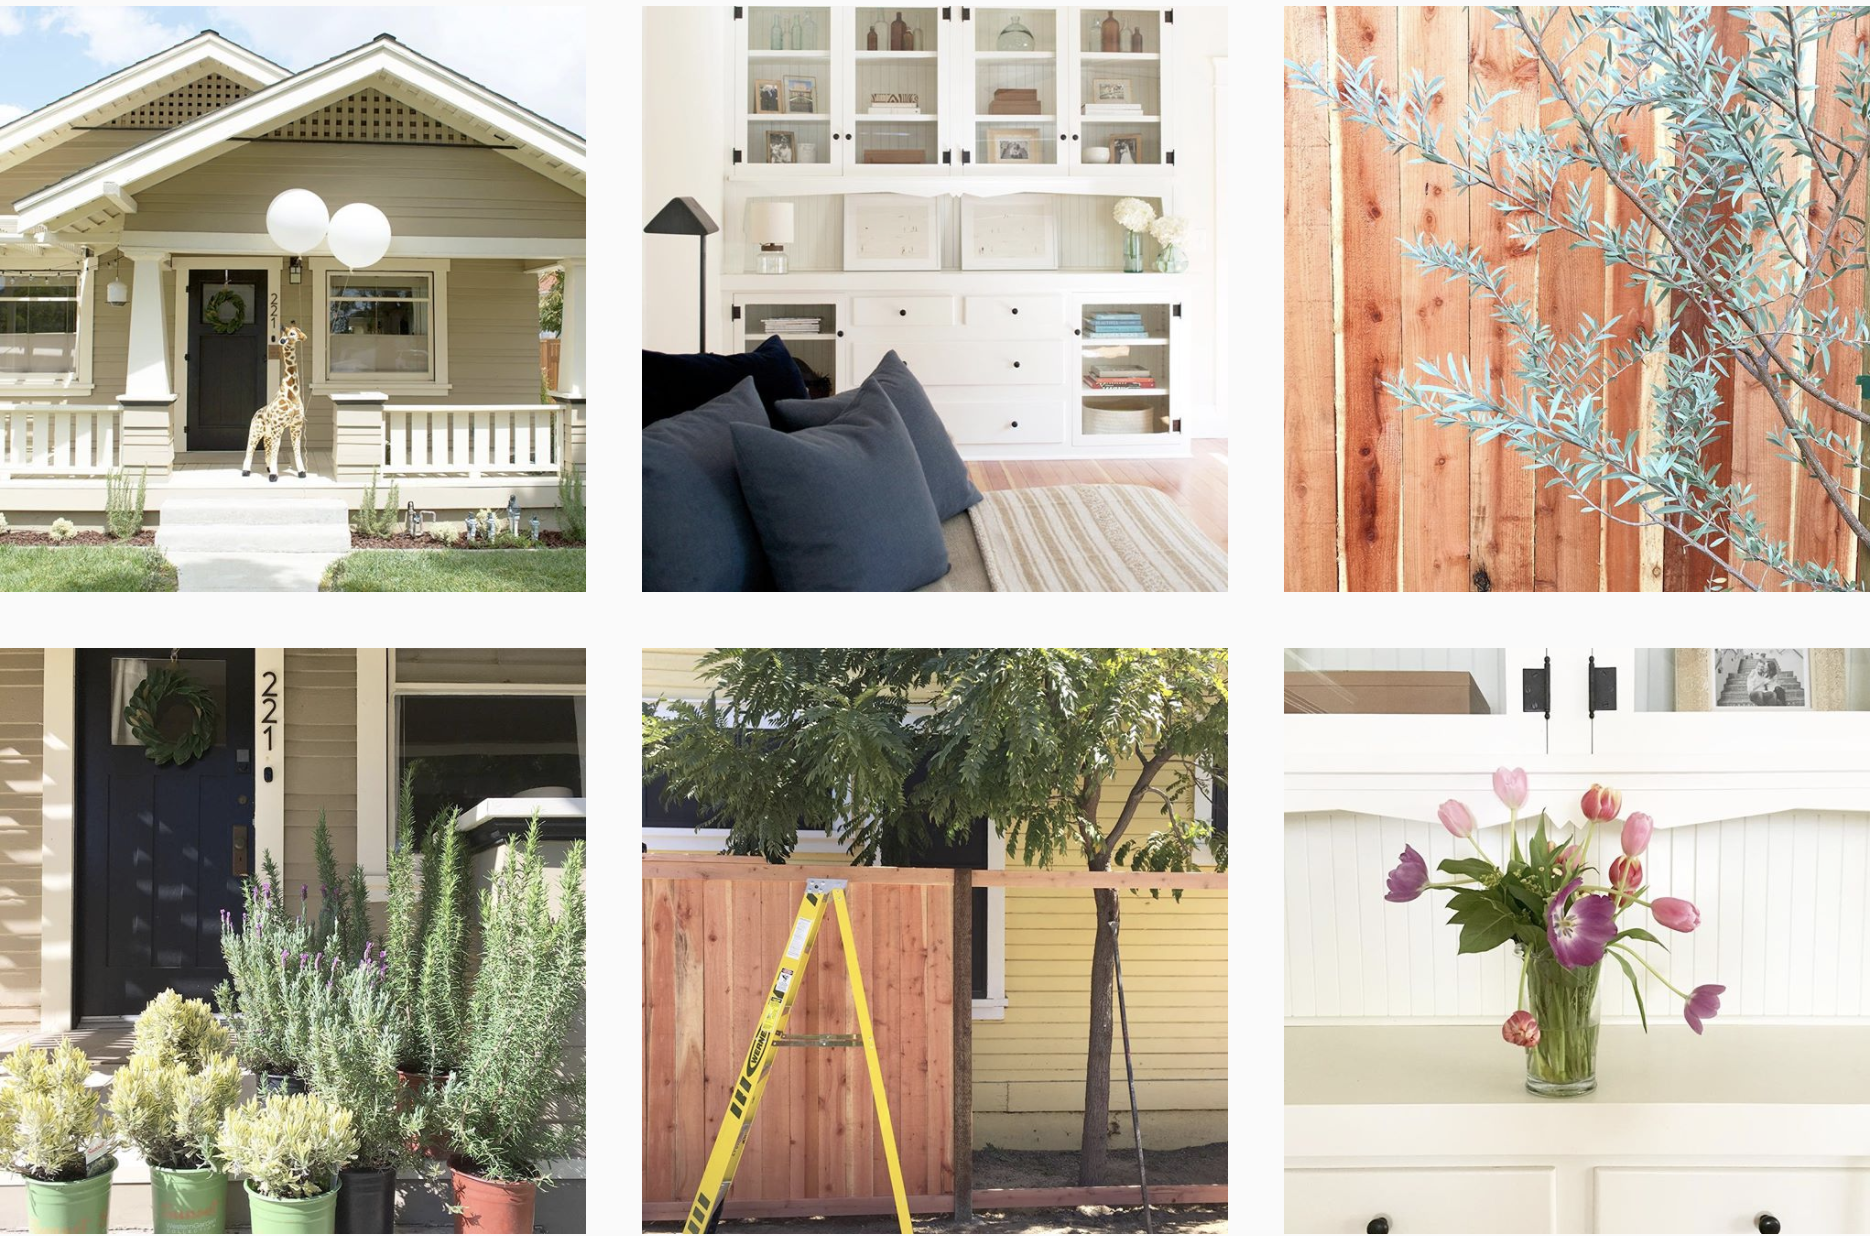

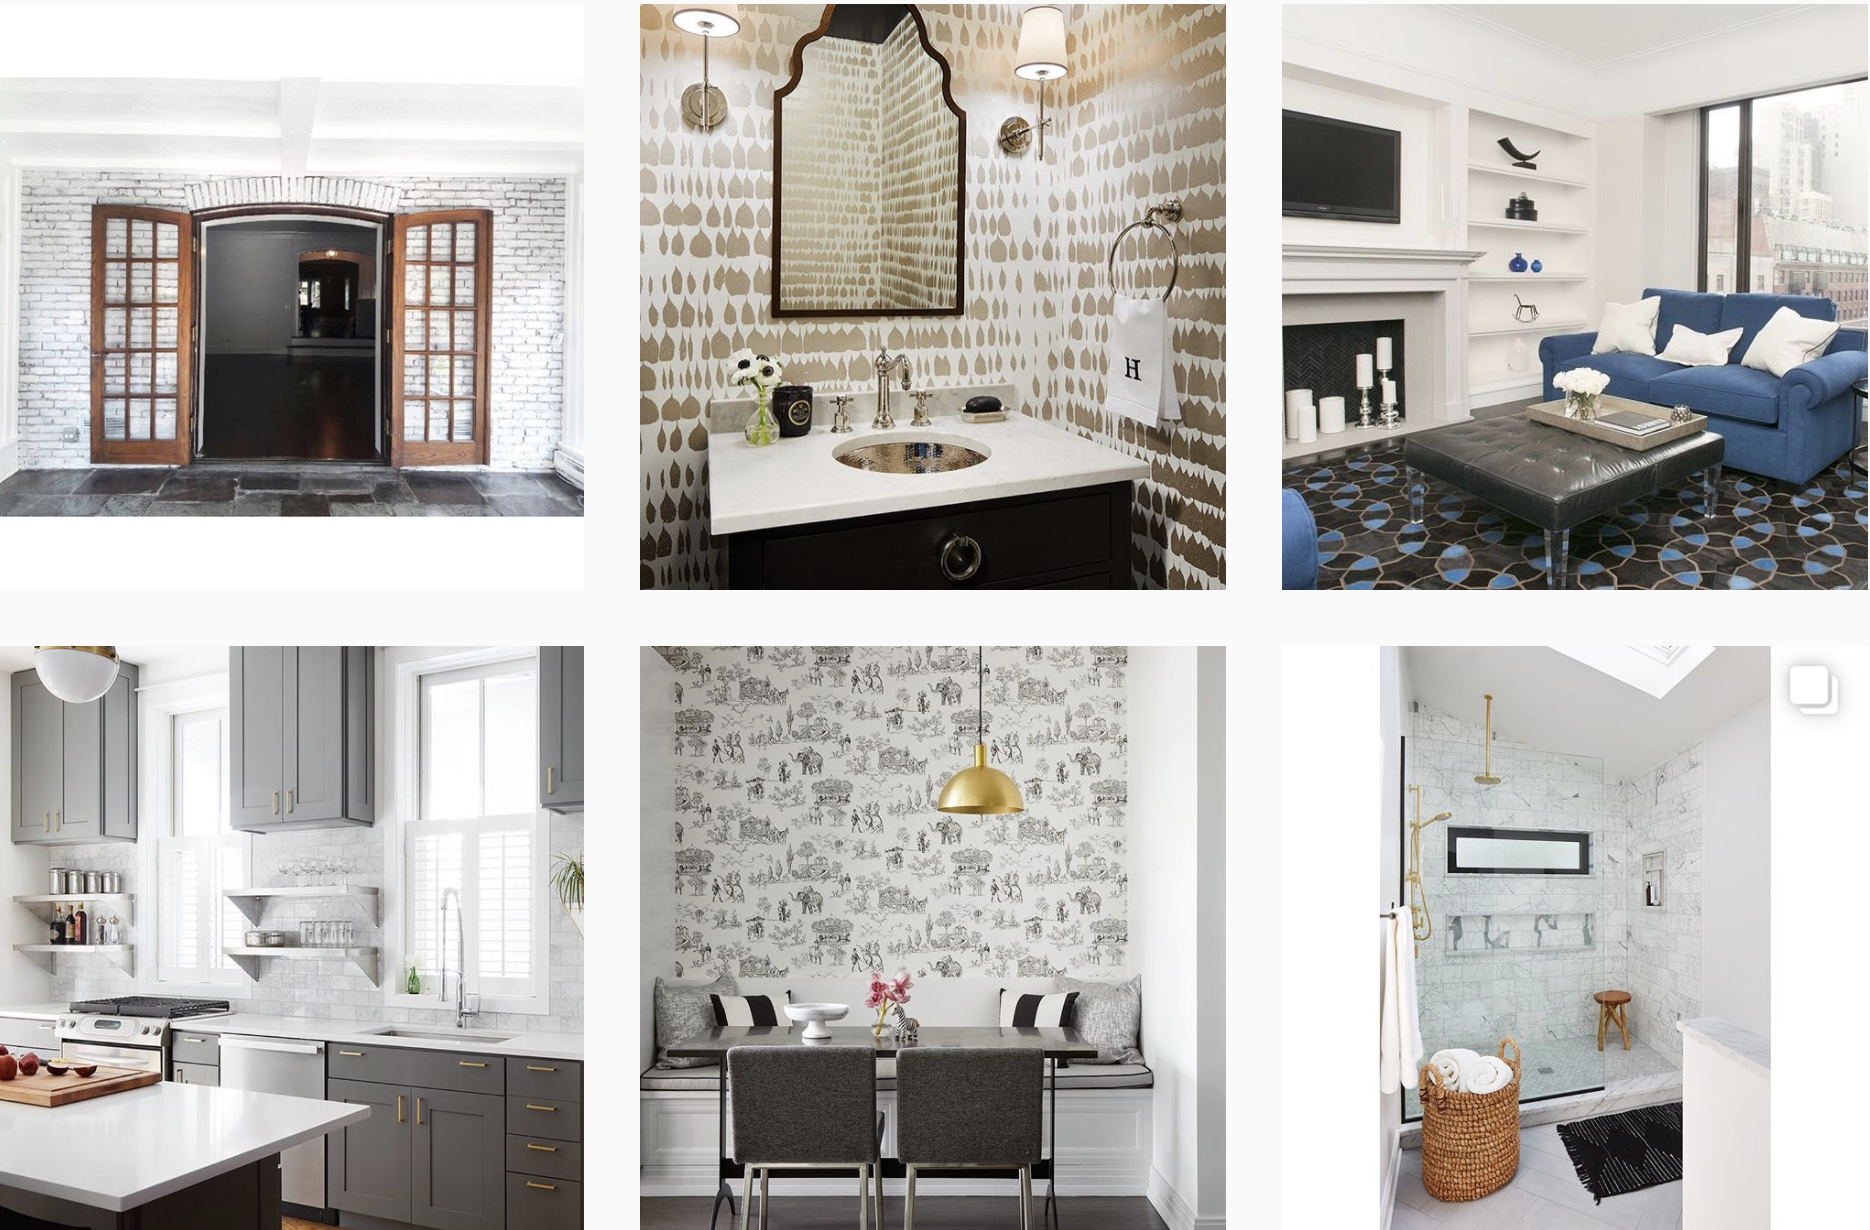
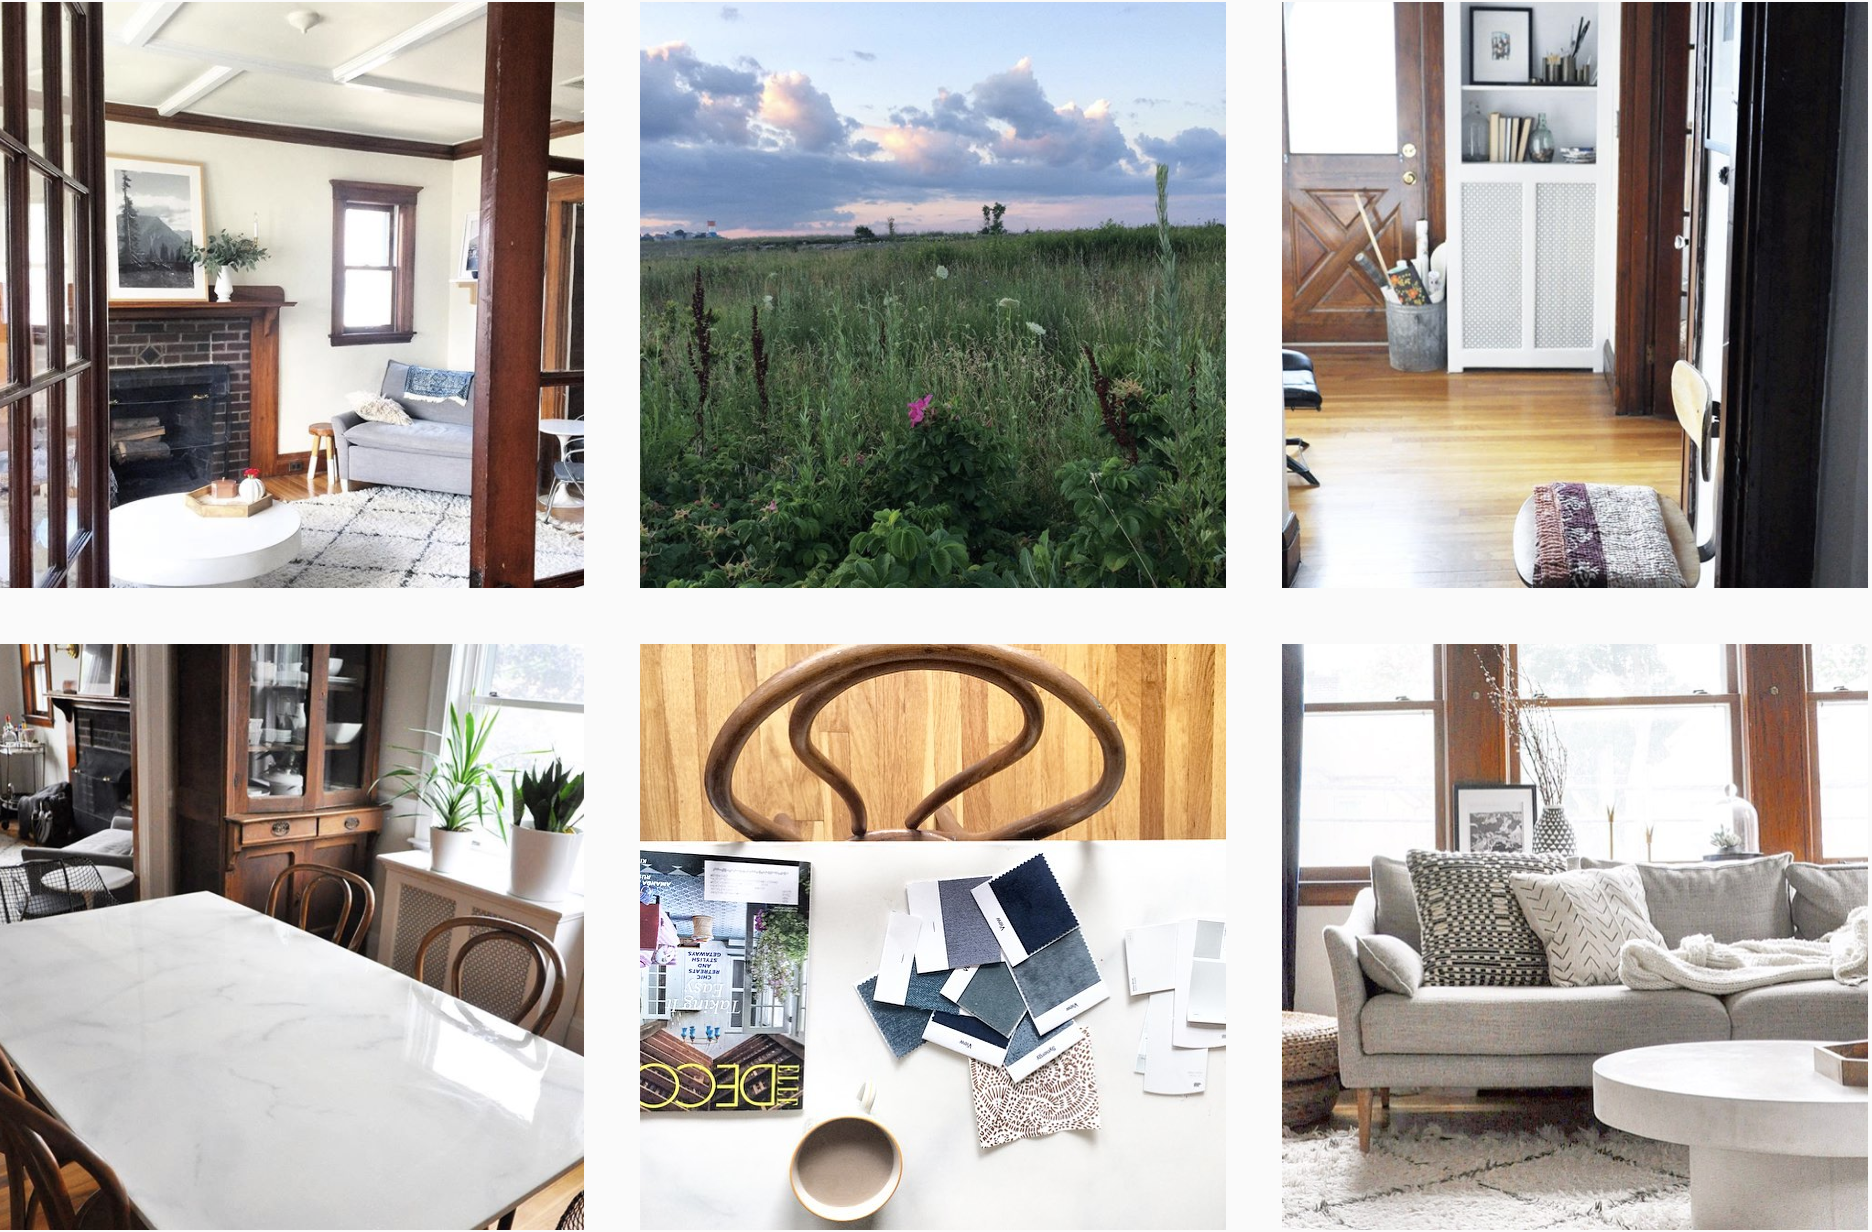
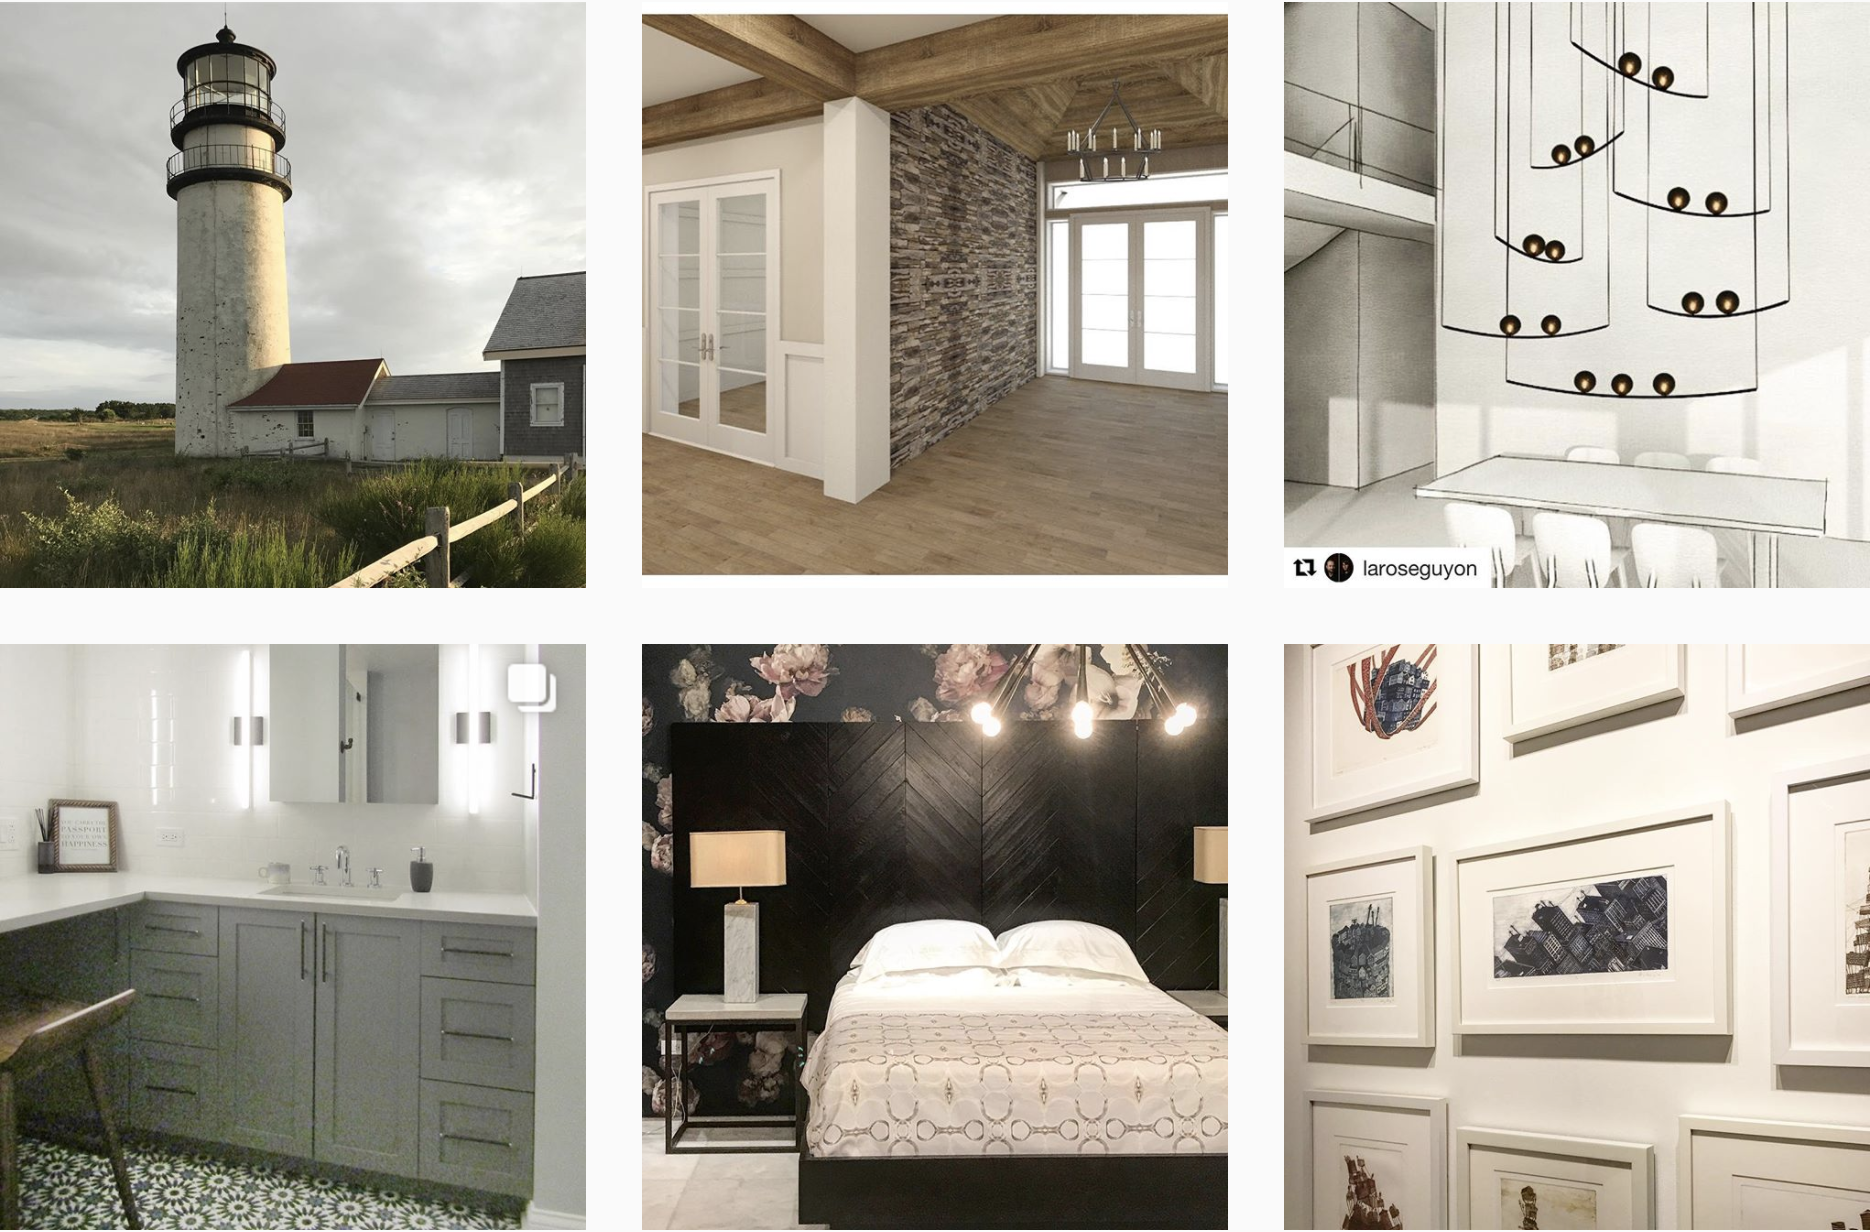
Be sure to follow all of those folks - they're doing great things!
Who did I forget? Am I missing anyone? Please share your favorite accounts that are still growing!
I don't believe that there are rules for styling shelves. It's such a unique and personal way of showing off your collection, that preaching my rules feels just plain wrong. I will, however, share my number one tip!
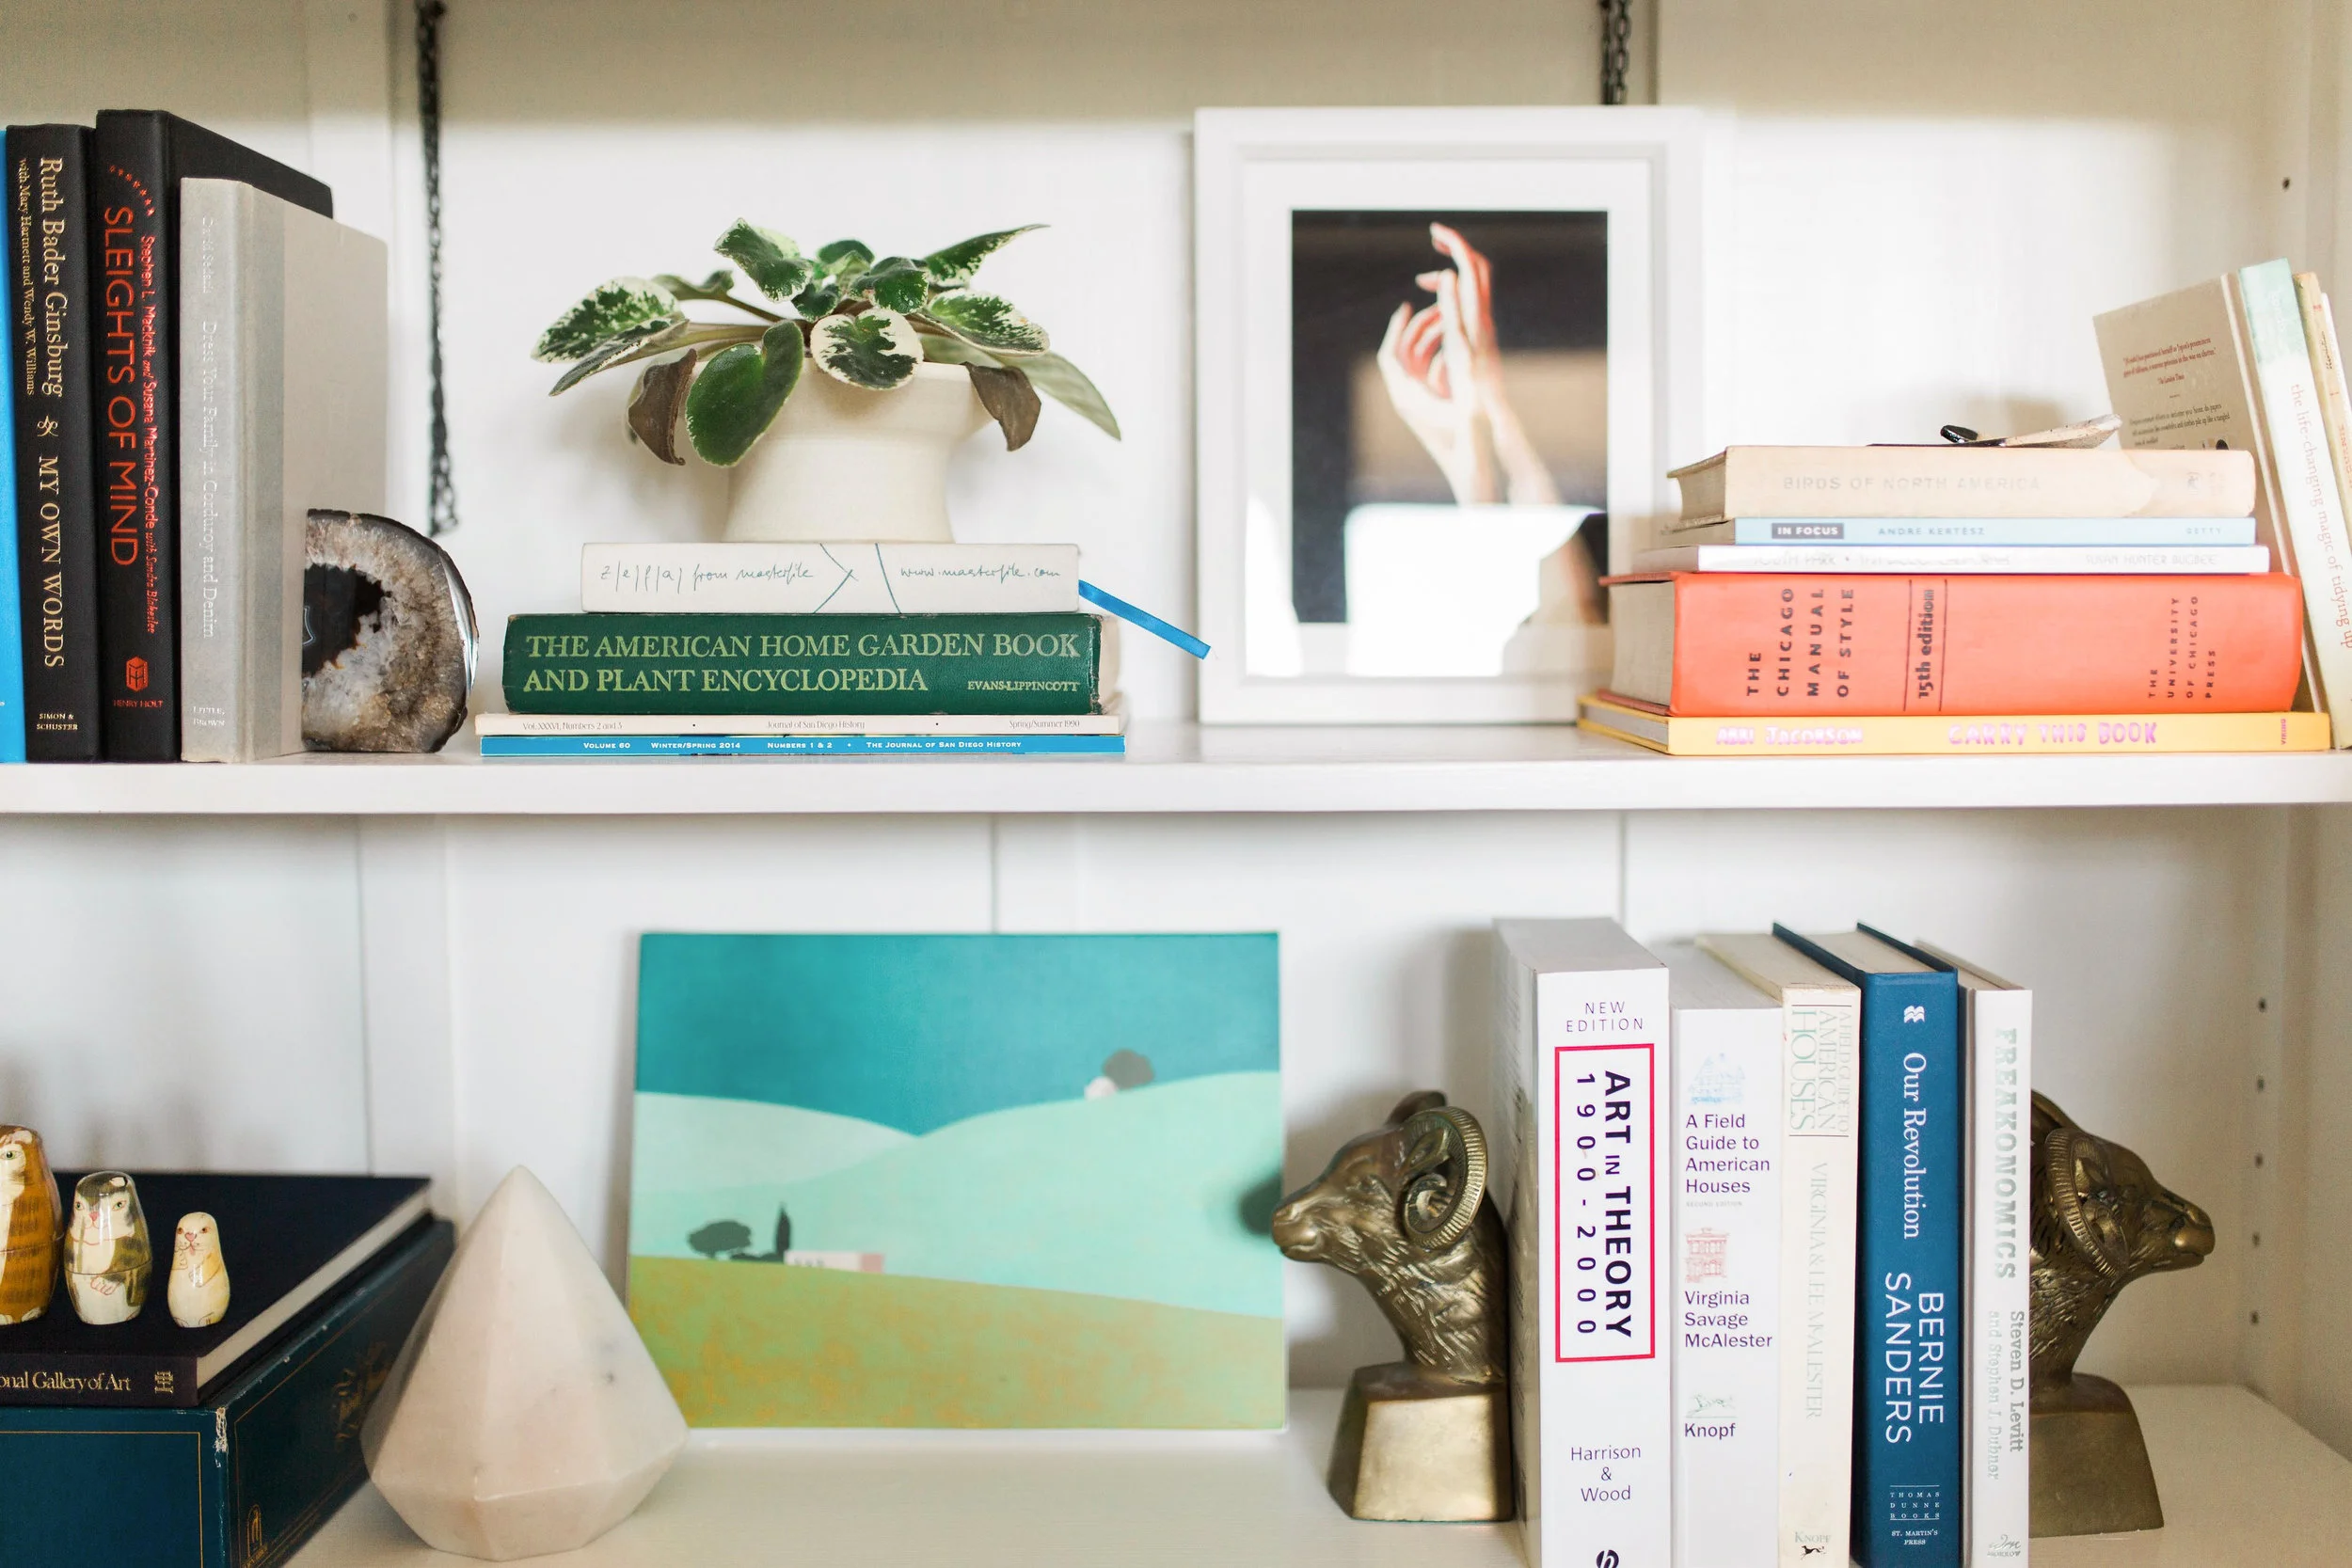
One of the best ways to dress up, or rather, dress down your books is to remove their dust jackets. The floppy papers wrapped around the covers have lots of color/style variety, so removing them can strip the book down to its simplest form. The book's actual spine is traditionally one color, with an understated typeface. It's so much more of a classic style that keeps your bookcase looking more intentional, and I actually find it easier to locate my favorite reads.
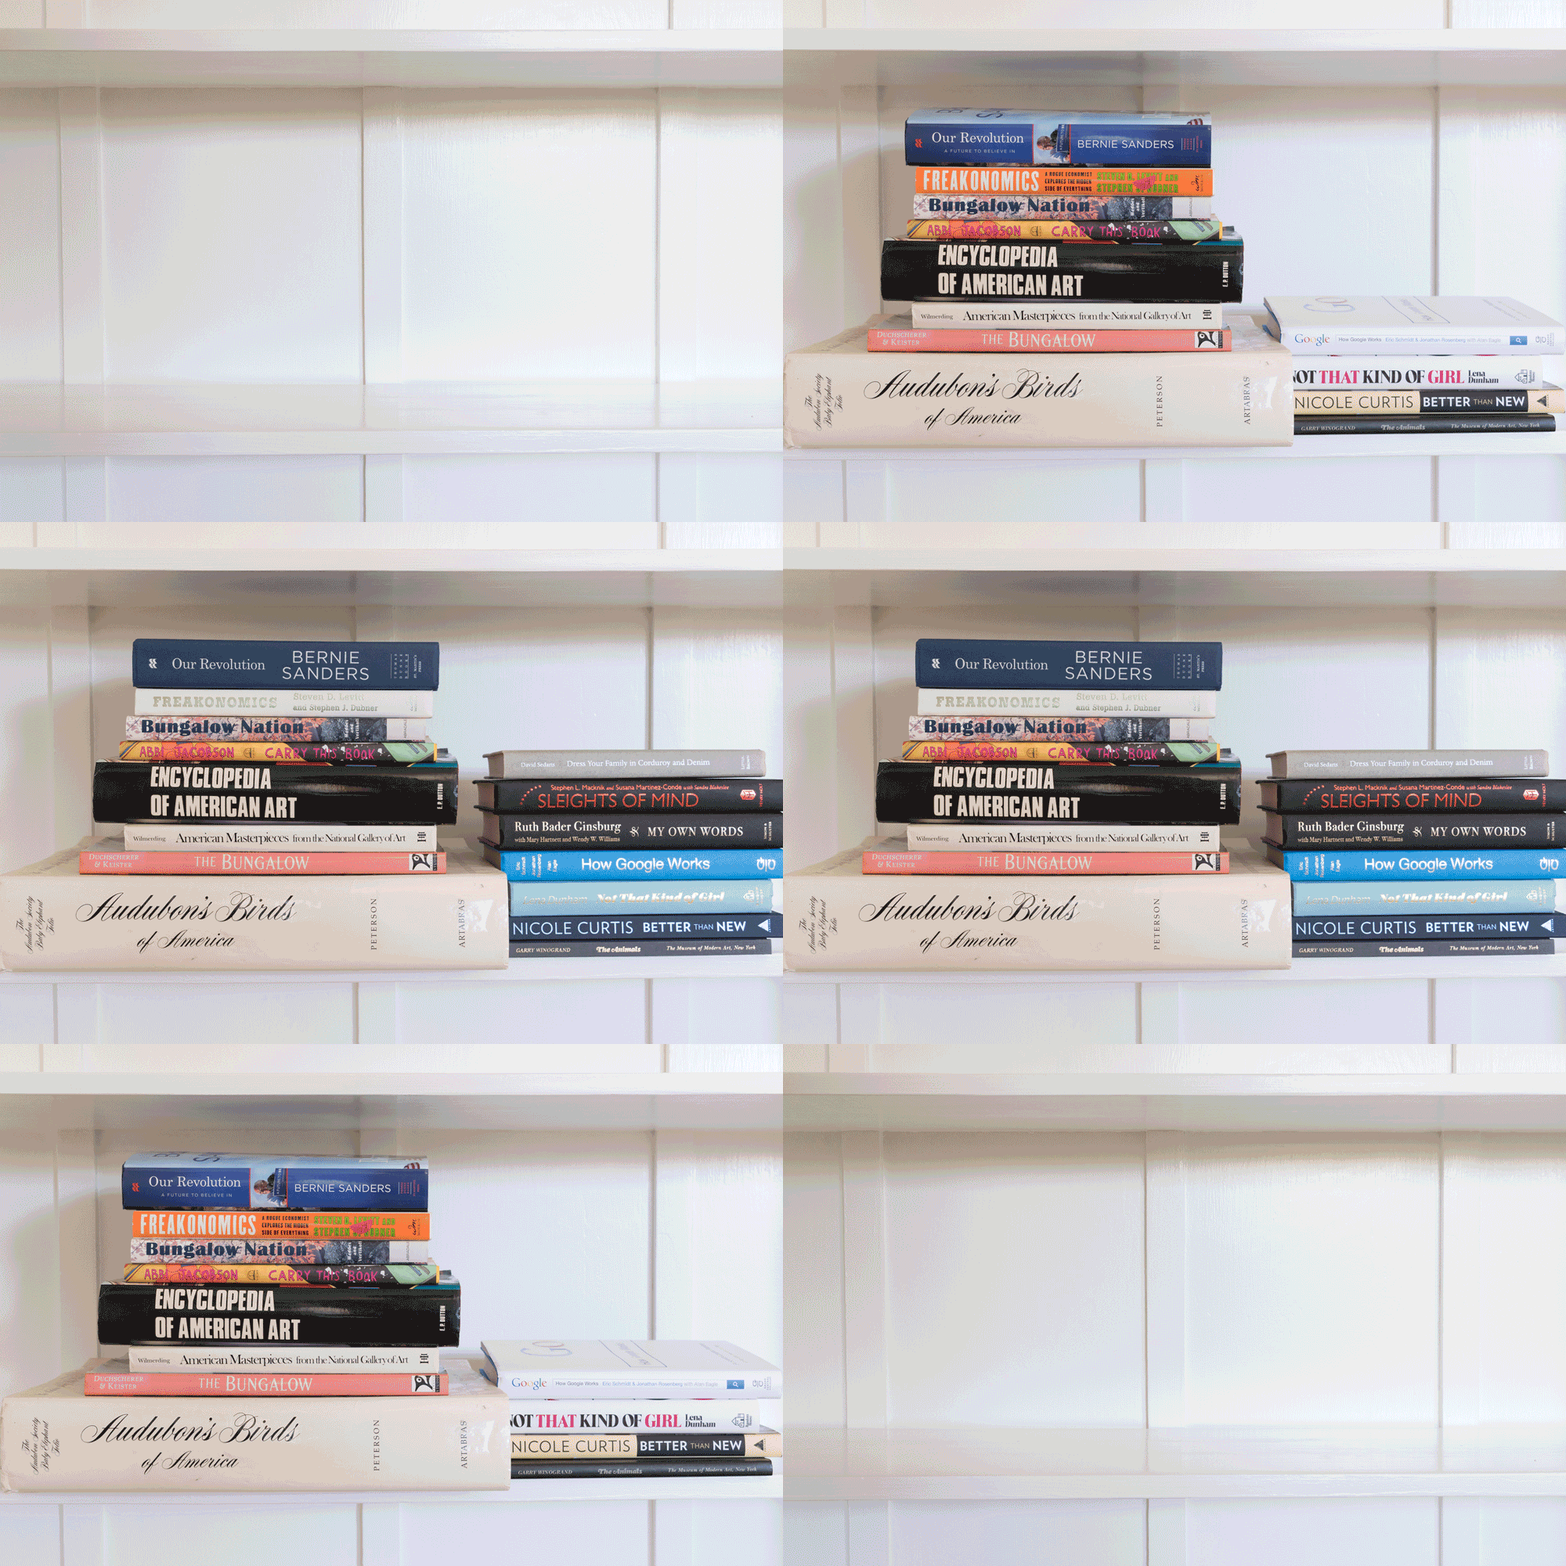
Everyone loves an animated gif, so I put one together to show off how much of a difference removing the dust jacket makes. (If you're reading this in an RSS reader, click through to the original post to see the animation.)
If you're less of a gif animation person and more of a spot-the-different person, well, here you go:
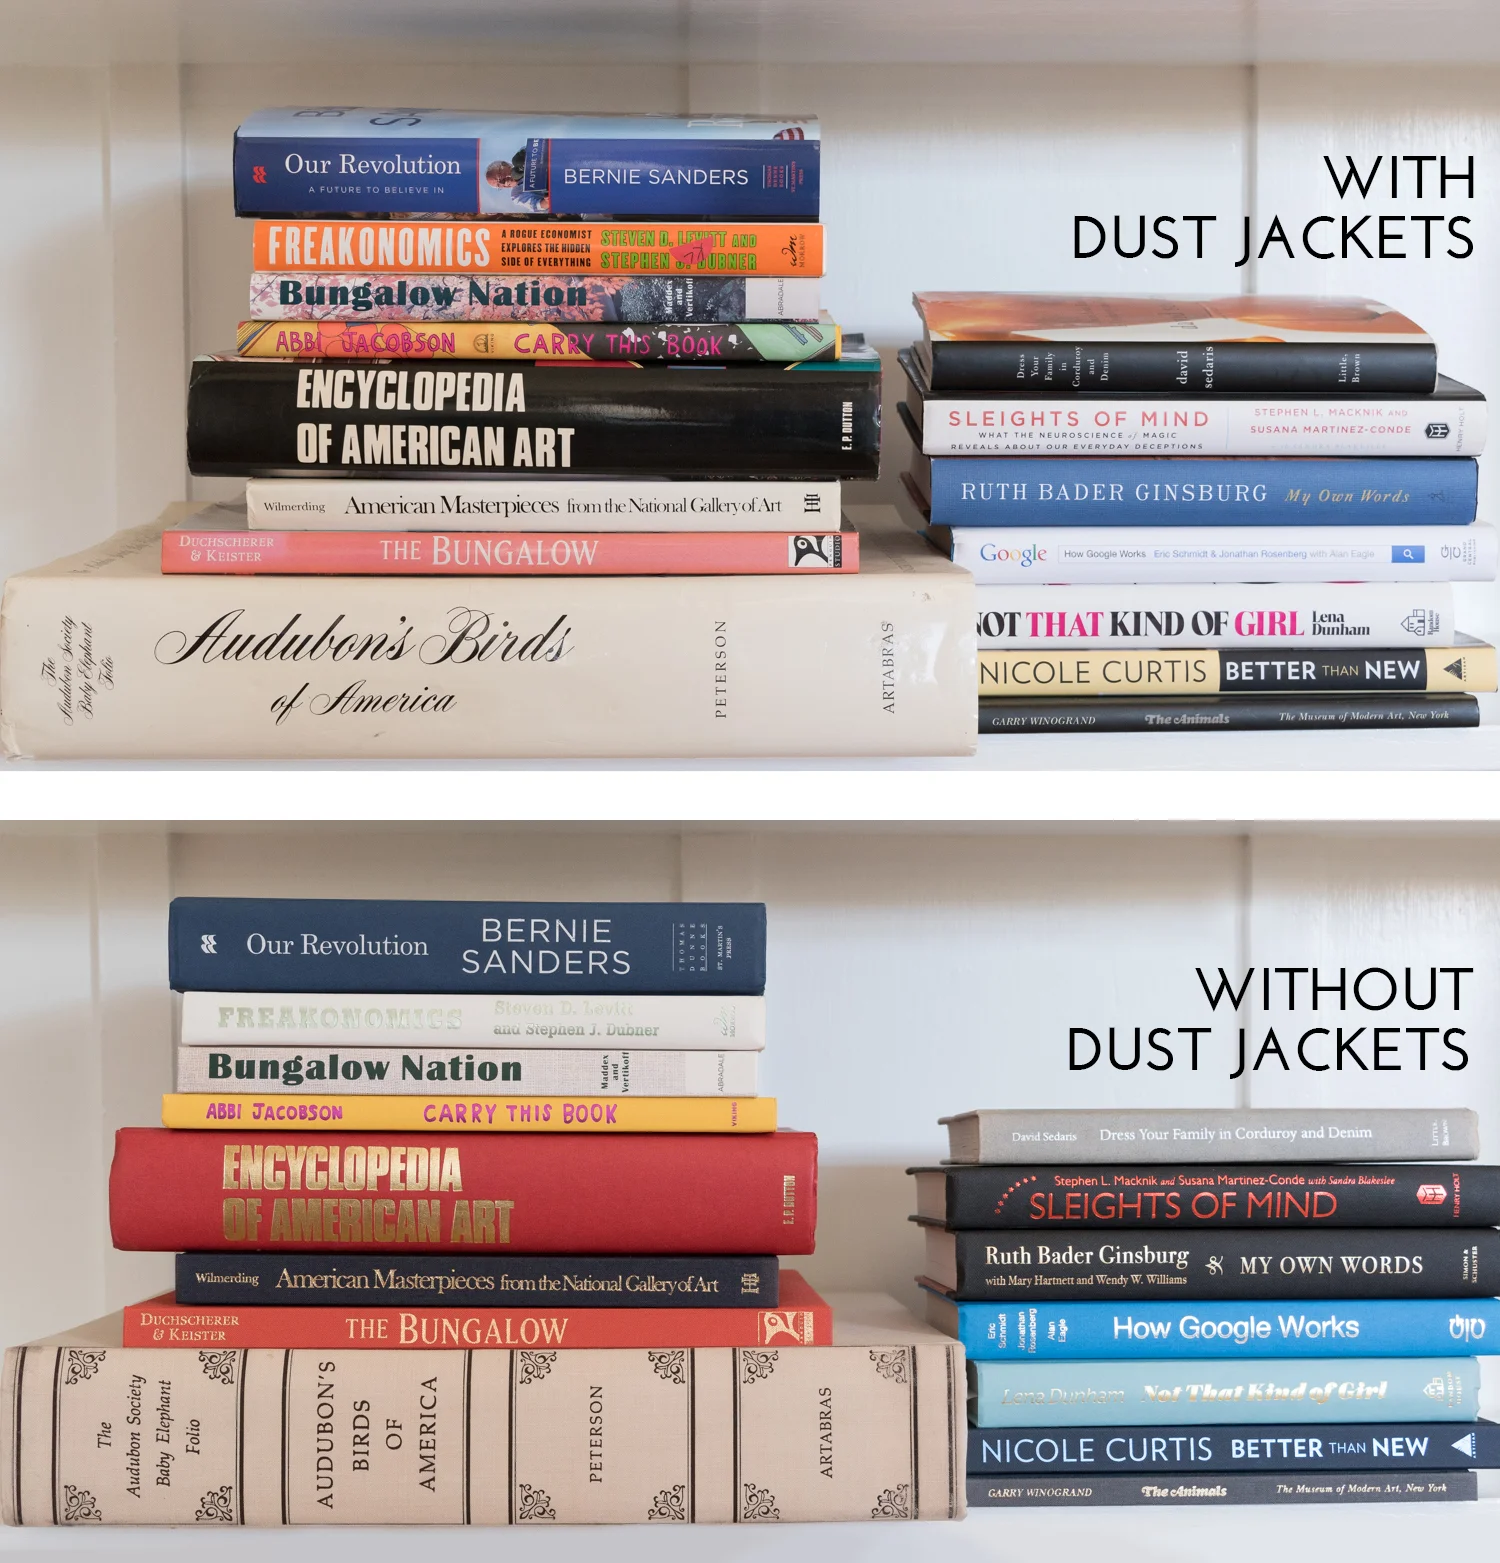
Did you see the Audubon book without its jacket?? So. Pretty.
Once I stripped the books of their jackets, I collected things that I love from around my home and moved them around on the shelves until it felt right.
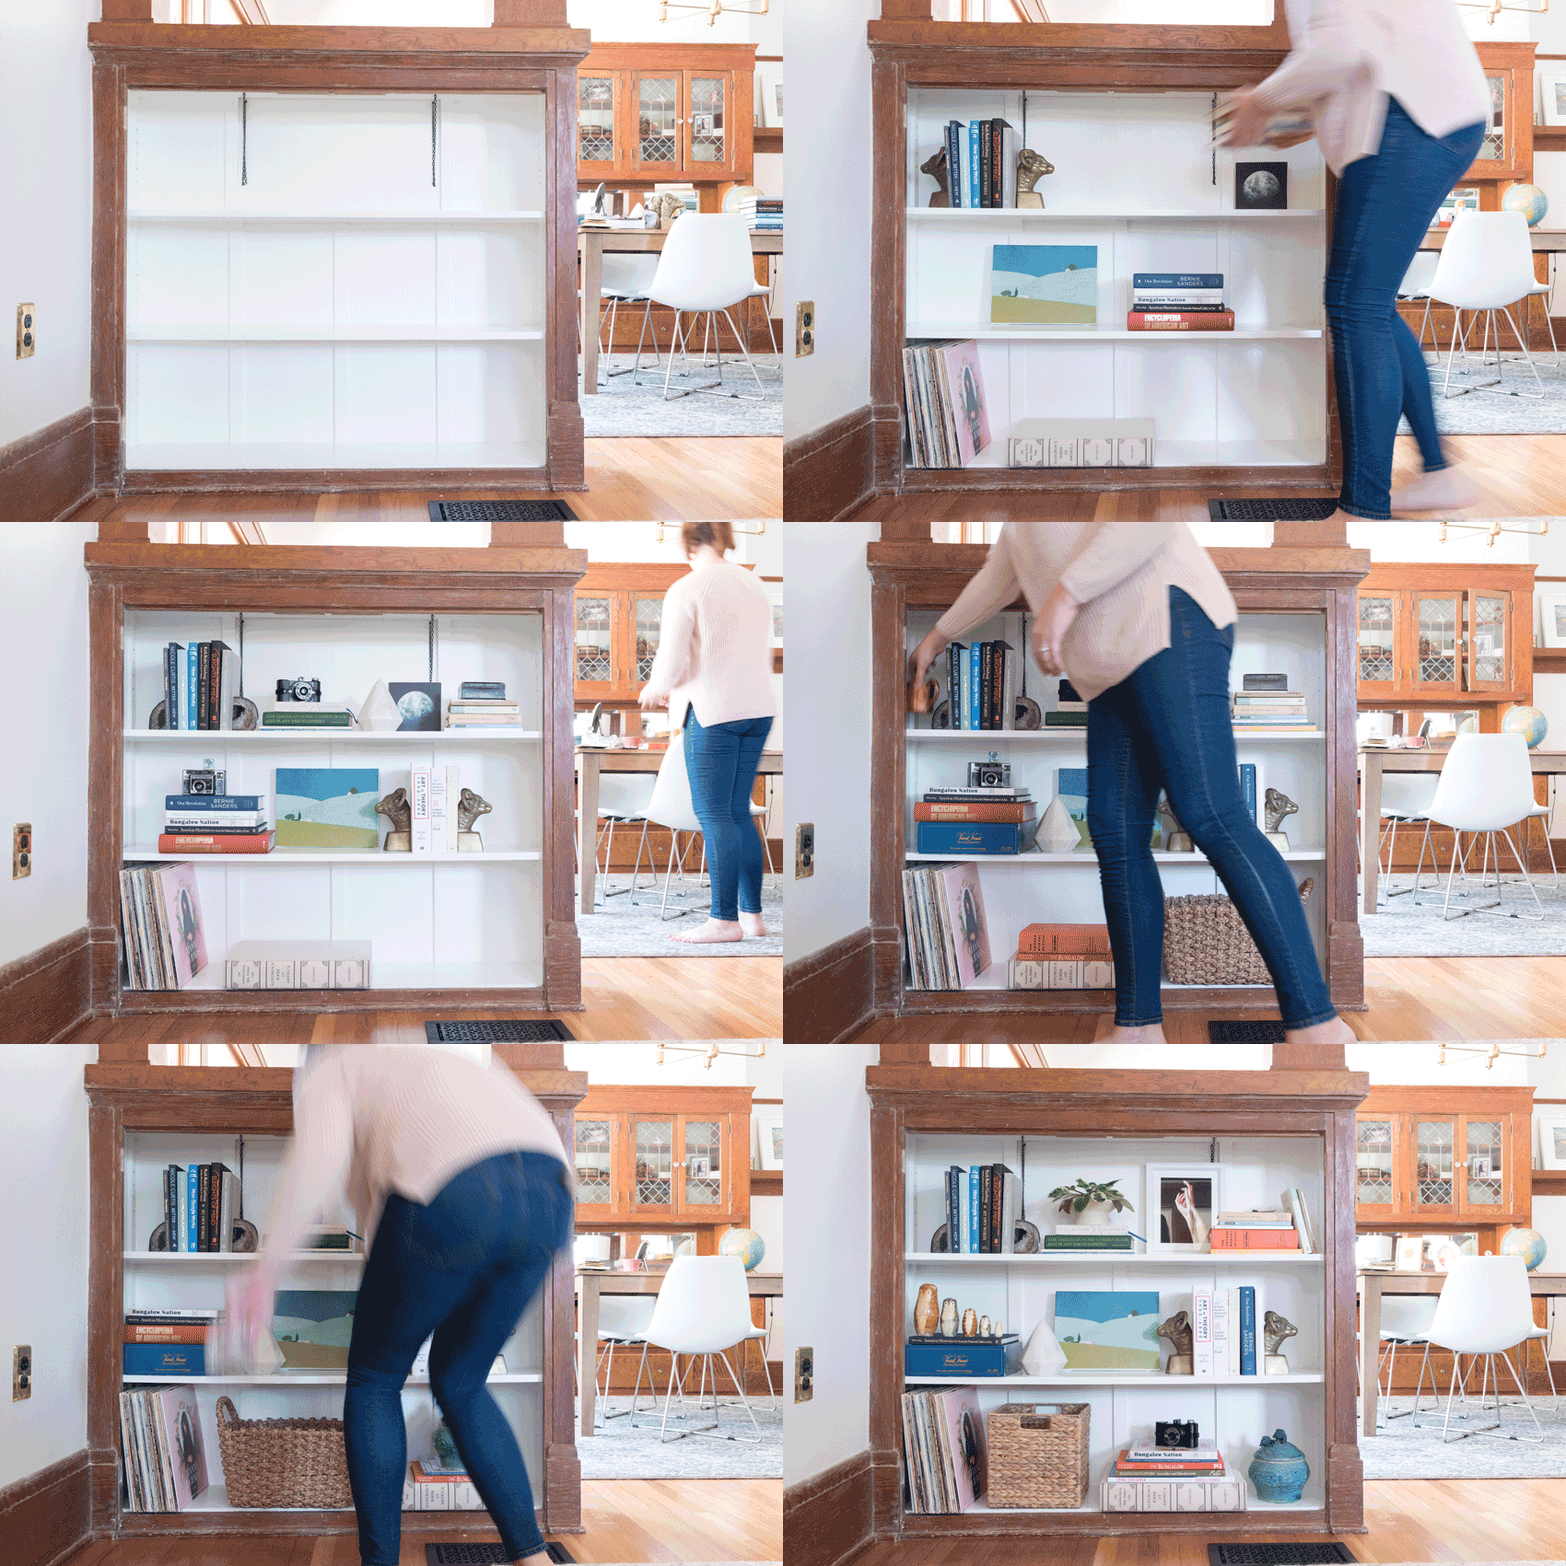
That timelapse (if you're in an RSS reader, you may have missed it and you should click here to see it) was my whole entire process. You can see I changed my mind several times, and kept tweaking over and over. My approach is more organic and less crafted than profesh designers might do.
As I made changes, I kept an eye on color, texture, height, and objects - aiming to vary them throughout the bookcase. It isn't perfect, and I'm still continuing to tweak things.
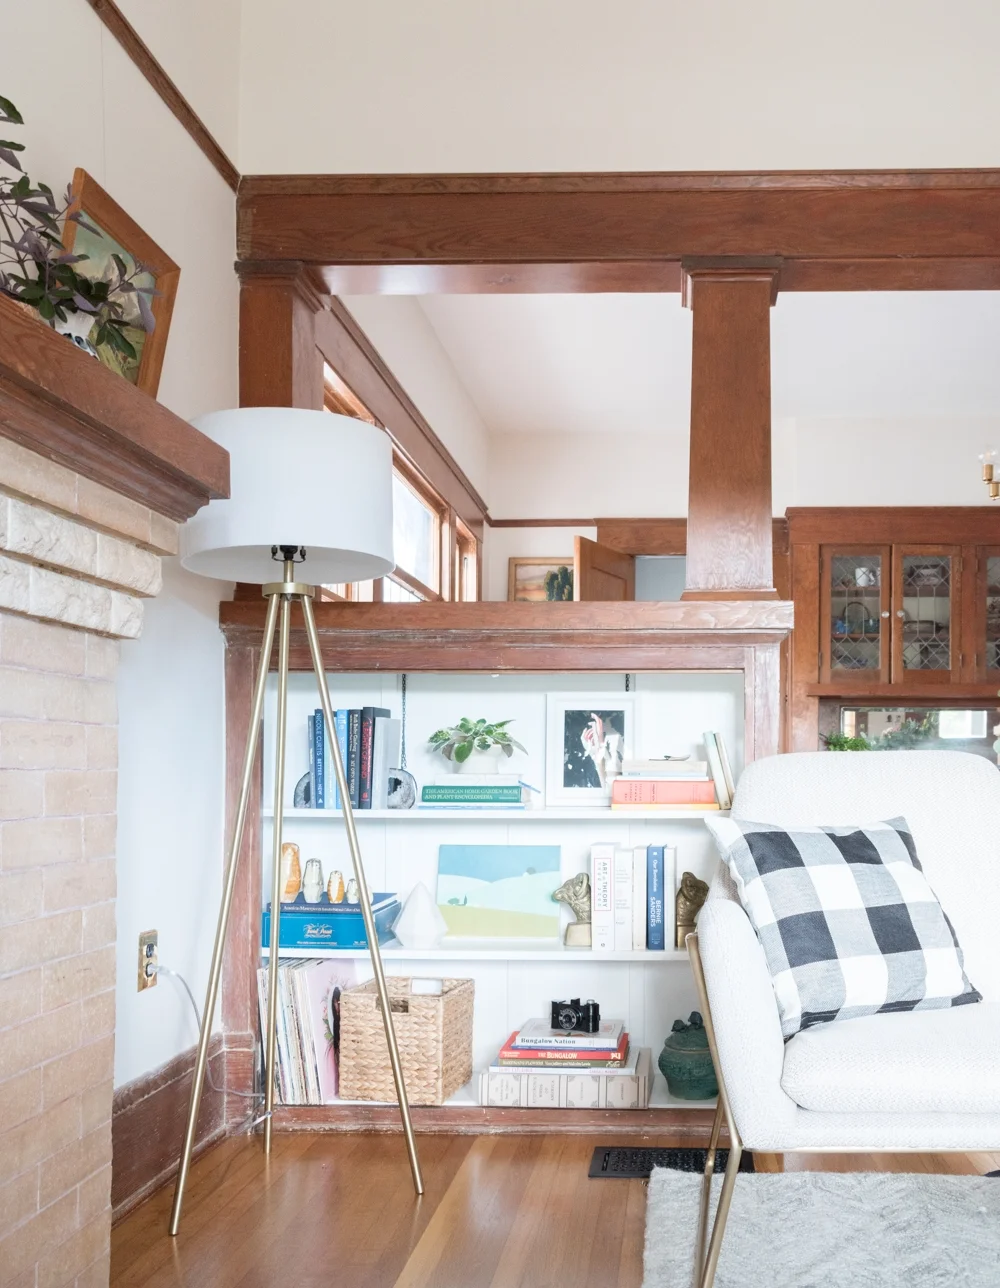
If you want to get serious about styling your shelves, you could keep everything to a uniform color palette, turn less-pretty spines to the back, or use more sculptural items to match a theme. However, I like books for being books. I'm generally not a fan of the shelves that organize the spines by color.
I also like to style my home with things that I find to be unique or heirloom-y. I'll supplement with knick knacks from Home Goods, but what I love about this shelf most is the vintage camera, the handmade pottery, the books we like to read, the record from a recent concert, the old-school Trivial Pursuit game, and the artwork that I'm drawn to.
But really, you do you. Go for the monochromatic scheme, the packed-to-the-gills library, the minimal look, or the filled-with-tchotchkes collection. I encourage you to make it feel like a representation of you and your home!
Looking to add more to your shelves? Below are a few of the items on our bookshelf. But we'd like to add more, what are your book recommendations??
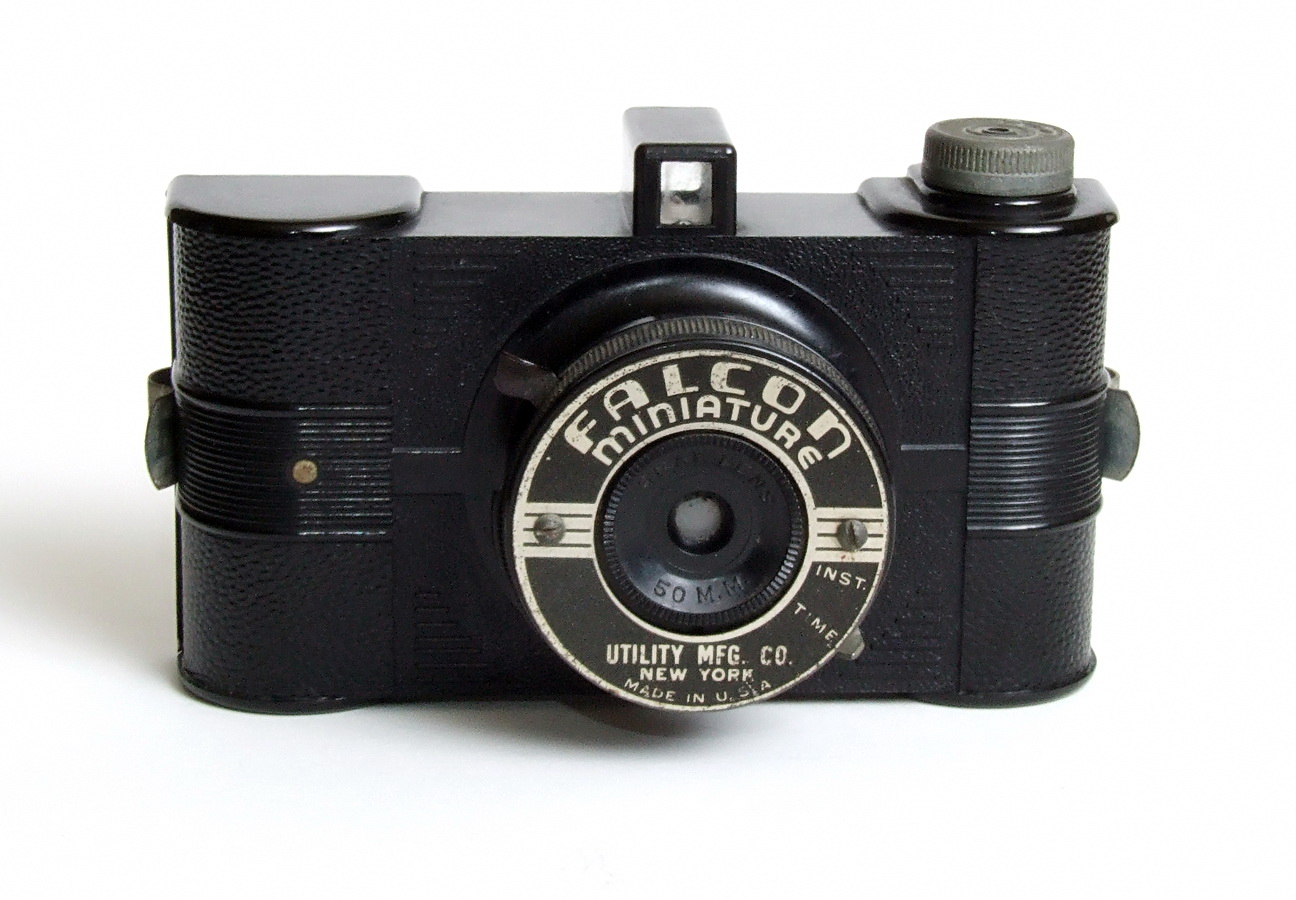


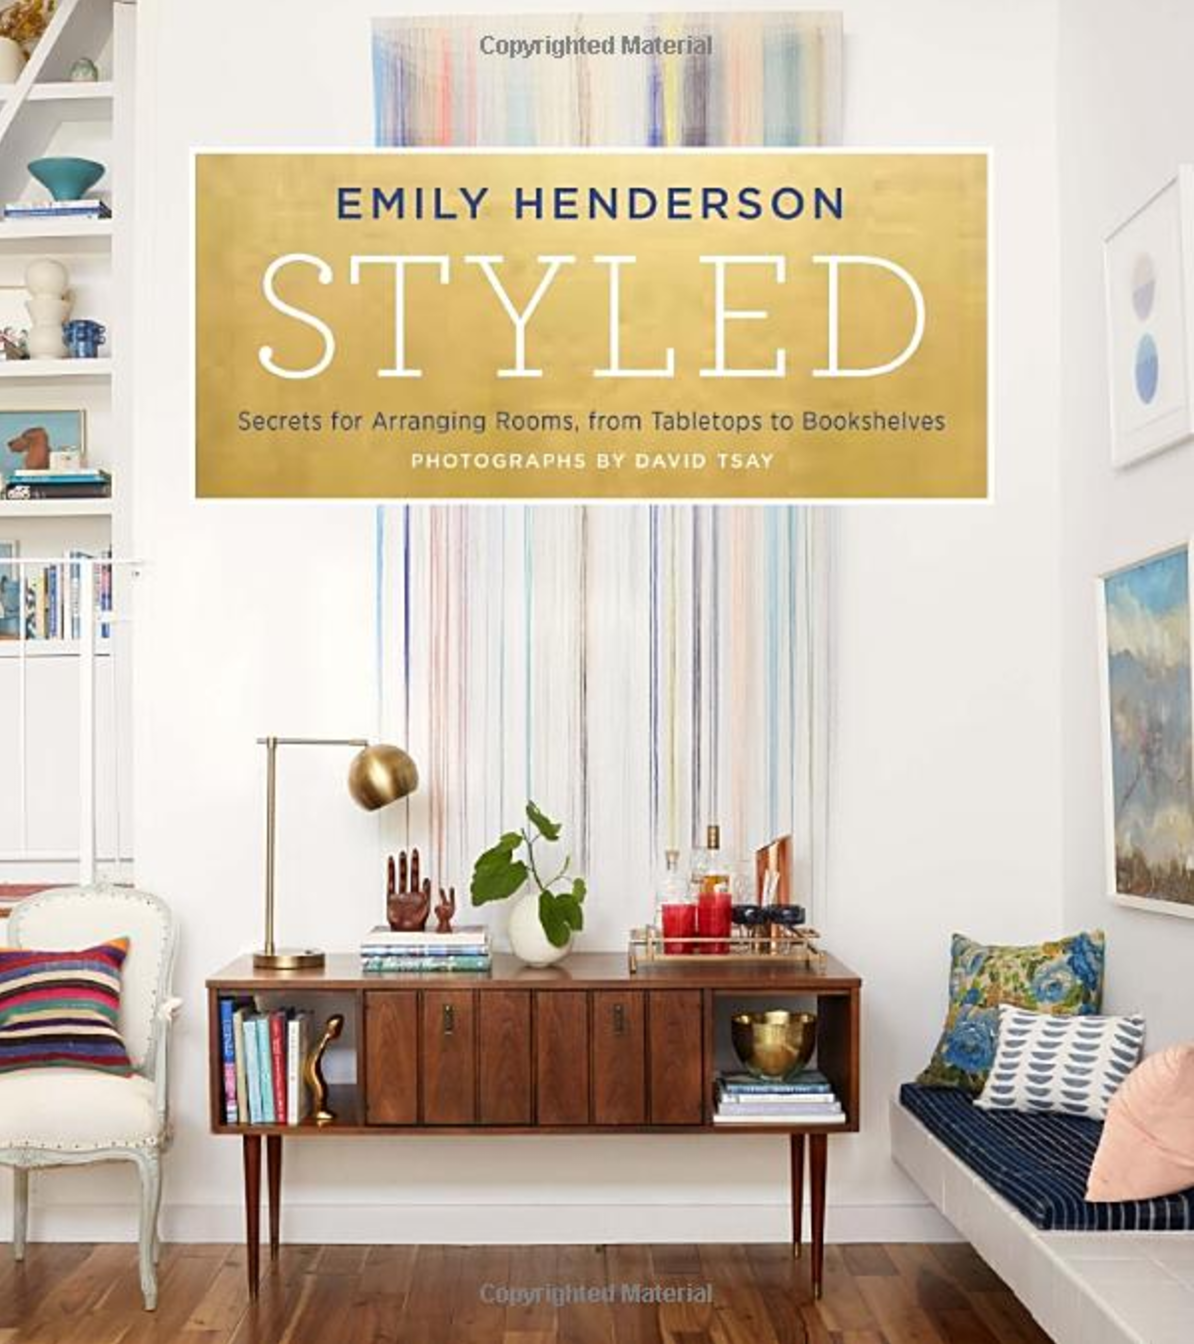











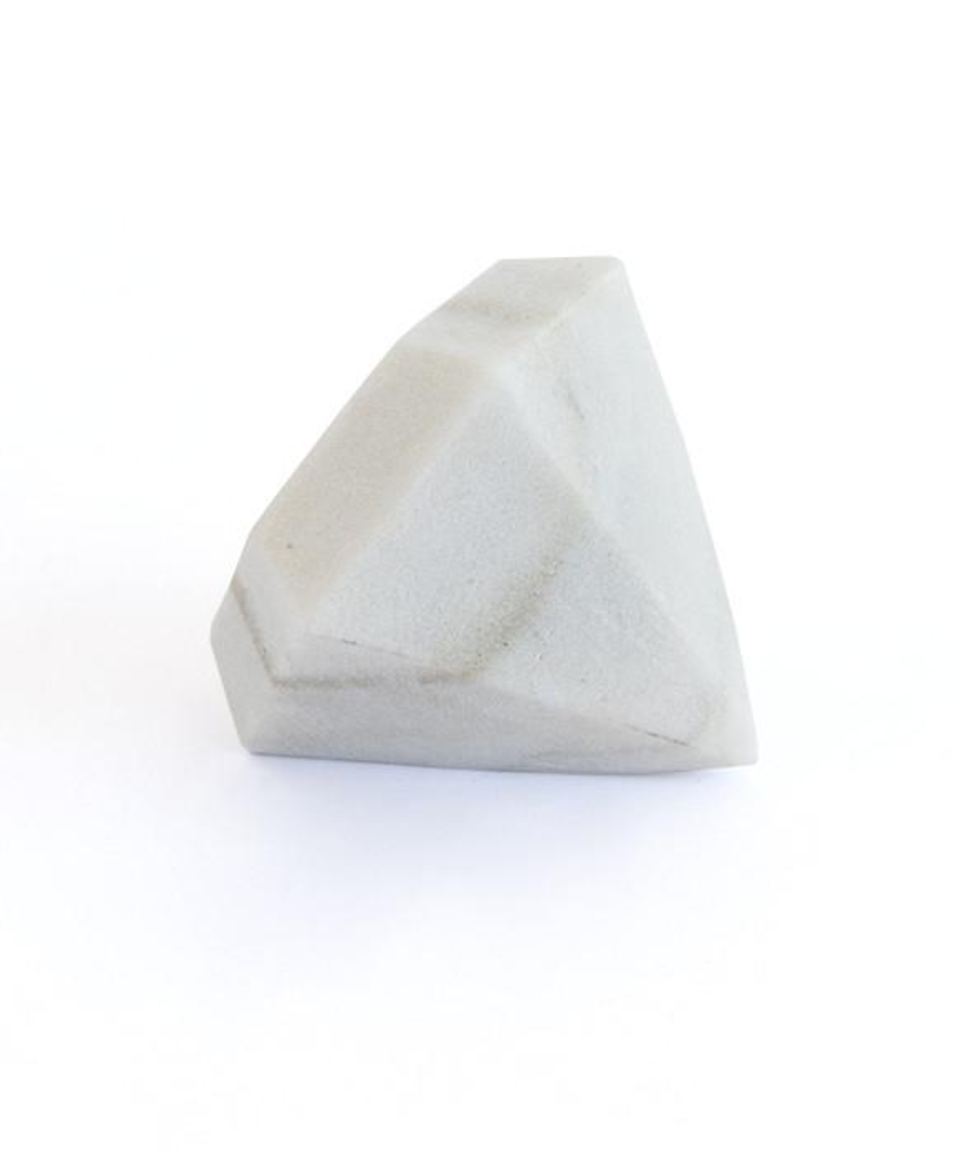
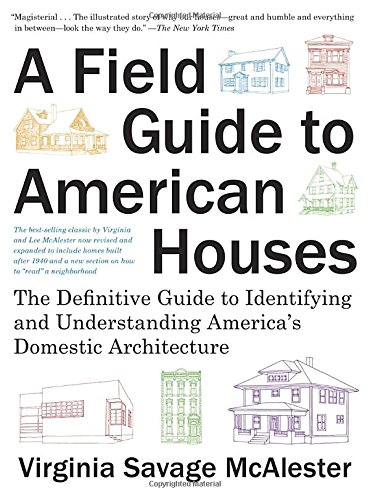


Oh, and that very first photo was taken by my friend Dani for an exciting project coming up. (!!!)
I’ve rounded up this week’s inspiration!
Read More
The bookcase room dividers were a big selling point when we (well, when I) first laid eyes on the house. But, somehow, I neglected them for two years. I got distracted with all of the other projects, so they sat empty for months. Then I started piling books on them. Then I loaded them with junk with no intention of styling them. Then they just sat there for months. I'm not perfect, okay??

Luckily, all of my knick knacks covered up the horrid paint job underneath. Not only was it an unfortunate brown color, but it was peeling pretty badly. This, my friends, is why you don't want to paint water-based paint over oil-based paint without some serious prepping. Otherwise, you leave a mess of refinishing for people like me (or even yourself) years later.
6-in-1 tool
Razor blade scraper
Utility knife
Sander with coarse grit papers
Respirator/dust mask and goggles
Drop cloth and optionally an old sheet
Primer
Paint of choice
Angled paintbrush
Shelf support pins
The latex paint was peeling off in sheets, so I used a combination of tools to scrape and peel it all off. Some of it came off nice and easy, whereas other spots took some serious scraping. The goal was to scrape anything that wanted to come off. Really stuck-on paint could stay.

After what felt like 99 hours of scraping, the next step was to sand everything really smooth. Any edges where the layers of paint didn't come off entirely need to be sanded down until they are slick to the touch. You'll still see the different colors, but as long as you can't feel it to the touch, then you're golden. I used the 50 grit sanding pads on my orbital sander to smooth edges and rough up the existing finish to receive new paint.
Since power sanders blow a bunch of dust around, I wanted to protect the rest of the house from the mess. Thus, a made a cocoon for myself with an old sheet to encapsulate all of the dust. Of course, I wore face protection to keep dust out of my eyes and lungs.

I'll admit that the funny looking technique wasn't the most comfortable way to work. It got pretty hot and rather dusty. But I didn't need to clean up much dust at the end of the project, so I consider it a win!
Once everything was sanded smooth and paint scraps were cleaned up, I coated the surface with my go-to primer, Zinsser 1-2-3.

That's just primer, but look at the transformative power of paint!
Next, I did a couple of coats of paint left over from the One Room Challenge. Benjamin Moore's Simply White in the satin finish is such a pretty, soft white. So much better, right?

The bookcase has small holes on the sides to mount adjustable shelves on pins. Each of them was filled with so much paint (prior to my scraping), that the pins didn't fit. After painting my own three layers of paint, which subsequently mucked it up even further, I redrilled the holes. Using a bit the size of the holes (1/4" in my case) I re-drilled each of them being sure not to make them any bigger than their original size.

The drill removed the gunk from inside of the holes, but it did pull up some of the new paint along the edges. No biggie, though.

I followed up with a mallet and the end of a screwdriver to soften the edges by hammering any rough edges produced by the drilling into the hole. This is the same technique I recommend for patching a hole in the wall after removing a nail.
For a swift cleanup, I used compressed air to blow the dust out of each of the holes while vacuuming gunk that flew out with a shopvac. I followed up with a light dabbing of paint to touch up the spots that lost some of the finish.

Finally, I pushed the shelf mount pins in, then plopped the painted shelves on them. These pins work wondrously for creating adjustable shelving options. If you're building your own shelves, or want to add more storage to an existing unit, you could easily install a strip of wood in each of the corners with equally spaced holes. Then pop the pins in, mount a shelf, and you'd have adjustable storage!

Next week, I'll share my steps for styling shelves. Maybe within the next two years I'll refinish the other matching bookcase, too!

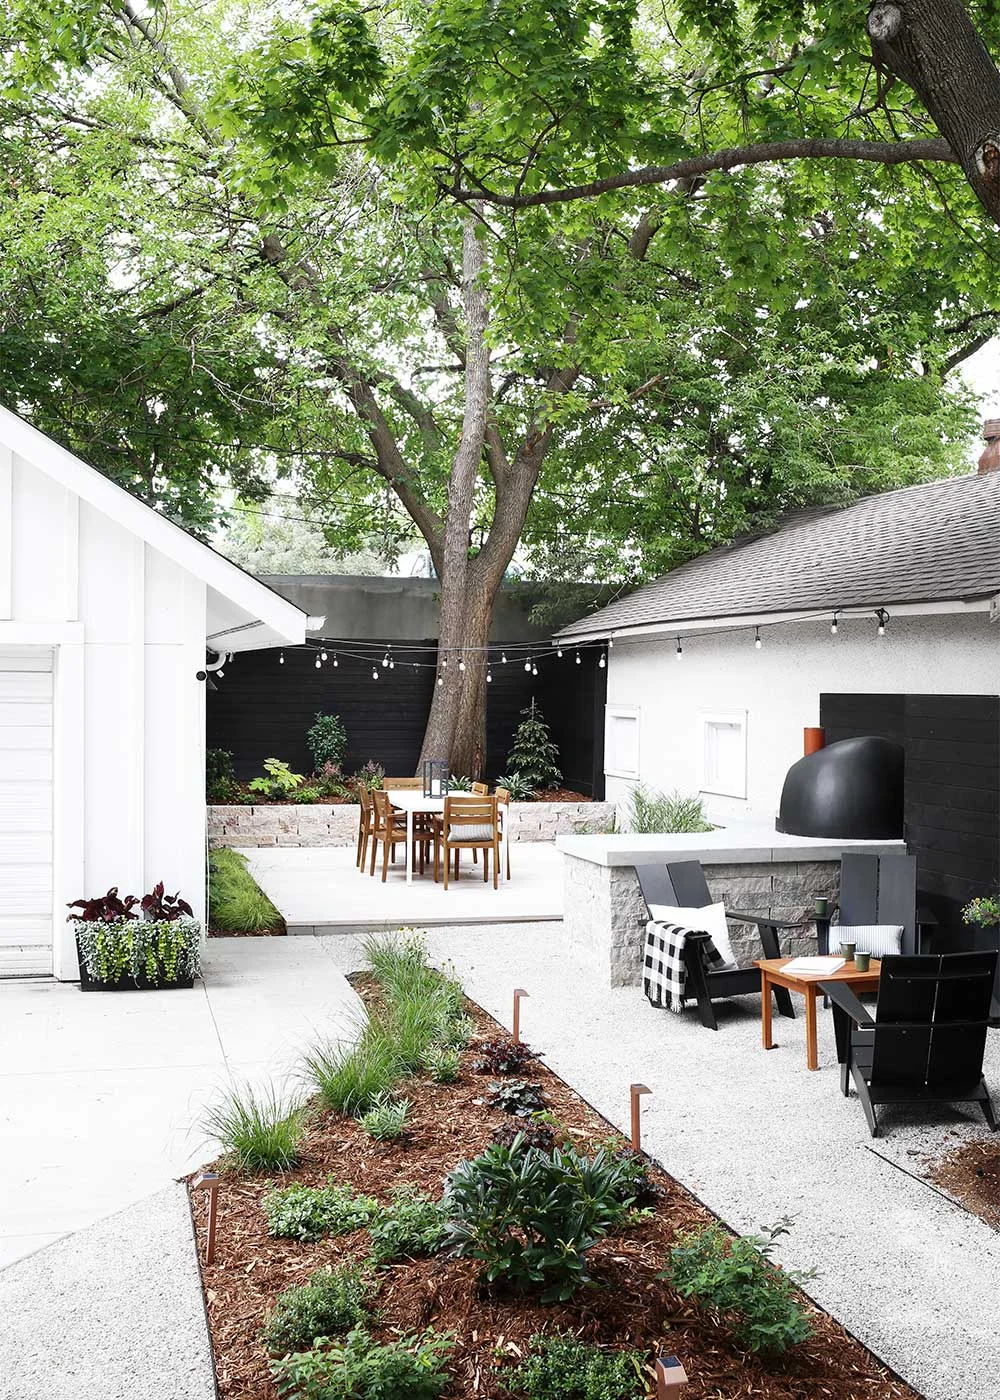
Melissa of The Faux Martha revealed her backyard and it's my number one thing this week. That summer snow hemlock tree in the corner makes me melt each time I see it. And that pizza oven paired with the black fence! I shared Emily Henderson's yard last week and the two spaces are so different yet I'm absolutely gushing over both. If you HAD to choose, which would you pick for your home? I'll be the first to admit that I refuse to answer because they are both perfect.
Did you catch this week's Young House Love podcast? I laughed out loud at the 2-minute segment that starts at 15:35.
Speaking of podcasts, have I been living under a rock?! Karen and Zandra have been interviewing some of my favorite designers and creators for years.
My friend Erin of Cotton & Flax had her fabric designs featured on Design*Sponge this week, and you can download them as a wallpaper for your phone or computer - for free! New designs are being shared daily, so click here to admire all of them!
Earlier this week, I shared the kitchen flooring tutorial in blog format and in video. Didja watch the vid? Tell me if I should keep doing those or not. Myers-Briggs says I'm a people pleaser, so tell me how to please!
I've been working on fixing up the living room so you'll see a refreshed space pretty soon! I've been scraping paint for days, so I'm pretty excited to see the finished space, myself.
Happy weekend!
When we bought the house, all of the kitchen cabinets were adorned with handles in the shape of twigs. All cabinets but one - the drawer under the sink had a knob in the likeness of a rooster. So stylish, so festive. While I love foliage and fowls, I decided to swap them out for new pulls. Since we were seeking stopgap solutions for a phase 1 upgrade, inexpensive options were a top priority. I know I'm not the only one that likes to be nice on the budget, so I've compiled a list of cabinet hardware pieces for under $10, just for you!
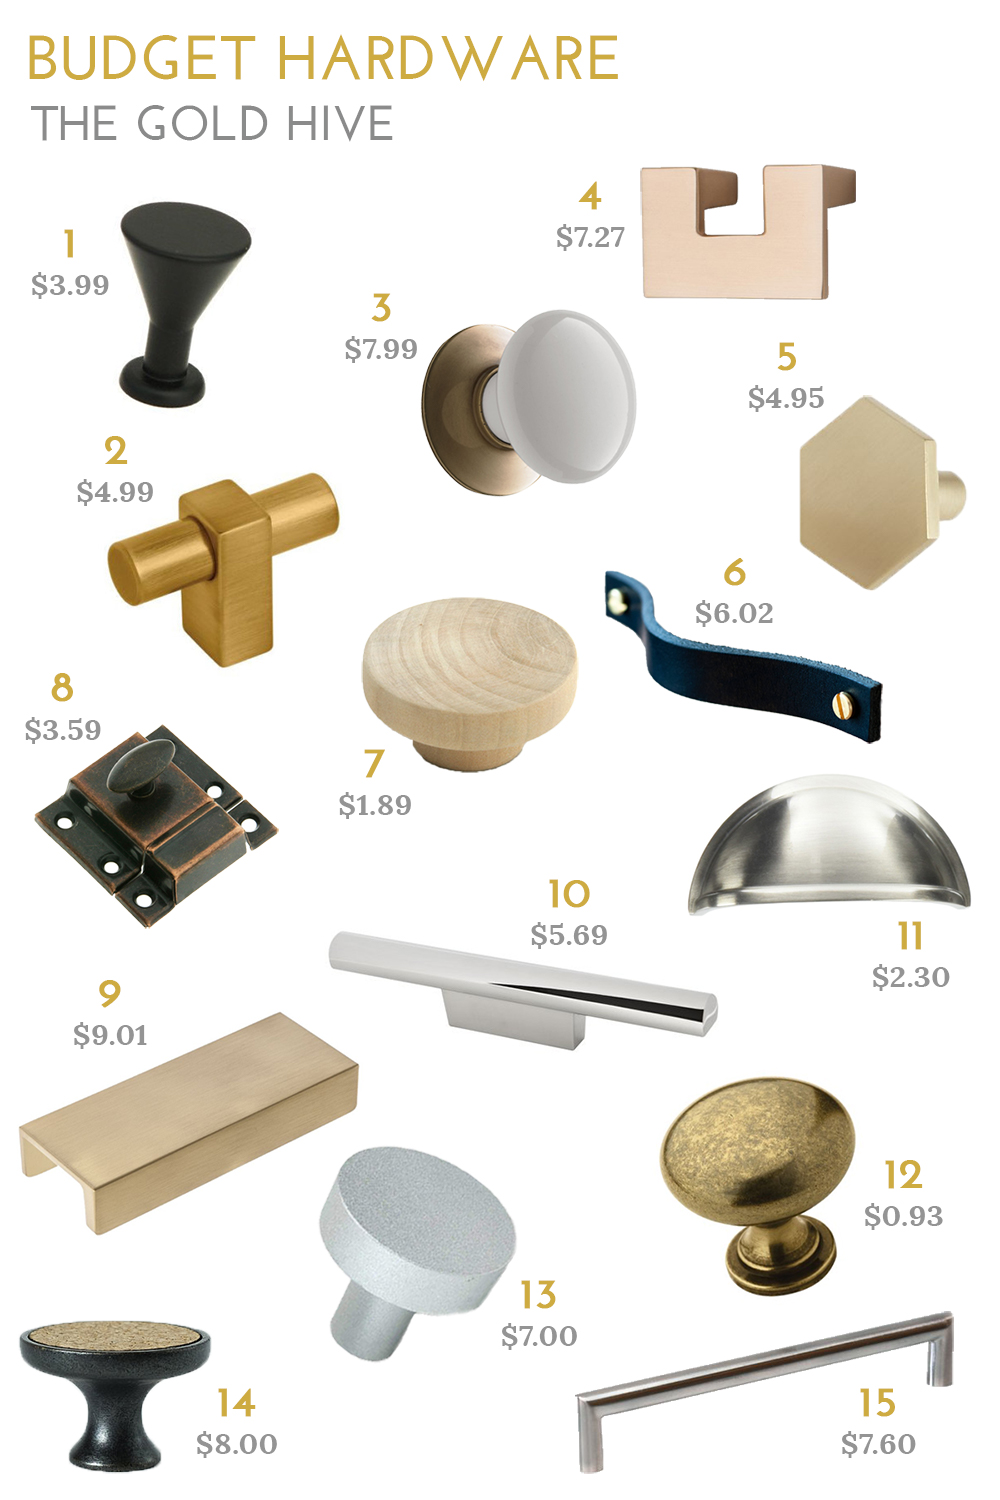
1. Peggy // 2. Paris // 3. Porcelain // 4. U-Turn // 5. Hex // 6. Leather // 7. Wooden // 8. Latch // 9. Martin // 10. Metro // 11. Cup // 12. Allison // 13. Marcel // 14. Cork // 15. Bar
When searching for budget pieces, it's easy to head straight to the big box store, but can you believe that many of those are handmade?! And all of them are under $10? And one of them is made of cork? And another with leather?
We went with #11 and #12 in nickel, but I have eyes for a few of those other pieces. Which are your favorites?
The kitchen has seen a wild transformation! So far, I've shared the plans, the concrete counter DIY, and three tutorials for adding more work space - check out those posts here. But the floors! The new flooring made the kitchen into a wonderfully different space - a big improvement from the sad termite-filled fir. I couldn't have been more excited to get started on the quick/cheap/transformative project of giving my kitchen floors a fresh buffalo check pattern. This DIY kitchen transformation using vinyl floor tiles is among my favorites yet - and it costs about as much as it does to paint a room!
Read More
Emily Henderson revealed her beautiful backyard this week and it's what English-country-garden-while-living-in-Los-Angeles-dreams are made of. I promise that I'll share our front yard landscaping soon!
On Wednesday, Ross and I went to see Hall & Oates and Tears for Fears and it was pretty swell! Who else should we aim to see before they stop performing? Elton John is on my list, but what other classics are still out there playing their hits?
Comic Con is happening in San Diego this week. It isn't my scene at all, but I ventured down the block from my office to check out Broad City's life-size coloring book. That show cannot come back from hiatus soon enough! Who is listening to Abbi Jacobson's new podcast in partnership with MoMa?

I'm making an effort to add more artwork to my home. Each time I get a new piece, I'm so pleased with myself, but this couple has me beat.
Sometimes I think about owning a hotel and decorating each room exactly the same, or wildly different. I also fantasize about being in the Guilty Remnant (I still can't get over The Leftovers being snubbed by the Emmys!). So, this list of Six SoCal Motels You Can Buy Right Now That Would Be Ideal For Starting A Cult is right up my alley.
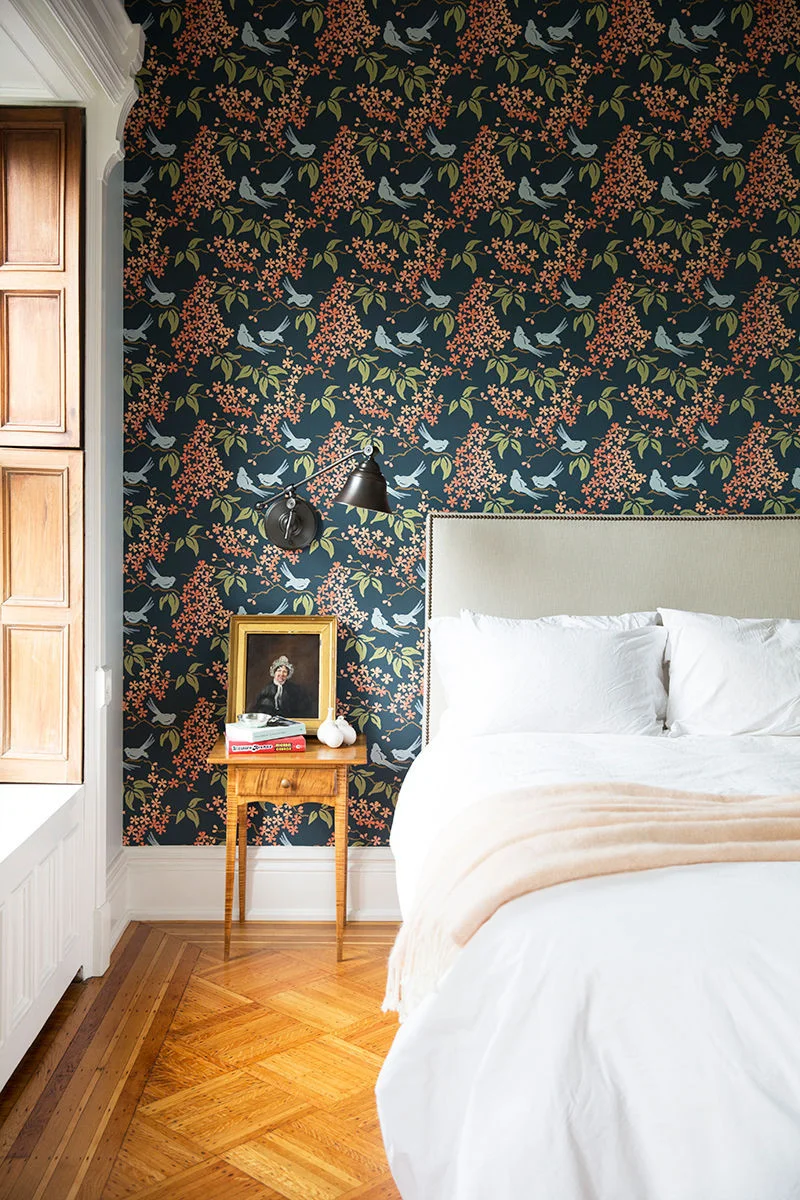
Domino says this is the best brownstone in Brooklyn. I'd have to agree that the bedroom wallpaper is super heart-eyes.
Annie Selke's rug design contest has ended, and the winning designs are pretty great. But I'm totally bummed that Nicole Balch's bug rugs didn't win!
Happy weekend!
The phase 1 kitchen earned several upgrades already, like new paint, hardware, concrete countertops, and even more countertops. However, the floors didn't get much love other than a coat of poly when we refinished the the rest of the floors. As much as I love the fir, the wood was pretty damaged. Nearly every plank had either huge gouges or was brittle from years of termites gnawing on the softwood. The previous owner made attempts at repairing the mangled boards by filling the cavities with wood putty, but it definitely didn't help the aesthetics.

These photos don't do justice to the damage. We lived with the flooring as-is for a couple of years letting those termite gaps fill up with a hefty amount of cat litter and crumbs. But, I lost my patience and had to remedy it. Knowing that the kitchen will eventually get a full gut renovation, I had the opportunity to do whatever I wanted without it impacting the future plans - even if it pushes my design boundaries. So, I jumped on to the graphic look and committed myself to installing a funky pattern that I like, but wouldn't be my first choice for a permanent kitchen floor. This transitional renovation fix lets me get the bold/graphic/retro vibe out of my system before having to make the forever-flooring decision. Win win.
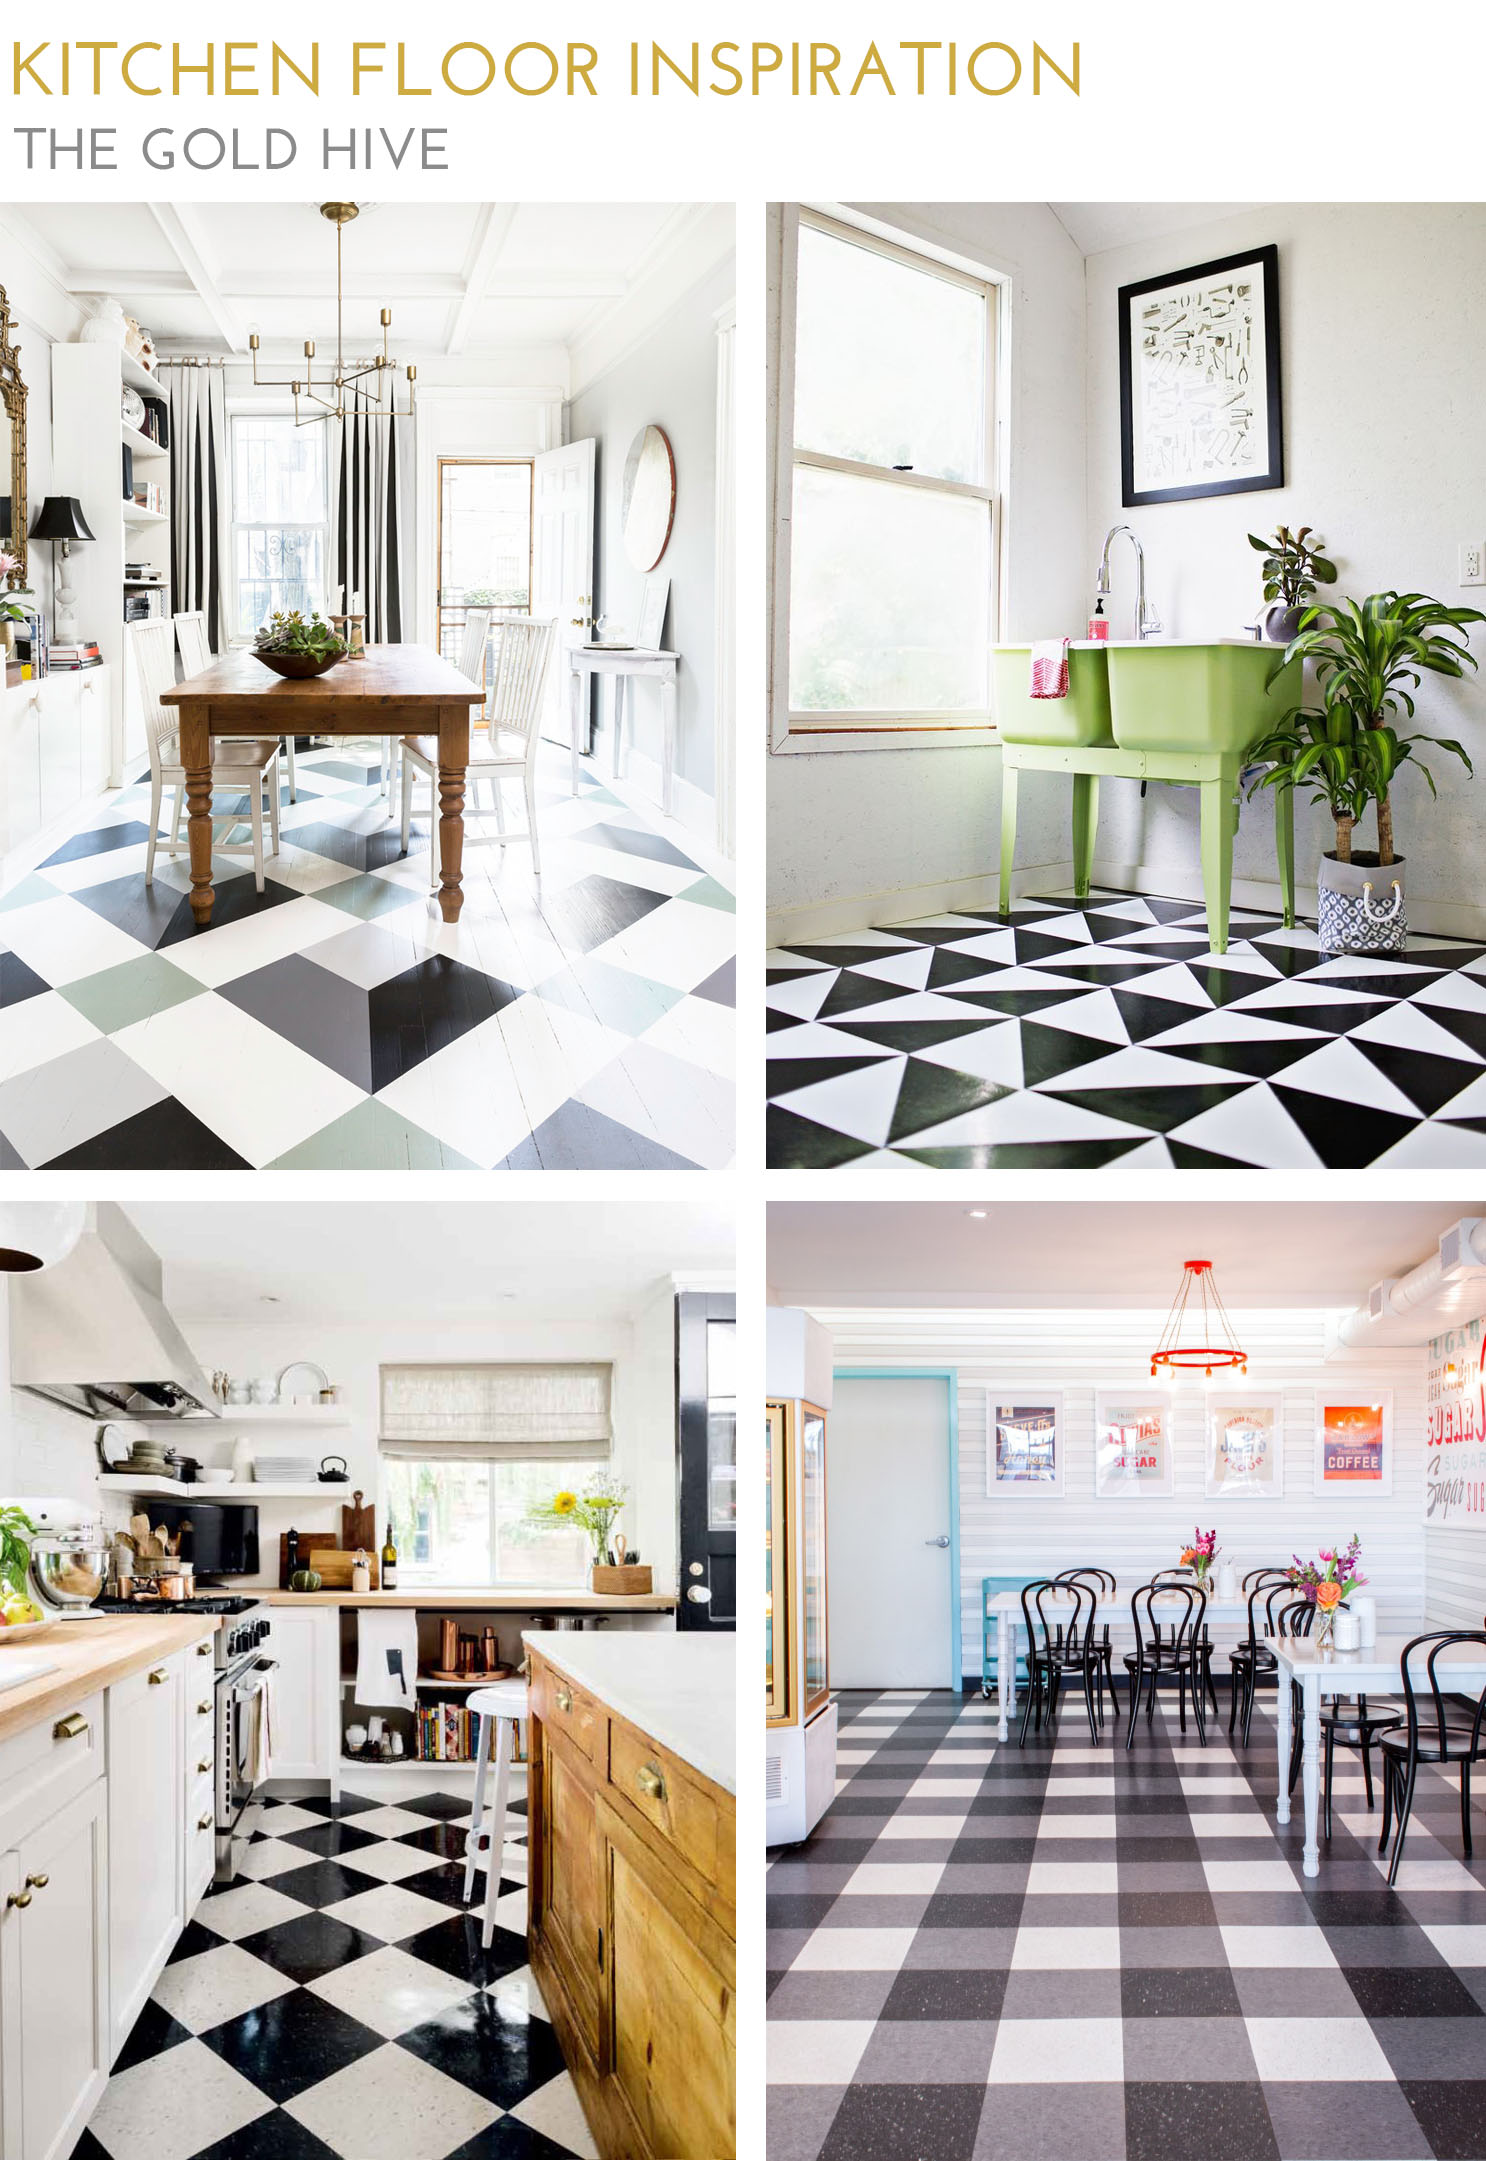
Sources clockwise from top left: Megan Pflug Designs/A Beautiful Mess/Allison Burke Interior Design/The Art of Doing Stuff
At first, I was sure that I would install the checkerboard pattern to get that retro diner vibe. But after a few Photoshop mock-ups, I realized that with the large amount of uninterrupted floor space, the high contrast of black and white was too busy and could give us vertigo. The idea of modern geometric shapes was also appealing, but I worried I'd spend years cutting the tiny pieces. It didn't take much for me to fall for the buffalo check pattern. The grey neutralizes the high contrast black and white, while also adding texture with the illusion of the weaving pattern. It also has enough style that I can feel confident I didn't play it too safe.
Since this was merely a temporary solution that really only needed a bandaid, I found a flooring solution that was quick, cheap, effective, and super easy to install. The perfect improvement project for a newbie DIYer or renter.
I couldn't be happier with how it turned out. The installation went swimmingly and the result is sleek, clean, and full of personality. Come back next week to get the full tutorial and link to all of the sources! Subscribe, so you don't miss out.
The biggest challenge with many kitchens is a lack of work surfaces. It's a pain to cook without sufficient countertop space, right? Yet, it's easy and inexpensive to DIY a spot to prep and cook. So, I bring you three super simple ways to add custom counters for cheap.
There are oodles of rolling bar cart options like this, this, or this, to give you more space to work, and they are great! Some have additional storage, some have spots for wine bottles, and some have fancy hooks and bars for all of your kitchen needs. But they don't always fit a space perfectly. Sometimes the height doesn't line up with the existing counters, or there's a gap next to the range, or it blocks an outlet. I tried out three different methods to add valuable work surface to a kitchen that has a couple of empty nooks.
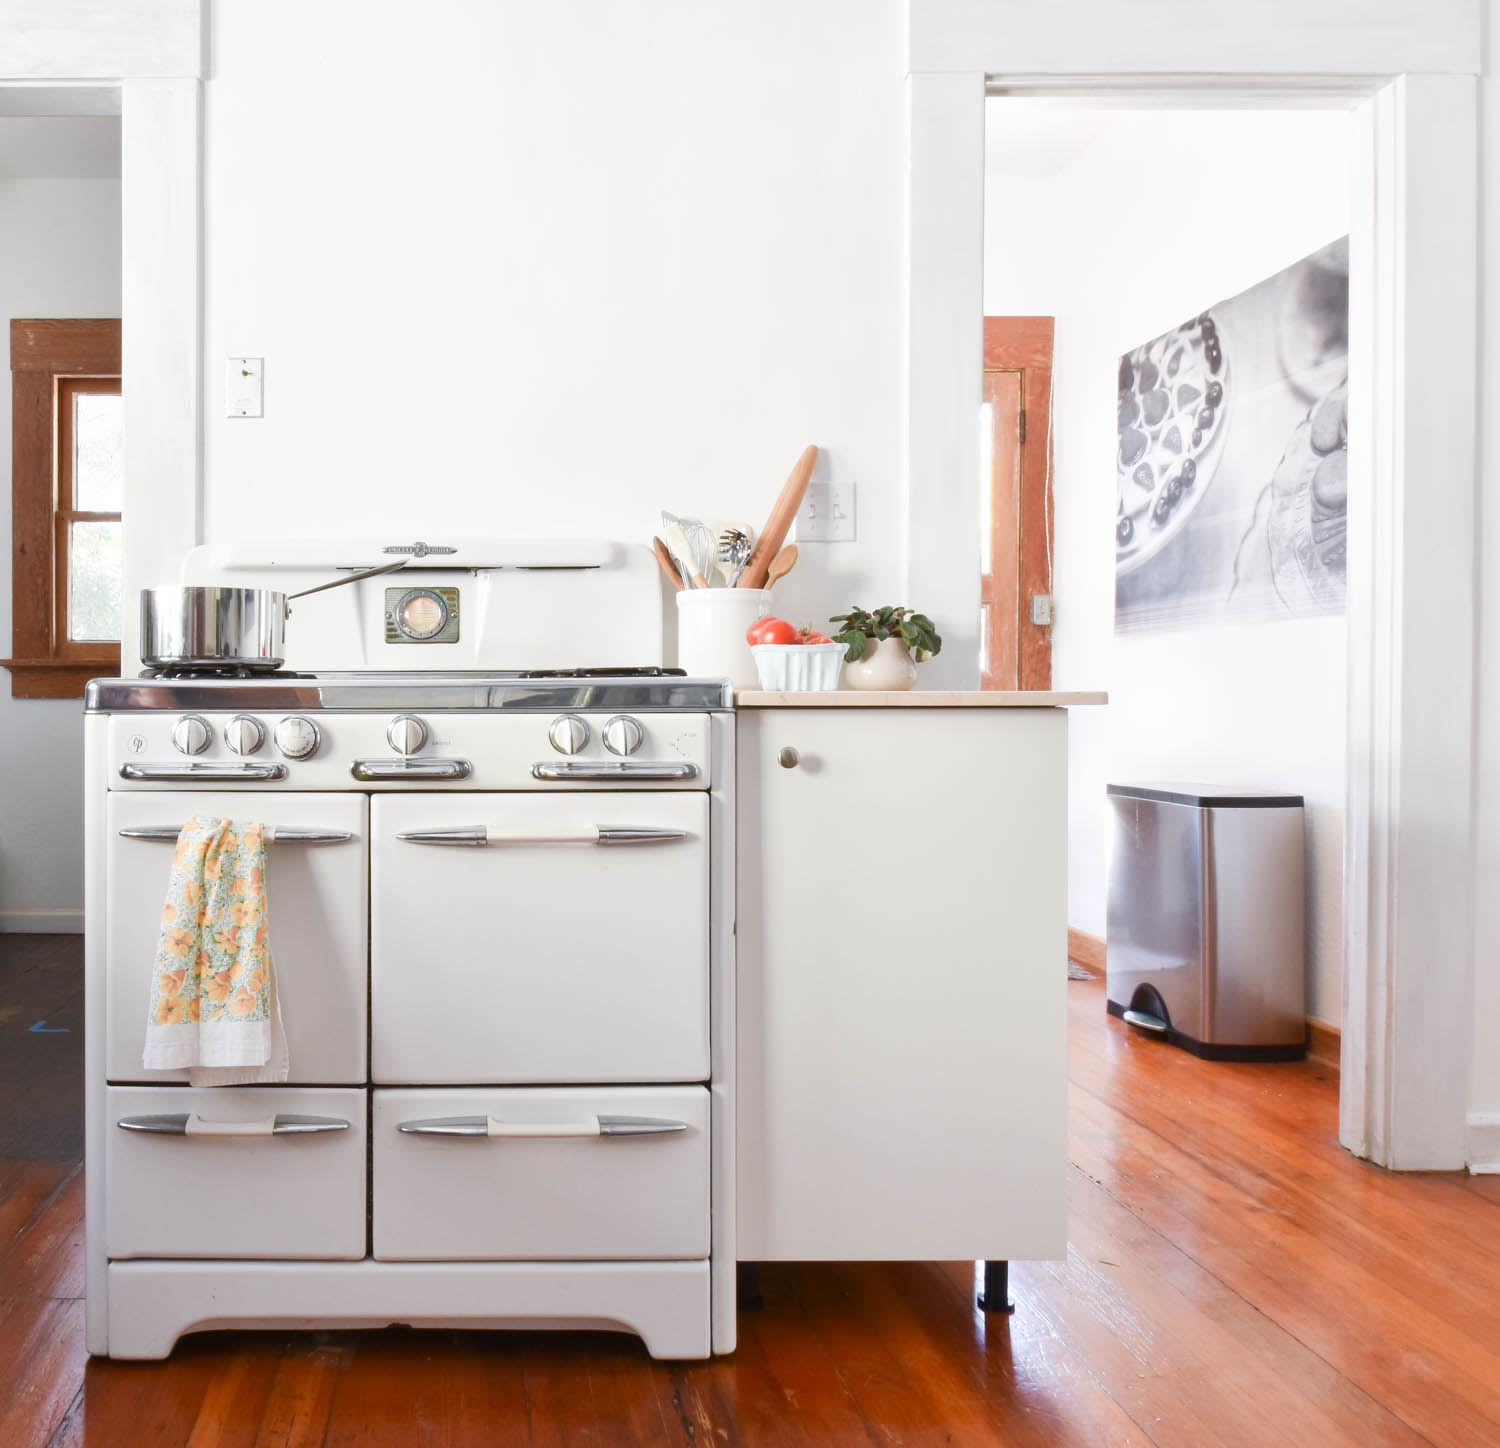
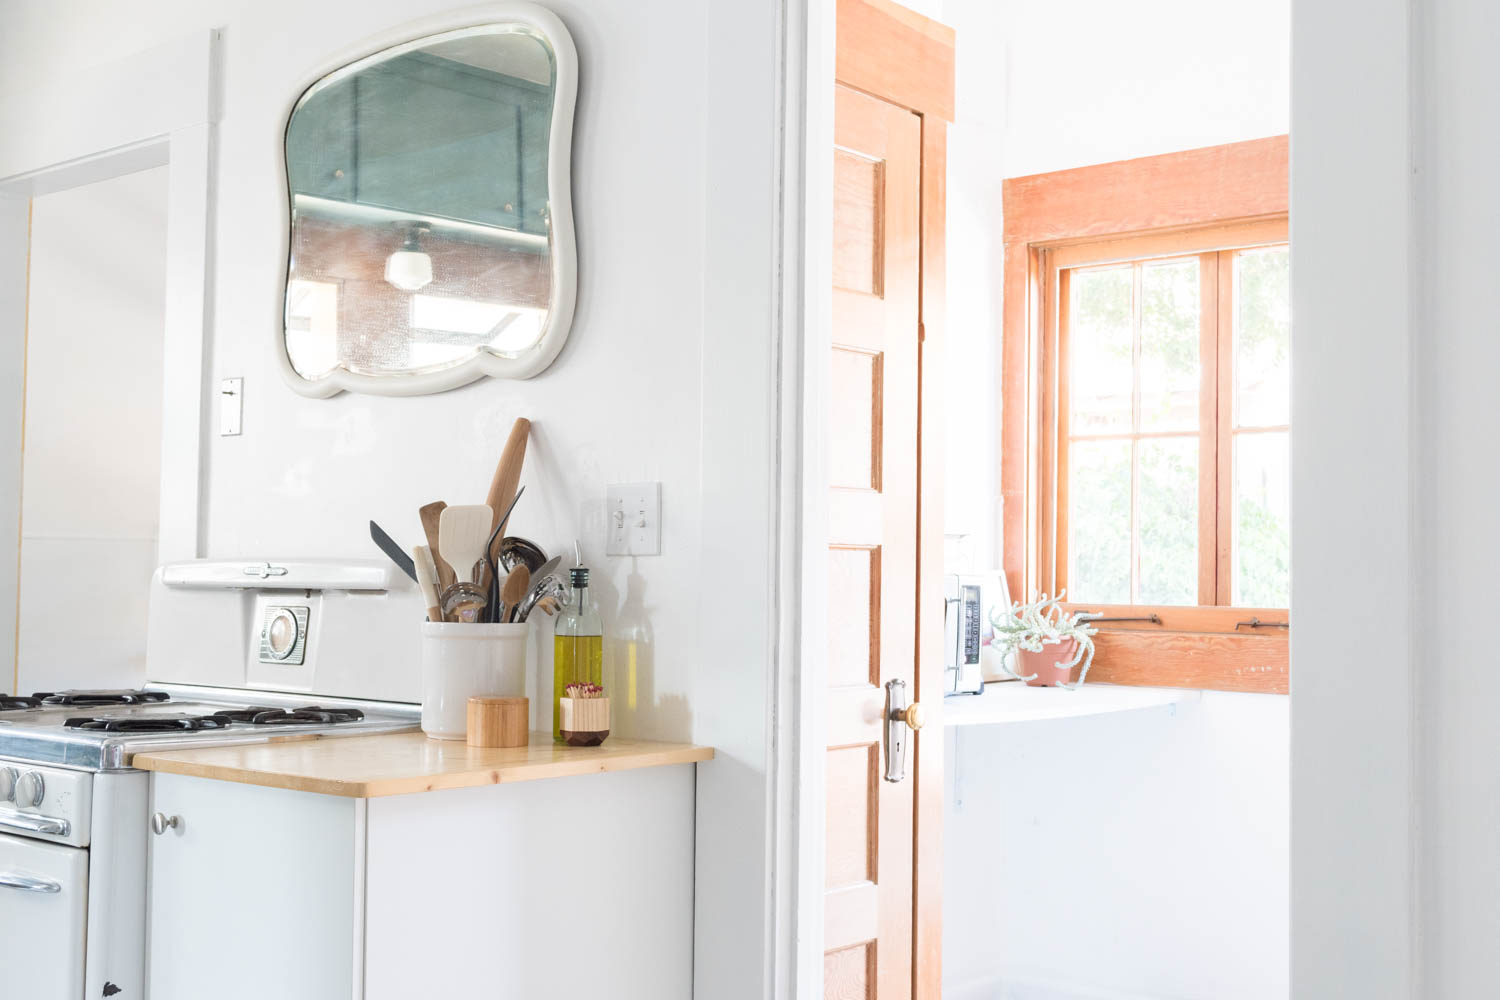
Our range was centered on a narrow wall so we never had a spot to rest our tools or prep. With a few inches on either side of the appliance, the area was the perfect candidate for a new work surface and even some concealed storage. The search for a base cabinet started at Habitat for Humanity ReStore, then Home Depot and Lowe's, but I ultimately found the best size and cheapest option at IKEA. After wiggling the stove over, I had the perfect amount of room to wedge in this 18x24x30" SEKTION base cabinet.
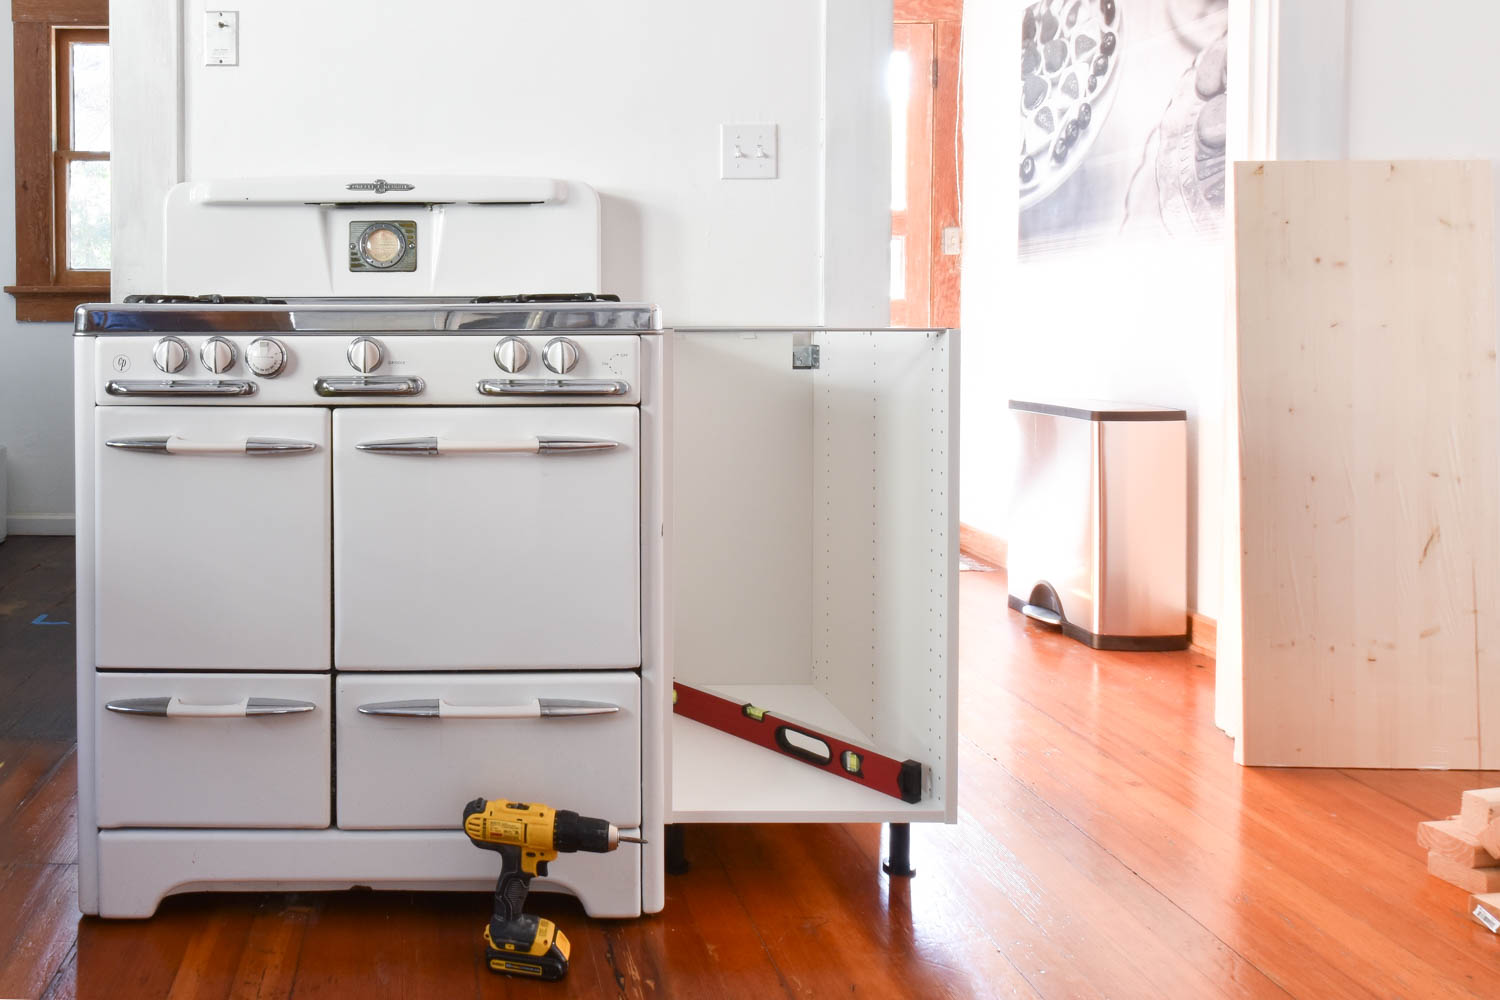
I assembled the base cabinet according to the instructions provided. Instead of using the track system for the full kitchen cabinet installation, I used the components that mount it directly to the wall and supported it with the adjustable cabinet legs.
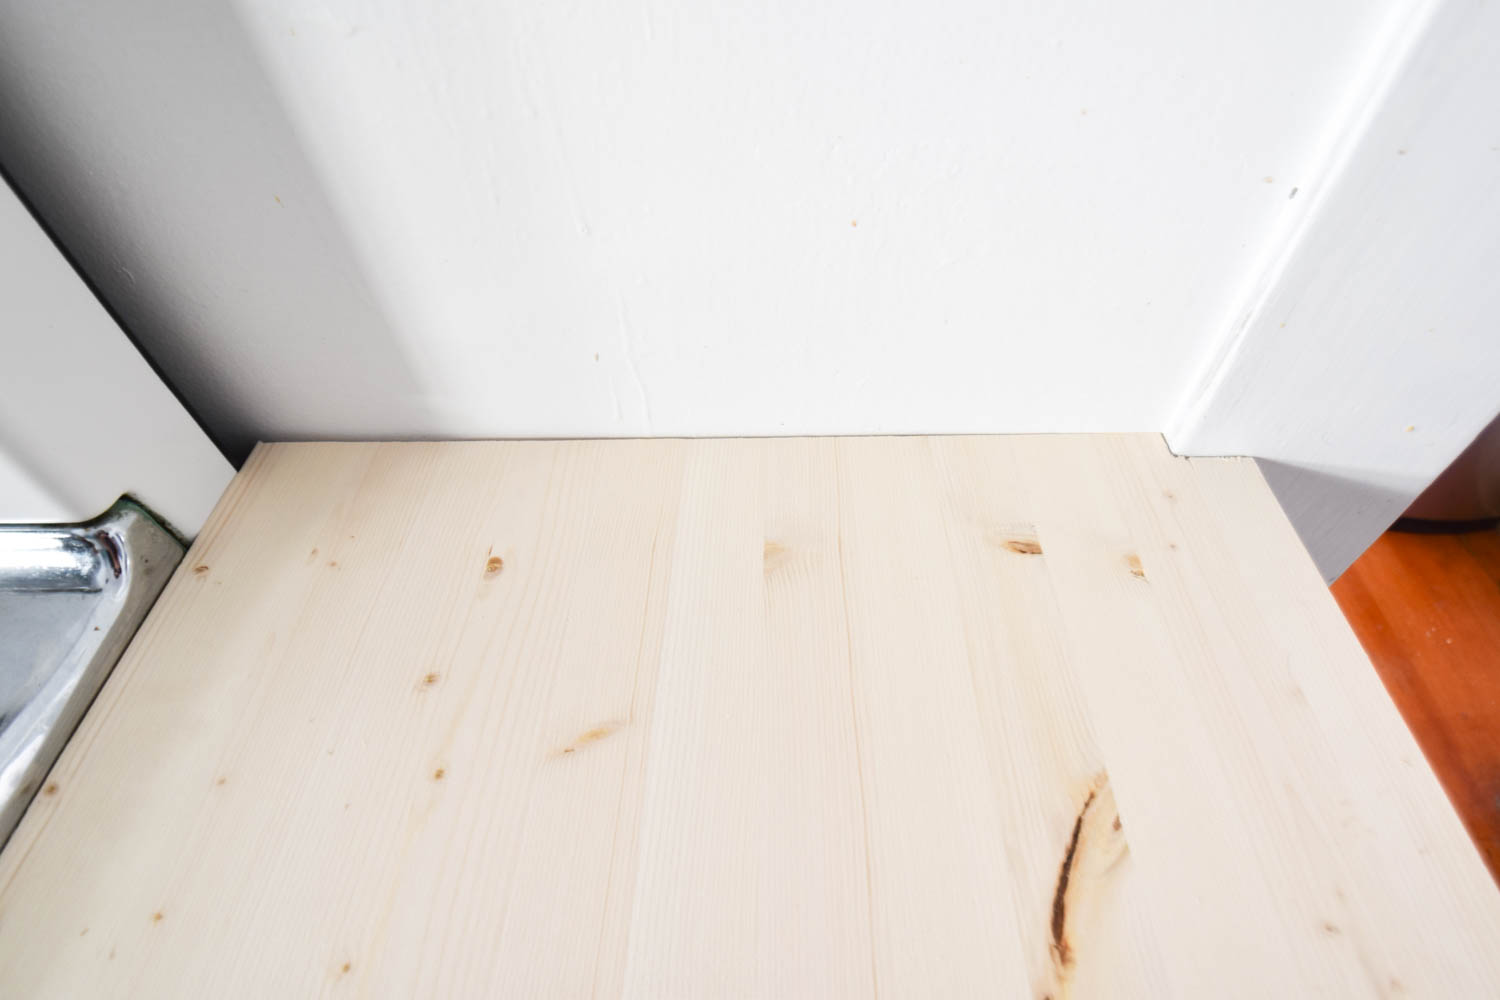
These cabinets don't come with a countertop, so I made my own. Butcher block was my first choice since wood is easier to work with than stone. However, even the cheapest slabs were too pricy and more material than I needed, so I used this piece of 3/4" pine that works swimmingly. In an effort to get as much surface area as possible, I made the wood overhang by 2” and notched out a spot for the door trim using my trusty jigsaw. I also sanded the corners to match the round profile of the range.
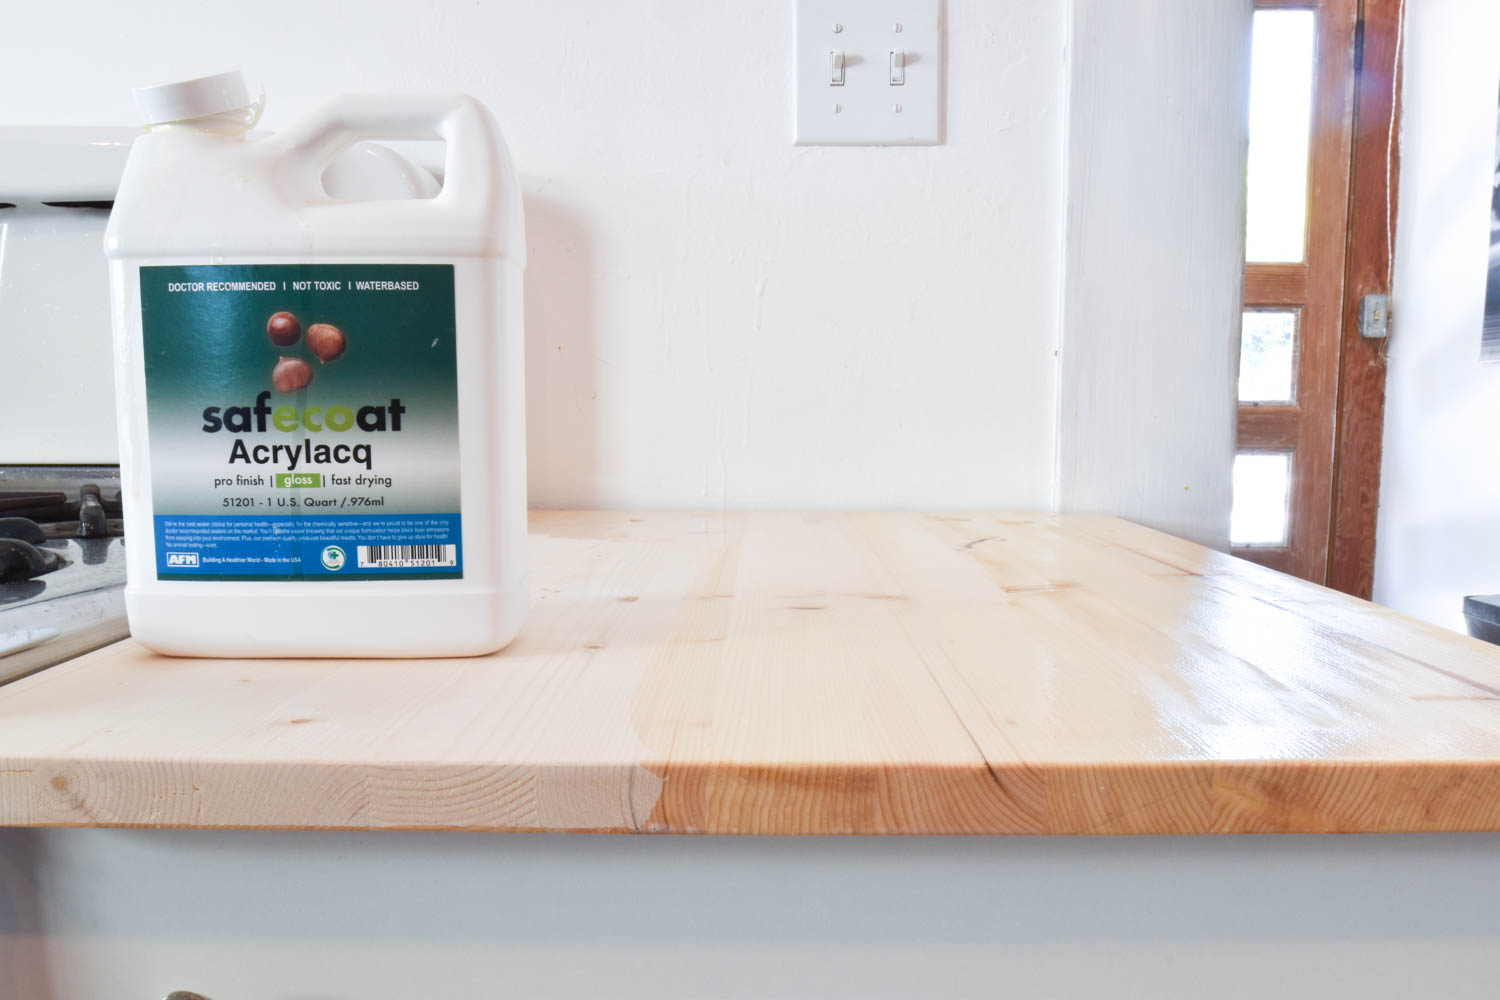
To finish, I coated the pine with food-safe Acrylacq so it could better stand up to the moisture in the kitchen.
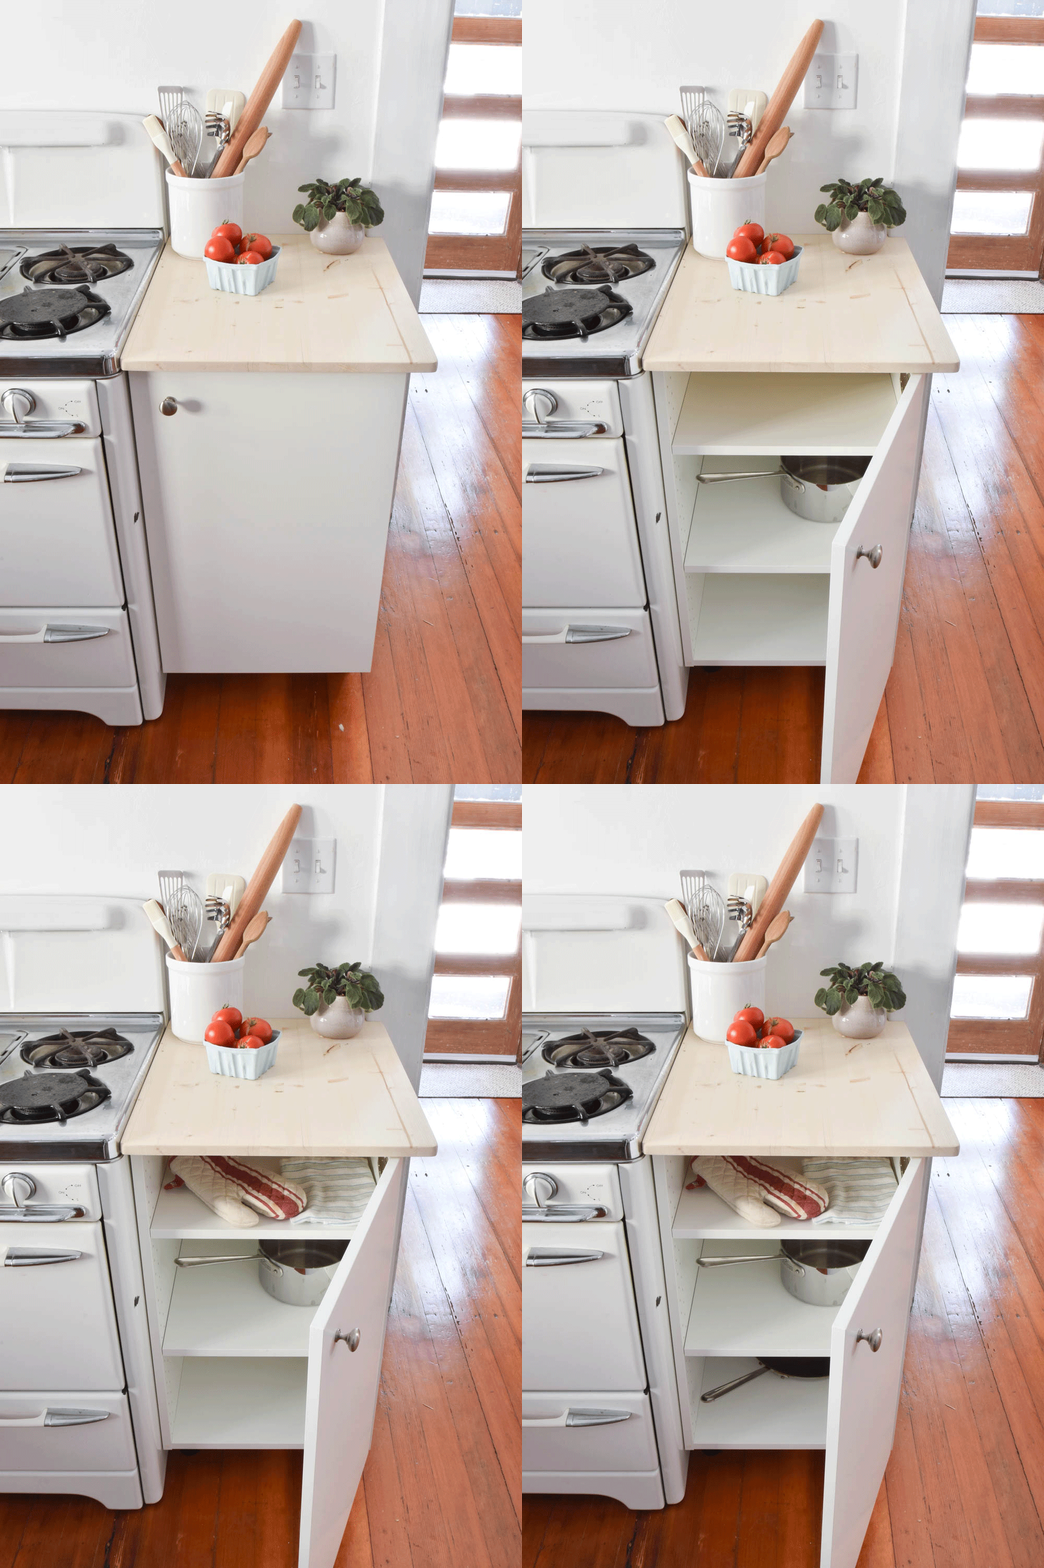
Cabinet: $60
Cabinet legs: $6
Countertop: $20
Acrylacq: left over from the concrete countertop project
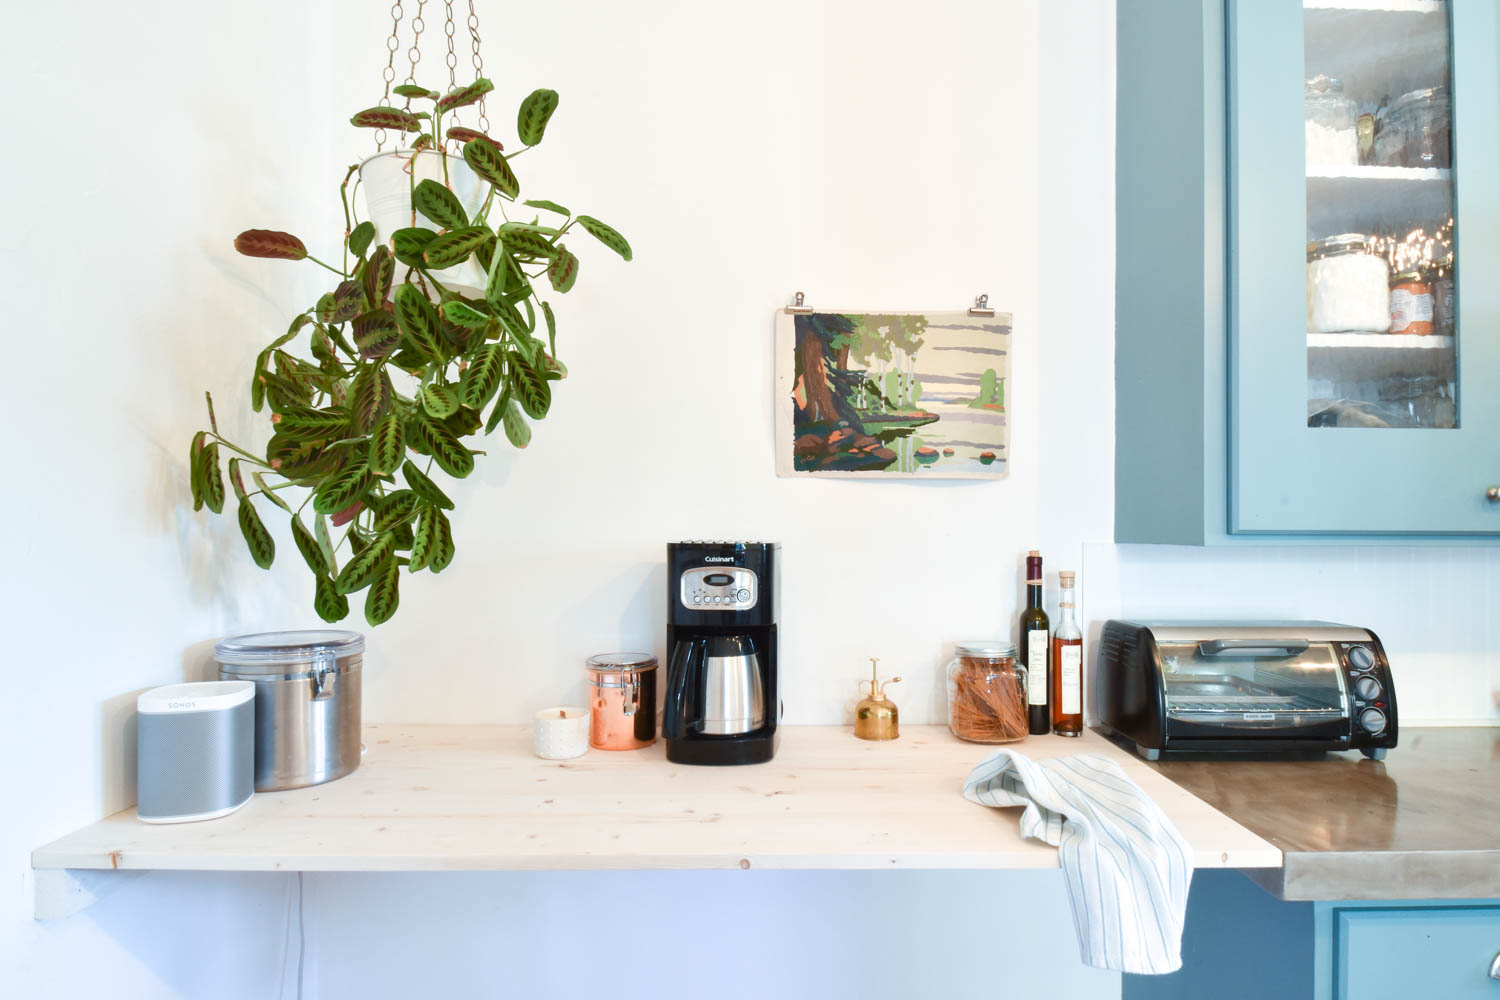
The corner of the kitchen had been the home for a small breakfast table, but we never used it. A better use of the space was a long shelf to extend the existing counter. Instead of store-bought brackets (see #3), I used a cleat system. This technique provides strong support and gives the illusion of a floating countertop.

The first step was to identify the wall studs so the cleats would have something strong to sink into. I used my favorite technique from when I installed picture rail molding.
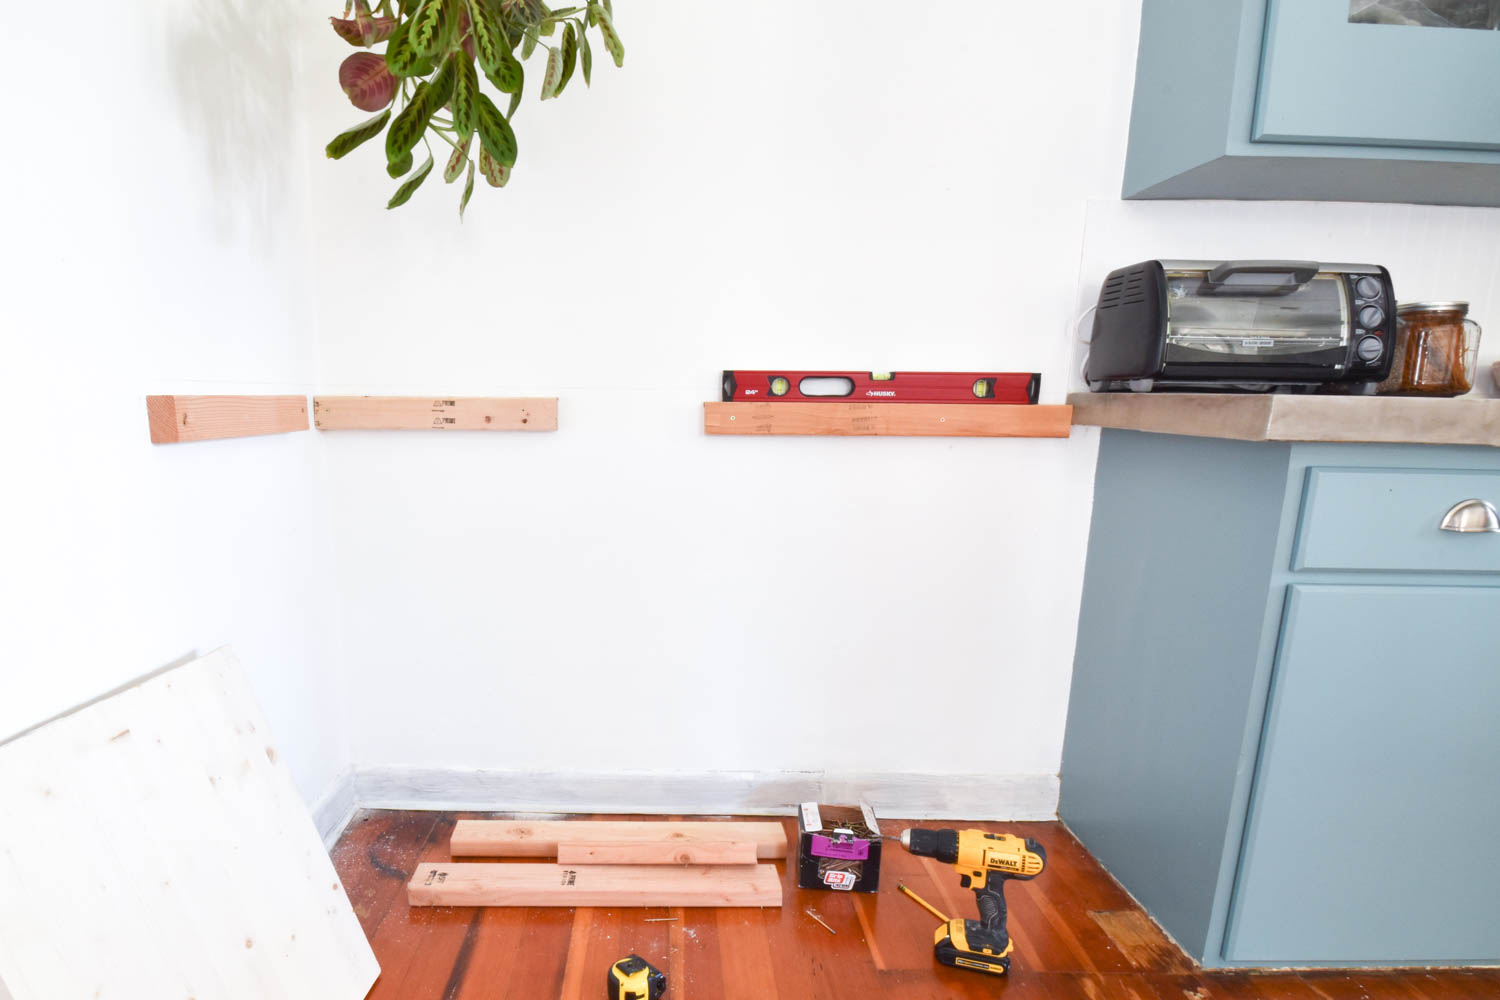
After finding all of the studs, the next step was to screw in lumber along the walls just below the counter. To find the height to screw in the cleats, subtract the thickness of the counter material from the height you want it off the floor. Make your mark, then using a level, draw the guide along all of the walls. It’s important that you make the cleats level so your food doesn’t roll off the counter!
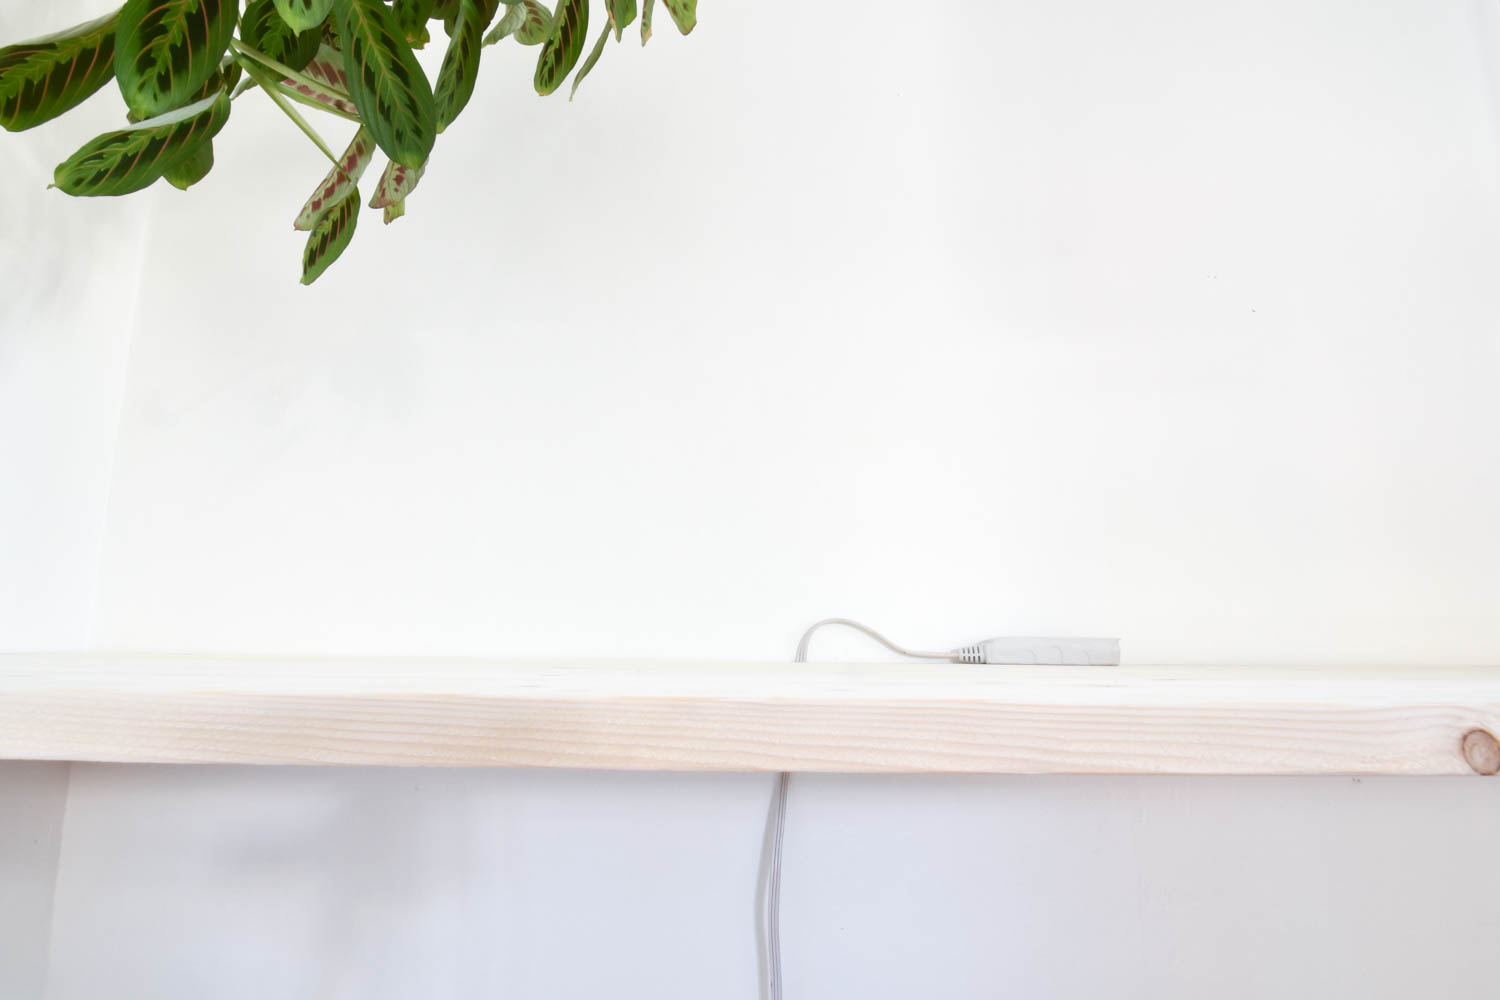
I was lucky to have some scrap lumber, but you could get a few feet of 2x4s and cut them to size. I purposefully left a gap between the cleats so I could feed a power cord through to the top of the counter. It conveniently gets hidden behind the coffee maker.
I cut the pine panel to just a hair bigger than needed, then sanded it down until it was a snug fit. After cleaning up the edges, it got a coat of Acrylacq just like the cabinet counter.
Countertop: $35
Lumber & fasteners: already on hand
Acrylacq: left over from the concrete countertop project
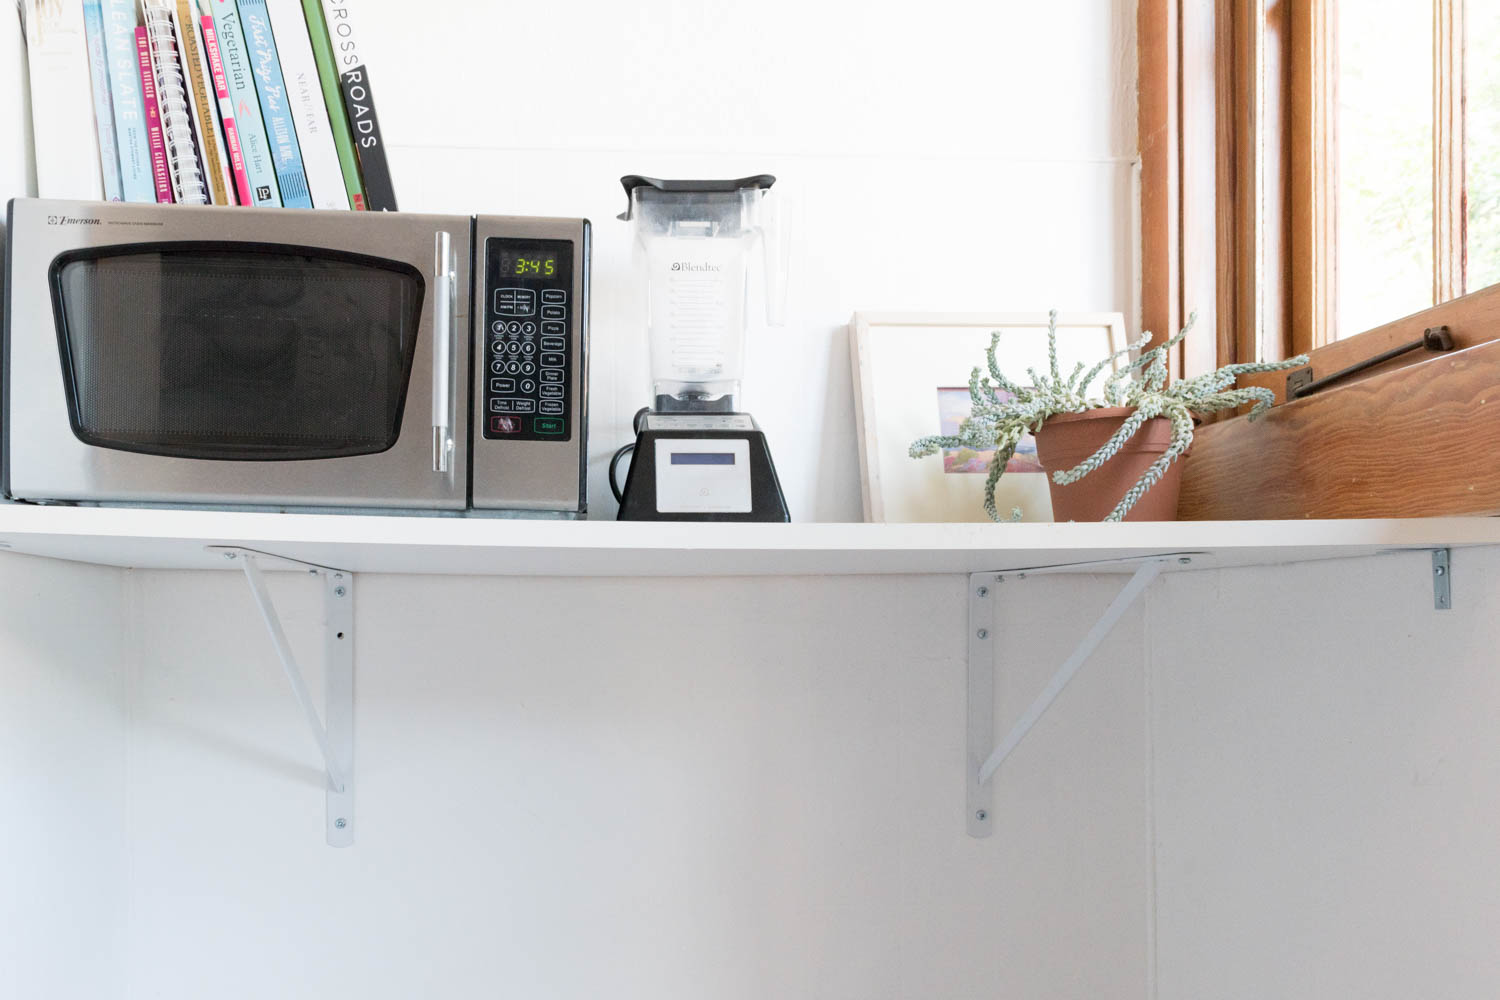
I used these brackets with this white melamine board to create out-of-the-way kitchen storage. It's as easy as hanging the brackets in the studs, then screwing the top to them. Simple dimple. We use this counter space to get the microwave out of the main part of the kitchen, store some small appliances, and plop things that are going in and out of the house. It's such a helpful spot to dump stuff, but over time, the board started to sag. See it bowing in the photo? It also started to tilt forward, so we had to reinforce it with some L brackets. Not a big deal, but it certainly doesn't have the floating cleat counter look.
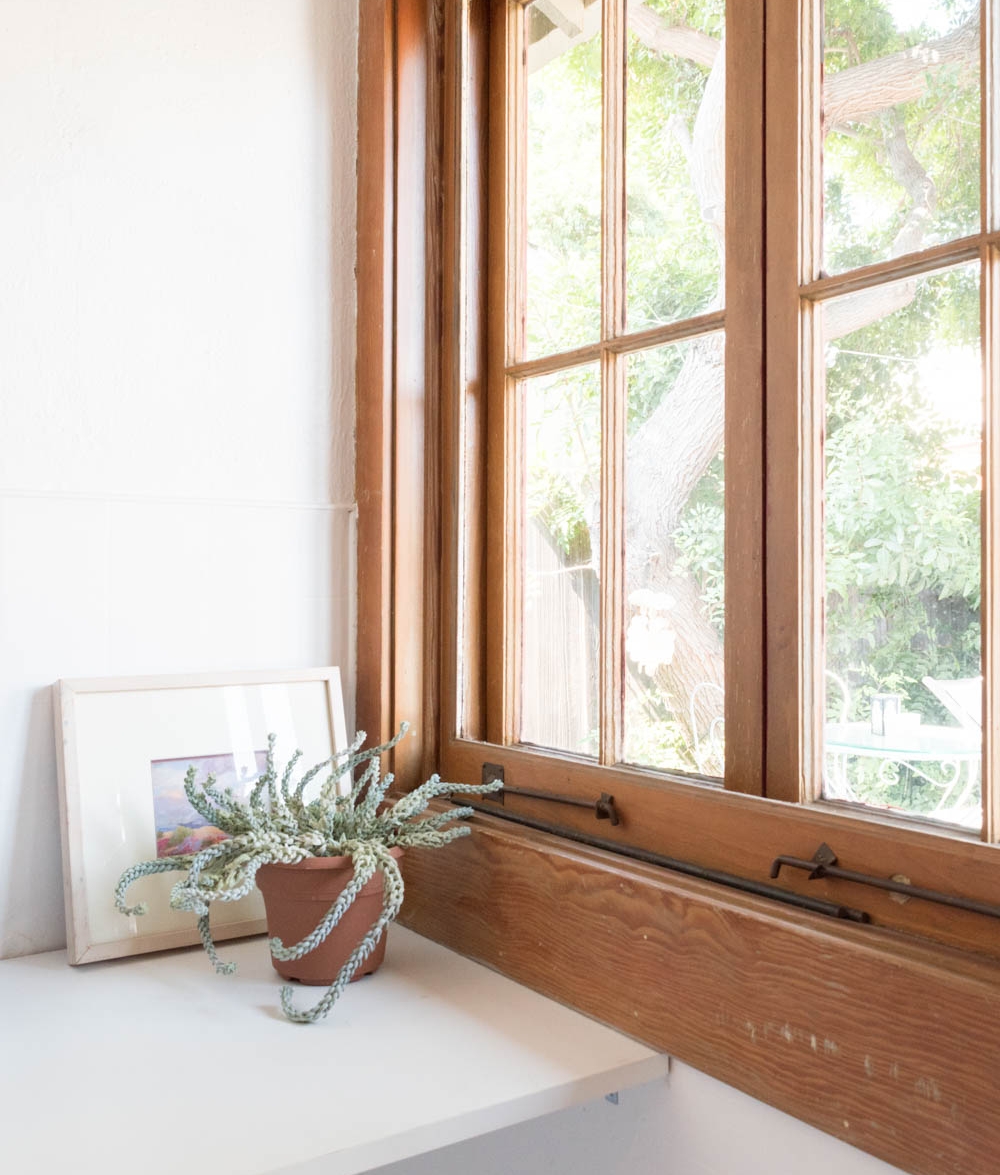
Shelf brackets: $26
Melamine board: $13
L brackets: $6
For a grand total of $166, we gained 10.5 feet of additional counter space (and a few shelves)! While we were lucky to have lots of room to expand, I’m certain that even adding a 6” shelf between the range and the counter in a small space would do wonders. Each of these projects can be done in a weekend and are great for a rental. How would you upgrade the work surface in your kitchen?
To see how I skim coated tiled countertops with concrete and to see more kitchen progress, click here. To follow along with how the rest of the home renovation goes, subscribe!
Welcome to a new series: Report Card. I'm going through (nearly) everything in a space and telling you how it's actually held up. The backyard's first up, and spoiler, I did not ace this one.
The plants finally filled in, the veggie beds are in the wrong spot, and I've learned that the yard you design and the yard your kids actually use are two very different things.
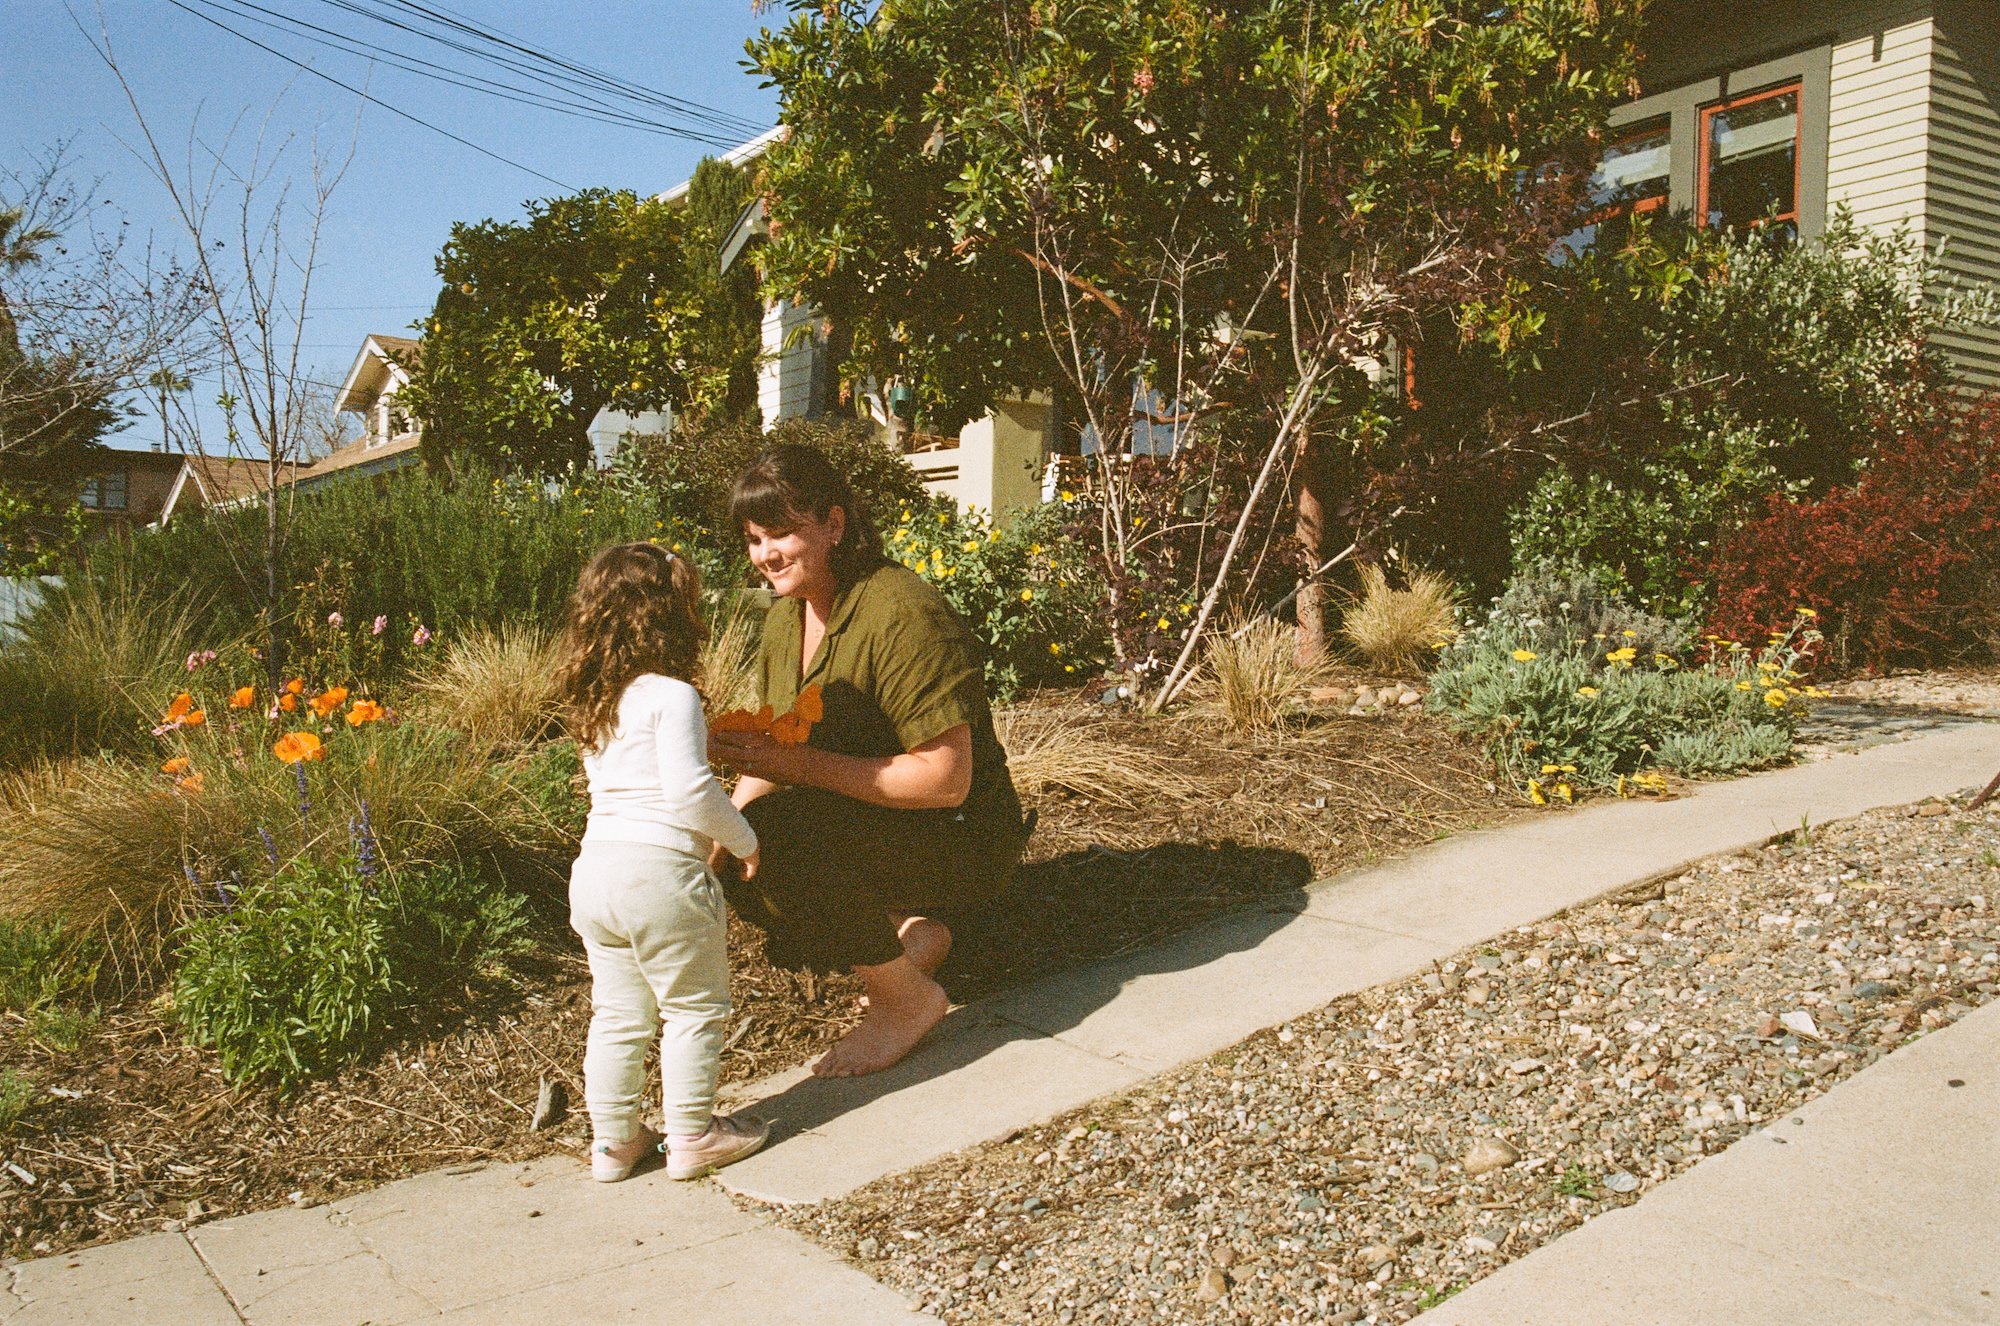
Hi. It's been a while. I've missed this. I took a longer break than I planned. Life has gotten full. I've been developing film and knitting at soccer practice, attempting to garden with the girls and fussing around with furniture layouts. I’ve also been scheduling summer camps, refilling the watercolors multiple times a day, and trying to keep the toys tidied. Around the house, I’m adding color wherever it fits and making some changes to the overall function and feel.
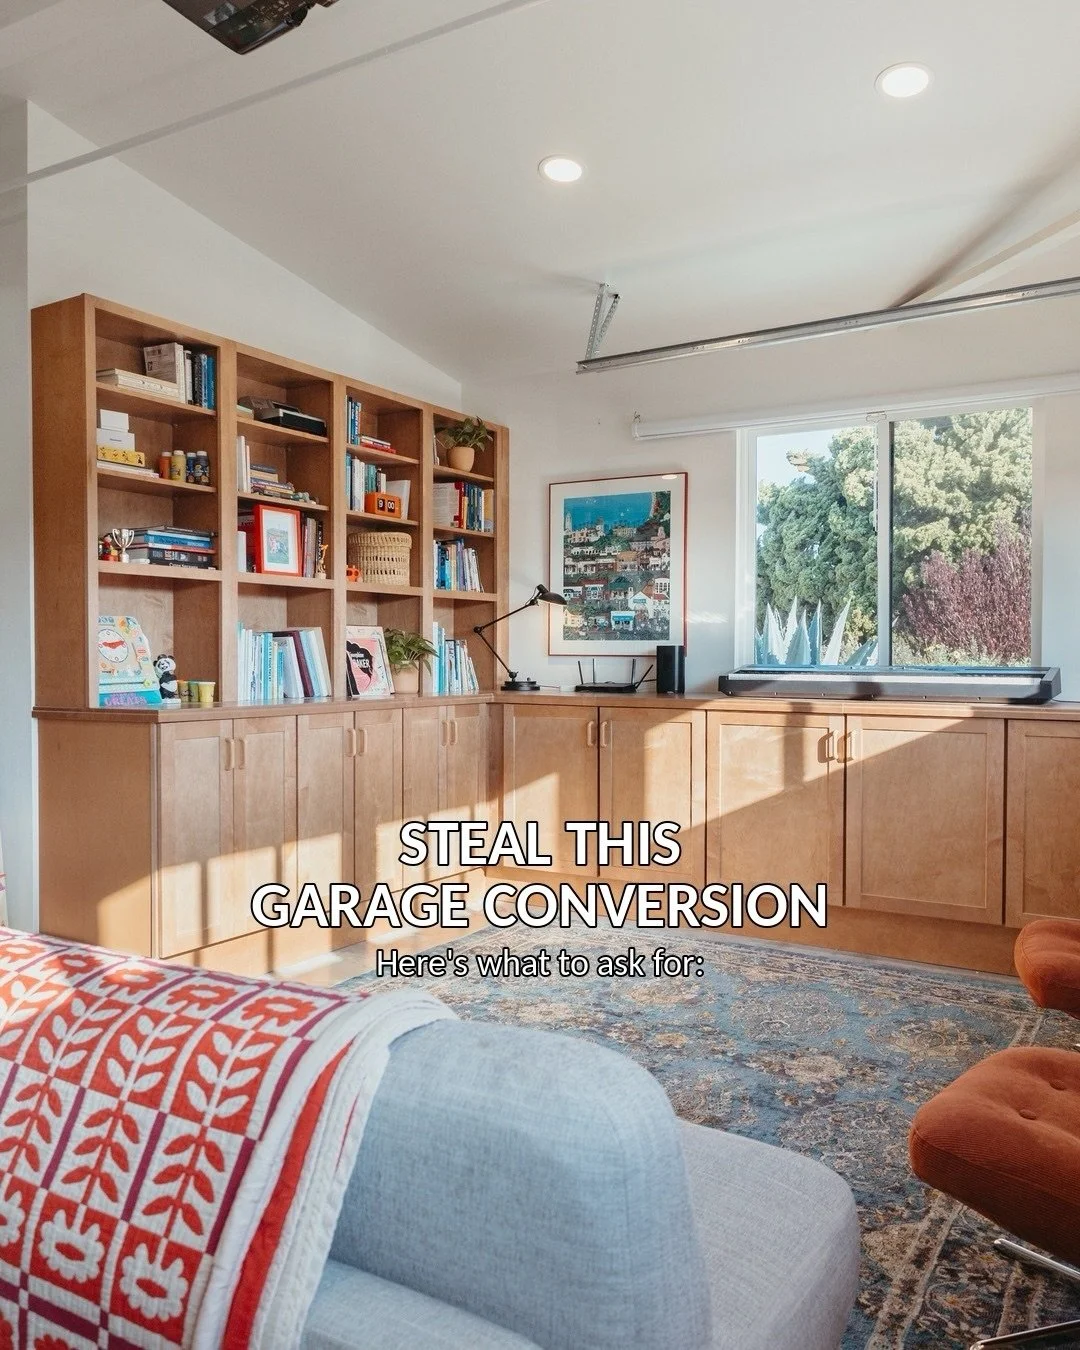
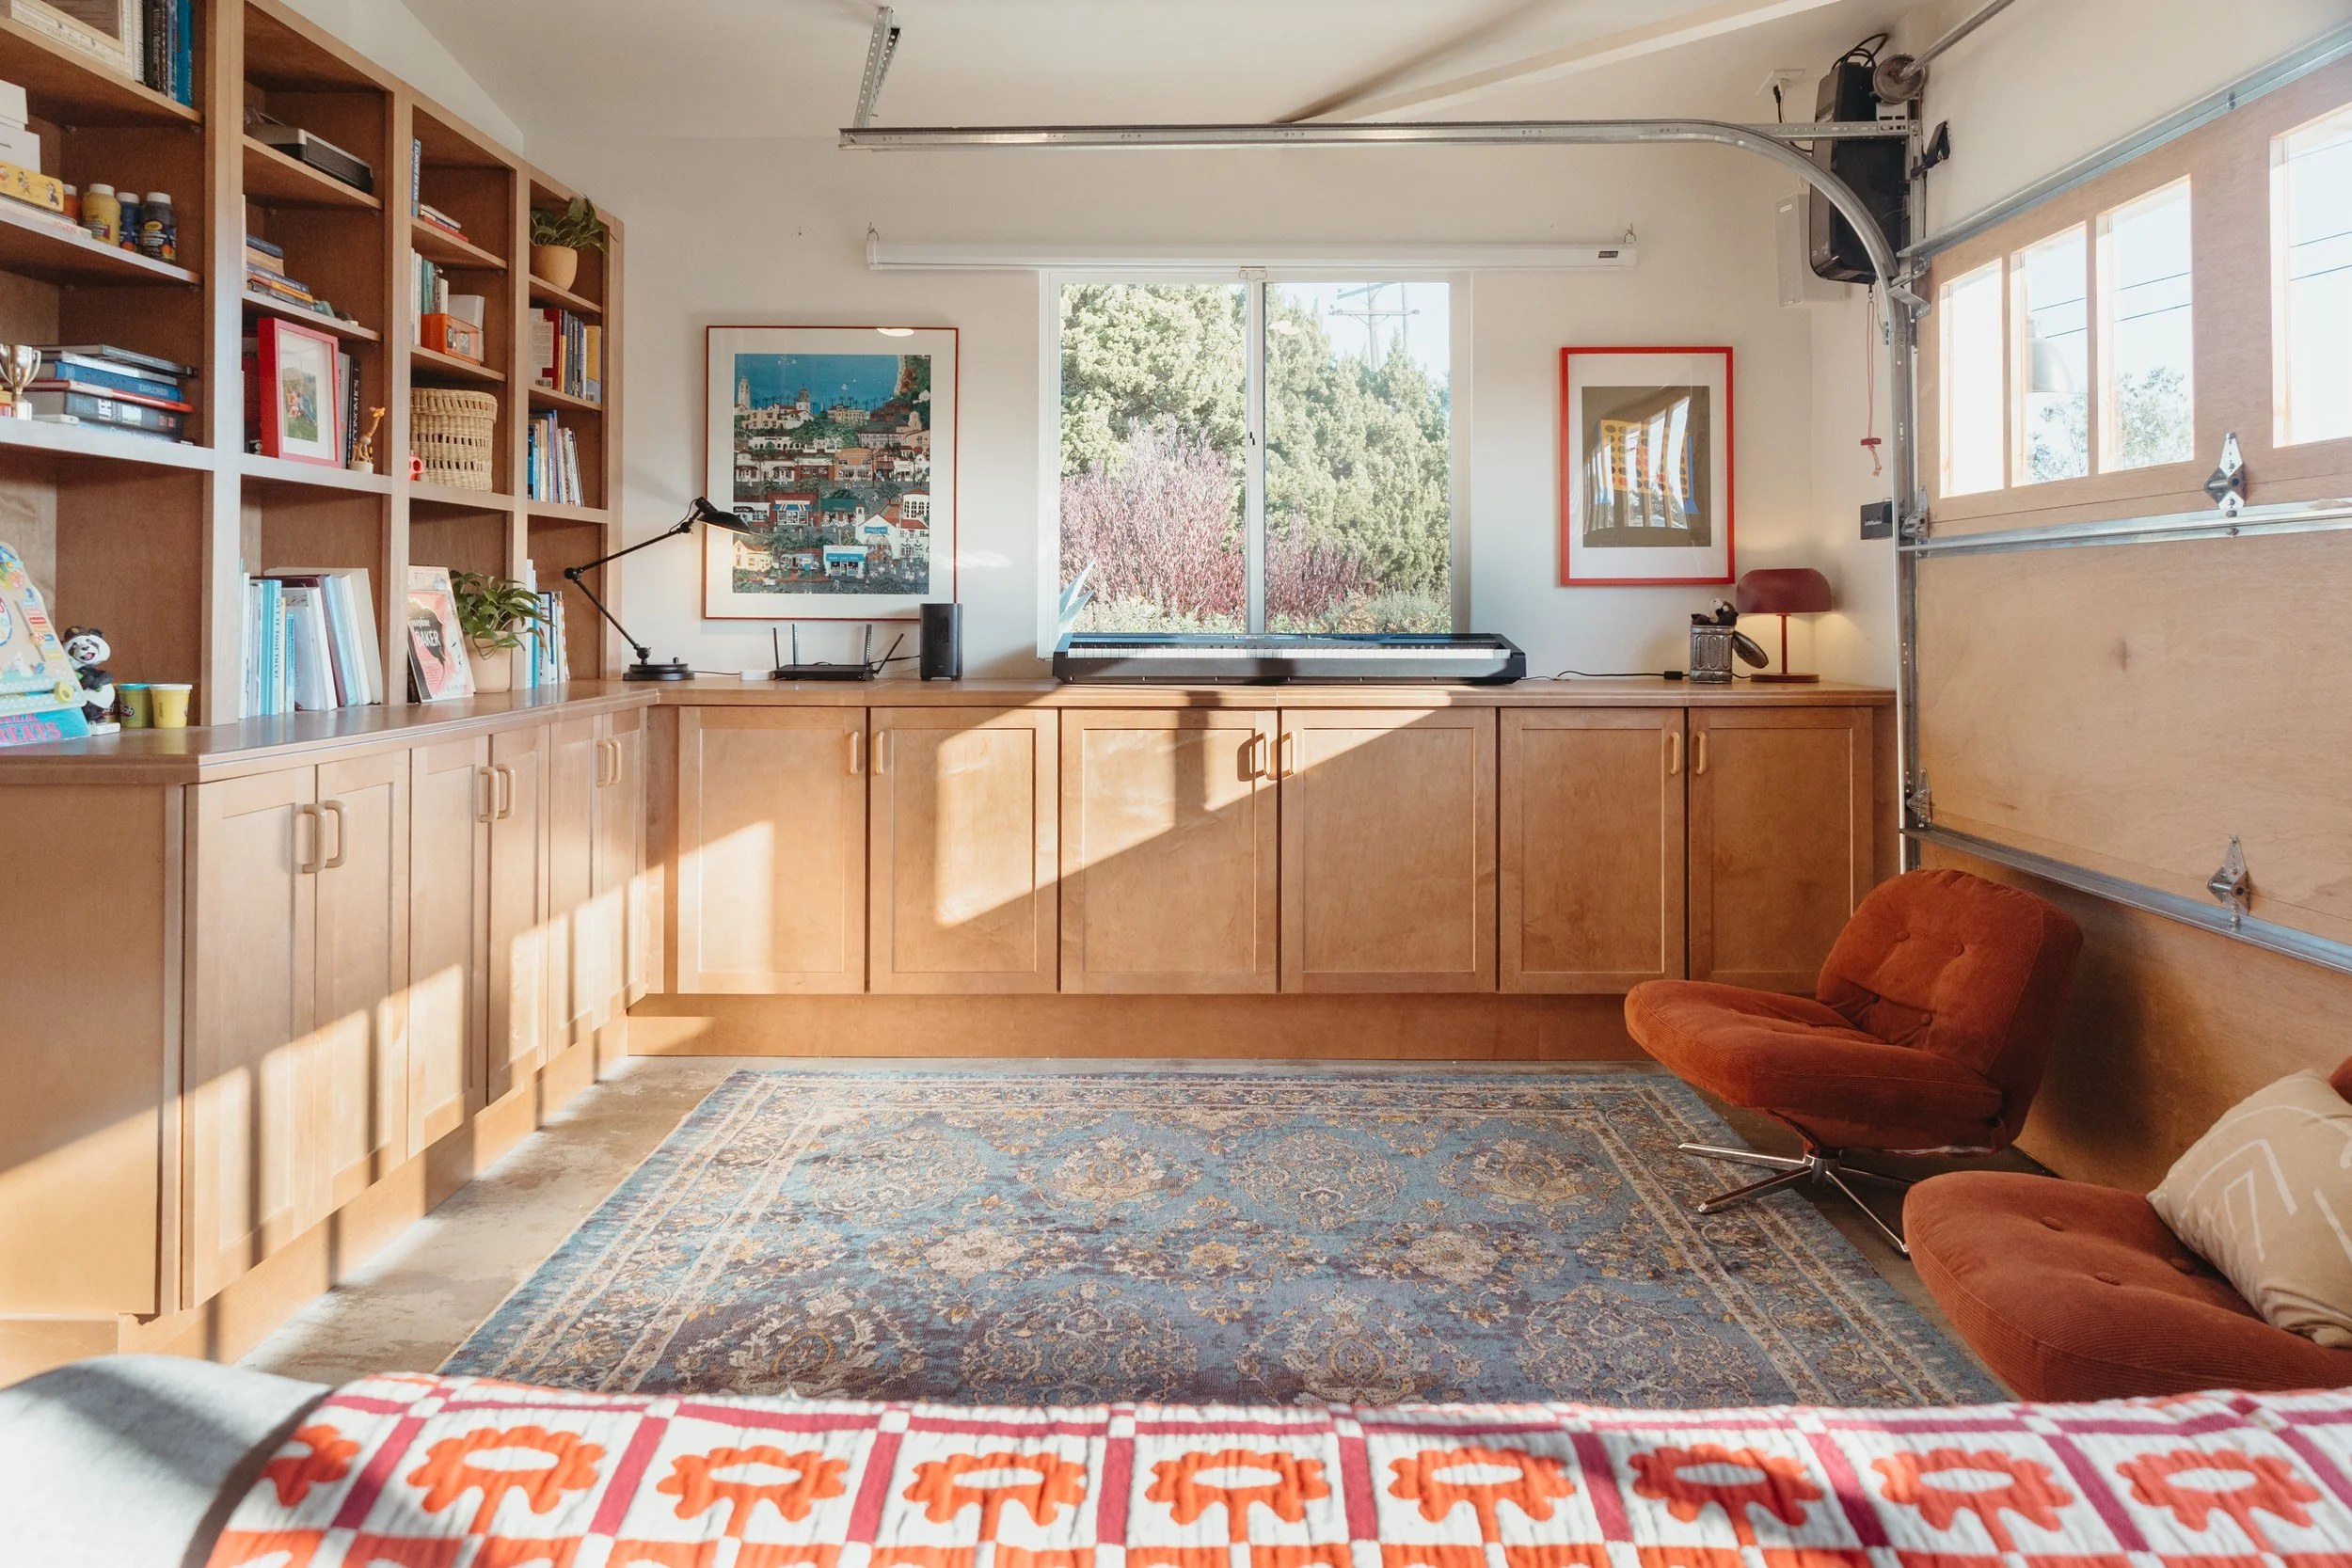
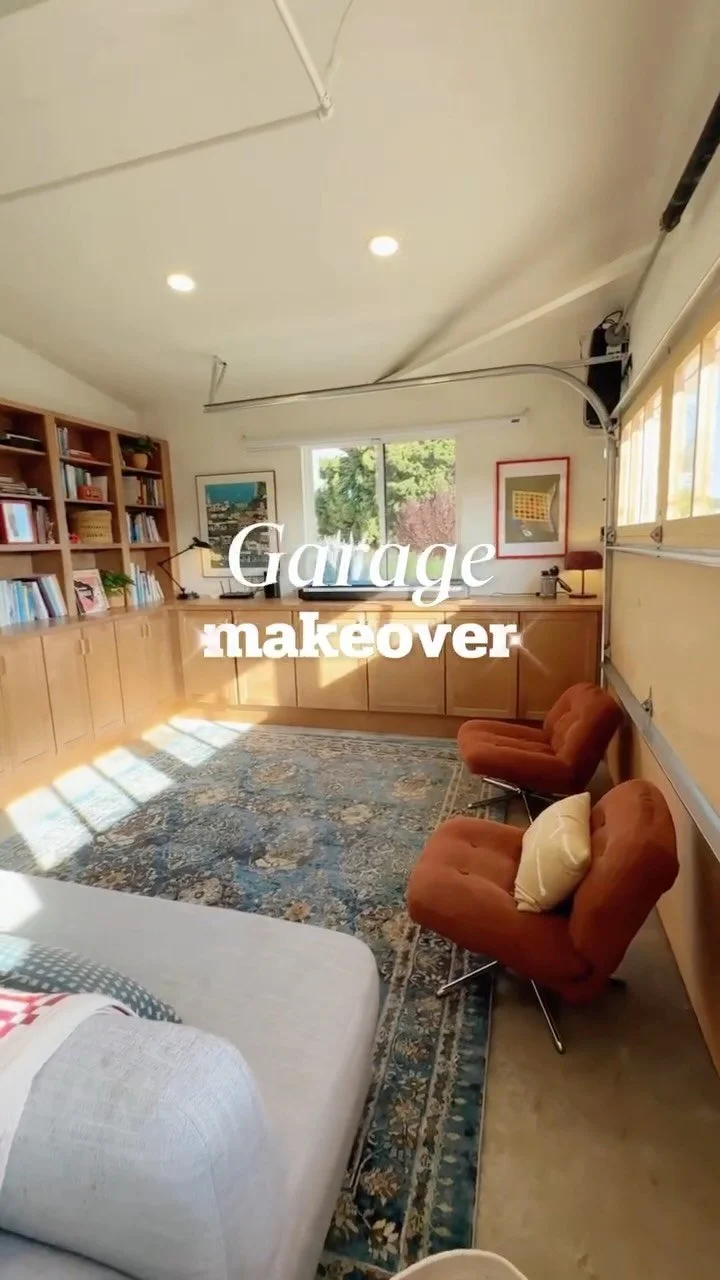
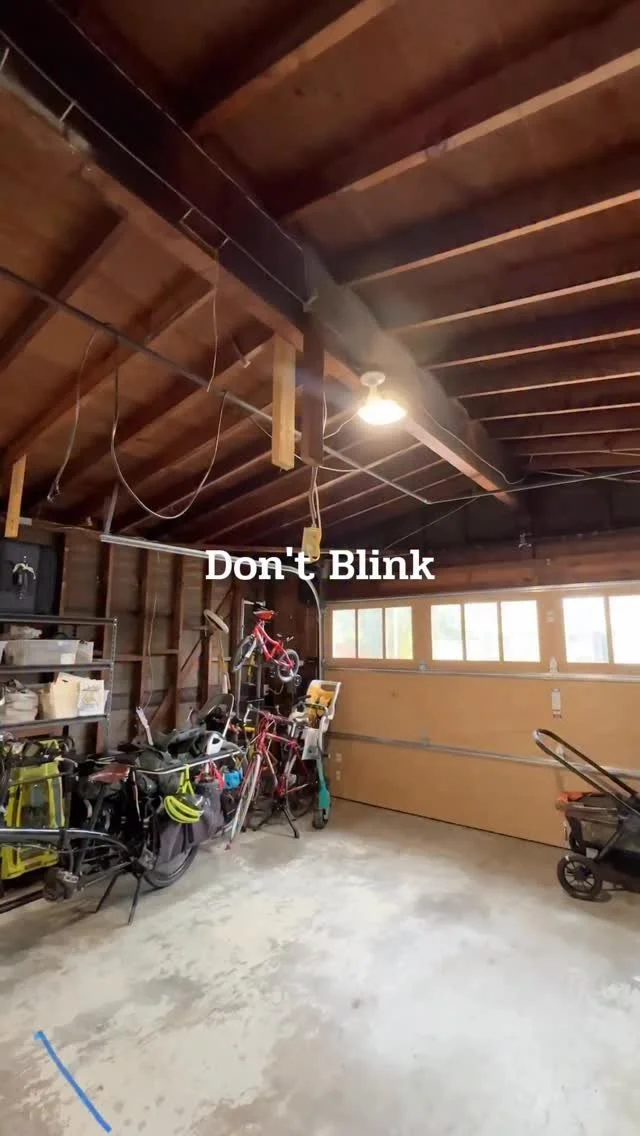
My friend Martha had a vision for this garage conversion: to turn her unfinished catch-all garage into a beautiful, hard-working space that could function as a living room, media room, playroom, laundry room, home office, and storage zone. I’ll be honest, I wasn’t entirely convinced all of that could fit. But somehow(?!), it absolutely does and it turned out even better than I imagined.
What I’ve been up to - from gardening, to film photography, and the books and shows we’re enjoying. Plus a house tour that requires a closer look, grass seed to always have on hand, cedar shake excitement, historic window screens, and the privilege I’m reminded of daily.
Ashley’s restoring her historic home at a snail’s pace in California. She shares home improvement DIYs, tips for sustainable living, and renovation stories - all while aiming to add more color and present real, lived-in, family friendly spaces.
I'm Ashley, a deeply systematic homebody restoring my 1915 Craftsman bungalow in California, slowly and on purpose. I don't make a single decision without first opening 100 tabs. Renovation, DIY, color, and what it actually looks like to live in an old house with two young kids.




© 2026 The Gold Hive. All Rights Reserved.
This site contains affiliate links. I may earn a commission on purchases made through these links at no additional cost to you.
Sponsored content and gifted products are disclosed as such. All opinions are my own.
All images are copyright The Gold Hive. Reproduction or use without credit is not permitted. · Photo Licensing Policy




On data loss, real loss, and stretching further distances.