Three Ways to Add Kitchen Countertop Space On A Budget

The biggest challenge with many kitchens is a lack of work surfaces. It's a pain to cook without sufficient countertop space, right? Yet, it's easy and inexpensive to DIY a spot to prep and cook. So, I bring you three super simple ways to add custom counters for cheap.

The Gold Hive How to Add Counter Space for Cheap

There are oodles of rolling bar cart options like this, this, or this, to give you more space to work, and they are great! Some have additional storage, some have spots for wine bottles, and some have fancy hooks and bars for all of your kitchen needs. But they don't always fit a space perfectly. Sometimes the height doesn't line up with the existing counters, or there's a gap next to the range, or it blocks an outlet. I tried out three different methods to add valuable work surface to a kitchen that has a couple of empty nooks.

1. The Cabinet & Counter

cabinet after-0331.jpg

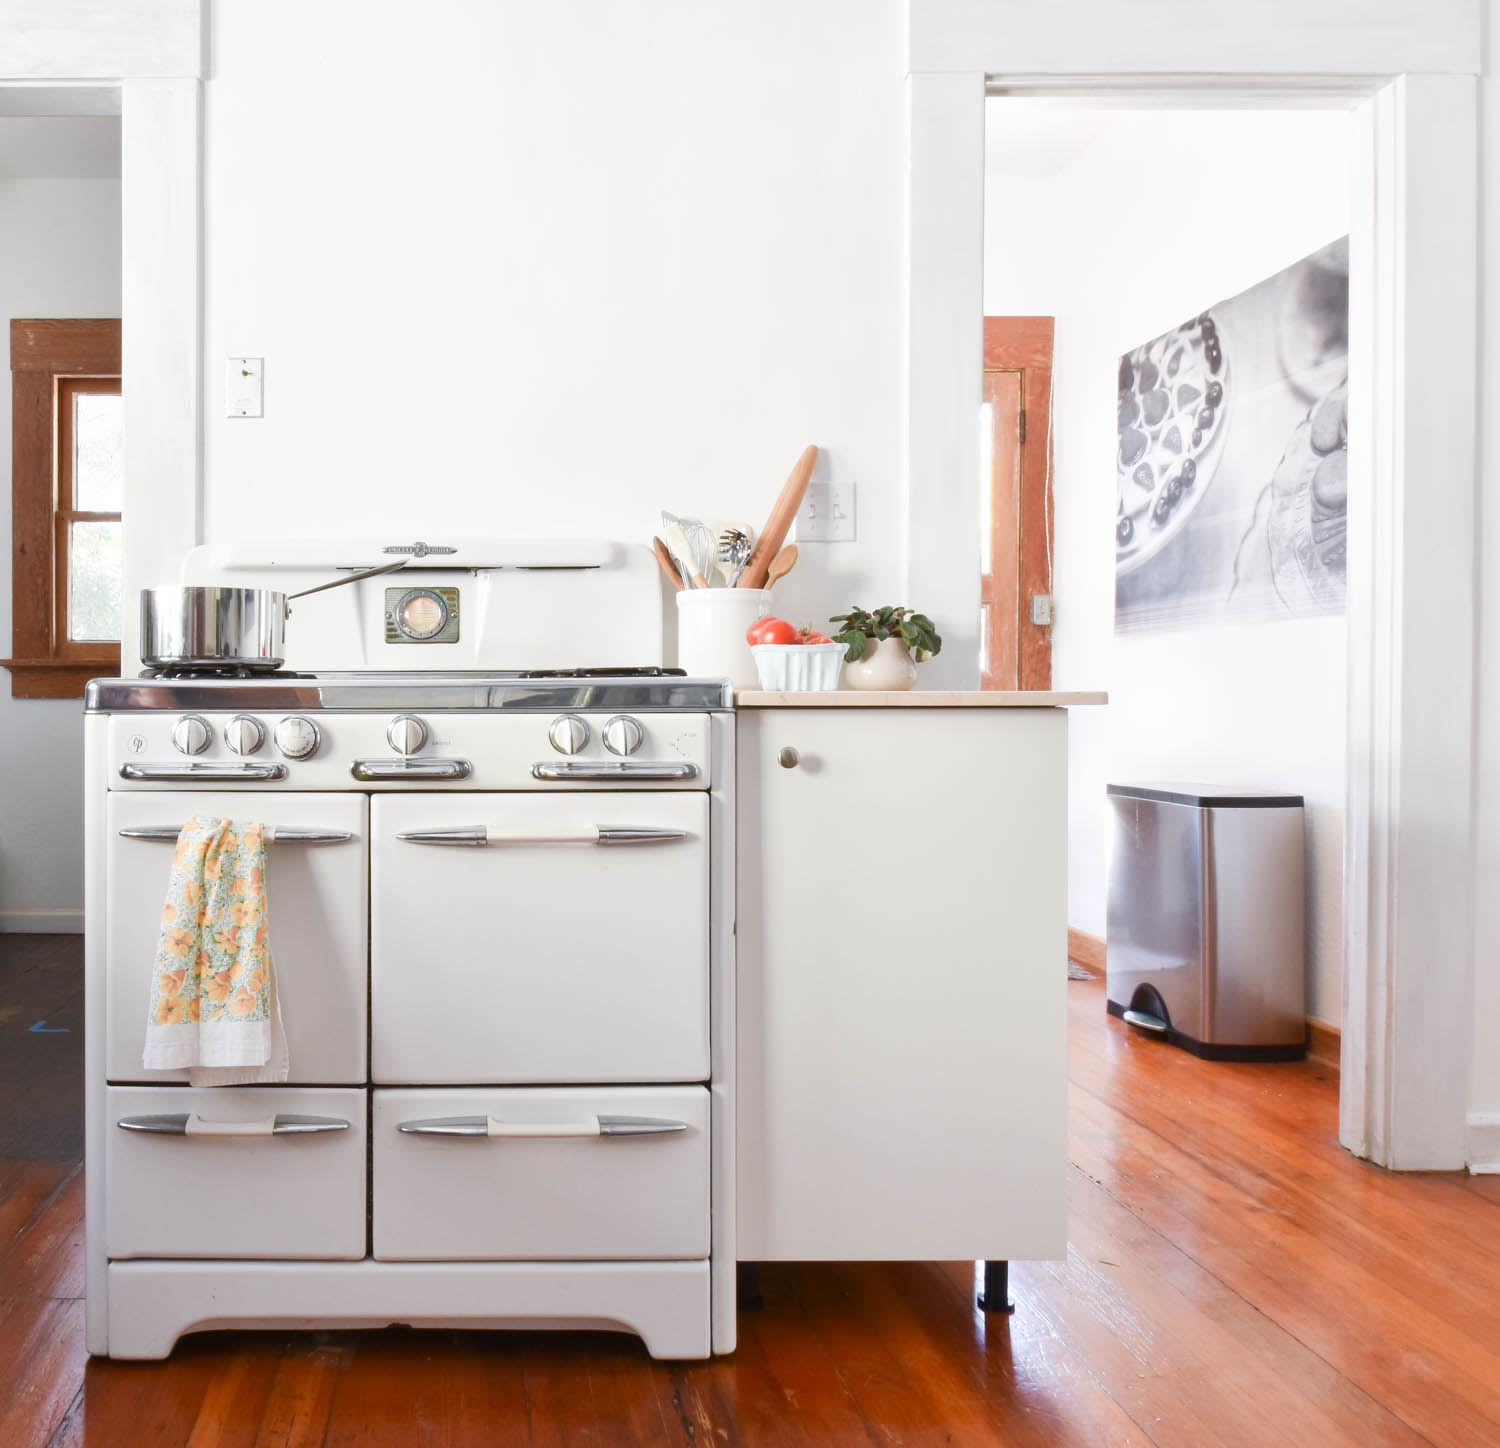
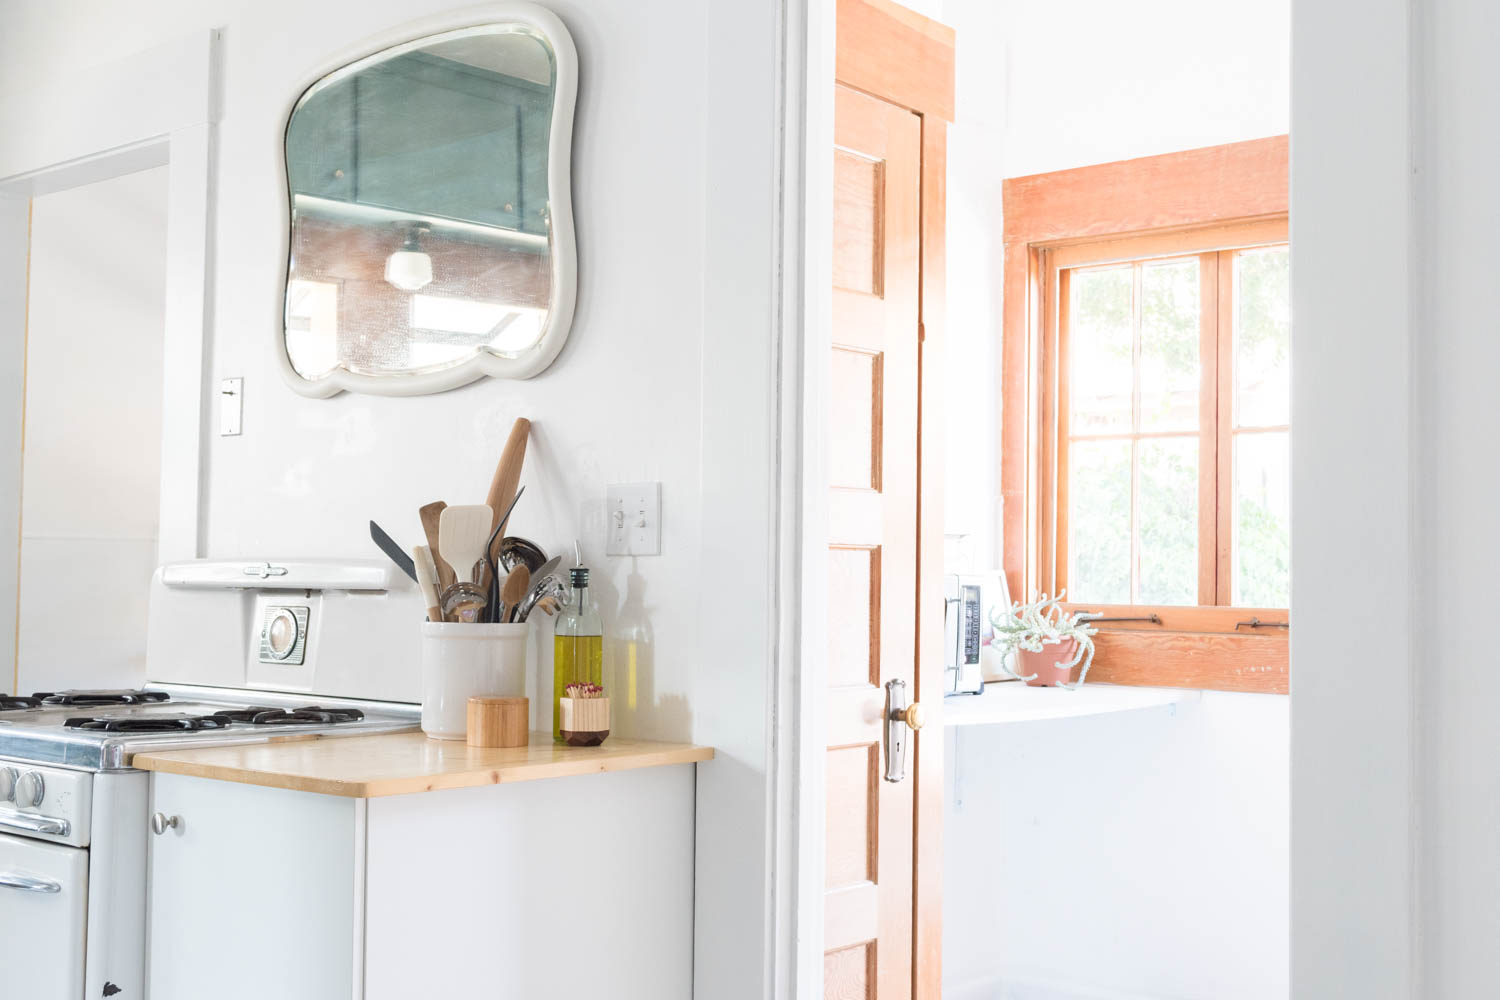
Our range was centered on a narrow wall so we never had a spot to rest our tools or prep. With a few inches on either side of the appliance, the area was the perfect candidate for a new work surface and even some concealed storage. The search for a base cabinet started at Habitat for Humanity ReStore, then Home Depot and Lowe's, but I ultimately found the best size and cheapest option at IKEA. After wiggling the stove over, I had the perfect amount of room to wedge in this 18x24x30" SEKTION base cabinet.

The Gold Hive How to Add Counter Space for Cheap

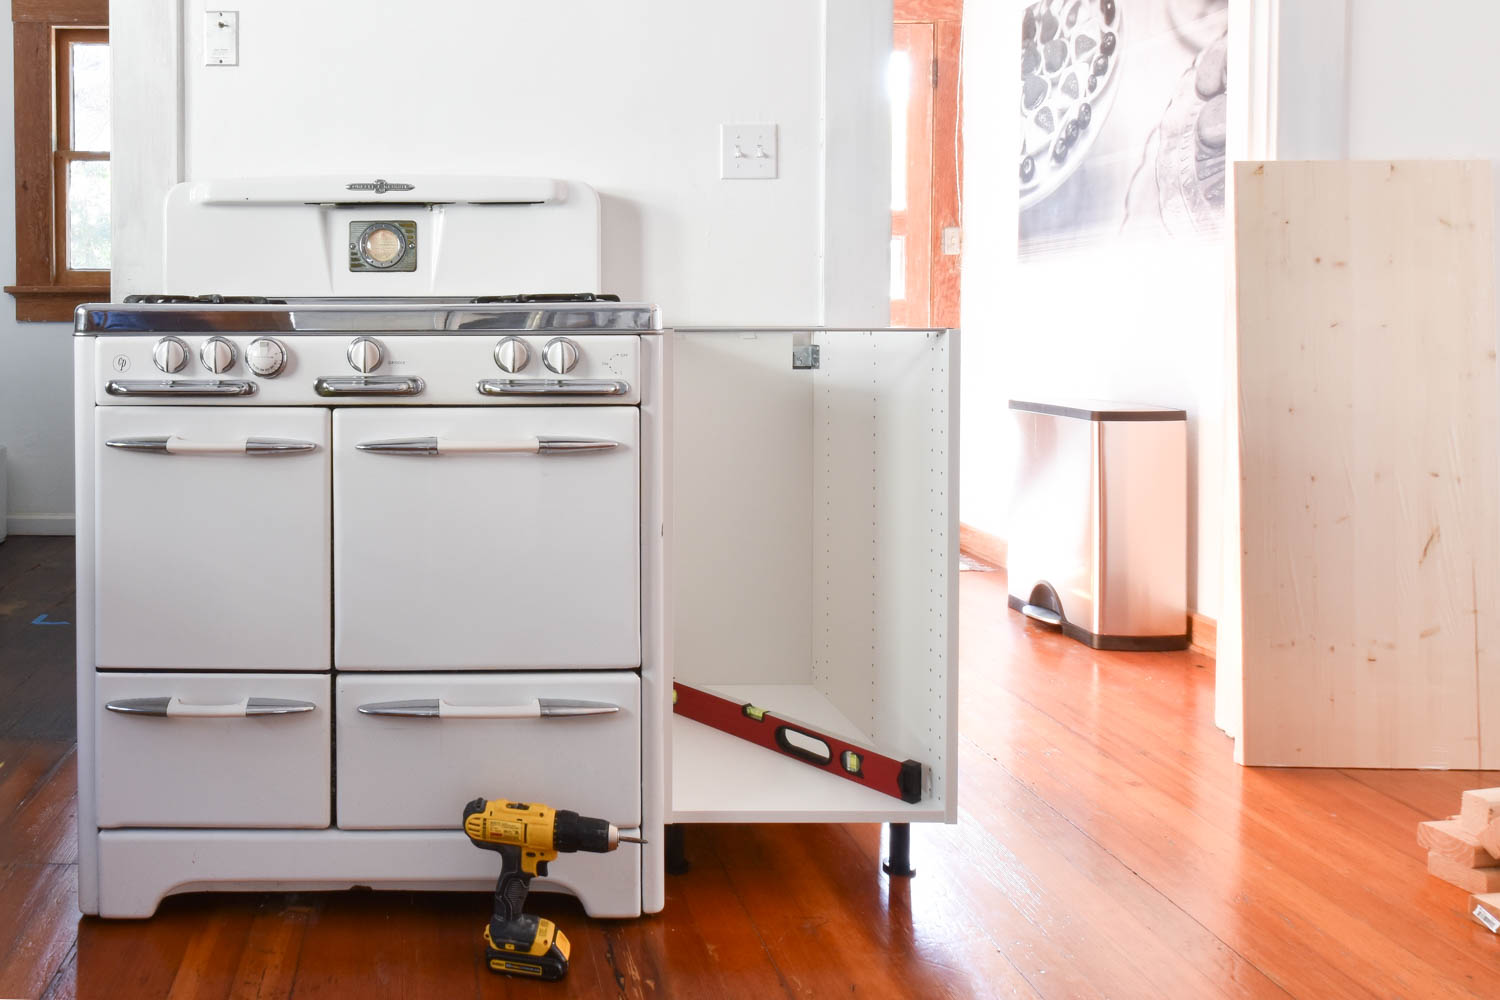
I assembled the base cabinet according to the instructions provided. Instead of using the track system for the full kitchen cabinet installation, I used the components that mount it directly to the wall and supported it with the adjustable cabinet legs.

The Gold Hive How to Add Counter Space for Cheap

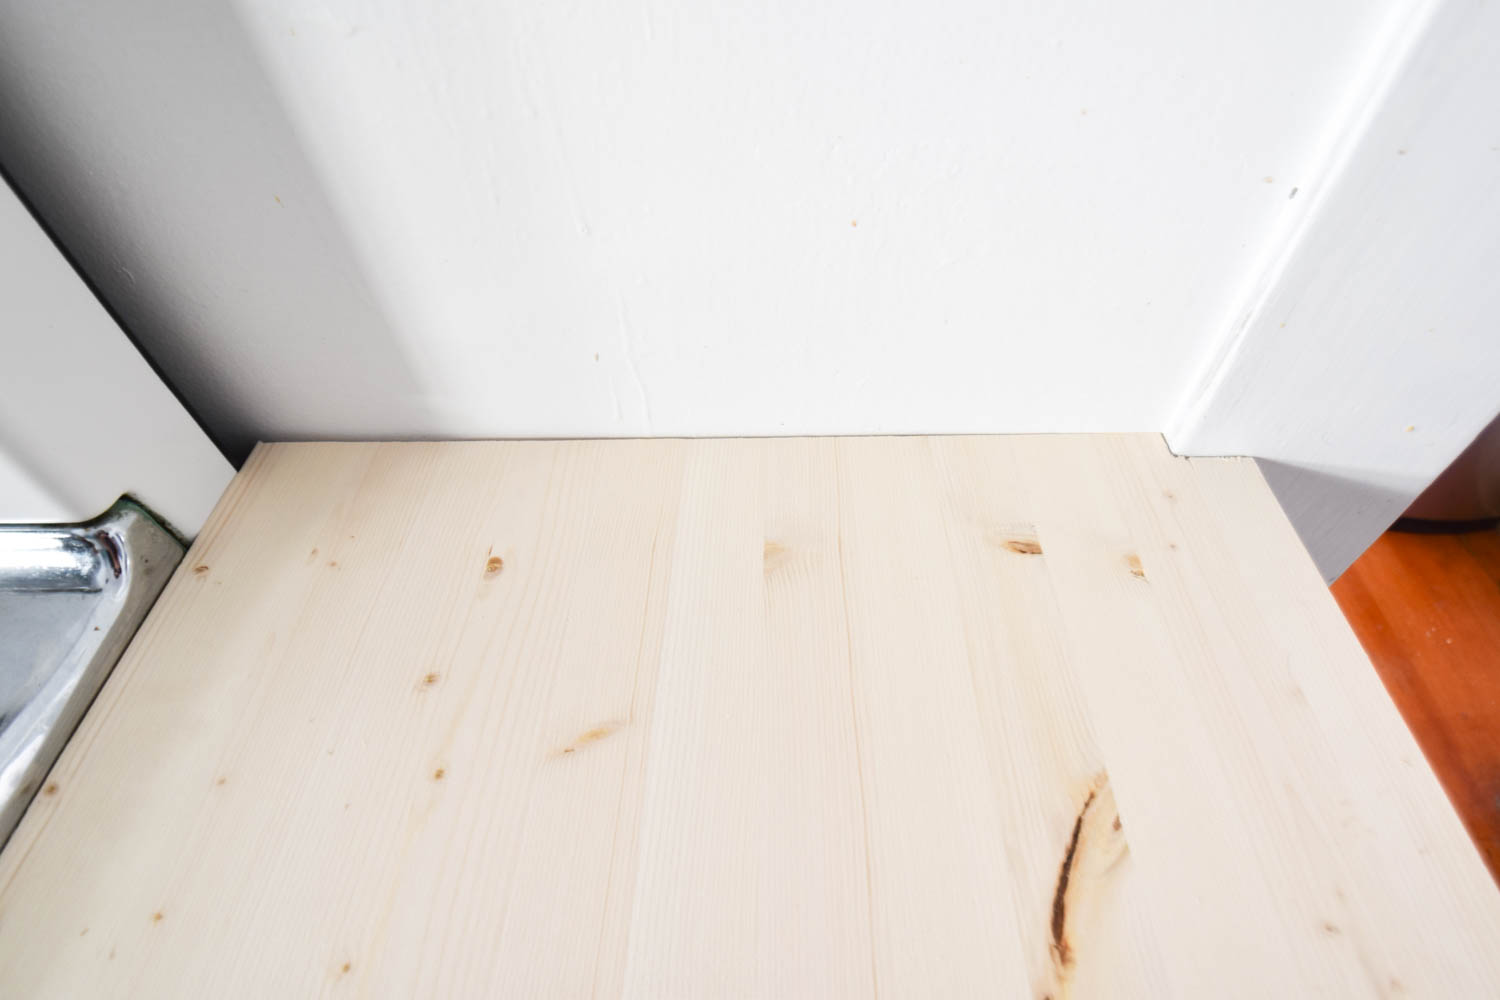
These cabinets don't come with a countertop, so I made my own. Butcher block was my first choice since wood is easier to work with than stone. However, even the cheapest slabs were too pricy and more material than I needed, so I used this piece of 3/4" pine that works swimmingly. In an effort to get as much surface area as possible, I made the wood overhang by 2” and notched out a spot for the door trim using my trusty jigsaw. I also sanded the corners to match the round profile of the range.

The Gold Hive How to Add Counter Space for Cheap

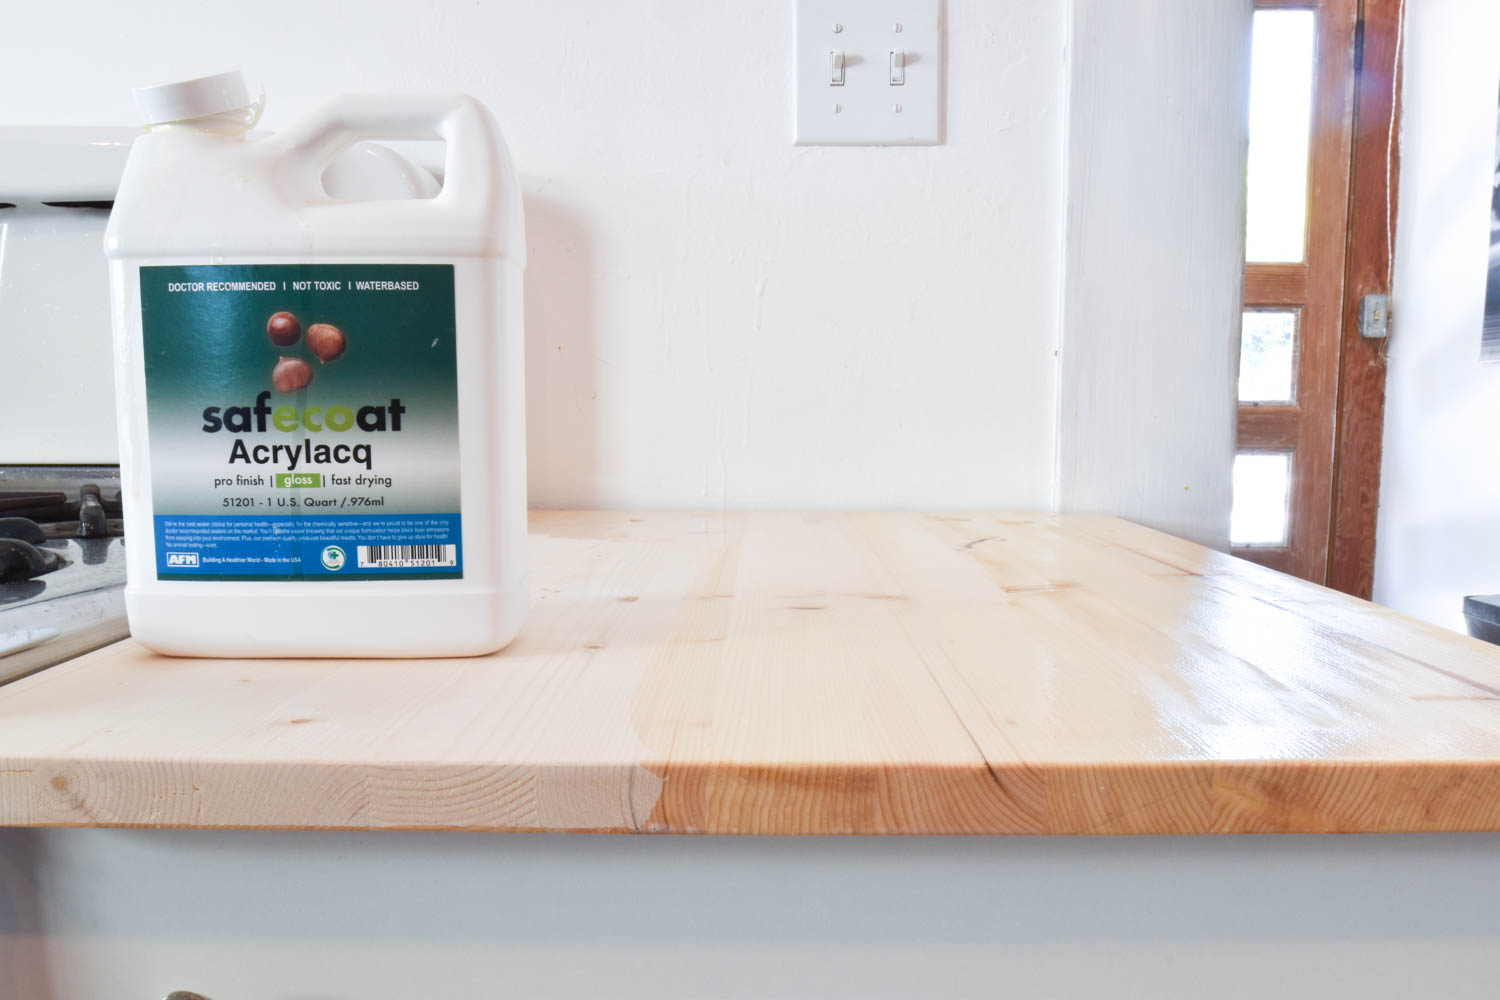
To finish, I coated the pine with food-safe Acrylacq so it could better stand up to the moisture in the kitchen.

The Gold Hive How to Add Counter Space for Cheap

Cabinet: $60
Cabinet legs: $6
Countertop: $20
Acrylacq: left over from
the concrete countertop project

Total Cost for The Cabinet & Counter: $86

2. The Custom Cleat Counter

The Gold Hive How to Add Counter Space for Cheap

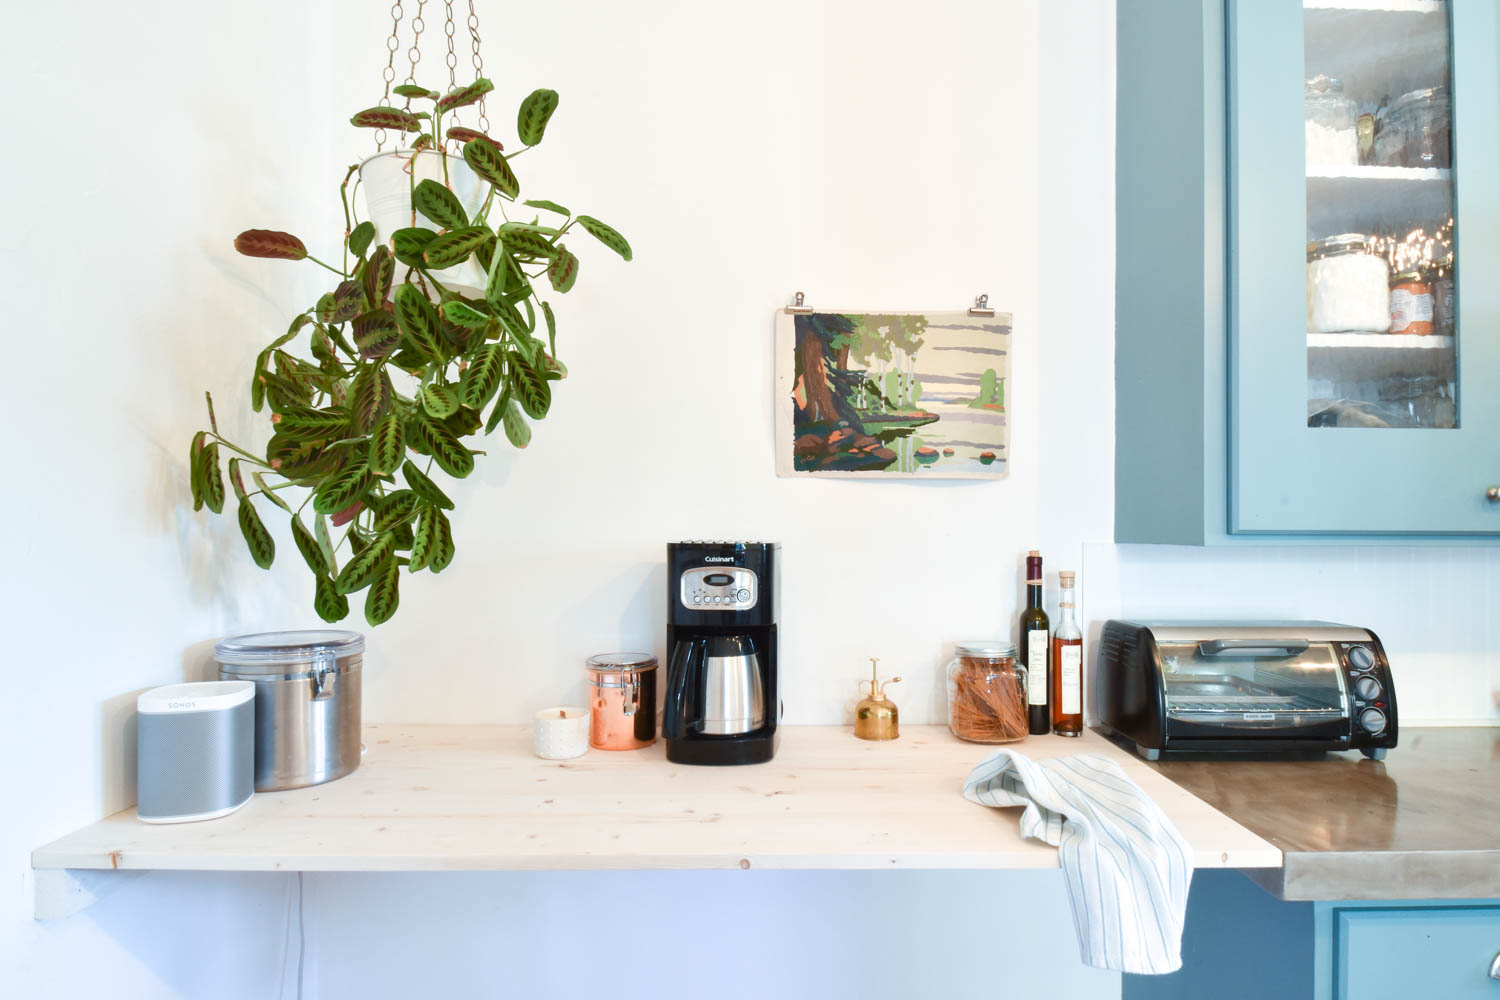
The corner of the kitchen had been the home for a small breakfast table, but we never used it. A better use of the space was a long shelf to extend the existing counter. Instead of store-bought brackets (see #3), I used a cleat system. This technique provides strong support and gives the illusion of a floating countertop.

The Gold Hive How to Add Counter Space for Cheap

The first step was to identify the wall studs so the cleats would have something strong to sink into. I used my favorite technique from when I installed picture rail molding.

The Gold Hive How to Add Counter Space for Cheap

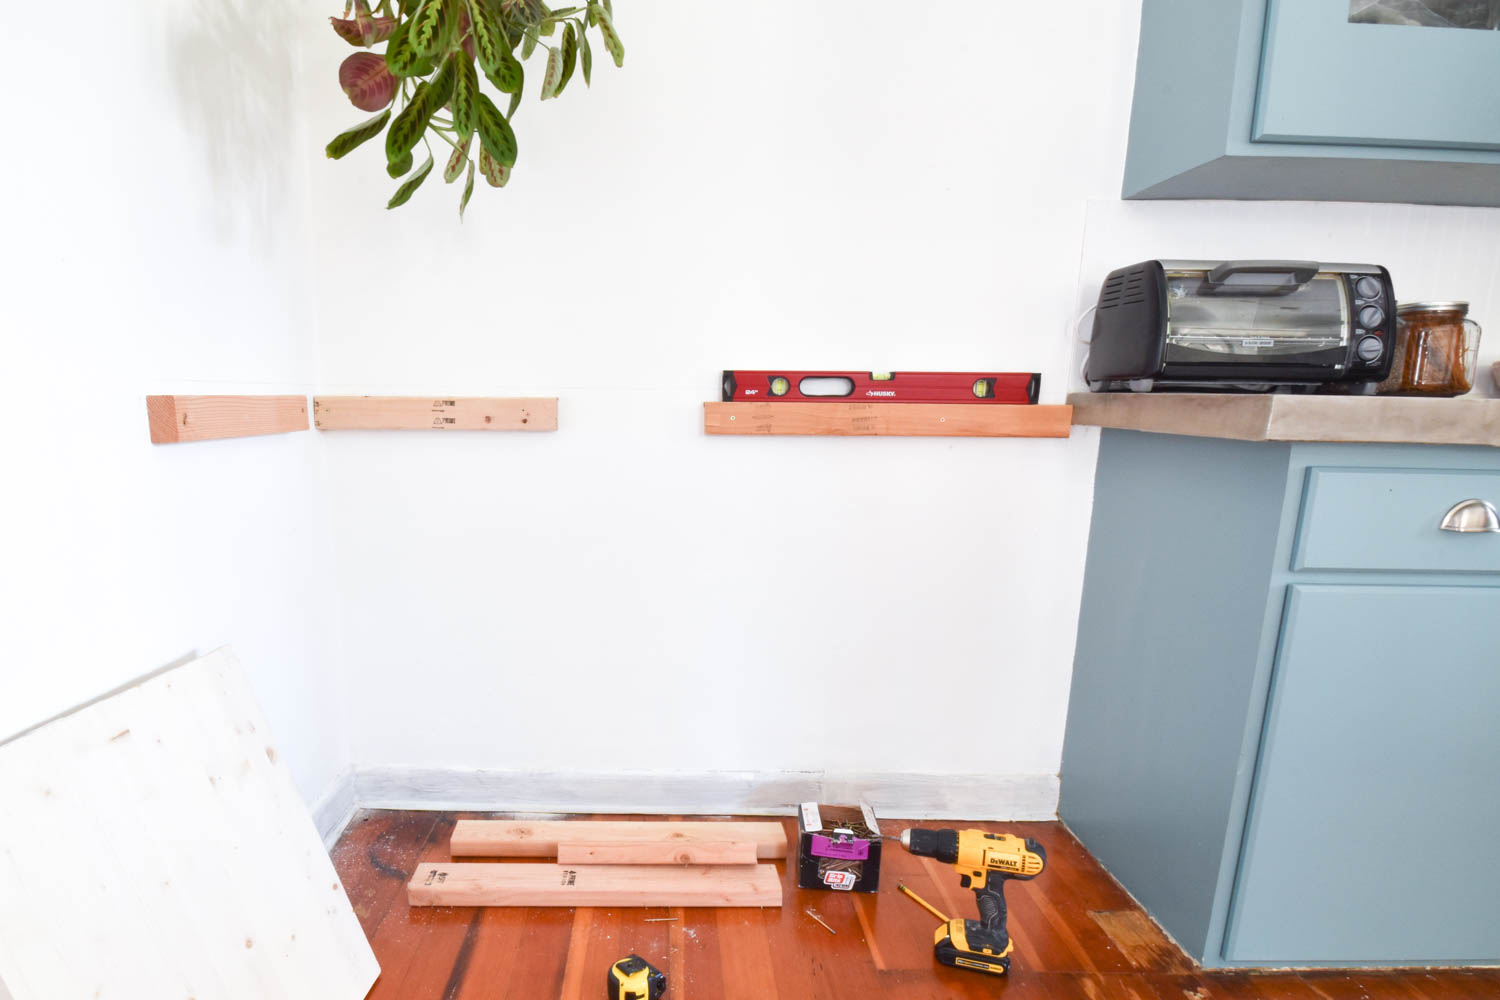
After finding all of the studs, the next step was to screw in lumber along the walls just below the counter. To find the height to screw in the cleats, subtract the thickness of the counter material from the height you want it off the floor. Make your mark, then using a level, draw the guide along all of the walls. It’s important that you make the cleats level so your food doesn’t roll off the counter!

The Gold Hive How to Add Counter Space for Cheap

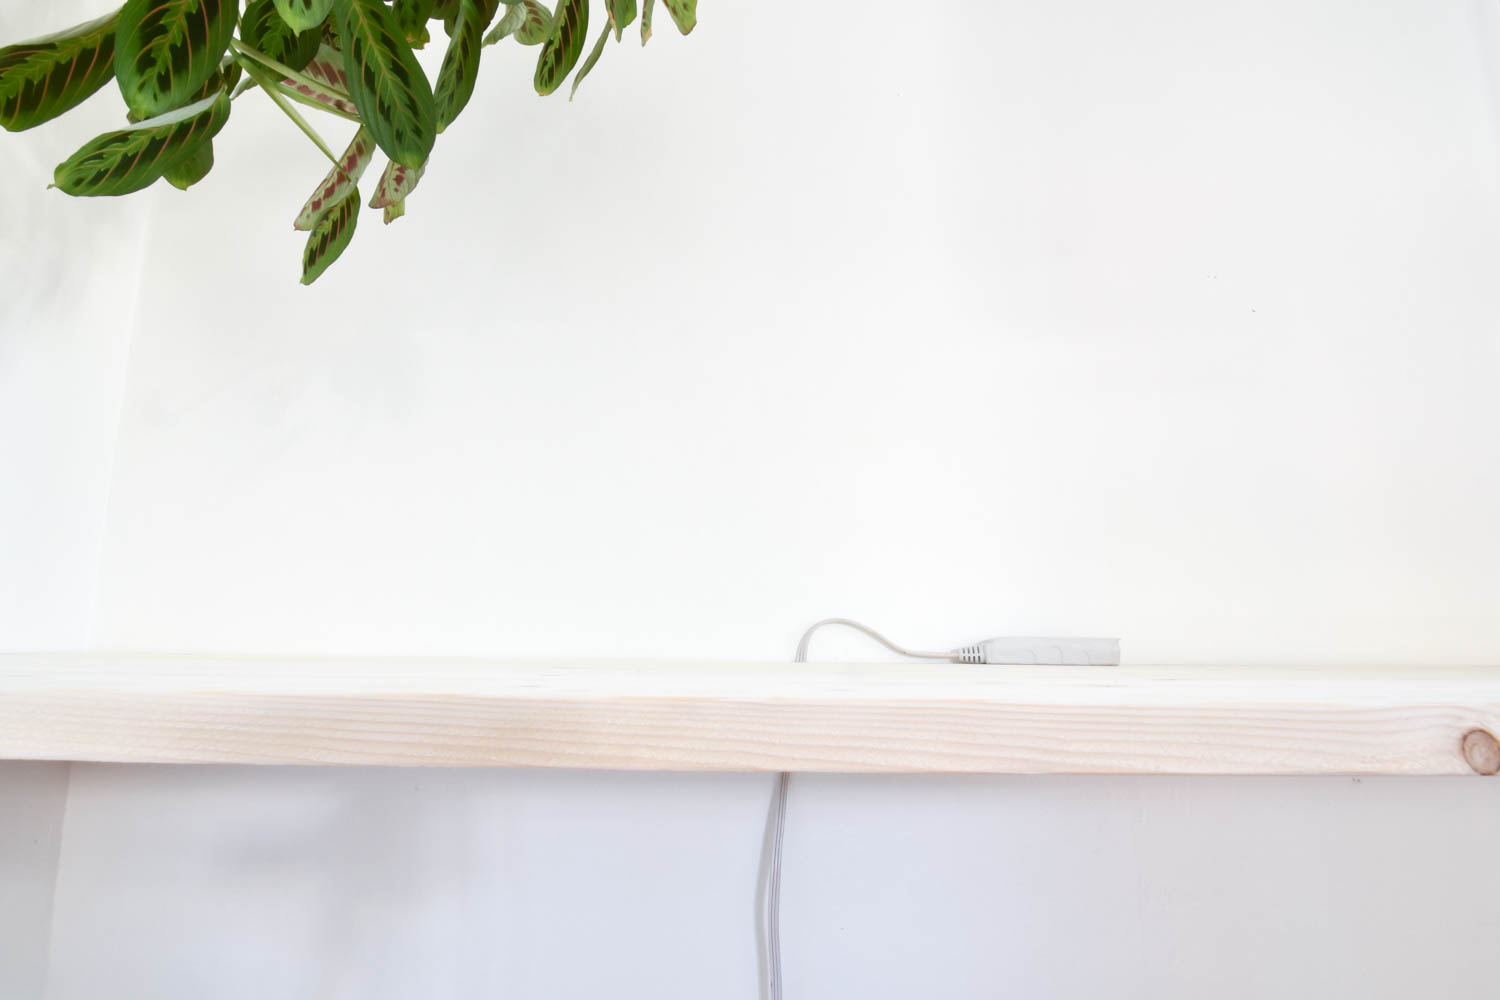
I was lucky to have some scrap lumber, but you could get a few feet of 2x4s and cut them to size. I purposefully left a gap between the cleats so I could feed a power cord through to the top of the counter. It conveniently gets hidden behind the coffee maker.

I cut the pine panel to just a hair bigger than needed, then sanded it down until it was a snug fit. After cleaning up the edges, it got a coat of Acrylacq just like the cabinet counter.

Countertop: $35
Lumber & fasteners: already on hand
Acrylacq: left over from the concrete countertop project

Total Cost for The Cleat Counter: $35

3. The Off-The-Shelf Shelf

The Gold Hive How to Add Counter Space for Cheap

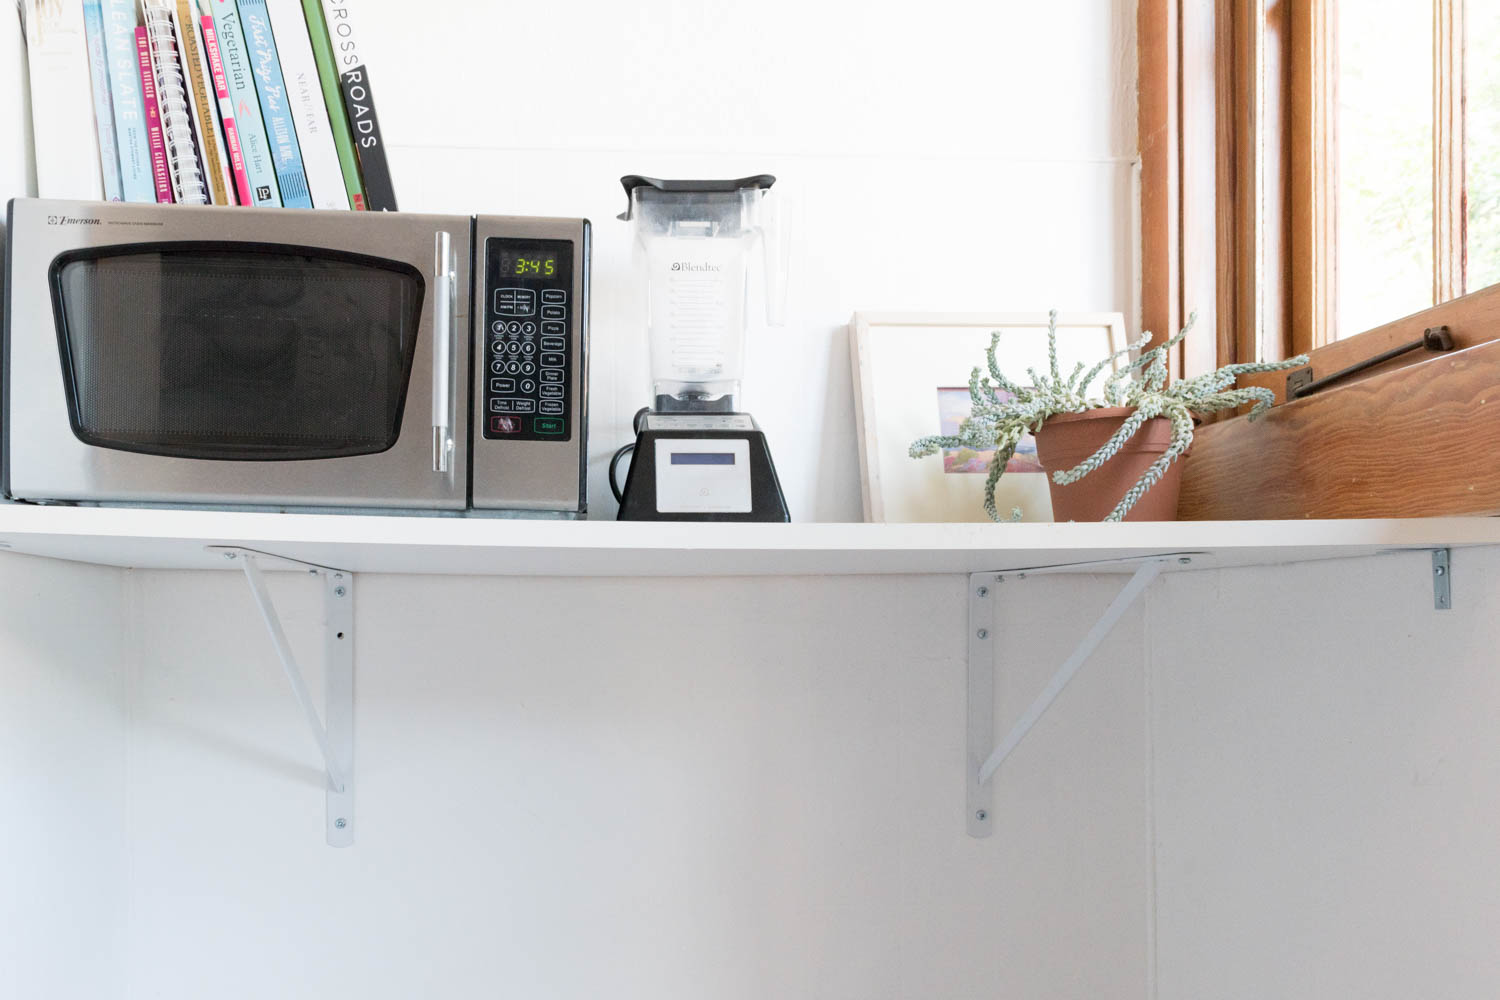
I used these brackets with this white melamine board to create out-of-the-way kitchen storage. It's as easy as hanging the brackets in the studs, then screwing the top to them. Simple dimple. We use this counter space to get the microwave out of the main part of the kitchen, store some small appliances, and plop things that are going in and out of the house. It's such a helpful spot to dump stuff, but over time, the board started to sag. See it bowing in the photo? It also started to tilt forward, so we had to reinforce it with some L brackets. Not a big deal, but it certainly doesn't have the floating cleat counter look.

The Gold Hive How to Add Counter Space for Cheap

Shelf brackets: $26
Melamine board: $13
L brackets: $6

Total Cost for The Off-The-Shelf Shelf: $45

For a grand total of $166, we gained 10.5 feet of additional counter space (and a few shelves)! While we were lucky to have lots of room to expand, I’m certain that even adding a 6” shelf between the range and the counter in a small space would do wonders. Each of these projects can be done in a weekend and are great for a rental. How would you upgrade the work surface in your kitchen?

To see how I skim coated tiled countertops with concrete and to see more kitchen progress, click here. To follow along with how the rest of the home renovation goes, subscribe!

But, Where Do You Keep All of Your Things?

Bathroom storage is a biggie. In all of the infomercials of people in dramatic black and white reenactments spilling their toiletries all over the bathroom floor or in House Hunters when a couple is tripping over each other trying to both get ready in the morning, they all exasperatedly exclaim how they need more storage in their bathroom. We've all been there, amiright?

I try my hardest to live minimally and own as few makeup products as possible, but we all have stuff to store. Without a vanity to hide all of our things in, we carved out a nice spot in the corner of the room to store all of our goodies.

The Gold Hive Bathroom Storage

To revisit, here's the layout we played with during the design stage (the finished dimensions changed a bit).

Bathroom plan view

See that chunk of space at the end of the tub in the upper right corner? That pocket is the answer to all of our storage woes. The 6.5" deep space became what I call "wet storage" and is accessed from the shower/tub. The 12" wide section is our "dry storage" that opens into the main part of the bathroom. The goal was to create as much hidden storage as possible so things didn't sit on the sink or the edge of the tub. Also, I'm one of those people that decants my shampoo into an unbranded bottle aiming to see as few product labels as possible - sorry toiletry brand graphic designers.

With these terrible photos, you can see how the whole thing came together.

The Gold Hive Bathroom Storage Progress

Before the storage unit construction began, the window was sized, the subfloor was rebuilt and prepped for tile, electrical was put in, rough plumbing was installed, walls got cement board, and the floor was tiled.

The Gold Hive Bathroom Storage Progress

When we were interviewing contractors for this project, 85% of them said that adding this storage unit was a bad idea. They said that the weight of the tile would pull on the cabinet and the only way to prevent it was to make the unit super strong by building a wall between the tub and the shelves, which would only leave 5” of usable storage space. I refused to accept that, and the contractor we ultimately hired agreed that my cabinet dreams could indeed come true.

Well, the bathroom remodel wrapped up two years ago and the storage unit is in perfect condition! 

Kim and Scott of Yellow Brick Home did a similar cabinet at the foot of their tub awhile after we installed ours. They used the wall and pre-made cabinet method - but did so much better a job than any of those doubtful contractors could have done. Either route works!

The Gold Hive Bathroom Storage Progress

A big part of what made this cabinet strong is we opted to permanently install the shelves, rather than adjustable boards that we can move up and down along pegs. The permanently affixed shelves hold the whole piece together from top to bottom. I don't have the luxury of resizing the cubbies, but that's perfectly fine for our needs.

The Gold Hive Bathroom Storage Progress

We also took the cabinet all the way to the ceiling. Which is storage heaven, and gives it extra rigidity being tied into the floor, ceiling, and wall.

The Gold Hive Bathroom Storage Progress

The wet storage earned marble shelves to create three cubbies to rest shampoo bottles. The marble sits on top of the row of tile and gets wedged in on all three sides by the second row atop the slab.

Here she is - two years later and still going strong.

The Gold Hive Bathroom Storage

The original plan was for the shower niches to be 6.5" deep, but I found a remnant slab at a local stone yard that was 8" deep, so why not! Each shelf varies in height from 8" to 14" tall to allow for different sized bottles. The whole recessed niche is 19" above the edge of the tub so its low enough that the bottom shelf can be reached while soaking in the tub, yet not so low that we're bending down to grab things while showering.

The Gold Hive Bathroom Storage

I talked about the tile in this post, but I just have to point out this detail at the bottom of the cabinet with the base tile wrapping underneath the door. Love.

The Gold Hive Bathroom Storage

The bottom shelf is 23" tall to allow for the toilet brush, plunger, and cleaning supplies. The rest of the shelves are 13" tall. It's the perfect size for these baskets and this modular acrylic storage. With 17" of depth, I can fit 24 rolls of toilet paper easily within reach. Any deeper and it would be hard to reach anything in the back of the shelves.

The Gold Hive Bathroom Storage

The concealed storage and the tucked away shower niches give all of our toiletries some privacy. Yet, whenever guests ask "Where are all of your things?!" I proudly open up the cabinet and pull back the shower curtain to reveal the shampoo bottles. Which kinda defeats the purpose of designing a hidden niche and a concealed cabinet. oops!

The Gold Hive Bathroom Storage

You can read about all the rest of the bathroom elements by clicking the button below. Then, subscribe so you can follow along when we add another bathroom to the house in 2019!