
We Bought A House! - The Before Tour
/It took us a year of touring 100 houses and searching through thousands online, but we finally found a house to call our own. It was in pretty poor shape, so we knew there was a lot of work ahead of us. Lucky for you, there's relief from these not-so-pretty before photos on the House Tour page, so feel free to take a break and check out how the house has evolved over the course of two years.
Well, here she is. Let's take a tour, shall we?
We'll start at the front before going inside.
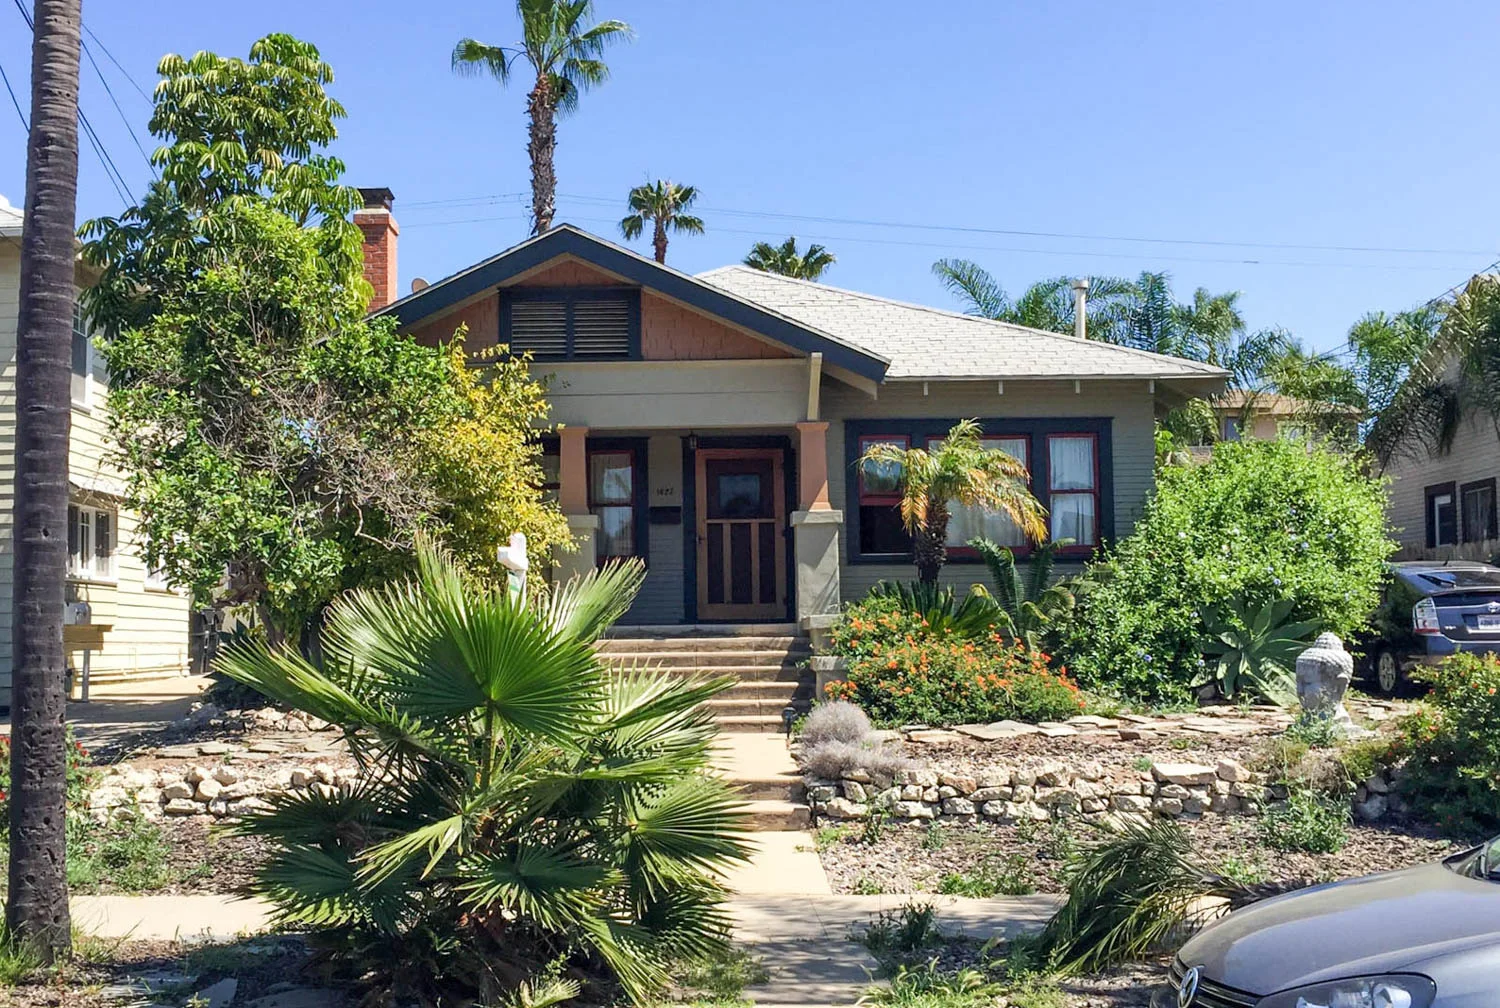

There was so much going on that I didn't know what to do first. Rip out the sold sign? Pick up the palm tree that's parallel to the ground? Pluck the weeds? Re-home the Buddha head fountain? Cut back the tree engulfing the porch? Eventually, we did all of that with the goal of giving the front yard a makeover to include plants that would show off the house rather than hide it.
To the living room!
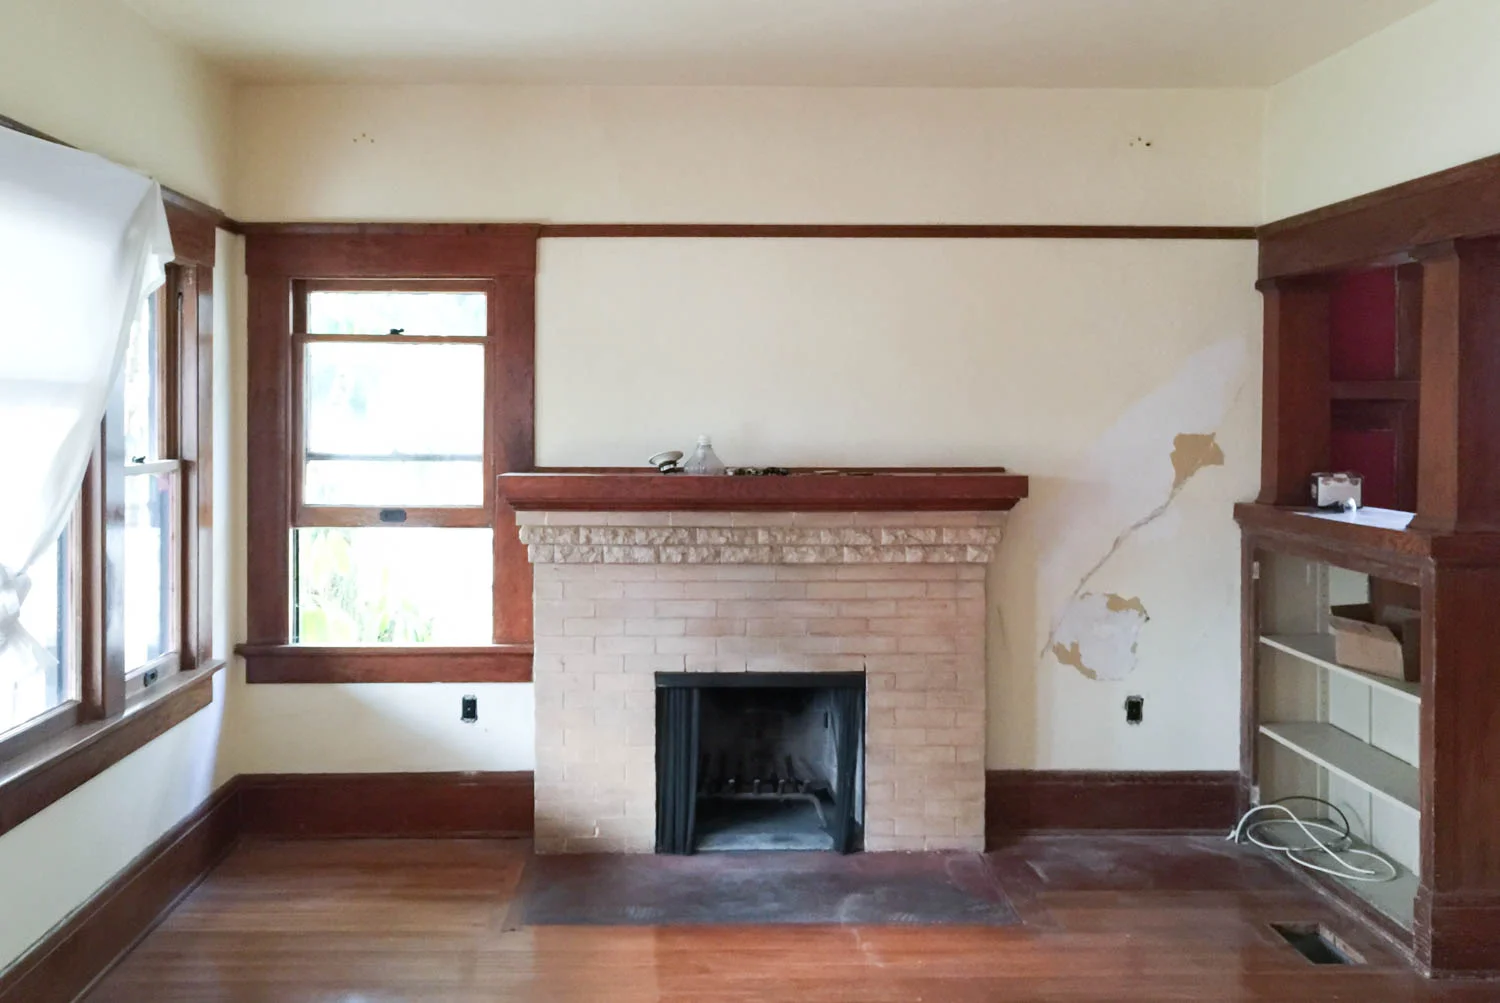
I'll admit that the wall didn't have that gash when we got the keys. A charming neighbor that restored her house over the course of two decades came over to demonstrate how to repair the cracks in the plaster. More on her technique here.
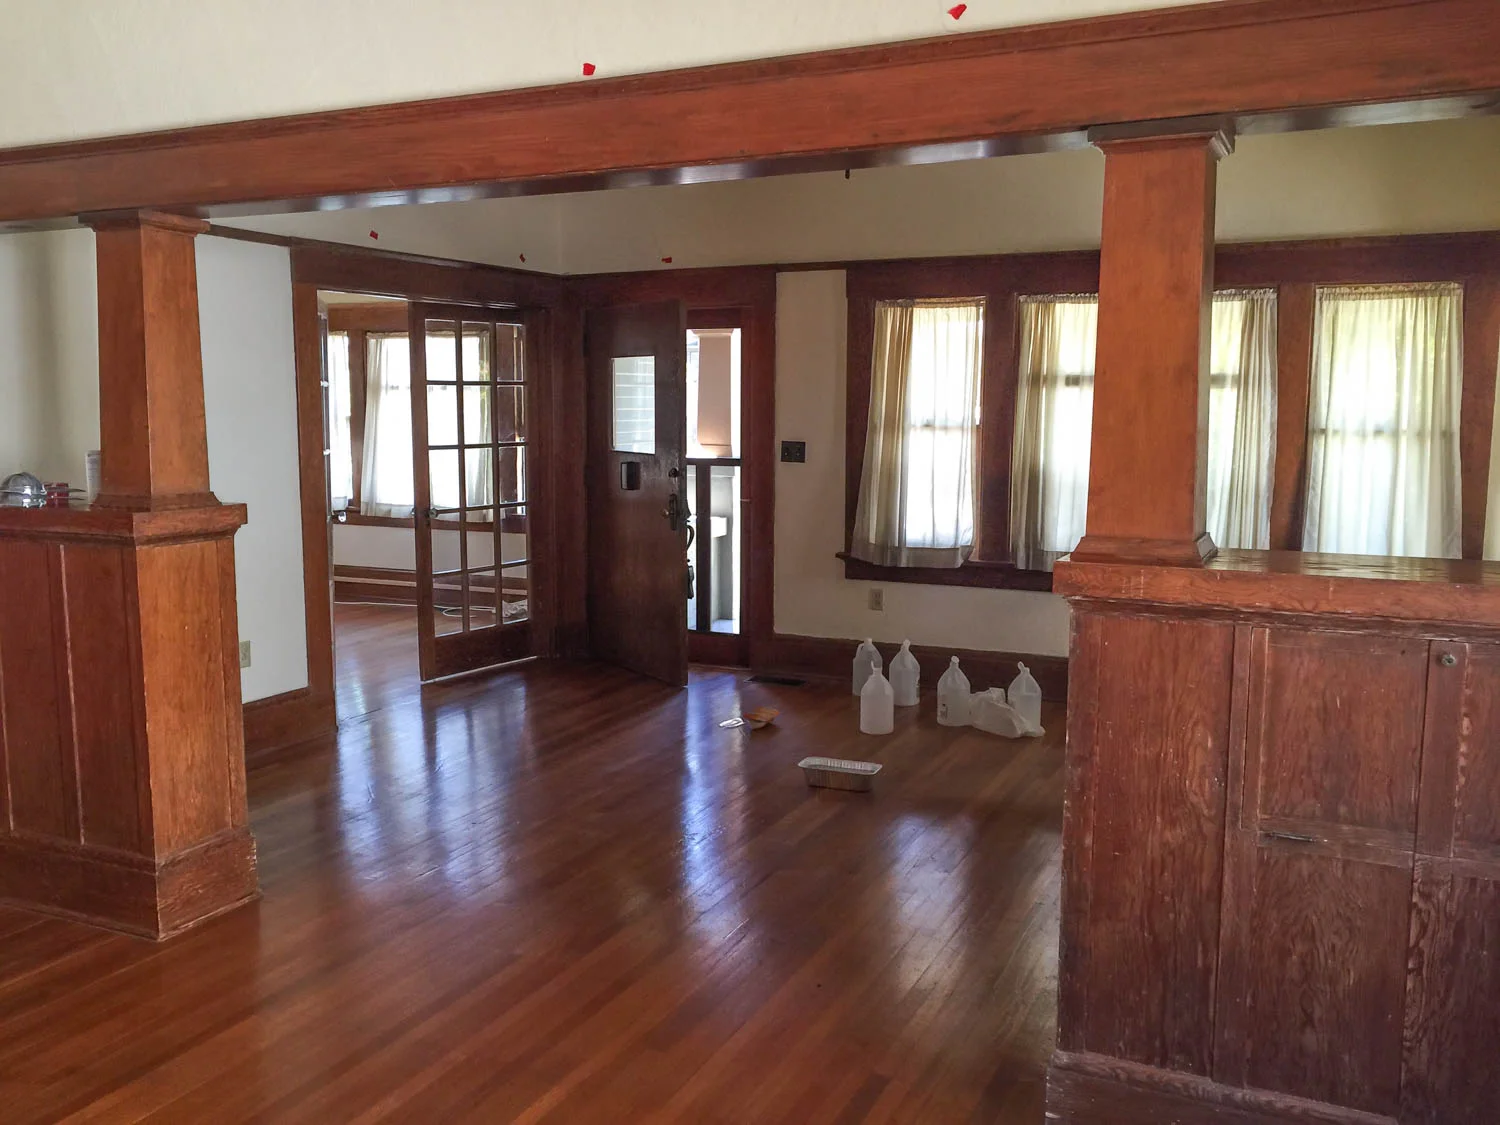
This is the view from the dining room into the living room with a sliver of the third bedroom. The jugs of vinegar were used to help dissipate the smell of pet urine and cigar smoke. I filled trays of vinegar and left them in each of the rooms for about a week. The unmentionable smells went away and were replaced with the scent of a side salad.
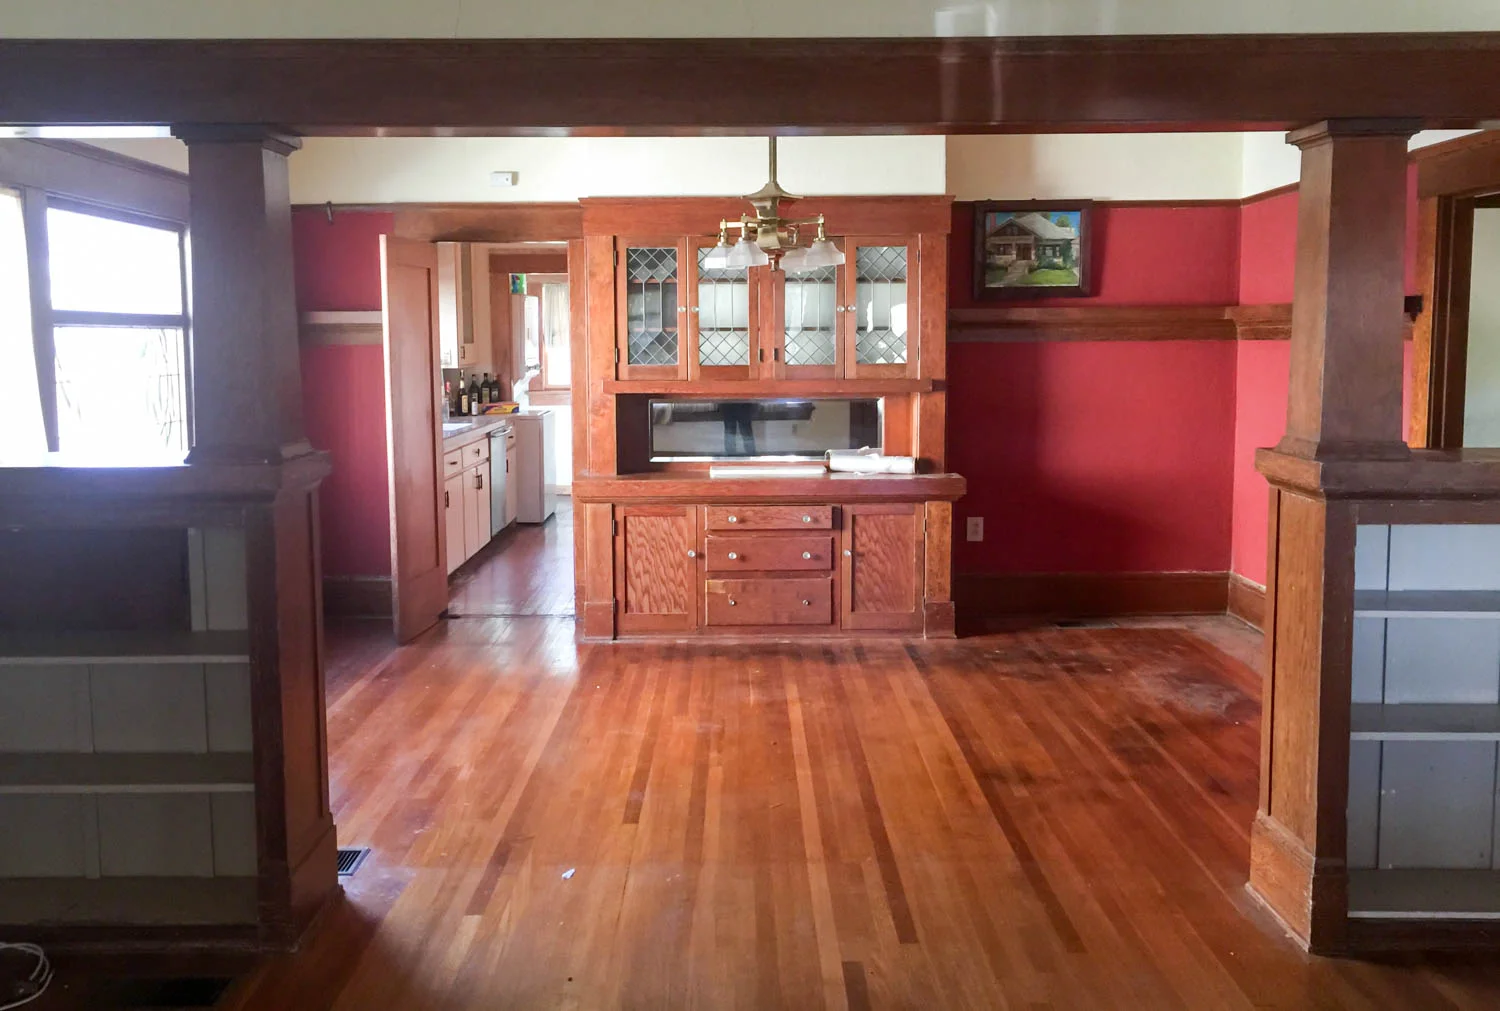
This view sold me on the house. The built in! The plate rail! The room dividers! The picture rail molding! Swoon.

I wish I could say that the mustard-colored tinge is because the photo wasn't white-balanced, but alas, it's kitchen gunk. Don't believe me? See below where the ghosts of pot lids and a clock once lived and protected the walls from grease and cigar smoke. Ick.
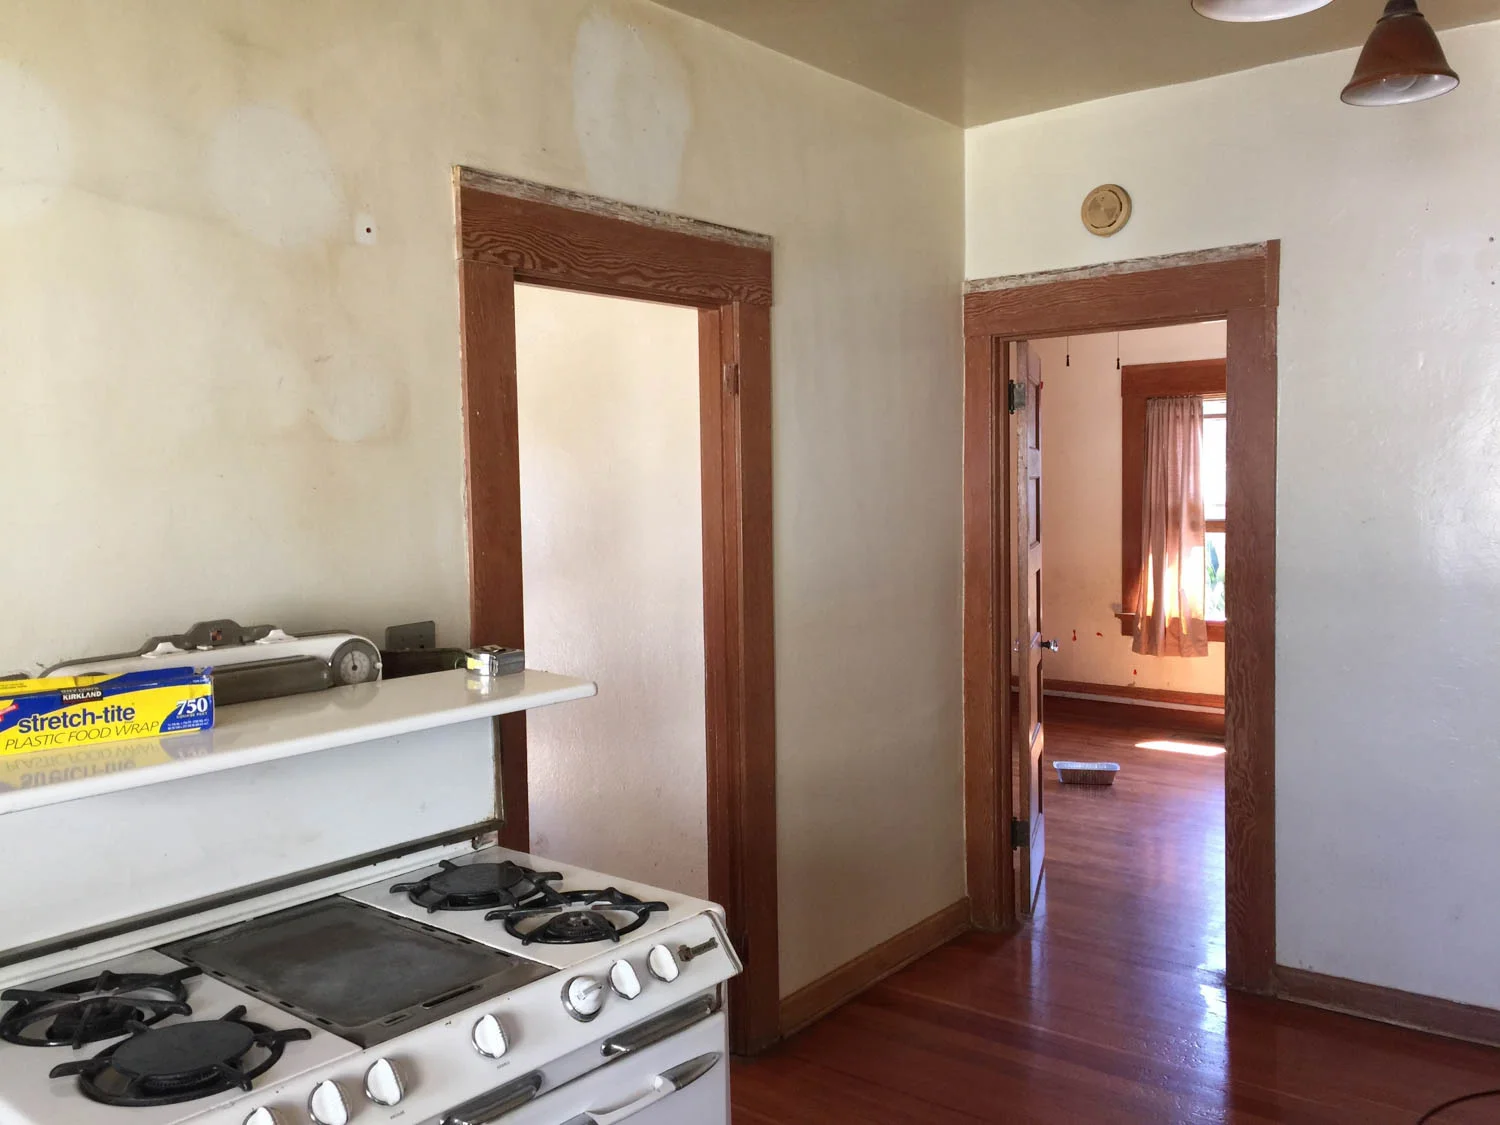
Remember, you can admire the after photos if you want a break from the grime.
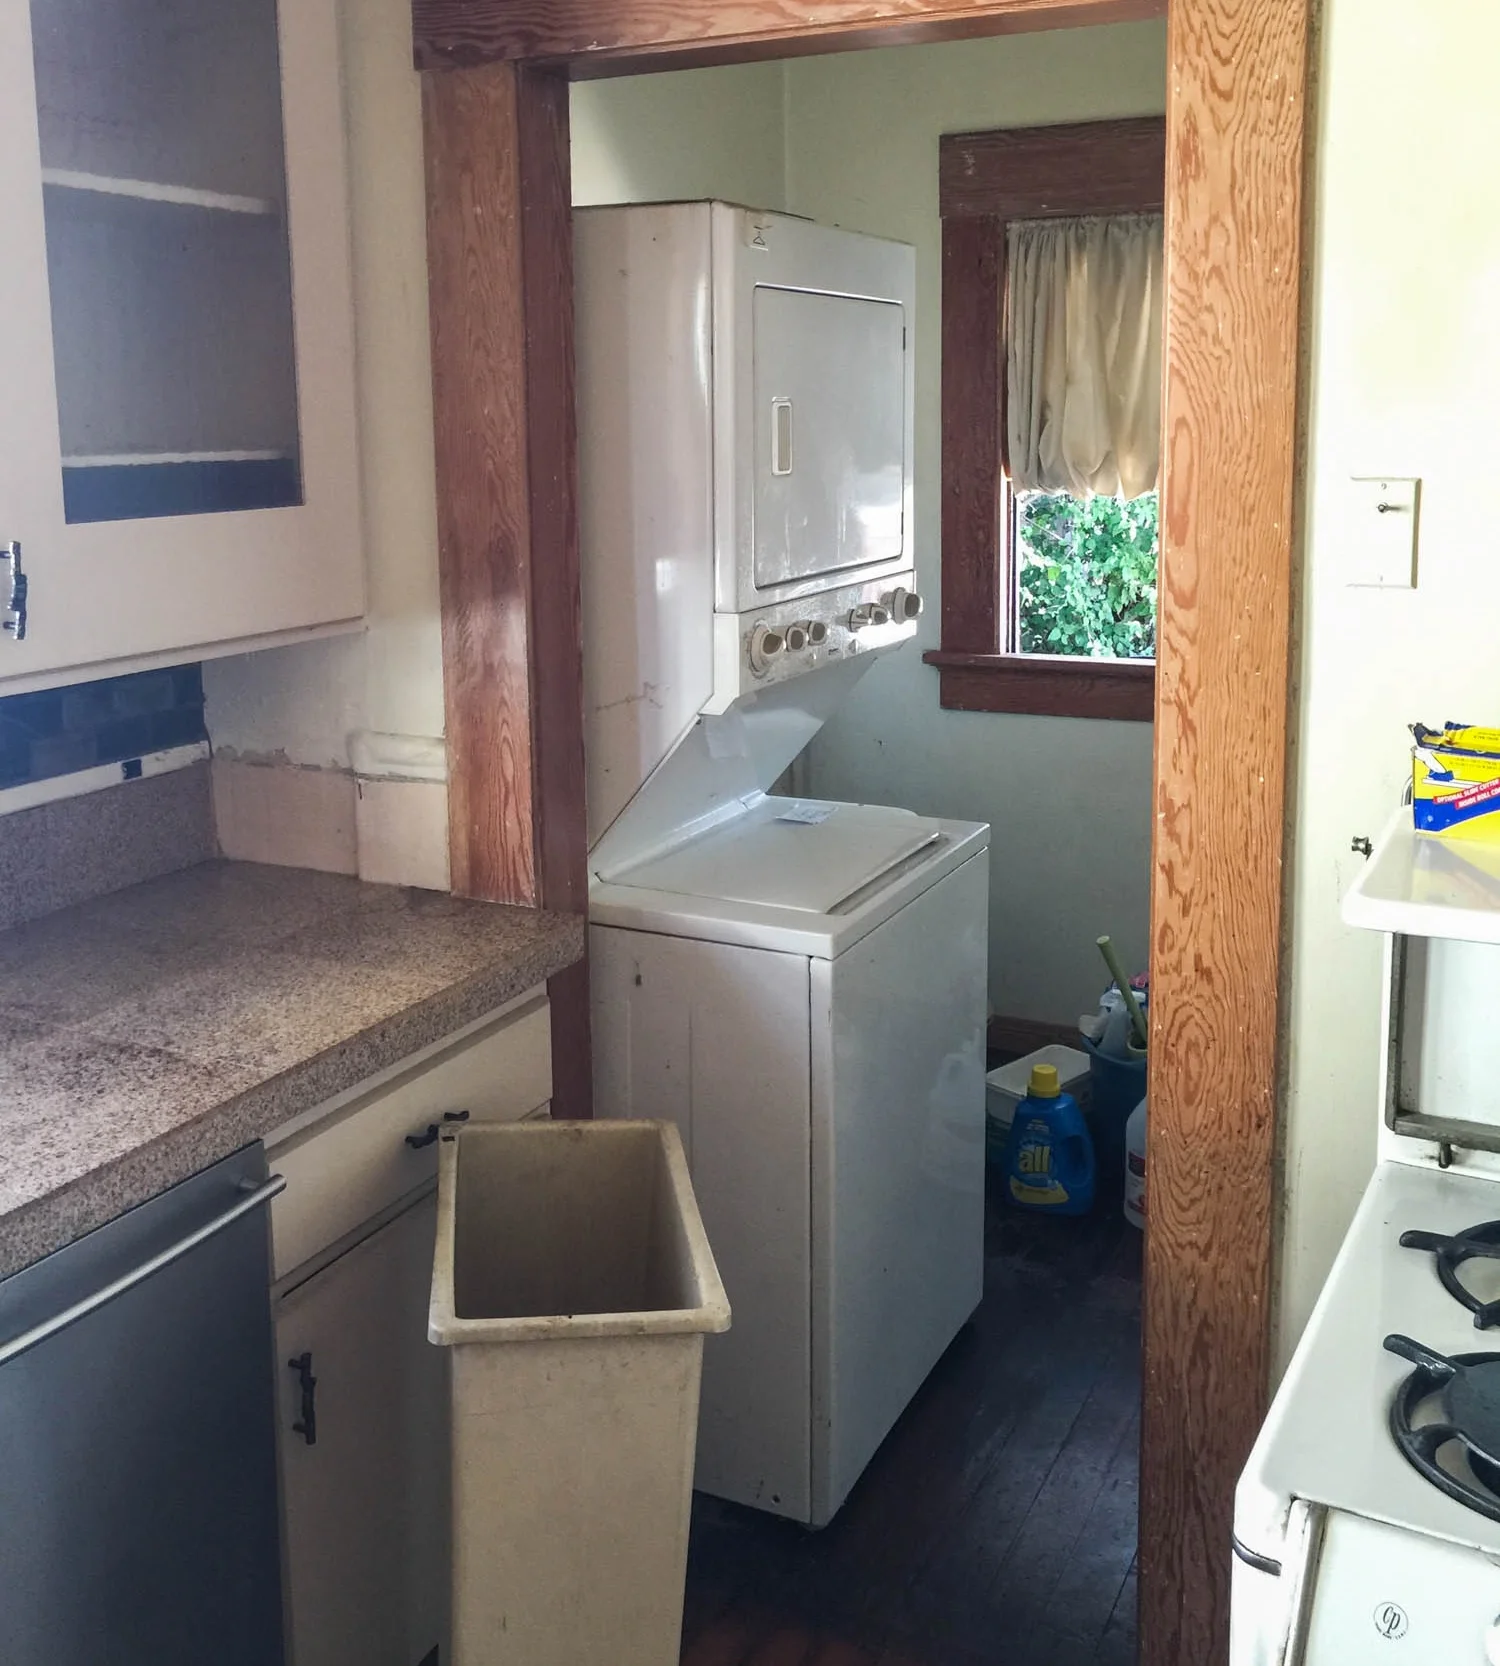
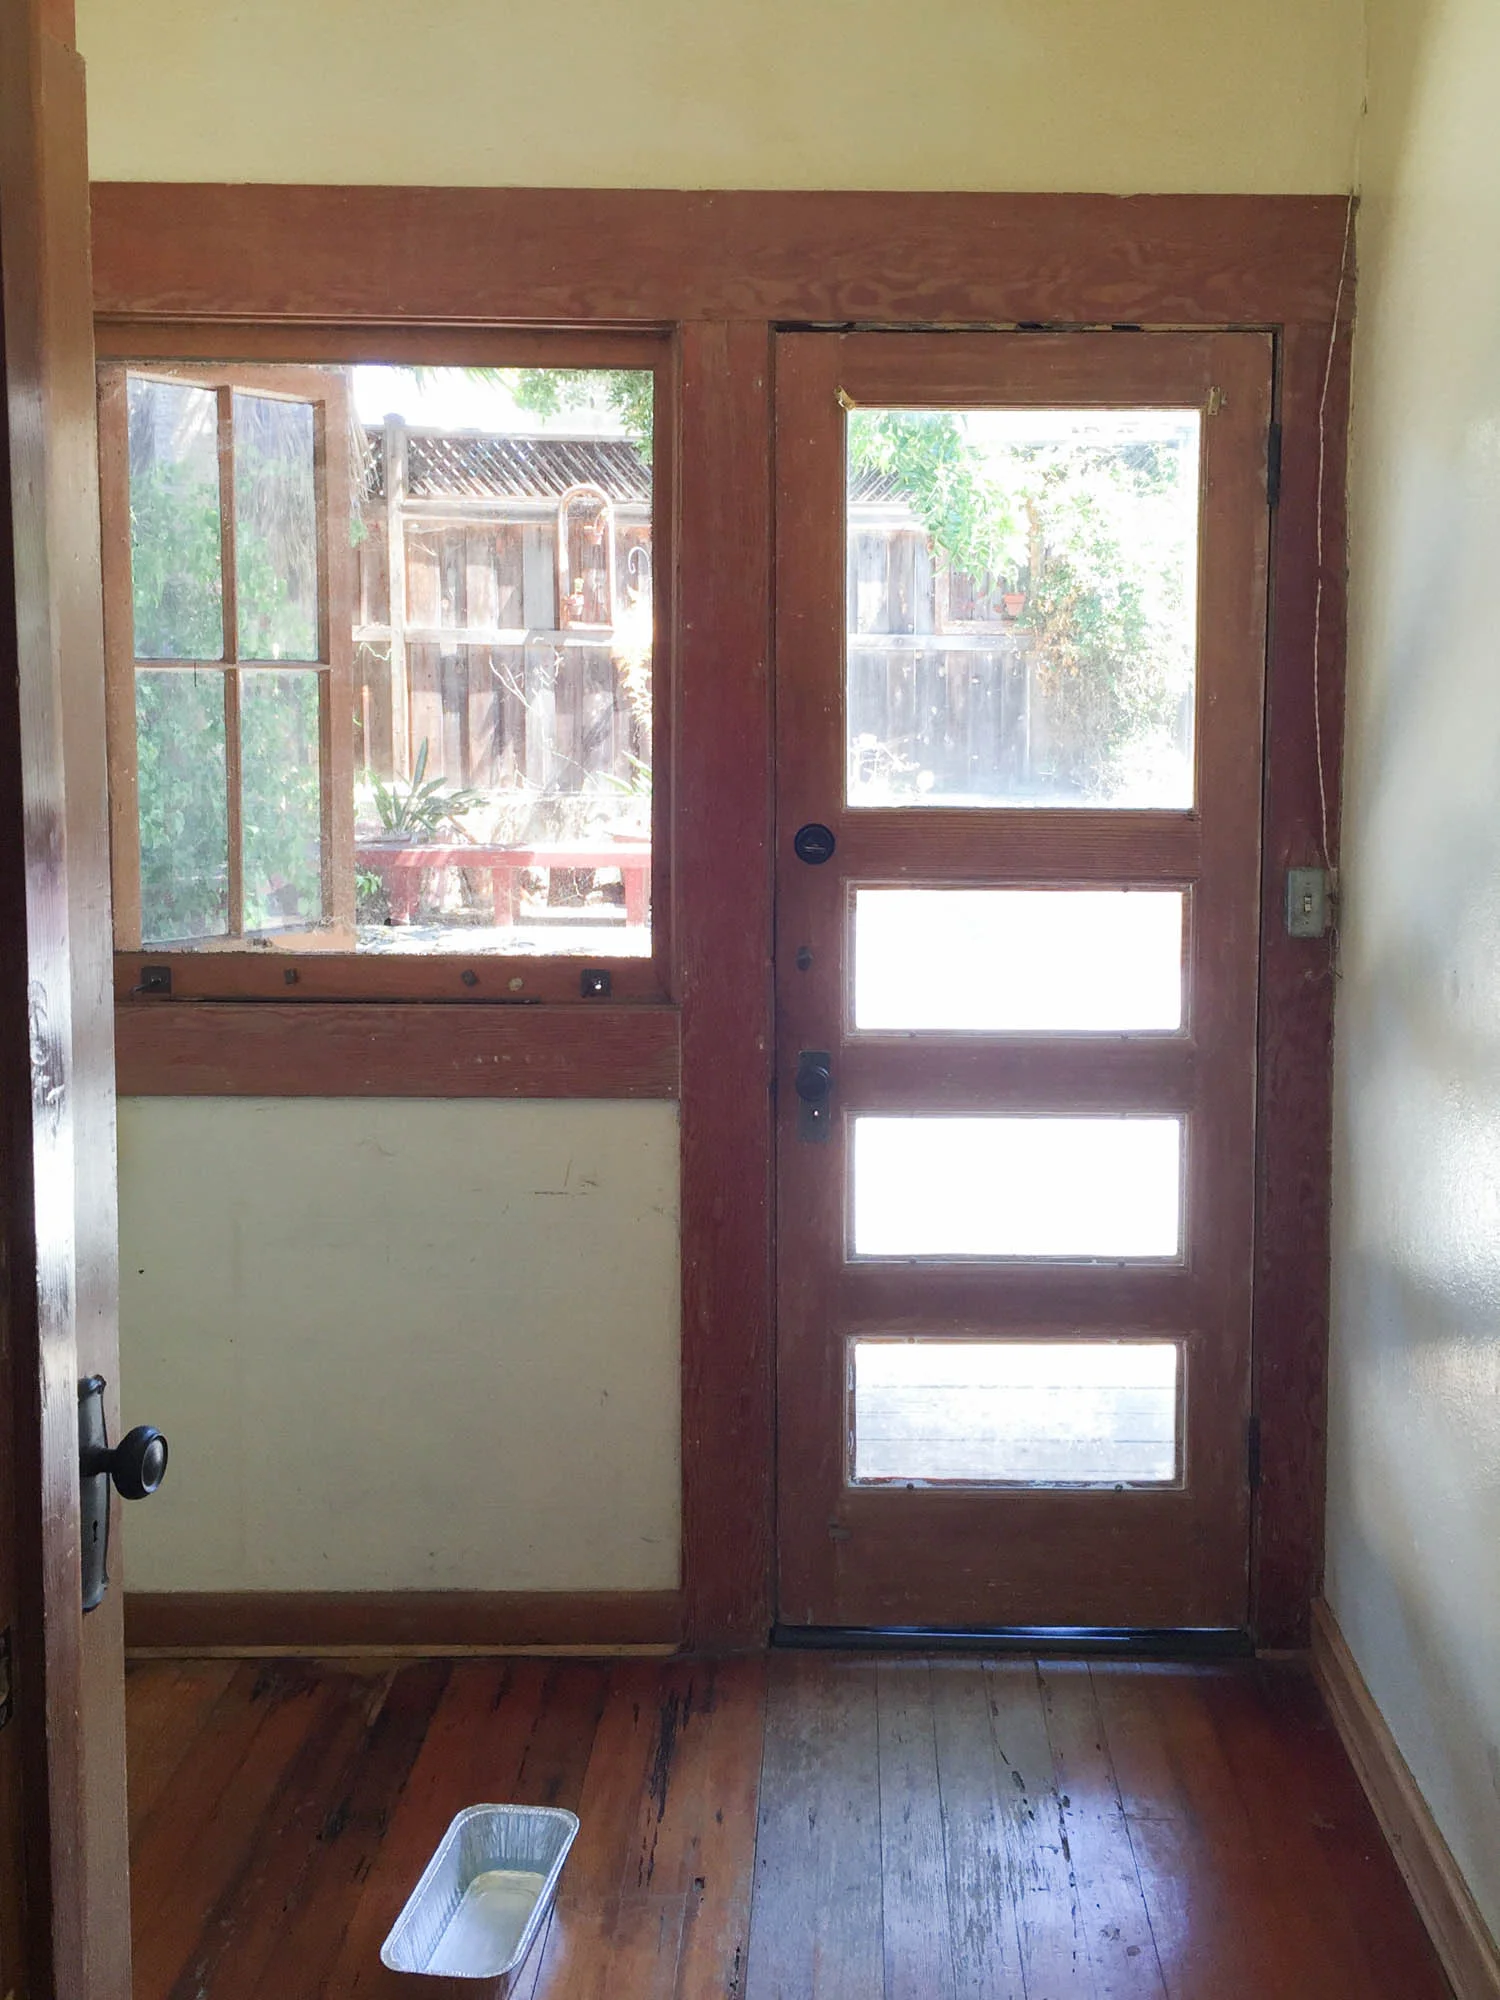
The mudroom that leads to the backyard gets tons of natural light and has become a useful storage space for us. One day, when we do a full remodel of the kitchen we want to open up the two mini rooms into the kitchen to use the space more effectively.
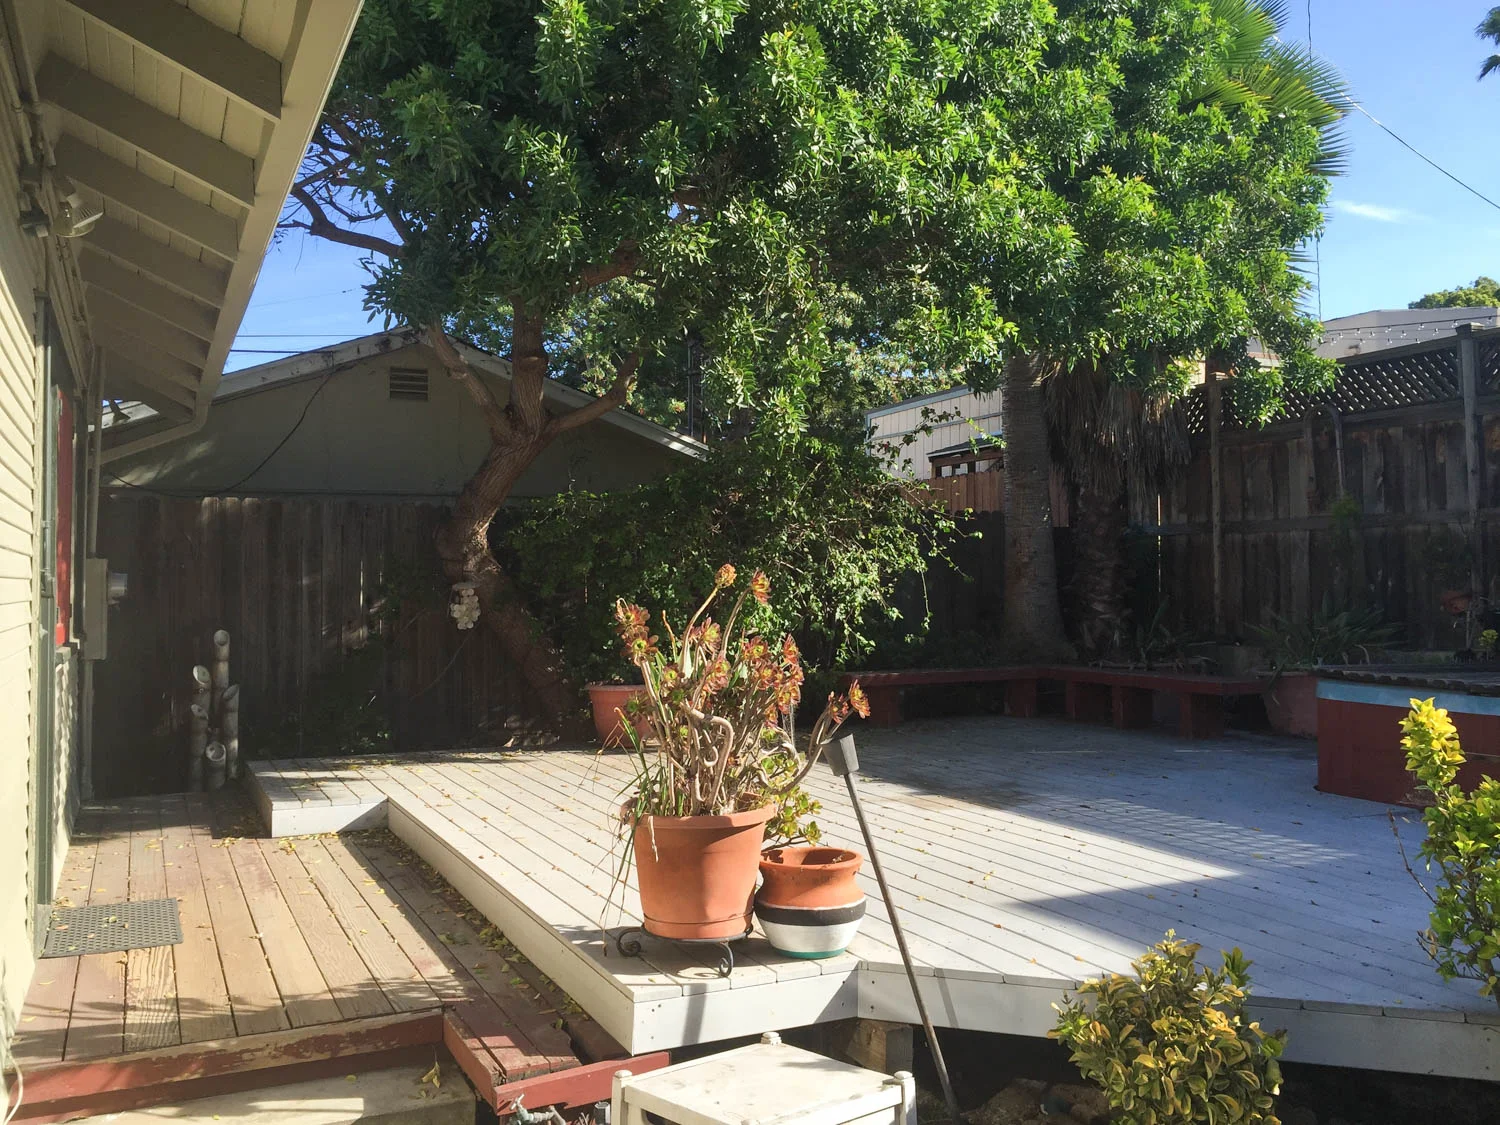
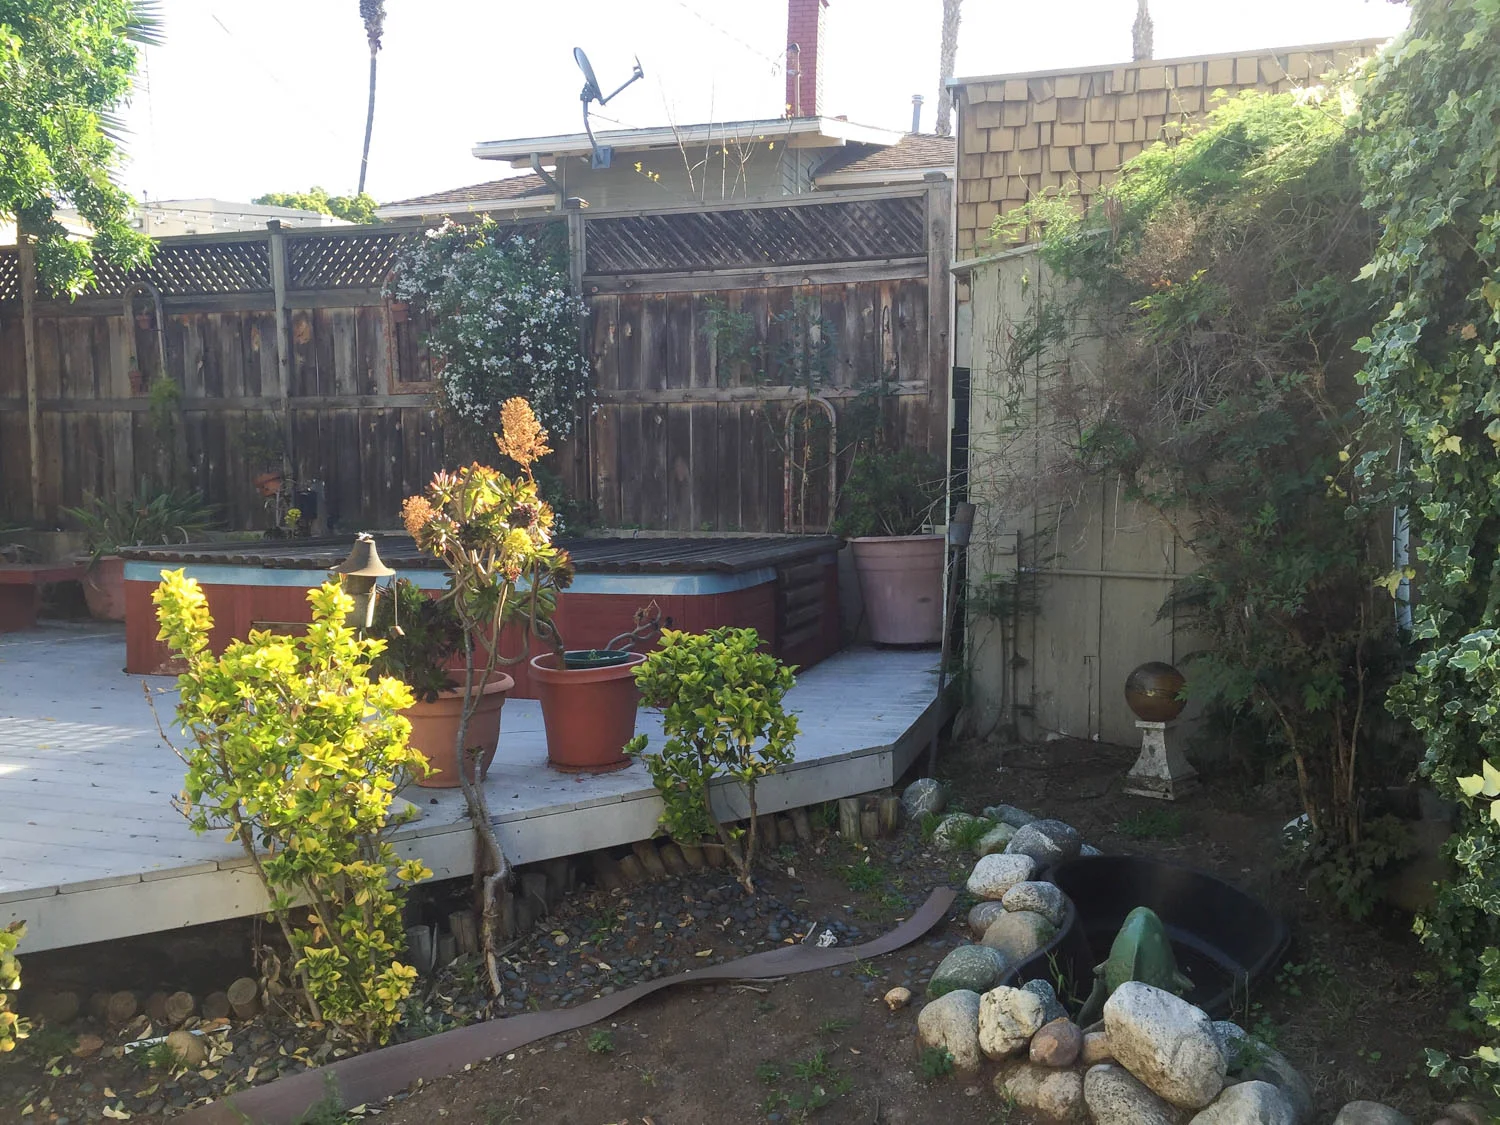
The previous owner wanted a pool, so he got that gigantic jacuzzi. The backyard will get a makeover once the kitchen is remodeled and we decide how the two spaces should flow together.
Let's head back inside to the master bedroom.
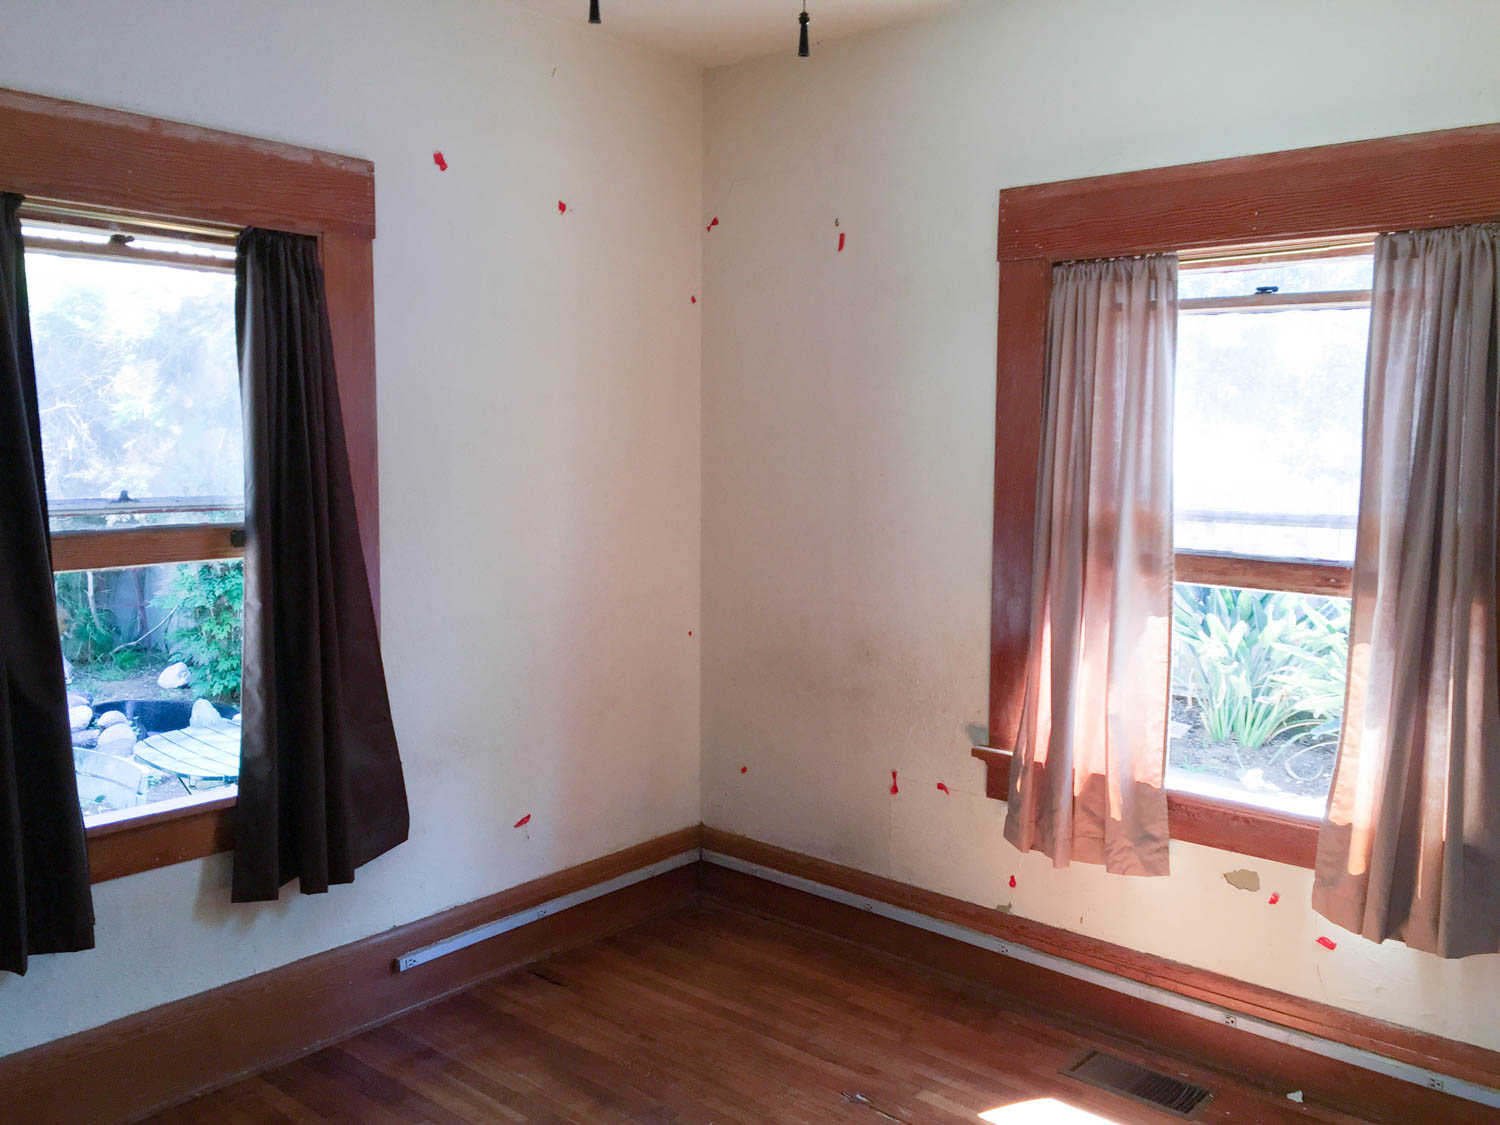
The red spots are pieces of tape I used to mark the cracks and holes in the plaster that needed attention. The strip of electrical outlets around the perimeter of most of the rooms tragically ruined the baseboards.
The master is adjacent to the kitchen which is great for bedtime snacks, but we want to modify this down the road so the bedroom feels more removed. Plus, we want to add an ensuite bathroom, and the area between the bedroom wall and stove is looking pretty good for that.

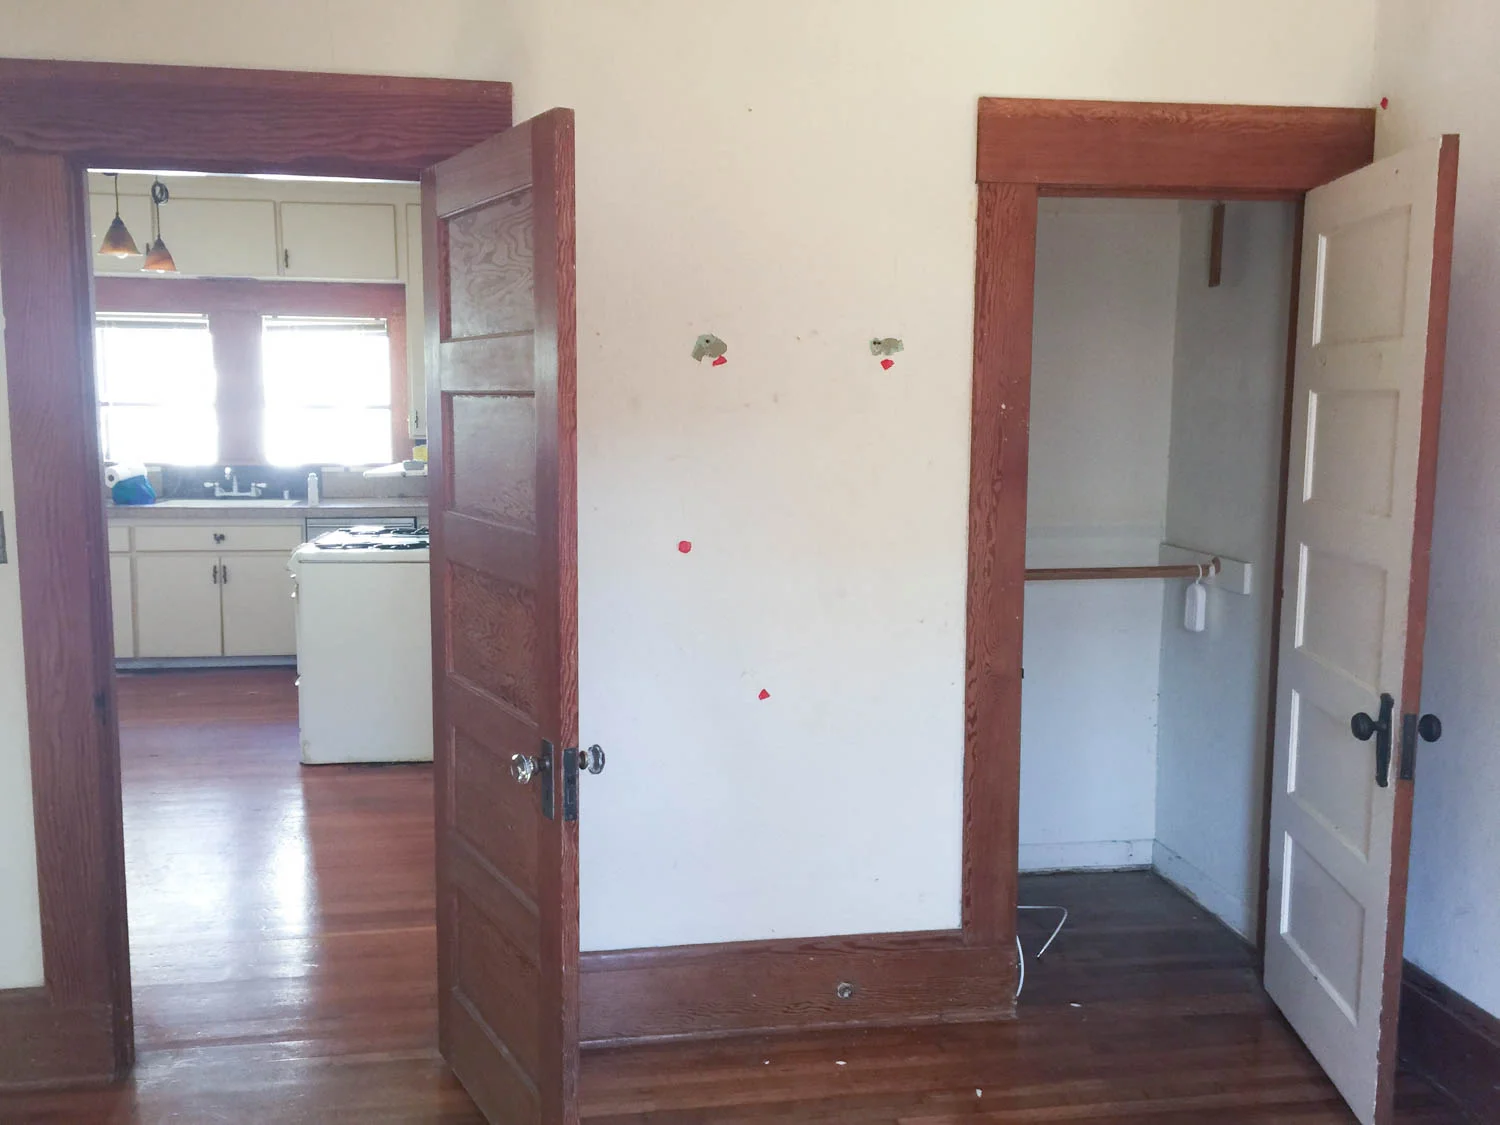
This is the second bedroom that has one entrance from the master bedroom (shown here) and another from the hallway. This photo was taken after I started priming the trim and scraping the plaster in the master to reveal the green calcimine paint beneath. Once we removed the row of electrical outlets attached to the baseboards, we discovered that the trim had been painted cream, then blue, then was adorned with 15 outlets, all before the woodwork was (partially) stripped of paint by a previous owner.
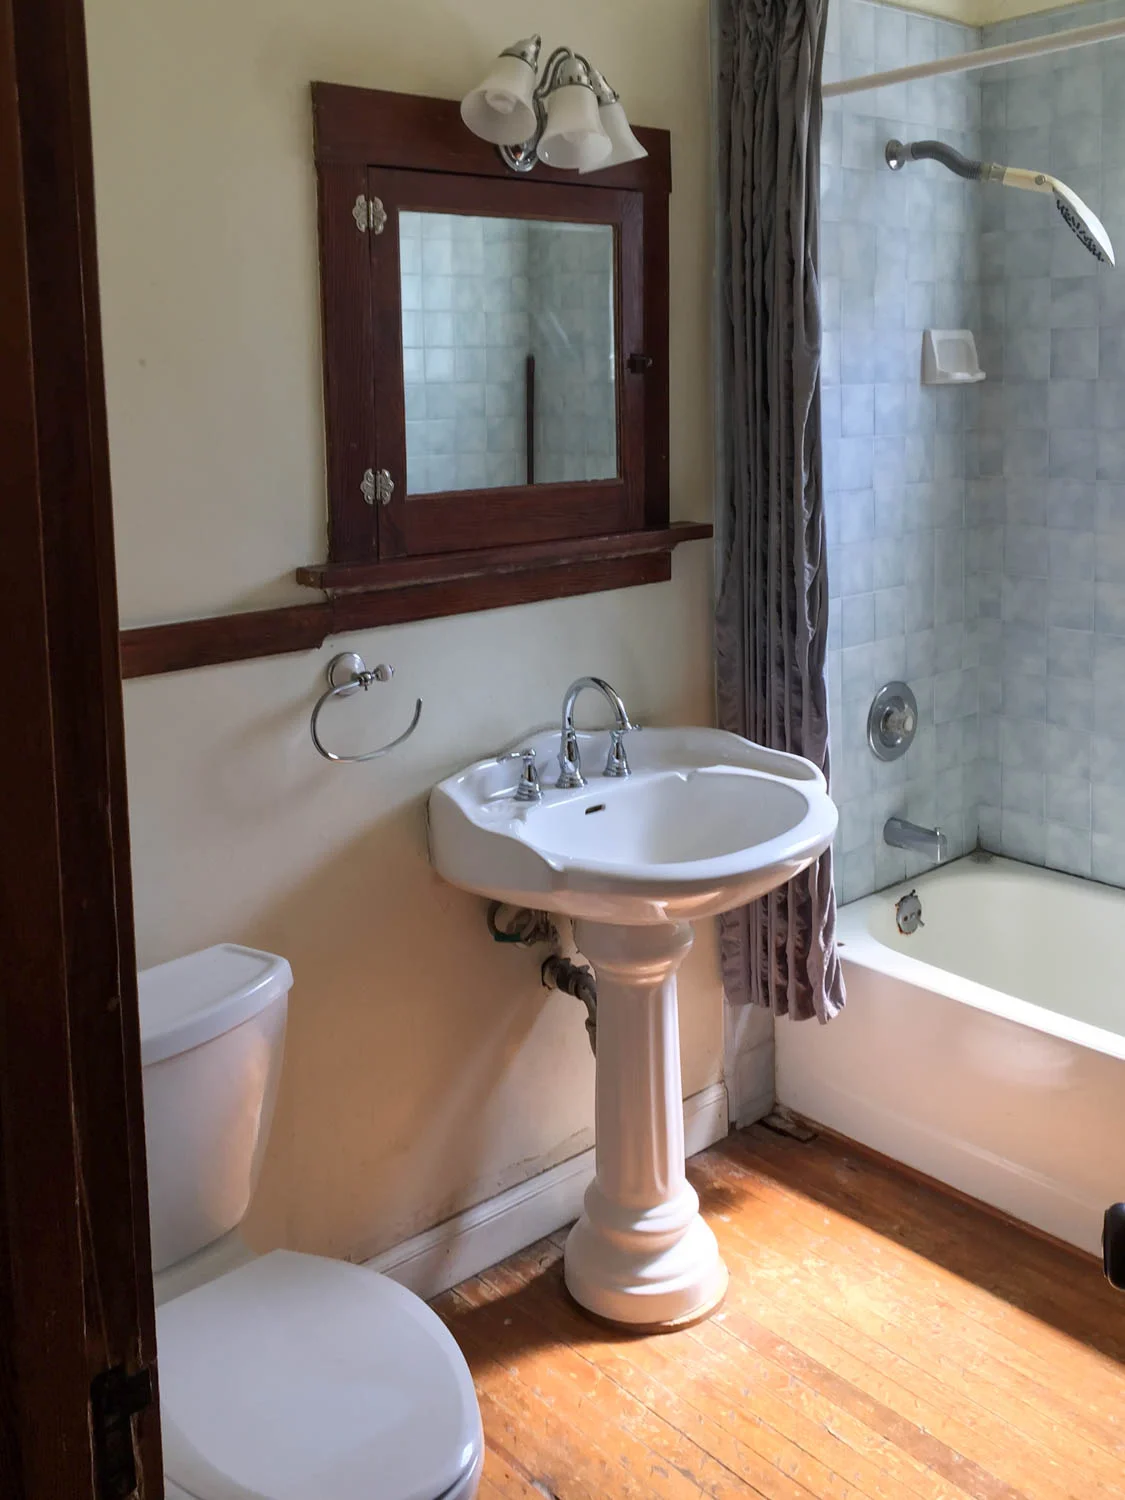
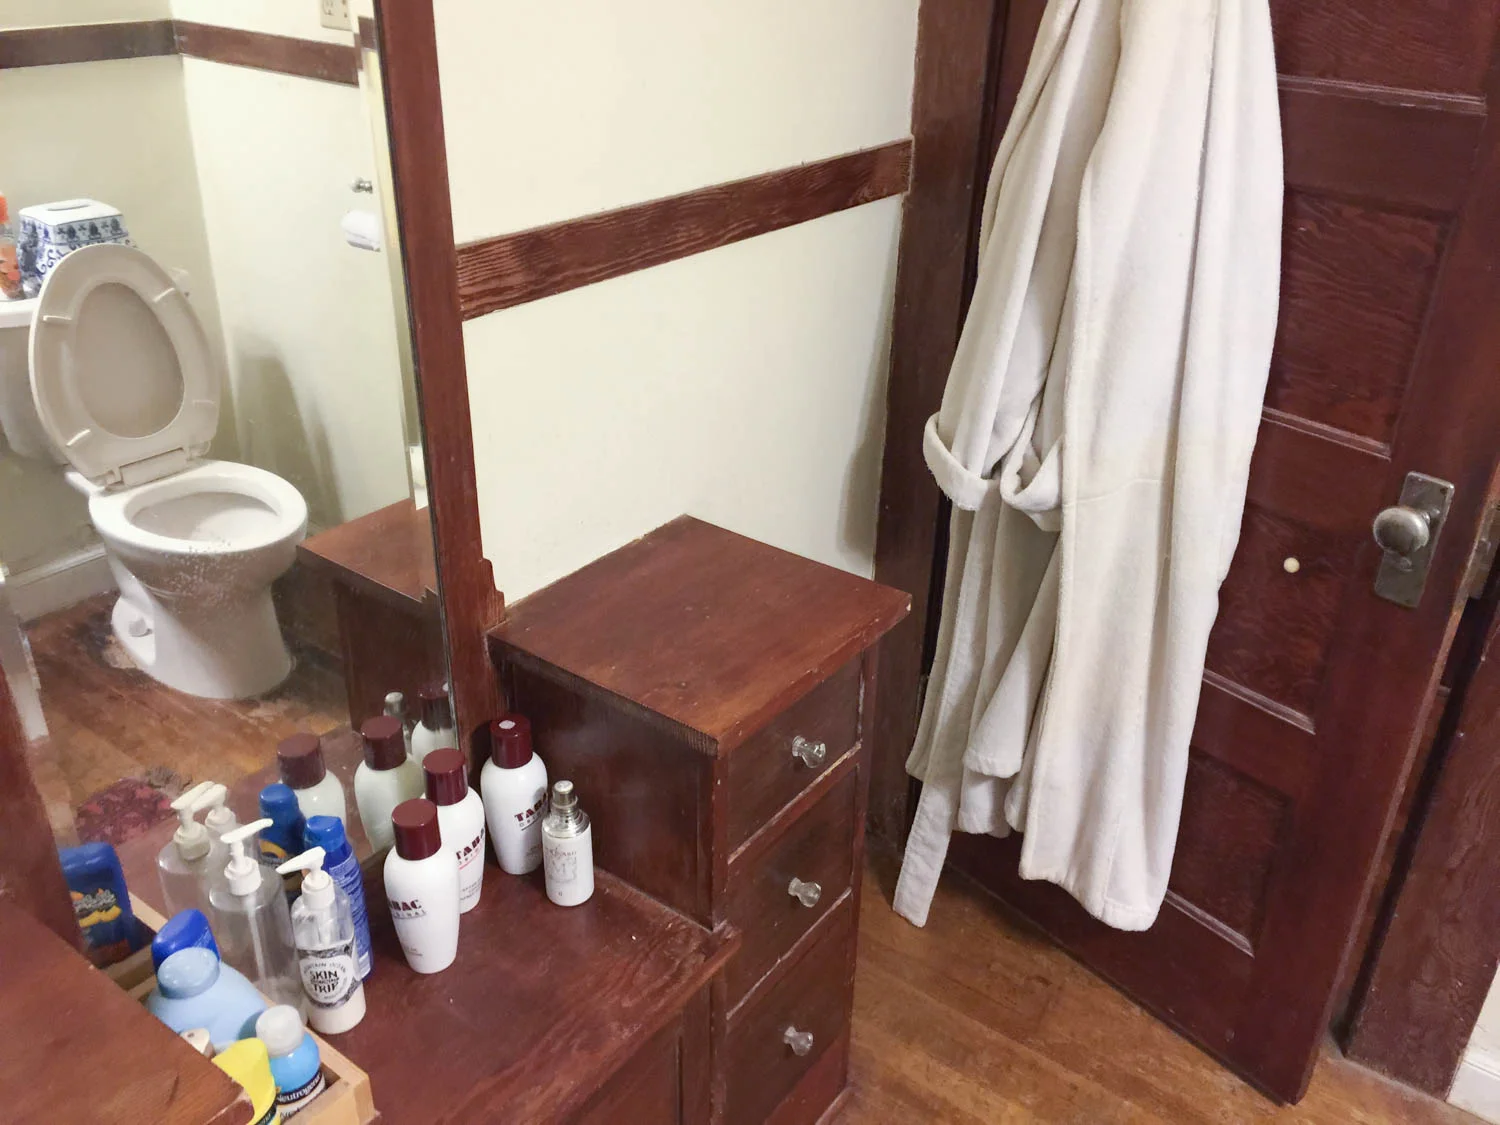
The bathroom was the first major project on our list. It's our only bathroom and it raised the majority of red flags during the inspection - rotting floors, poor drainage, a corroding bathtub, and questionable electrical, to name a few. It was a tight squeeze with the vanity jutting into the room so far that the door didn't open all of the way. (The toiletries, robe, and upright seat are courtesy of the previous owner.)
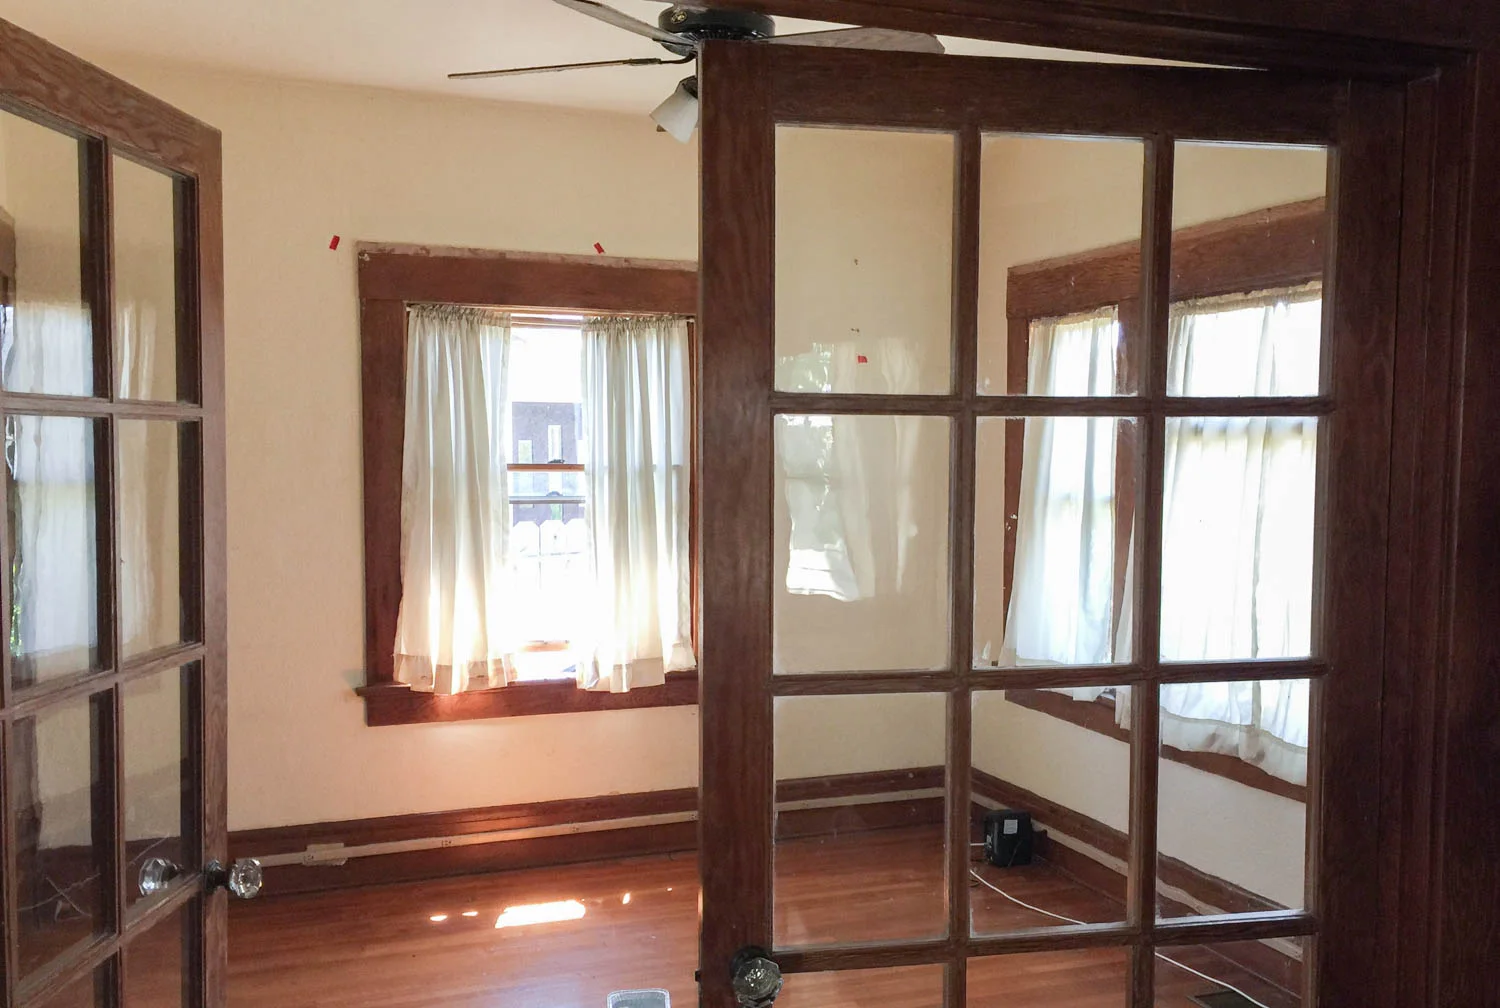
The third bedroom has these pretty french doors that give the space oh-so-much charm.
UPDATE: I found lost footage of the house before we renovated! Watch it below:
If the video isn’t loading, click here.
And there you have it. That's our home's before tour in a nutshell. Check out the after photos on the House Tour page, and be sure to subscribe to follow along on the journey of restoring every inch.


