Installation of the Front Yard Garden
/I’ve made it to the garden installation story, after many other posts all about prepping and planning - here we are! While I'm here to share the installation of the plantings and irrigation, this isn’t going to be a DIY tutorial post as much as a story of what happened and a bunch of photos of the process. Why? Because after all of my classes and research, we ultimately hired out the landscaping project.

For months, I did oodles of research for our garden from taking landscape classes all the way to investigating the many types of irrigation timers. I got into the weeds (no pun intended) and ultimately felt overwhelmed. As much as I knew which plants I wanted, I couldn’t be sure if one of the perennials should be down the slope from a shrub or if it should be above the flow of water. I started to get nervous that I misjudged the type of soil we had and would end up killing all of the plants. I got worried I mapped out too few watering zones or too many zones. I figured out that after I re-stuccoed the house, I didn’t actually want to spend months digging a bunch of holes. I realized that I’d need a team to help me install the big trees . It just all started to feel like a big backbreaking project for one person - and an expensive one to mess up.
All this to say, I hired it out.
There’s no shame in hiring things out and I’m still beyond glad that I did the research I did in advance because I was a well-informed customer and knew exactly what I wanted for my garden. I just decided that the right thing for this project was to hire a team that got killer discounts at the nursery and had a crew to do the digging, schlepping, and group heavy lifting.
And boy am I glad. There was a time that I thought I’d dig all the holes myself but the morning I looked out the window to see 7 guys jackhammering, I knew I made the right call. Yes, jackhammering. The soil in San Diego is very rocky and it’s very compacted, so the crew used literal jackhammers to break up the earth in order to plant a 5 gallon shrub. You have no idea how much I envy watching Roger Cook on This Old House just scoop up the loose crumbly soil with his bare hands then gently place a new plant into rich fluffy soil. At my house, we use jackhammers.

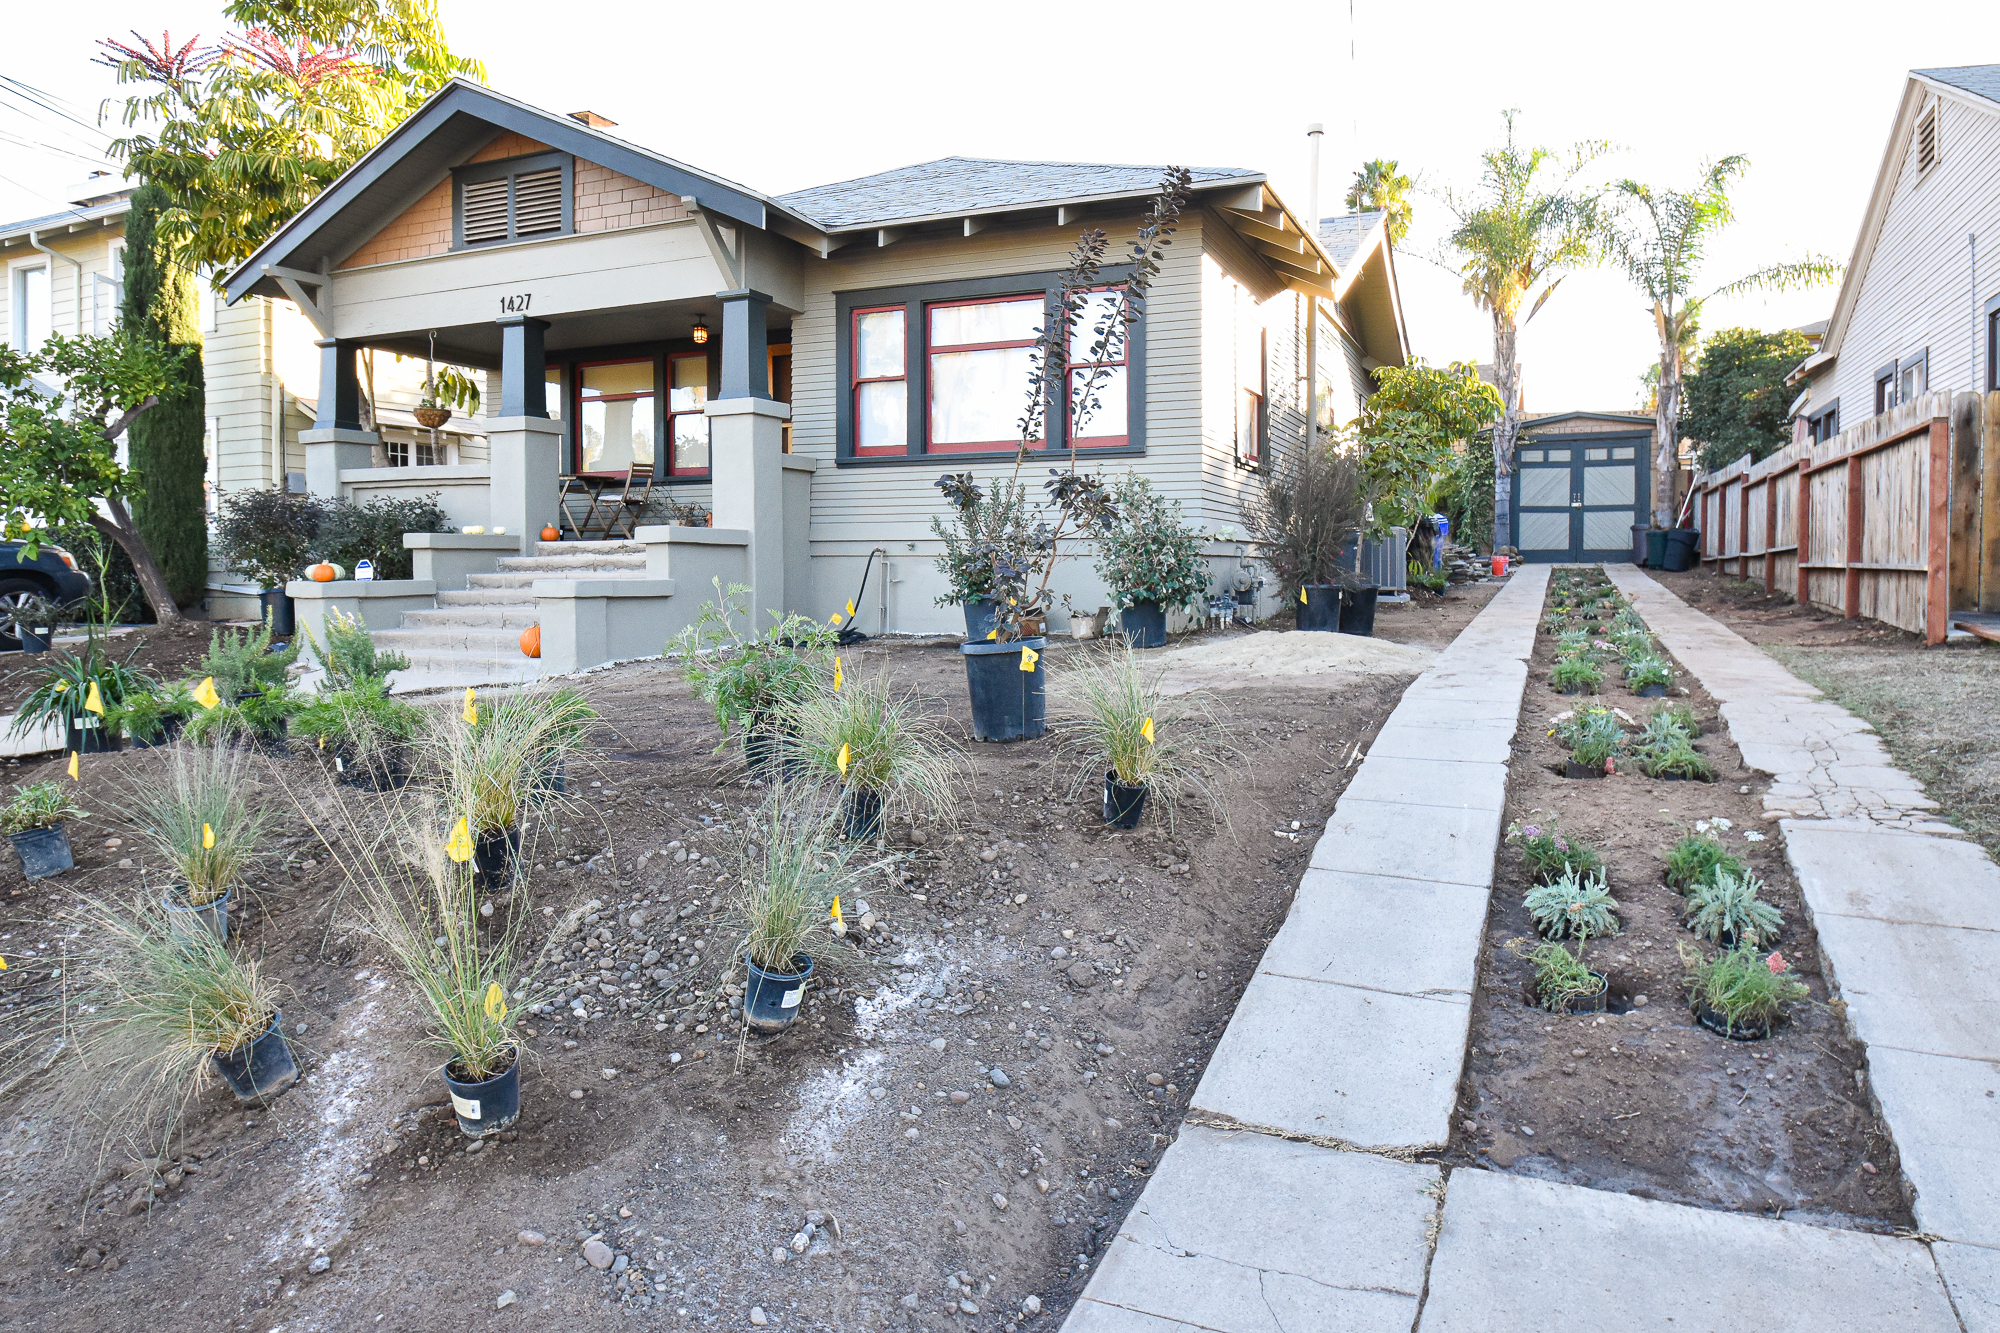
The plants were delivered on November 9th, 2016. I’ll never forget the delivery day because it was the morning after Trump was elected to be president. It was a really tough day that sucked out the joy of the plant delivery.

Here I am post election mustering a smile for my little planting.
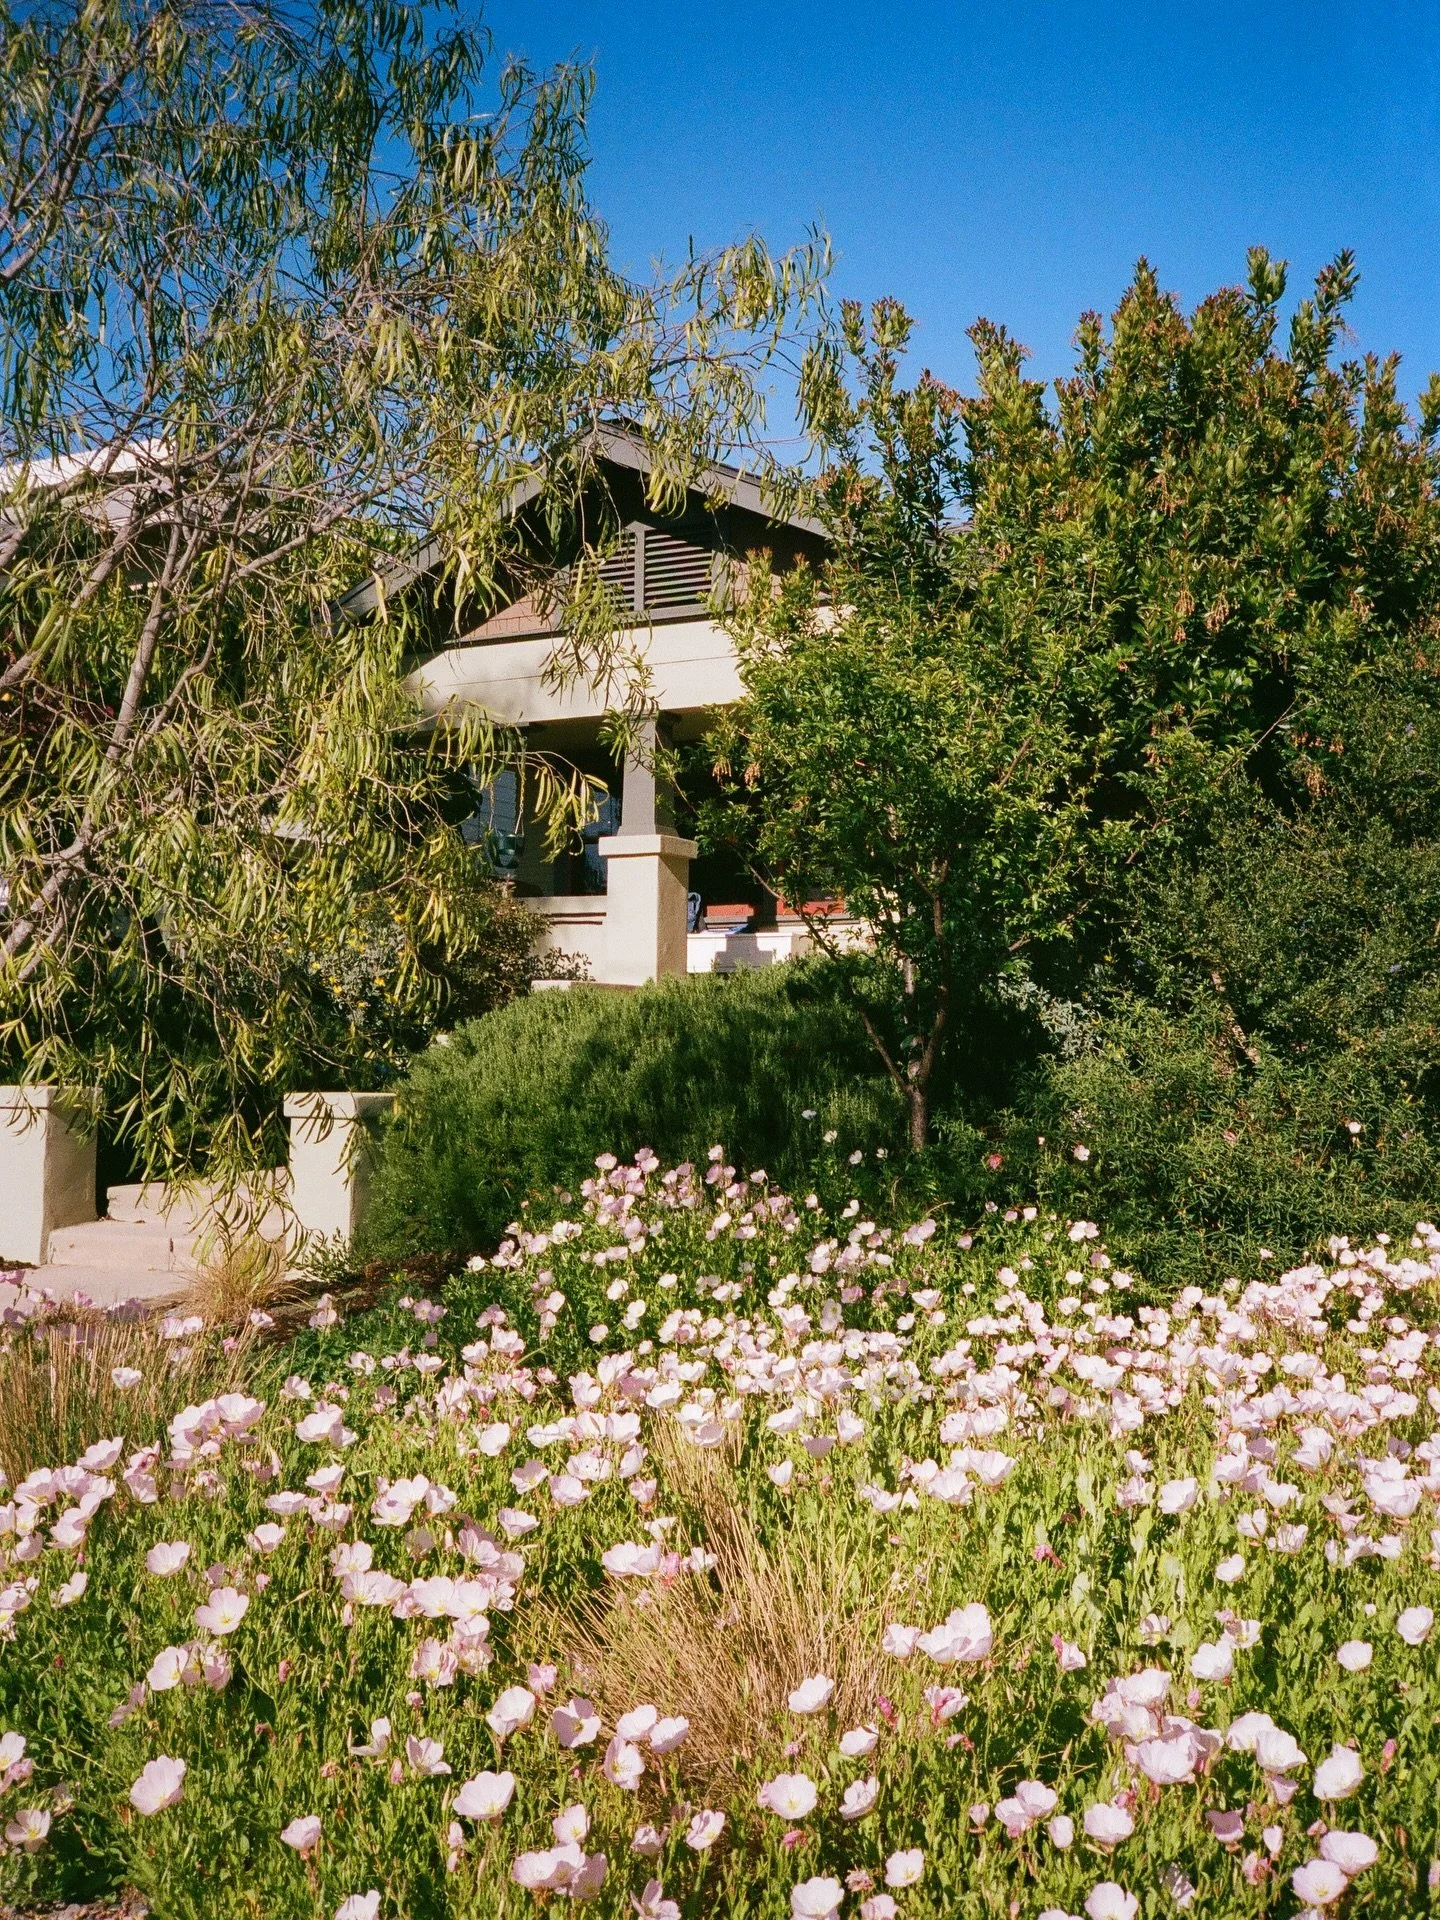
While the news left the day somber instead of exciting, I do enjoy looking out onto my garden nearly three years later and gleam with joy of the growth and goodness that has come since that day.
The crew got to work quickly the day of plant delivery. I headed off to my work but not before setting up my daily hospitality station for them. Whenever a crew is at the house, I try my hardest to make sure they’re comfortable and taken care of. (Now, I say this to encourage you to do the same - NOT to ask for you to pat me on the back). Every morning, I set up a tray on the porch table with a pitcher of water, a few non-breakable glasses, and an assortment of snacks. I used my connections at the museum I worked at to grab a few free passes to the museums around town, too. Most of the crew had kids so they were thrilled to take the tickets home to their little ones. Again, I’m not asking for a pat on the back, but want to encourage folks to pay it forward - especially to the people doing the hard work that I decided I didn’t want to do.
By the end of day 2, the crew mapped out where all of the plants would go according to the landscape plan (I’ll get to that later in a future blog post when I break down all of the plants). A few little holes were dug and we could start to see the landscape come together. #exciting!

By the end of the week, the rough landscape irrigation was run. We went with a low-flow drip irrigation for ultimate water savings. The plants we chose are low-water but do need some water, especially in the first few years of getting established. The drip irrigation ensures that they get a slow, deep, long watering which benefits their growth far more than a traditional sprinkler system. The overhead sprinklers don’t do a great job of getting to the roots, they can sunburn the leaves when the water droplets refract sunshine on them, and much of the water from overhead spray systems evaporates before plants can enjoy it. No thank you.

Tree installation day was thrilling. Truly thrilling. That tree on the left is the one that we planted in front of the office windows (seen centered in that photo) to provide shade for the sunny room. If you’ve seen photos of my house on Instagram to see how she has grown after 3 years, it’s pretty impressive. She looks like a little pipsqueak! Remember my garden goals? This tree checks off the goal of shade.
The tree that looks dead in the middle there is one of my favorite trees of all time. I’ll tell you more about this one when I get to the blog post all about the plant species, but boy is she a beaut. A true beaut.
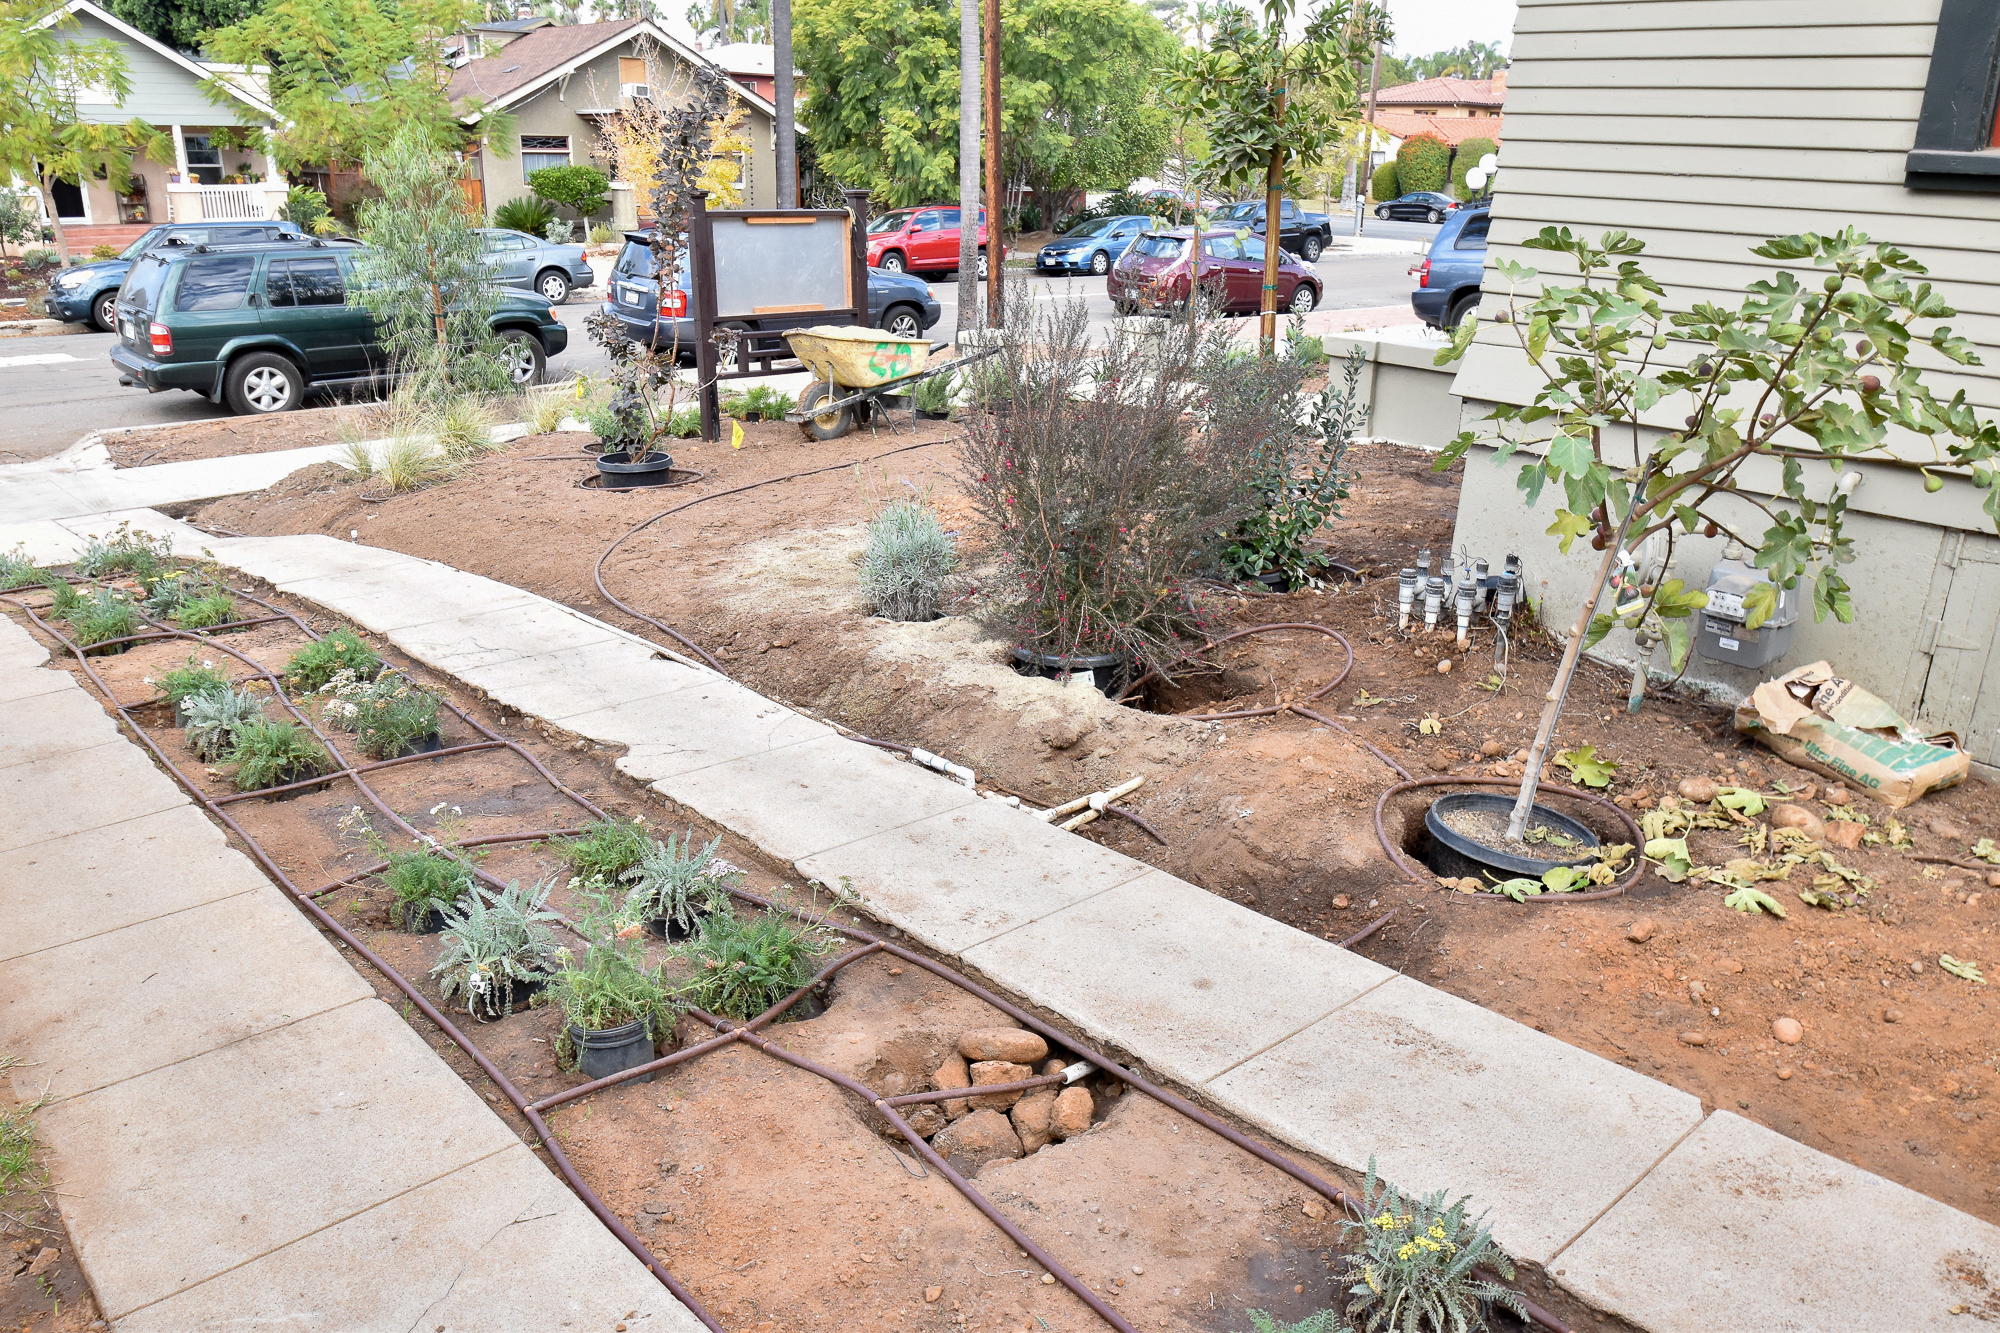
Here’s a view of the landscape irrigation as it’s being installed. I took TONS of photos of this stage because it’s so helpful to know where all of the irrigation is now that it’s all covered up by plants and mulch. We haven’t had any irrigation disasters, but I’ll bet that one day I’ll be glad I have a view of the plumbing underneath the shrubbery. I highly recommend taking these x-ray-like photos before dumping rocks and mulch on top of the tubing.

This stretch of dirt is our frequently-walked path from the driveway to the front door. When we first moved in, the area was a flagstone path that was never properly installed. The stones were wobbly and a major tripping hazzard. But, the stones themselves were lovely, so we salvaged them.

A few months prior to the installation, I spent a weekend carrying all of the stones to the side of the house and stacking them up. They made for a great upper body workout.

Then the crew reinstalled them correctly. They set them in a layer of sand to provide stability, and tapped them in with a mallet to ensure they wouldn’t wobble.
Some people would say to lay a weed barrier down, but we opted not to do a weed barrier landscape fabric anywhere in the garden because 1. It’s plastic that can introduce VOC chemicals into the soil and plantings 2. Weeds can still get through the cloth and then when you pull them out, it can tear the cloth making a mess and rendering it useless. 3. It can suffocate the plants and 4. Natural mulch is a far better weed preventer that can actually benefit the plantings. While we knew we didn’t want a weed barrier near the plants, we could have done one under the flagstone, but just decided not to.
Seen in the corner of the photo by the street are more flagstones. We decided to add the excess stones by the road so folks getting out of their cars wouldn’t trample the plants and instead would have some nice hardscaping underfoot.
You can also see the plants got a lovely layer of mulch the day the flagstone pavers went in. I can’t recommend mulch enough. It’s a natural material that creates a rich backdrop for the foliage, it prevents weed, it keeps moisture in the ground for the plant’s benefit, and it provides nutritional benefit. You can learn more about mulches and how we picked ours by reading the native plant book I recommended in my garden resource list. At my city, you can get free mulch at the dump - the greenery recycling that we put at the street gets ground up to be fresh mulch. However, many gardeners say not to use this mulch because it can promote weeds, so make the call that’s right for your type of planting and needs.

Next, it was time for rock delivery.
We got these 5” or so rocks to use throughout the rock-scaping to add some variety to the rocks we already had on hand which were 1”-2” in size.

Remember when I spent all of my weekends for a period of time separating the rocks and the mulch from the front yard while I was prepping to do the landscape project? It was totally worth it because we saved oodles of money by not having to buy rocks. Salvaging them put them to so much better use and saving money is a hobby of mine. Visit this blog post to see how we saved thousands of dollars preparing our landscape for this makeover - seriously thousands.

I had to jump forward in time to show you this photo of the rocks around the flagstone. (I didn’t get a picture at install). So don’t get distracted by the grown-in plants - just take a look at that pretty flagstone pathway and the pebbles around it.
Many people would fill the areas between the rocks with decomposed granite (commonly called DG) but this material is made up of tiny sharp little rocks and the thought of tracking just one of those sharp buggers into my house and onto my hardwood floors would keep me up at night. We opted to use the small pebbles I salvaged plus a few that I picked up on the side of the road, plus a few I had to buy. In hindsight, I wish I got smaller pebbles - like maybe half the size? But I’m definitely glad we opted for smooth pebbles instead of sharp rocks so we aren’t tracking in hardwood-floor-destroyers on the bottom of our shoes.

Landscape installation started November 9th, 2016, and by early December the crew was done. This winter was the wetest winter in ages. We had lots and lots and lots of rain (remember San Diego gets nearly no rain, so any rain is a lot to us) so it provided a really great start to the new plants. I think this wet season is to thank for how lush the plantings are a few years later. They absolutely flourished in the springtime! But, stay tuned for that. I have a blog post coming that will show the evolution of the whole yard makeover and growth in a spiffy time lapse for your viewing pleasure.
In the meantime, you can catch up on all of my landscaping posts here.