
My Takeaways From Using Masking Fluid To Paint Windows and Doors
/I’ve heard of other blogger buds using fancy masking fluid to ease the job of painting windows and divided lite doors, but I never used it myself. Until Now. I learned some lessons and have some takeaways from the experience for ya. Here’s how it went.
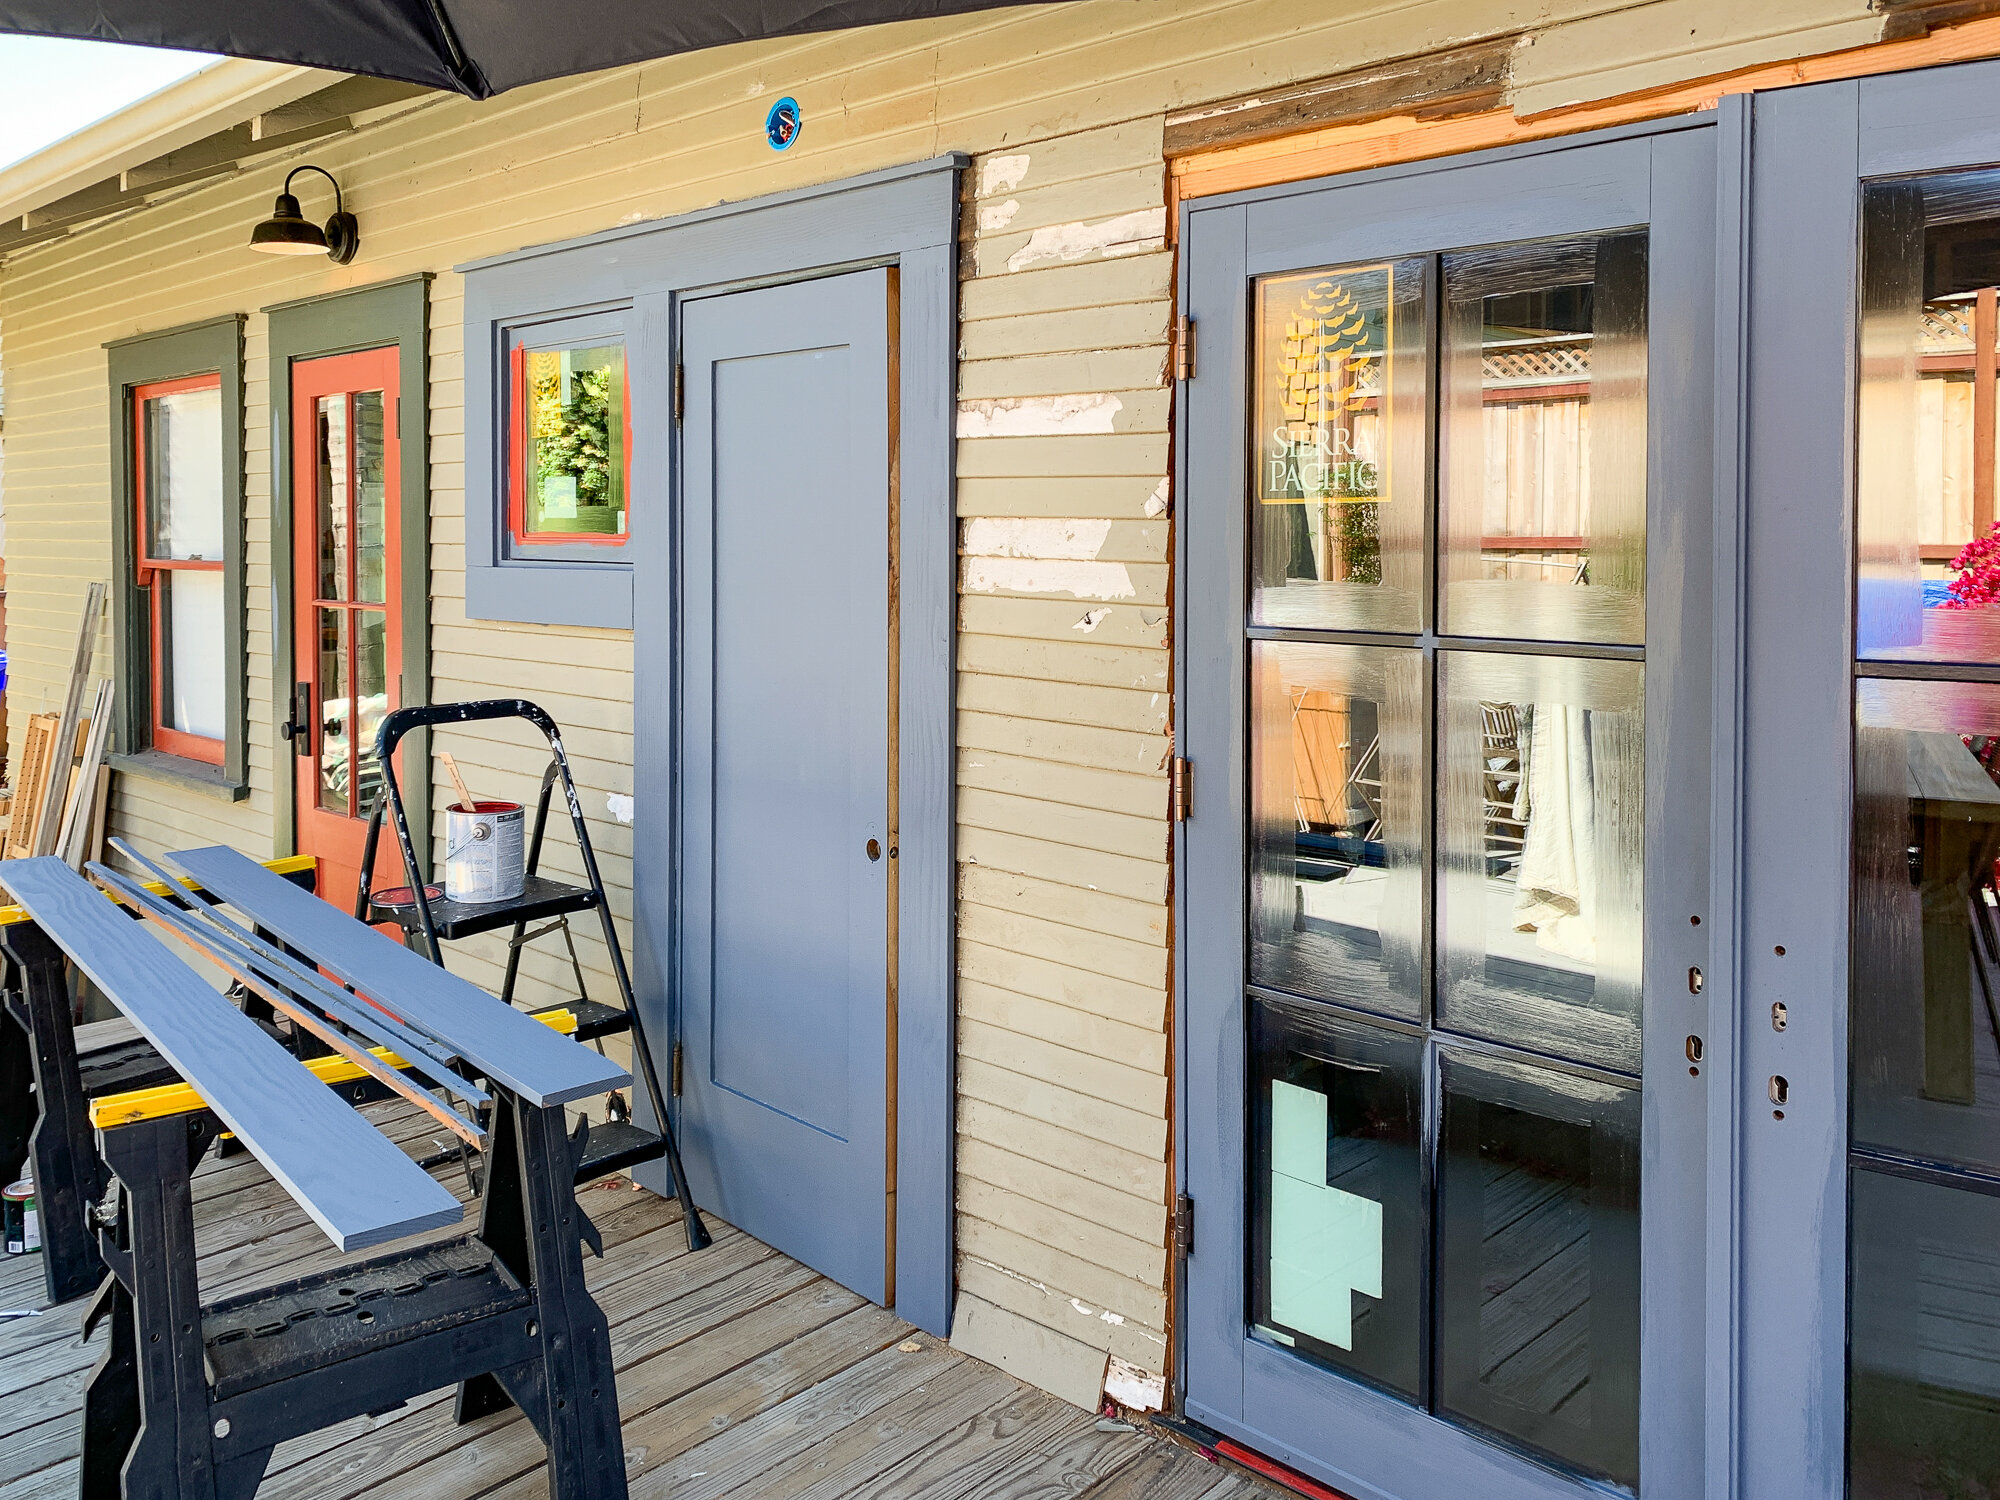
First, the French doors came pre-primed, but the door manufacturer of these gorgeous all wood doors, Sierra Pacific, recommends priming them again before painting. Now, I’m a lady that likes a nice fresh coat of primer and I like following instructions, so that’s just what I did.
Note: Sierra Pacific gifted the doors and Sherwin Williams gifted the paint and masking fluid. Yet this isn’t a sponsored post - but wouldn’t it be great if it were?
I got some exterior primer from Sherwin Williams and had them tint it dark. I HIGHLY recommend using a tinted primer if you’re painting a deep hue. The doors came primed in black, which is perfect, but it would sure be silly of me to prime them in white paint only to paint them a dark red. So, I had Sherwin Williams tint the primer. It came out a medium-toned grey color. Quite pretty, actually!
Normally, when I paint, I like the cut in technique. Meaning, I don’t use blue tape to prevent getting paint on windows, ceilings, floors, trim, etc. I prefer to cut in with my handy brush and a steady hand. I take it nice and easy following the lines to get a crisp edge.
But this time, I used this masking liquid. I had seen other people using it before and I always thought it was silly. Why mask when I could cut in and show off my steady paint line talents?
I decided to give it a go because I had so many lites to paint on these doors - 24 inside and out, which is 96 sides of each window, which is actually 192 when accounting for two layers of paint. Oh and with the bathroom window that would be 200 edges to cut in.
Cutting in makes me feel talented, but boy does it take time.

Note to self: do this project on the front windows in October of next year for an eerie Halloween decoration.
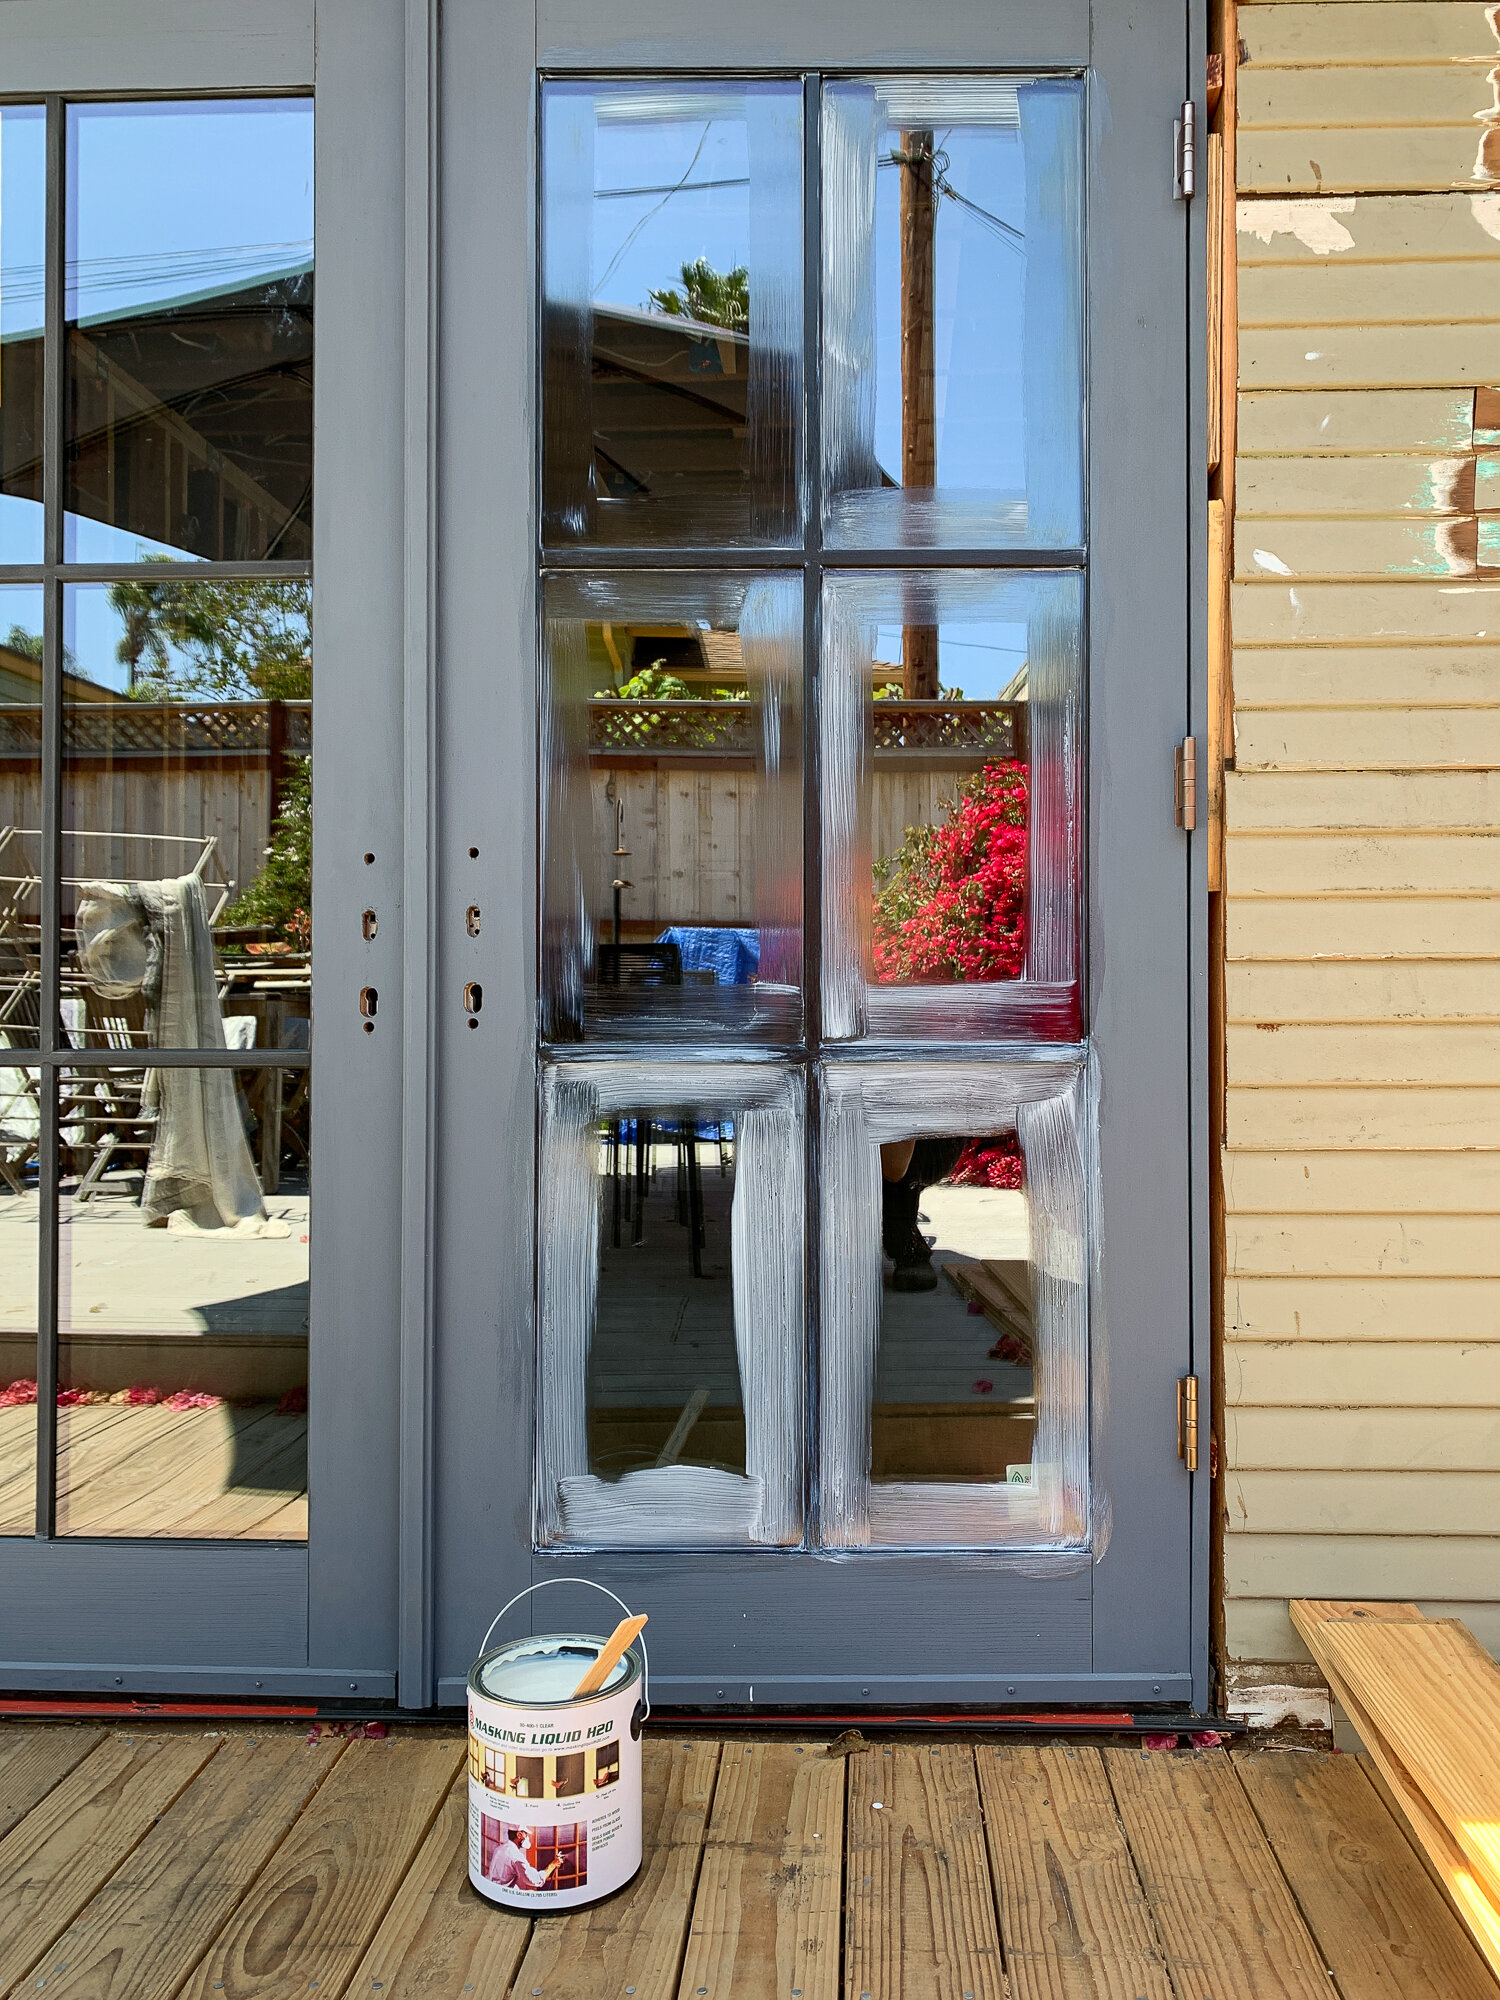
The masking fluid comes in a paint can and is applied with a brush or a sprayer onto the glass of the window. Don’t worry about getting it on the edges of the wood, though!
Think of the liquid kind of like watered down school glue. It goes on milky and dries clear. Then, like glue, you can peel it off of things (I know you, too, put glue on your hands as a kid and peeled it off like dead skin). When the masking liquid goes on the glass, it creates a peel-able barrier between the glass and the paint. Thus, when the finish paint dries after multiple coats, you can peel everything off the glass in a satisfying motion.
When you apply the masking fluid to the wooden parts of the window, it serves as a primer. So you can paint over that and just leave it there and not peel it off.
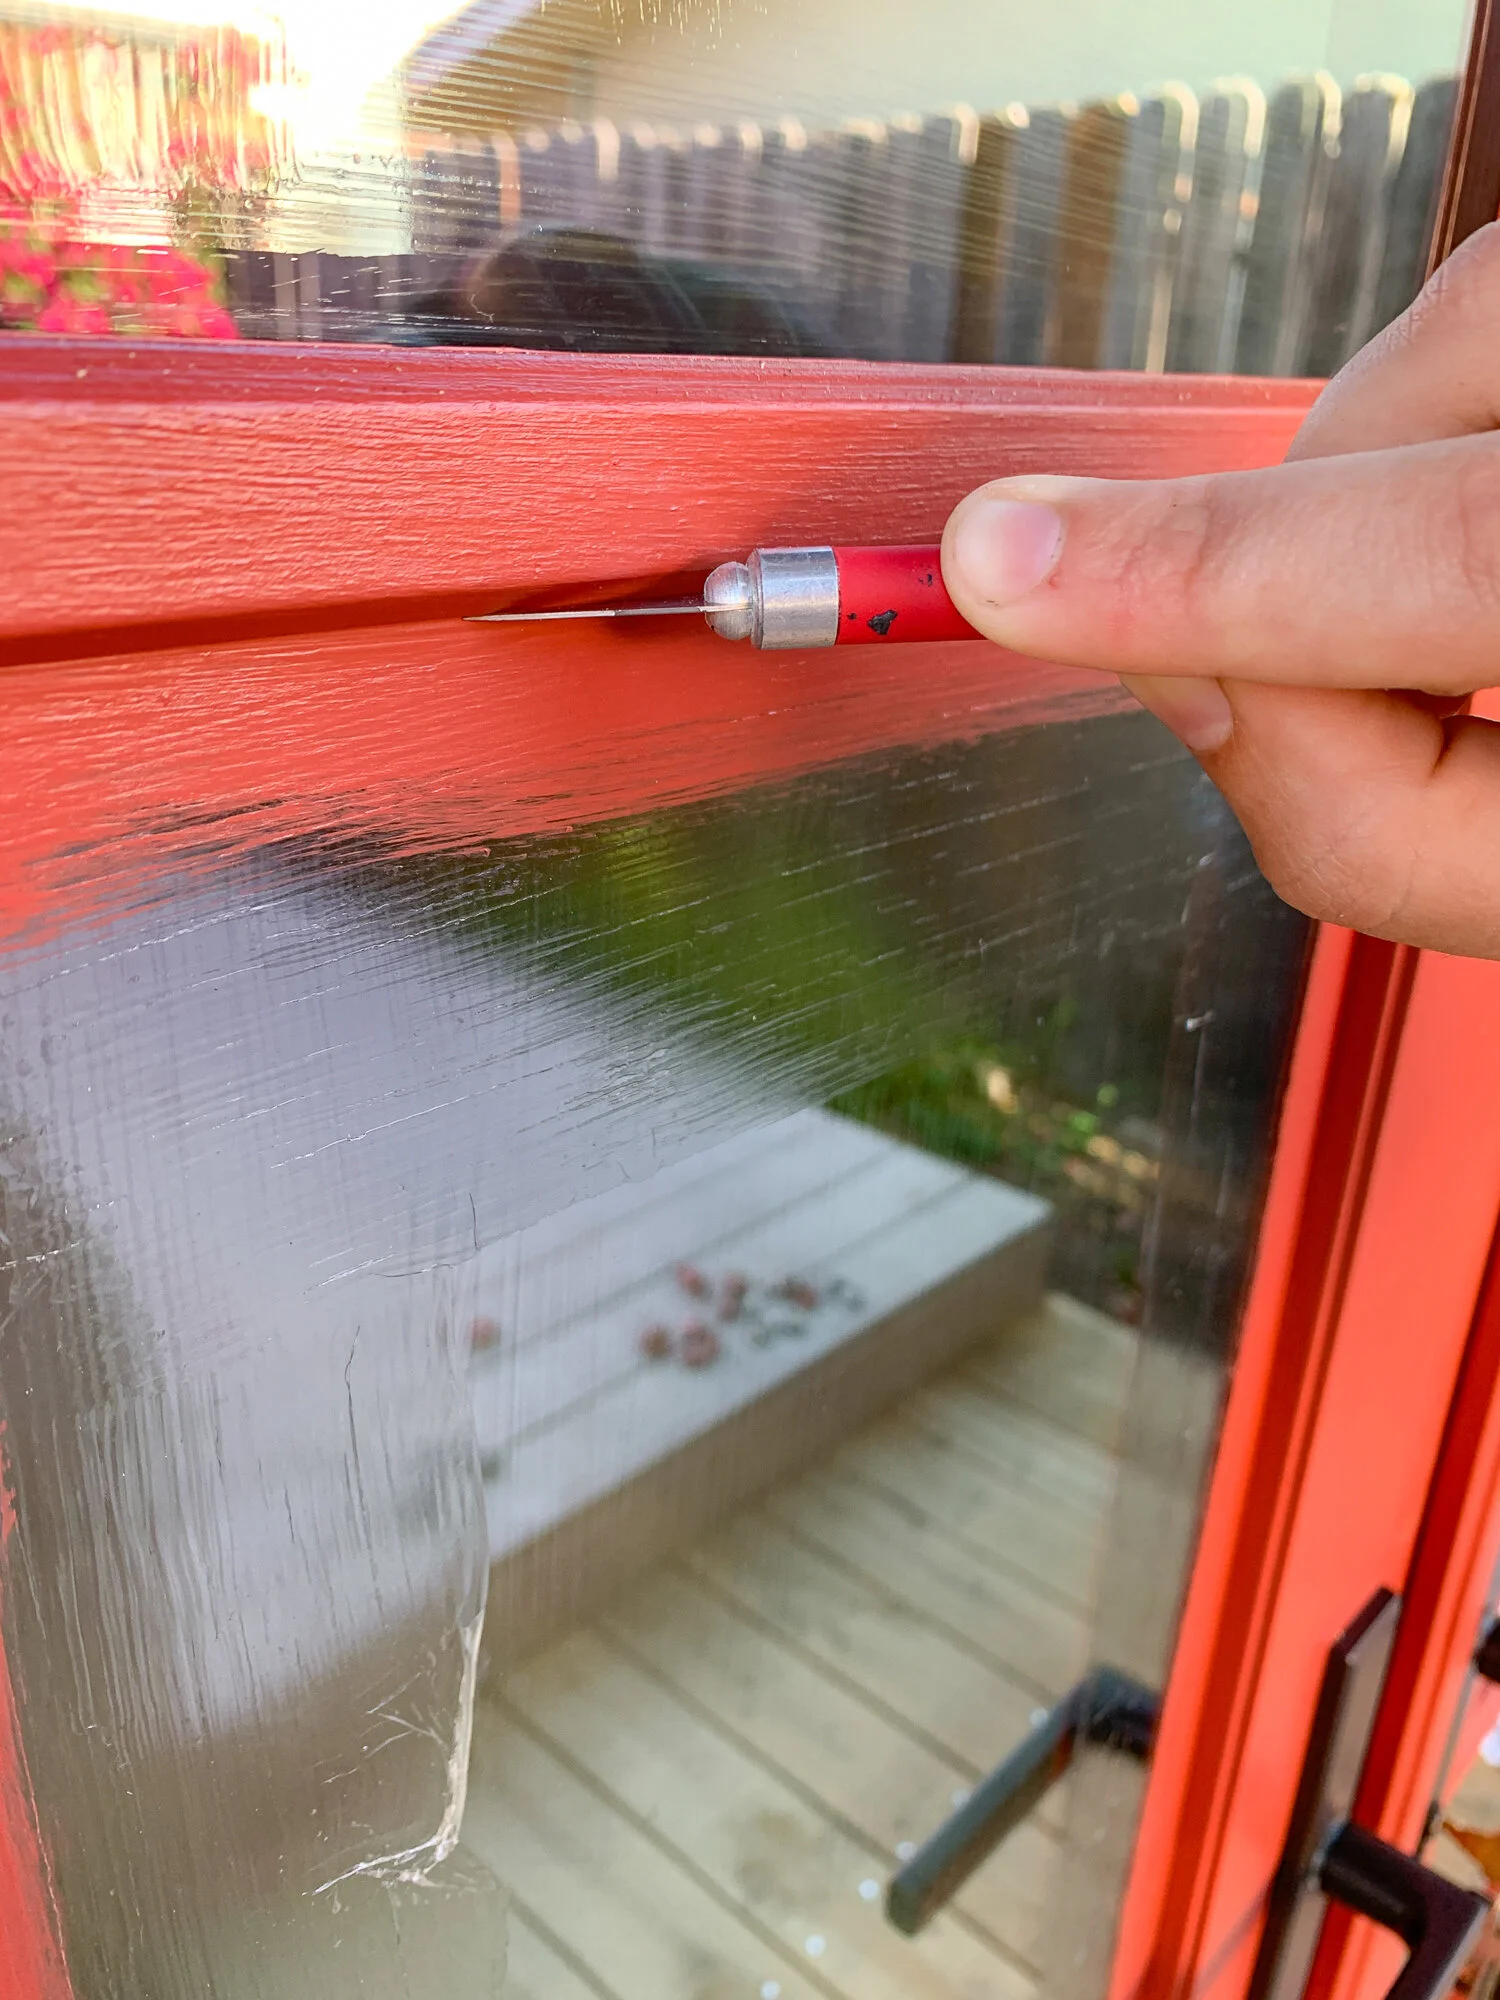
To peel only the glass portions, you run a blade down the edge of the glass to separate the masking fluid. Do this after you’ve finished all of the coats of paint and after any necessary touch-ups.
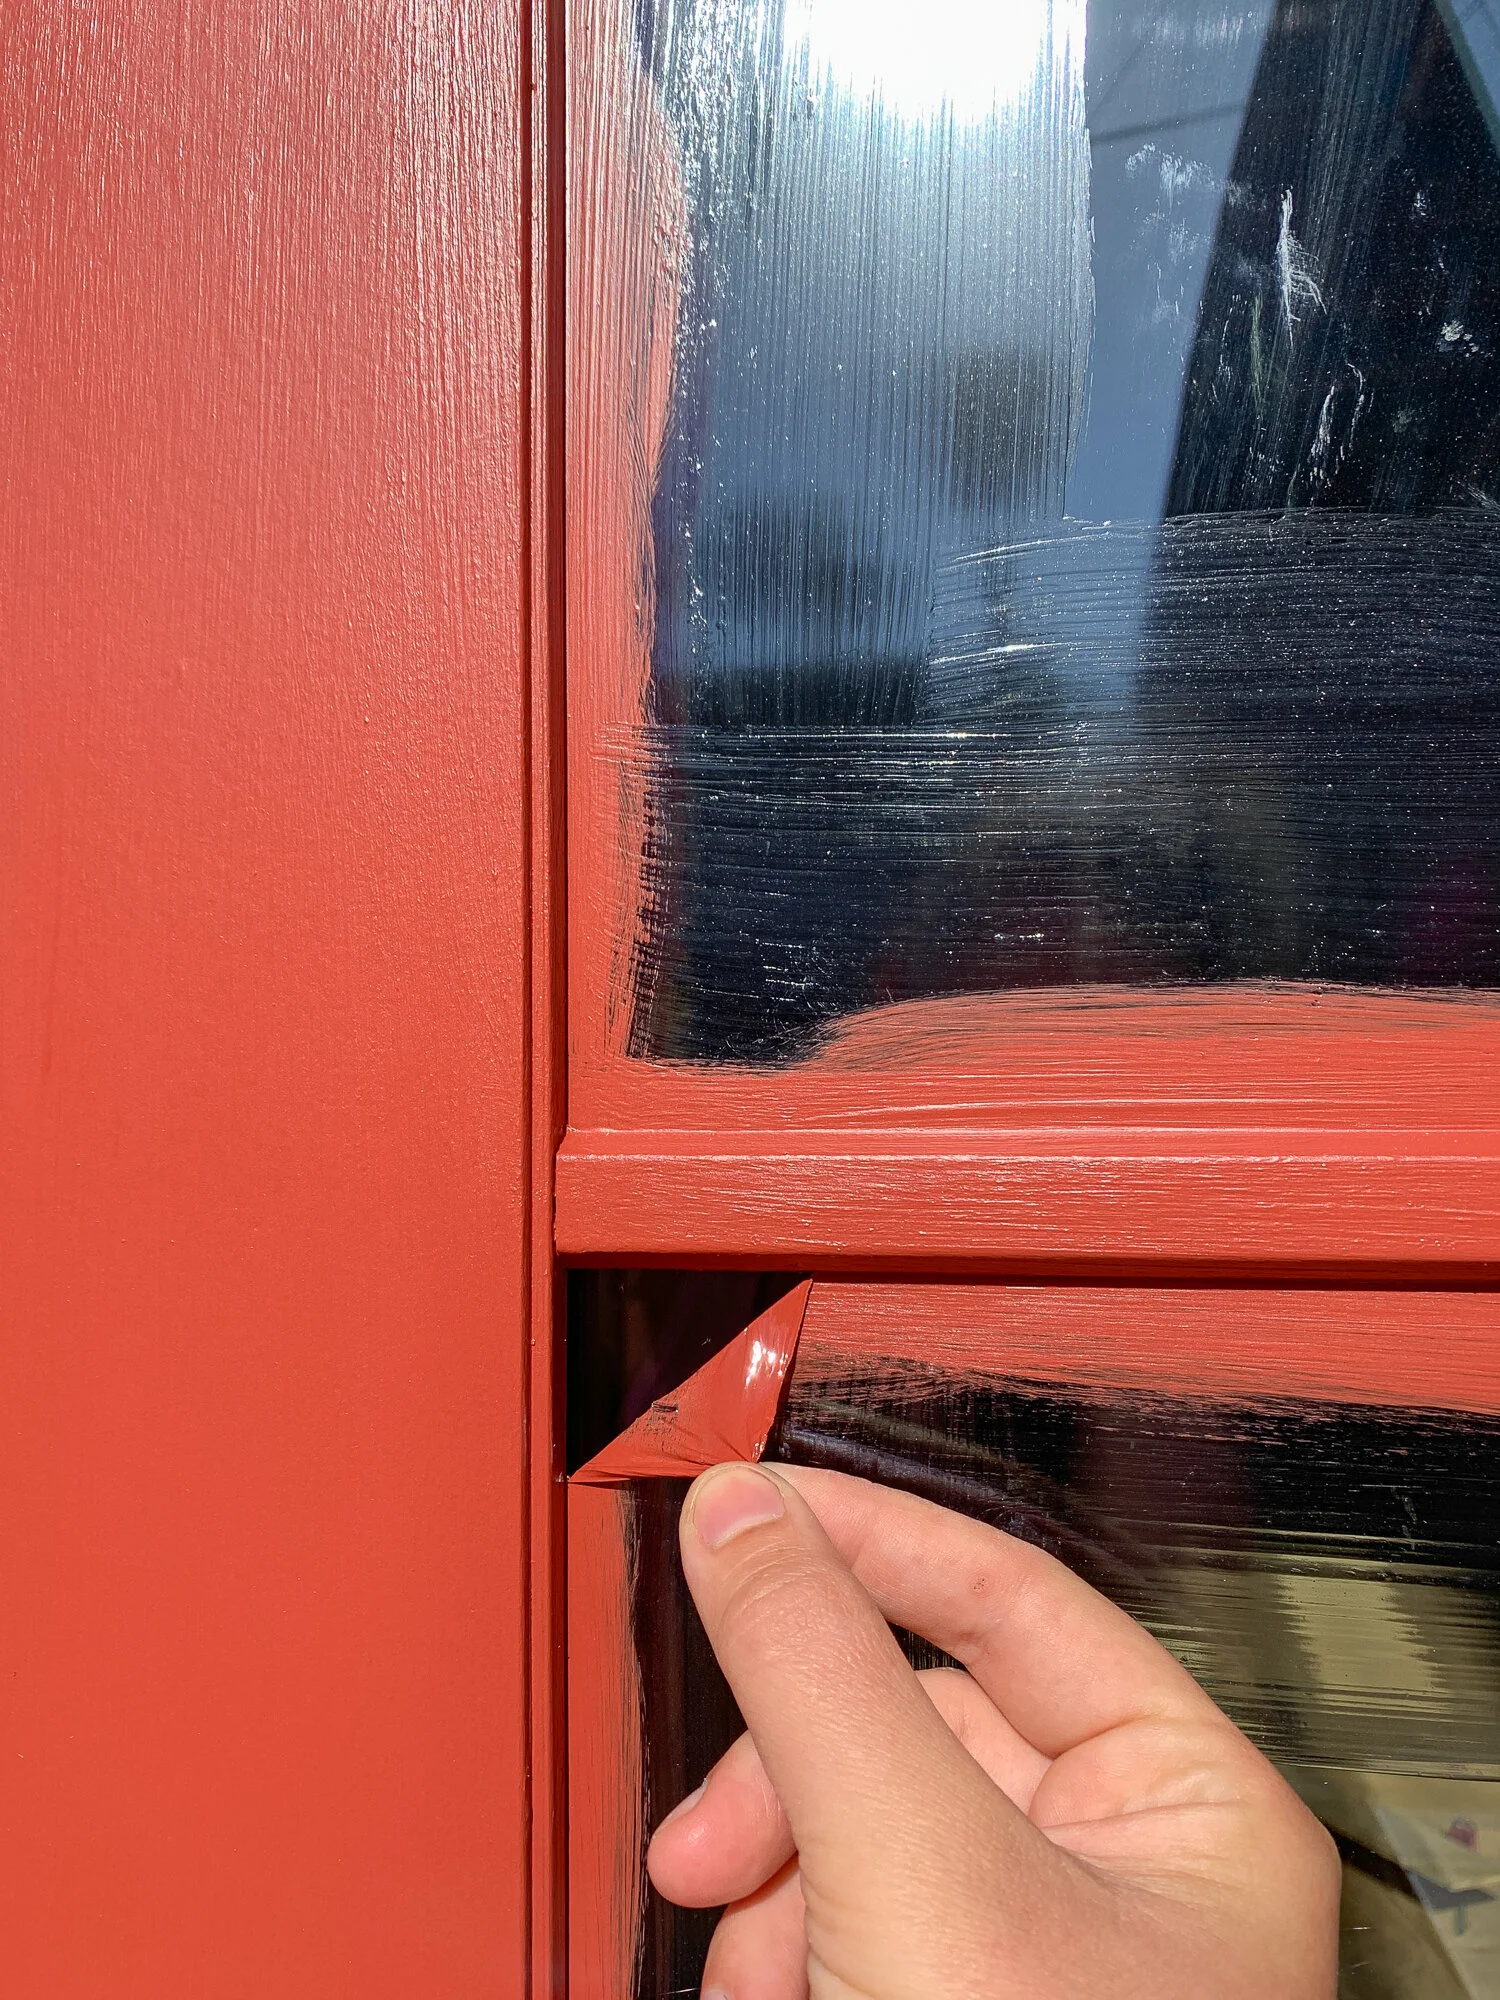
Once the edges have been scored, you can start peeling! It is very satisfying!

Then peel and peel and peel and peel and peel.

Here are all of my crumpled up masking fluid and paint balls from each of the lites in these doors. They definitely create less waste than a bunch of blue painters tape. But admittedly more waste than if I had just cut in like I normally do.
Also, what’s happening in the corner of that photo? Am I turning into my mom who managed to have her finger in front of the lens for 20% off my childhood photos? ‘90s mom here I come!
I filmed a quick video using the masking fluid and peeling it off; you can take a look at it with the button below.
Important Masking Fluid Lessons Learned:
Don’t use this on the exterior of windows (even though that’s what I did). I’ve since learned that it compromises the paint/glass seal which could let in moisture and compromise the glazing putty. I’m not too worried about my mess up because these new windows have a different seal, but I’ve learned NOT to use this on the exterior of old windows.
Don’t be stingy with the masking liquid. Apply it pretty thick, and cover the whole pane of glass. On my first go, I painted just the perimeter and it left me with little bits of masking that didn’t come off in a big sheet. On the inside, after learning my lesson I did a thick coat over the whole piece of glass and was a much happier camper.
Use a dull blade to score the masking fluid as to not scratch the glass. But you also don’t want to use a banged-up blade that can make for a messy cut line.
Note that when the masking fluid gets on the wood, it creates and ever so slightly different sheen under the finish paint. It’s so subtle that I don’t notice it when I use the doors, but I can definitely see it if I go looking for it. Try to go light on the wood portions when applying the masking fluid.
My Takeaways:
Overall, the masking fluid was cool. It was fun to use and very satisfying to peel. I liked that I could leave it on for several days as I painted multiple coats. It definitely saved me time not having to cut in over and over and over again. The edge is also super crisp and better than I can achieve with a steady hand.
However, some of the masking didn’t come off totally clean so I spent a fair amount of time scraping it off with a razor blade. This would have been avoided if I followed my #2 lesson learned and applied it thicker.
I’m sure this would provide a better edge than blue tape. It’s relatively comparable to a steady hand. But it isn’t much different from the technique of painting onto the glass, then scraping it off with a razor blade - another classic technique.
So, if you don’t have a steady hand and you prefer to use paint, give the masking fluid a go! If you’re confident with your steady hand or you already scrape paint off with a razor blade, you could skip this. And certainly skip it if you only need to paint the exterior of windows (see lesson #1)!
Use the link above to order the masking liquid online. Or, just skim that site to learn more about it, then go to your local paint store or small hardware store to support independent businesses.
Didn’t watch the video above? Here’s the link again to watch the video version of the masking fluid getting peeled off for some satisfaction.


