How To Seal Marble Countertops: A One-Time Application I Haven't Touched In 5 Years
/I DIY sealed our marble countertops and you can, too. Sealing protects stone from staining which means I don't think twice before setting a coffee mug down on bright white marble. I did a lot of research on the best products before committing, so I'm sharing how and why I chose the one I did, plus the full step-by-step process as well as tricks for removing stains and etches from stone.
This blog post is sponsored by Natural Stone Institute and in partnership with Arizona Tile. As always, all opinions are my own. The sealer I recommend is NOT sponsored.
THE SHORT VERSION
If you're here for the recommendation and not the research: use Stain Proof Dense Stone Impregnating Sealer. I applied it once and have zero stains five years later. Here’s a look after a year of use.
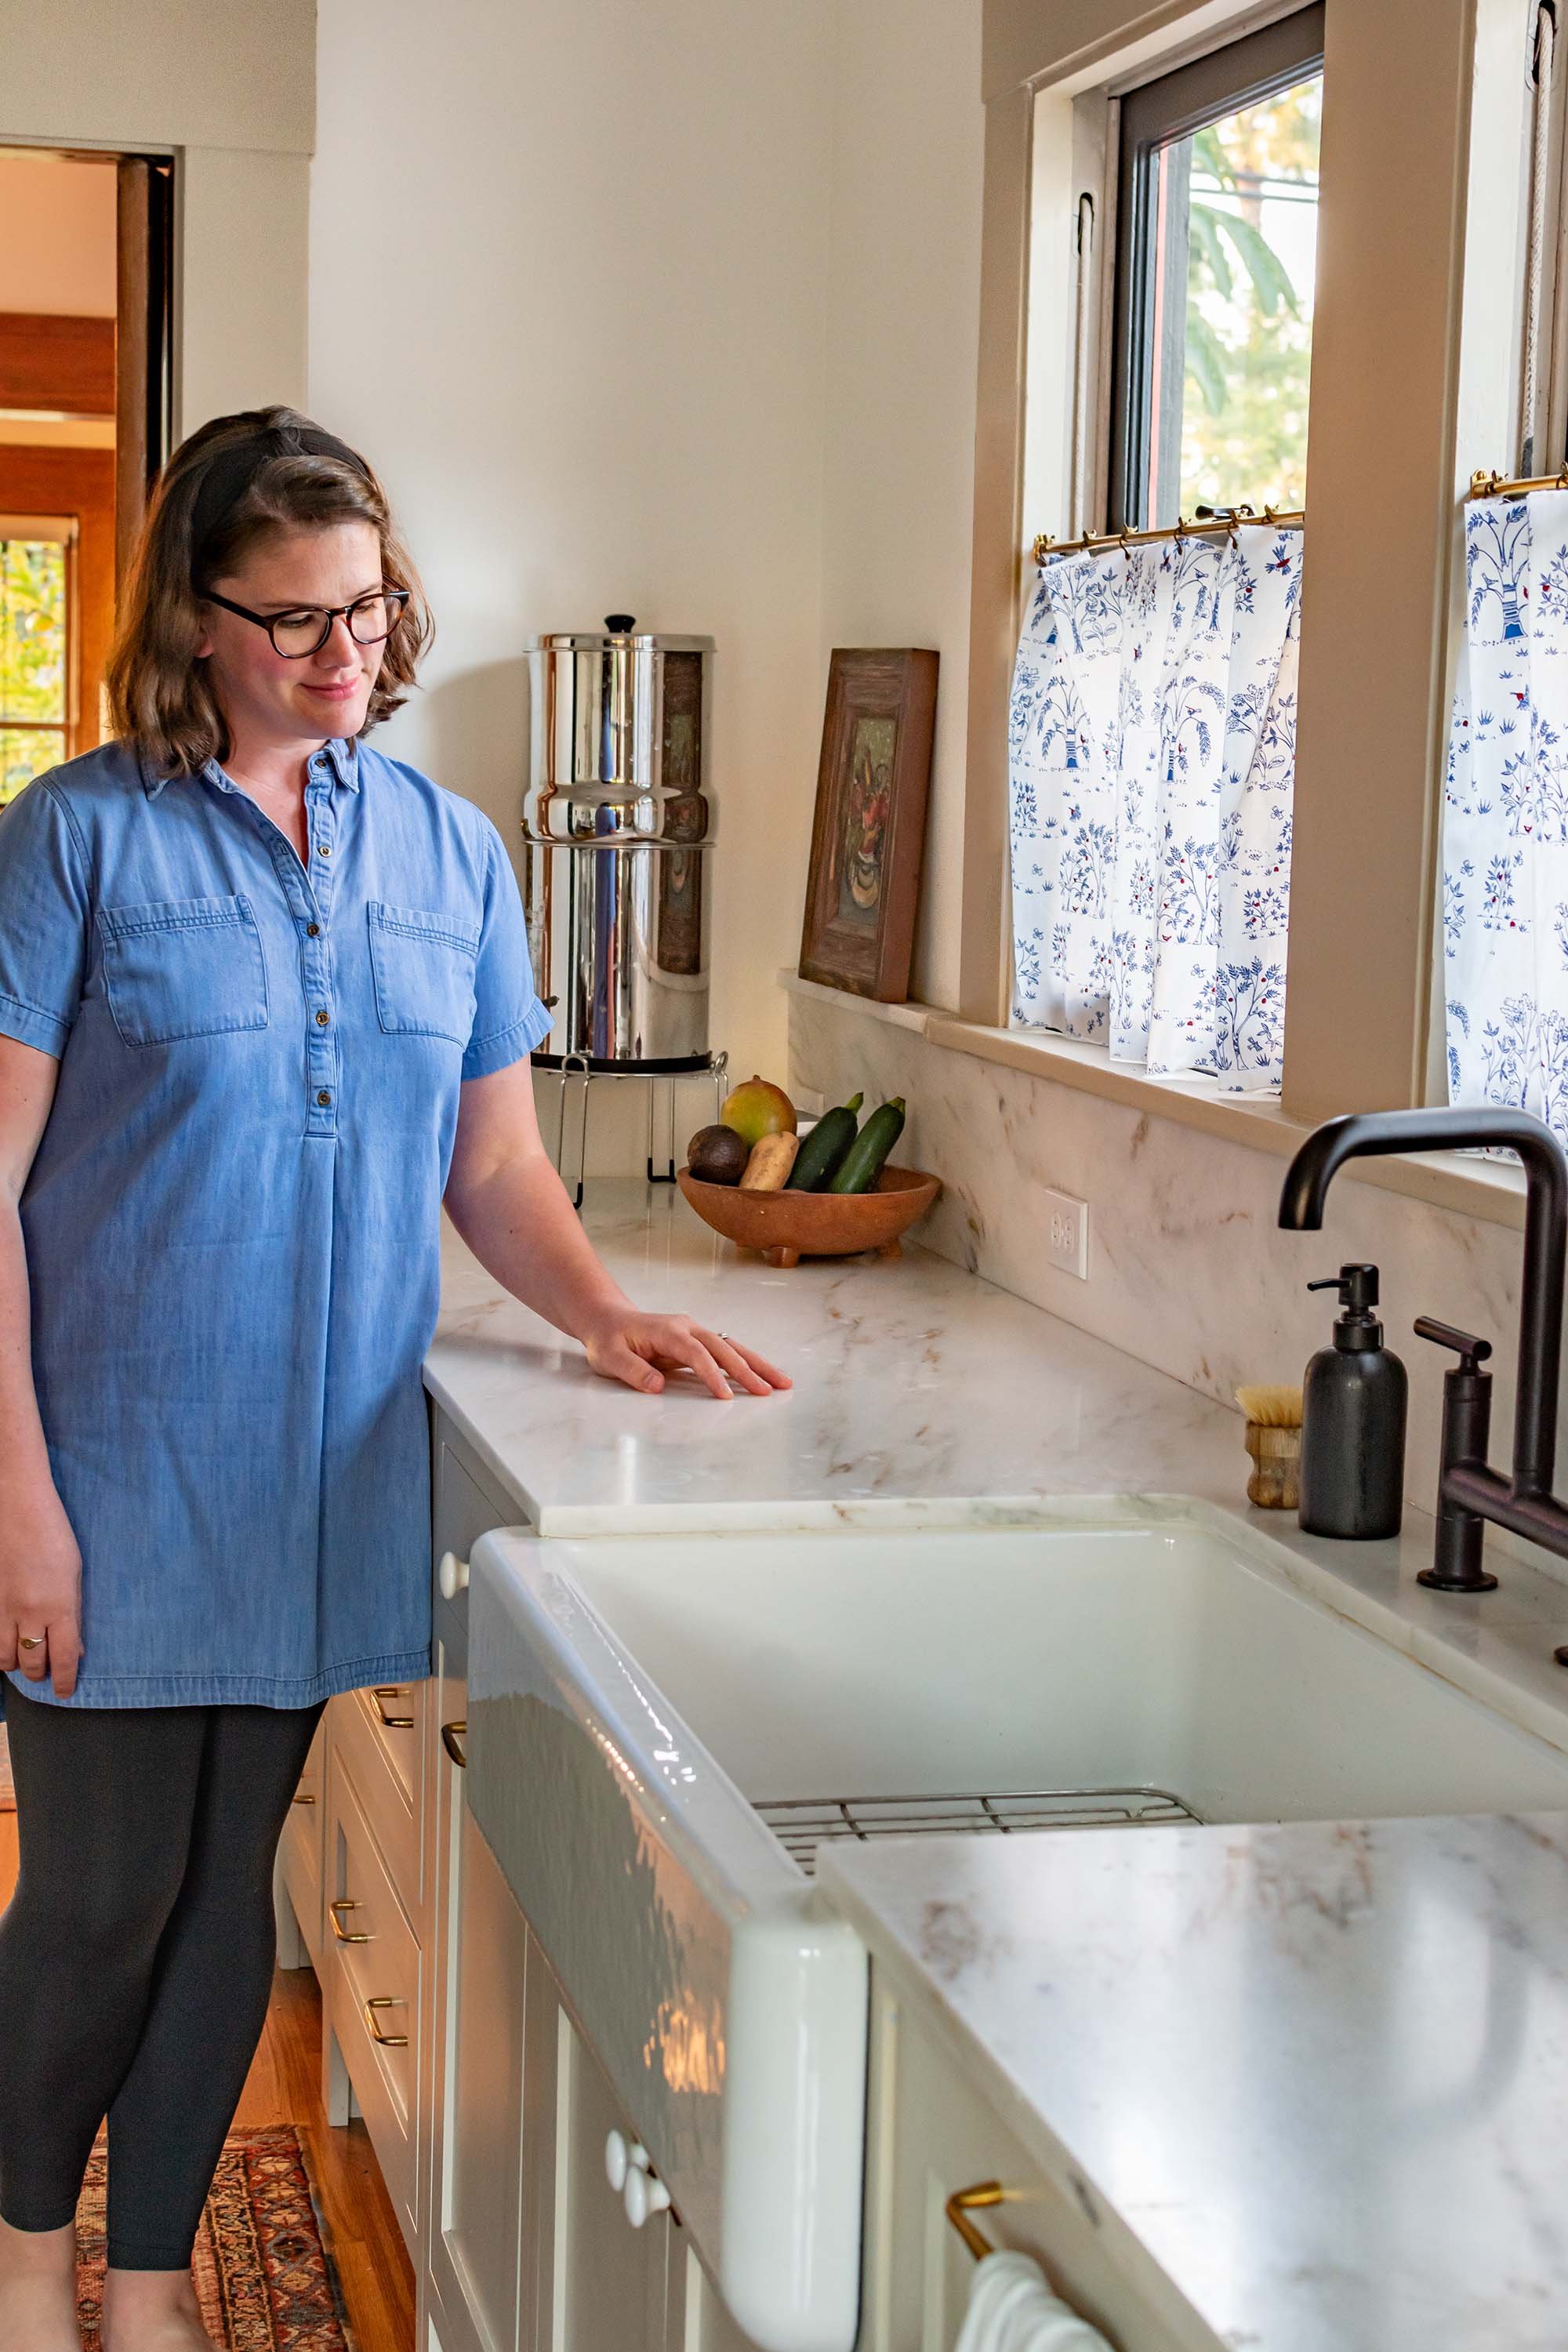
I have other marble surfaces in this house that I didn't seal with this product — those have stained. The kitchen, the most-used surface in our home, hasn't.
Two things can damage marble:
Staining is when liquids like red wine or coffee get into the pores of the stone and leave behind a hint of their coloring.
Etching is when acids like lemon juice dull the surface of the stone and create ghosting of where the liquid once was when seen under certain lighting.
Sealing prevents staining. Nothing prevents etching (except avoiding acids altogether.)
For existing stains, try a mix of hydrogen peroxide and baking soda to form a paste then apply to the stain overnight. Wait until the mixture is rock hard, then scrape it off. Repeat for extra stubborn stains.
For existing etching, this works incredibly well.
The full product research, step-by-step tutorial, and everything else is below.

The Research:
I did a lot of research to find just the right sealer to use on the marble. I wanted something that would do the best possible job. I didn’t mind re-sealing annually, or spending a little extra, or taking a long time to seal if it got me the best protection. I searched the world wide web for all the stone sealing facts, and here’s what I learned:
Impregnating sealers are the best bet for marble surfaces because they’re formulated to go in just below the surface of the stone to slow the absorption of staining liquids rather than sitting on top. They will NOT protect against etching.
Most stone sealers are oleophobic (oil repellent) but some stains are carried by water so it’s good to have a sealer that’s also hydrophobic (water repellent) too, for protection that covers both bases.
It’s important to use a food-safe sealer in the kitchen. Most impregnating sealers for natural stone are food-safe once cured because the solids components that remain in the stone are non-toxic.
The carrier in sealers can be either water, alcohol, or another solvent. All of them evaporate away as part of the curing process and leave behind only the protective solids. Alcohol and solvent-based sealers can be more effective at slightly porous materials (like white marbles) since they can penetrate and carry the solids deeper into the stone fabric. Water-based sealers have larger carrier molecules that tend to stay closer to the surface and can be more effective at protecting very porous materials.
I researched about 15 different stains before landing on Stain Proof Dense Stone Impregnating Sealer and I’m so glad I went with it. I’m bak after 5 years to tell you that I don’ have a single stain and I haven’t had to re-apply the sealer.
You can learn even more about it here and watch a helpful demonstration video here. I also watched a 2-hour long application training for stone fabricators and talked to a Dry-Treat rep for 30 minutes, so I’m basically a professional now.
If you don’t want to tackle DIY stone sealing, you can have your fabricator seal the marble before installation. They can recommend products they have experience with, but I’m sure you can also ask them to use whichever product is the best/easiest for you. But since I like getting involved and I already came so far researching, I decided to DIY it myself! Here’s how you can, too.
How To Seal Marble:
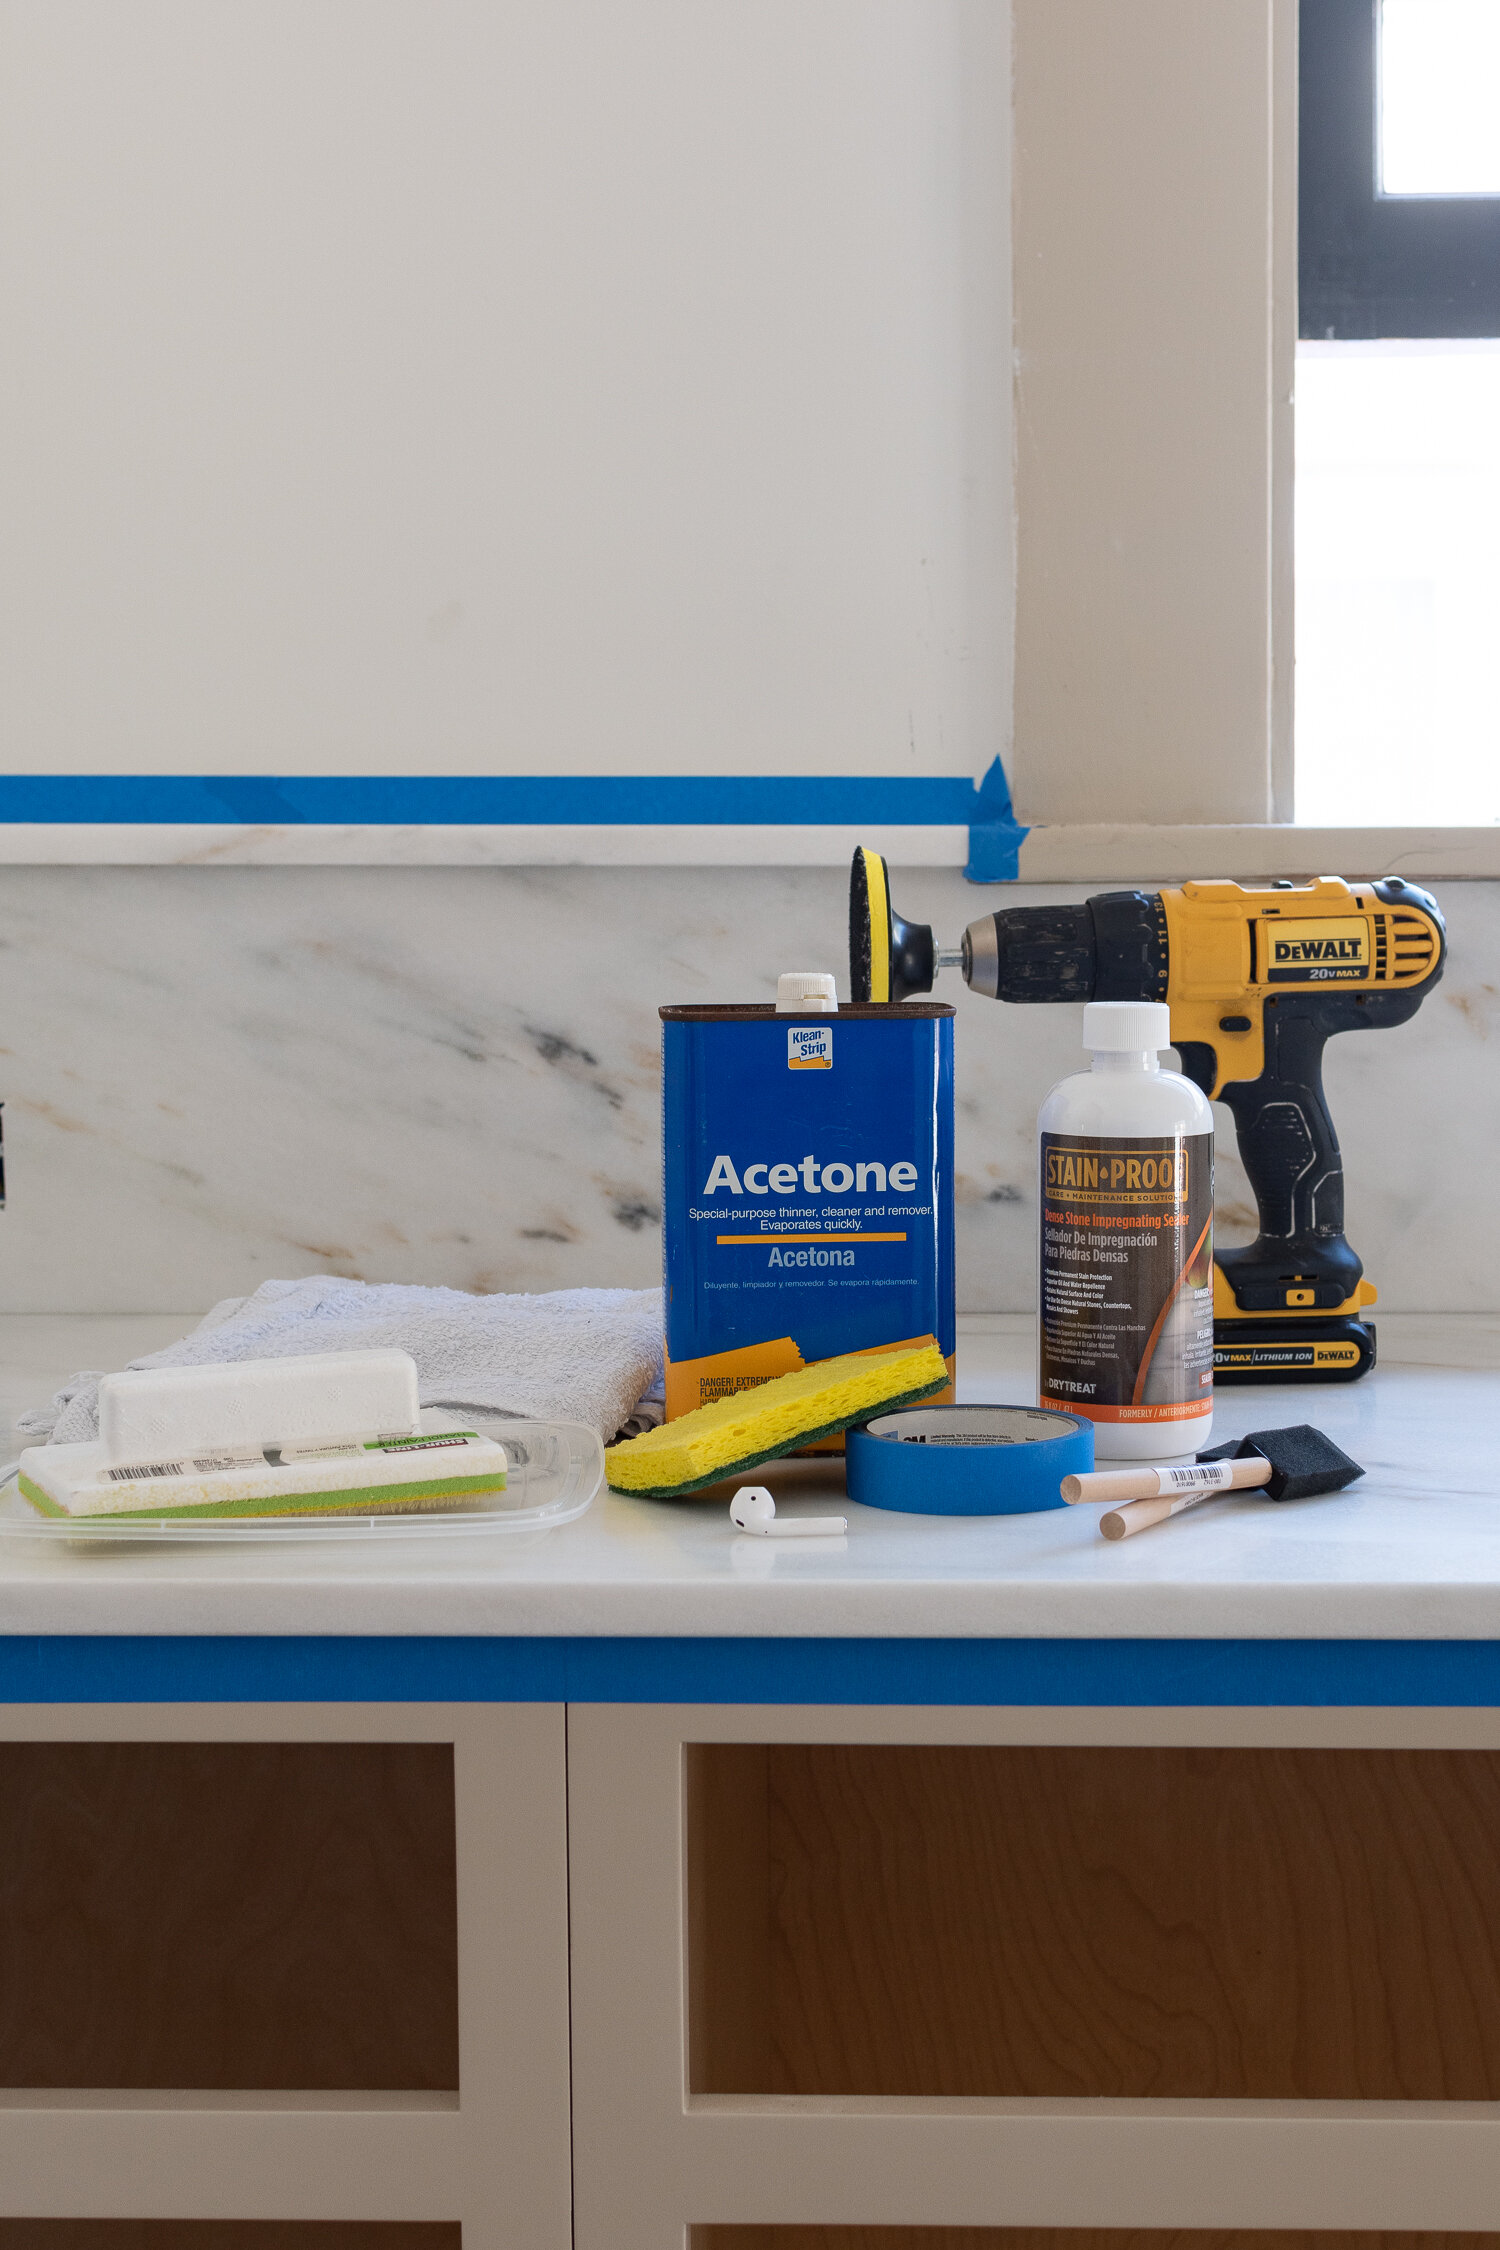
What You’ll Need To Seal Marble:
Applicator pad (pros recommended lambswool, but I went with a non-animal synthetic)
Paint pan to fit the pad (I used the top of a takeout container)
Terry cloth towels (pros said not to use old t-shirt rags)
Microfiber towels (pro recommended blue or white not yellow. But I didn’t use them at all)
Acetone
Razor blades
Sponge
Respirator with VOC cartridge
Gloves
Air circulation
Orbital sander or drill with a buffing attachment
A good podcast or playlist
Video Tutorial:
I’ve outlined the sealing process below in text format, but I included a brief video below for more visual context, check it out! Click here if the video isn’t displaying.
How To Seal Marble
Step 1: Clean stone
With all projects, the first step is often the most important. We want that stone clean clean clean. Even though it was recently installed and free of food messes, my stone did have some schmutz on it from the installation process. I used a razor blade to scrape the whole surface to remove any caulk residue or adhesive left behind from the fabrication process.
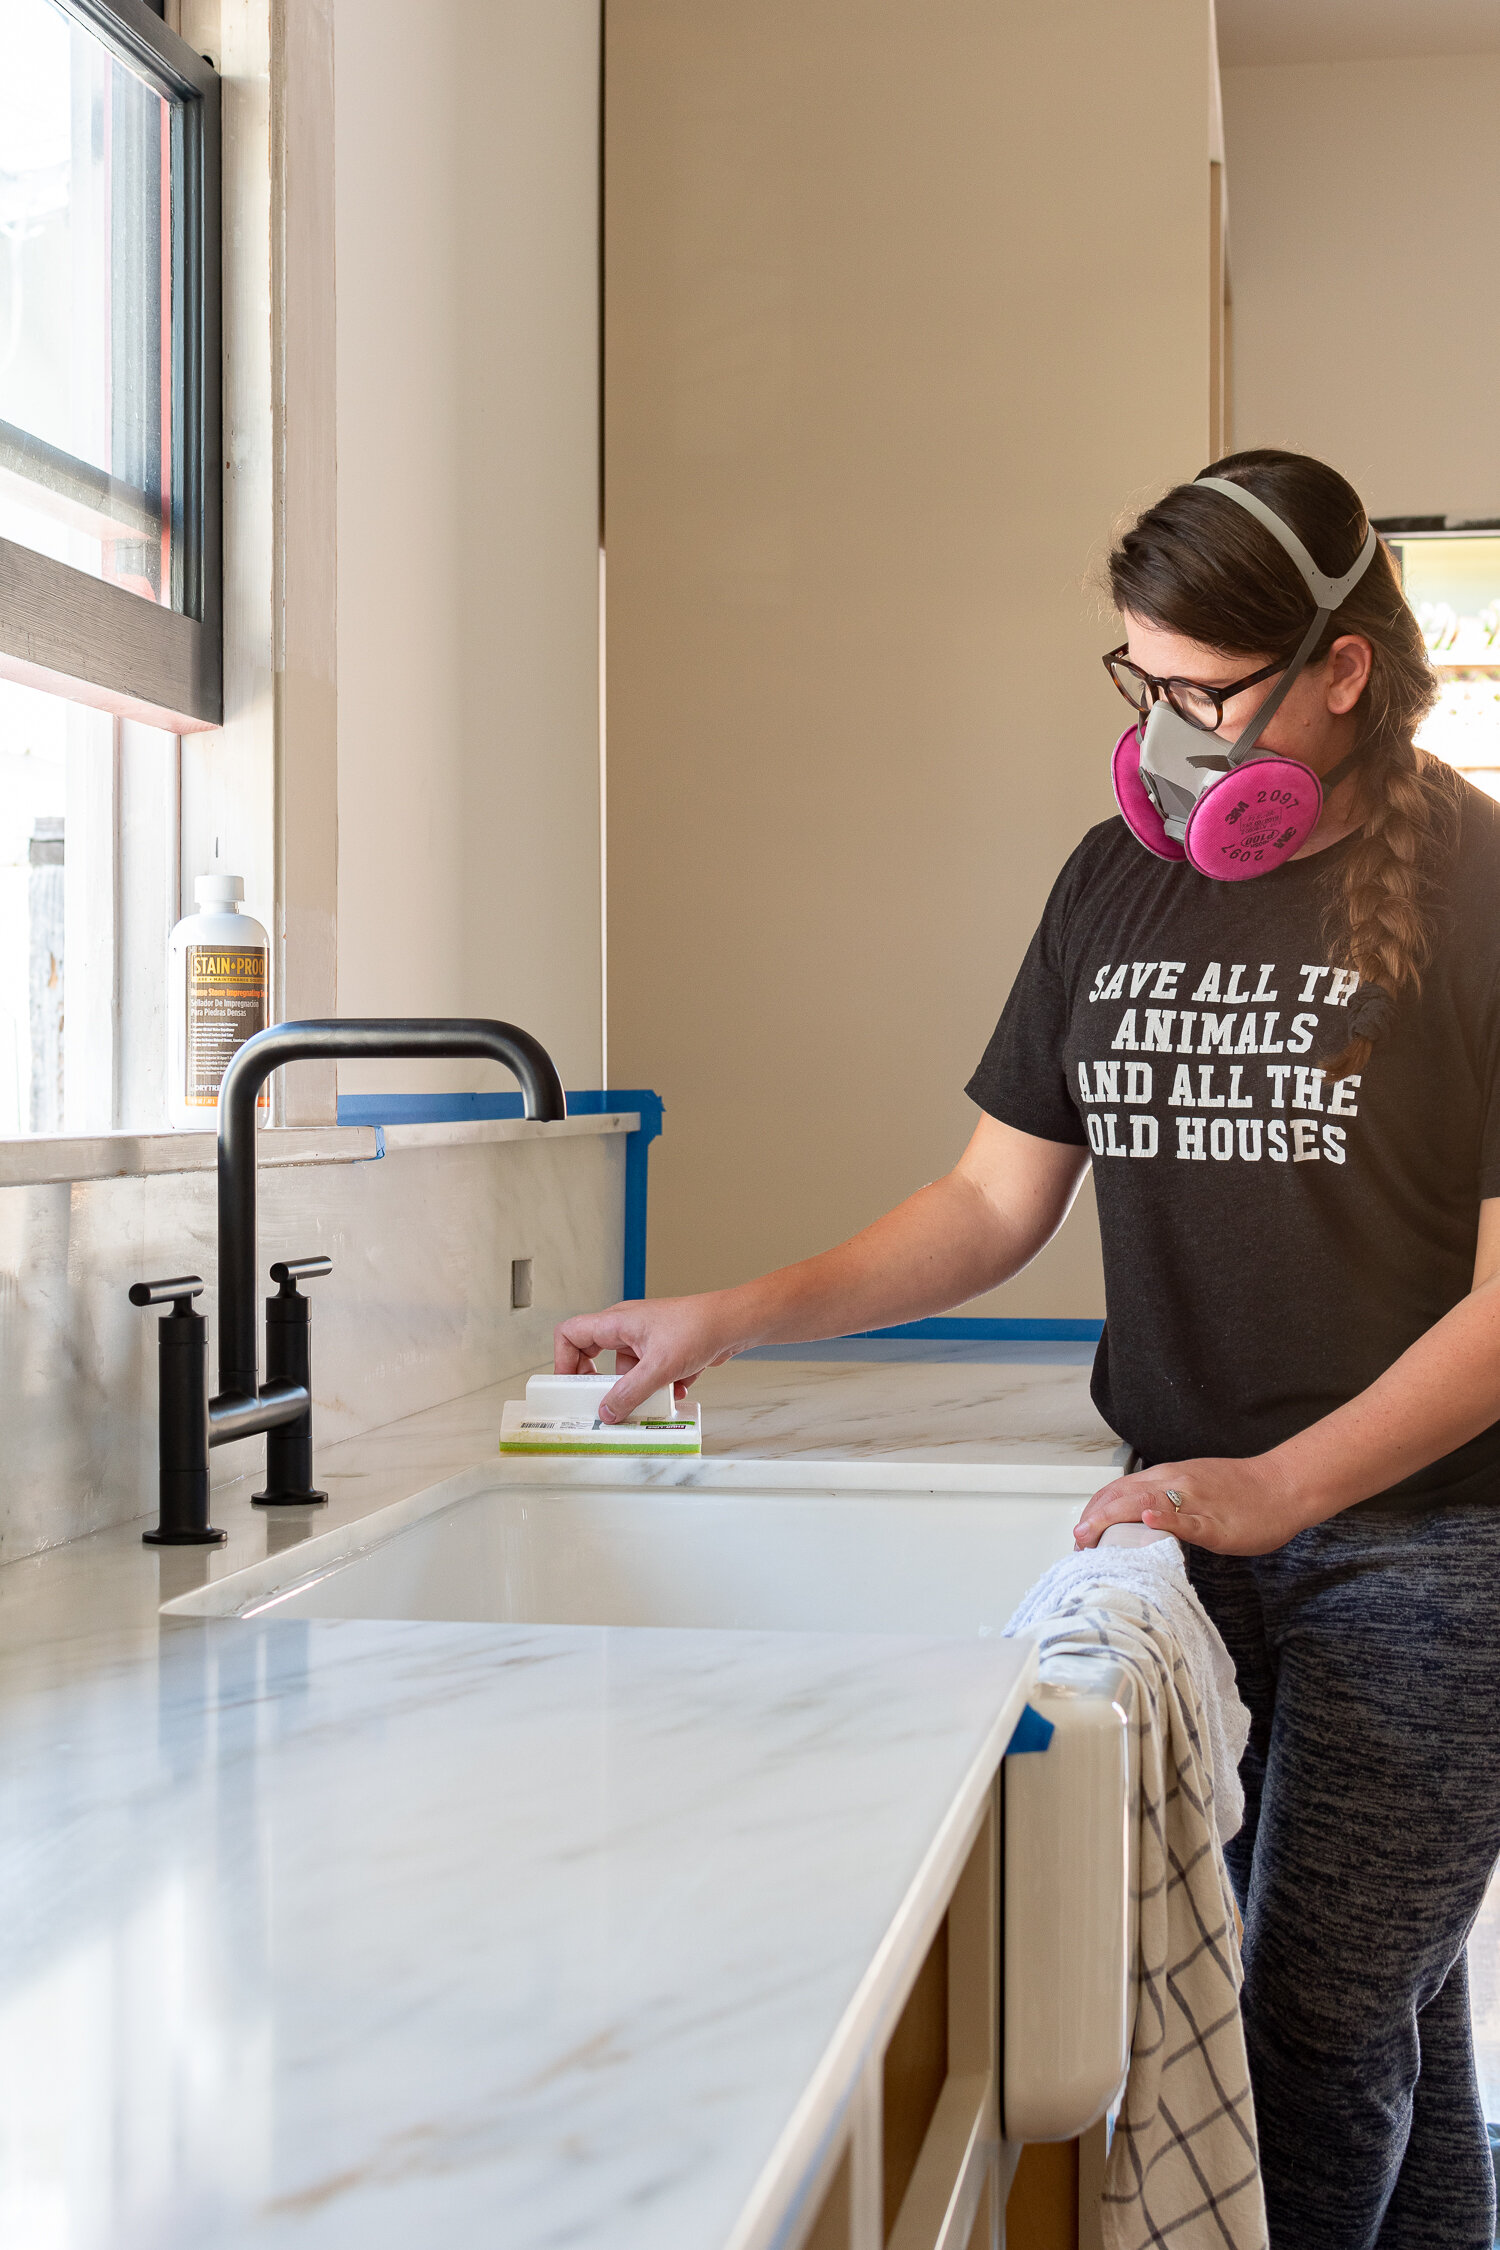
To clean everything off, don’t use water! Water will absorb into the stone and you’ll need to wait for it to dry, or worse, seal it into the stone. Instead, use acetone which evaporates really fast and will lift off any residues from the stone. I dabbed acetone on a sponge and wiped to clean every nook and cranny. Note that acetone is pretty smelly, so open all the doors and windows and wear a respirator. (Use the VOC cartridge rather than the dust cartridge I was wearing.)
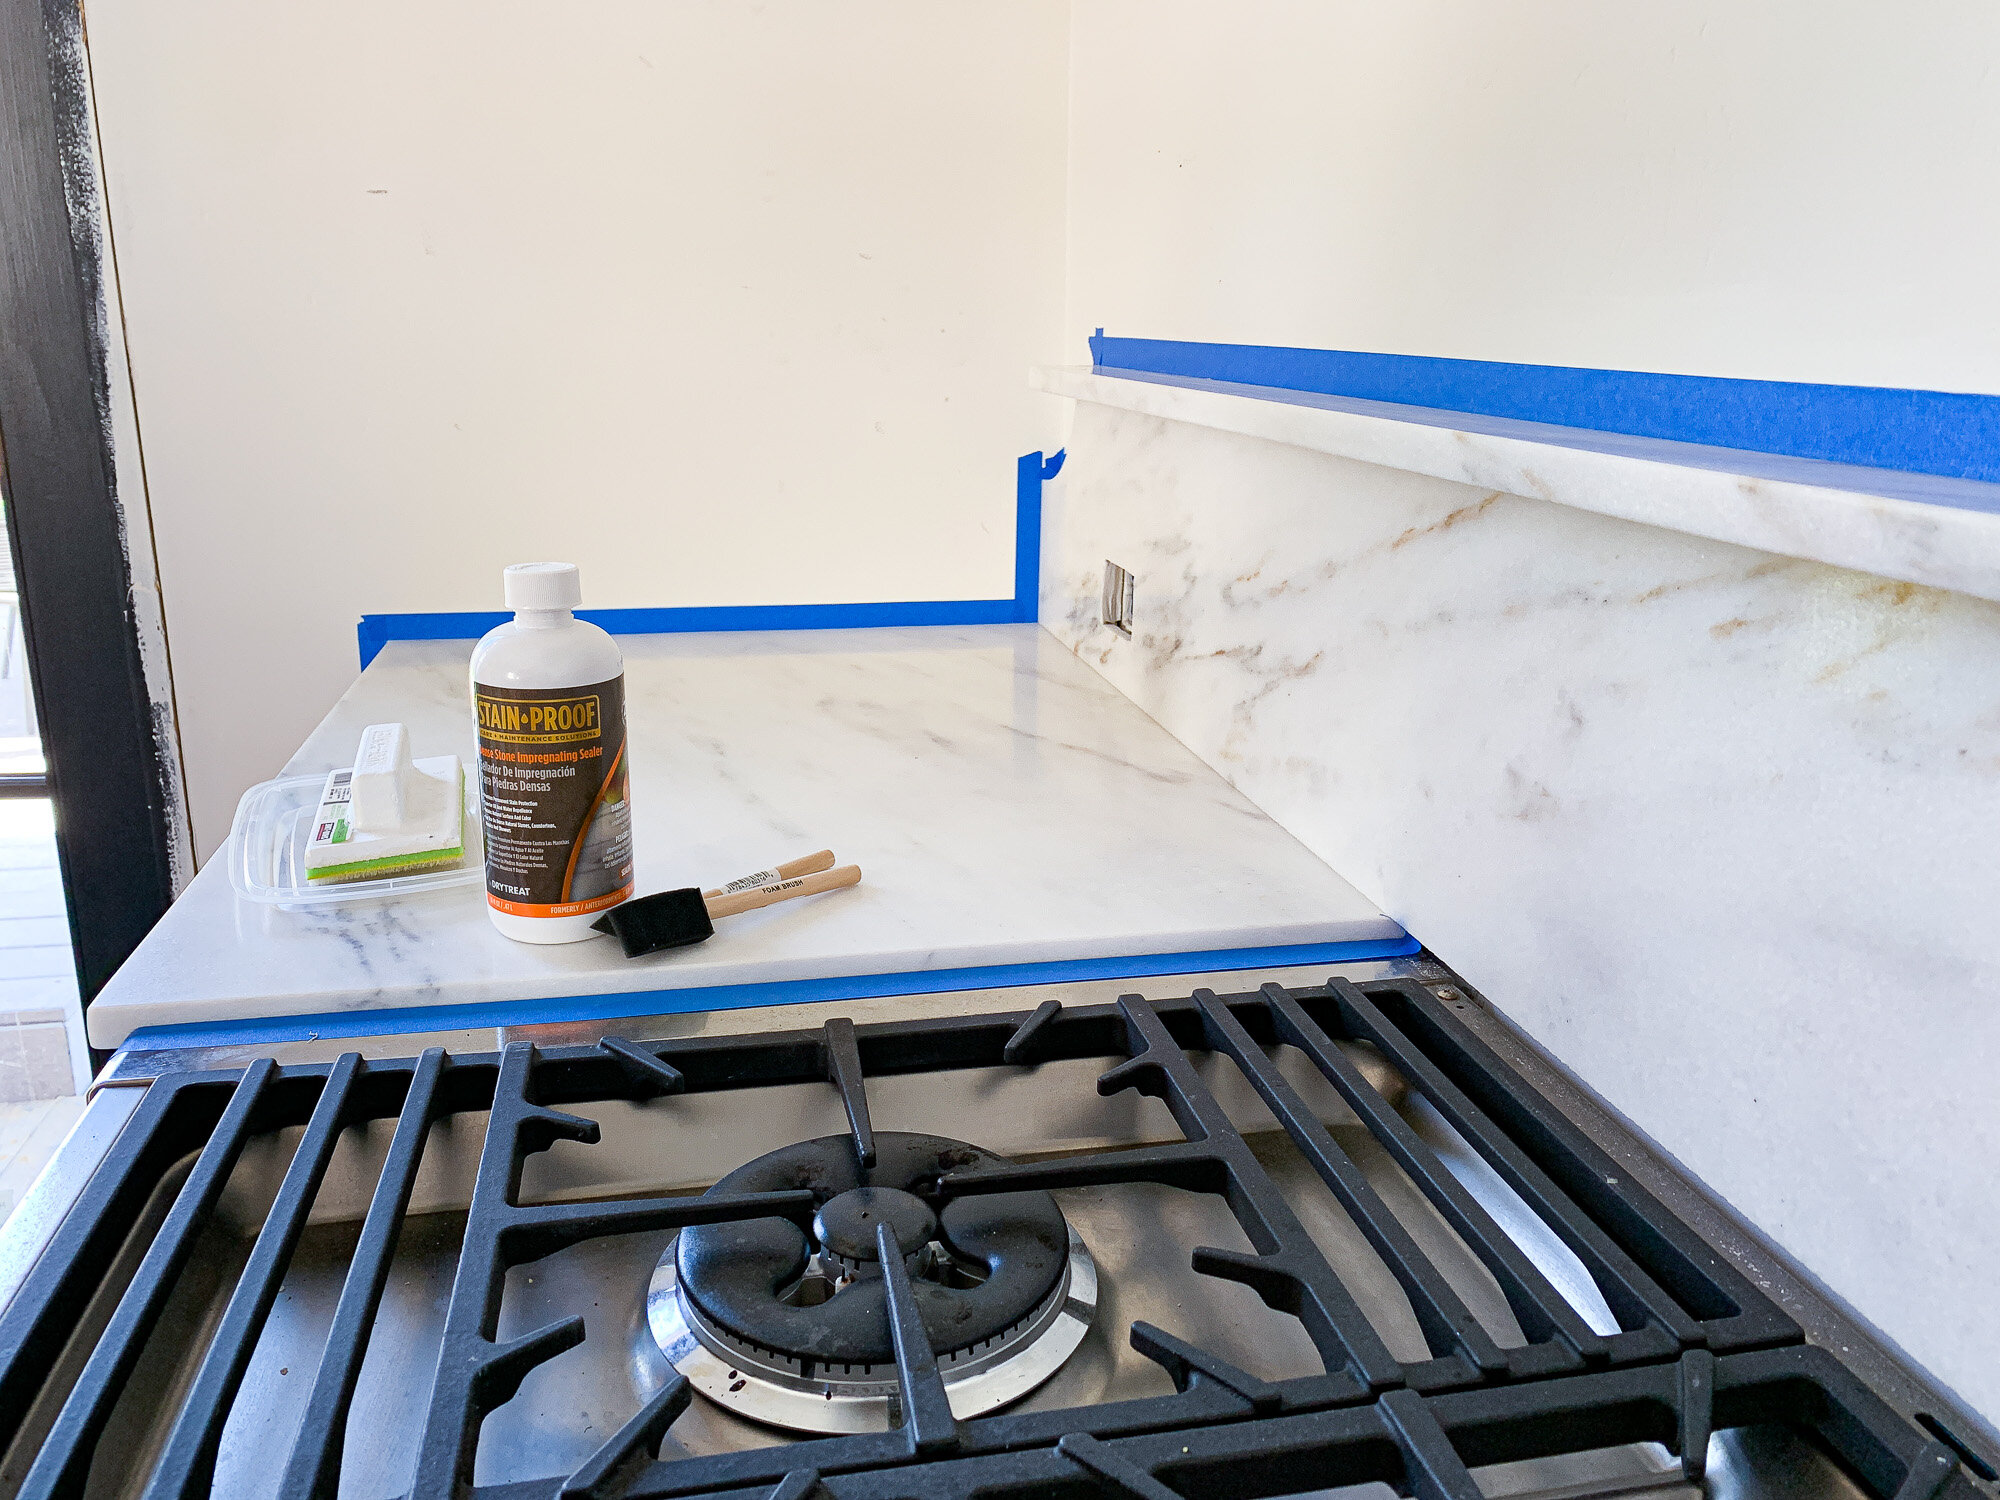
Step 2: Mask off stone
Using painter’s tape, I masked off the stone to keep from getting sealer on appliances, walls, cabinets, and the sink. I also used a blanket under my feet where I was working. It’s not goopy and I shouldn’t be using so much that it drips, but I didn’t want to have it leave marks on my freshly painted walls or appliances.

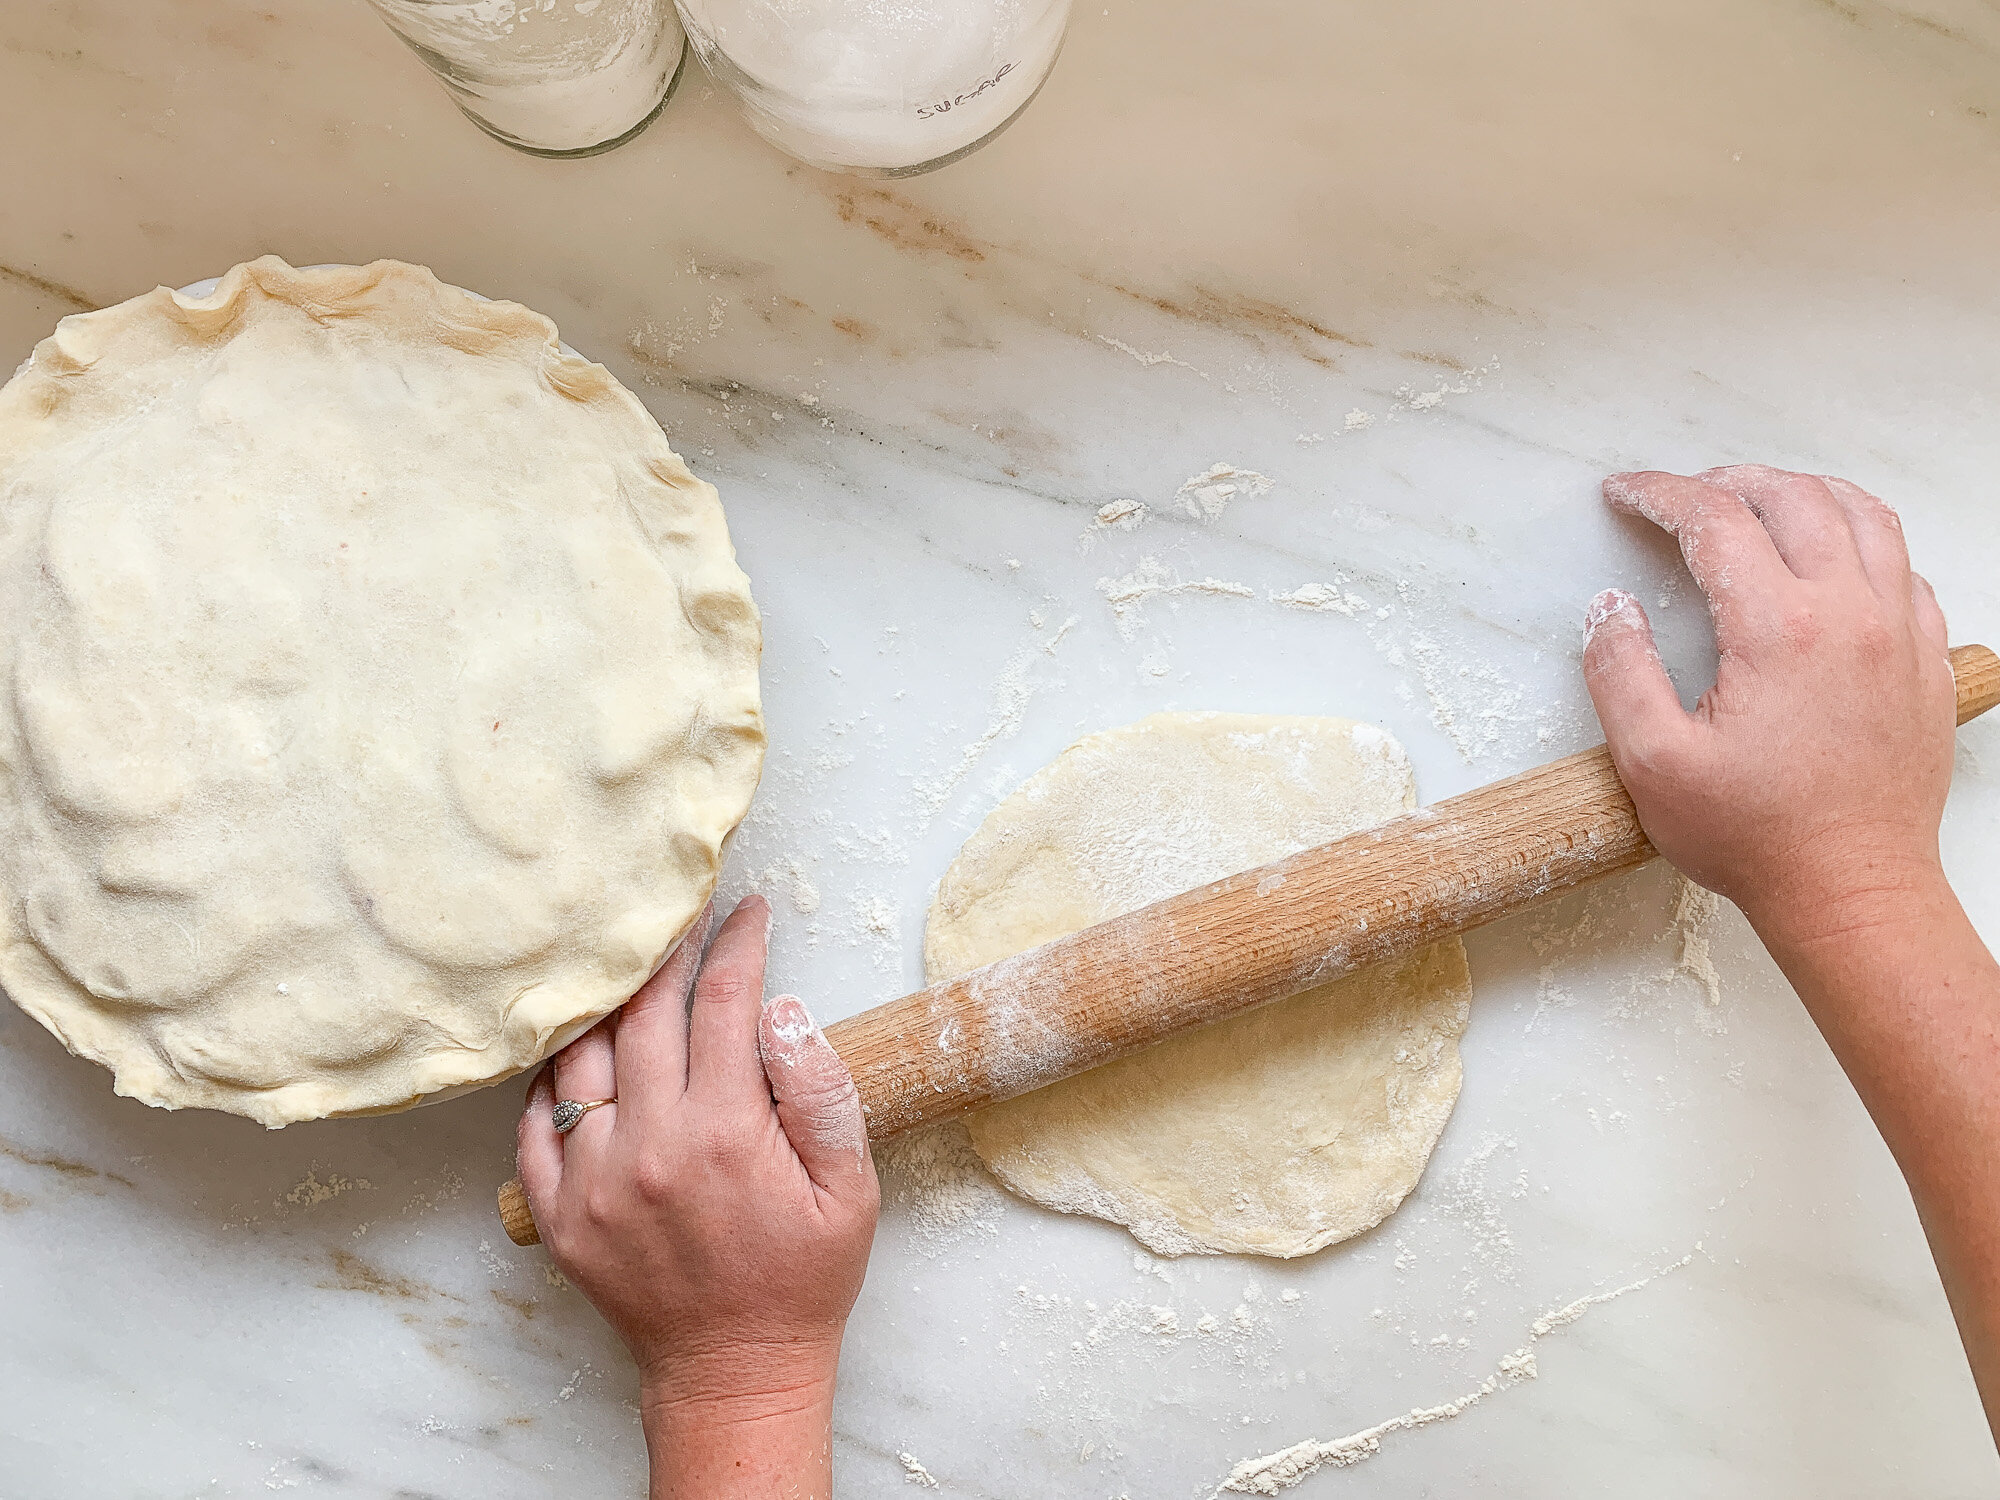
Step 3: Apply the first coat of sealer
Using the lid of a takeout container as my pan, I poured in a bit of sealer and prepared to seal a small section of stone to start. I began with the foam brush which allowed me to get into the corners and along edges of the stone first. Then, I followed up with the applicator pad dipped in my takeout container of sealer and went in long sweeping motions until the surface of the stone was saturated. We don’t want it sopping wet, nor barely coated. A stone rep I talked to referred to it as “a coating of morning dew.”
It was advised to start in a small section to get the hang of it and to ensure you can keep good timing with the application, dry time, wipe time, and reapplication process. However, I’ll say it isn’t hard at all and there’s no special trick to the application process. It isn’t like paint that sits on the surface and is sensitive to brush strokes, it’s more like a stain that’s really forgiving.
Be sure to cover all the surfaces including the edge by the range, underneath the cabinet overhang, and especially under the lip of the dishwasher and near the sink.
I let the first coat sit wet for 15-20 minutes. Then wiped anything that wasn’t absorbed with a terrycloth towel. Once dried off, I let it sit for 30 minutes.

Step 4: Apply the second coat of sealer
Ensuring I did the wet time, wipe, and dry time accurately, I moved on to the second coat and followed the same steps. First the brush, then the applicator pad. Let this sit wet for another 15-20 minutes. (See why I recommended having a good playlist or podcast in the list of items needed for this process?) Then I wiped the excess with a terrycloth towel.

Step 5: Buff
After the marble soaked up two applications of sealer, it’s time to buff and be sure any excess sealant is removed. It’s recommended to buff with a microfiber cloth, but I don’t have any of those and had lots of terrycloths, so I just did a terry towel. Instead of getting an arm workout, I automated the buffing process by putting a pad attachment on my cordless drill and setting it atop a cut piece of terrycloth. You could also use an orbital sander to spin the terrycloth on the marble. I periodically checked the towel to make sure it wasn’t wet and would replace it as it absorbed any remaining moisture.
After everything is buffed and all of the nooks and crannies are sufficiently wiped I did the satisfying part of removing the blue tape. After cleaning up, I let the sealer cure for 24 hours before touching the marble. I was advised that the stone may be grey for the first 48 hours as it fully cures and the pores dry up, but I didn’t notice any color change.
Step 6: Enjoy
Now that the sealer is cured, we can put the counters to use! I treat it like I would any other counter - using cutting boards, wiping up spills, and not smashing hard things on it. I do take extra care to avoid getting acidic things on the stone. But other than that, I’m free to enjoy the marble for what it does best - keeping my pie crust chilly.
How’s it holding up after 5 years
Amazing! Stain Proof Dense Stone Impregnating Sealer is a permanent application that doesn’t need re-sealing. It’s been five years and I haven’t thought once about needing to re-seal it.
Staining
Our diets are primarily made up of coffee and tomato sauce, so we’ve had many opportunities to potentially stain the counters. But nope, no stains! The only mild discoloration is in the seams by the sink from the water. But I’ve scrubbed it with baking soda and it looks as good as new.
If your marble has stains that you’re looking to get rid of, here’s a simple trick using an ingredient you already have at home.
Etching
I’ll admit that despite my best attempts, there are indeed etches in the countertop. We aren’t perfect, and it’s hard to avoid them when actively using the kitchen. The worst offenders are acids like lemon juice, but it can happen from things I don’t even think of being acidic - like granny smith apples.
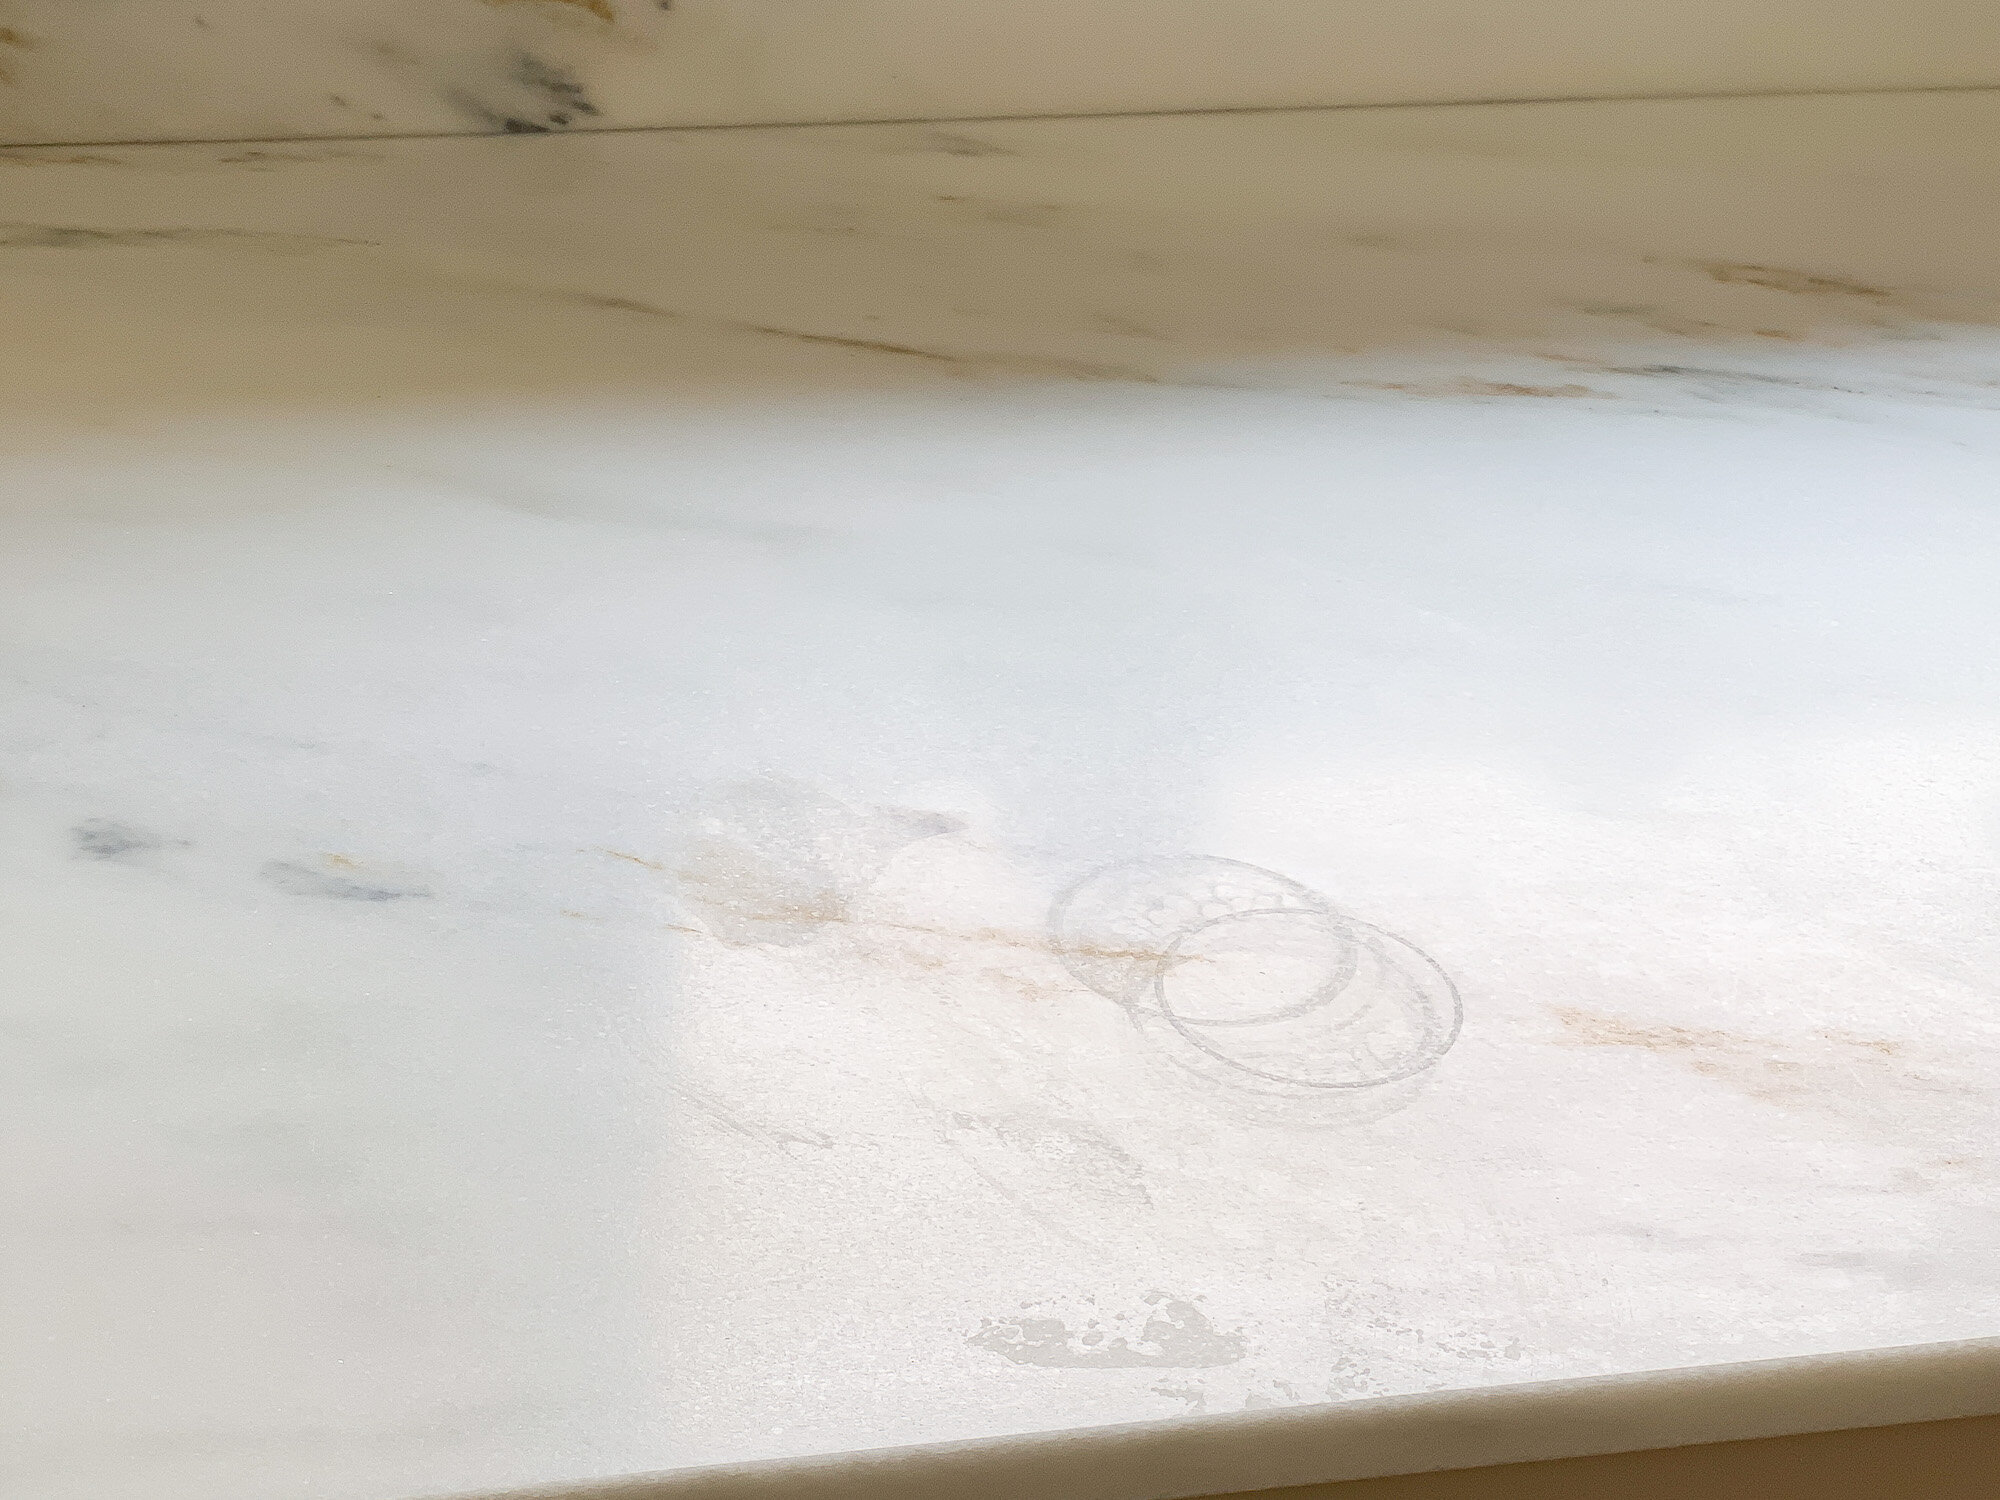
Above is a photo of what the etching can look like when you’re at just the right angle to spot the marks. Notice how you can’t see any in the shaded area? Etches can hide which is partly what makes them not much of an eyesore. The etches aren’t discolorations, it’s really just that the sheen looks duller in those areas. My countertops are honed so the etches don’t stand out as much as if the countertop was polished.
I like the patina, but I did feel really sad when I noticed my first etching, so I removed it with this magical etch-remover stuff. It’s really incredible how well it works. Some of the etches we live with, and some of them I remove.
If you prefer more visuals, check out the video below of the sealing process.
If you’re interested in learning more about using natural stone in a kitchen, check out my previous blog post about shopping for marble and installing marble countertops. There are also a ton of resources at Use Natural Stone! To check out your local Arizona Tile slab yard, click here for locations. To shop the sink/faucet/etc. seen in this post, click here to shop the kitchen.