2018 Project Preview
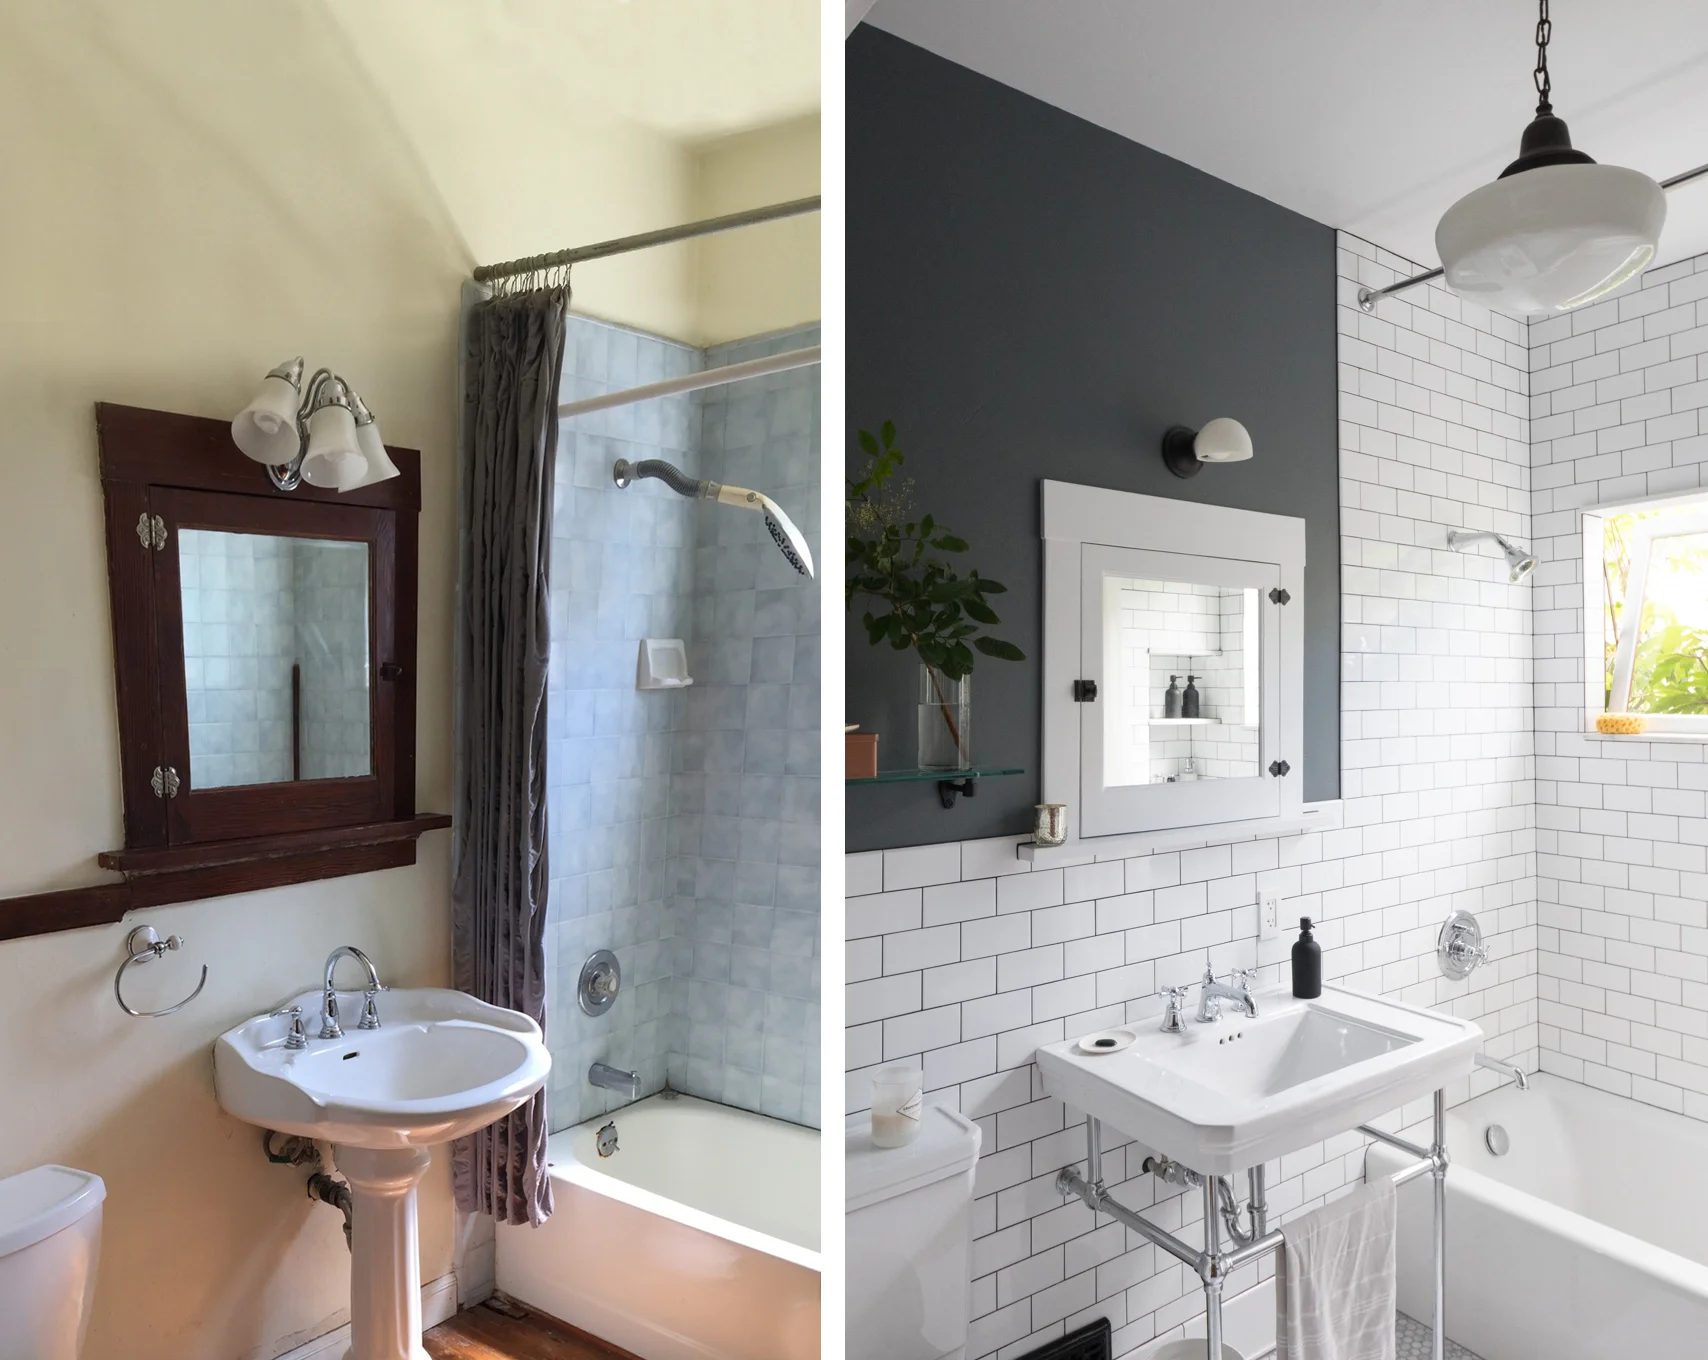
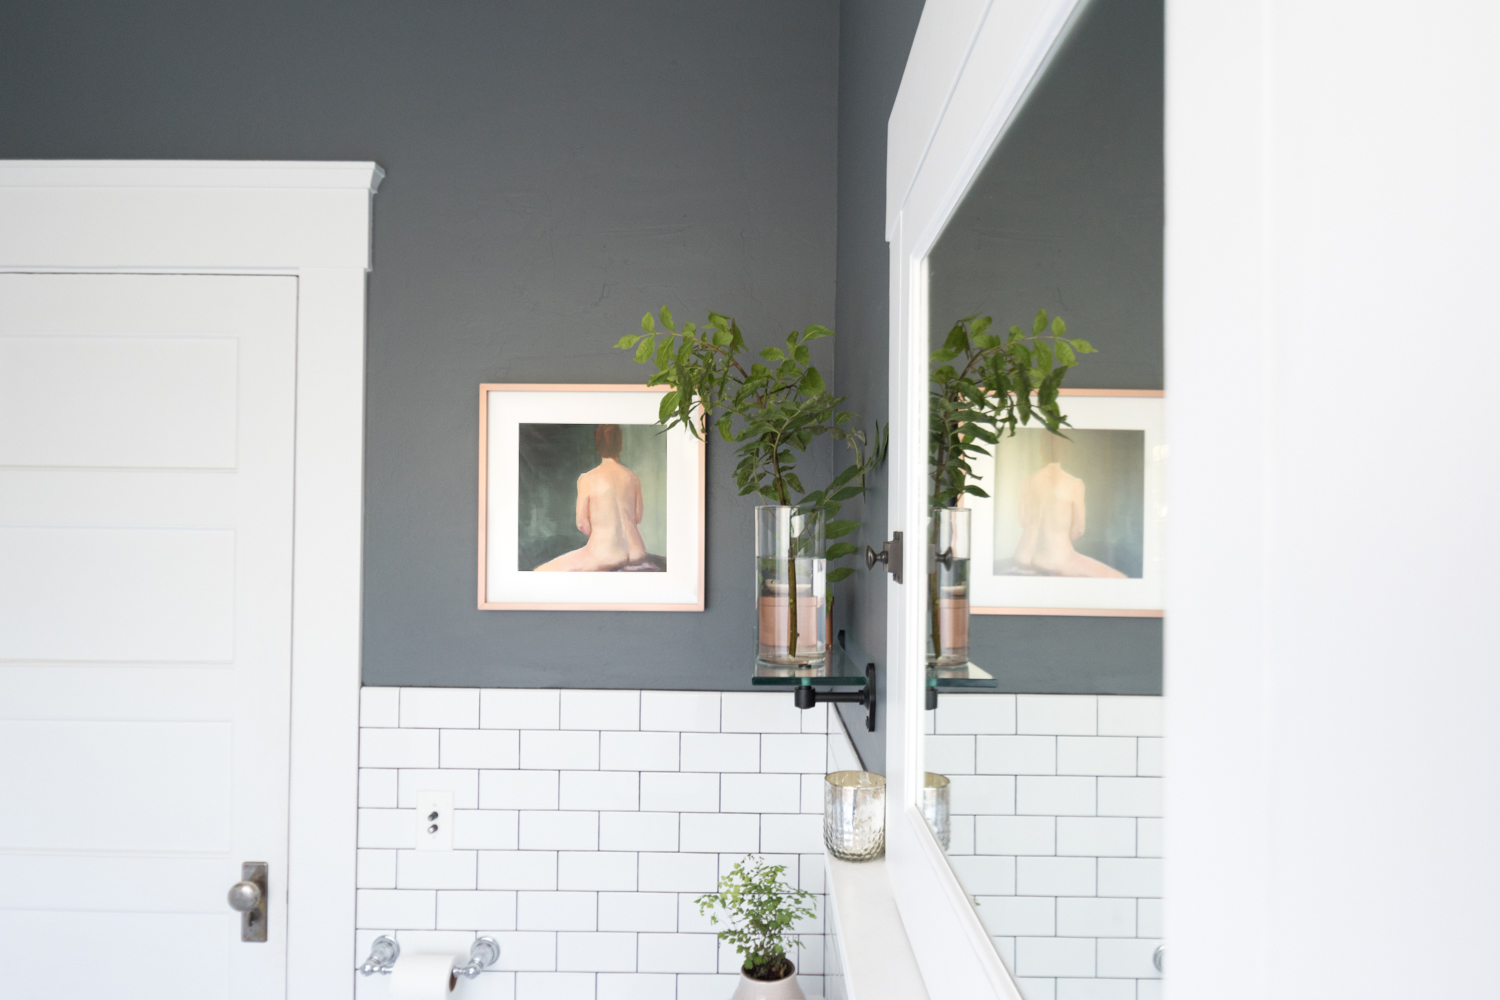
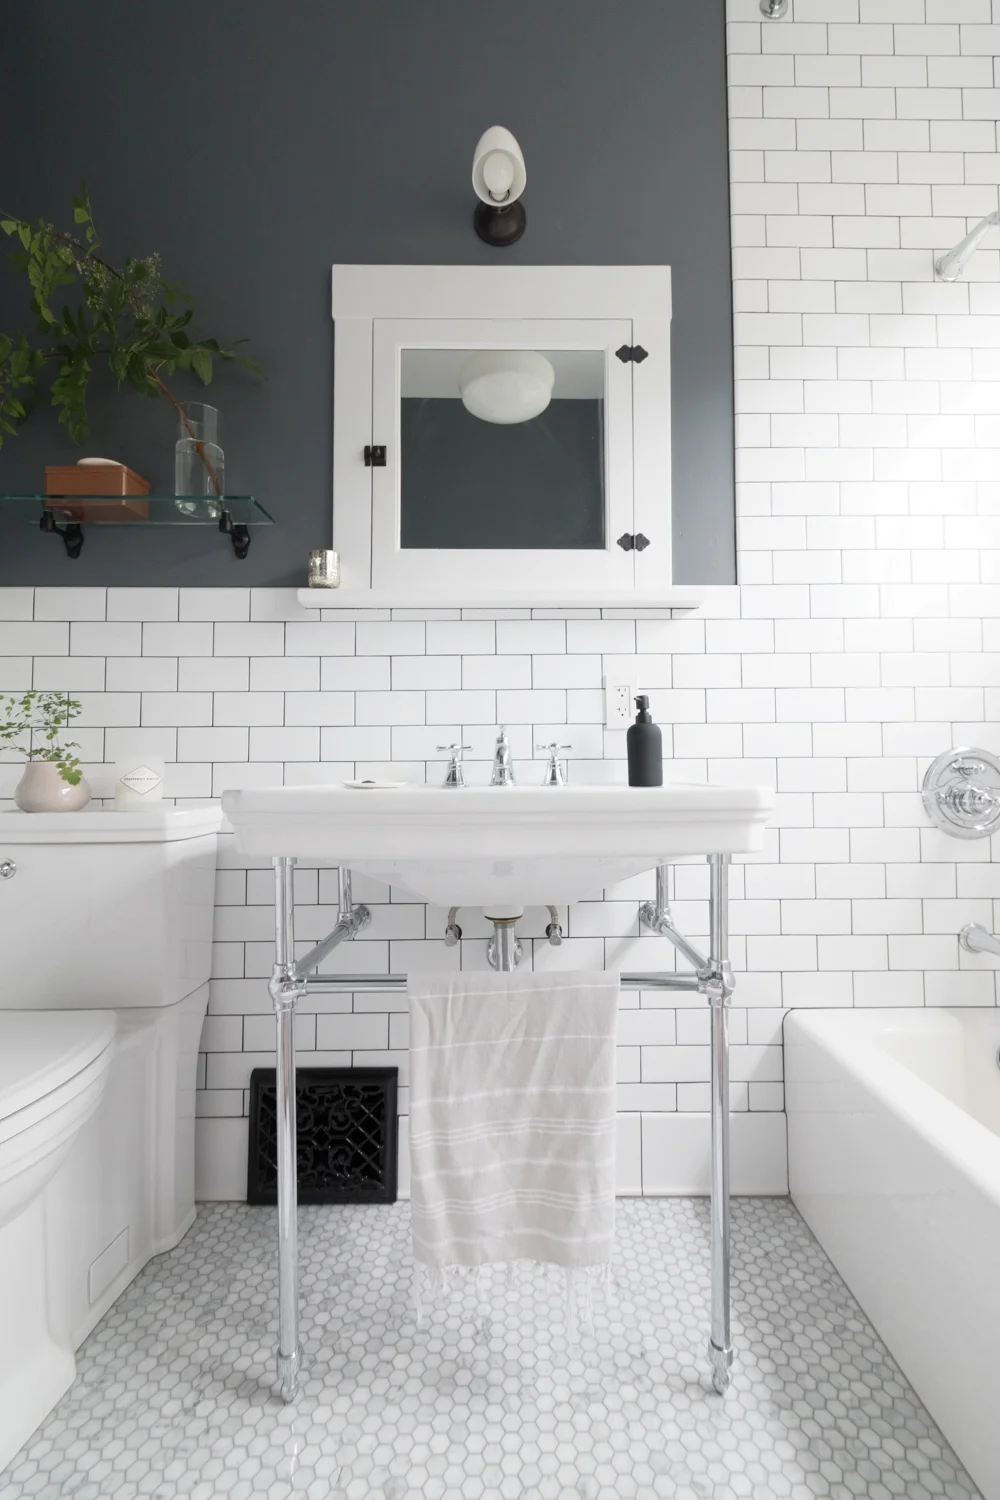
2017 was a record year for launching the blog, doing two One Room Challenges, and sharing the renovation progress of the bathroom and kitchen. But, 2018 is going to be the year of major remodels! Here's to hoping we can tackle each of the projects outlined below.

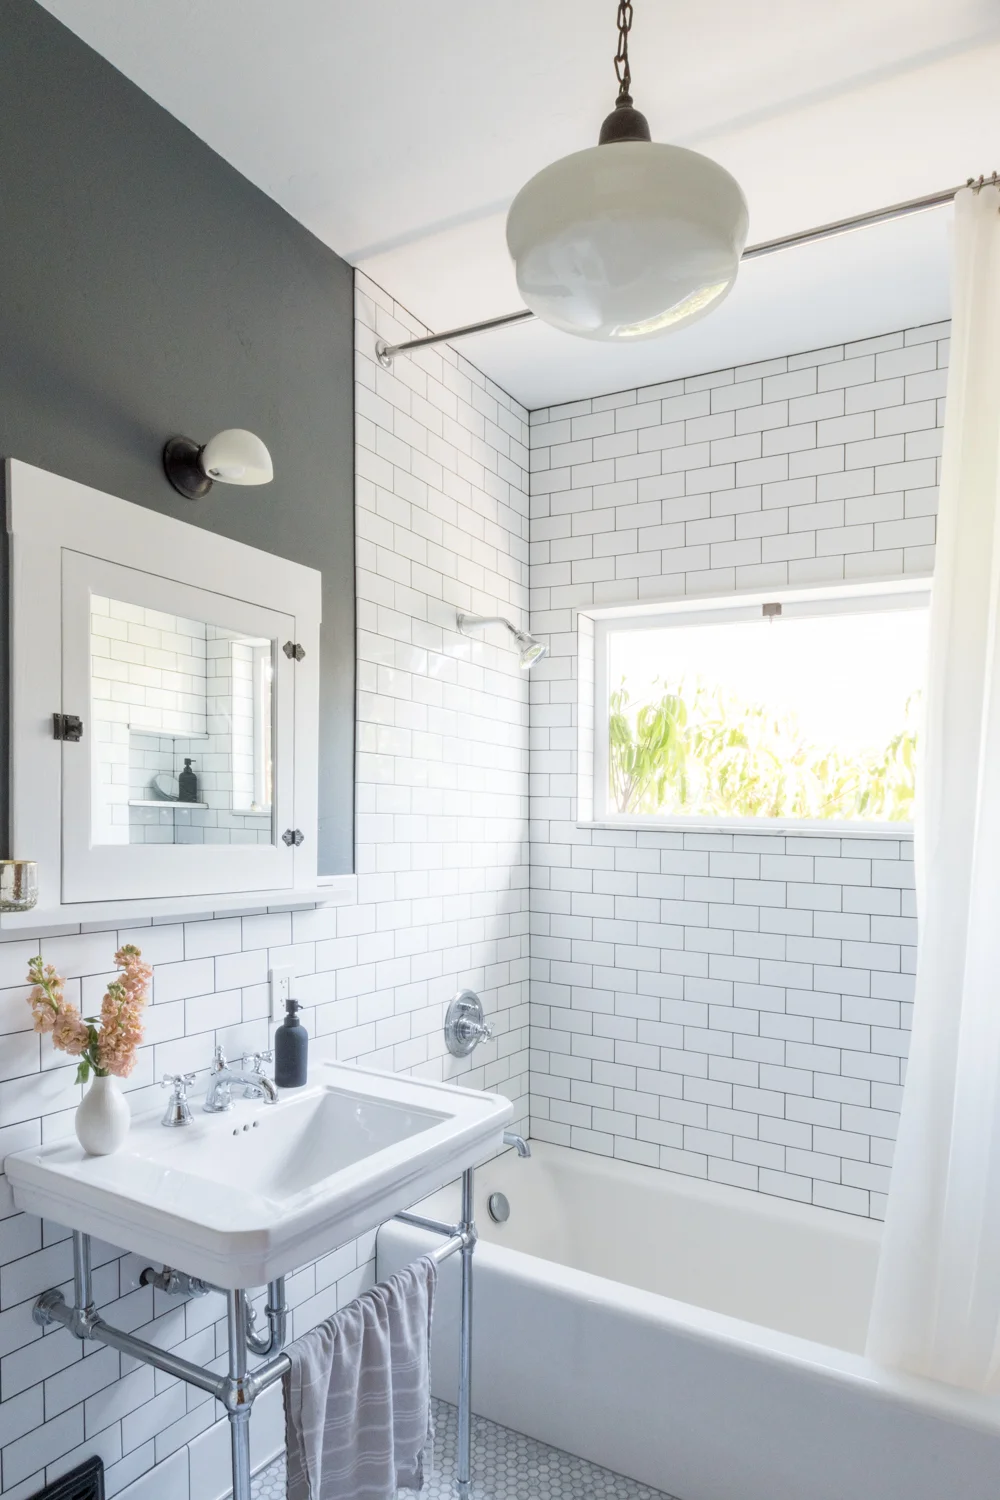
If you missed my 2017 recap, be sure to look through it to see how far we've come already.
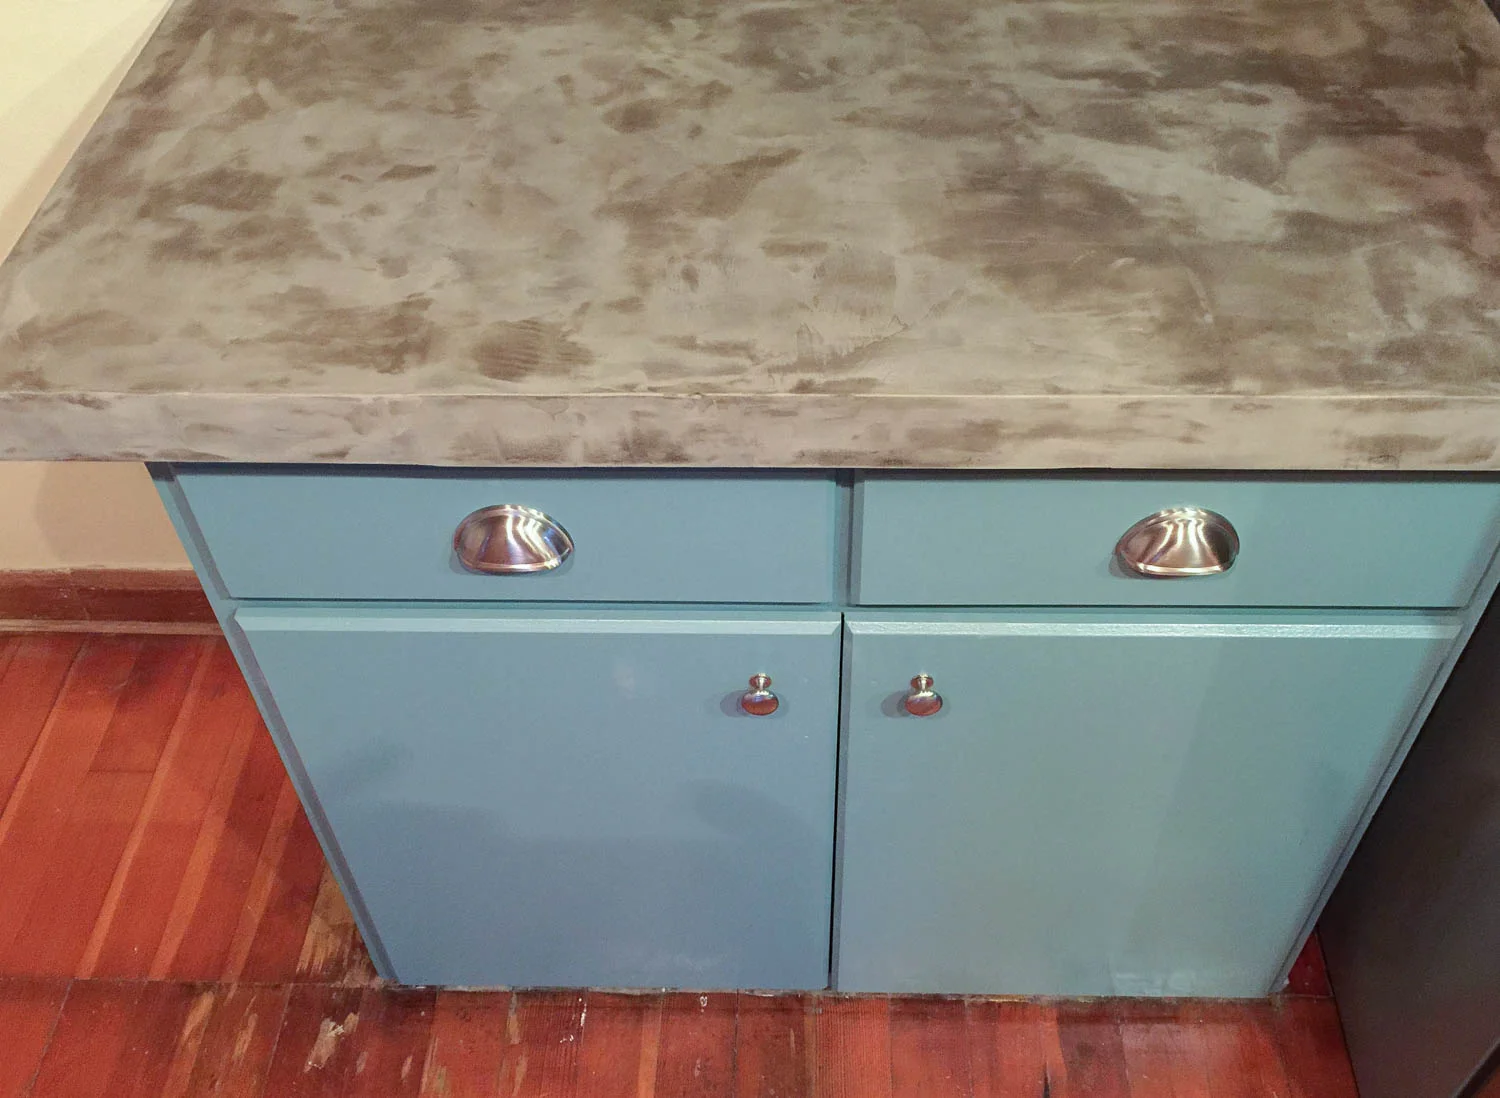
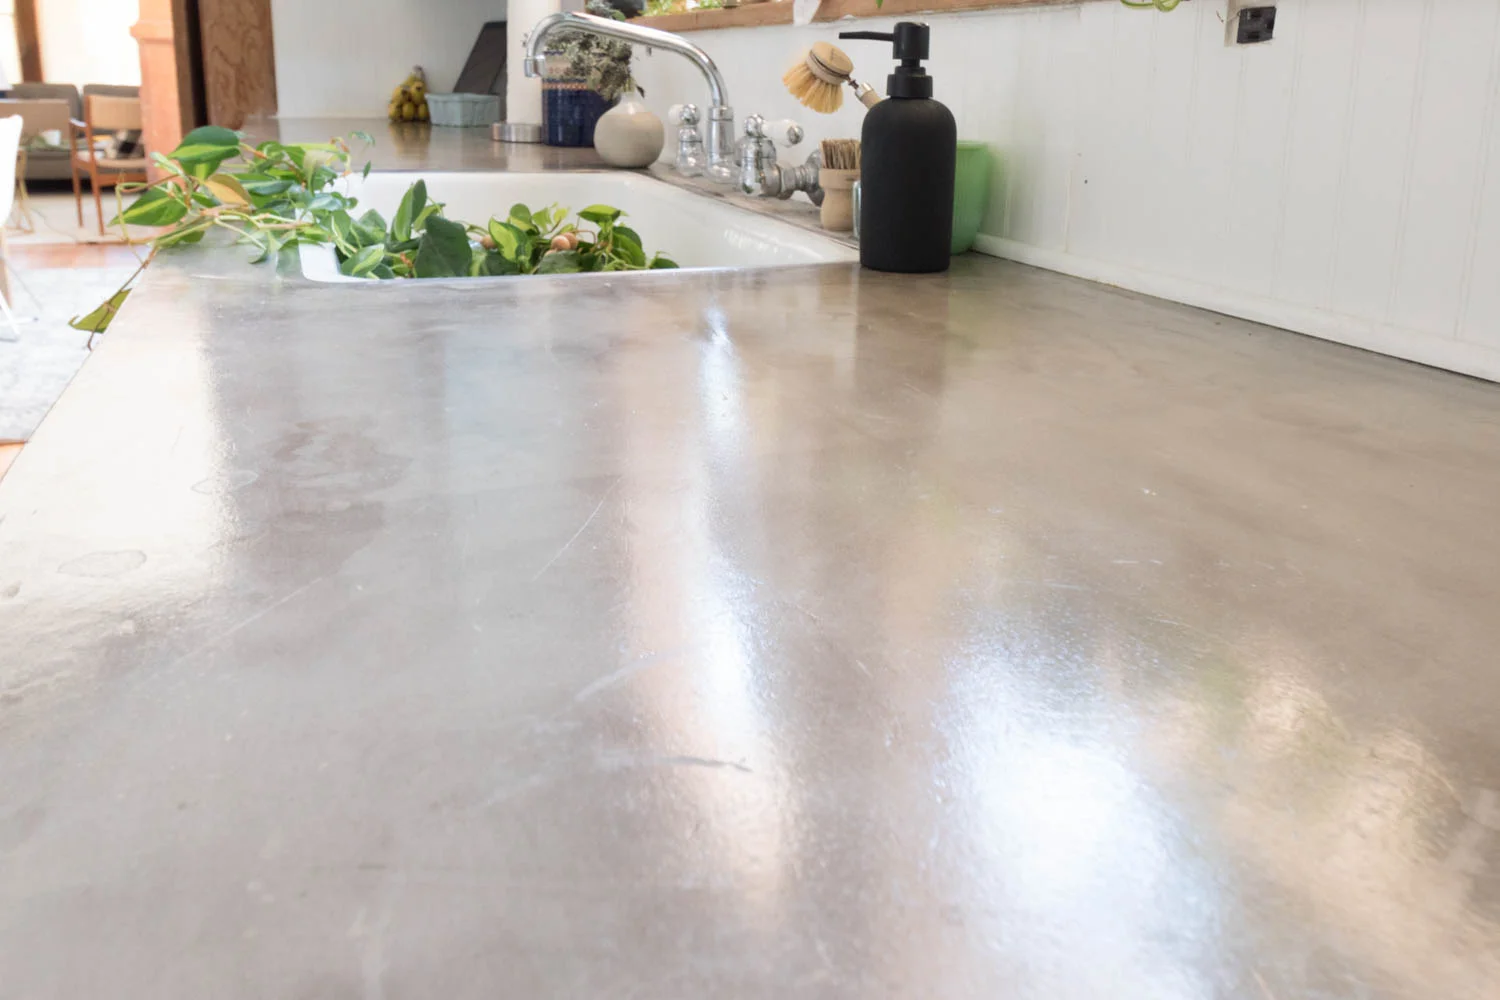
The Gold Hive Annual Preview

1. The Kitchen

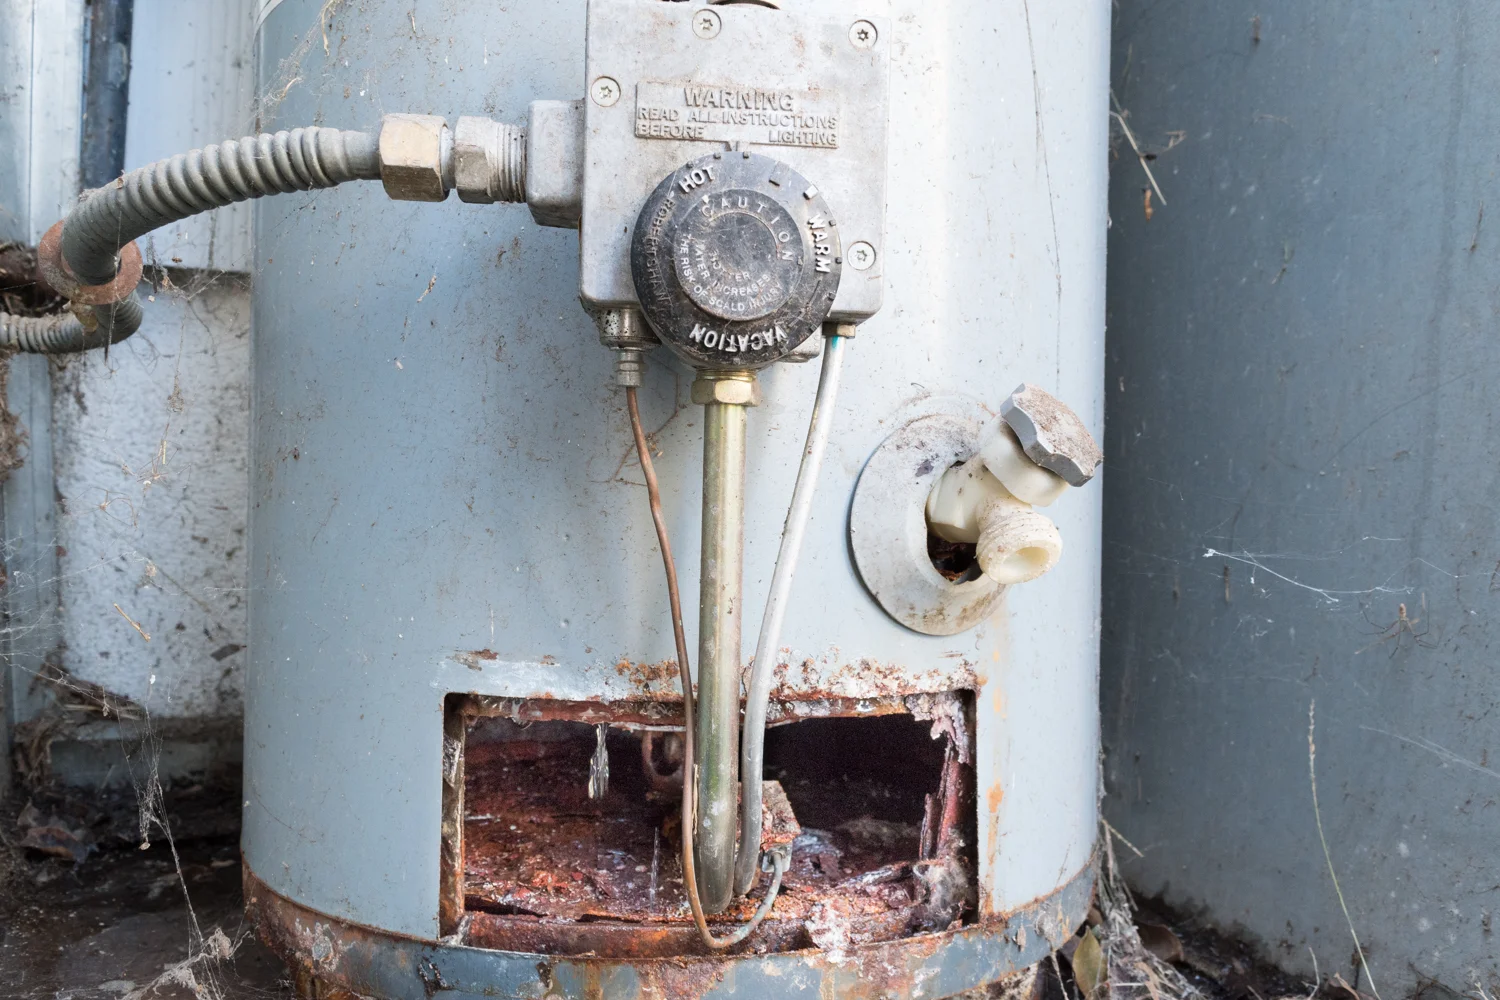
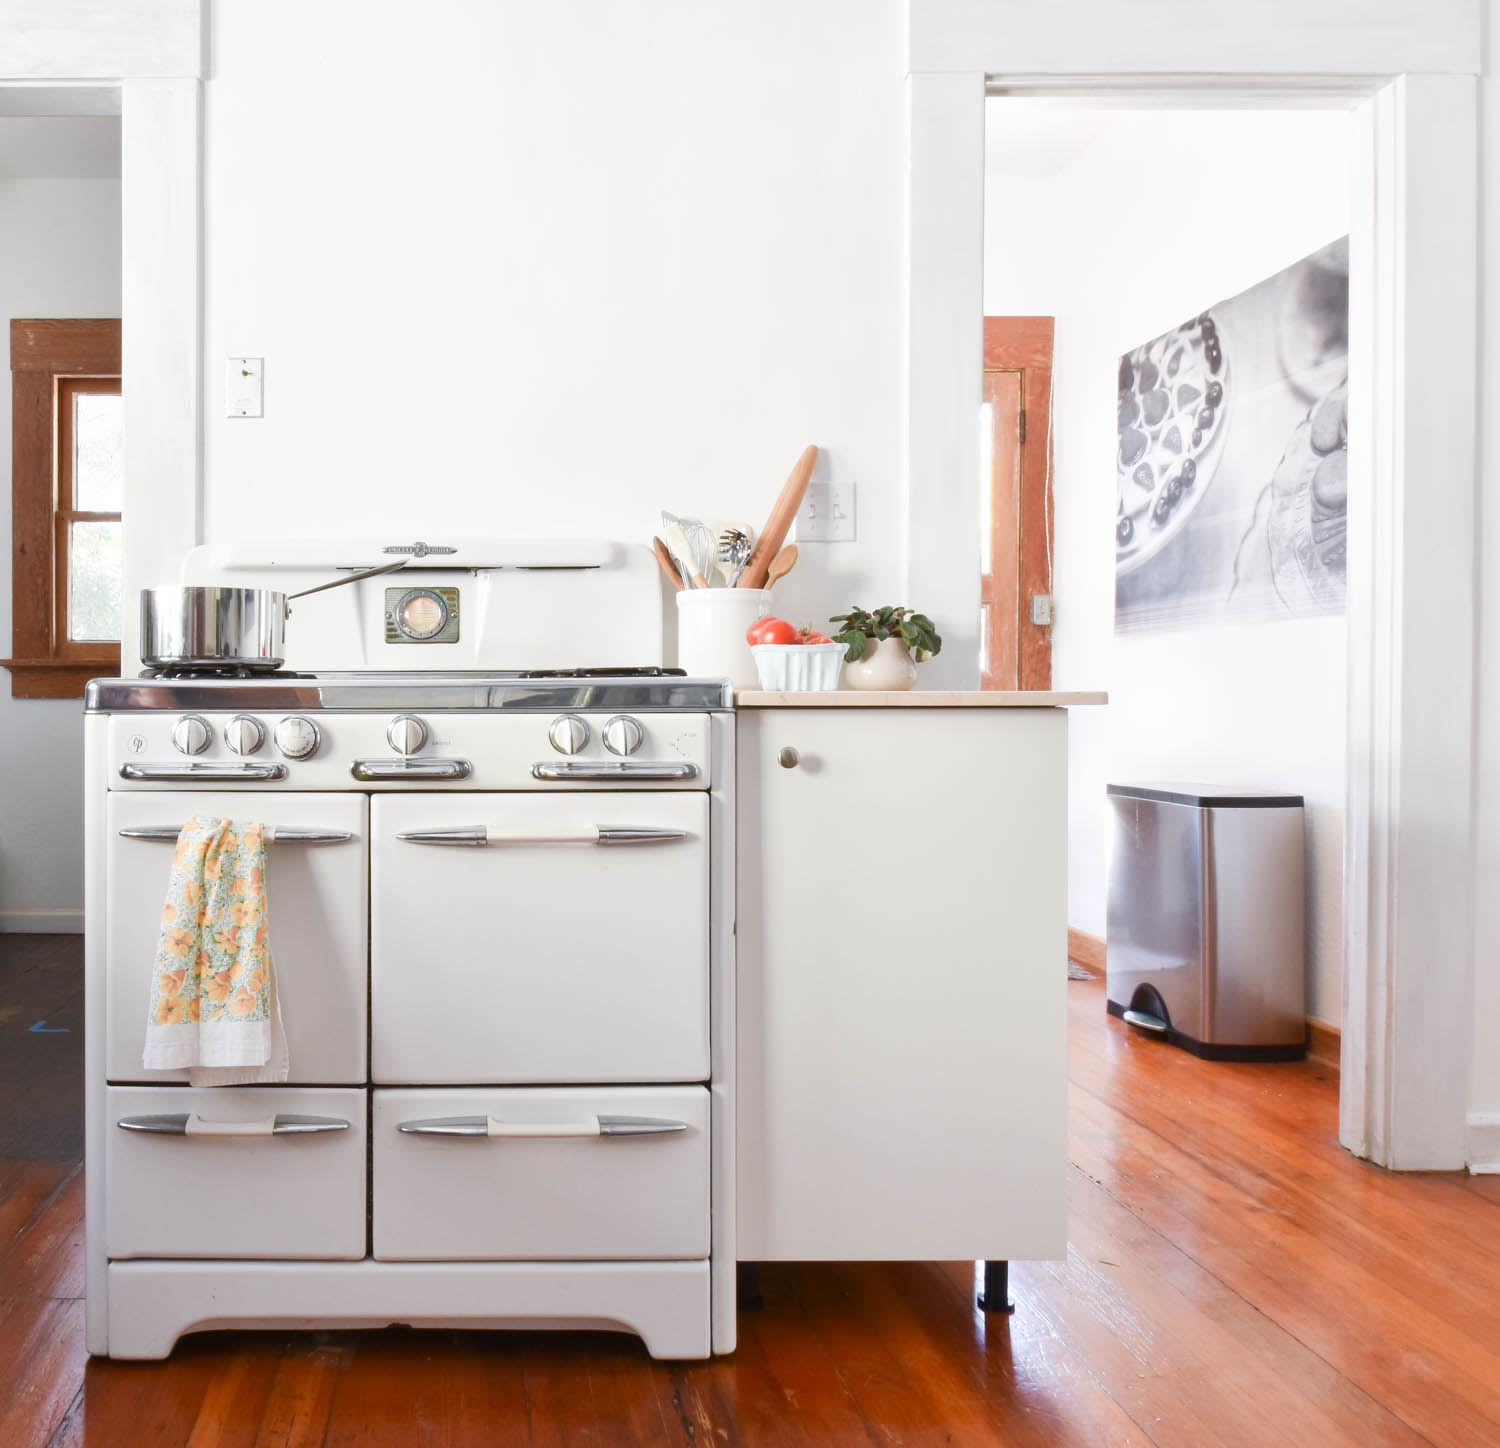
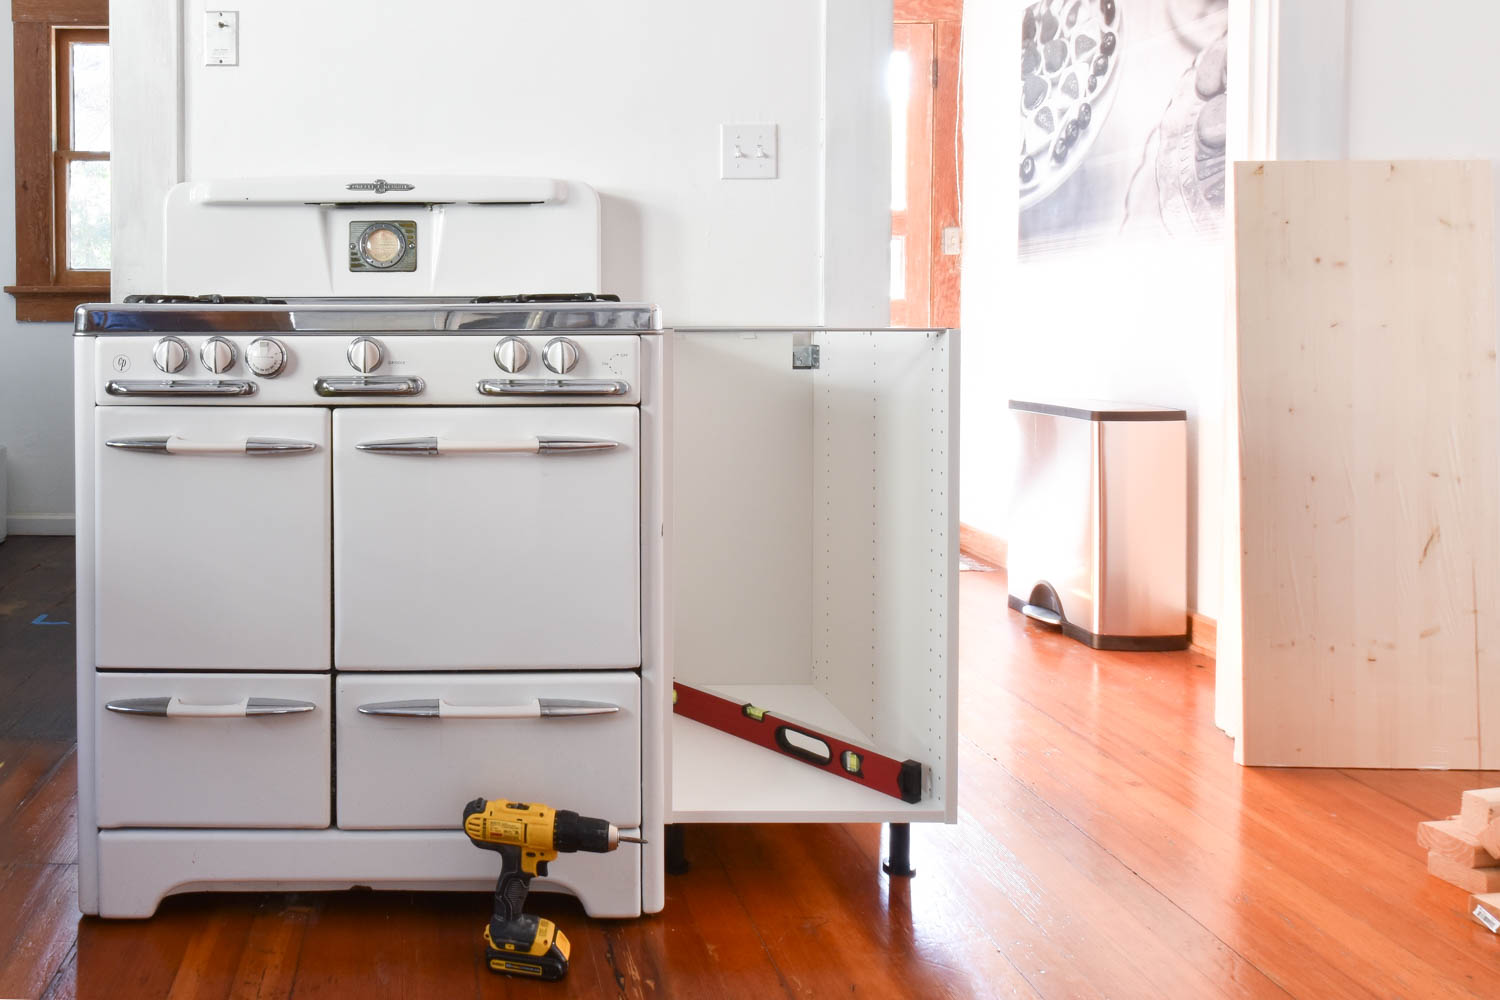
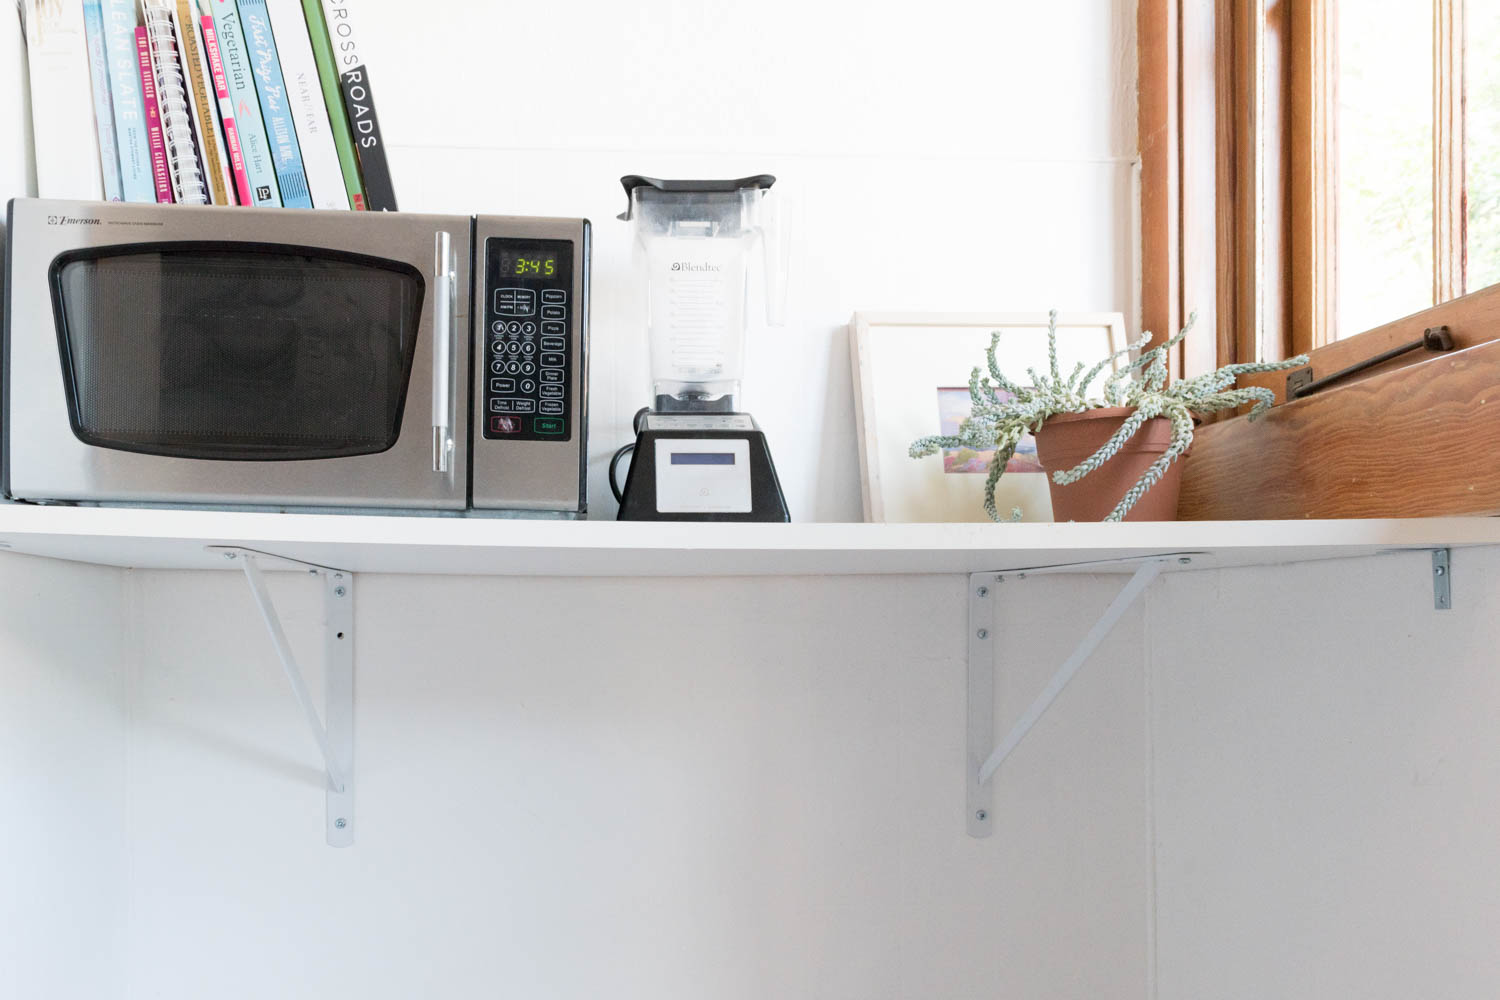
This will definitely be the biggest project of the year because it’s an entire gut job for a pretty big footprint - plus, it's a kitchen. I’m still in the planning stages but I’m getting oh-so-anxious about a more efficient layout and cabinets that aren’t falling apart. Our current kitchen takes up a roughly 18’x17’ space (including the two mudrooms) which we'll demo, then reconfigure to fit a bathroom and closet for the nearby master bedroom. Which brings me to item number two.
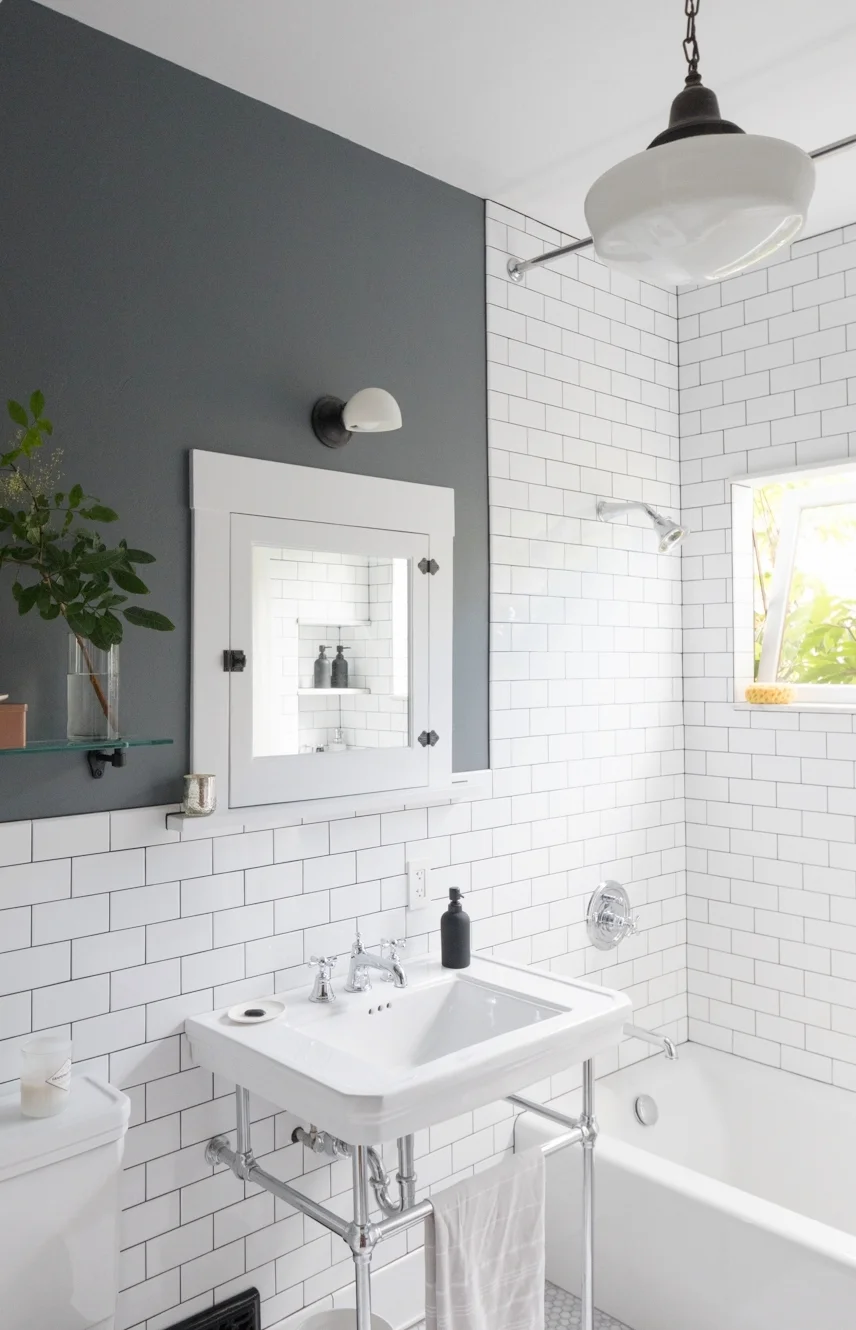
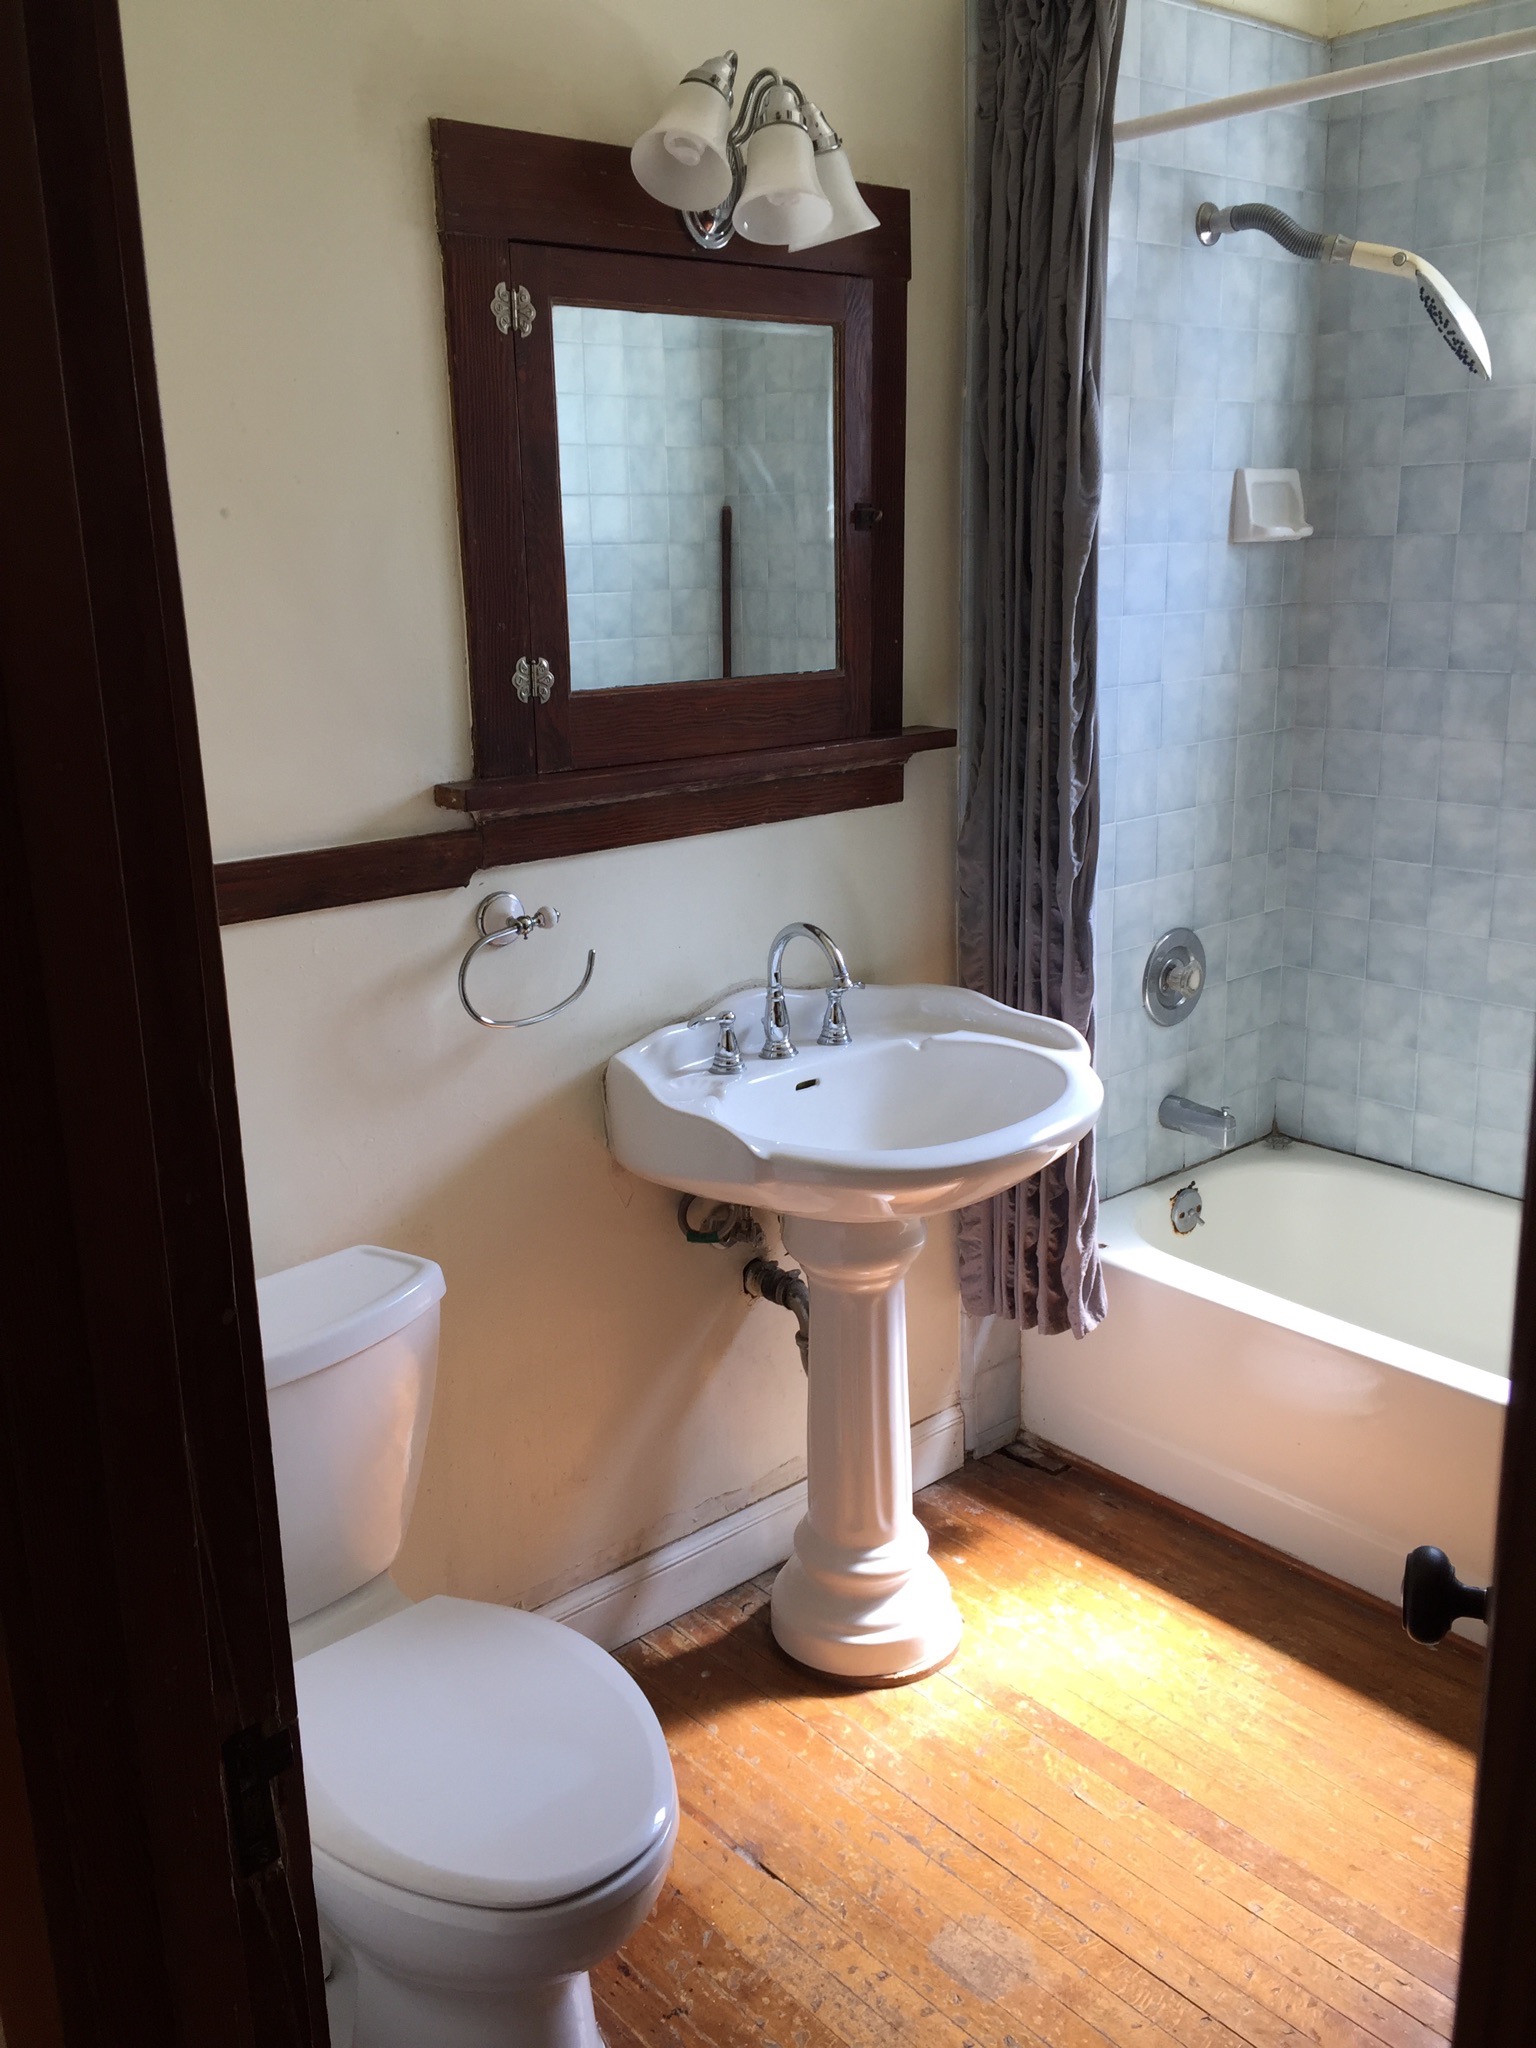
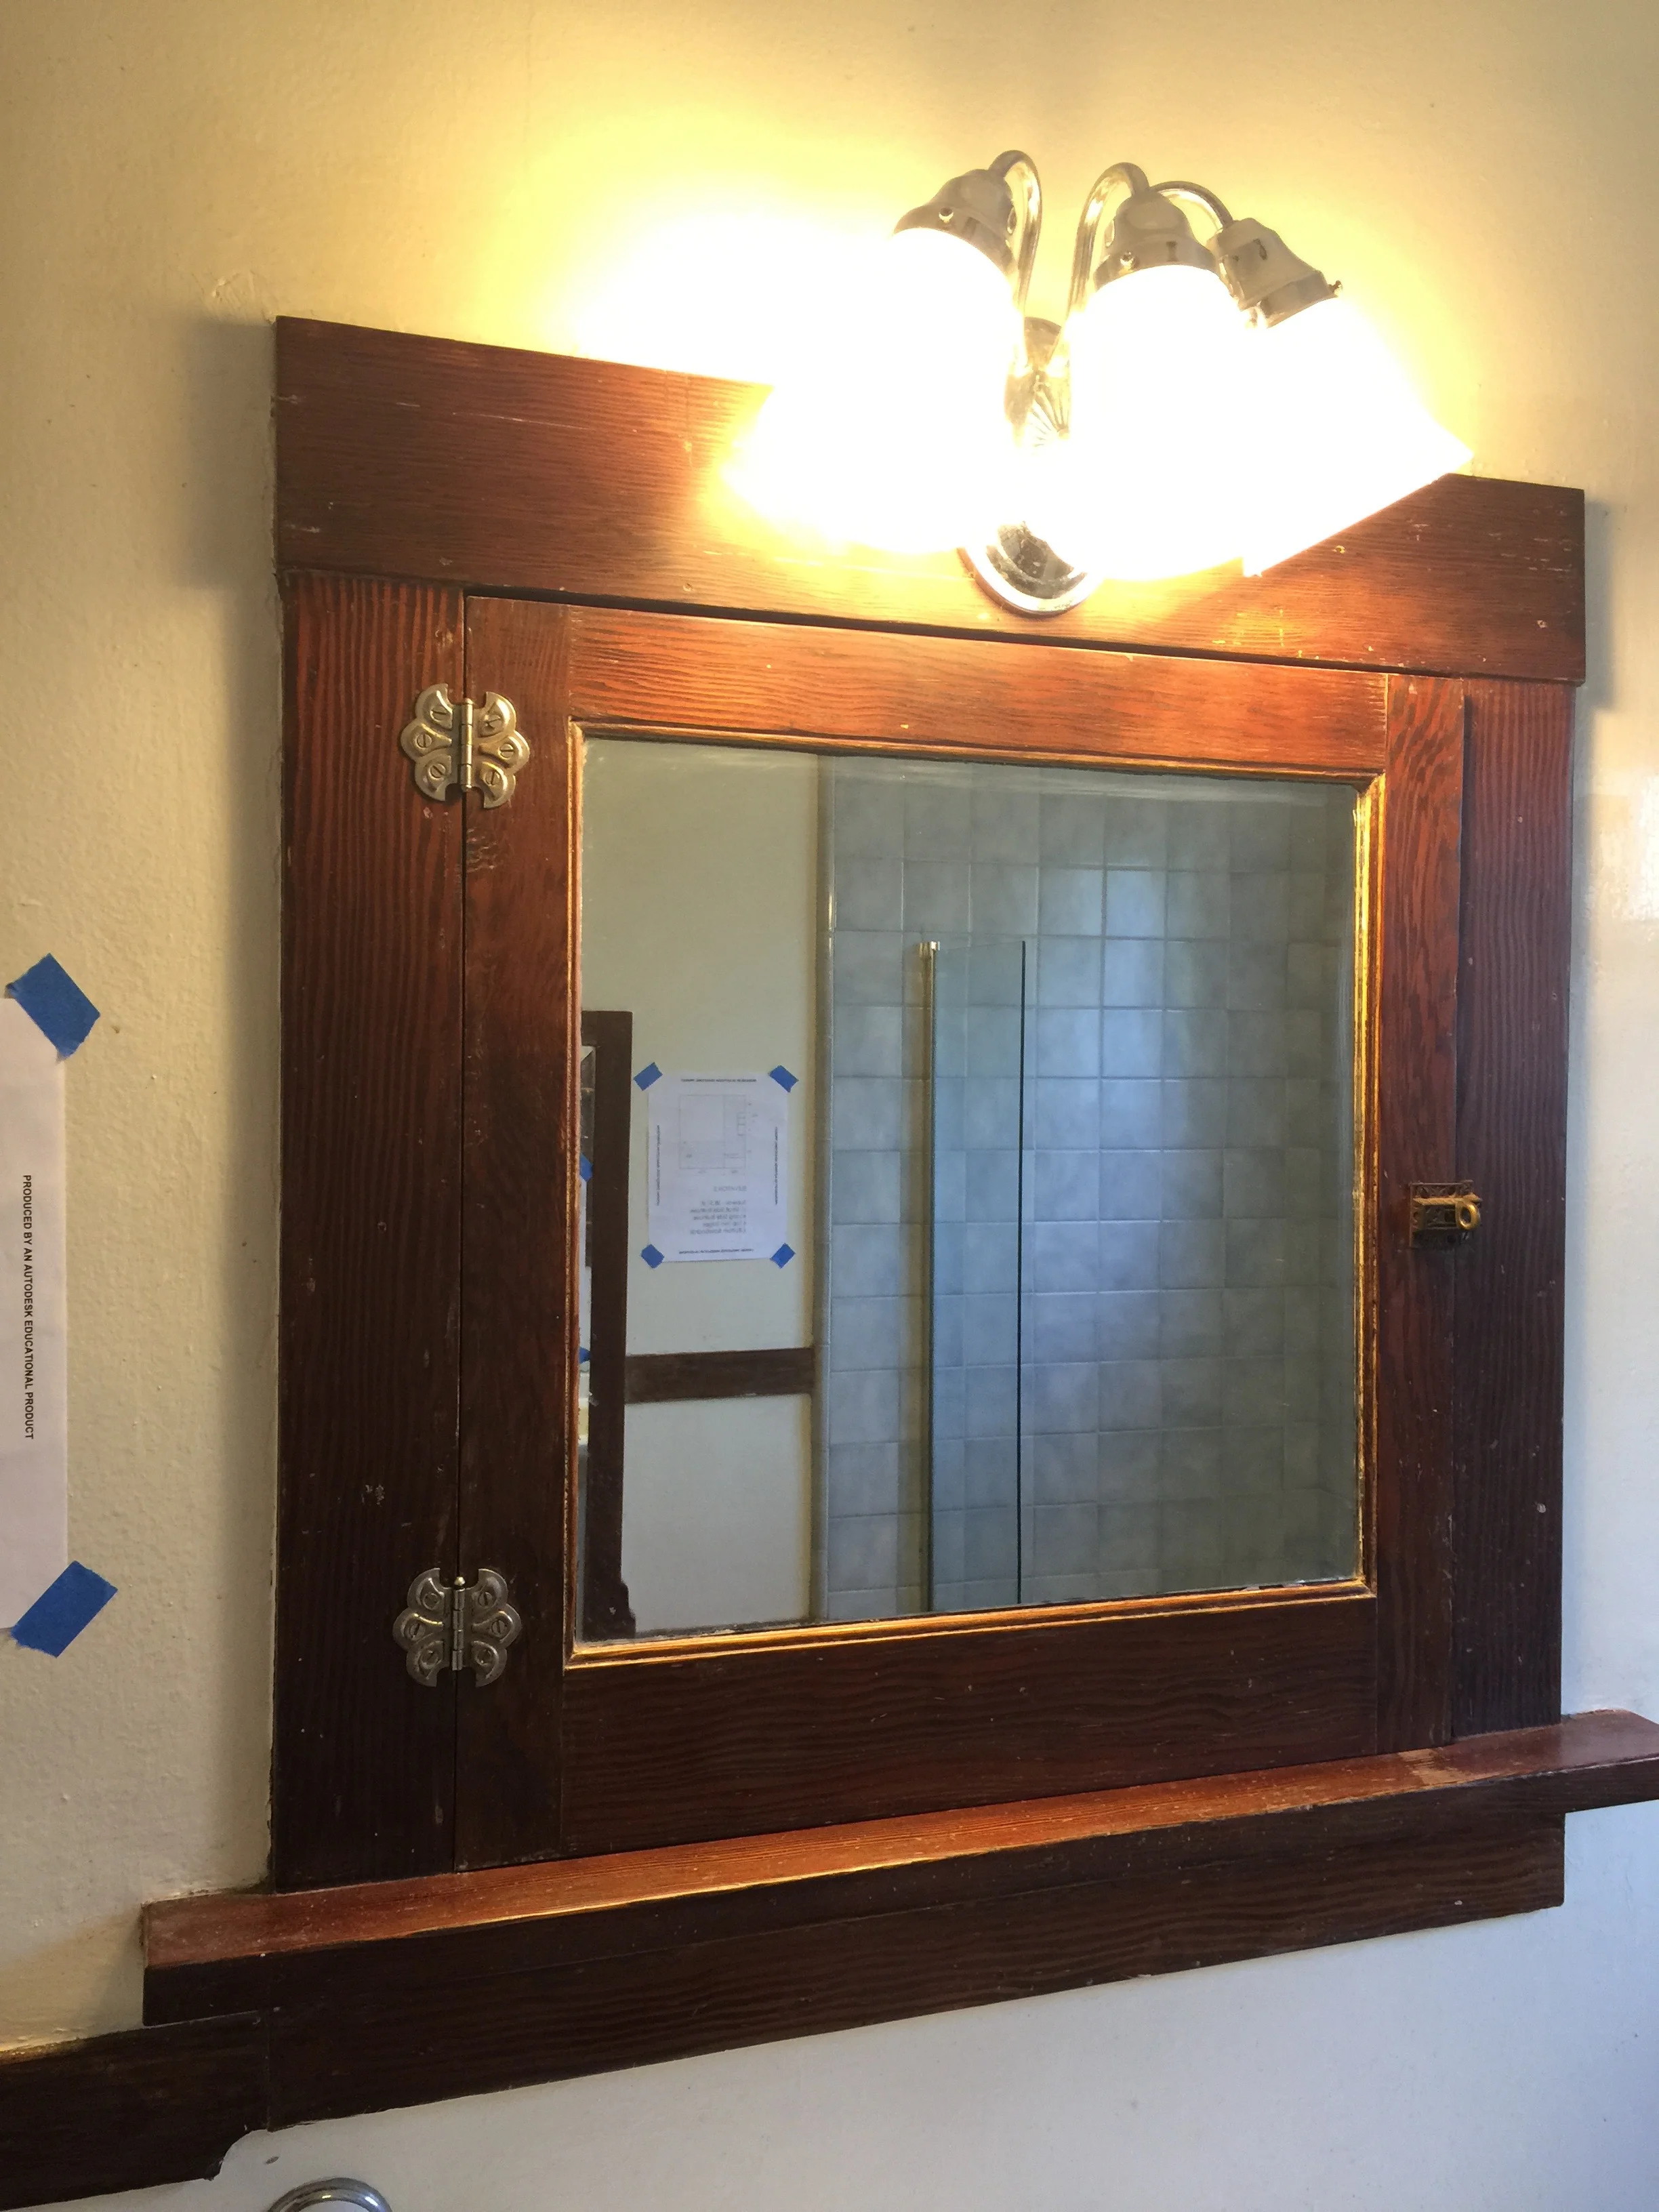
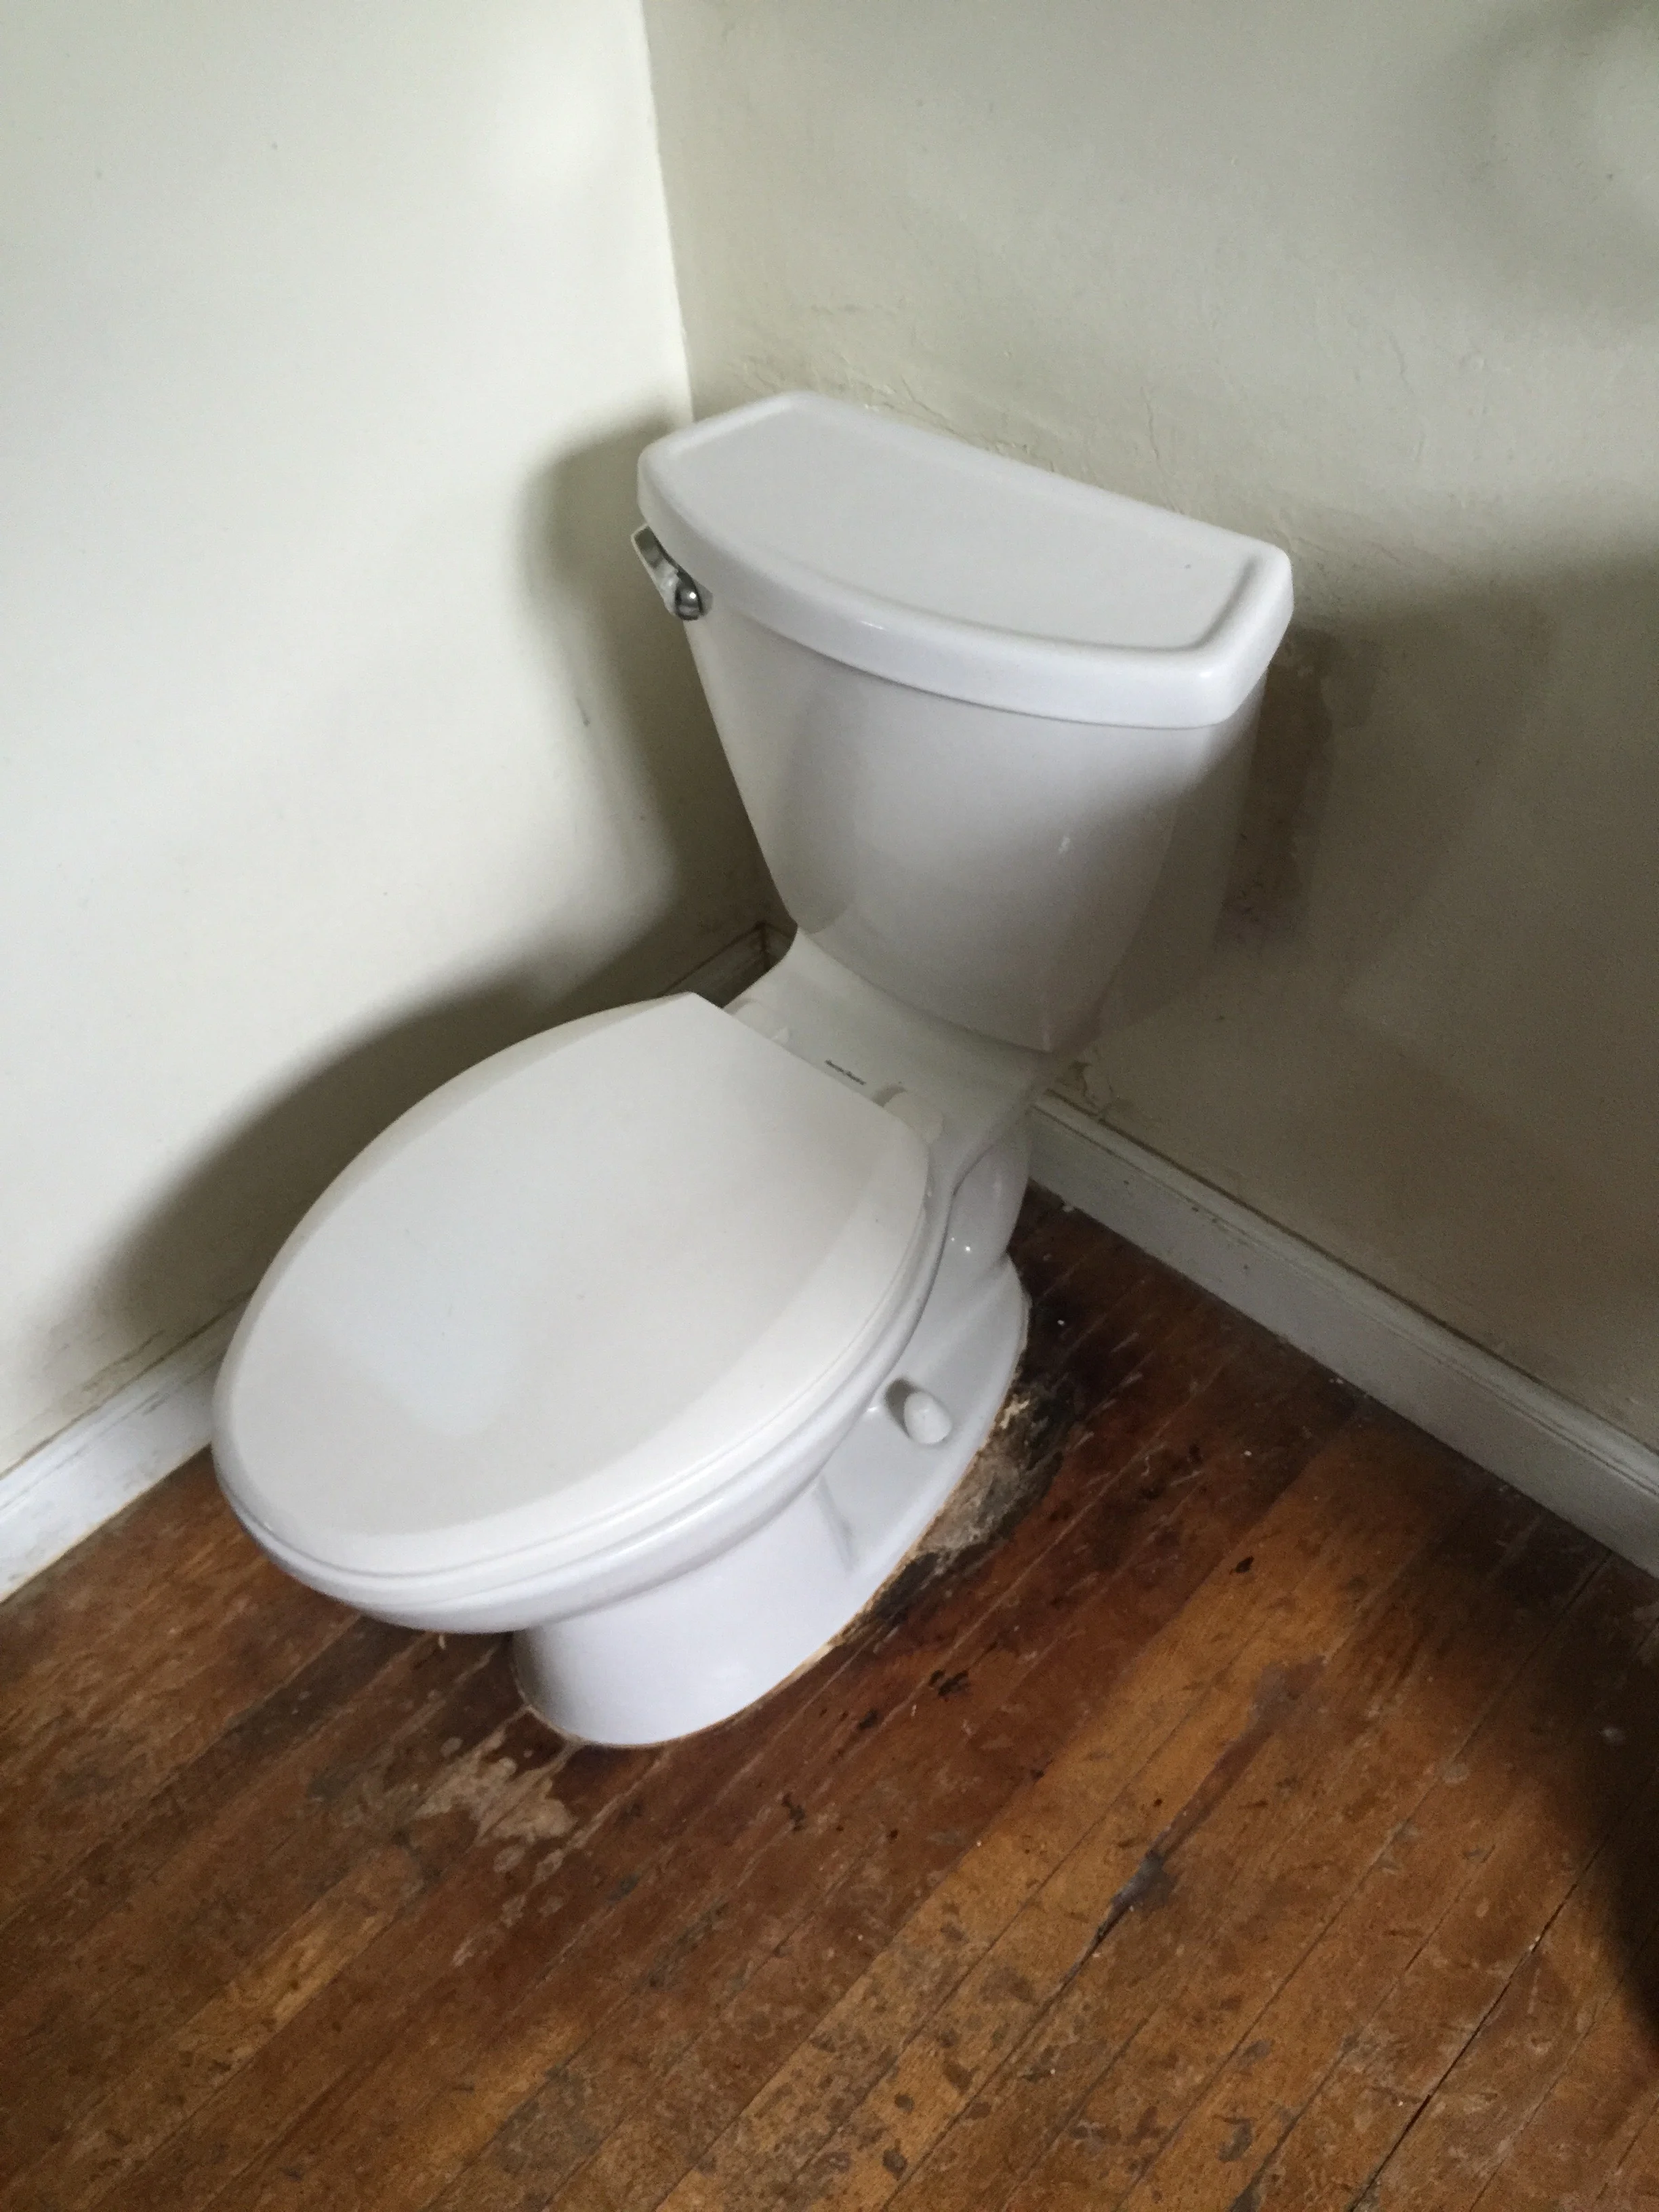
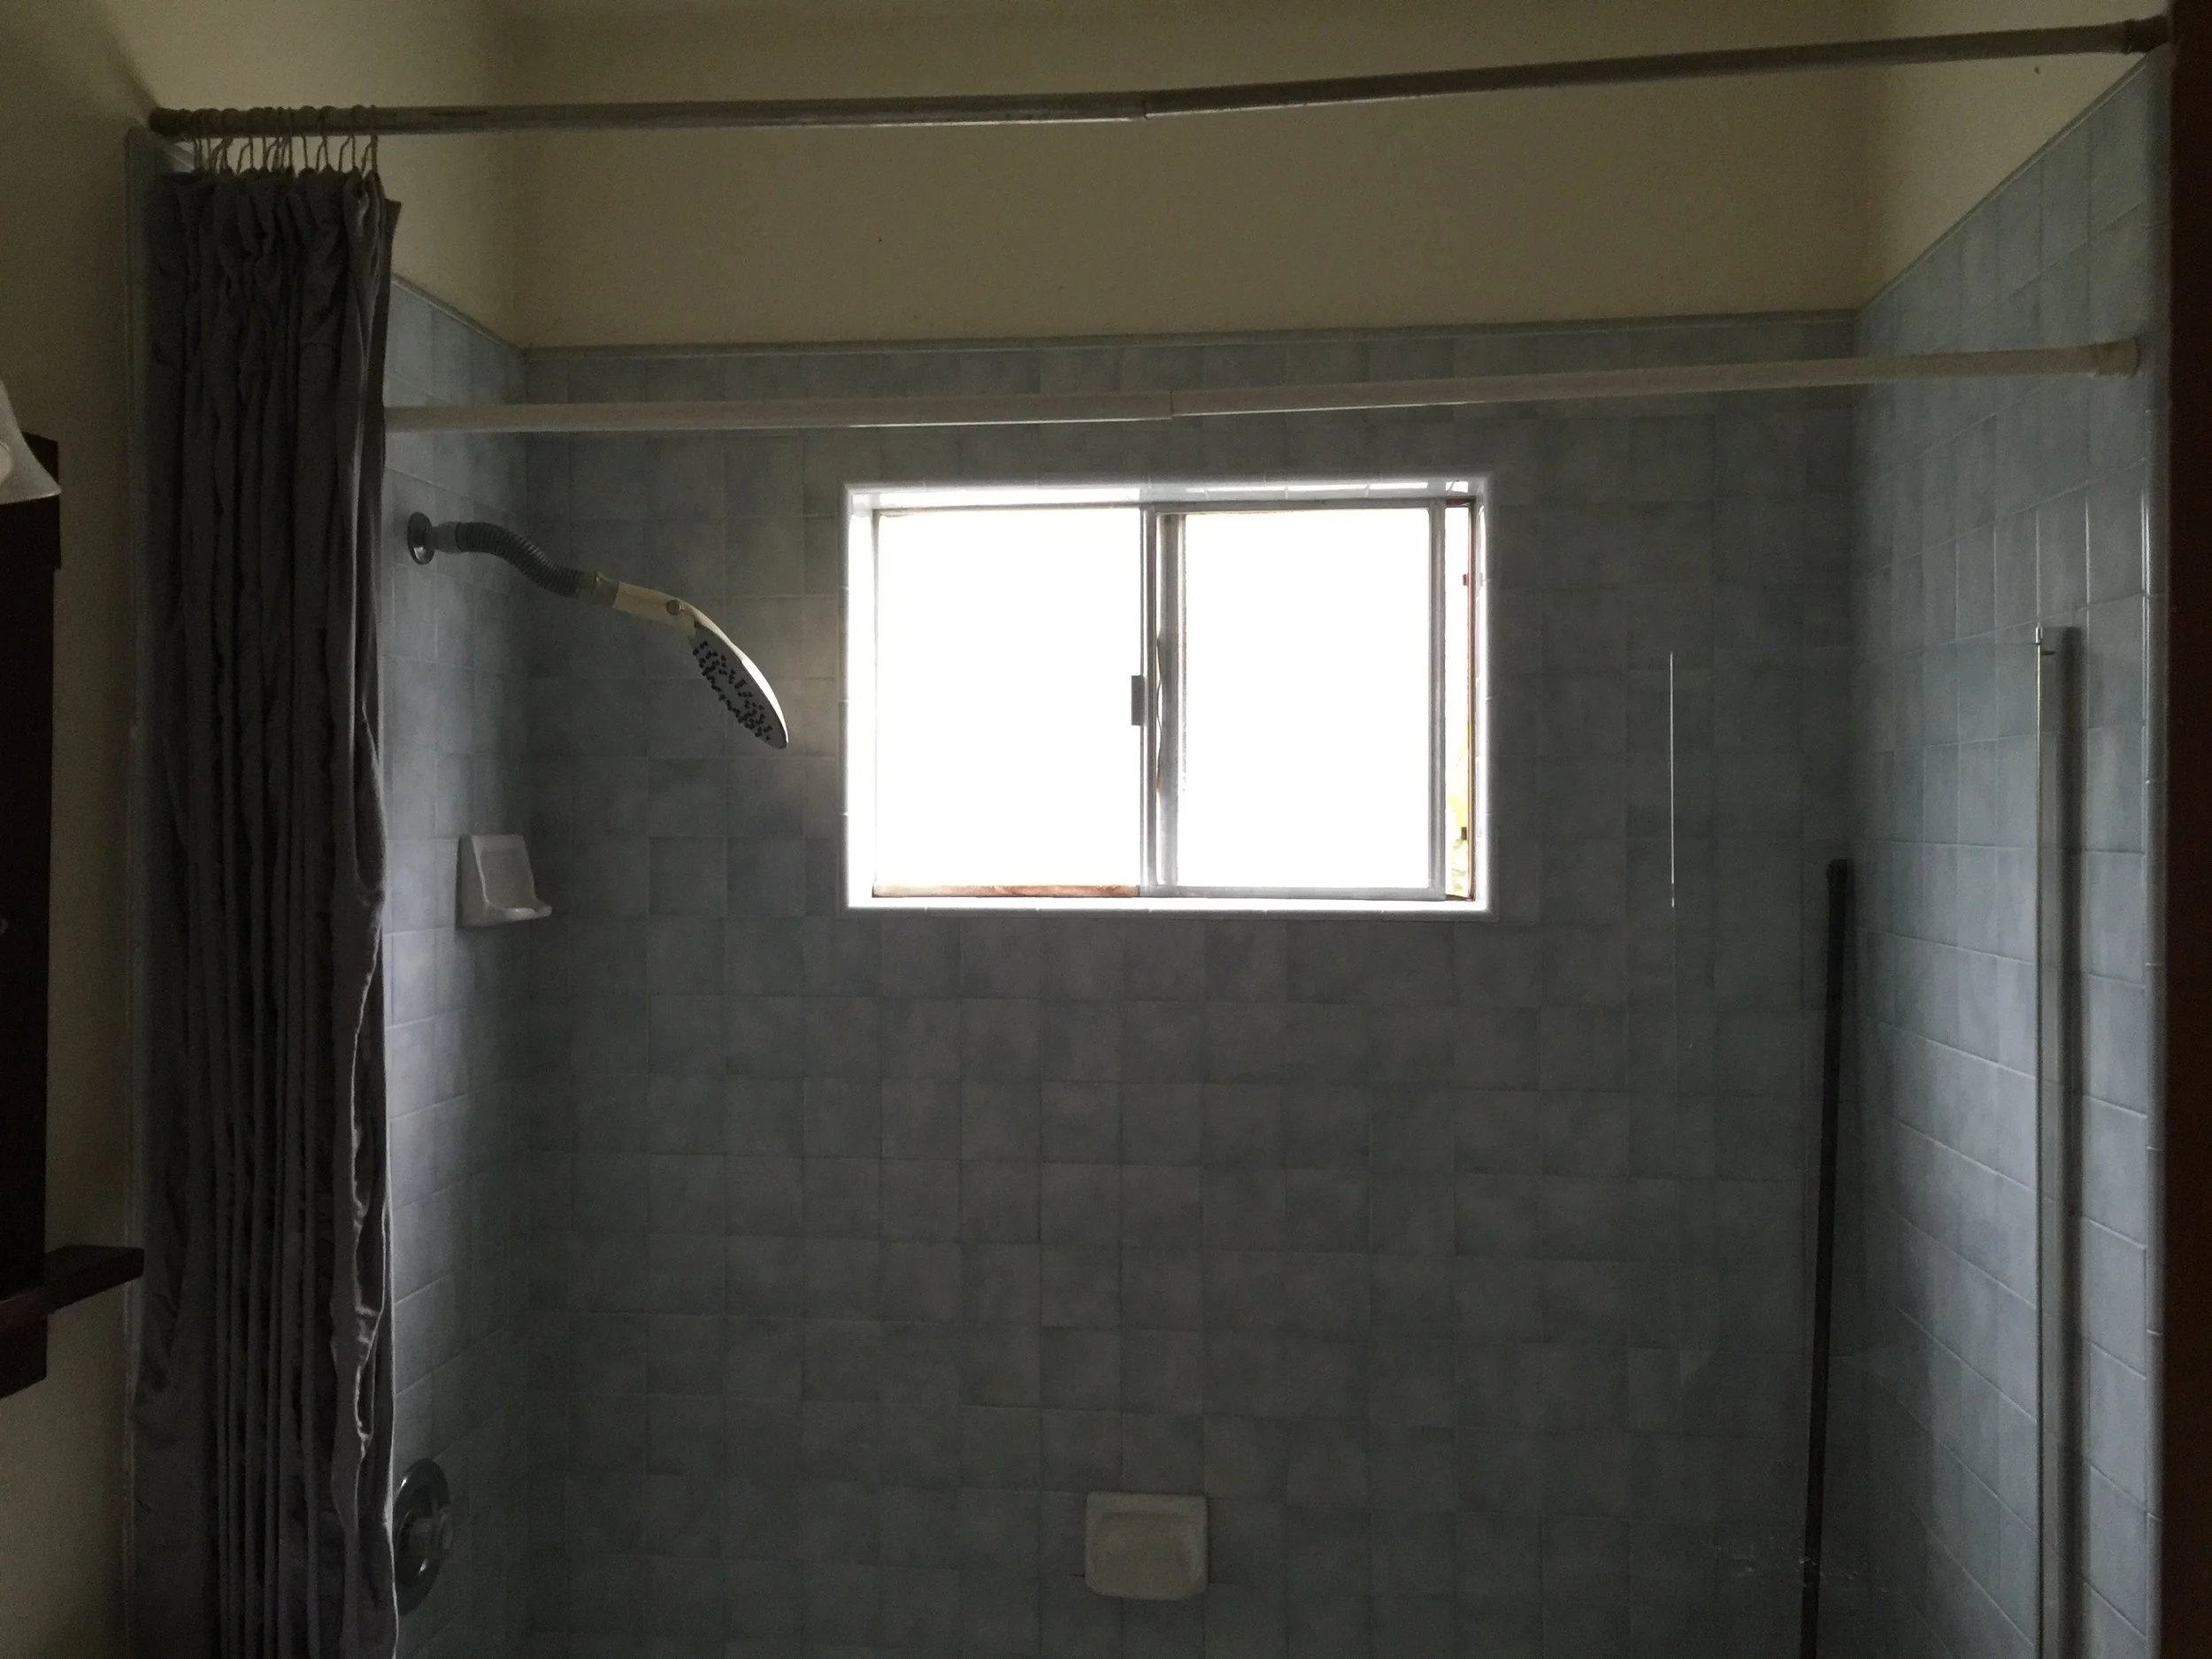
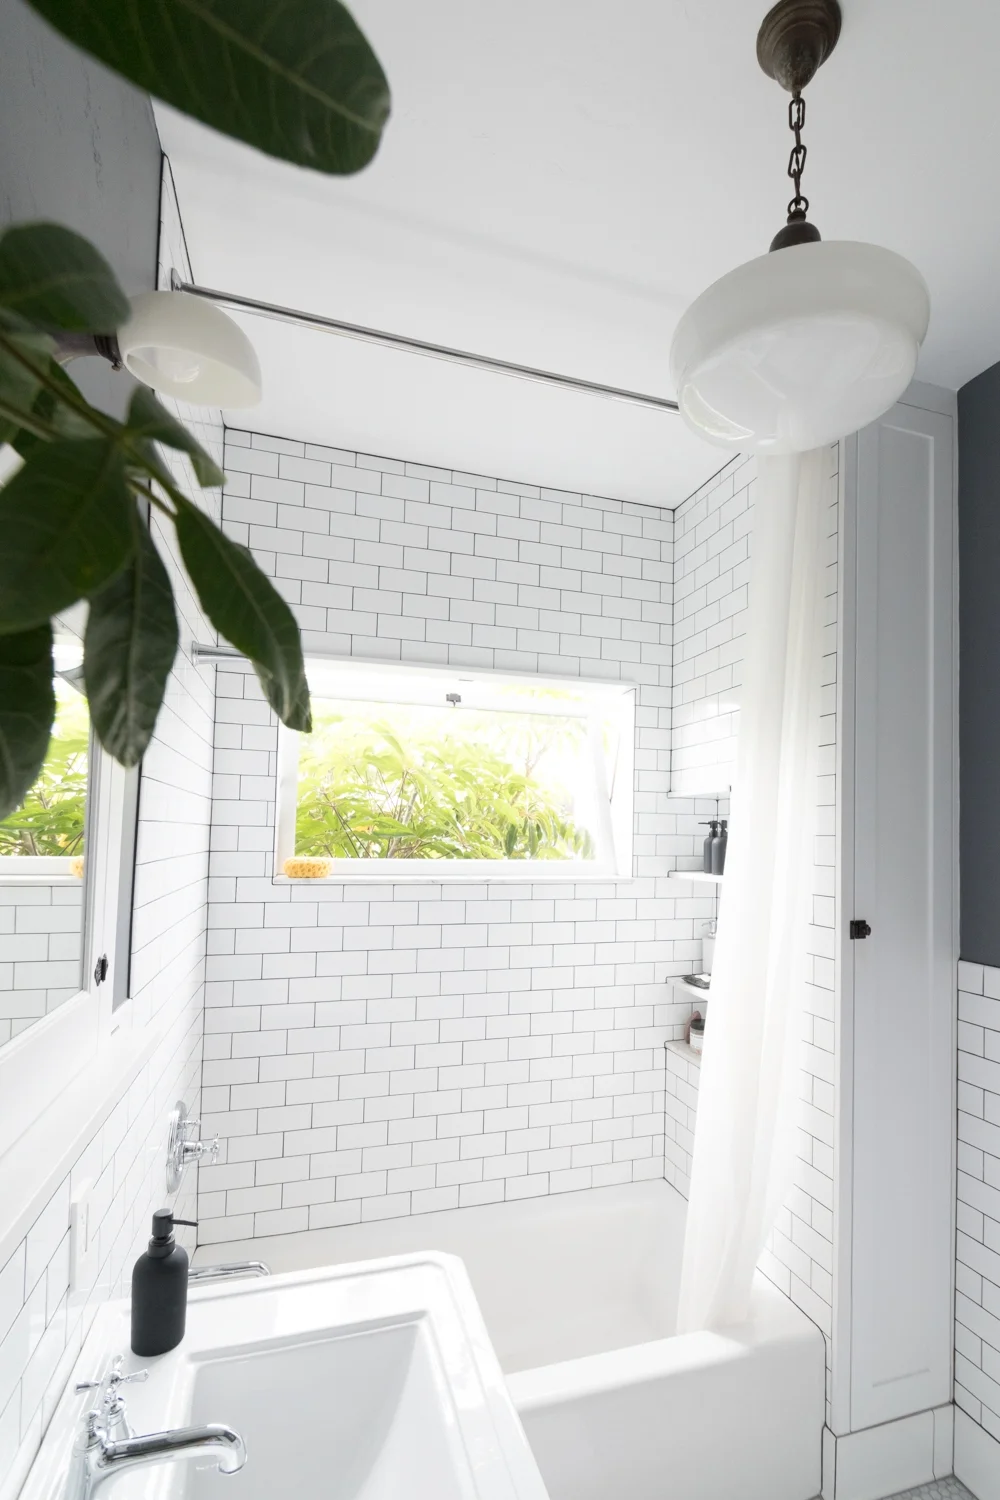
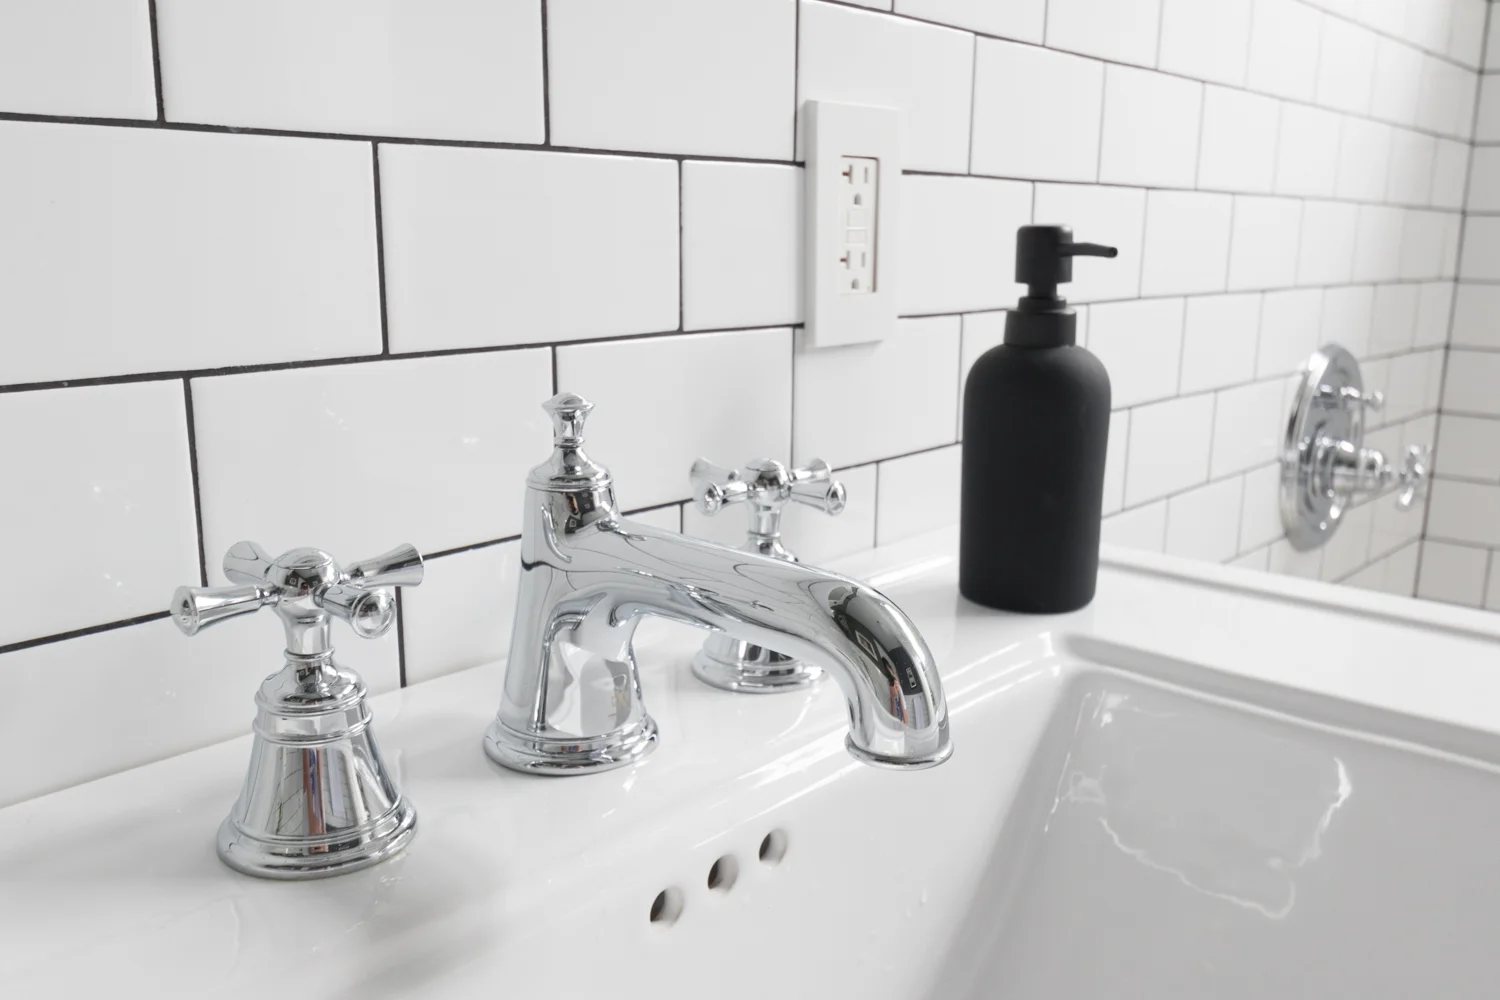
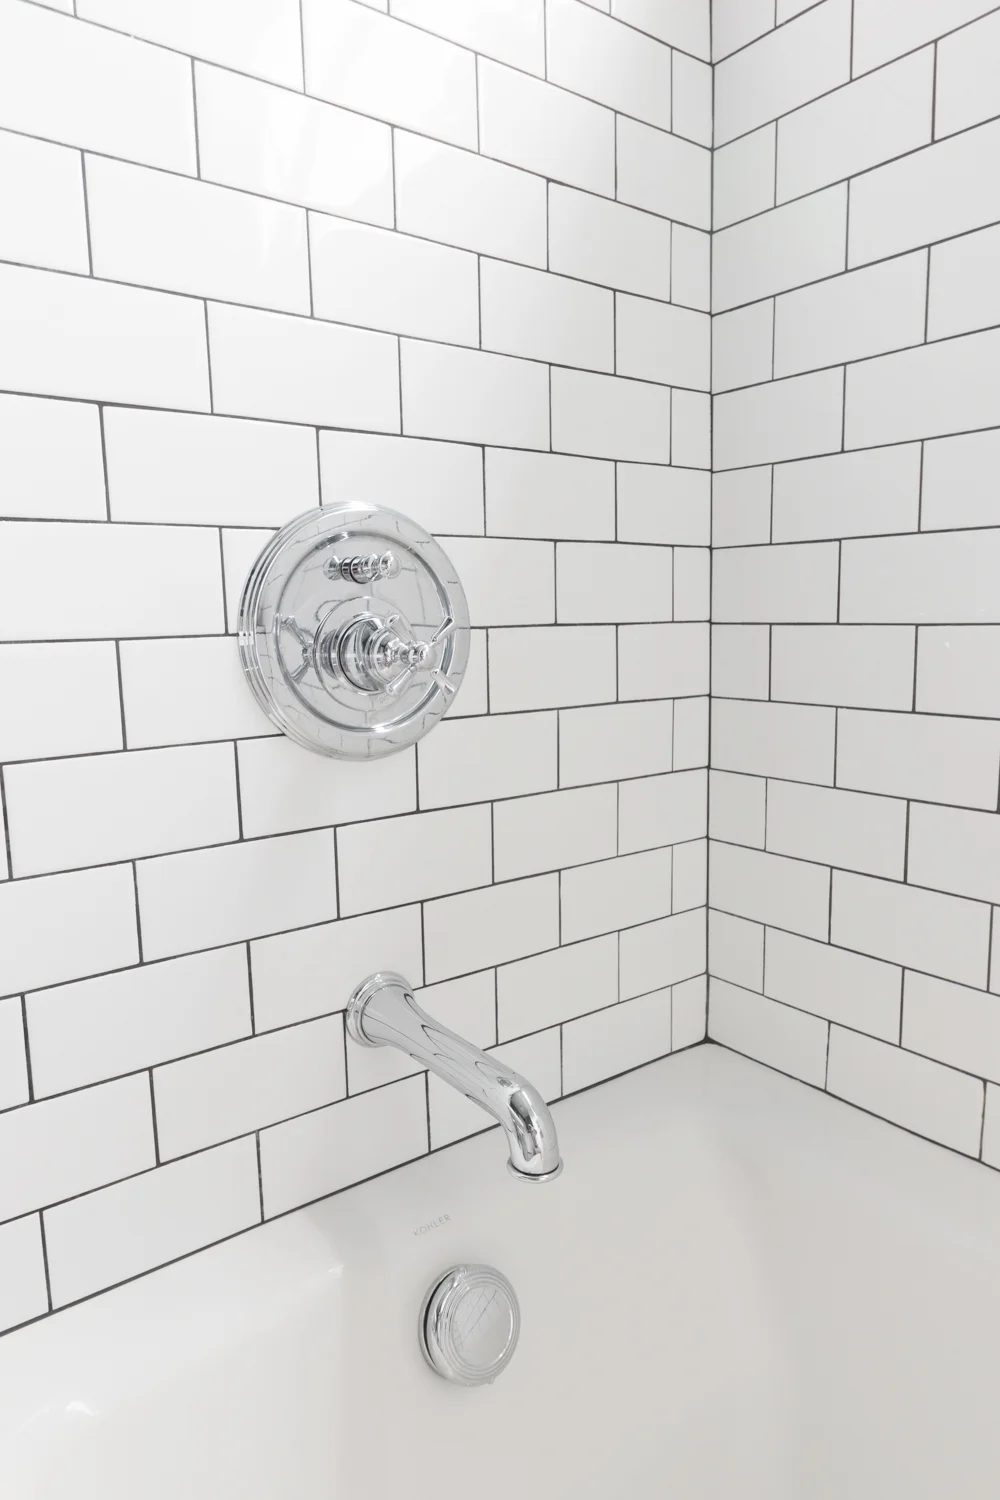
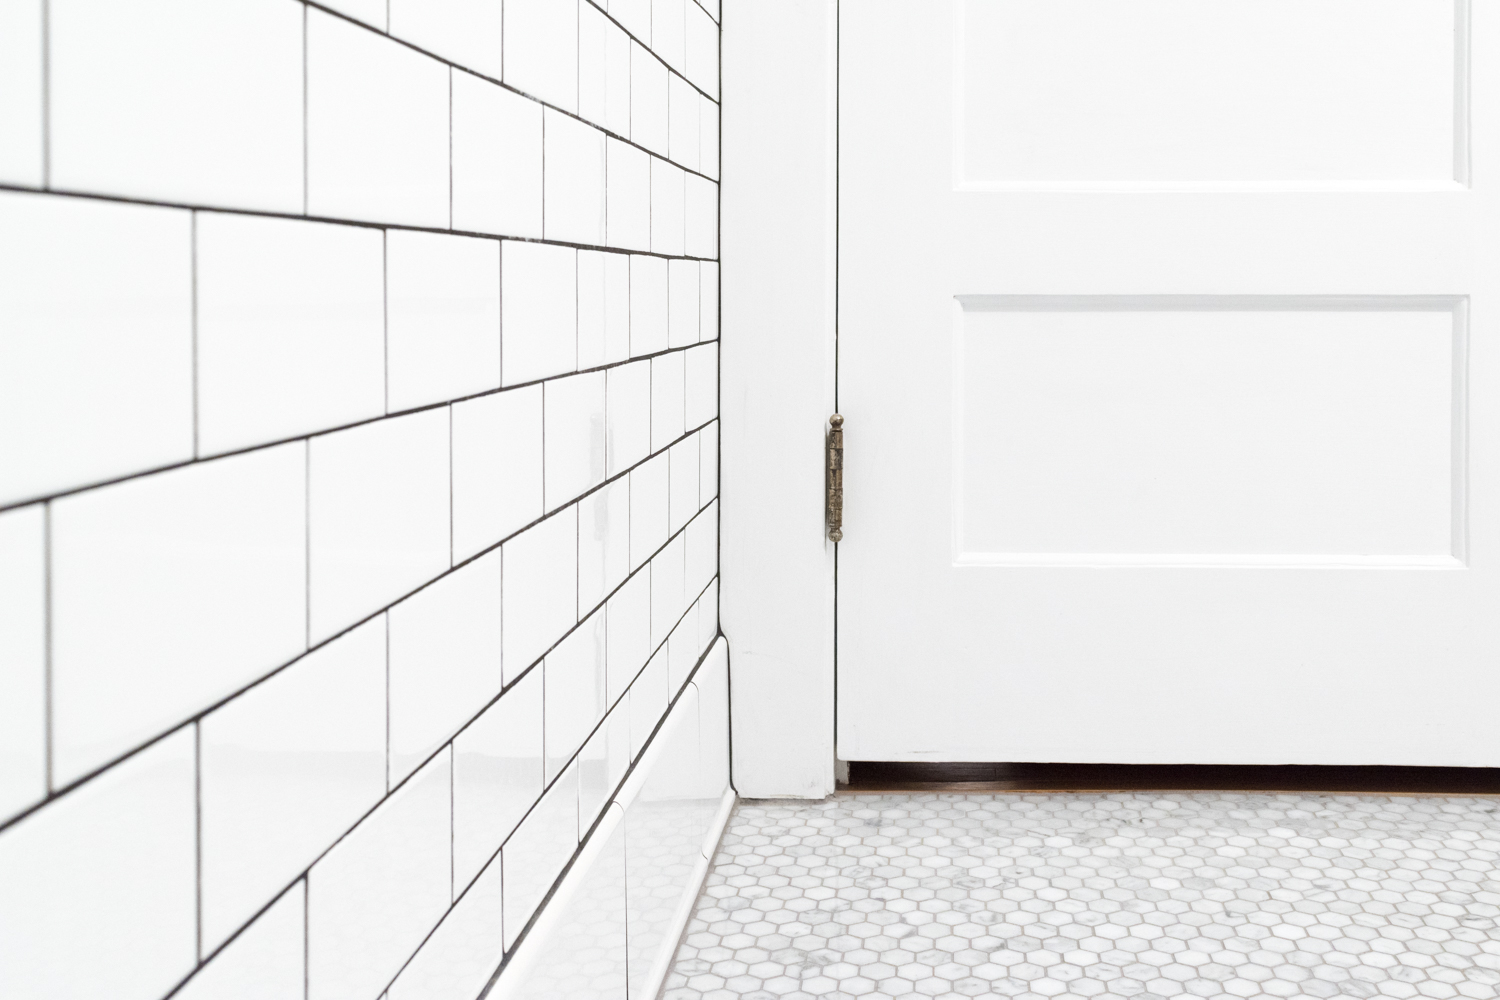
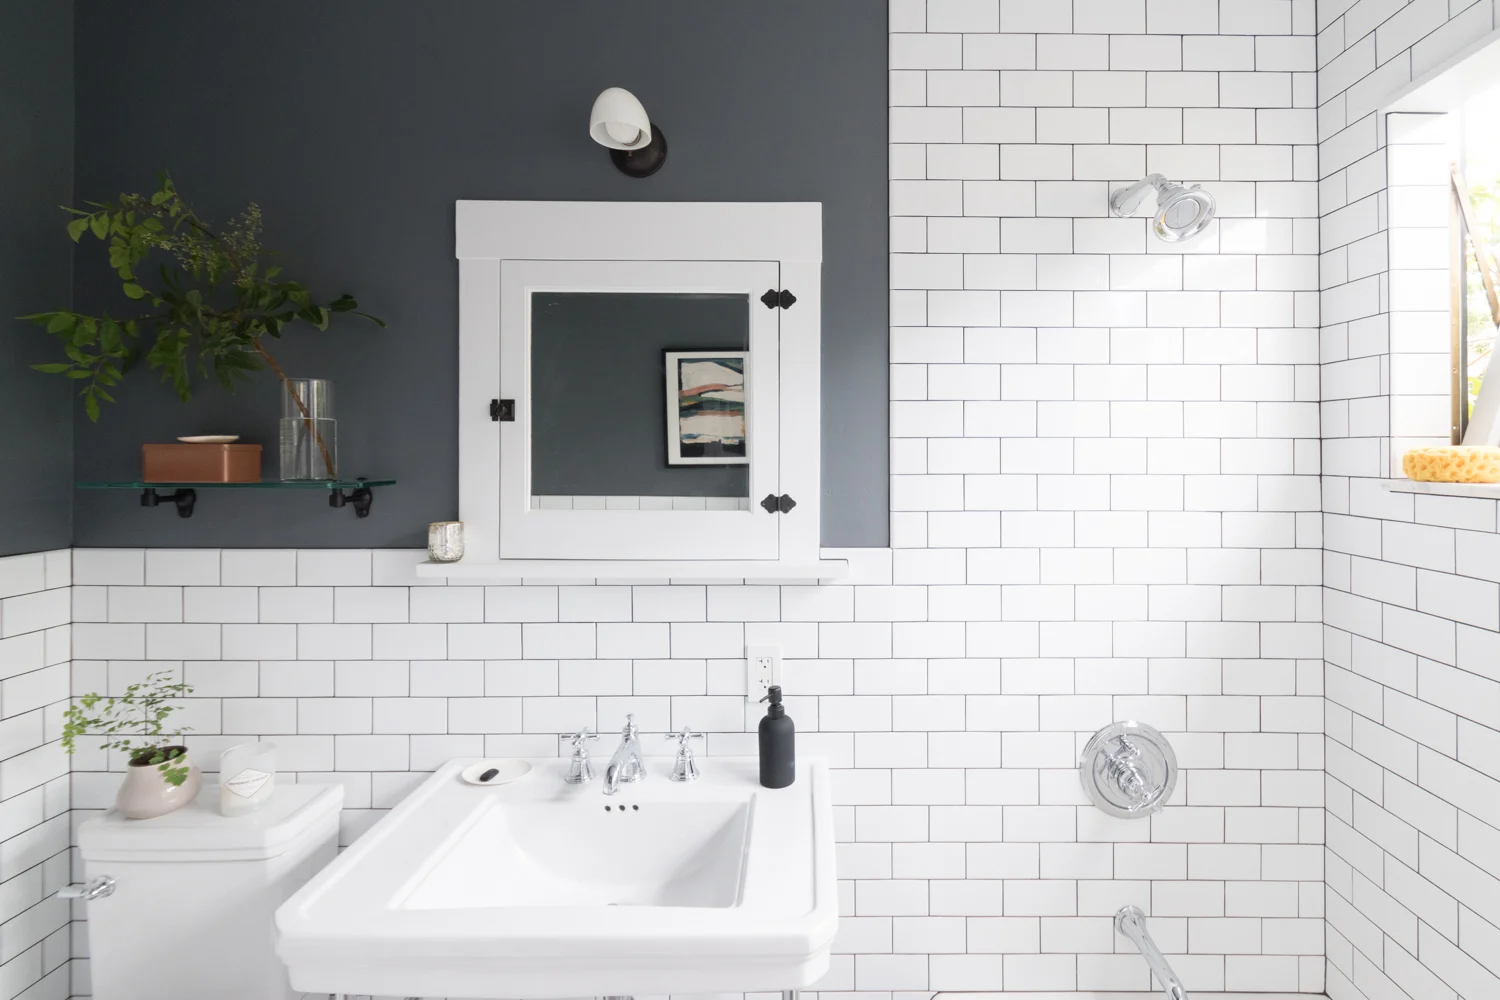
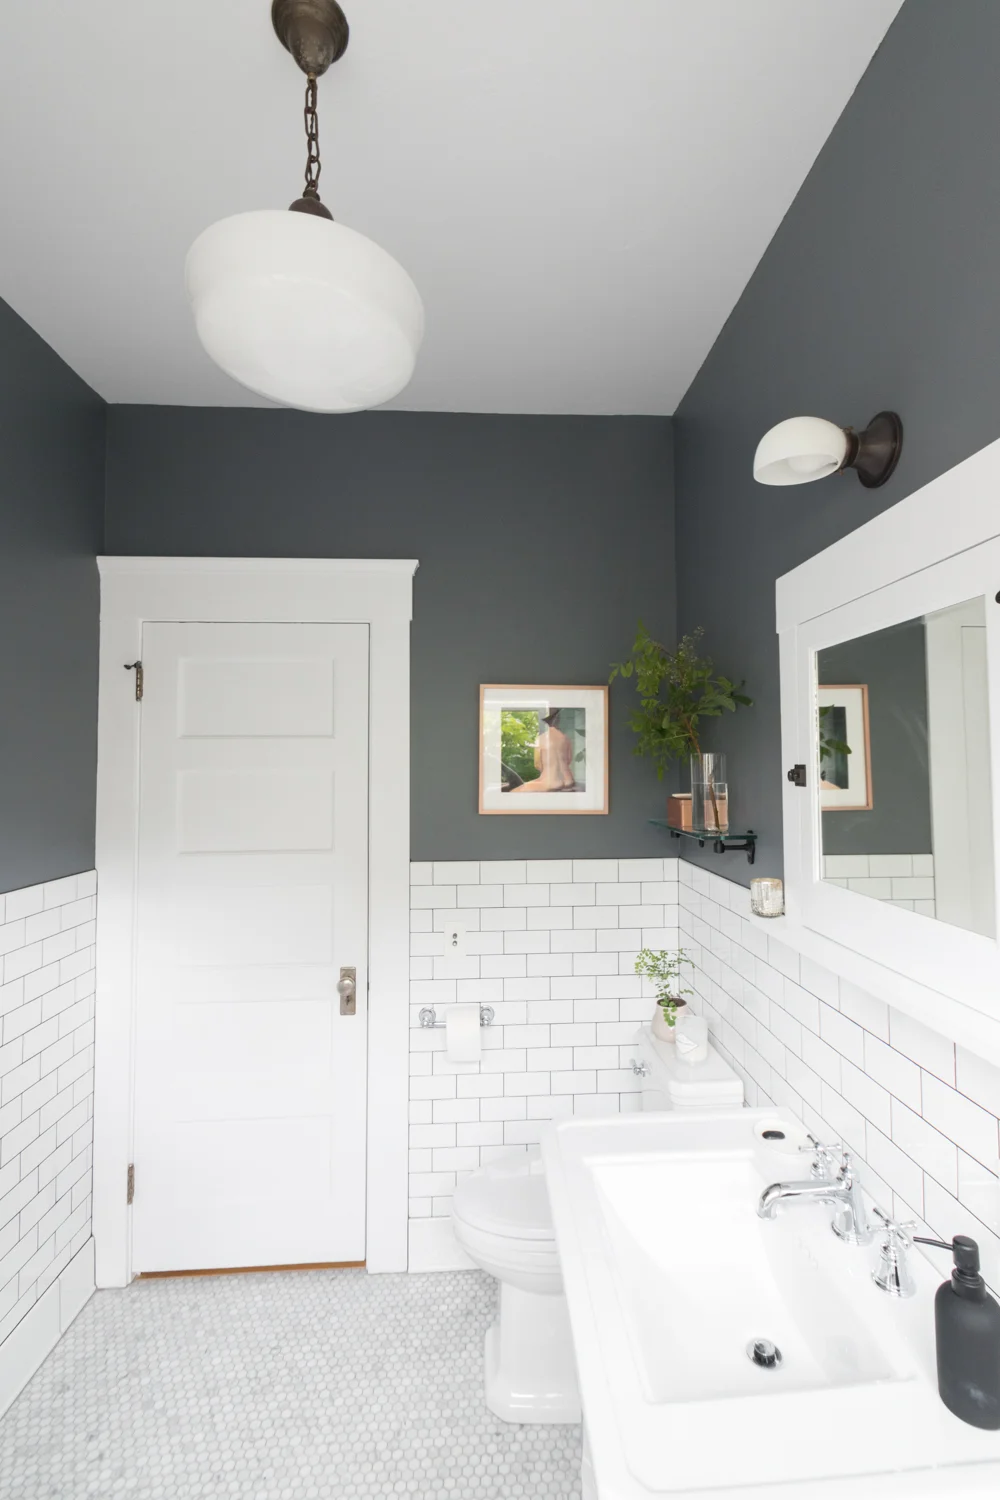
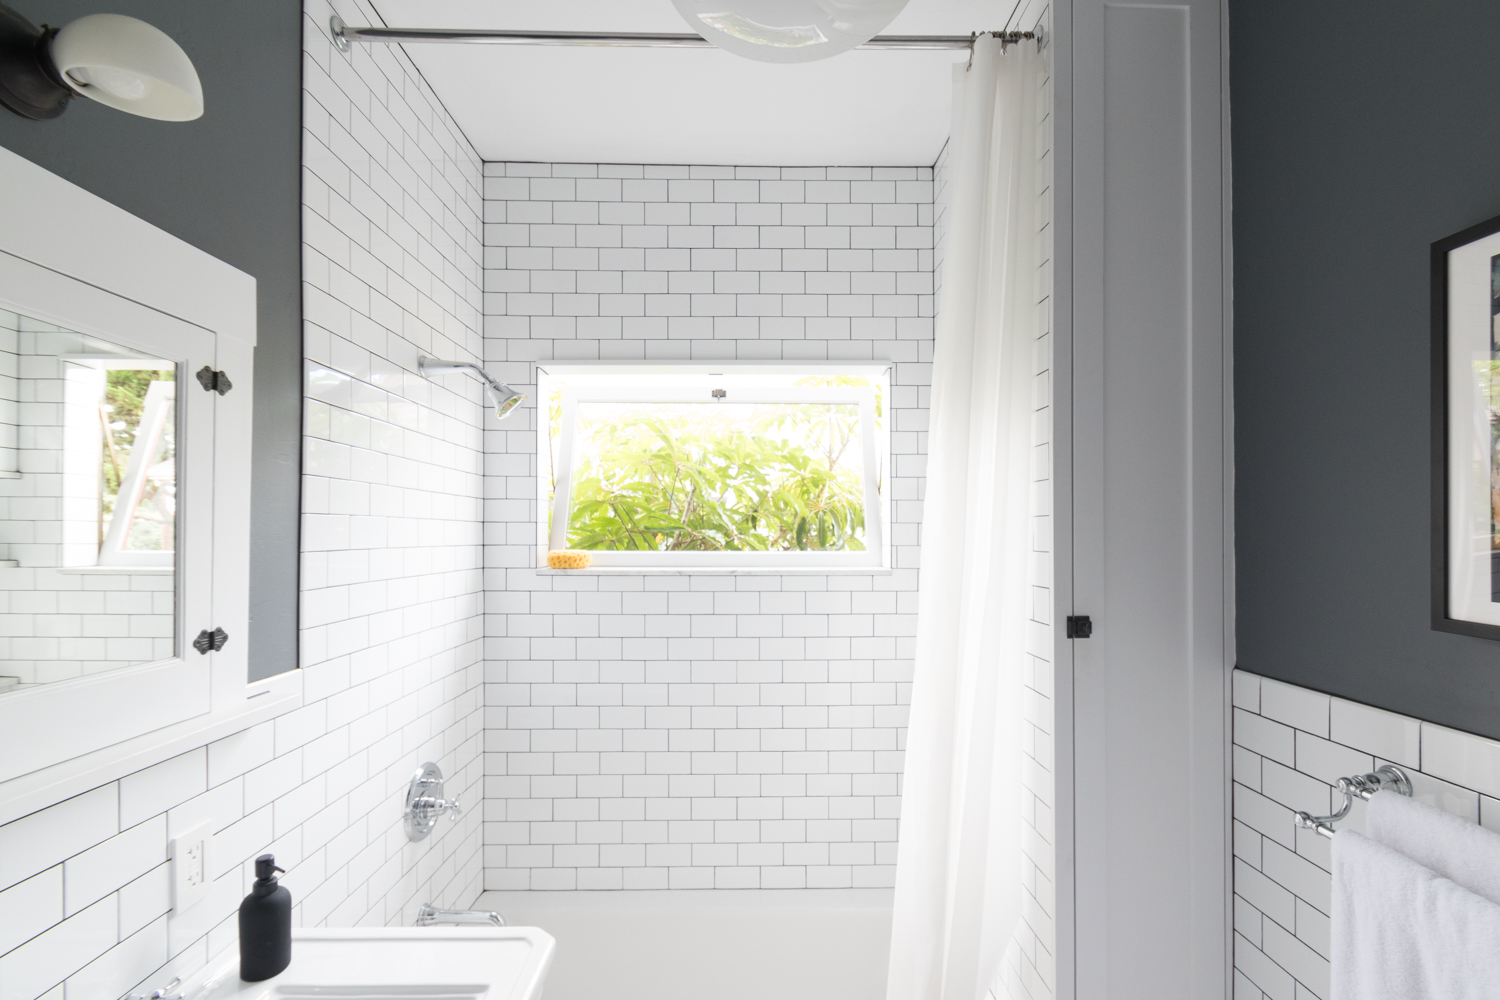
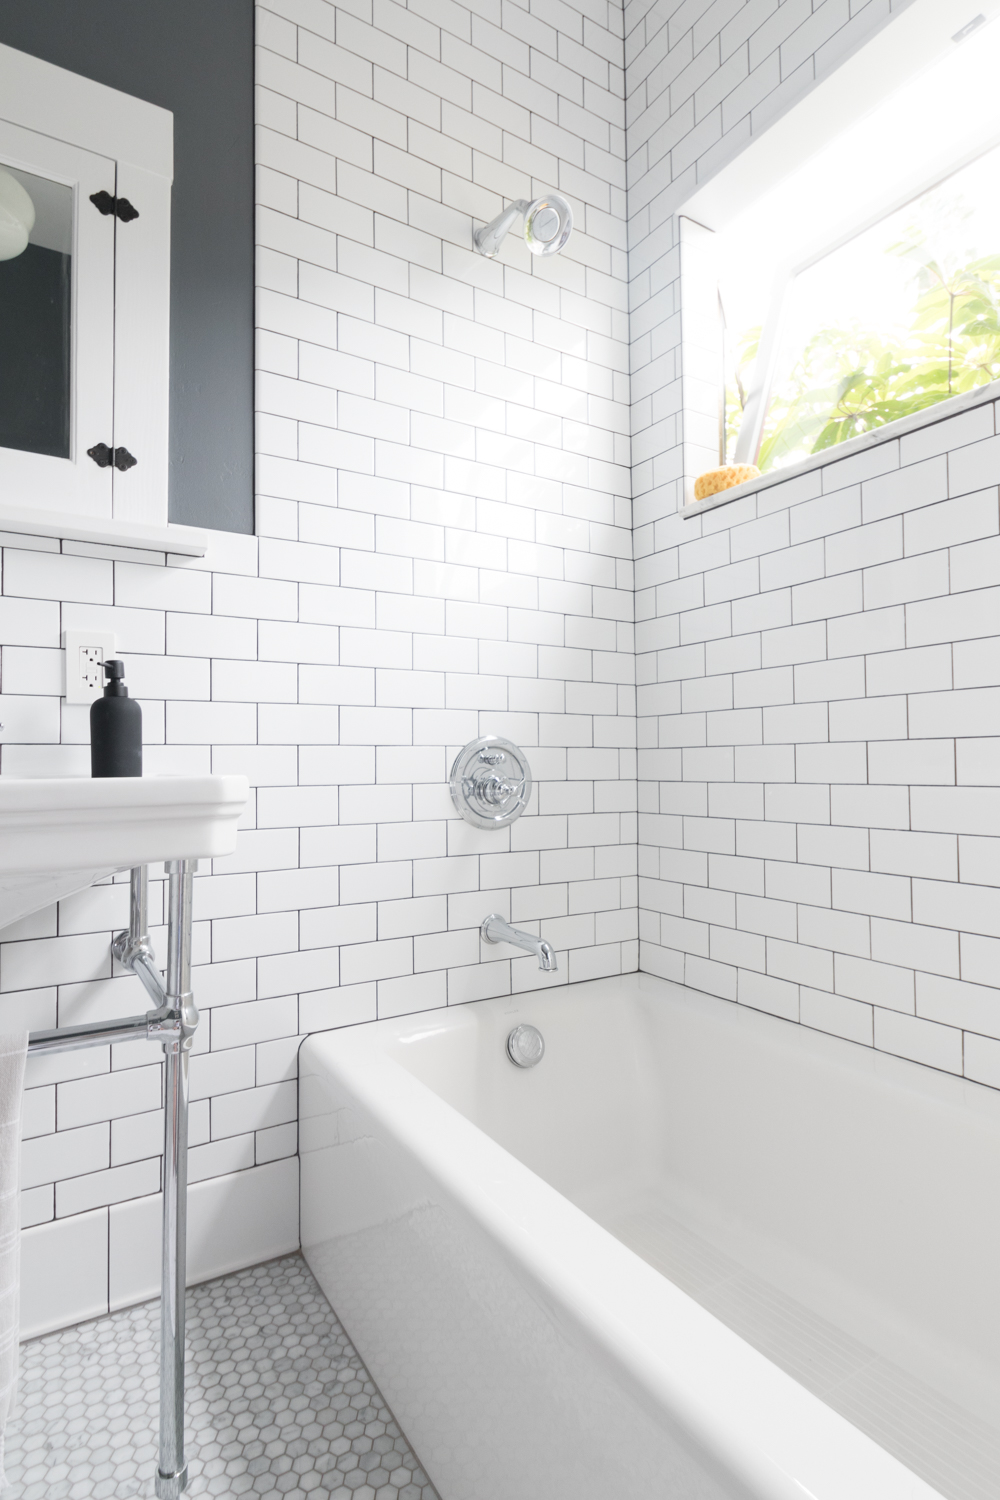
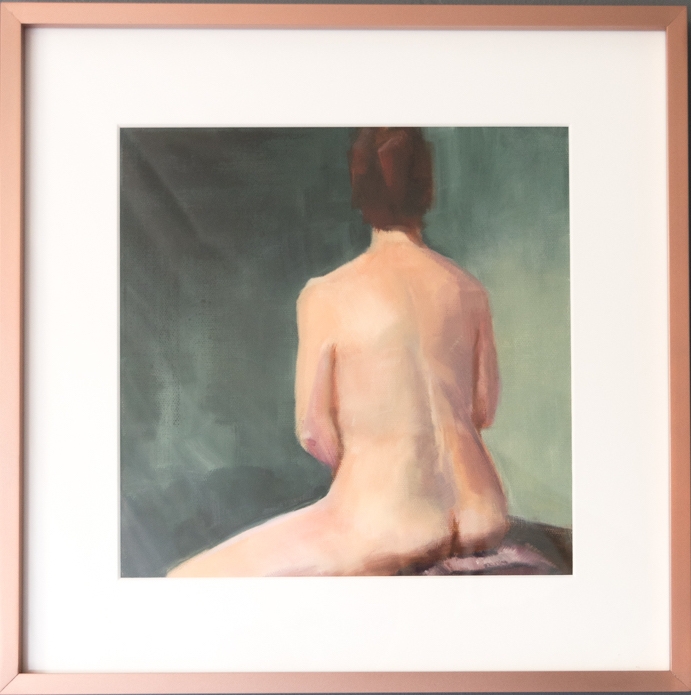
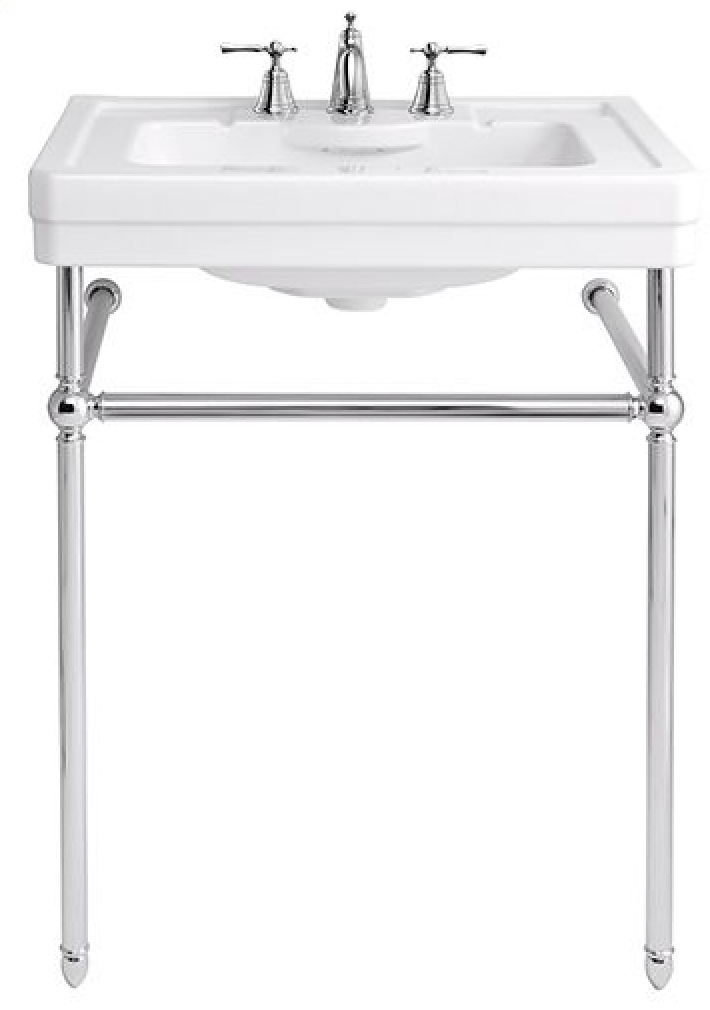
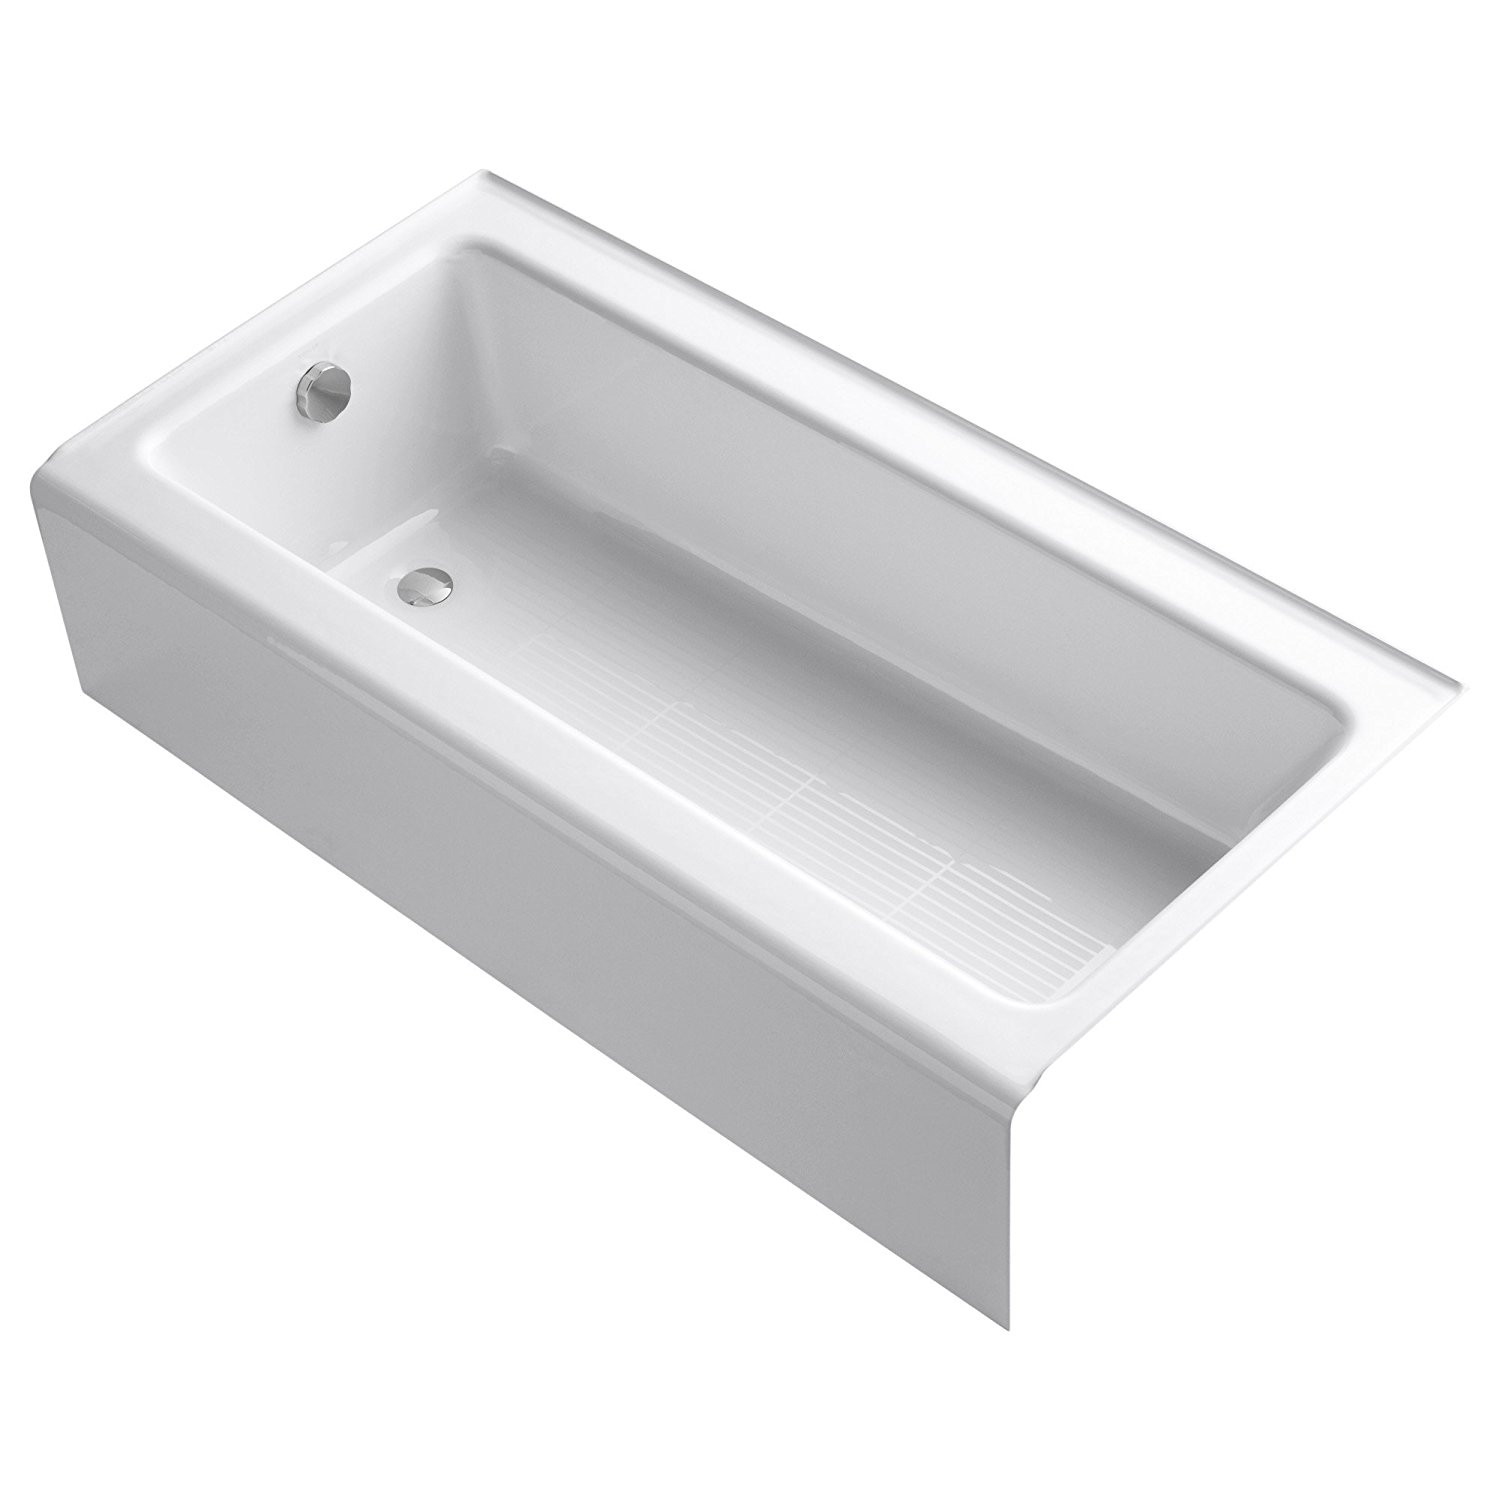
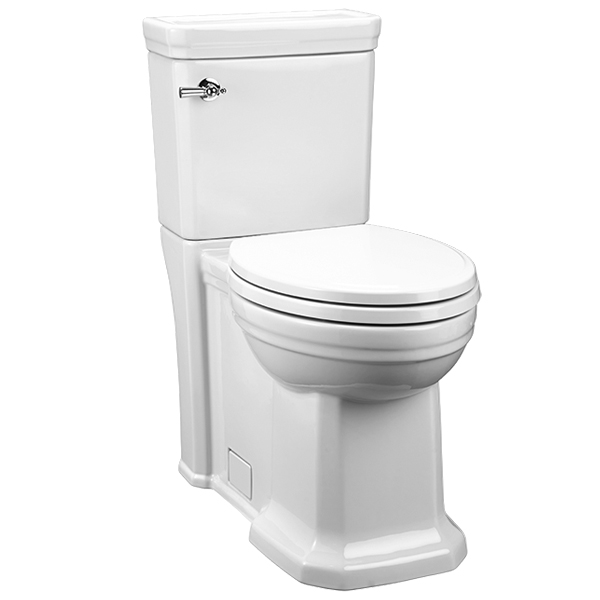
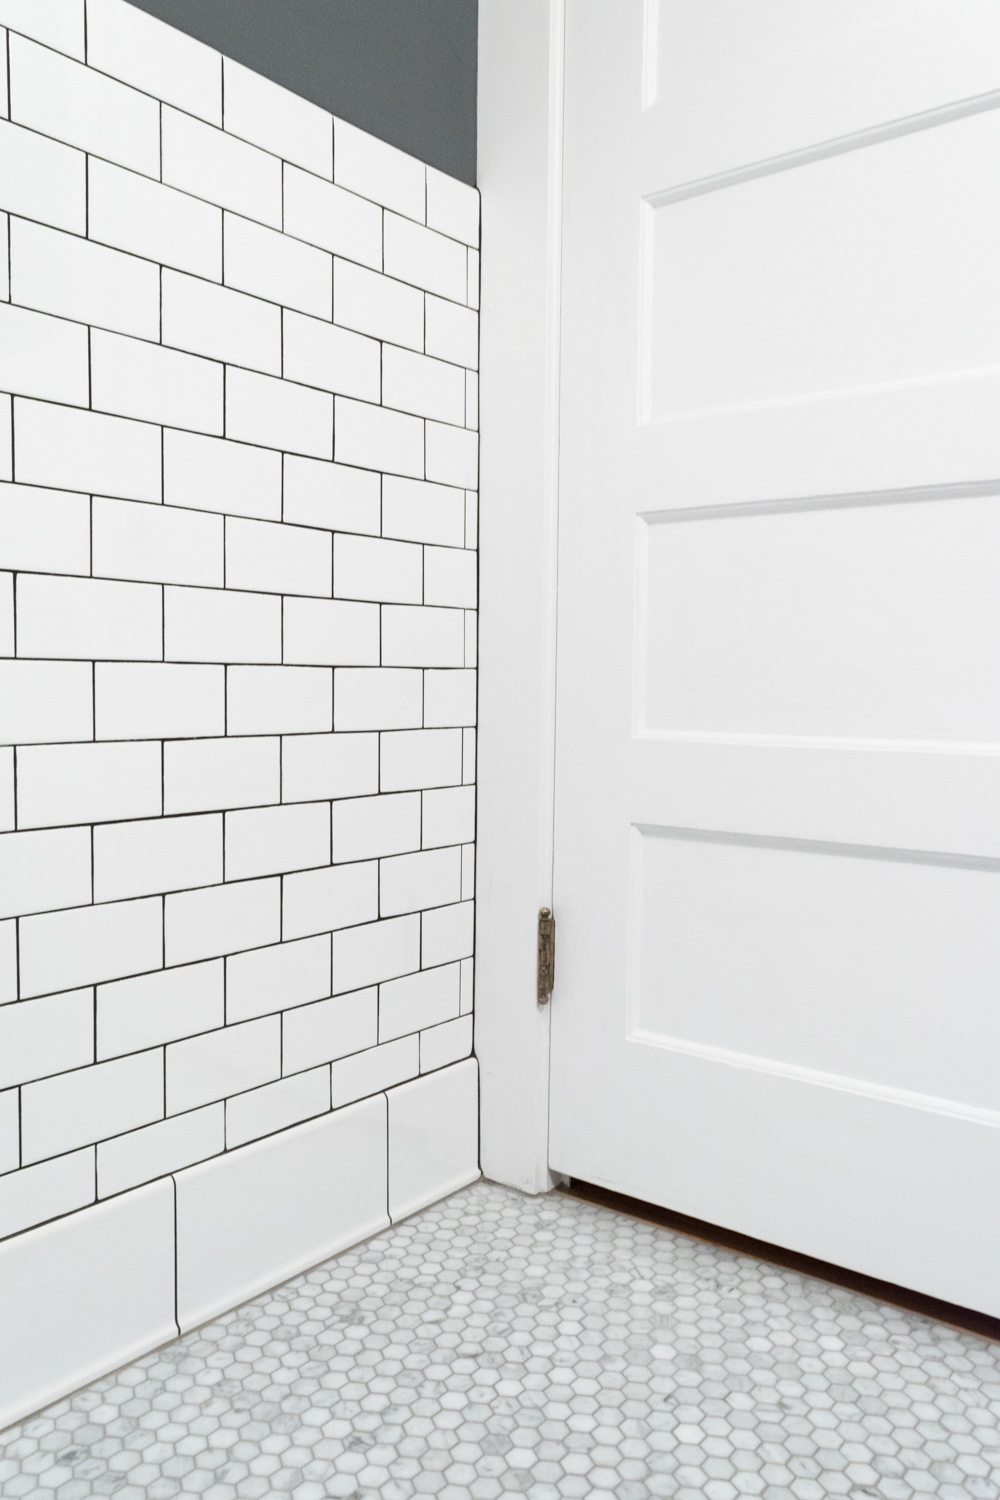
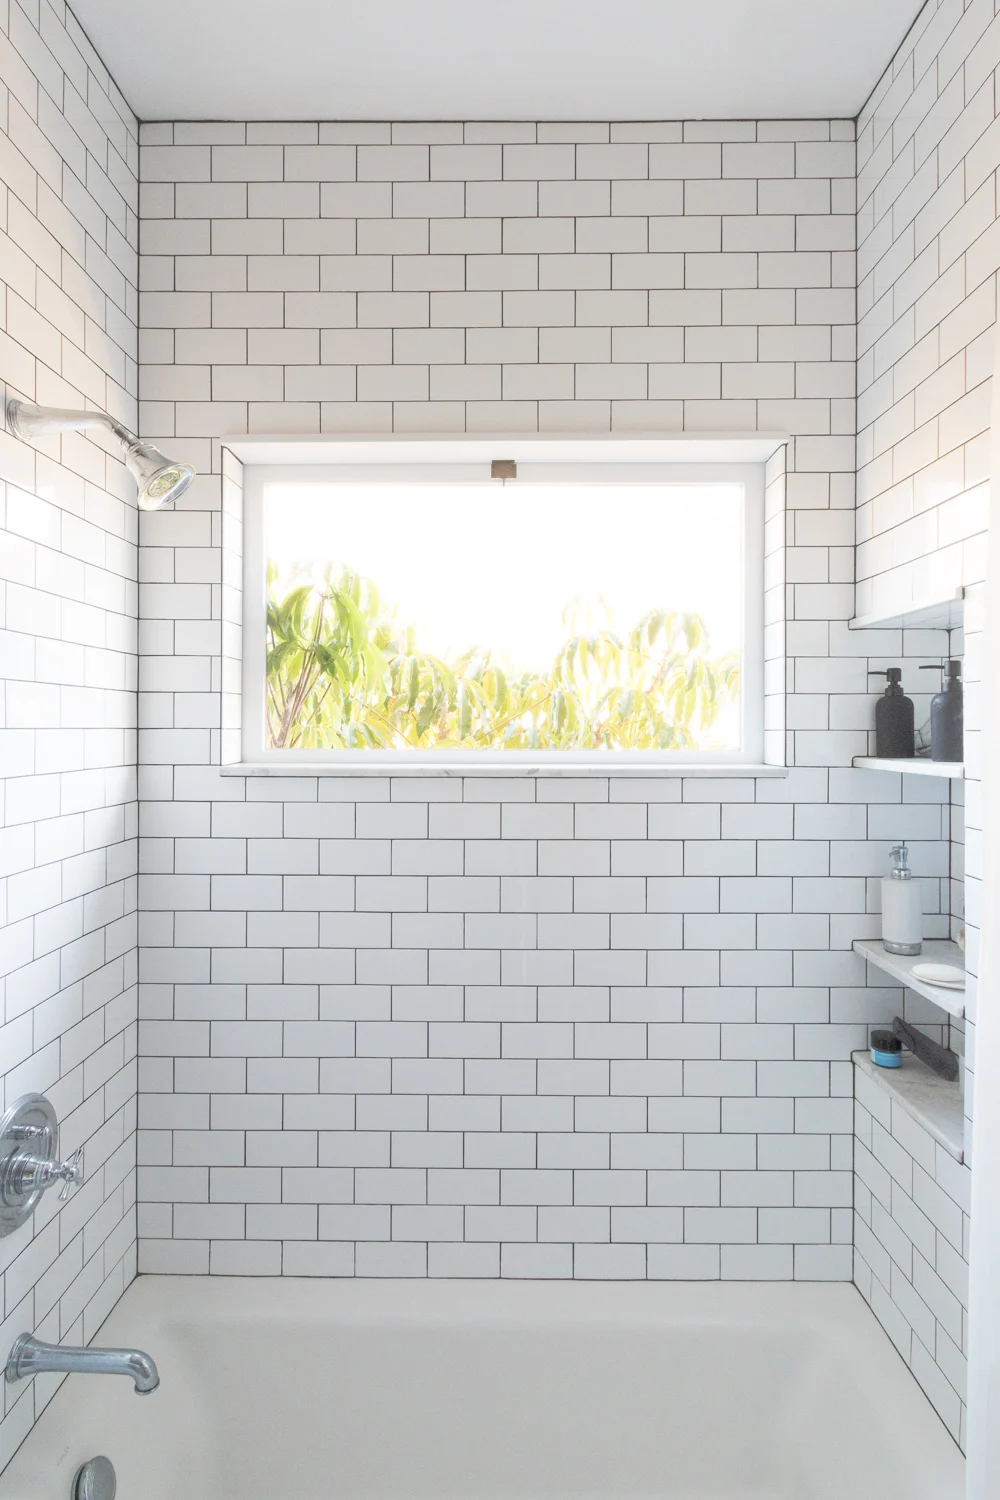
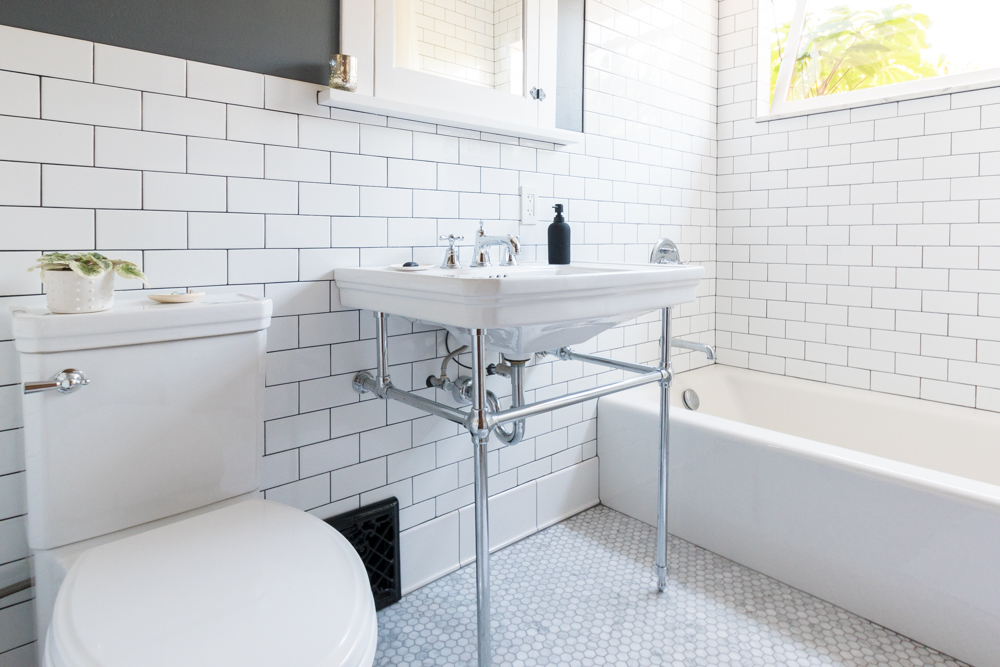
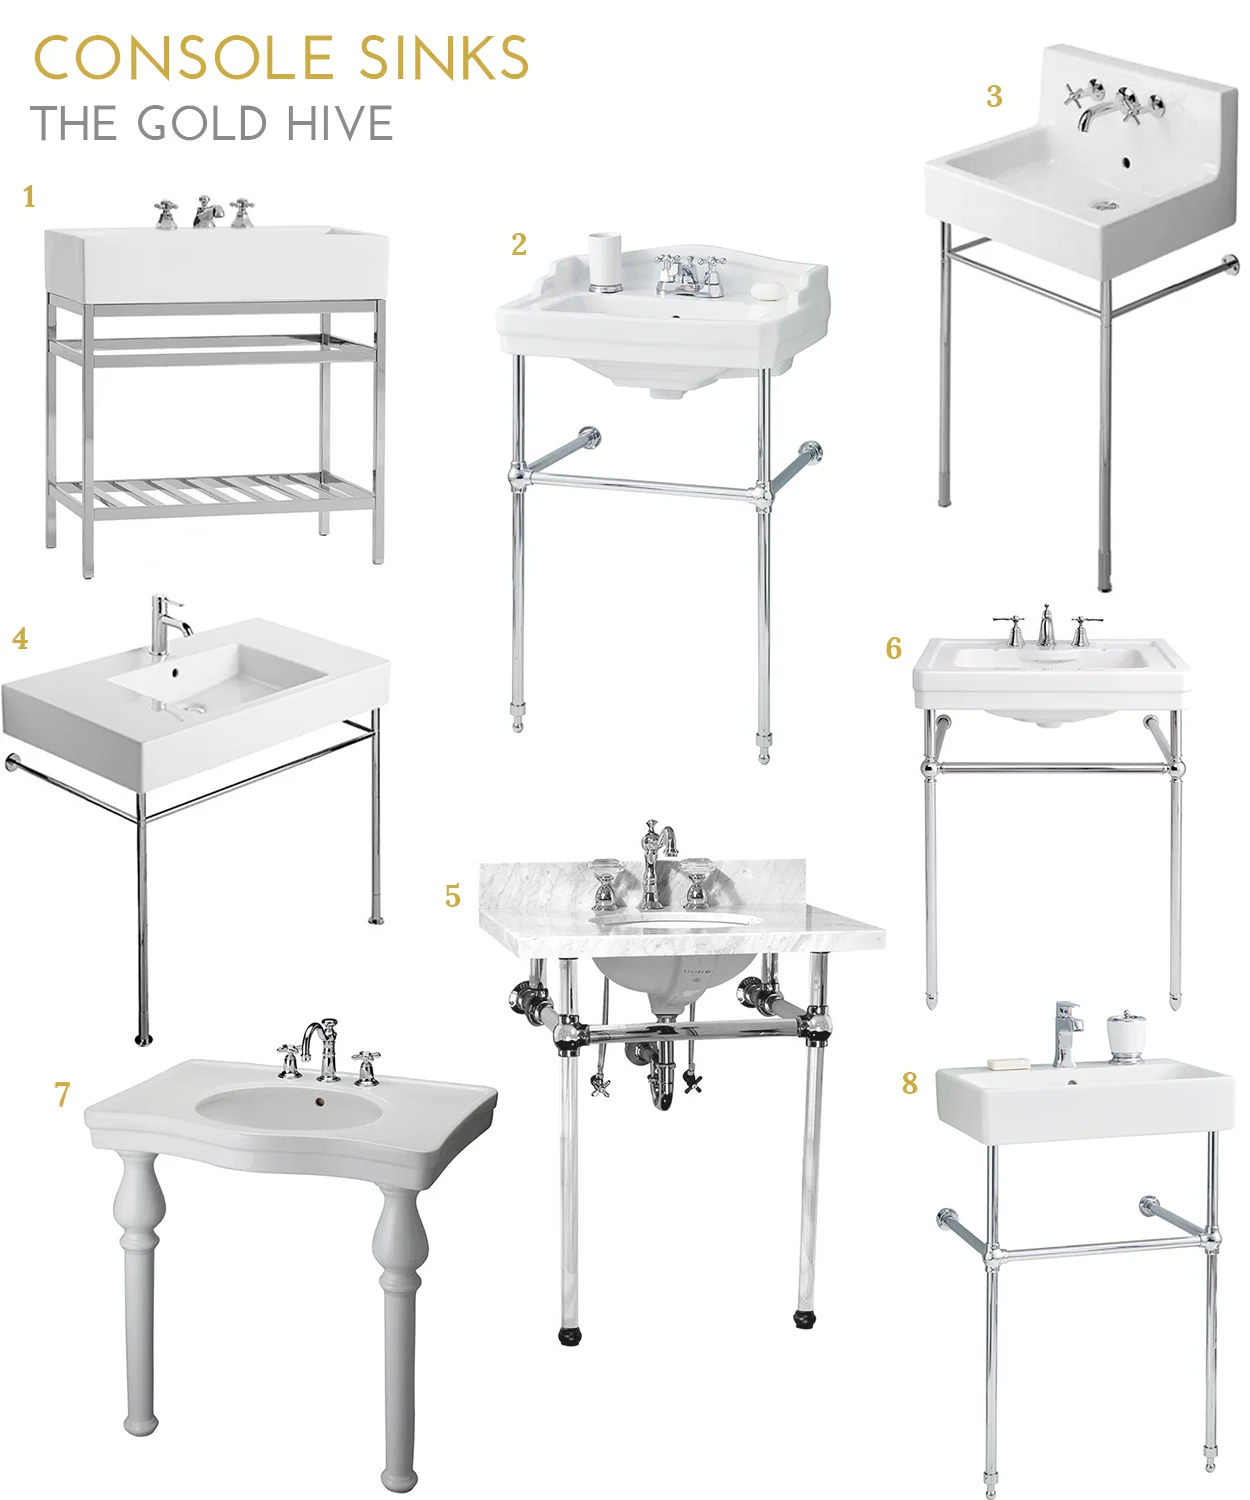
2. The Master Bath

Have I mentioned we have one bathroom? We want to add an ensuite off the master bedroom. It will use some of the footprint of the existing kitchen and we’ll build it all from scratch with new plumbing and everything. We’ll do a nice sized shower, a window to the backyard, and a vanity with oodles of storage. I can’t wait!

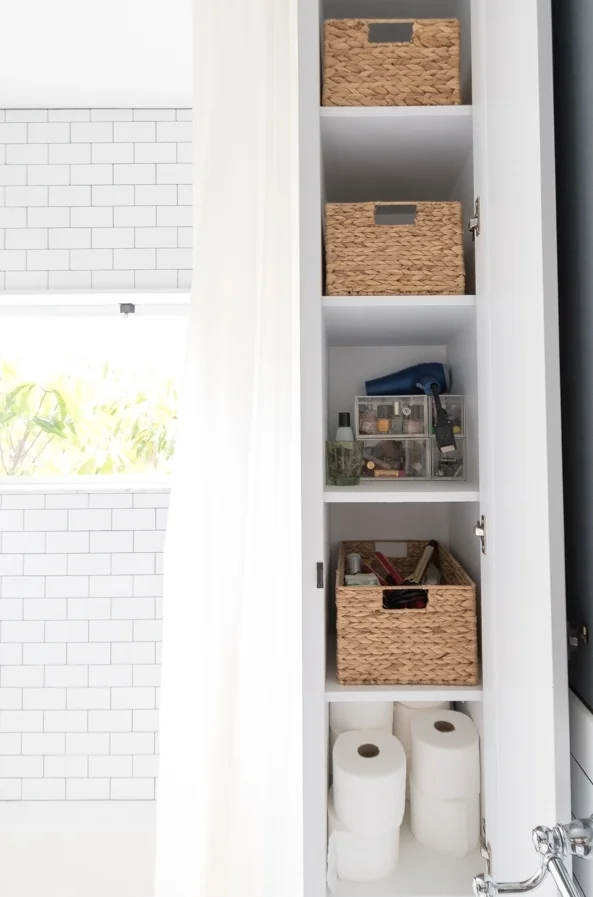
3. The Master Closet

Along with the kitchen and bathroom configuration, we’ll carve out some room for the master closet. Our current closet is quite petite. It works for our needs because we aren’t big clothes people, but considering we store suitcases and linens in another closet, and accessing 1/3 of our clothes is a struggle, we could definitely use room to spread out and get more appropriately arranged storage. We hope to create a 5’x7’ walk-in closet that will also house drawers so we can do away with the dresser in the bedroom.

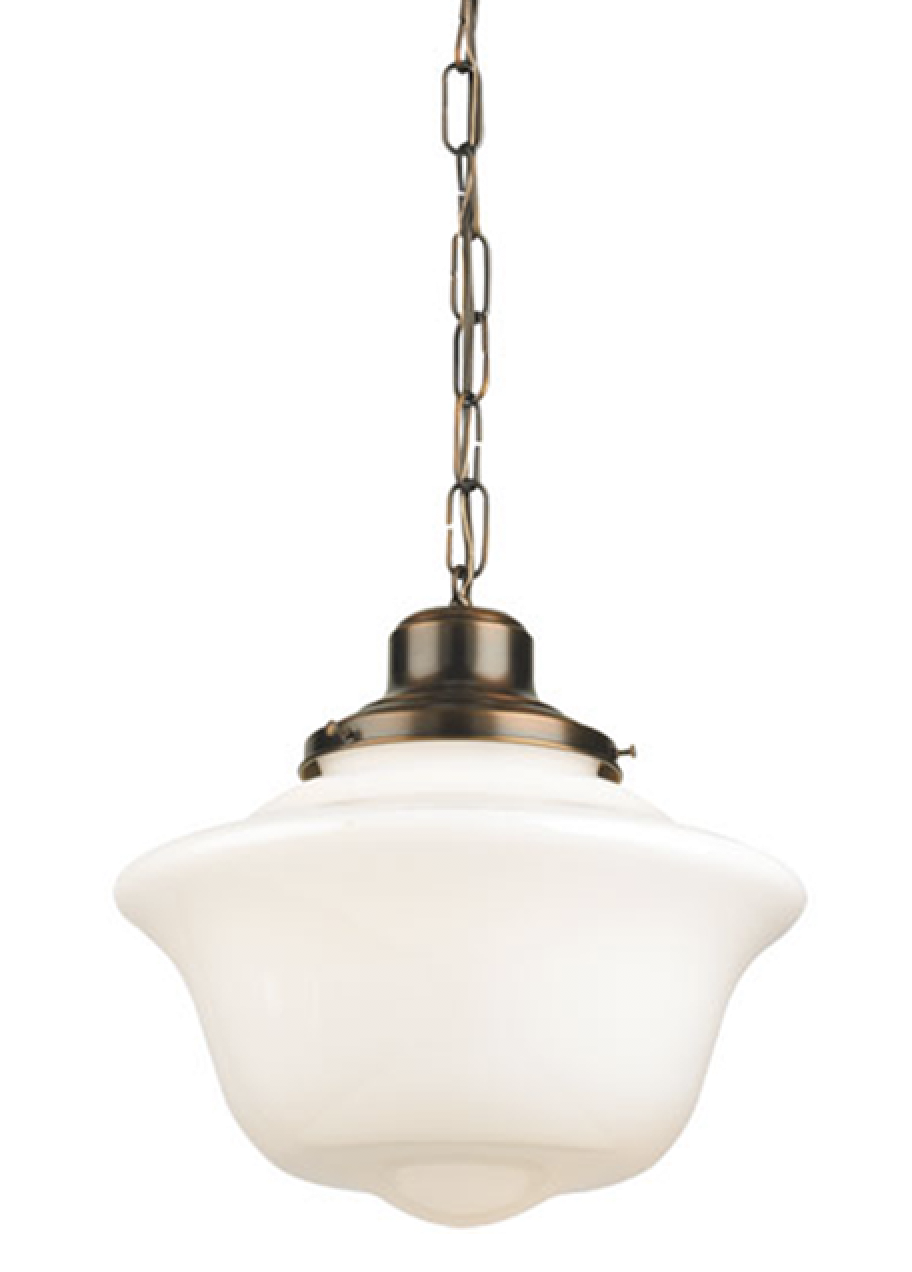
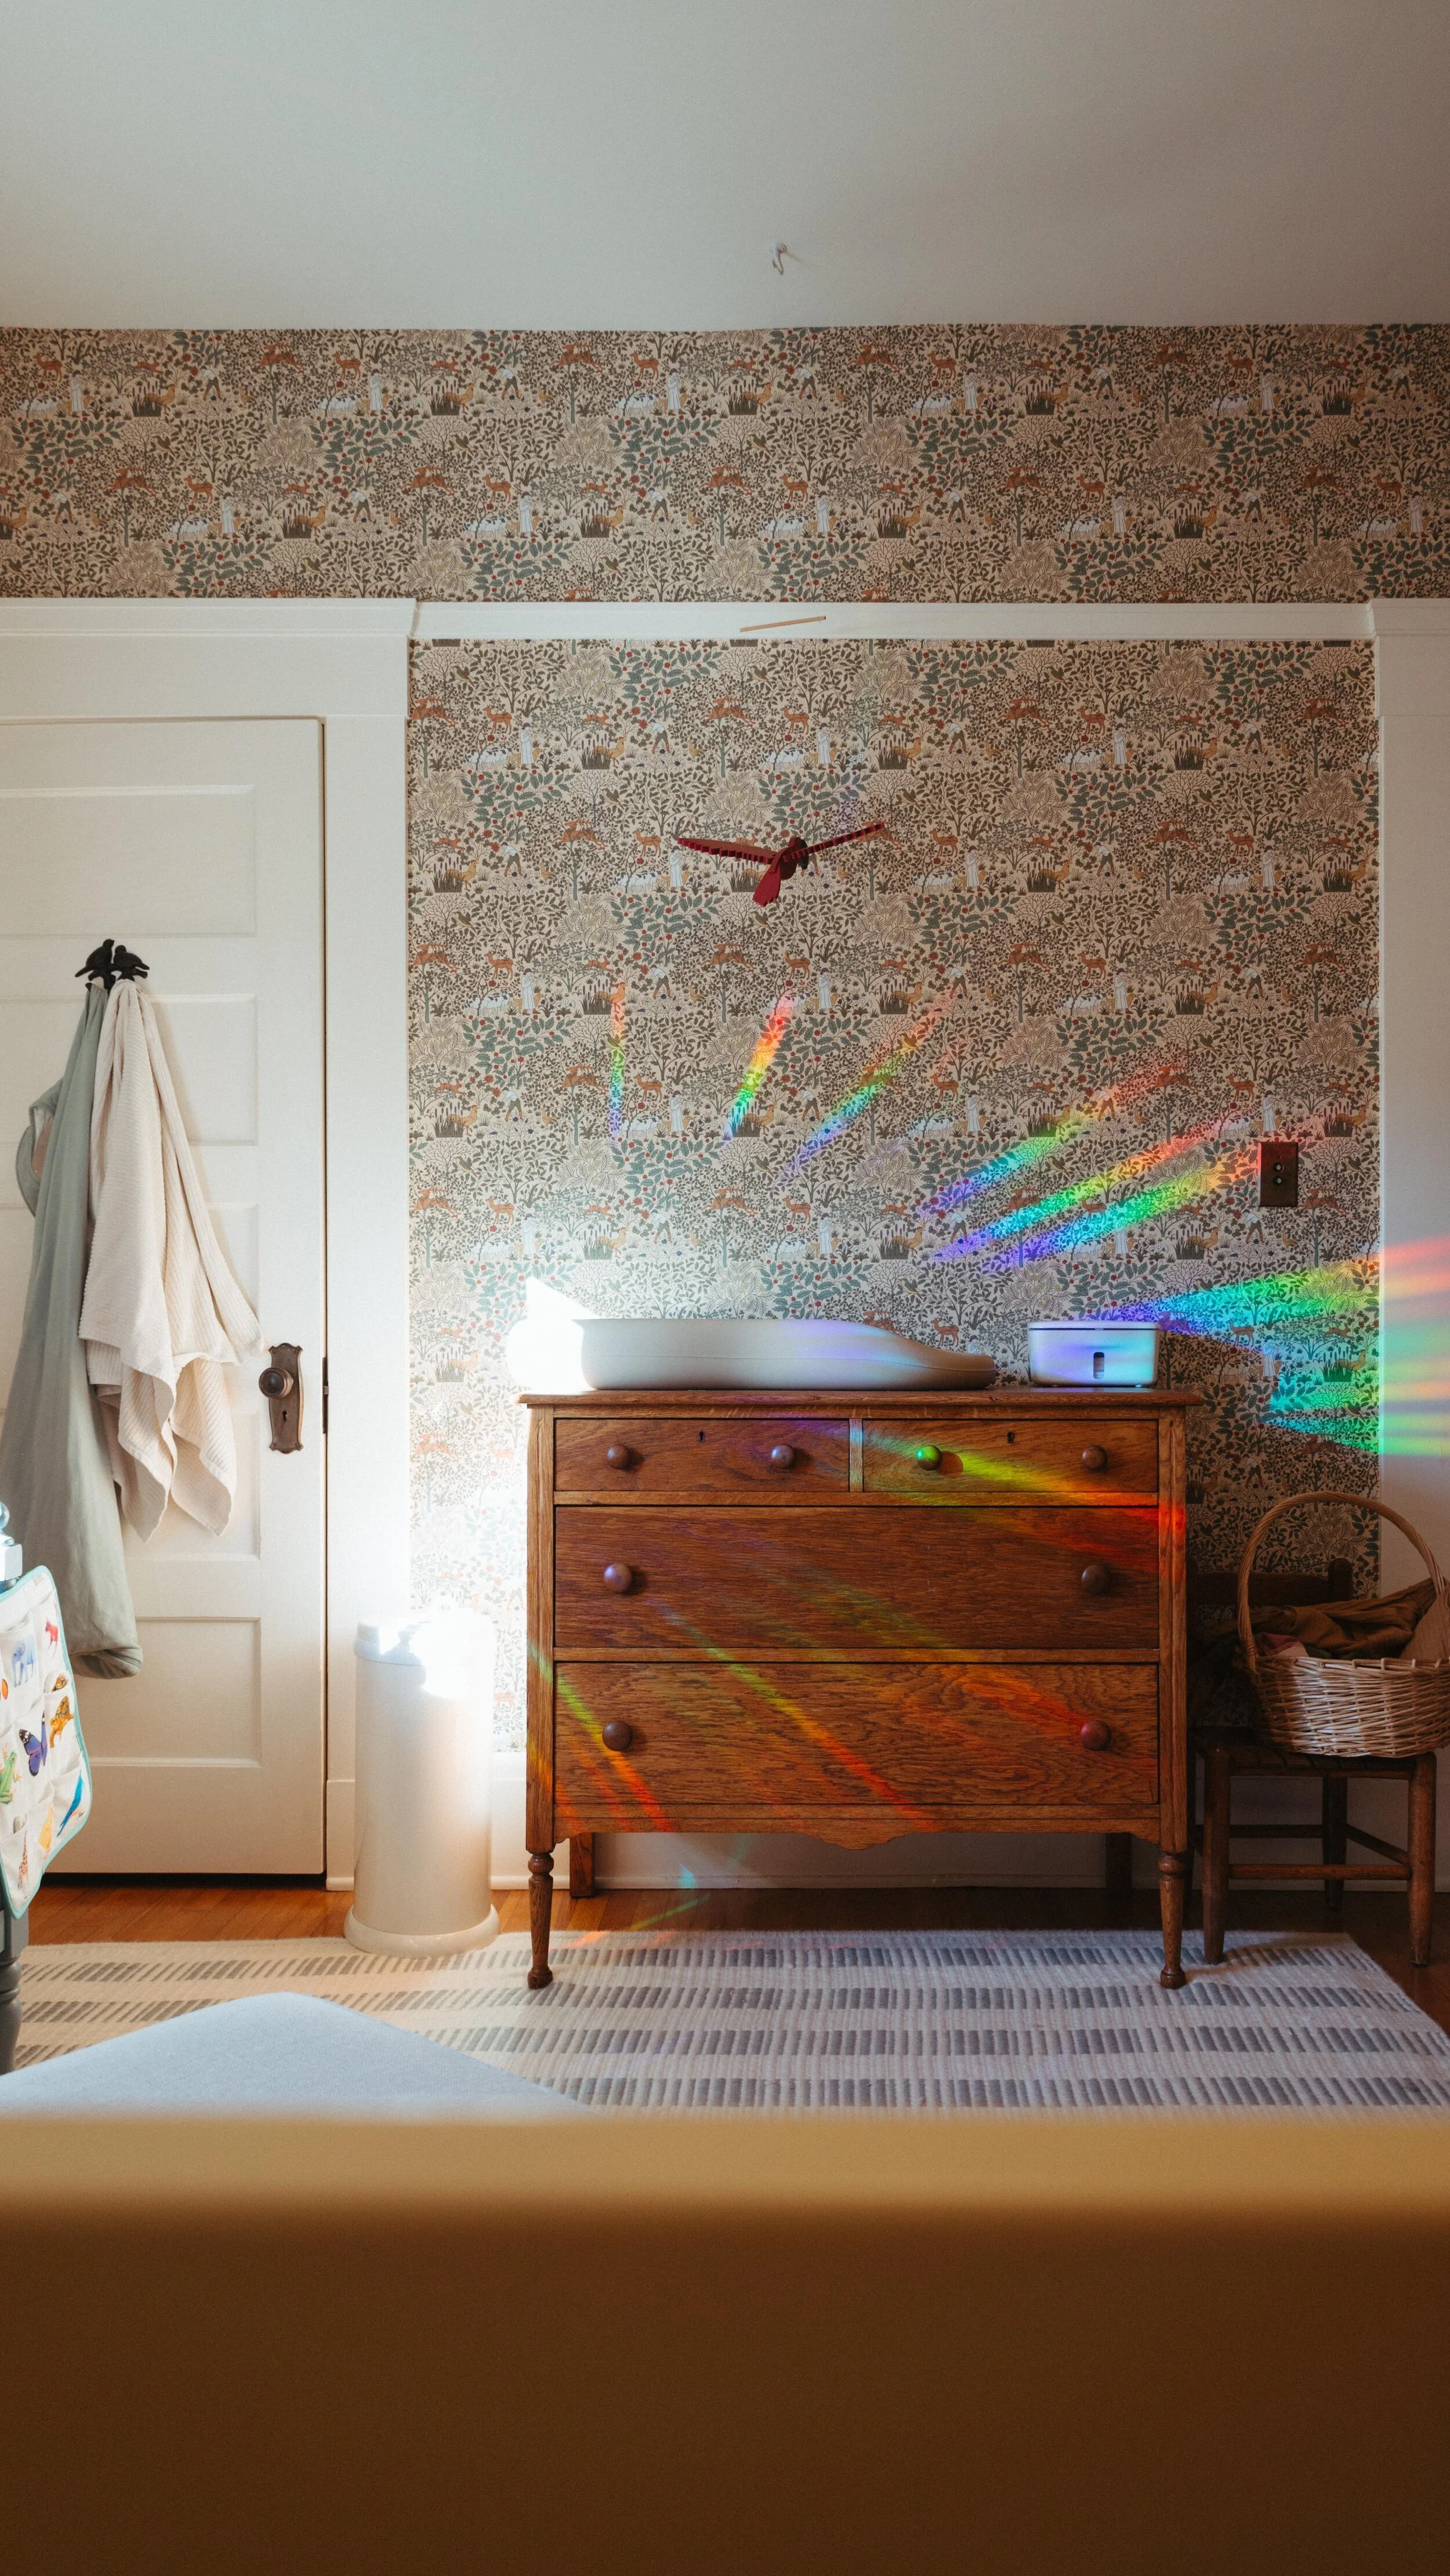
4. The Master Bedroom

Since we’re messing with the master closet and master bathroom, we might as well do the master bedroom, too, right?? The current room has mismatched Craigslist furniture that I bought when we lived in our apartment five years ago. If you recall from Instagram, we moved our bed as a test for the new layout and we ended up having weird dreams for a couple of weeks. That better not be a permanent.

5. The Backyard

When the kitchen configuration changes, the door to the backyard will move. This one small change to the layout has been the primary reason we haven’t tackled the backyard. We wouldn’t know where the kitchen door would lead, and we still don’t know if we’ll add backyard access from the master. So, we haven’t relandscaped in fear of putting a door directly in front of a shrub. Once the kitchen layout is 100% finalized, I’m going to be ready to rip off the temporary deck, haul away (or cut into pieces) the 8-person jacuzzi that we never use, and add some fresh plantings.

6. The One Room Challenge

I’m so honored to have won the One Room Challenge along with my friend Natasha. House Beautiful magazine selected us as the top two room transformations, so we have automatically been added to the list of featured designers in the spring 2018 event! I still don’t entirely know what room I’m going to do or what my plans will be, so stay tuned!

7. Share The Front Yard Landscape

Last year, we upgraded the front elevation of the house with some cosmetic exterior changes and a garden in the front yard. We’ve enjoyed this exterior space for awhile now but I haven’t shared it on the blog, so stay tuned for posts on how I repaired the stucco on the house and designed a low-water garden.

8. Share The Laundry Move

Did you notice that the laundry used to live in the kitchen? Last year, we hid it in a secret spot. Maybe I'll tell you where we put it.

Blog Preview

I have a few goals for the blog itself, too!

Open an online shop: I have some cool vintage finds that I'd love to give to a new home, and I'd be happy to put my art school degree to work by selling some of my own pieces. Perhaps art prints of the mural I hand-painted?

Create videos: I published my first-ever video last year and want to keep experimenting with the medium in 2018. Click that red subscribe button to follow my YouTube channel.

Post more: This year I've posted 2-3 posts a week, and I hope to maintain that schedule if not increase to 4+ times a week.

Share the messy stuff: I plan to show more behind-the-scenes, the struggles of fixing up an old house, and the minutia of maintaining a home.

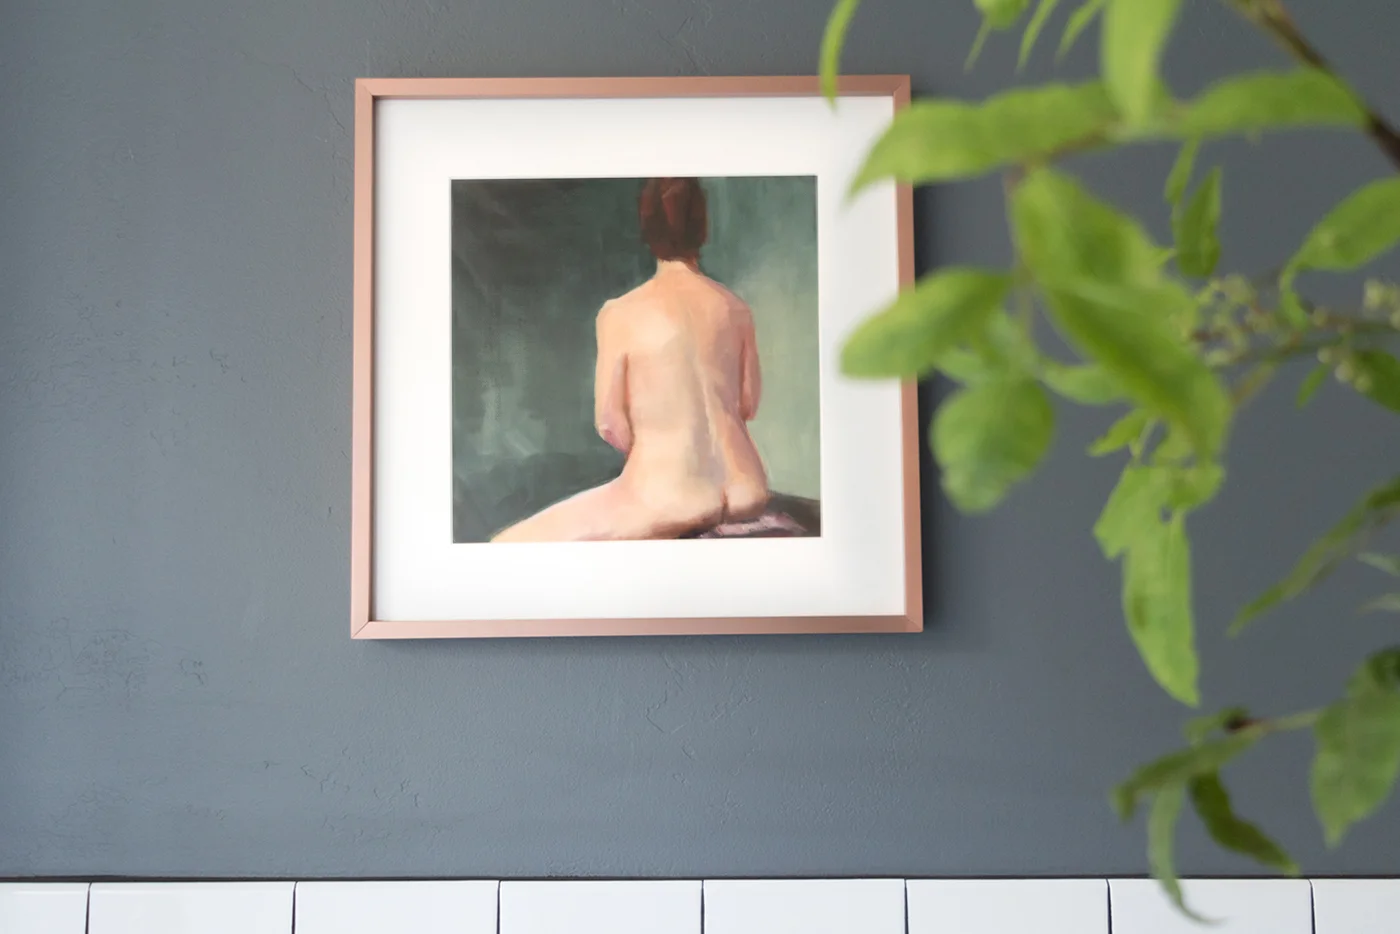
Support artists: I want to buy more original art for my home and promote the creators that inspire me.

FOLLOW ALONG!

Don't miss out on what I have coming up in the new year!

  • Subscribe to emails (get an email each time I post, or once a week)

  • Read on Bloglovin' (get all the posts, but in the app)

  • Admire on Instagram (see photos that never make it to the blog and watch my Stories)

  • Follow on Facebook (pretty much the same as Instagram and blog posts, but no Stories)

  • Subscribe on YouTube (I hope to do more than one video in 2018!)

  • Pin with me on Pinterest (see what inspires me before I implement the design in my home)

To see before and afters of each room, click here and to shop the house, click here. Fingers crossed I can accomplish everything I hope to tackle in the new year!

Bathroom Reveal

The Gold Hive Bathroom Reveal

Welcome to the renovated bathroom! It was gutted and rebuilt two years ago, but it continues to evolve. Shall we take a look at what she looked like before we demolished everything?

Before Bathroom
Before Bathroom
Before Bathroom
Before Bathroom

And for that satisfying side-by-side, I give you this.

before and after

This is our one and only bathroom in the house and it's been serving us so well after we did a number on it. As a refresher, here are all of the posts I've written about the bathroom so far:

  1. The inspiration

  2. The design plan and layout

  3. Gutting the whole room

  4. Installing a custom wood window in the shower

  5. Getting creative with storage

  6. Sourcing a console sink

  7. Tile layout and design

  8. Selecting artwork

2017 Sept reveal-0348.jpg

We gutted the whole room and the only elements that were worth saving were the door, and the medicine cabinet. They got a good cleaning and a fresh coat of white paint that was custom color matched to the white tiles.

The walls were coated in Behr's Antique Tin which is the perfect deep grey that's neither too blue nor too warm.

The Gold Hive Bathroom After
The Gold Hive After

The console sink sits front and center in the bathroom. We opted for a console-style sink that would keep things open and airy. I waffled between a few styles before picking this leggy chrome beauty.

The Gold Hive Bathroom After

Since it's clear that the sink can't be used for storage, we built a spiffy cabinet at the end of the tub. Baskets hold all of our toiletries, and then more storage is accessible from inside the shower for our shampoos.

2017 Sept reveal-0424.jpg
The Gold Hive Bathroom After

The plumbing fixtures on the sink and in the shower are all from the DXV by American Standard Randall line. They are good reminders that we're in an old house with their vintage-y vibes.

The Gold Hive Bathroom After
The Gold Hive Bathroom Reveal

The tile is the star of the show in this bathroom. We went for a simple subway tile and a bullnose edge detail on the walls. The dark grout was a must and I couldn't be happier with how crisp and clean it looks two years later. The marble hex flooring gives just a touch of sophistication without making the space feel too precious.

The Gold Hive Bathroom After

I'm definitely a fan of mixed metals. We did chrome throughout with black accents. The light fixtures are both vintage brass that have earned a dark patina after years of aging. The window hinges are brass and will continue to patina over time.

The Gold Hive Bathroom After

The bathroom previously didn't have an air vent, so when we decided to add one, I wanted an old vent with some pizzazz. I found this wall vent at a local architectural salvage shop covered in paint and rust. After a trip to the powder coater it came back with the most glossy black finish. 

2017 Sept reveal-0371.jpg

Notice on the side of the toilet that you don't see the curvy shape defining the route of all of your flushed items? We went with a skirted (or concealed trapway) toilet which makes such a visual difference.

2017 Sept reveal-0382.jpg

Can we talk about that window for a second? The previous bathroom had a lil' frosted glass one with an aluminum frame that was corroded and didn't open. This 45"x26" custom wood window brings in so much light and lets out all of the steam and moisture after a hot shower. The oversized window with a transom-style opening is one of my favorite features of the whole bathroom.

2017 Sept reveal-0383.jpg
The Gold Hive Bathroom After

We opted for a cast iron tub from Kohler (as opposed to acrylic) and I love how solid it feels. There's no flex underfoot, it keeps tub water warm longer, and it's the right material for our old home. This particular tub is a favorite because of the flat apron which was hard to come by within our budget.

The Gold Hive Bathroom After

How about that artwork? I feel like it was painted just for this bathroom.

The Gold Hive Bathroom After

I really could go on and on about this space! For all of the posts about the bathroom, click here. And to shop the room, click on the product images below!

Get The Look

Note that a few of the pieces in our bathroom are vintage, so I linked to similar ones.

Classic Tile in the Bathroom

If you saw my post about the bathroom inspiration, you'll remember that it was chock full of classic vintage vibes complete with subway tile, marble, and contrast grout. Thus, that's exactly what we went with when we gutted and remodeled the bathroom two years ago.

Subway tile in the bathroom The Gold Hive

I already knew I wanted subway tile, and even considered crackled, textured, and irregular styles before ultimately deciding on these crisp white ones from the Tile Shop (which are currently on sale). But, it's not as simple as just picking the tile. Below I'm sharing our thought process for tile design.

Pattern

Running Bond Offset tile pattern subway in bathroom The Gold Hive

We did a simple running bond pattern throughout. There are actually several ways to lay a subway tile in a subway kinda way. Check out the examples here. Since we were going with a dark grout, I chose a pattern that didn't have as much movement as say the 1/3 offset.

Layout

Subway tile to the ceiling in a shower

I can't stand when tile doesn't go to the ceiling in a shower. I know, it isn't necessary. It can be a waste of money to tile 3 feet above your head where no water will splash, but I really am a sucker for fully tiled showers.

chair rail heigh subway tile in the bathroom

Since I was already going for lots-o-tile in the shower, we decided to surround the rest of the bathroom walls mid-way to a chair rail height. This look helps me to feel like I'm living in The Knick. The medicine cabinet determined how high we would go, since I didn't want it floating above the tile, nor drowning in it. For reference, the tile stops 50" up the wall.

Finishing

bullnose subway tile bathroom The Gold Hive

We nearly did a decorative cap around the top of the chair rail, but ultimately nixed it when we didn't like how it terminated at the edges. So, we did a simple bullnose along the top edge of the same-sized tile as the field tiles. I like that this modernizes some of the other vintagey-vibes in the room. For the base, I went with a baseboard skirting that finishes off the space with just a lil' bit of detail.

base molding tile bathroom dark grout The Gold Hive

Grout

Dark grout on Subway Tile

Contrast was the name of the game with the wall tile, so we did a deep charcoal to make the pattern pop. Also, dark grout doesn't run the risk of looking dingy. Win!

grey marble tile floors in bathroom

The flooring had lots of texture in its marble veining and hexagon shape, so we went with a gray that would neutralize the pattern. We went with Delorean Gray

Accents

For the window ledge and the niche shelves, we installed a few pieces of marble slabs. They are gorgeous and the perfect material for a solid surface to rest our toiletries atop of. Plus, they tie in to the marble floor.

Marble sill and shelves in shower subway tile

There are so many details that go into laying tile and ensuring that you're forever happy with the pattern, but I opted to keep this post pretty simple. If you want the specifics, let me know!

For more on the bathroom renovation progress click here! And to get all of the sources and see the full reveal, click here.

Subway Tile in vintage bathroom

Deciding on A Tank or Tankless Hot Water Heater

A couple of weeks ago, our hot water heater failed. We took a few cold showers, asked for recommendations, and debated tankless or tank options for days.

Hot Water Heater Debate

Our unit was a whopping 26 years old (!) which is triple the life expectancy of today's water heaters. It lived a good life, but just had enough, I suppose. I get it, 2017 has been a rough year. It acquired a leak (maybe tears?) that dripped onto the pilot light, extinguishing the flame. We could relight the light, but the leak had already rusted out pieces of the heater and it got worse day by day.

Tank or Tankless Hot Water Heater

Thus, we needed a new hot water heater. Before I get into shopping for a new one, a brief PSA. Is your heater easily accessible? Do you have experience relighting the pilot? Have you already identified which valve shuts off the gas and which shuts off the water? If not, I recommend you take a look at your unit and get comfortable with how to make adjustments in case of an emergency. Either a cold water emergency or worse - gas or water leak emergency.

And back to shopping for everyone's favorite product. The biggest, and really, the only decision we had to make was if we wanted to go with the tank or tankless option. In short, the tank is your old fashioned giant cylinder hiding in your garage, closet, or backyard. Using either gas or electricity, it keeps oodles of water constantly hot. A tankless option is a small rectangle that sits on the wall patiently waiting for you to ask for hot water. When you open the tap, it turns on and heats the water as it passes through the unit. To decide which we wanted, we broke down the differences and evaluated how they fit our needs.

Size

Tank: These big cylinders filled with 30-60 gallons of water don't do anything for aesthetics. They can eat up valuable real estate in a garage, closet, kitchen, bathroom, etc.
Tankless: They look like what someone in 1980 would imagine a 2020 backpack would look like. Or maybe more like a hand blow dryer in public bathrooms. They're little and mount on the wall instead of sitting on the ground. It's a perfect option for replacing a tank that sat in an ideal spot for anything other than a tank of water.
Our take: Our hot water heater sits outside of our house. It faces our neighbor's driveway and lives in its own hut attached to our exterior wall. It isn't bothering anyone at all, so we had no motivation to downsize.

Demand

Tank: Since the hot water is already heated, you get that hot water pretty much as soon as you turn on the tap. If you use up all of your hot water, you have to wait until the tank reheats itself which is not a fun thing to wait for while you're in the rinse and repeat stage of your shower.
Tankless: Since the water heats up when you ask for it, the unit needs a bit of time to heat up and get up to your preferred temperature. You'd have to keep the tap open and wait until the cold water becomes hot. But, you'll never run out of hot water once it's on so you can rinse and repeat all day long.
Our take: I lack patience and don't like wasting water waiting to get to the scolding hot temperature I need. Additionally, we've never run out of water, so the tank format is already working for our needs.

Efficiency

Tank: Imagine keeping a giant pot of water simmering on your stove at all times day and night. But imagine that pot is the size of a stout human. That's basically what the heater is doing. Not very efficient.
Tankless: It heats water only when you need it. Super efficient.
Our take: We love efficiency - this is the primary motivation to switch to tankless.

Power

Tank: Gas tanks need only gas. Electric need only electricity.
Tankless: Even if your water is heated with gas, you need to run electrical to it so it can power the brains of the system.
Our take: Even though the tankless unit would be more efficient in terms of its energy to heat the gas, it's just one more device drawing power off the grid. Plus, we didn't have power available to easily run to the unit.

Failures

Tank: If a tank fails, it could leave you with a disastrous flood.
Tankless: If it breaks, you'll be without water, but luckily water won't be all over your floors.
Our take: Our unit is outside. If it failed, the neighbor kids could make a slip-n-slide in their driveway, and my garden would be happy. We're super lucky - not everyone has this luxury. However, if our neighborhood's power goes out (which it does frequently in the hot summers) we would be without hot water - which I guess we wouldn't really even want in the hot summers anyway. But I've heard some folks report that turning the tankless unit back on is a real pain and not just a something that turns on when that surge of electricity comes back.

Natural Disasters

Tank: If we experience a natural disaster (like a California eathquake) I like knowing that we have 50 gallons of drinking water that can easily be accessed. If our power goes out, we’ll still have 50 gallons of hot water in the tank that would still provide us with a warm shower until it cools to the outside temperature, or until the power goes on.
Tankless: Water isn’t stored in the tankless system, so we don’t have any reserve in the event of an emergency.
Our take: I’m by no means “a prepper” but I like being prepared and find comfort in having the water available if needed.

Price

Tank: We were quoted $1,200 for a 40 gallon tank replacement.
Tankless: We were quoted $3,500 for a new unit.
Our take: Depending on how much you value each of the above items, the extra price of tankless may be moot. Or, depending on your area and capacity needs, the prices may be more similar. However, since we didn't need the smaller size or more demand, the extra price was really just to get a more efficient unit. Getting a return on the savings is debatable.

Are you still with me? Is a post all about my logic for buying a house utility at all interesting?

Conclusion

We bought a tank. A boring run-of-the-mill 40-gallon tank. You probably could have guessed it, but the benefits of tankless just don't apply to us. Maybe if we go solar we can get an electric thankless unit in a few years when the tank ultimately fails. (fingers crossed for solar!)

I drew all of my information from my online research and hearing from your experiences! But, if I missed anything, please use the comments section to weigh in and share your thoughts. I'd like to see this blog serve as a resource based on your experiences as well as mine!

Isn't she pretty?

New Water Heater

Refreshing An Overly Painted Bookcase

The Gold Hive Bookcase Before and After

The bookcase room dividers were a big selling point when we (well, when I) first laid eyes on the house. But, somehow, I neglected them for two years. I got distracted with all of the other projects, so they sat empty for months. Then I started piling books on them. Then I loaded them with junk with no intention of styling them. Then they just sat there for months. I'm not perfect, okay??

The Gold Hive Bookcase Before

Luckily, all of my knick knacks covered up the horrid paint job underneath. Not only was it an unfortunate brown color, but it was peeling pretty badly. This, my friends, is why you don't want to paint water-based paint over oil-based paint without some serious prepping. Otherwise, you leave a mess of refinishing for people like me (or even yourself) years later.

Supplies:

6-in-1 tool
Razor blade scraper
Utility knife
Sander with coarse grit papers
Respirator/dust mask and goggles
Drop cloth and optionally an old sheet
Primer
Paint of choice
Angled paintbrush
Shelf support pins

The latex paint was peeling off in sheets, so I used a combination of tools to scrape and peel it all off. Some of it came off nice and easy, whereas other spots took some serious scraping. The goal was to scrape anything that wanted to come off. Really stuck-on paint could stay.

The Gold Hive Refinish a Bookcase

After what felt like 99 hours of scraping, the next step was to sand everything really smooth. Any edges where the layers of paint didn't come off entirely need to be sanded down until they are slick to the touch. You'll still see the different colors, but as long as you can't feel it to the touch, then you're golden. I used the 50 grit sanding pads on my orbital sander to smooth edges and rough up the existing finish to receive new paint.

Since power sanders blow a bunch of dust around, I wanted to protect the rest of the house from the mess. Thus, a made a cocoon for myself with an old sheet to encapsulate all of the dust. Of course, I wore face protection to keep dust out of my eyes and lungs.

The Gold Hive sanding a bookcase

I'll admit that the funny looking technique wasn't the most comfortable way to work. It got pretty hot and rather dusty. But I didn't need to clean up much dust at the end of the project, so I consider it a win!

Once everything was sanded smooth and paint scraps were cleaned up, I coated the surface with my go-to primer, Zinsser 1-2-3.

The Gold Hive bookcase primer

That's just primer, but look at the transformative power of paint!

Next, I did a couple of coats of paint left over from the One Room Challenge. Benjamin Moore's Simply White in the satin finish is such a pretty, soft white. So much better, right?

The Gold Hive Refinish a Bookcase

The bookcase has small holes on the sides to mount adjustable shelves on pins. Each of them was filled with so much paint (prior to my scraping), that the pins didn't fit. After painting my own three layers of paint, which subsequently mucked it up even further, I redrilled the holes. Using a bit the size of the holes (1/4" in my case) I re-drilled each of them being sure not to make them any bigger than their original size.

The Gold Hive Bookcase Refinish

The drill removed the gunk from inside of the holes, but it did pull up some of the new paint along the edges. No biggie, though.

The Gold Hive bookcase refinish

I followed up with a mallet and the end of a screwdriver to soften the edges by hammering any rough edges produced by the drilling into the hole. This is the same technique I recommend for patching a hole in the wall after removing a nail.

For a swift cleanup, I used compressed air to blow the dust out of each of the holes while vacuuming gunk that flew out with a shopvac. I followed up with a light dabbing of paint to touch up the spots that lost some of the finish.

The Gold Hive Refinish a Bookcase

Finally, I pushed the shelf mount pins in, then plopped the painted shelves on them. These pins work wondrously for creating adjustable shelving options. If you're building your own shelves, or want to add more storage to an existing unit, you could easily install a strip of wood in each of the corners with equally spaced holes. Then pop the pins in, mount a shelf, and you'd have adjustable storage!

pegs-0282.jpg

Next week, I'll share my steps for styling shelves. Maybe within the next two years I'll refinish the other matching bookcase, too!

The Gold Hive Bookshelf

15 Unique Cabinet Knobs and Pulls for Under $10

When we bought the house, all of the kitchen cabinets were adorned with handles in the shape of twigs. All cabinets but one - the drawer under the sink had a knob in the likeness of a rooster. So stylish, so festive. While I love foliage and fowls, I decided to swap them out for new pulls. Since we were seeking stopgap solutions for a phase 1 upgrade, inexpensive options were a top priority. I know I'm not the only one that likes to be nice on the budget, so I've compiled a list of cabinet hardware pieces for under $10, just for you!

The Gold Hive Budget Friendly Hardware.jpg

1. Peggy // 2. Paris // 3. Porcelain // 4. U-Turn // 5. Hex // 6. Leather // 7. Wooden // 8. Latch // 9. Martin // 10. Metro // 11. Cup // 12. Allison // 13. Marcel // 14. Cork // 15. Bar

When searching for budget pieces, it's easy to head straight to the big box store, but can you believe that many of those are handmade?! And all of them are under $10? And one of them is made of cork? And another with leather?

We went with #11 and #12 in nickel, but I have eyes for a few of those other pieces. Which are your favorites?

A DIY Kitchen Transformation Using Vinyl Floor Tiles + A Video Tutorial!

A DIY Kitchen Transformation Using Vinyl Floor Tiles + A Video Tutorial!

The kitchen has seen a wild transformation! So far, I've shared the plans, the concrete counter DIY, and three tutorials for adding more work space - check out those posts here. But the floors! The new flooring made the kitchen into a wonderfully different space - a big improvement from the sad termite-filled fir. I couldn't have been more excited to get started on the quick/cheap/transformative project of giving my kitchen floors a fresh buffalo check pattern. This DIY kitchen transformation using vinyl floor tiles is among my favorites yet - and it costs about as much as it does to paint a room!

Read More

Picking a Kitchen Floor Pattern

The phase 1 kitchen earned several upgrades already, like new paint, hardware, concrete countertops, and even more countertops. However, the floors didn't get much love other than a coat of poly when we refinished the the rest of the floors. As much as I love the fir, the wood was pretty damaged. Nearly every plank had either huge gouges or was brittle from years of termites gnawing on the softwood. The previous owner made attempts at repairing the mangled boards by filling the cavities with wood putty, but it definitely didn't help the aesthetics.

The Gold Hive Kitchen Flooring Damage

These photos don't do justice to the damage. We lived with the flooring as-is for a couple of years letting those termite gaps fill up with a hefty amount of cat litter and crumbs. But, I lost my patience and had to remedy it. Knowing that the kitchen will eventually get a full gut renovation, I had the opportunity to do whatever I wanted without it impacting the future plans - even if it pushes my design boundaries. So, I jumped on to the graphic look and committed myself to installing a funky pattern that I like, but wouldn't be my first choice for a permanent kitchen floor. This transitional renovation fix lets me get the bold/graphic/retro vibe out of my system before having to make the forever-flooring decision. Win win.

The Gold Hive Graphic Flooring Inspiration

Sources clockwise from top left: Megan Pflug Designs/A Beautiful Mess/Allison Burke Interior Design/The Art of Doing Stuff

At first, I was sure that I would install the checkerboard pattern to get that retro diner vibe. But after a few Photoshop mock-ups, I realized that with the large amount of uninterrupted floor space, the high contrast of black and white was too busy and could give us vertigo. The idea of modern geometric shapes was also appealing, but I worried I'd spend years cutting the tiny pieces. It didn't take much for me to fall for the buffalo check pattern. The grey neutralizes the high contrast black and white, while also adding texture with the illusion of the weaving pattern. It also has enough style that I can feel confident I didn't play it too safe.

Since this was merely a temporary solution that really only needed a bandaid, I found a flooring solution that was quick, cheap, effective, and super easy to install. The perfect improvement project for a newbie DIYer or renter.

I couldn't be happier with how it turned out. The installation went swimmingly and the result is sleek, clean, and full of personality. Come back next week to get the full tutorial and link to all of the sources! Subscribe, so you don't miss out.

Three Ways to Add Kitchen Countertop Space On A Budget

The biggest challenge with many kitchens is a lack of work surfaces. It's a pain to cook without sufficient countertop space, right? Yet, it's easy and inexpensive to DIY a spot to prep and cook. So, I bring you three super simple ways to add custom counters for cheap.

The Gold Hive How to Add Counter Space for Cheap

There are oodles of rolling bar cart options like this, this, or this, to give you more space to work, and they are great! Some have additional storage, some have spots for wine bottles, and some have fancy hooks and bars for all of your kitchen needs. But they don't always fit a space perfectly. Sometimes the height doesn't line up with the existing counters, or there's a gap next to the range, or it blocks an outlet. I tried out three different methods to add valuable work surface to a kitchen that has a couple of empty nooks.

1. The Cabinet & Counter

cabinet after-0331.jpg

Our range was centered on a narrow wall so we never had a spot to rest our tools or prep. With a few inches on either side of the appliance, the area was the perfect candidate for a new work surface and even some concealed storage. The search for a base cabinet started at Habitat for Humanity ReStore, then Home Depot and Lowe's, but I ultimately found the best size and cheapest option at IKEA. After wiggling the stove over, I had the perfect amount of room to wedge in this 18x24x30" SEKTION base cabinet.

The Gold Hive How to Add Counter Space for Cheap

I assembled the base cabinet according to the instructions provided. Instead of using the track system for the full kitchen cabinet installation, I used the components that mount it directly to the wall and supported it with the adjustable cabinet legs.

The Gold Hive How to Add Counter Space for Cheap

These cabinets don't come with a countertop, so I made my own. Butcher block was my first choice since wood is easier to work with than stone. However, even the cheapest slabs were too pricy and more material than I needed, so I used this piece of 3/4" pine that works swimmingly. In an effort to get as much surface area as possible, I made the wood overhang by 2” and notched out a spot for the door trim using my trusty jigsaw. I also sanded the corners to match the round profile of the range.

The Gold Hive How to Add Counter Space for Cheap

To finish, I coated the pine with food-safe Acrylacq so it could better stand up to the moisture in the kitchen.

The Gold Hive How to Add Counter Space for Cheap

Cabinet: $60
Cabinet legs: $6
Countertop: $20
Acrylacq: left over from
the concrete countertop project

Total Cost for The Cabinet & Counter: $86

2. The Custom Cleat Counter

The Gold Hive How to Add Counter Space for Cheap

The corner of the kitchen had been the home for a small breakfast table, but we never used it. A better use of the space was a long shelf to extend the existing counter. Instead of store-bought brackets (see #3), I used a cleat system. This technique provides strong support and gives the illusion of a floating countertop.

The Gold Hive How to Add Counter Space for Cheap

The first step was to identify the wall studs so the cleats would have something strong to sink into. I used my favorite technique from when I installed picture rail molding.

The Gold Hive How to Add Counter Space for Cheap

After finding all of the studs, the next step was to screw in lumber along the walls just below the counter. To find the height to screw in the cleats, subtract the thickness of the counter material from the height you want it off the floor. Make your mark, then using a level, draw the guide along all of the walls. It’s important that you make the cleats level so your food doesn’t roll off the counter!

The Gold Hive How to Add Counter Space for Cheap

I was lucky to have some scrap lumber, but you could get a few feet of 2x4s and cut them to size. I purposefully left a gap between the cleats so I could feed a power cord through to the top of the counter. It conveniently gets hidden behind the coffee maker.

I cut the pine panel to just a hair bigger than needed, then sanded it down until it was a snug fit. After cleaning up the edges, it got a coat of Acrylacq just like the cabinet counter.

Countertop: $35
Lumber & fasteners: already on hand
Acrylacq: left over from the concrete countertop project

Total Cost for The Cleat Counter: $35

3. The Off-The-Shelf Shelf

The Gold Hive How to Add Counter Space for Cheap

I used these brackets with this white melamine board to create out-of-the-way kitchen storage. It's as easy as hanging the brackets in the studs, then screwing the top to them. Simple dimple. We use this counter space to get the microwave out of the main part of the kitchen, store some small appliances, and plop things that are going in and out of the house. It's such a helpful spot to dump stuff, but over time, the board started to sag. See it bowing in the photo? It also started to tilt forward, so we had to reinforce it with some L brackets. Not a big deal, but it certainly doesn't have the floating cleat counter look.

The Gold Hive How to Add Counter Space for Cheap

Shelf brackets: $26
Melamine board: $13
L brackets: $6

Total Cost for The Off-The-Shelf Shelf: $45

For a grand total of $166, we gained 10.5 feet of additional counter space (and a few shelves)! While we were lucky to have lots of room to expand, I’m certain that even adding a 6” shelf between the range and the counter in a small space would do wonders. Each of these projects can be done in a weekend and are great for a rental. How would you upgrade the work surface in your kitchen?

To see how I skim coated tiled countertops with concrete and to see more kitchen progress, click here. To follow along with how the rest of the home renovation goes, subscribe!

Concrete Countertops in the Kitchen - A How To and A Report on Two Years of Use

While the kitchen didn't get a full gut and remodel like the bathroom, it received its fair share of updates to make it usable. Among the most impactful were the concrete countertops.

The Gold Hive How To Concrete Counters

The existing counters were granite tiles. Now, some of you may swoon when you hear "granite counters" but these were NOT swoon-worthy (but also, not many granite counters are swoon-worthy in my personal opinion - though, I digress).

You may be familiar with concrete countertops that are a solid piece of concrete that's poured in place, but skim coating is an easy option that doesn't require any demo. If you're a DIY-loving renter that has the "go ahead and make changes but I'm not going to pay for it" landlord, then this project is for you.

I'm not going to pretend that I came up with this DIY. I followed the instructions from John and Sherry of Young House Love to a T. For a comprehensive step-by-step, take a look at their whole process here and here, but you can follow along with my brief play-by-play below. Then, I'll get into how they are holding up 2 years later.

What you'll need:

  • Ardex Feather Finish - this is the star of the show. Amazon sells it in packs of 4 which is good if you need a lot. My kitchen needed less than 2 bags for a 12' run of counters and no backsplash. I got this option which comes with 2 bags and a trowel.

  • Measuring and mixing buckets - I used an old gardening pail and a cup. The ratios are what matter more than the actual measurements.

  • Scraping tool - I used a metal putty knife, but a 6-in-1 tool works great. I recommend something with a 2-4" blade.

  • Trowel - You can get creative with lots of different sized and shaped trowels but I used the one in the combo pack of concrete and a trowel. If you're new to this type of work, I'd recommend a short trowel to give you more control. A "pool" trowel has smooth edges which also helps newbies not make track marks as they spread. If that's what you're after, here's one.

  • Sandpaper - I used a heavy grit paper on my sander, then finer grits on the sanding block.

  • Mask and eye protection - During the sanding stages, it gets really, really, really dusty. You'll want eye protection and a mask or respirator.

  • Sealer - to protect the concrete that you so laboriously applied.

  • SafeCoat Acrylacq - to finish the counters and make them food safe.

  • Foam brushes - If you have a lot to cover, you can get a foam roller, but I used a wide foam brush.

As a reminder, here's what the kitchen looked like before.

The Gold Hive How To Concrete Countertops

The first step is to quarantine the room you'll be working in. I was lucky to be doing this project in the midst of renovations, so dust was aplenty. But, if you're living in the house while doing this project, you'll want to thoroughly seal off the space to contain the mess. Note that this is a multi-day project, so plan accordingly.

I used a coarse grit sandpaper on my sander to rough up the counters. It seems silly to sand granite which is a pretty darn strong material, but I did it anyway to really clean up the surface and sand down remnants of anything that I didn't want between the counters and the concrete. If you have a softer countertop material, this step is helpful for scratching the surface and giving the concrete something to grip to.

After wiping up the dust, I mixed the concrete according to the ratio on the bag (2 parts powder to 1 part water) to get a toothpaste consistency. If you're doing a lot of vertical work you'll want more of a peanut butter consistency, but if you're just working on the flat counter, it can be runnier. Find what works for you! I mixed small amounts at first to see how far it went.  If you mix too much, it will harden and all you'll have is a concrete mold of your bucket.

Coating the counter was like icing a cake - over and over again. The first coat is similar to the crumb coat of a cake - not pretty but an important base for the next step. I dumped out the mixture onto the counters and used the trowel to spread it to an even thickness. You don't want to go too thick or you'll prolong the already-lengthy process. Coat everything and don't worry too much about the edges.

After the concrete dried for a few hours, I followed up with a scraper to knock down the bumps and imperfections. You can try to make it perfectly smooth right after you apply it, but it's often too wet and you end up messing up, then reapplying, then fudging a little, then reapplying. Hot tip: set a lamp low on the counter and point it parallel to the surface; this will emphasize the imperfections so you can scrape them off easily.

The Gold Hive How To Concrete Countertops

After the first coat dried completely, I followed up with the sander to make it smooth for the next coating. I used a power sander which made everything go by quickly, but it did get suuuuper dusty.

The Gold Hive How To Concrete Countertops

Once the base coat was sanded and smooth, I applied another coat the same way as before, and then again. Three coats is the minimum I'd recommend, and it does indeed take three days! I applied the concrete late at night, went home, went to sleep, went to work, came back, sanded, sanded, sanded, wiped up dust, applied another coat, went home, went to sleep, and repeated.

The Gold Hive How To Concrete Countertops

The sanding block was helpful for refining the edges that the power sander couldn't do. I started with a coarse grit block, then graduated to a finer grit for the last layer. 

The Gold Hive How To Concrete Countertops

I purposefully left trowel swooshes and visual texture in the concrete. If I didn't, then any imperfection would show dramatically. Concrete isn't known for being particularly beautiful, so I embraced the nature of the material and aimed for a handmade look - plus, imperfection is so much easier!

The Gold Hive How To Concrete Countertops

Once the countertops were shaped and smoothed to my liking, they had to be sealed. There are lots of opinions on sealers, but John and Sherry did lots of research, so I followed their lead. This final process included wiping on a few coats of sealer, then coating everything with a few layers of Acrylacq which is basically a polyurethane - but a non-toxic food-safe version. I don't have photos of this process, but it's easy as pouring the sealer on and spreading it out, then waiting for it to dry between coats.

The Gold Hive How To Concrete Counters

How they're holding up two years later

They are doing pretty well after two years of use! They still have a nice shine to them and still have the natural concrete look. I haven't babied them, so they're definitely seeing signs of wear.

The Gold Hive How To Concrete Counters

Water: I store our dish scrubber on the countertop, so a puddle of water will pool on top of the counters for hours/days. I worried it would break down the finish and cause big issues like mold, but the only problem is it darkens the tone. Since I don't mind the darker shade, water on the surface doesn't bug me at all.

Heat: I somehow forgot that I had (essentially) a coating of plastic on my counters when I sat a hot cookie sheet on top of them. It didn't sit there long before I remembered the many days of labor I put into the countertop project, but the cookie sheet definitely left a burn mark. There are a few small spots where the finish completely melted away.

Chemical: I sat down some laundry spray on the counters only to come back the next day to find an oval-shaped haze on the counter from where the product leaked out of the bottle. I haven't managed to get rid of these, but the haze has dissipated over time and blended into the other markings.

Rust: The bottom of my coffee maker started rusting and left a nice orange spot on the surface of the counter. I used some Bar Keepers Friend to buff off the rust, though I scrubbed through a layer of coating because it's a bit more dull there. It isn't attracting any issues, so I don't mind!

My review? Overall, I love the concrete counters and how much this project transformed the kitchen. I would do it again in a heartbeat.

The Gold Hive How To Concrete Counters

When You Can't Live With It But Can't Live Without It

There are two types of approaches I take to DIY.

  1. Permanent projects designed to last forever using solid materials

  2. Quick fixes using cheap, semi-permanent materials designed to be band-aids (with the caveat that it doesn't get in the way of future permanent projects nor damage the integrity of the home)

The kitchen project? I'm taking the latter approach. In the next year (hopefully!), we're going to tear out everything and replace it with our dream kitchen. Yet, we aren't ready for the permanent kitchen for a bunch of reasons like $$$ and my lack of decision-making skills and the fear of taking the plunge without being sure it's as perfect as can be. However, I'm totally embracing the slow evolution of the future kitchen plan. Each recipe gives us insight into functionality, each party better highlights ideal flow, and each trip to the store enlightens us on the best kind of storage. I'm taking my sweet time, but I'm learning oodles that I can apply to the big remodel.

Now, there is no way that I could ever cook a meal or host a get together in the kitchen in the state it was in when we bought it. No. Way.

Shall we revisit what she used to look like?

The Gold Hive Kitchen Before

How do you like those twig and rooster cabinet pulls?

The Gold Hive Kitchen Before

It really doesn't look that bad, but the smell, folks, the smell.

Since we couldn't wait it out for our permanent kitchen in this space, the clean it up and cover it up method was the route we took. Since we were going to do something with minimal investment that wouldn't last forever, I used the phase 1 kitchen update as an opportunity to play with styles that I wouldn't install in our dream kitchen.

So, I bring you the inspiration. These are among the MANY photos that I pinned for the kitchen two years ago when this project got started. They are a bit more vintage country than our future kitchen will be and they have a touch more color than I would gravitate towards today. But when you're going to do multiple phases of renovation, why not explore all sorts of design styles!

The Gold Hive Kitchen Inspiration

Sources from upper left: 1/2/3/4/5/6/7/8/9/10

See some trends? Muted colored cabinets, vintage drawer pulls, natural material countertops, semi-open cabinets, lots of white and light, patterned flooring/rugs, wood accents, beadboard, and nods to yesteryear.

Come back to get all the sources, the tutorial on installing linoleum floors, a how-to cover existing counters in concrete, tips on making a space feel new even when it isn't, the installation of the backsplash, a step-by-step on adding more counterspace, and a check-in to see how it's holding up two years later. If you're itching to see what she's become, click here. To follow along on the progress, subscribe!

A Console Sink Collection

We lucked out with extra space in the bathroom to carve out lots of storage so we were able to nix the vanity and opt for a console sink. With all of our toiletries in the cabinet, the sink could be just a sink - no need for a bulky vanity taking up visual space in a small bathroom.

The Gold Hive Console Sink

During our sink hunt, the priority to was to get as much work surface area as we could for the space we had (so we opted for this one). But if that isn't your number one goal, how about acrylic legs? wall-mounted faucets? turned legs? shelves? or marble? I've collected my favorite console sinks from a few different online retailers - each with some different features.

The Gold Hive Console Sinks

1. Mason Apothecary $999 / 2. Essex $714/ 3. Vero Wall Mount plus legs $731 / 4. Vero $582 / 5. Templeton $823 / 6. Mason $699 / 7. Milano $706 / 8. Nuo $739

Those are all great brand new sinks, but there’s nothing like an authentically antique sink. Shop available vintage sinks with the button below.

We have #6, the Mason console from Signature Hardware. We've been using it as our primary bathroom sink for two years and it's holding up beautifully - even fared well after I left a hot curling iron on it for 8 hours by accident. Doh!

For more of the bathroom renovation progress check out the inspiration, the plans, the demo, the recessed shelves and storage cabinet, and the window. There's still more to come, so I'd recommend you subscribe.