How (and Why) To Install Rockwool Insulation: A DIY Step-by-Step Guide
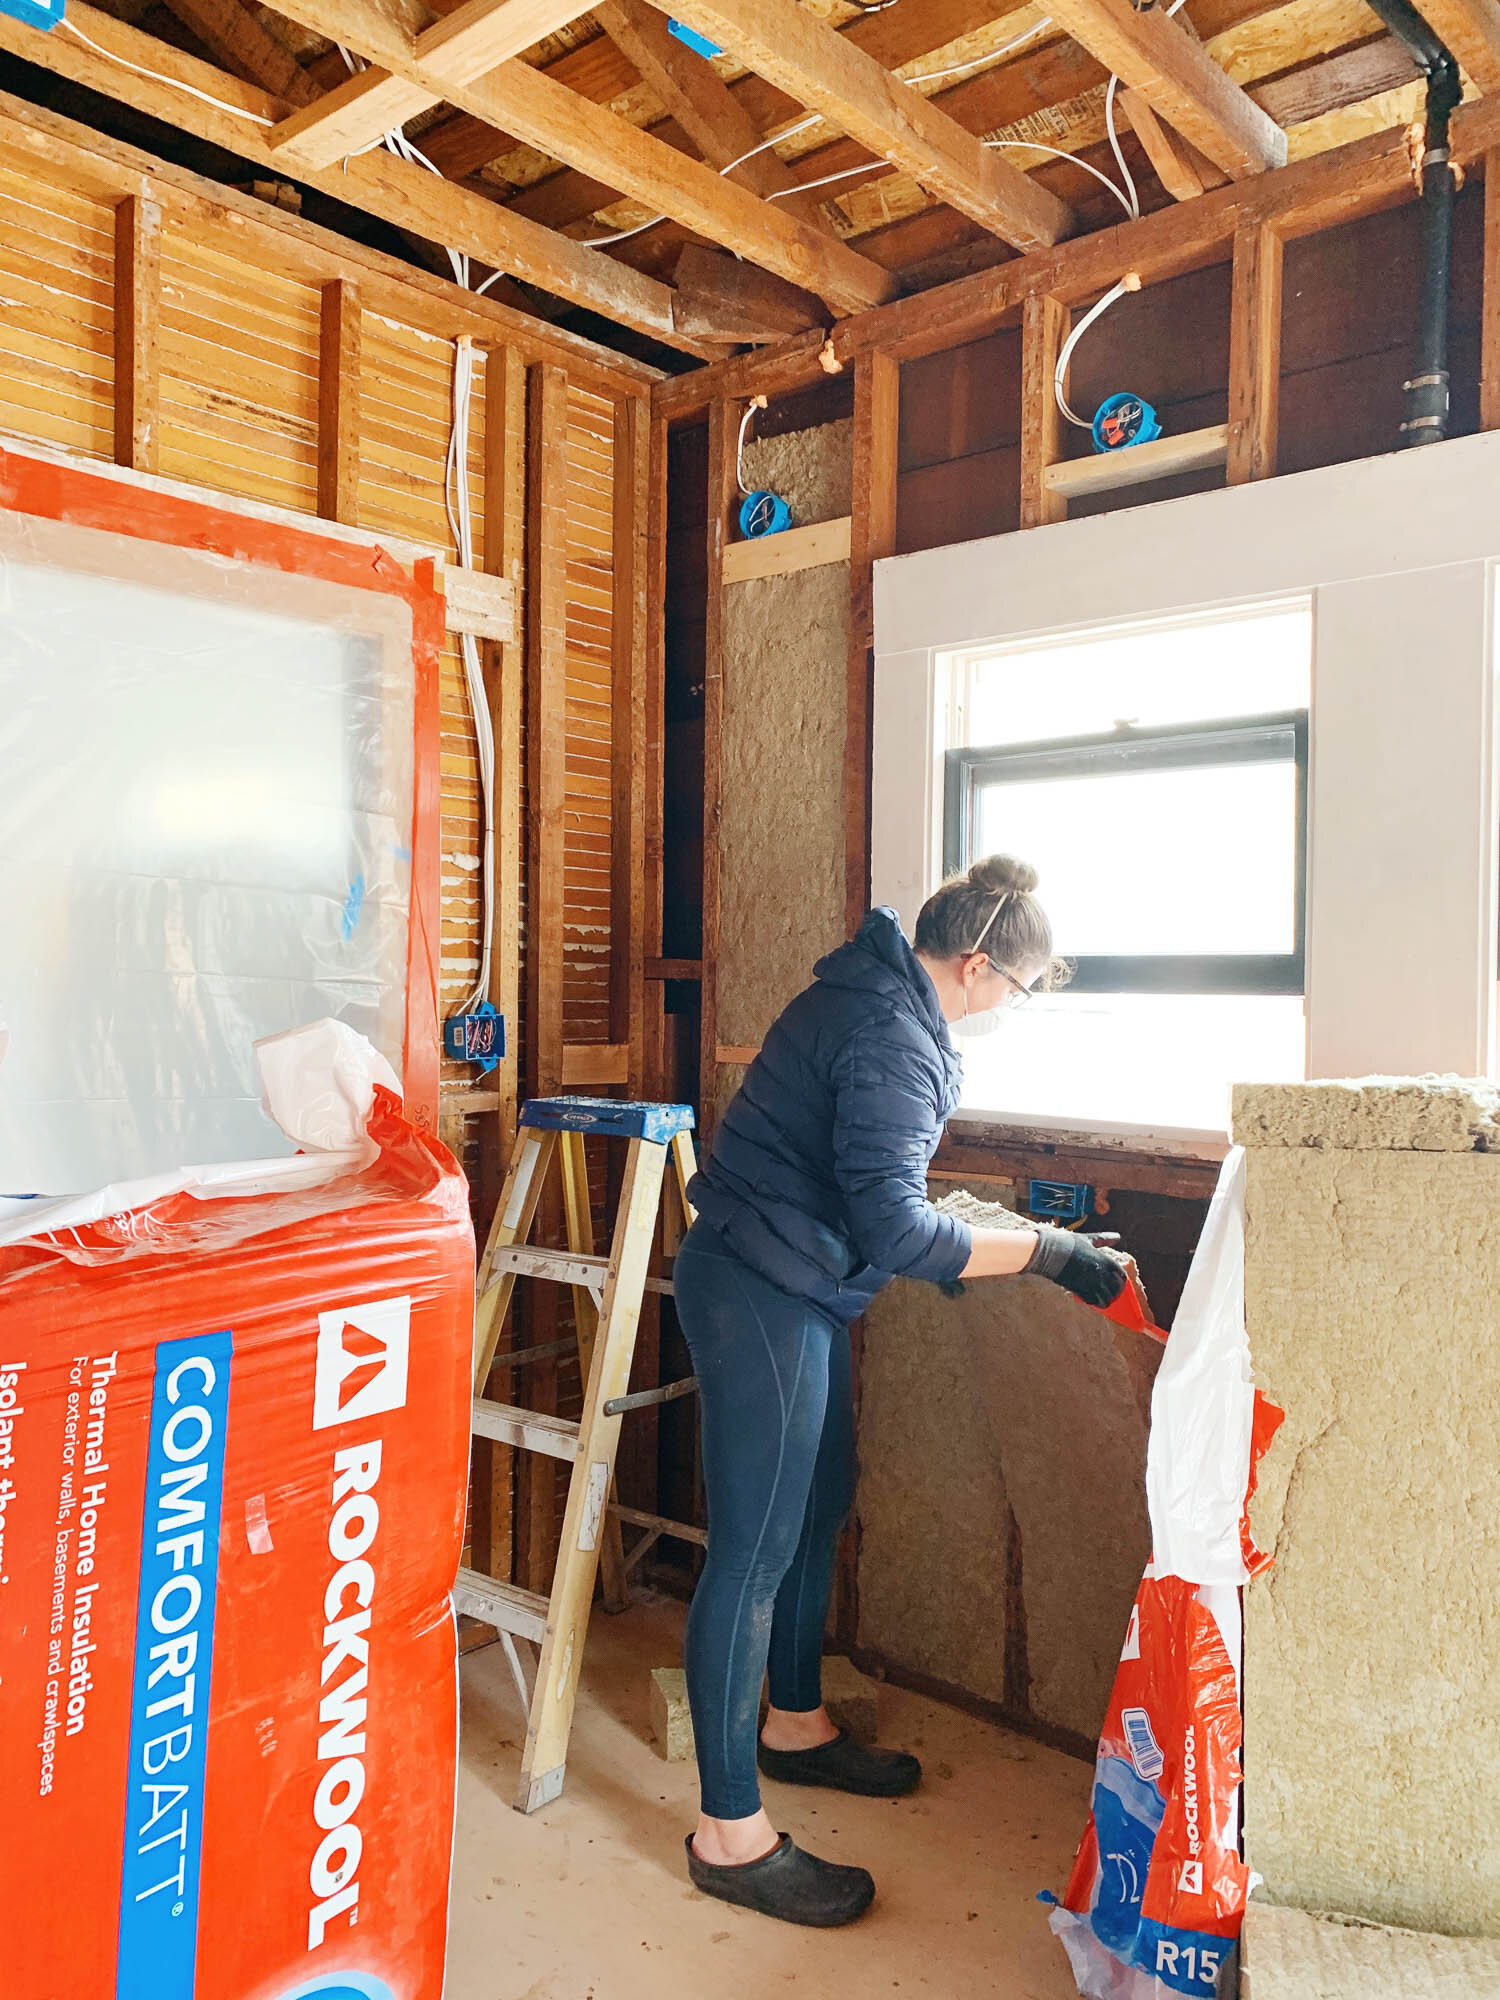
/The crew has left so I’ve taken over the renovation project and my first task was insulation! The process was very easy and actually quite enjoyable. I can already feel a difference in the temperature of the room and how the space sounds, so I’m a happy camper. Let’s get into it!
Why insulate:
There are many reasons to insulate walls, for heat retention, soundproofing, fire-blocking, and just for fun. I live in sunny San Diego where it rarely gets wet and it never gets truly cold. So while most insulate to keep comfortable in the winter, we’re insulating to keep cool in the summer and to reduce the noise of the airplanes overhead as well as the sounds from nearby rooms.
I used a few different insulation products:
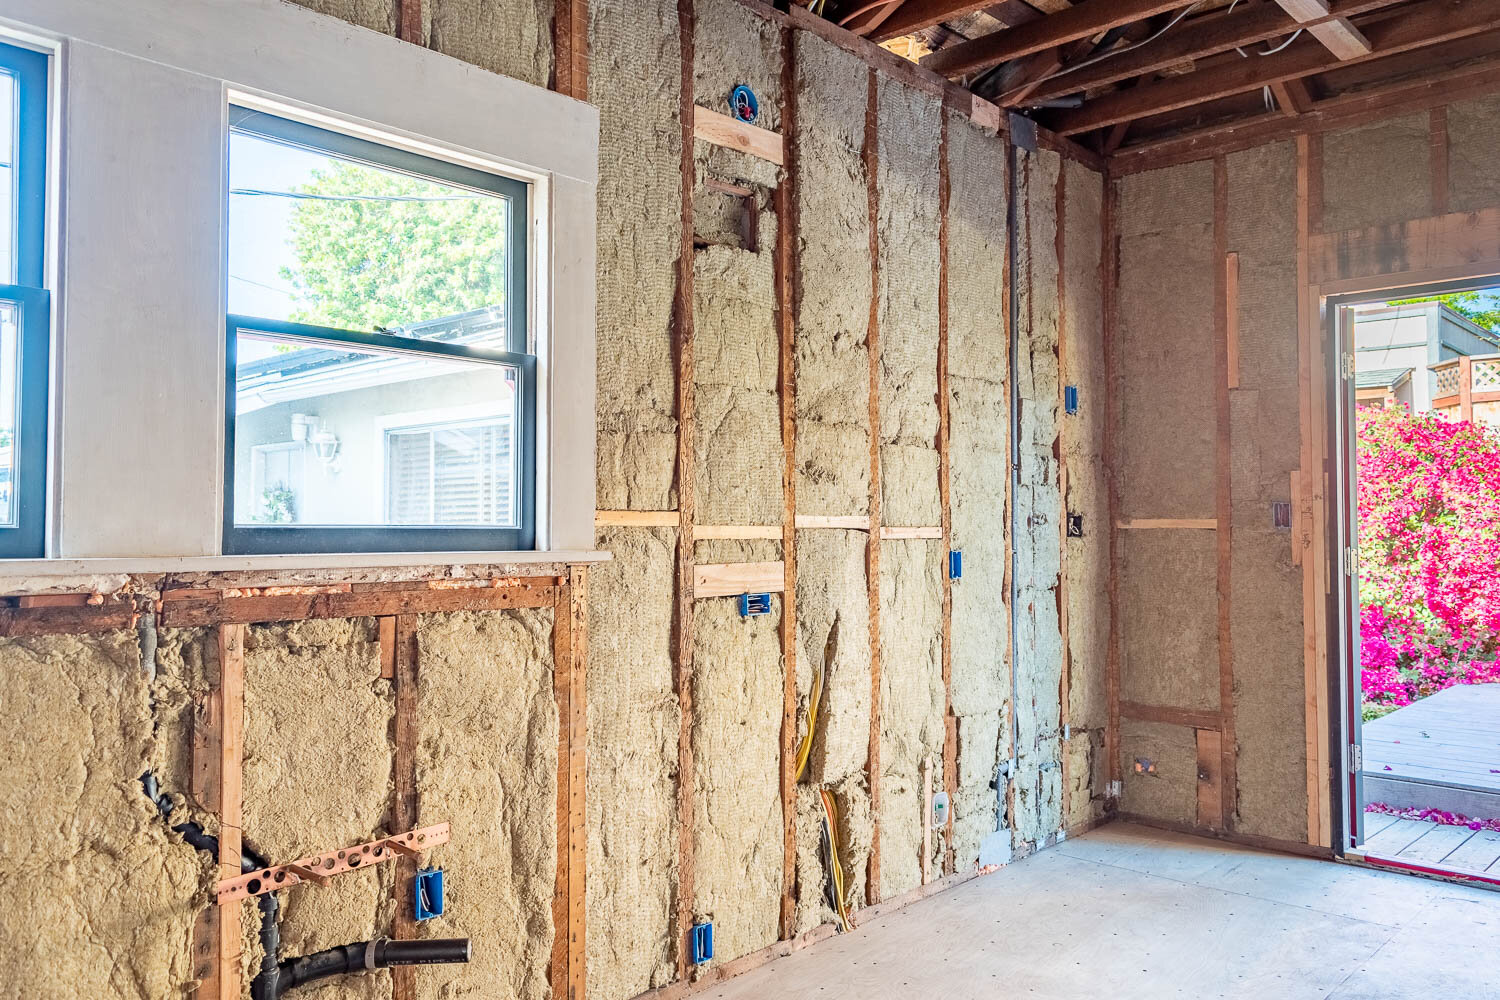
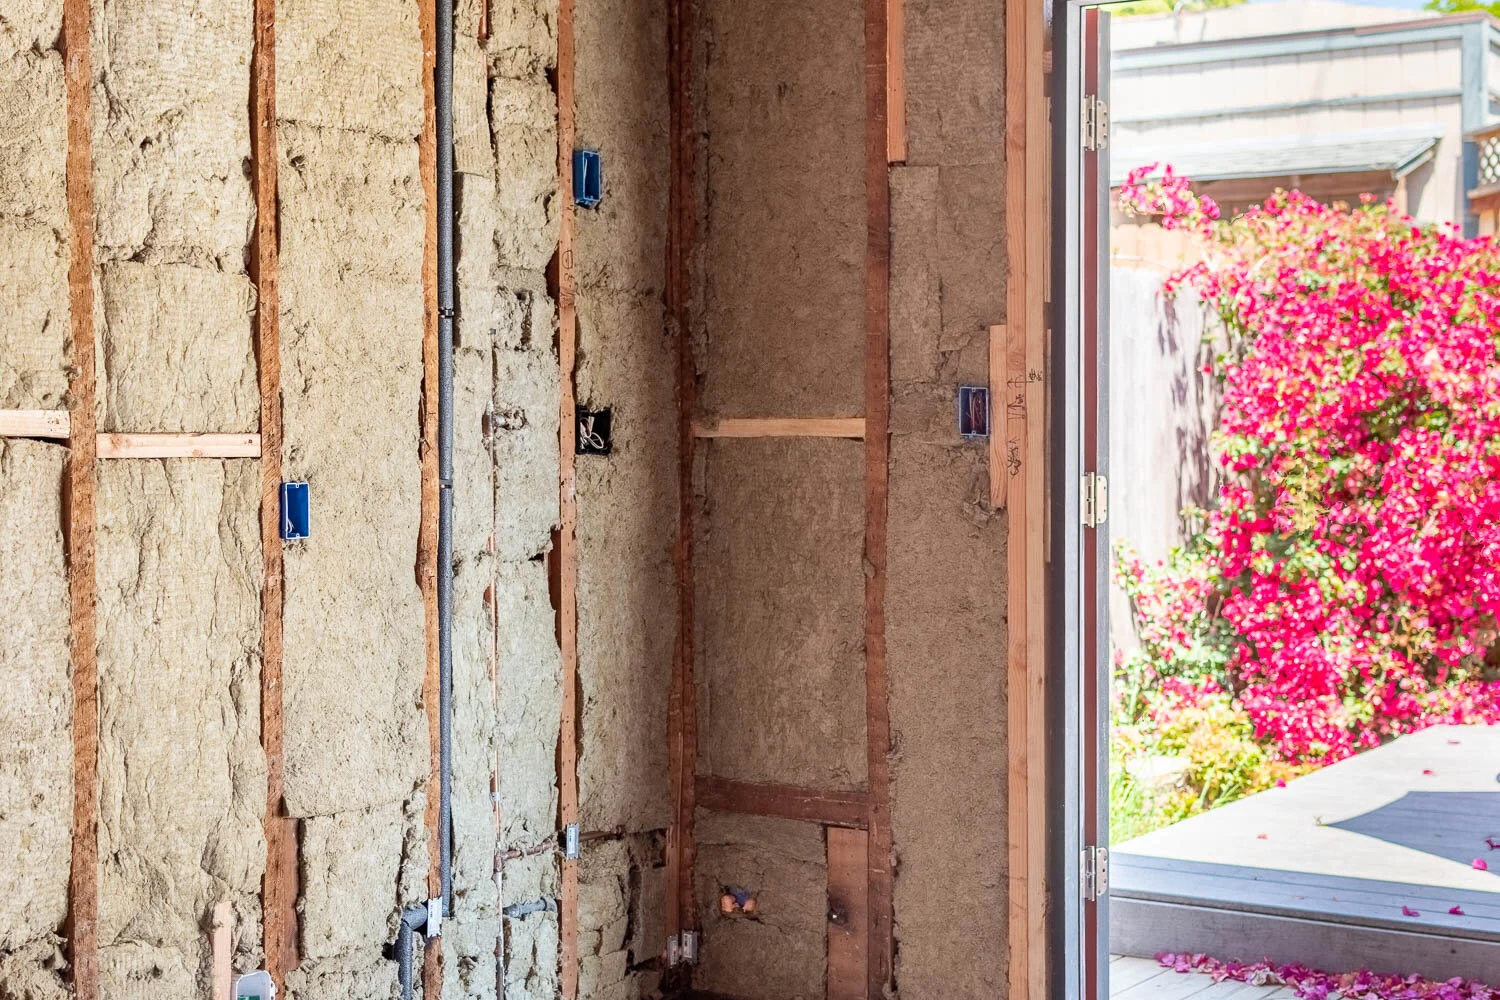
R-15 Bat Insulation: All insulation has an R-value, which is a measure of how well a barrier resists the conductive flow of heat. The higher the R-value, the better the insulation will do to keep the cold air our and the hot air in (or vice versa). Often, to get a really good R-value, the insulation needs to be really thick, or it will get costly like spray foam insulation. The insulation I used is in the sweet spot of being efficient and not crazy expensive - plus it’s exactly the required R-value our city code calls for. I installed the R-15 insulation in the exterior walls of the kitchen and bathroom.
Soundproofing Insulation Bats: For the interior walls, we opted to add soundproofing insulation. It isn’t really necessary, but hey, while the walls are open, it’s the time to do it. We also thought it would be smart to dampen the noises between the kitchen and the bathroom since the toilet is literally on the other side of the stove.
Foam Sealant: For all the small holes, cracks, and gaps, I sealed them with expanding foam before installing the bat insulation over the top of them. I used a combination of fire-blocking and door foam. I’ll explain more below.
Learn more about R-value and insulation in this video.
1. Seal the gaps
Before filling the wall cavities with the insulation bats, I went around with expanding foam to fill the gaps to the outside, into the attic, or into the crawl space. Openings like gaps under the window or next to pipes are big culprits for heat transfer, so I filled them with some foam that sprays out like a really sticky mousse, then grows and hardens into a firm mushroom shape.
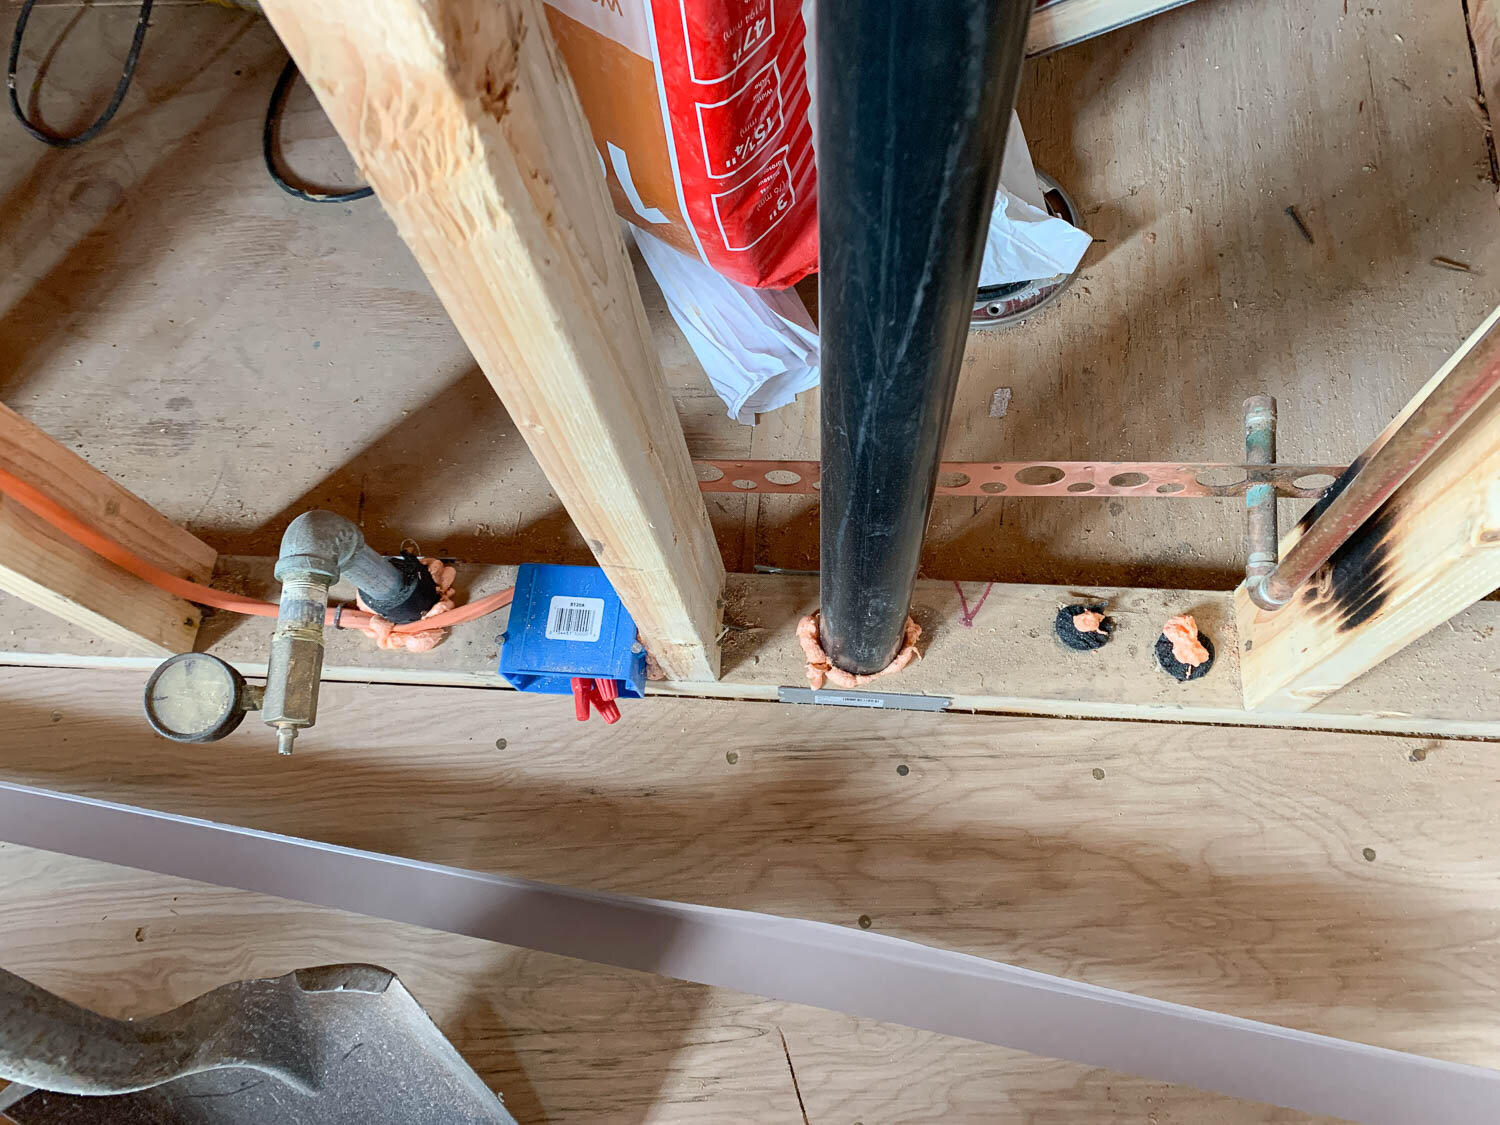
Most expanding foams are labeled for “gaps and cracks” which, you guessed it, fill gaps and cracks. But they also make a version that’s designed to impede the spread of a fire, so this is called “fire-blocking” foam. It accomplishes the same thing as the gaps and cracks, but it blocks fire, it’s often required by code, and it’s orange in color (so inspectors can spot it). I’ll always opt for fire safety, so I used fire-blocking everywhere and I don’t even know why you’d bother to use the normal stuff! Note that rodents can eat through the foam, so if you have a significant gap, fill it with lumber/metal/etc. before sealing the gaps around it with foam.

Another type of expanding foam is labeled “doors and windows” which does the same thing as the “gaps and cracks” stuff, but it doesn’t expand as much which makes it safer to use around doors and windows. If you use too much foam and it expands too much, it could put pressure on the window frame which would impair the operation of the window. No good!

Lastly, there are a couple of different foam dispensing options. You can get the simple cheap can of foam with a plastic straw dispenser, but once the foam dries up in the straw, it’s done for. So unless you plan on using a whole can in one project, you’ll dispense an ounce of foam, then have to throw away the rest of the can. Instead, I used this handy dispenser that I borrowed from my contractor. It’s $115 so it’s not something I plan on investing in, but it’s definitely worth it if you do a lot of foam sealing.
2. Pick the type of insulation
There are a lot of types of insulation out there such as blown in, bats, and spray foam. And then there are many types of materials from cellulose, fiberglass, blown rock, hemp, wool, etc. I did a lot of research on different kinds of insulation with the goal of finding the most environmentally friendly option. There are some neat methods like straw bales or hempcrete that can go so far as absorb CO2 from the air and make for a really comfortable home! However, these two types of insulation wouldn’t work with my renovation due to the wall thickness and my limitations to modify the walls of my historic home. I ultimately chose Rockwool.
To learn more about different types of insulation, here’s a good video with examples from This Old House.
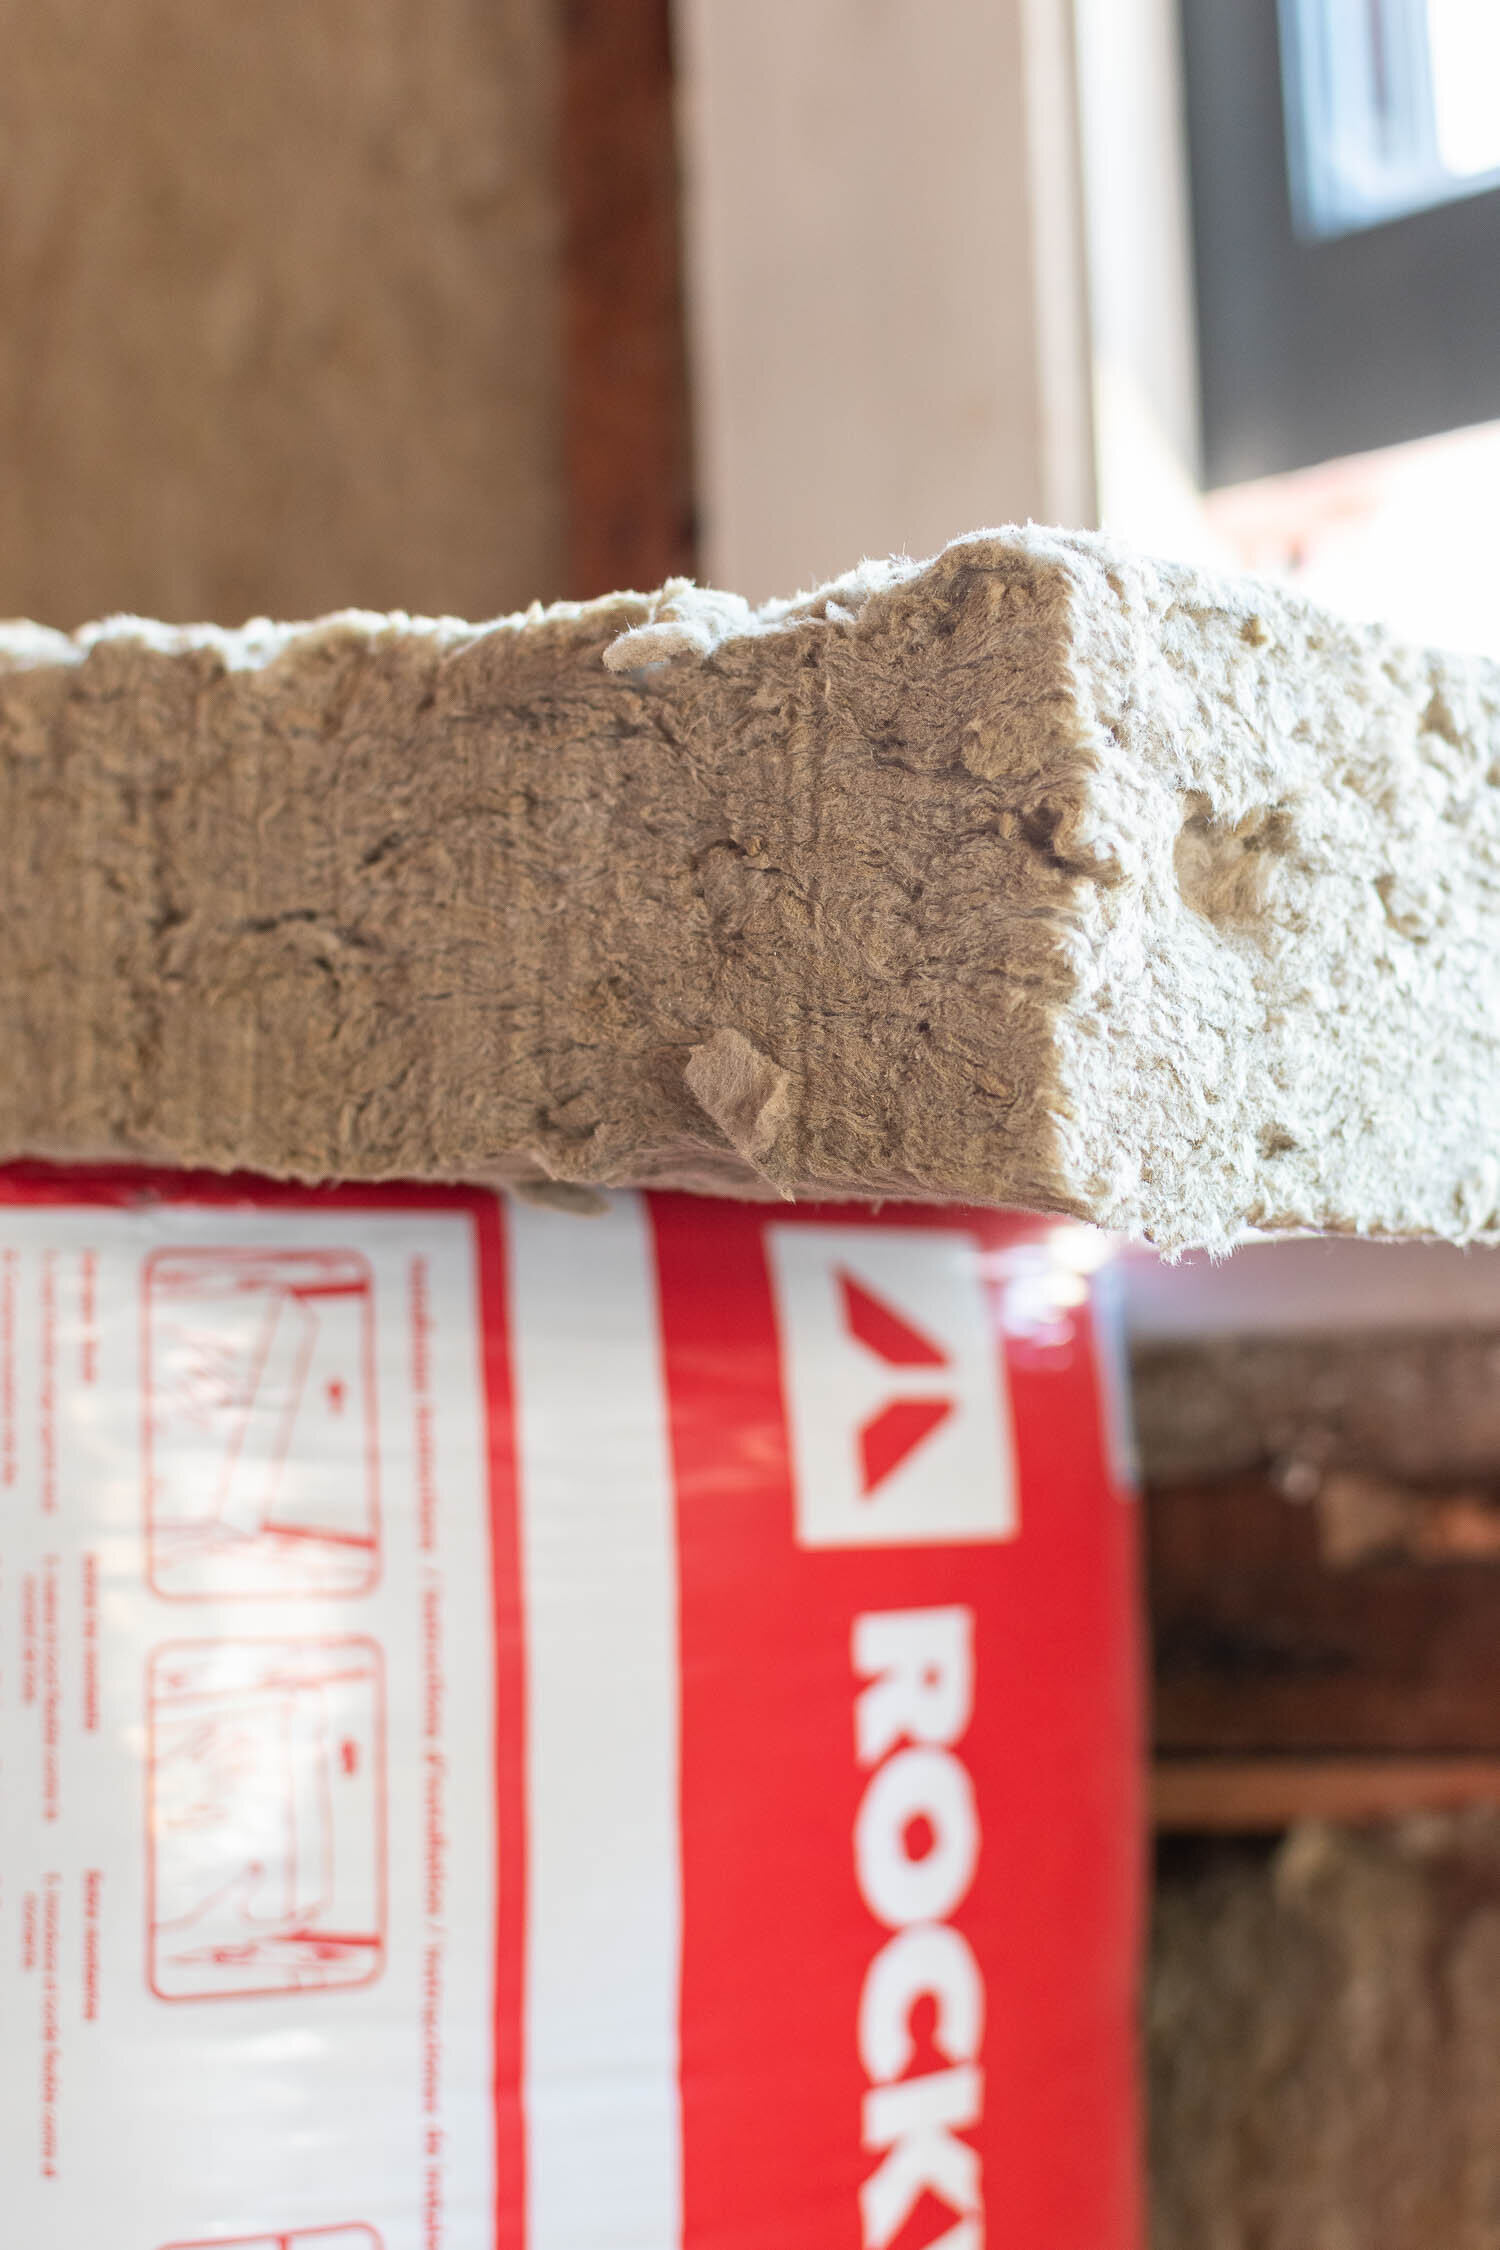
Rockwool installs like traditional fiberglass - I’d argue that it installs even easier, actually! - but is just so much better. It’s mildew resistant, fire resistant, and isn’t as itchy and gross of a material. It’s made of melted rocks that have been blown like cotton candy. The concept is wild but so cool.

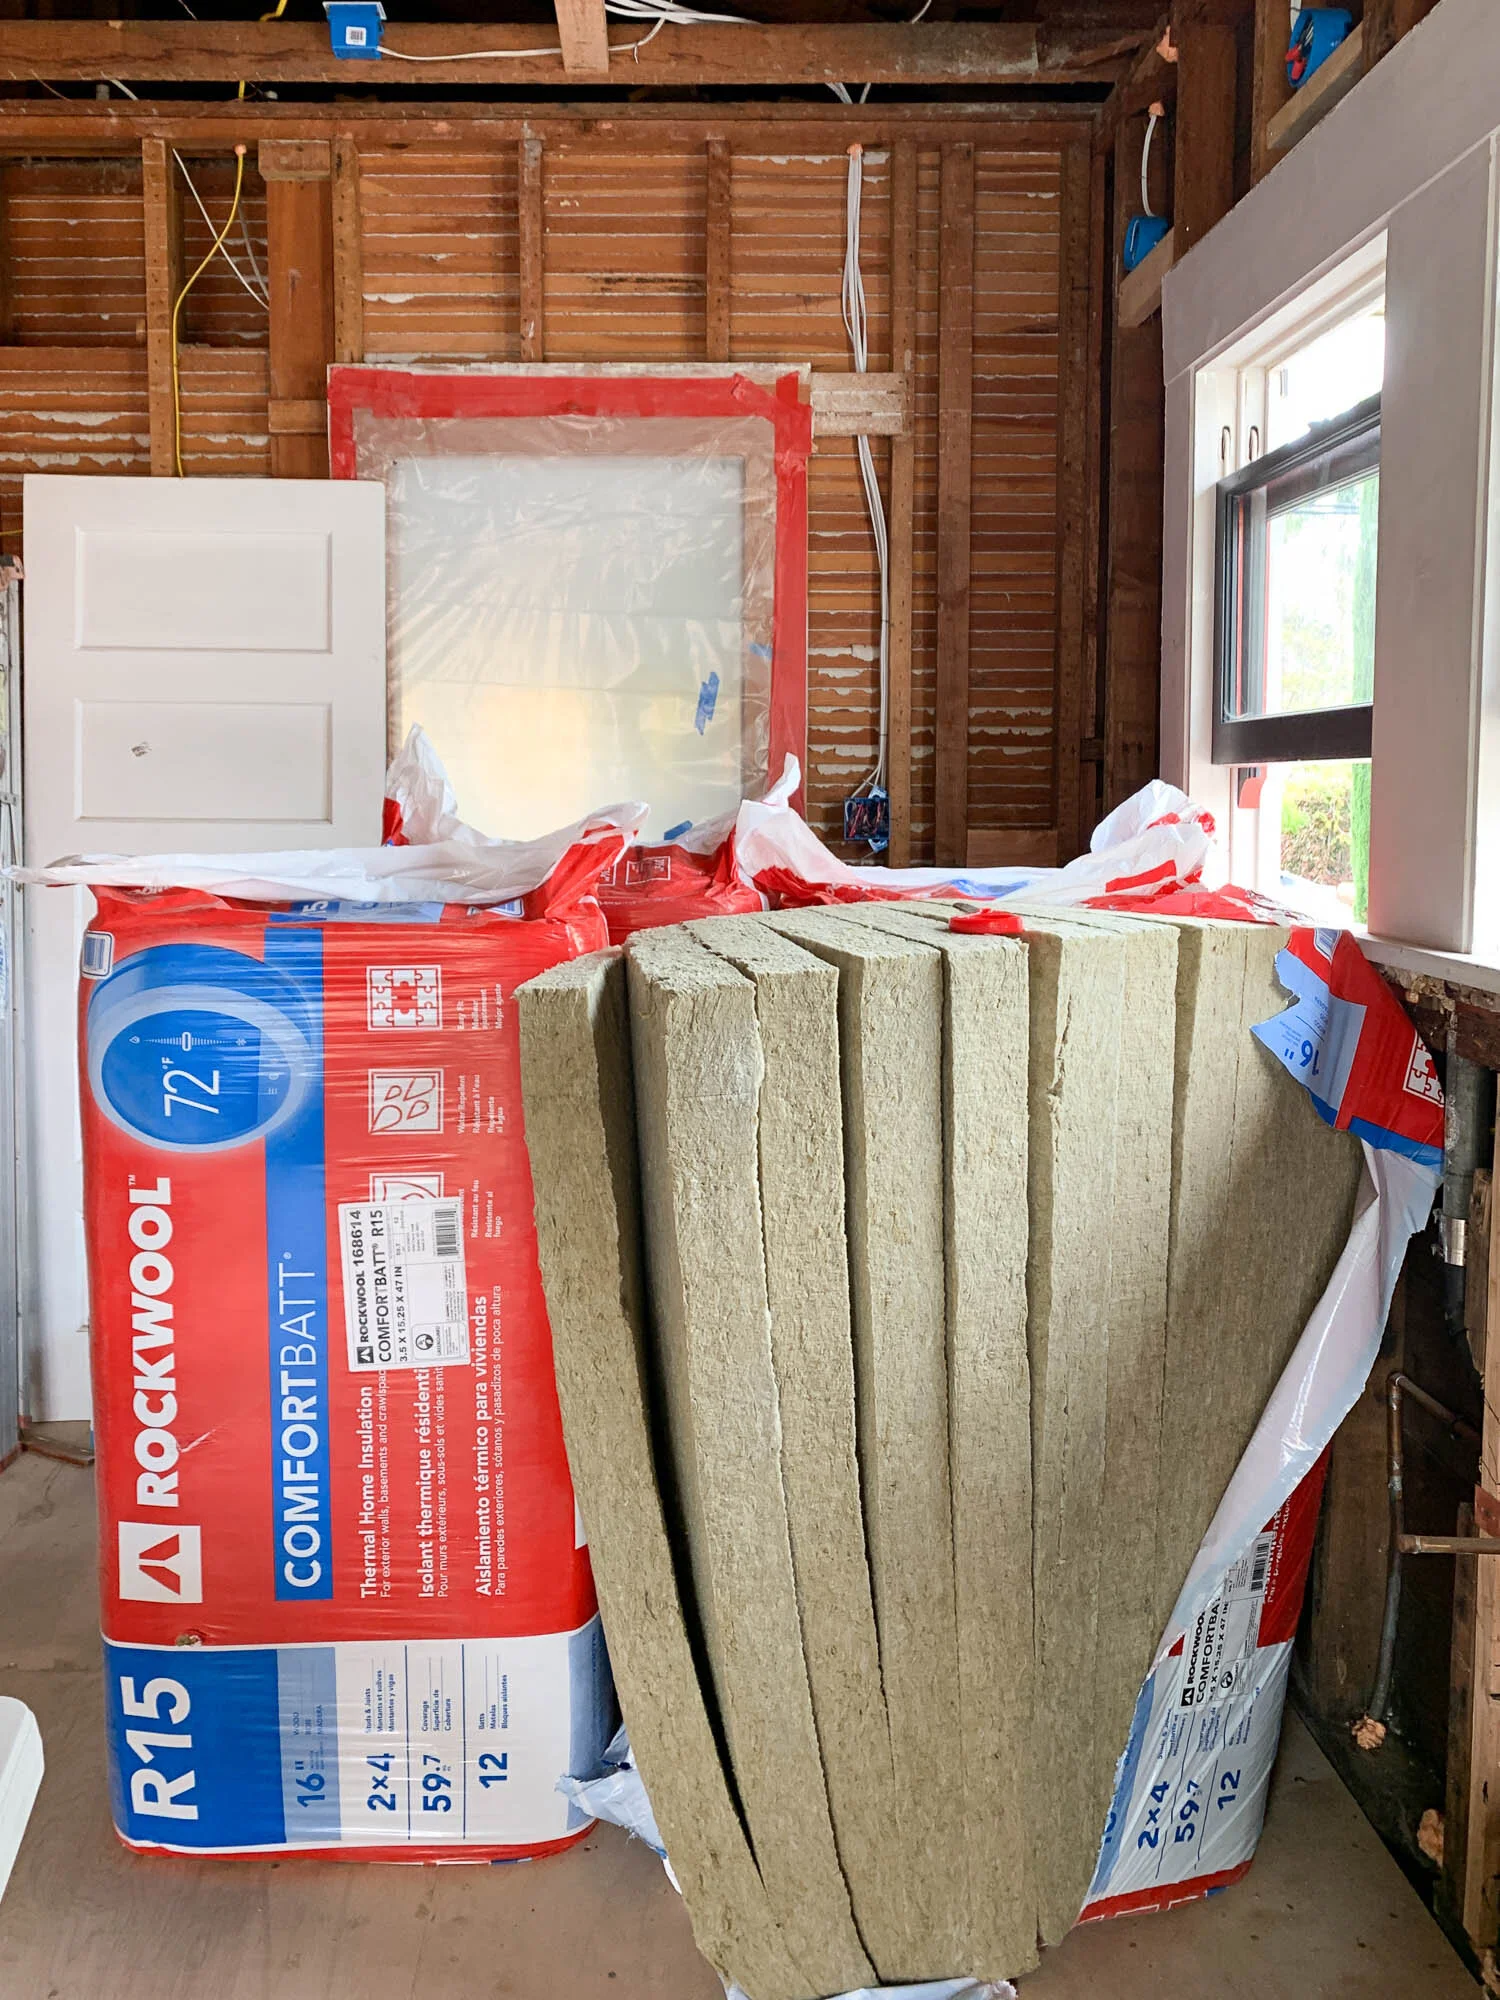
Home Depot sells the R-15 insulation only by the pallet, so if you need 12 bags, you can get that here. But for the exterior walls of my kitchen, I only used a hair more than three bags. So I bought them individually at Lowe’s here. Sure, they could deliver, or you could load them in the back of a pick up truck, but I have a Prius and EVERYTHING fits in that car. I love her.

I got the R-15 insulation for the exterior walls, and then I got the soundproofing insulation for the interior walls. The R-15 naturally has some sound dampening qualities, but the soundproofing stuff is designed specifically for creating a noise barrier between interior walls. It isn’t meant for exterior walls so don’t mix them up.
Both Lowe’s and Home Depot have calculators to determine how much insulation you need, but to give you an idea, I used just a bit more than 3 bags for the two exterior walls in my kitchen, and I expect to use 6ish on the interior walls of the kitchen and bathroom and closet (I’m not finished yet!)
3. Get installing!
The insulation is quite easy to install. It’s like a life-size version of Tetris, just a bit messy.
The insulation isn’t toxic and isn’t nearly as itchy as fiberglass insulation, but it does make dust, so I recommend a dust mask, gloves, and long sleeves are nice for avoiding the mild itch.
The only thing needed to get this stuff in the walls is a breadknife, really! You can buy this $10 knife made just for the application which is also nice because it has an ergonomic handle.

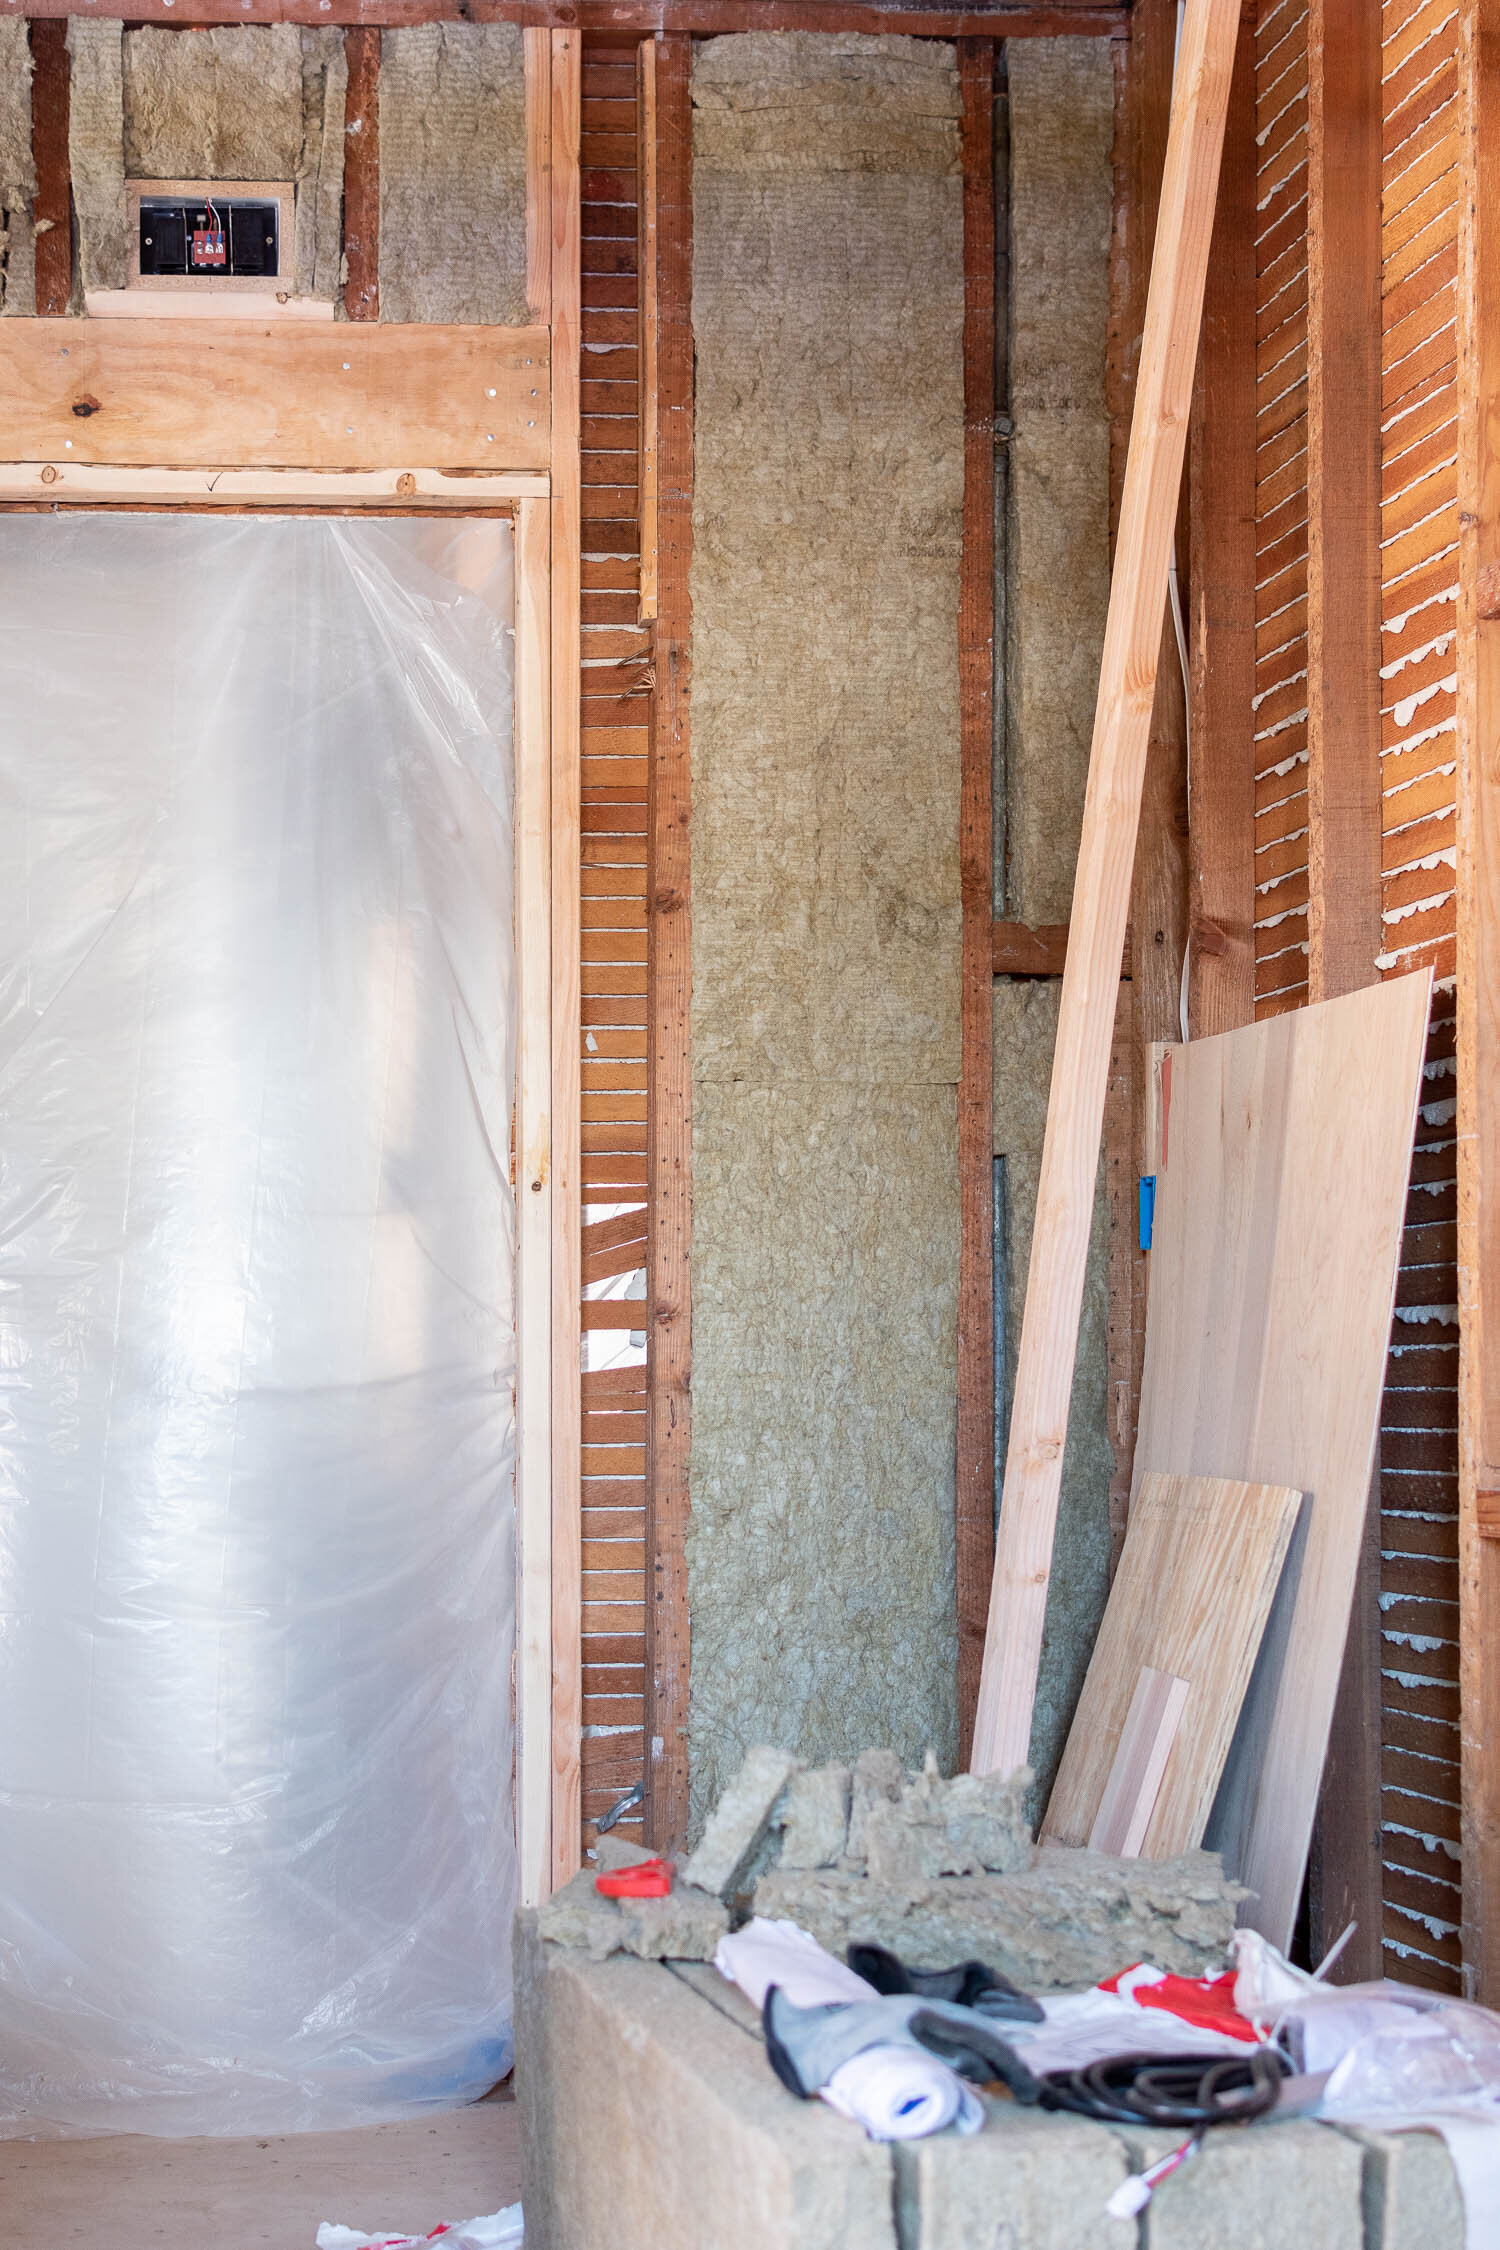
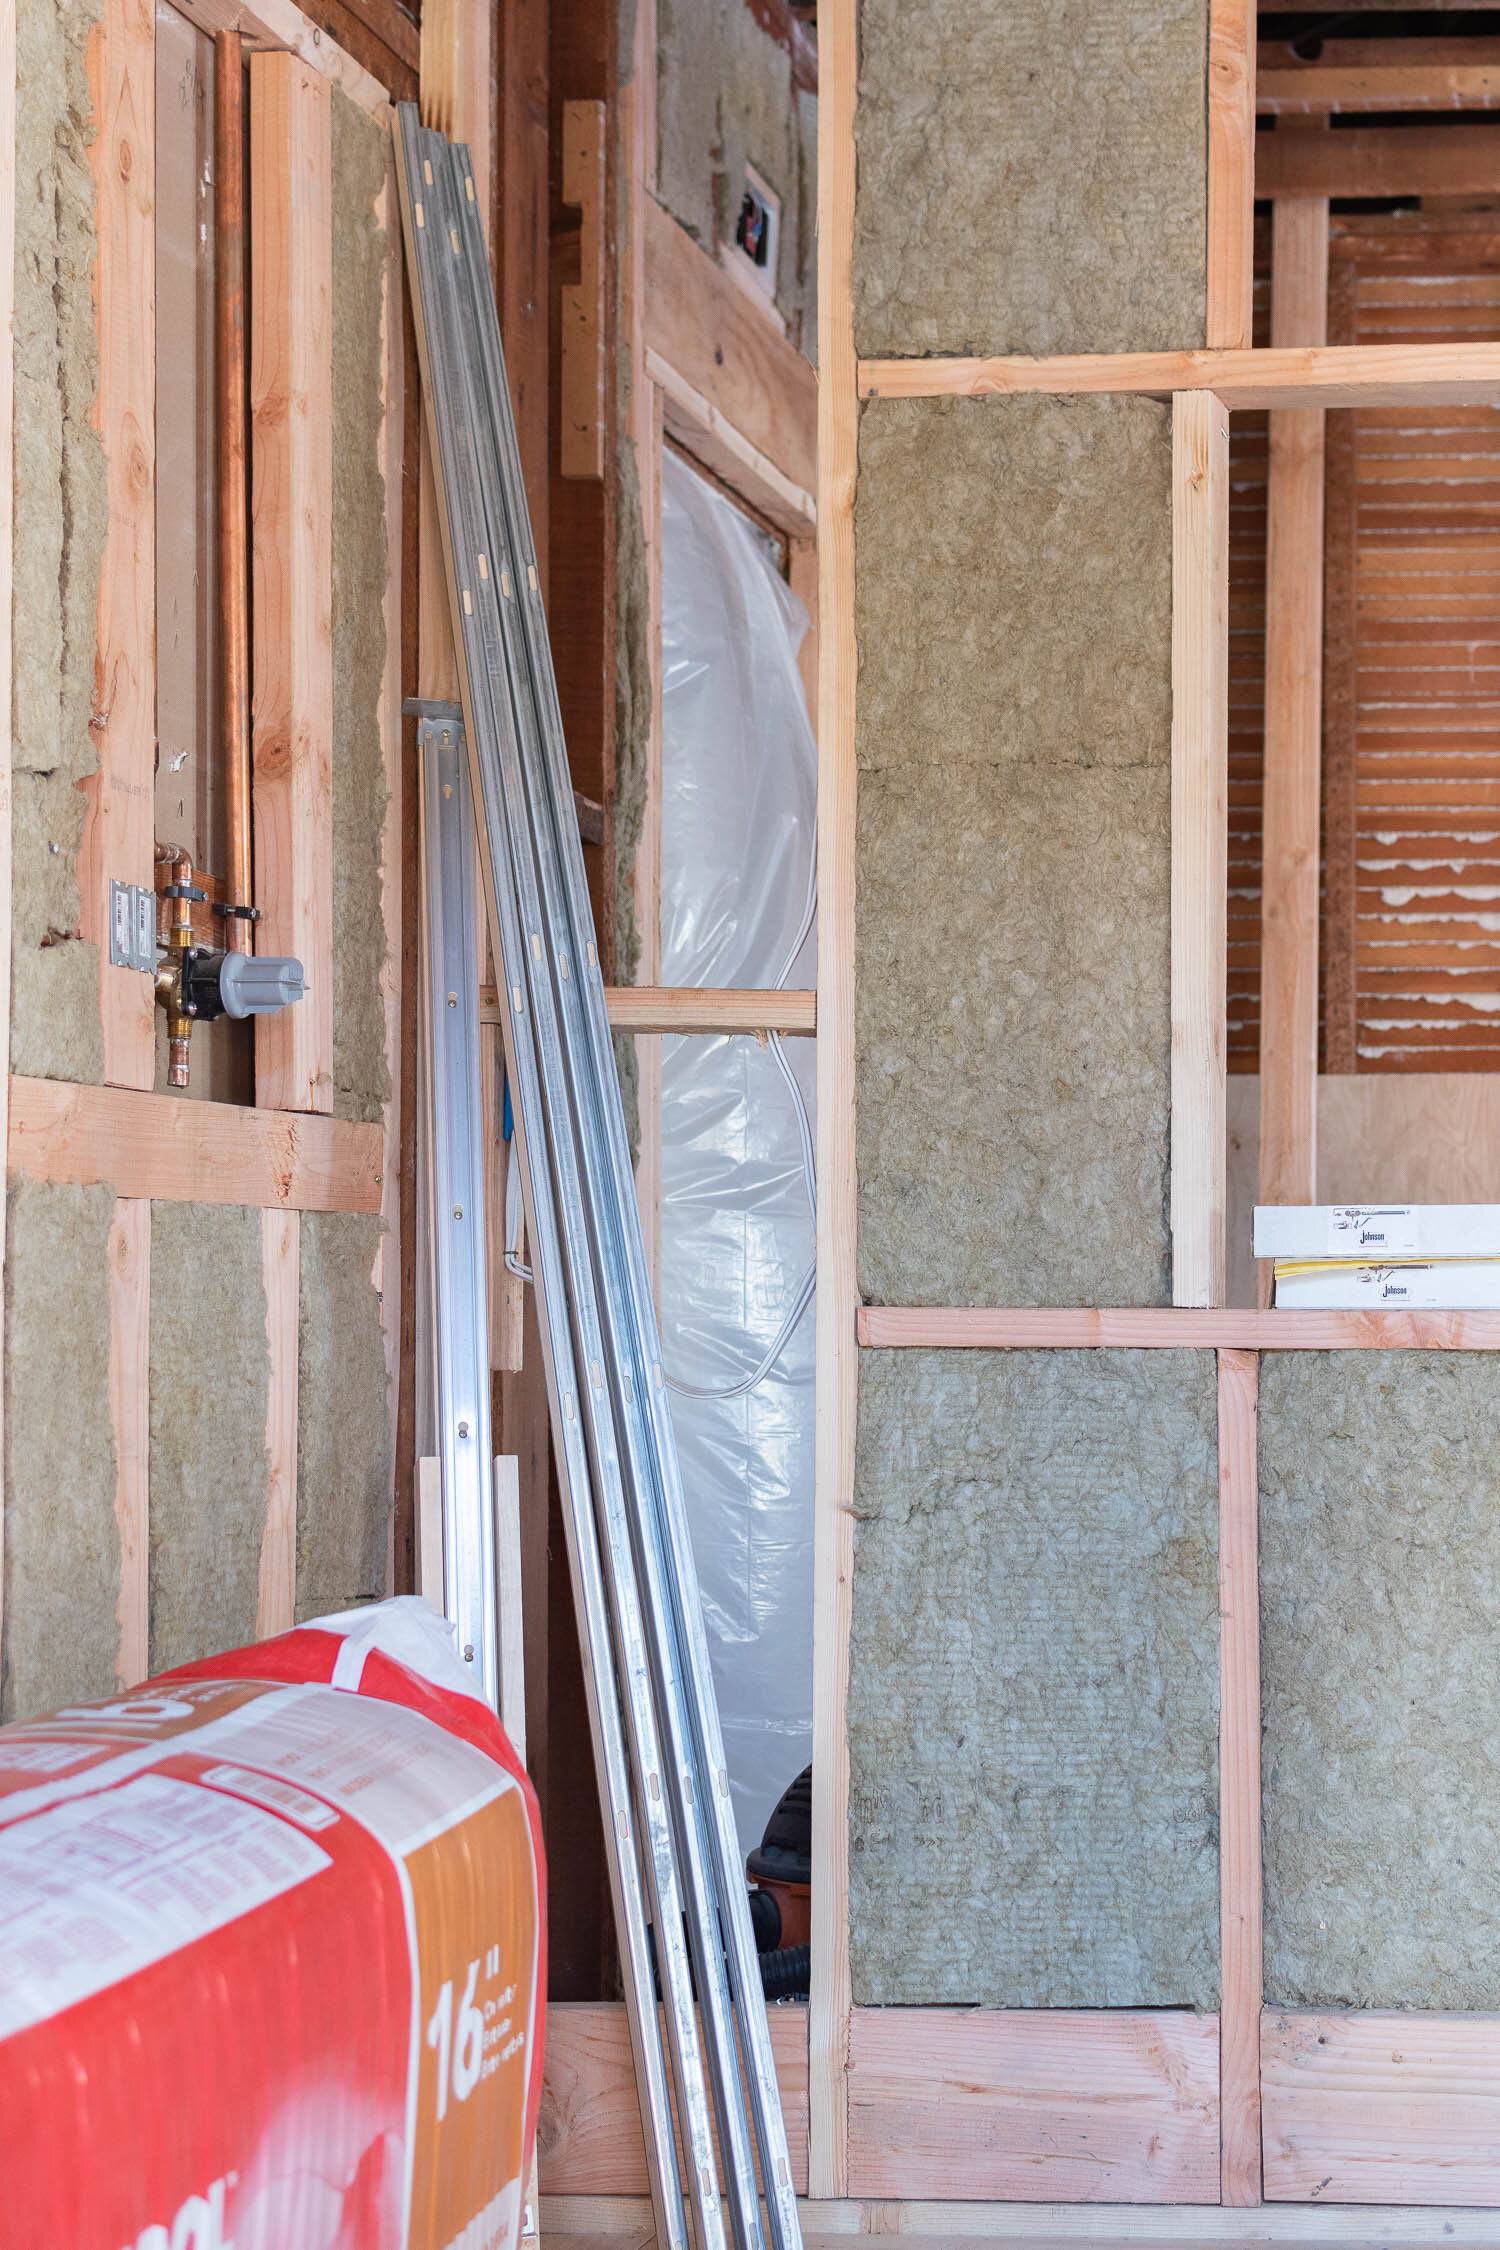
The bats come 12 in a bag and they’re sized to fit into a typical 2x4” studbay with studs 16” on center. You simply pick up one, and shove it into the wall. They fit snugly in place so you don’t need to staple or adhere them. Just gently push them in and move on to the next one.

For efficiency sake, I filled all of the bays that didn’t have any electrical or plumbing in them. They just popped in and it went super fast. For outlets, electrical wires, pipes, or other interferences, you’ll need to take some more time to shape the Rockwool into the cavity.

It cuts super easily with a breadknife. Above is a section I cut out to make room for an outlet box. When there’s a wire that goes across the bay, just cut where it falls and then use the insulation like a Pacman mouth to eat the wire. You don’t want to compress the wire or the insulation by just pushing it into the wire. Compressing the insulation makes it less efficient, and you also don’t want to put unnecessary strain on your wires or plumbing.
Sometimes I had to slice the insulation length wise to get two thin pieces. I could then put the thin piece behind a piece of plumbing and sandwich the pipe between to two pieces of insulation.
Here’s a good video demonstration on how to cut around the wall obstructions and where to use foam. He’s using fiberglass insulation, but it’s the same concept. This video is a good demonstration of how to cut the Rockwool insulation, but I feel like he’s wasting time by measuring and being so exact when it doesn’t need to be that perfect.
In an effort not to waste anything, I filled the big cavities with the full-size pieces, then filled in the spots where I could fit most of a piece with just one cut. Then, I collected all of the cut pieces and used those to fill in the walls that were really wonky. You can see in the photo above that bay with all of those pieces had lots of plumbing that I needed to wedge the insulation in between, behind, and around.
4. Insulate the interior walls
Code requires we insulate the exterior walls so I prioritized that before moving onto the interior. The exterior R-15 insulation looks exactly the same as the interior soundproofing insulation, so I wanted to be sure I didn’t mix the two of them up.

The interior soundproofing insulation works just the same as the exterior. I won’t repeat myself!
Do you see how I went from long pieces of insulation to those tiny slivers at the top? It really is like Tetris!
The interior insulation gets tricker when installing the bats in between studs that don’t have a wall behind them. If it’s cut too small, it will feel like it’s just balancing and might fall out. So far, none of mine have had that issue, but I also, admittedly, haven’t finished the trickiest walls.
The interior wall between the kitchen and bathroom is full of plumbing and electrical, so getting the pieces in there without a back support isn’t easy. Most people recommend installing the drywall on one wall first, so you can press the bat into it. However, I don’t know the schedule the drywall guys will work at and I don’t want to slow them down by trying to finish insulating while they’re trying to cover everything up. I might need to leave a few pieces to wedge in while they’re putting the drywall up on one side. We’ll see!

5. Insulate the attic
The last step is to insulate the attic. However, we’re going to save that until after the drywall is up on the ceiling. Then, we’ll toss in a super thick layer of blown-in insulation. This stuff is made up of mostly all recycled paper and is most effective when there’s a big heaping pile of it. I’ll be sure to share this process with you when we get there.
And that’s about it! Next up is drywall and I can. not. even. wait!