Kitchen Renovation Update 6: A New Dining Set, Insulation, and Underlayment + A Video
/We’re getting closer and closer to the renovation feeling less like a construction site and more like a room. We’re not quite there yet, but insulation and new flooring underlayment has me seeing the light at the end of the tunnel! Plus, we added a fresh outdoor dining set that has me itching to eat oodles of meals out there!
If you’re new here, be sure to catch up on the week 1 demolition, week 2 demo and framing beginnings, week 3 framing, update 4 plumbing, and update 5 electrical and venting. You can also learn about how we’re eating without a kitchen and how we’re renovating during COVID-19. And if you’re really new and have no idea what’s going on, check out this post which gives you a summary of what to expect and why we’re making some of the decisions that we are.
Watch The Renovation Update #6 Video:
I’ve been sharing videos of the progress on Instagram Stories, but not all of you follow me there, so I put the Instagram clips into a YouTube video so you can see the whole evolution and get a good sense of the layout, too.
The video is formatted vertically, so it’s best watched on your phone - but it works on your computer, too!
If that video isn’t loading properly, click here.
And then here’s what’s been happening lately, in text format:
After clearing our rough-in inspections and wrapping up the loose ends, I started to clean up the construction site! This. Pleases. Me. So. Much! You know I love cleaning, but this is like, extra good cleaning. In addition to sweeping and wiping down the windows, I’ve been able to tidy up the construction debris. With this means, I get to make money, well sorta! With the COVID-19 shutdown, trips to the hardware store are trickier, so I’ve been over-buying products and materials with the intention of returning the excess. Now that they’re all done, I get to make all of the returns of products that the crew didn’t use. It feels like free money, but it’s just my own money, I know. But I still like the satisfaction.
We also took a trip to the local metal recycling facility and did make some real cash! We only made one of two trips, but managed to make about $20 by recycling the old plumbing materials that we pulled out of the house during demolition. My car still has another load of stuff to take, I think I’m sitting on another $20 in metal - I’m rich!
I also got to pare down my scrap lumber pile with the remaining patching projects. I also gave away the small scrap pieces to a neighbor that wanted to use them for something (it’s entirely unknown what she’ll do with them but I’m glad to see them going to use). The long pieces of lumber have gone to the garage to be used for odds and ends in the future. This is kinda like free money again in the form of lumber. Win-win!
With the scrap and recyclables piles cleared out of the back deck, I was able to prep for an exciting delivery! First, I needed to make a couple of deck repairs.
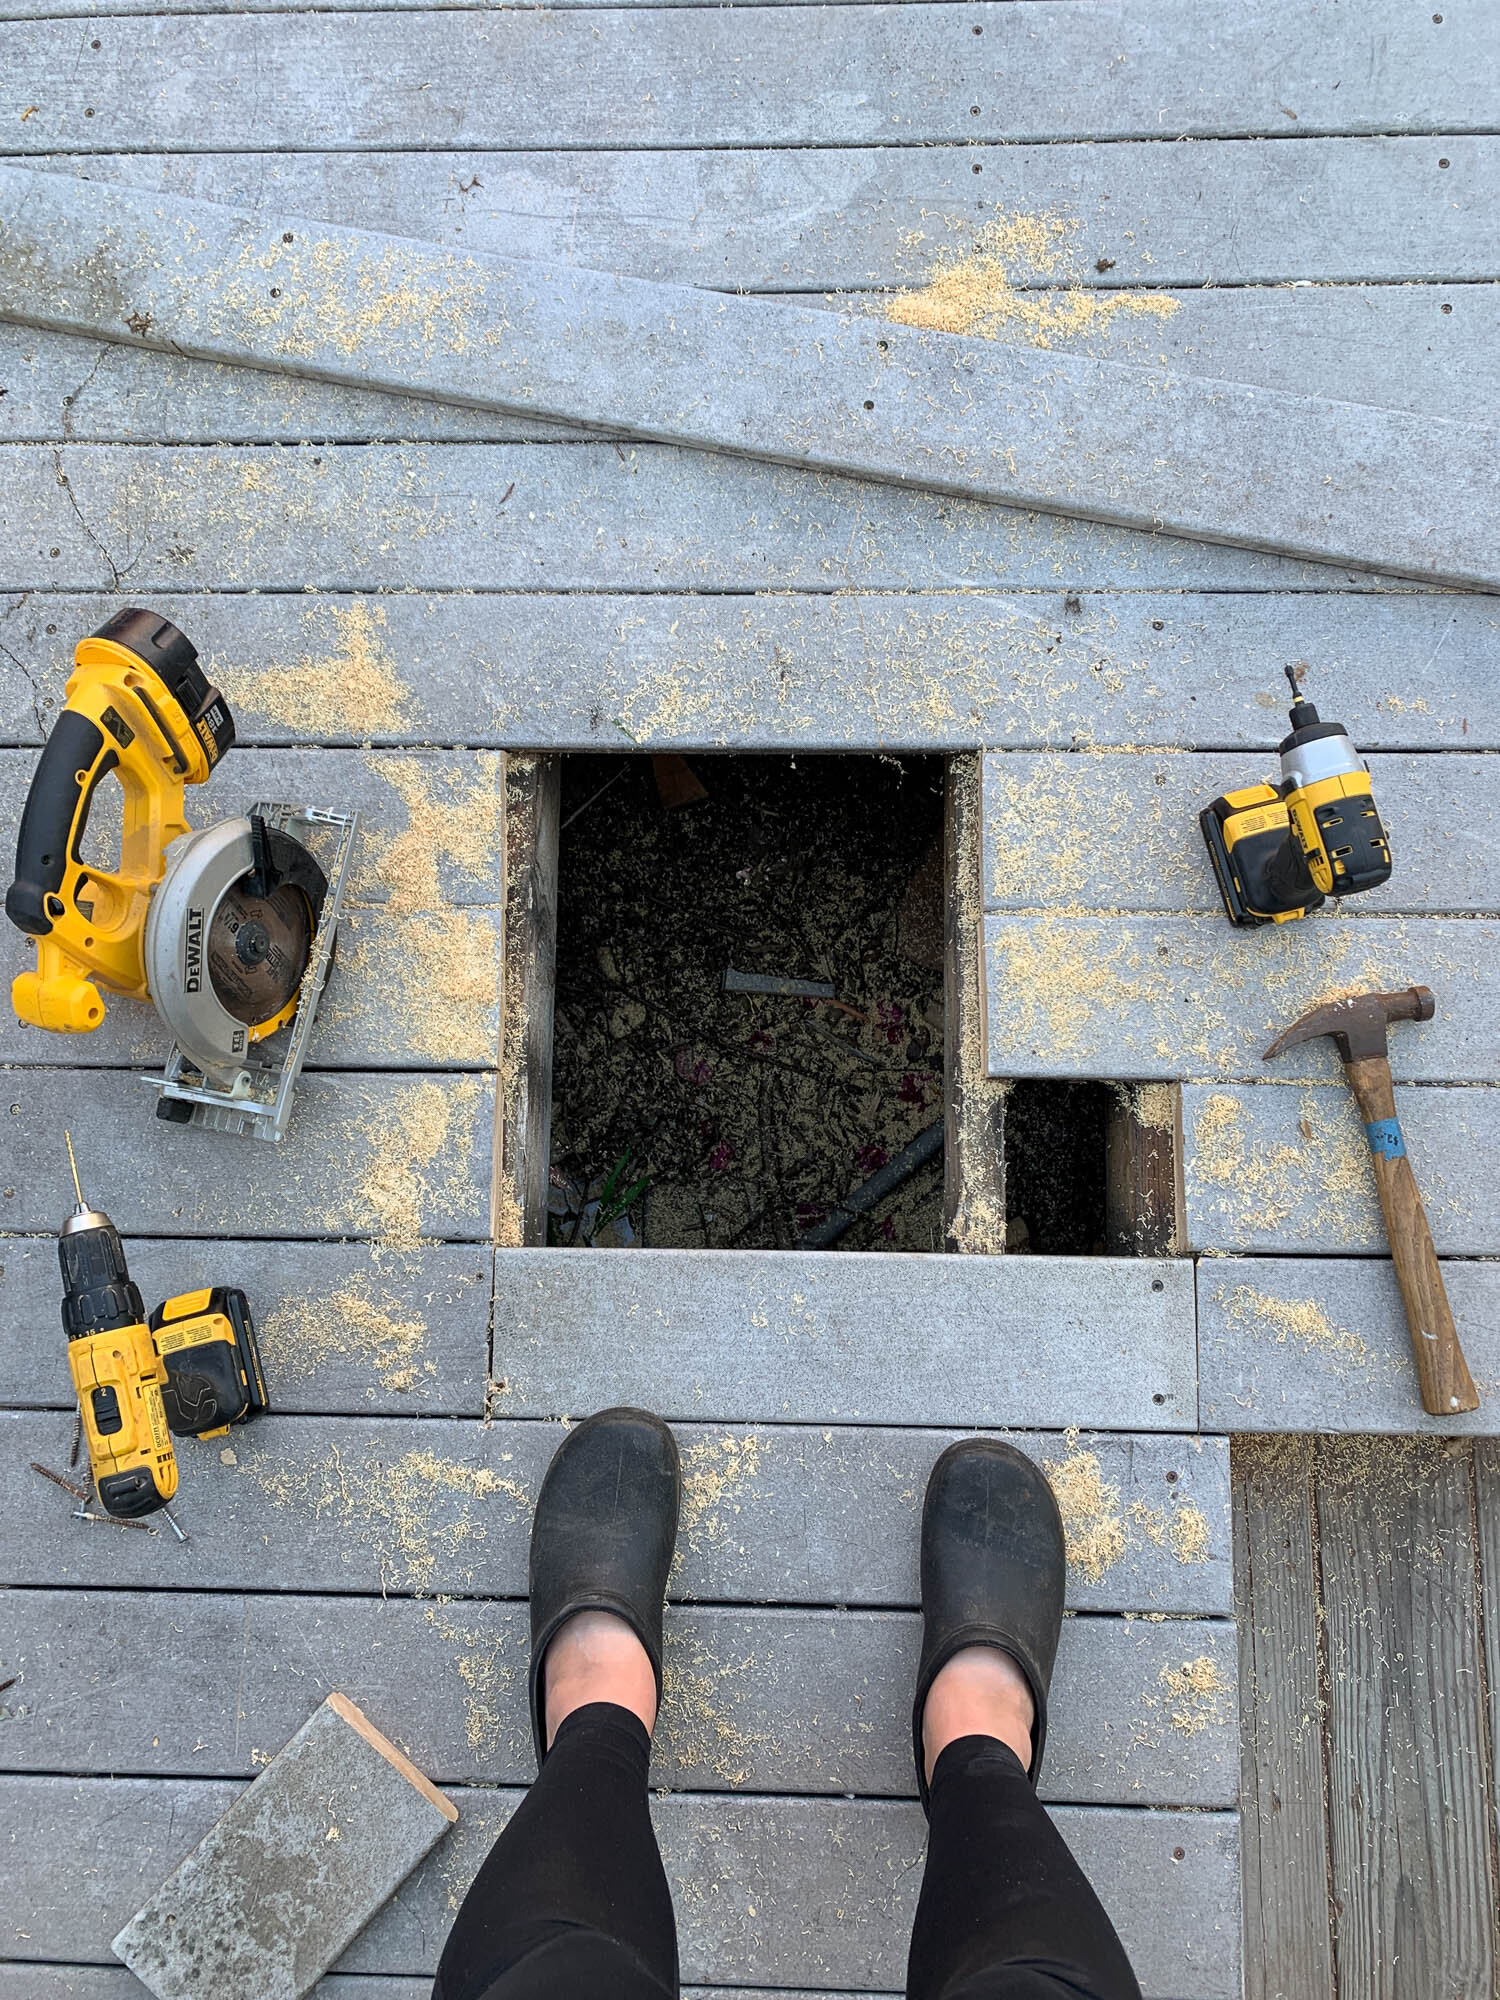
Back when we said farewell to a giant invasive tree, it came smashing through the deck. The damage didn’t bother me because I hate the deck and we’ll remove it eventually. But, because it’s still serving a purpose for now, I needed to patch the gaping holes so I wouldn’t fall through them and break a leg. I borrowed a couple of pieces of decking from the edges and corners, cut them, and patched them in. It’s not perfect, but who says it has to be.

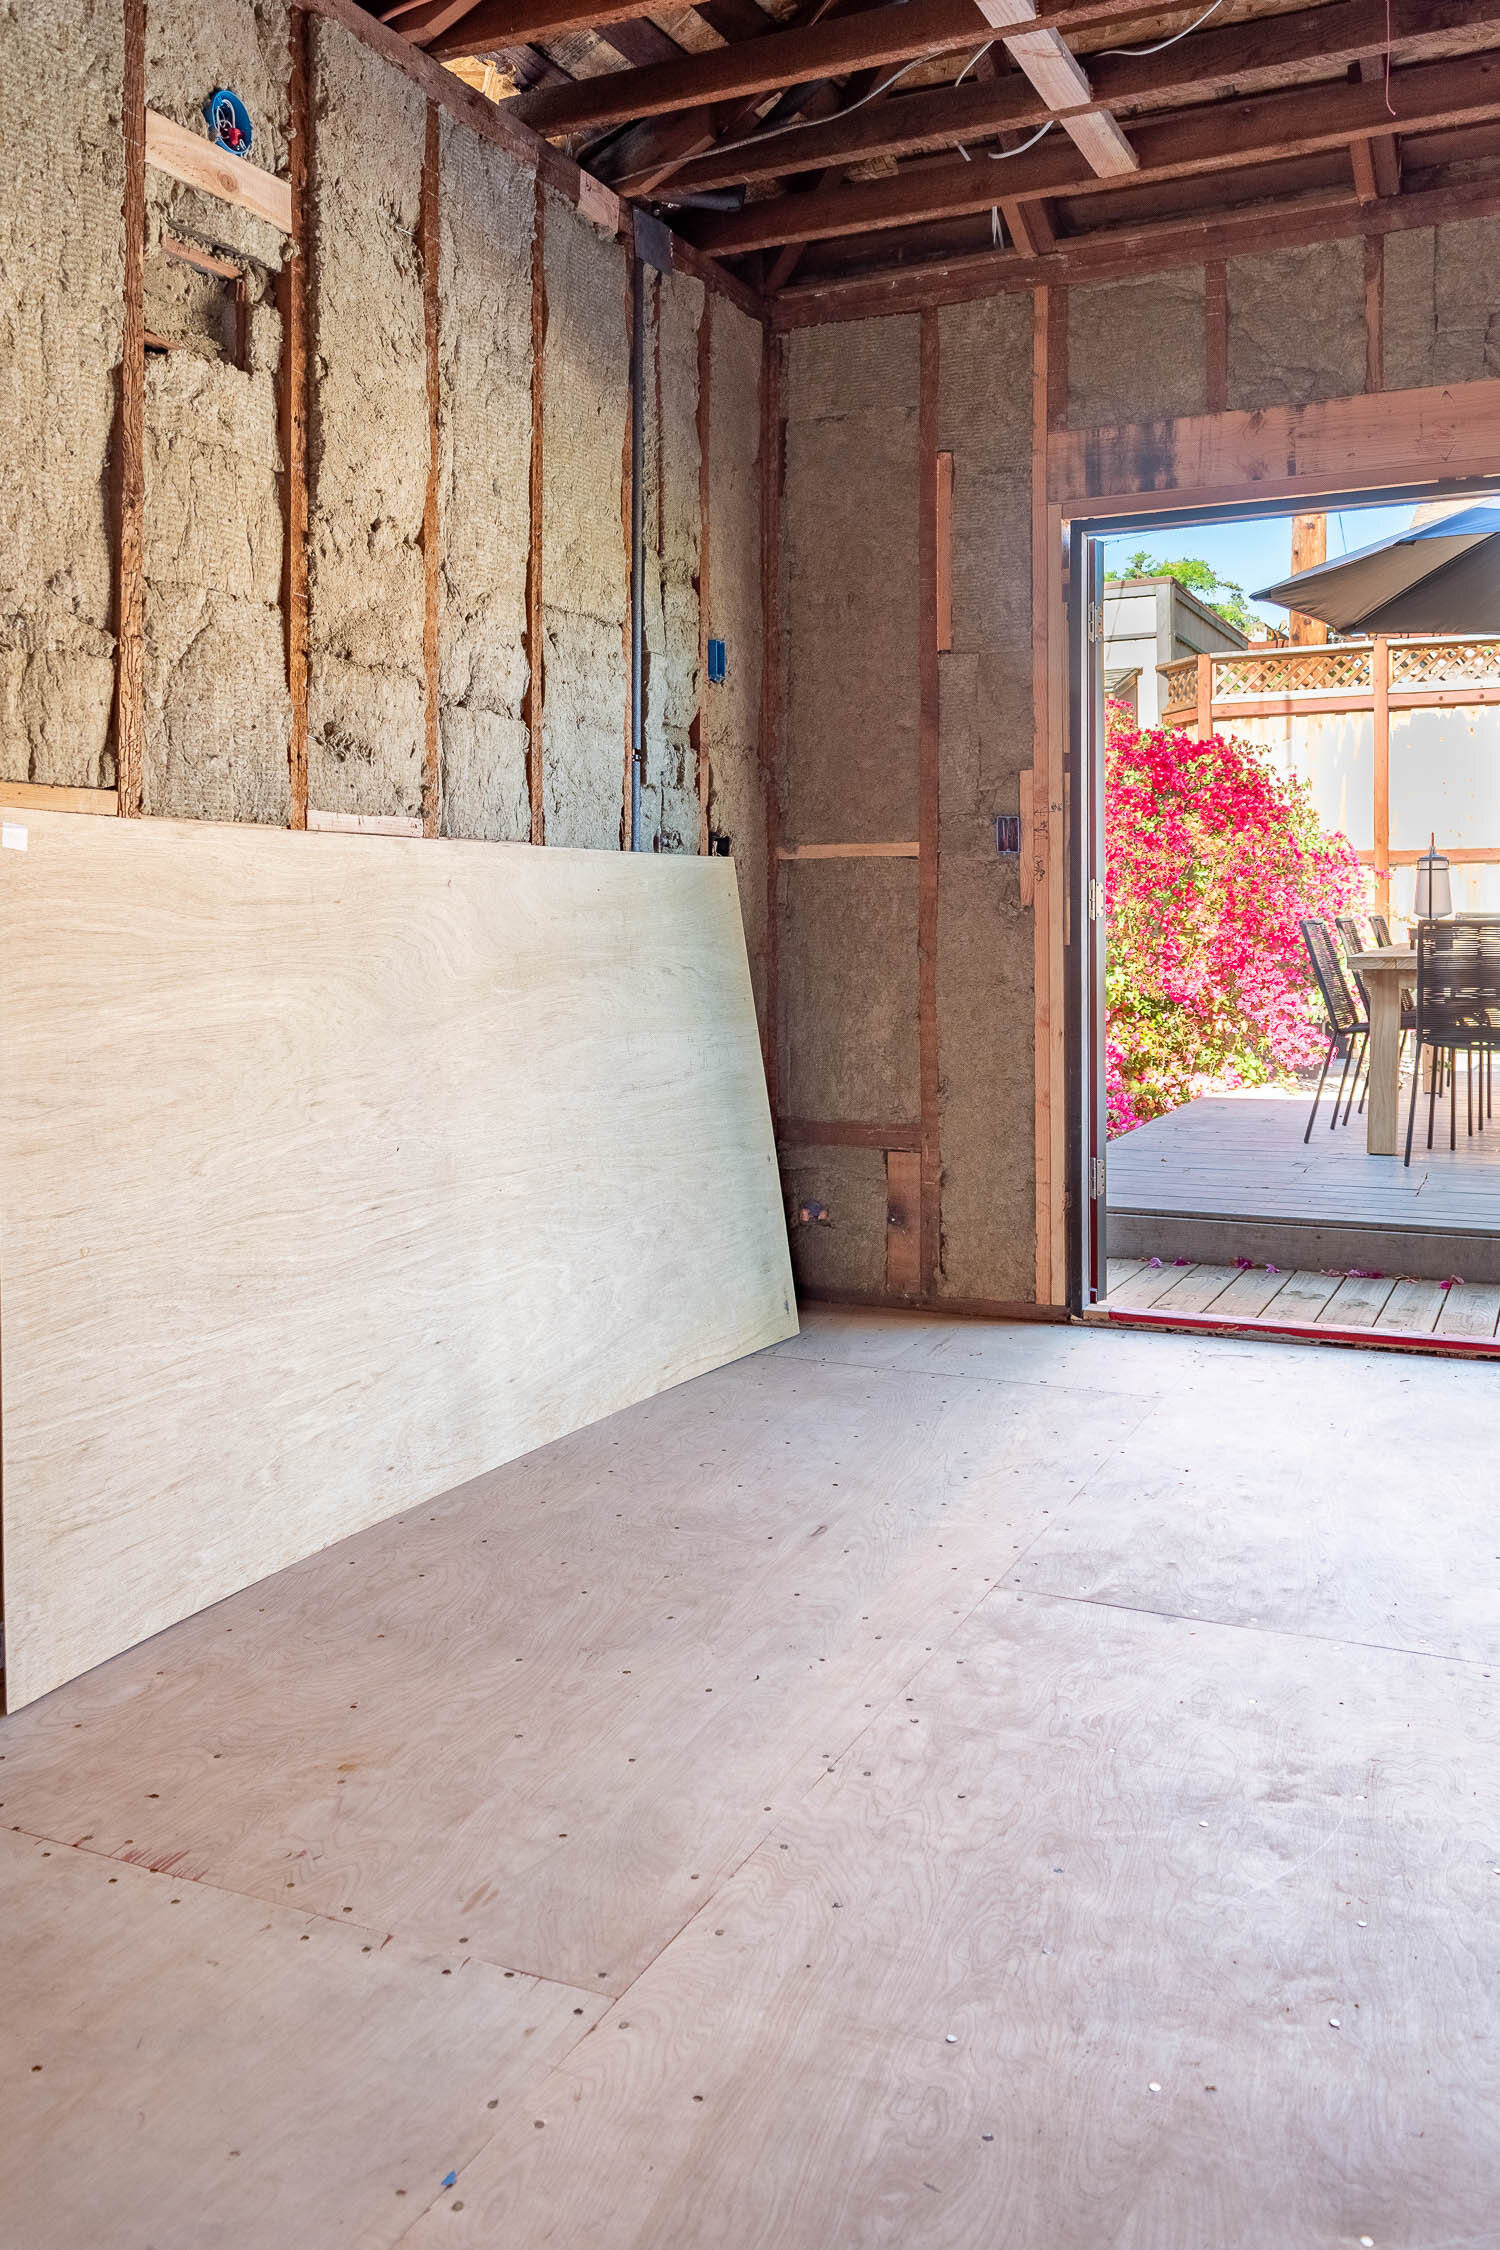
With the deck death trap taken care of, it was time for our exciting delivery! (said in Bob Barker’s voice) It’s a brand new outdoor dining set!
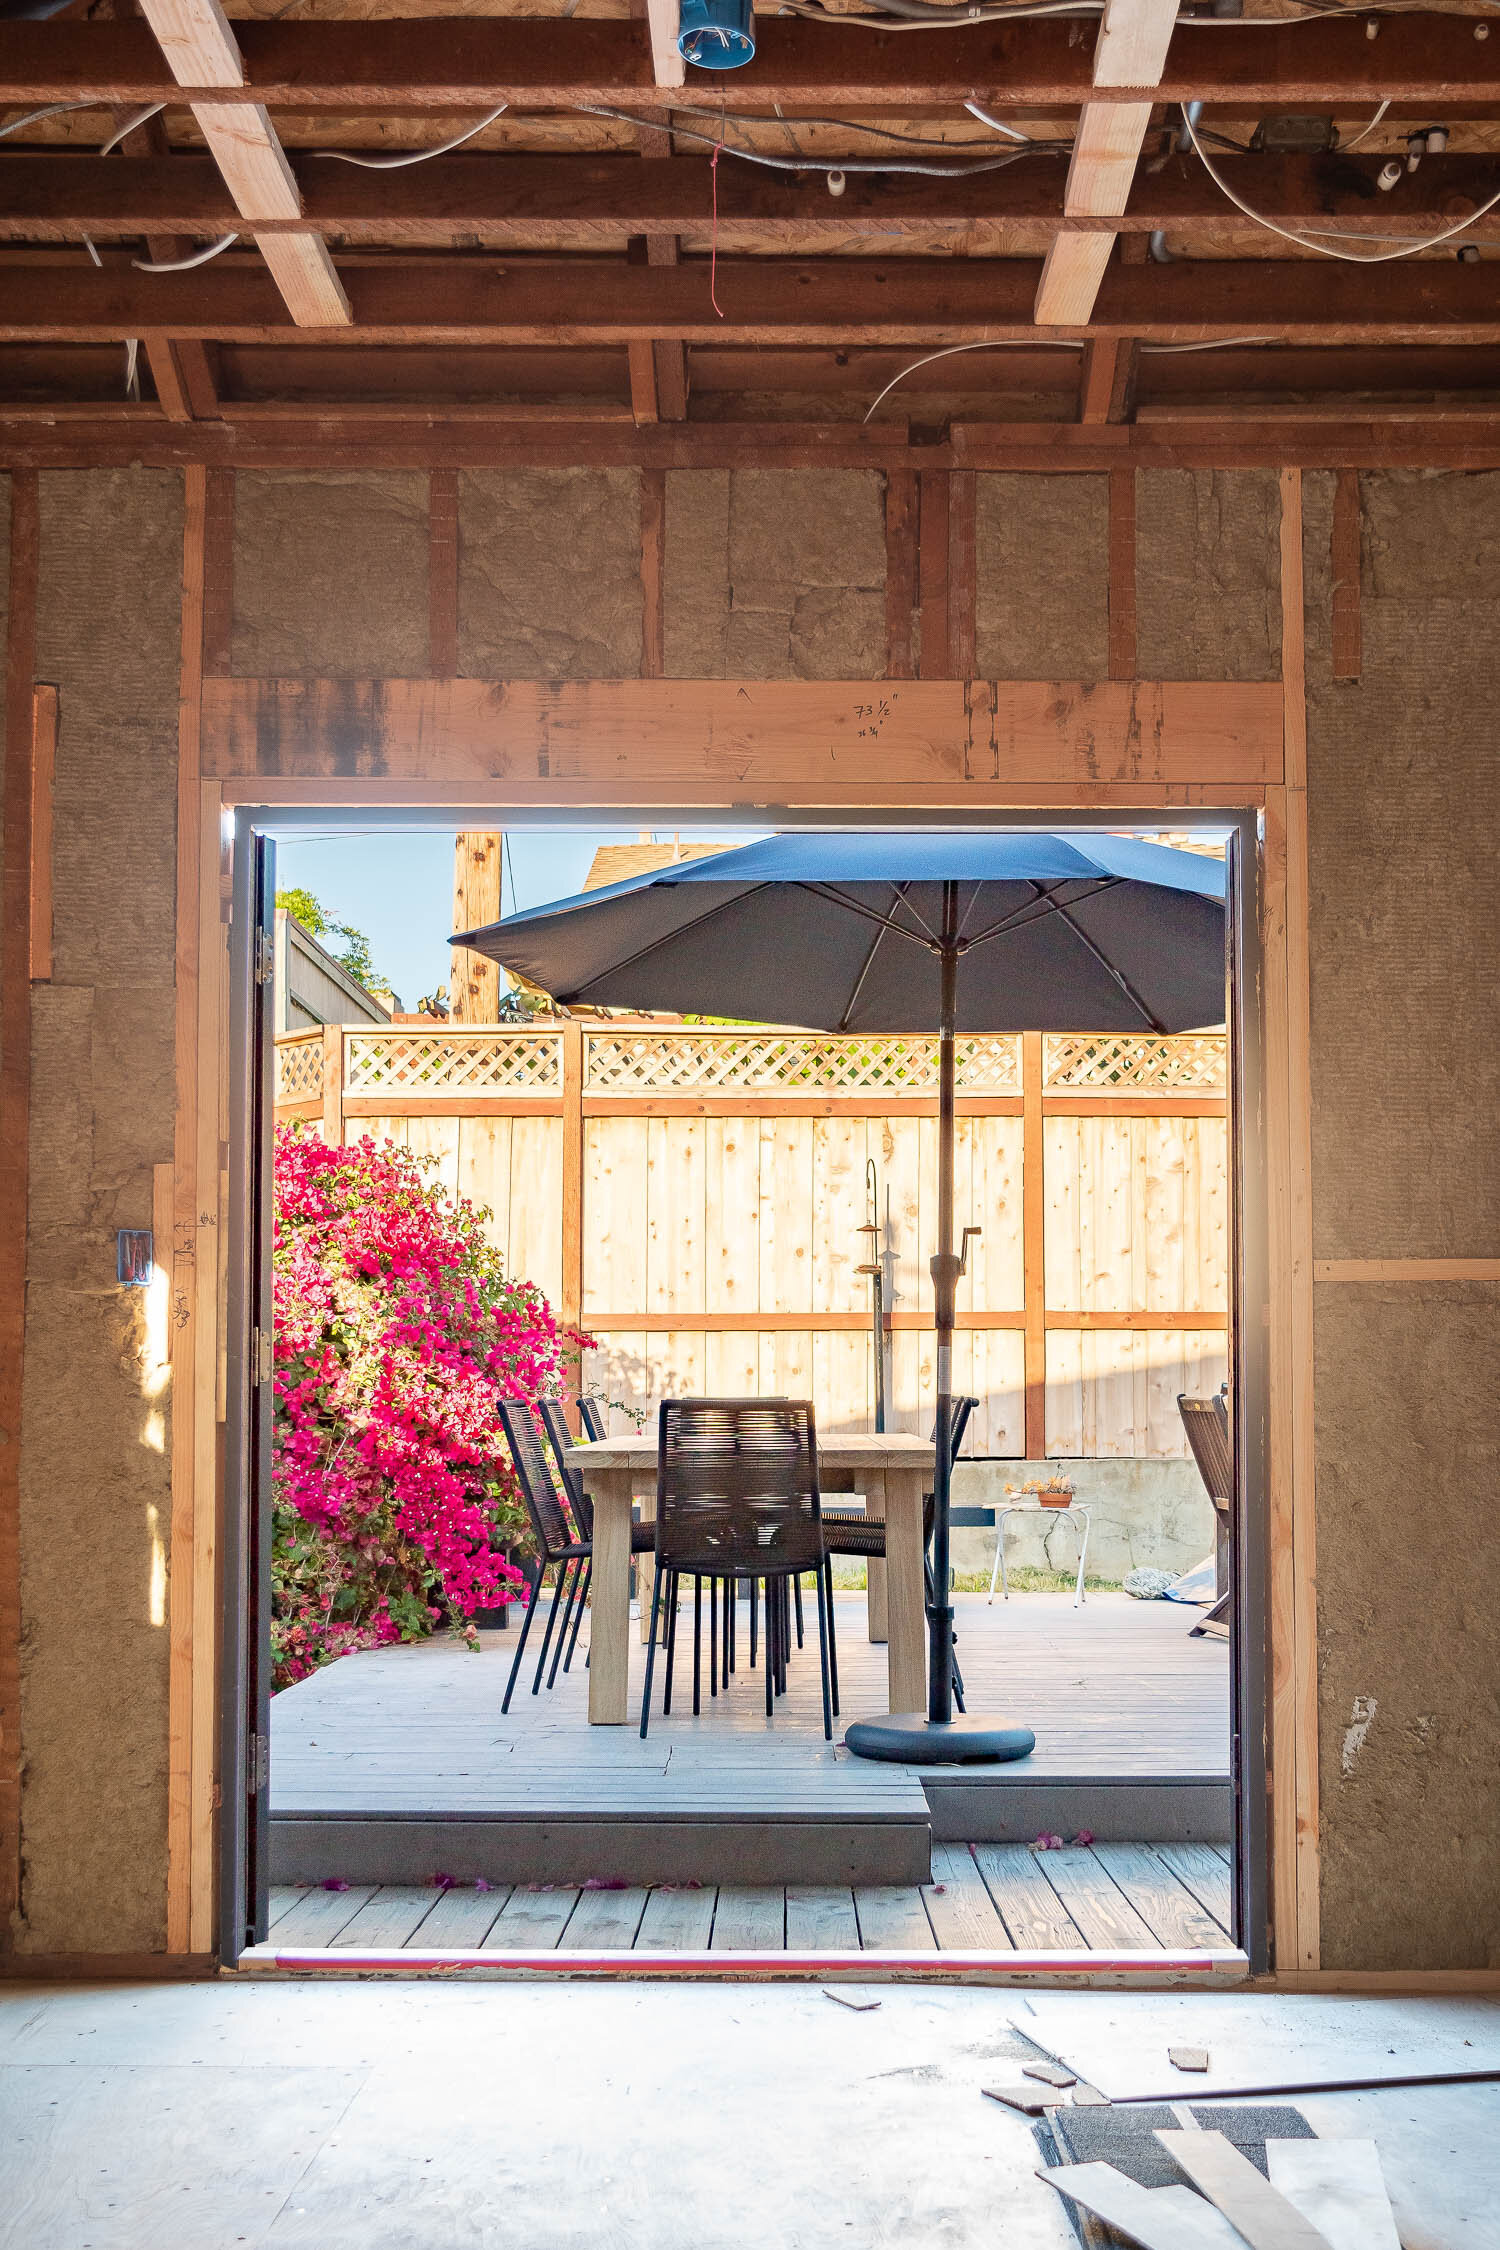
I realize some may think that an outdoor dining set doesn’t feel related to a kitchen and bathroom renovation. Oh, but it does! Check out how perfectly it fits just outside of the french door opening! When the doors are opened up to the outdoor dining area it feels like the kitchen is double the size - and that’s because it basically is. Our previous dining table was pretty small and floated in the middle of the weird decking, so our outdoor space felt entirely separate from the kitchen. Not to mention we didn’t have beautiful french doors leading out of the kitchen (more on them later)! So this dining area feels so perfectly connected and it’s giving me that giddiness for what the space can look like as it continues to come together.
All of the outdoor dining set goodies came from the lovely people at Article who kindly gifted them but all opinions are my own.
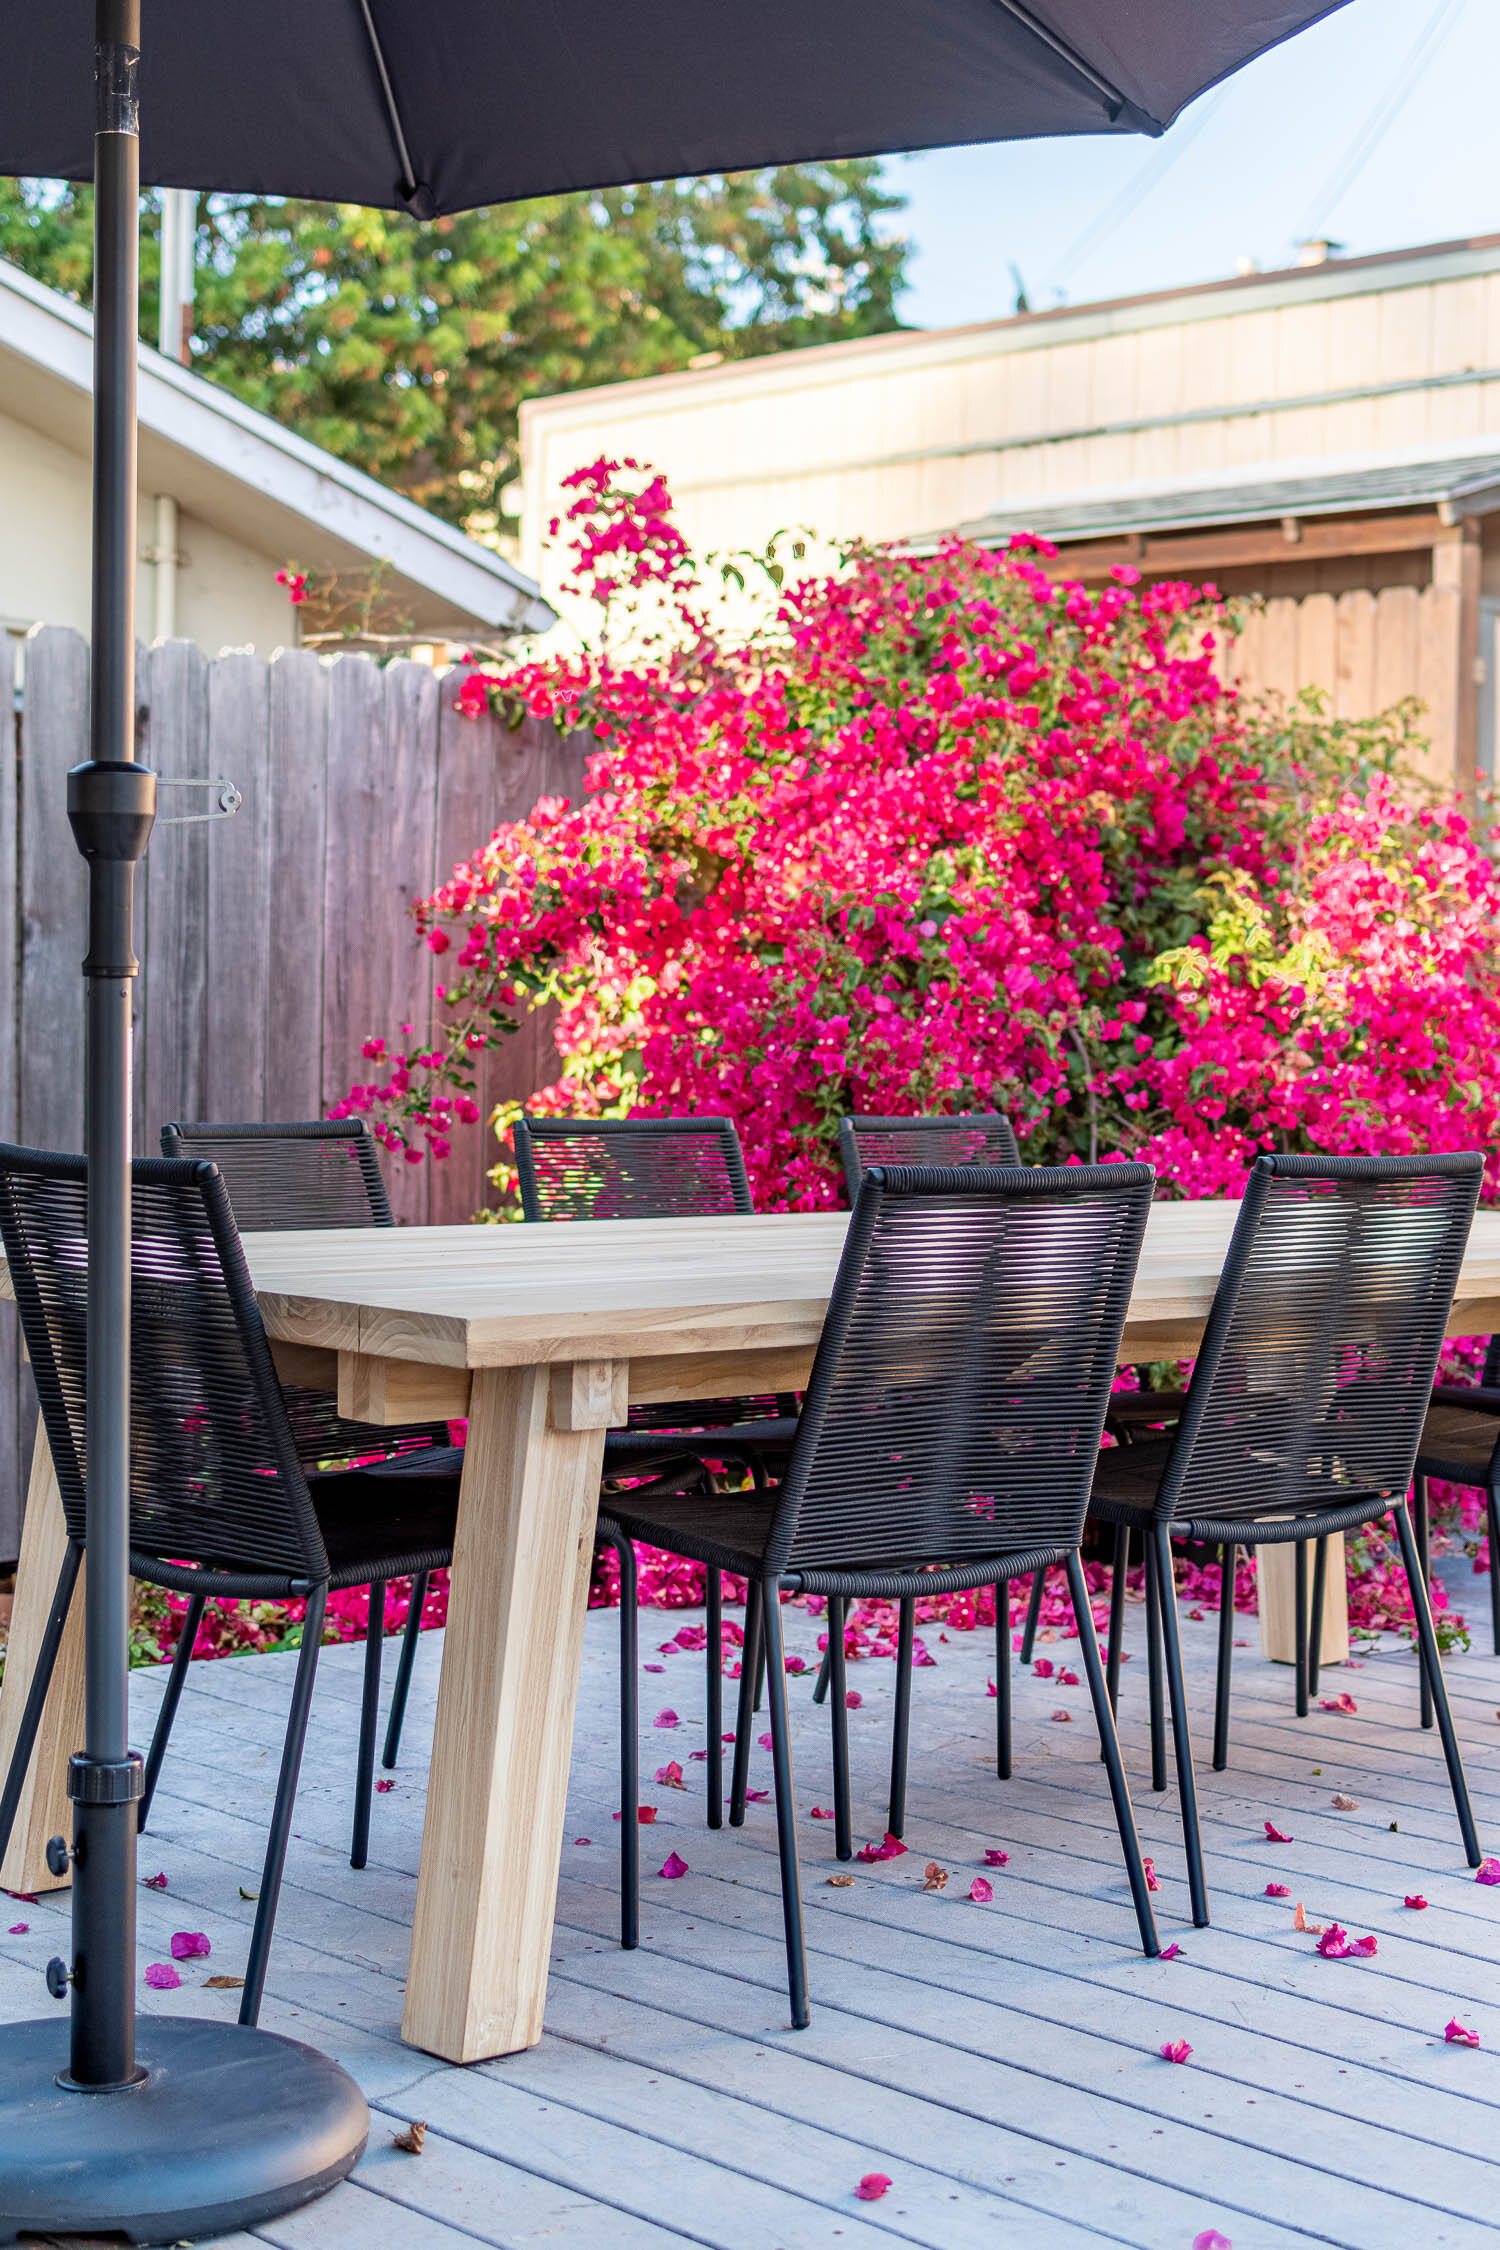
We got an 8-seater table and 8 chairs (duh) plus an adjustable umbrella. We got a table for 8 people, but joke that we don’t even have 6 friends to invite over - and especially so during quarantine. So, we’ll just enjoy sitting in different chairs every night until we can one day have a crowd of friends over.
Speaking of chairs, they are mighty comfy! Ross claims that his number one thing is being comfortable. So I’ll admit that I’m always worried whenever I propose a chair/couch/stool/seating option because he’s quick to judge - and I don’t blame him! But he was a happy camper when he first sat down in them. Now he wants to eat every meal outside at the table - no joke. I opted for these because the rope will withstand the elements including our sunny San Diego summers, and if I ever wanted to put them away, they stack easily!
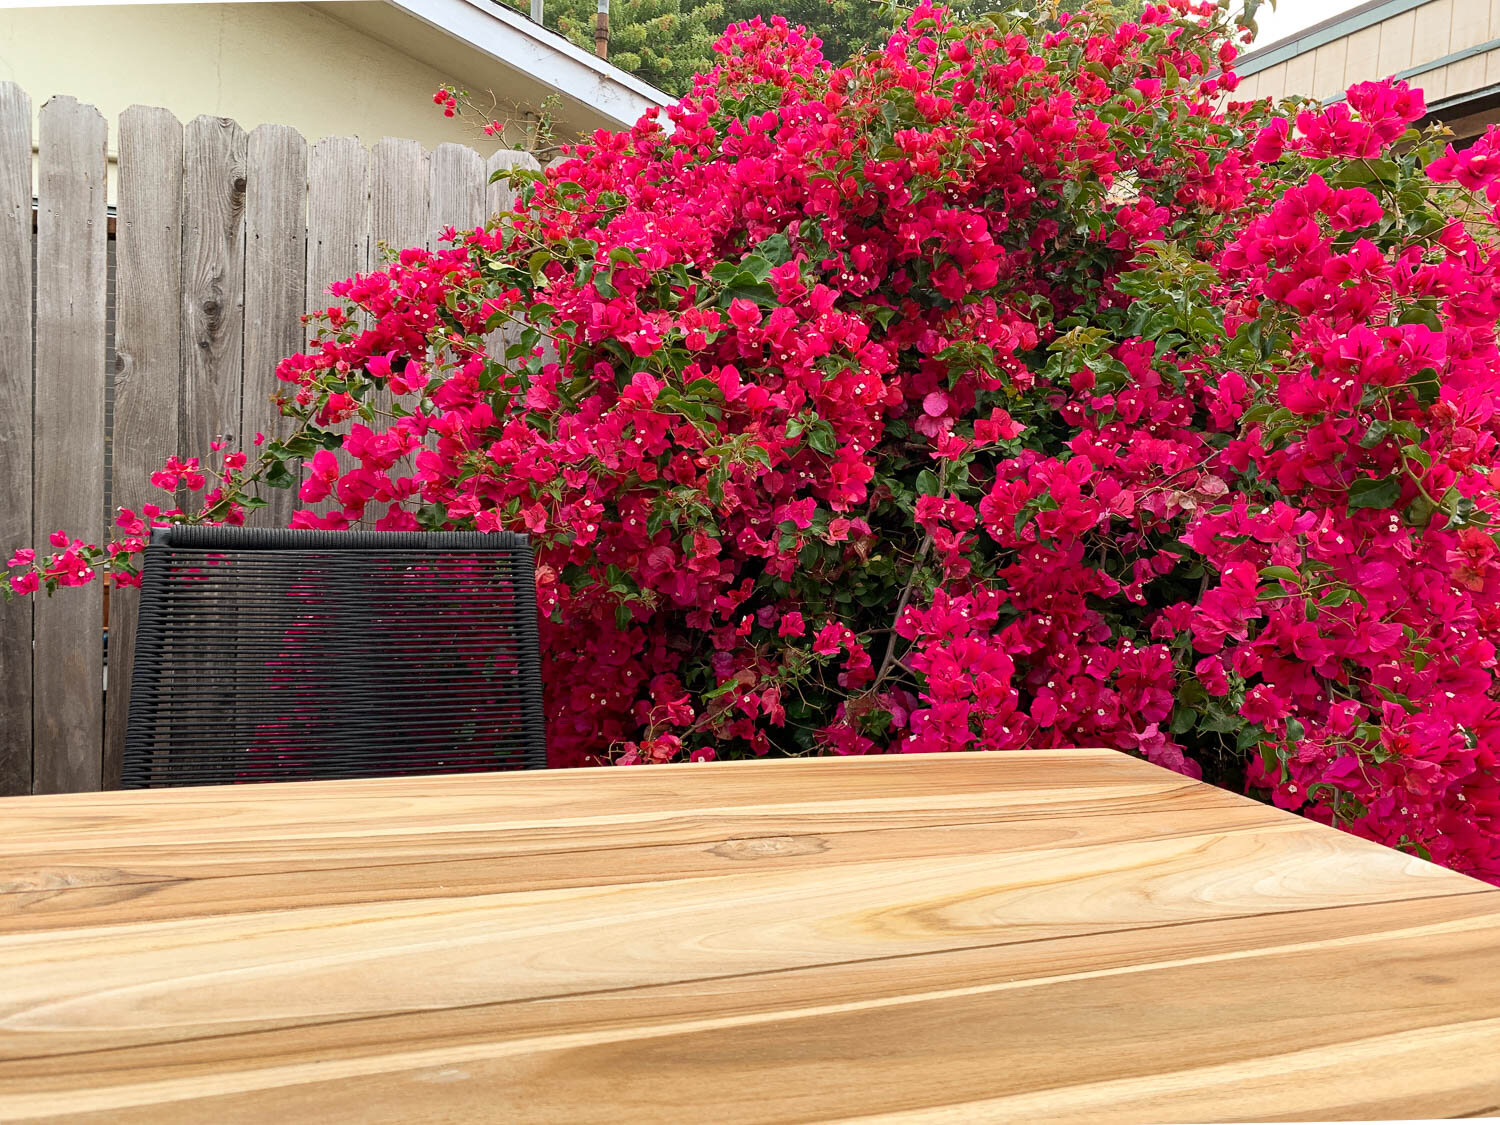
I knew I’d like that table, but holy smokes, I love it. She’s chunky! It’s made of solid teak and is oh so substantial. I’m with Larry David on my hatred for a wobbly table and this Teaka table is most certainly never going to wobble. It’s made of solid certified teak and isn’t treated with any sealers - win win! The teak is going to naturally age into a pretty grey patina, but I’m going to opt to seal it with a natural sealer to keep the warm hue. Mmmm, I love it!
We also got the Paras umbrella and corresponding umbrella base because we’re seriously lacking shade in the yard. One day we’ll fill the space with trees but until then (and even after the trees) the umbrella is a welcomed shade provider. I thought about putting it in the center of the table (and drilling a hole for it) but I can’t bring myself to put a hole through the table, and plus the umbrella is already SO handing moved around the yard. I’ve been doing some exterior projects and I bring the umbrella over to my station to set up shop, and can adjust the tilt to get the perfect amount of shade.
Take a look at the video for a satisfying unboxing video and to check out what I did with all the boxes. Spoiler, they didn’t go in the recycling bin.
I’m clearly smitten with the dining set, but there’s so much other good stuff that happened with the renovation!
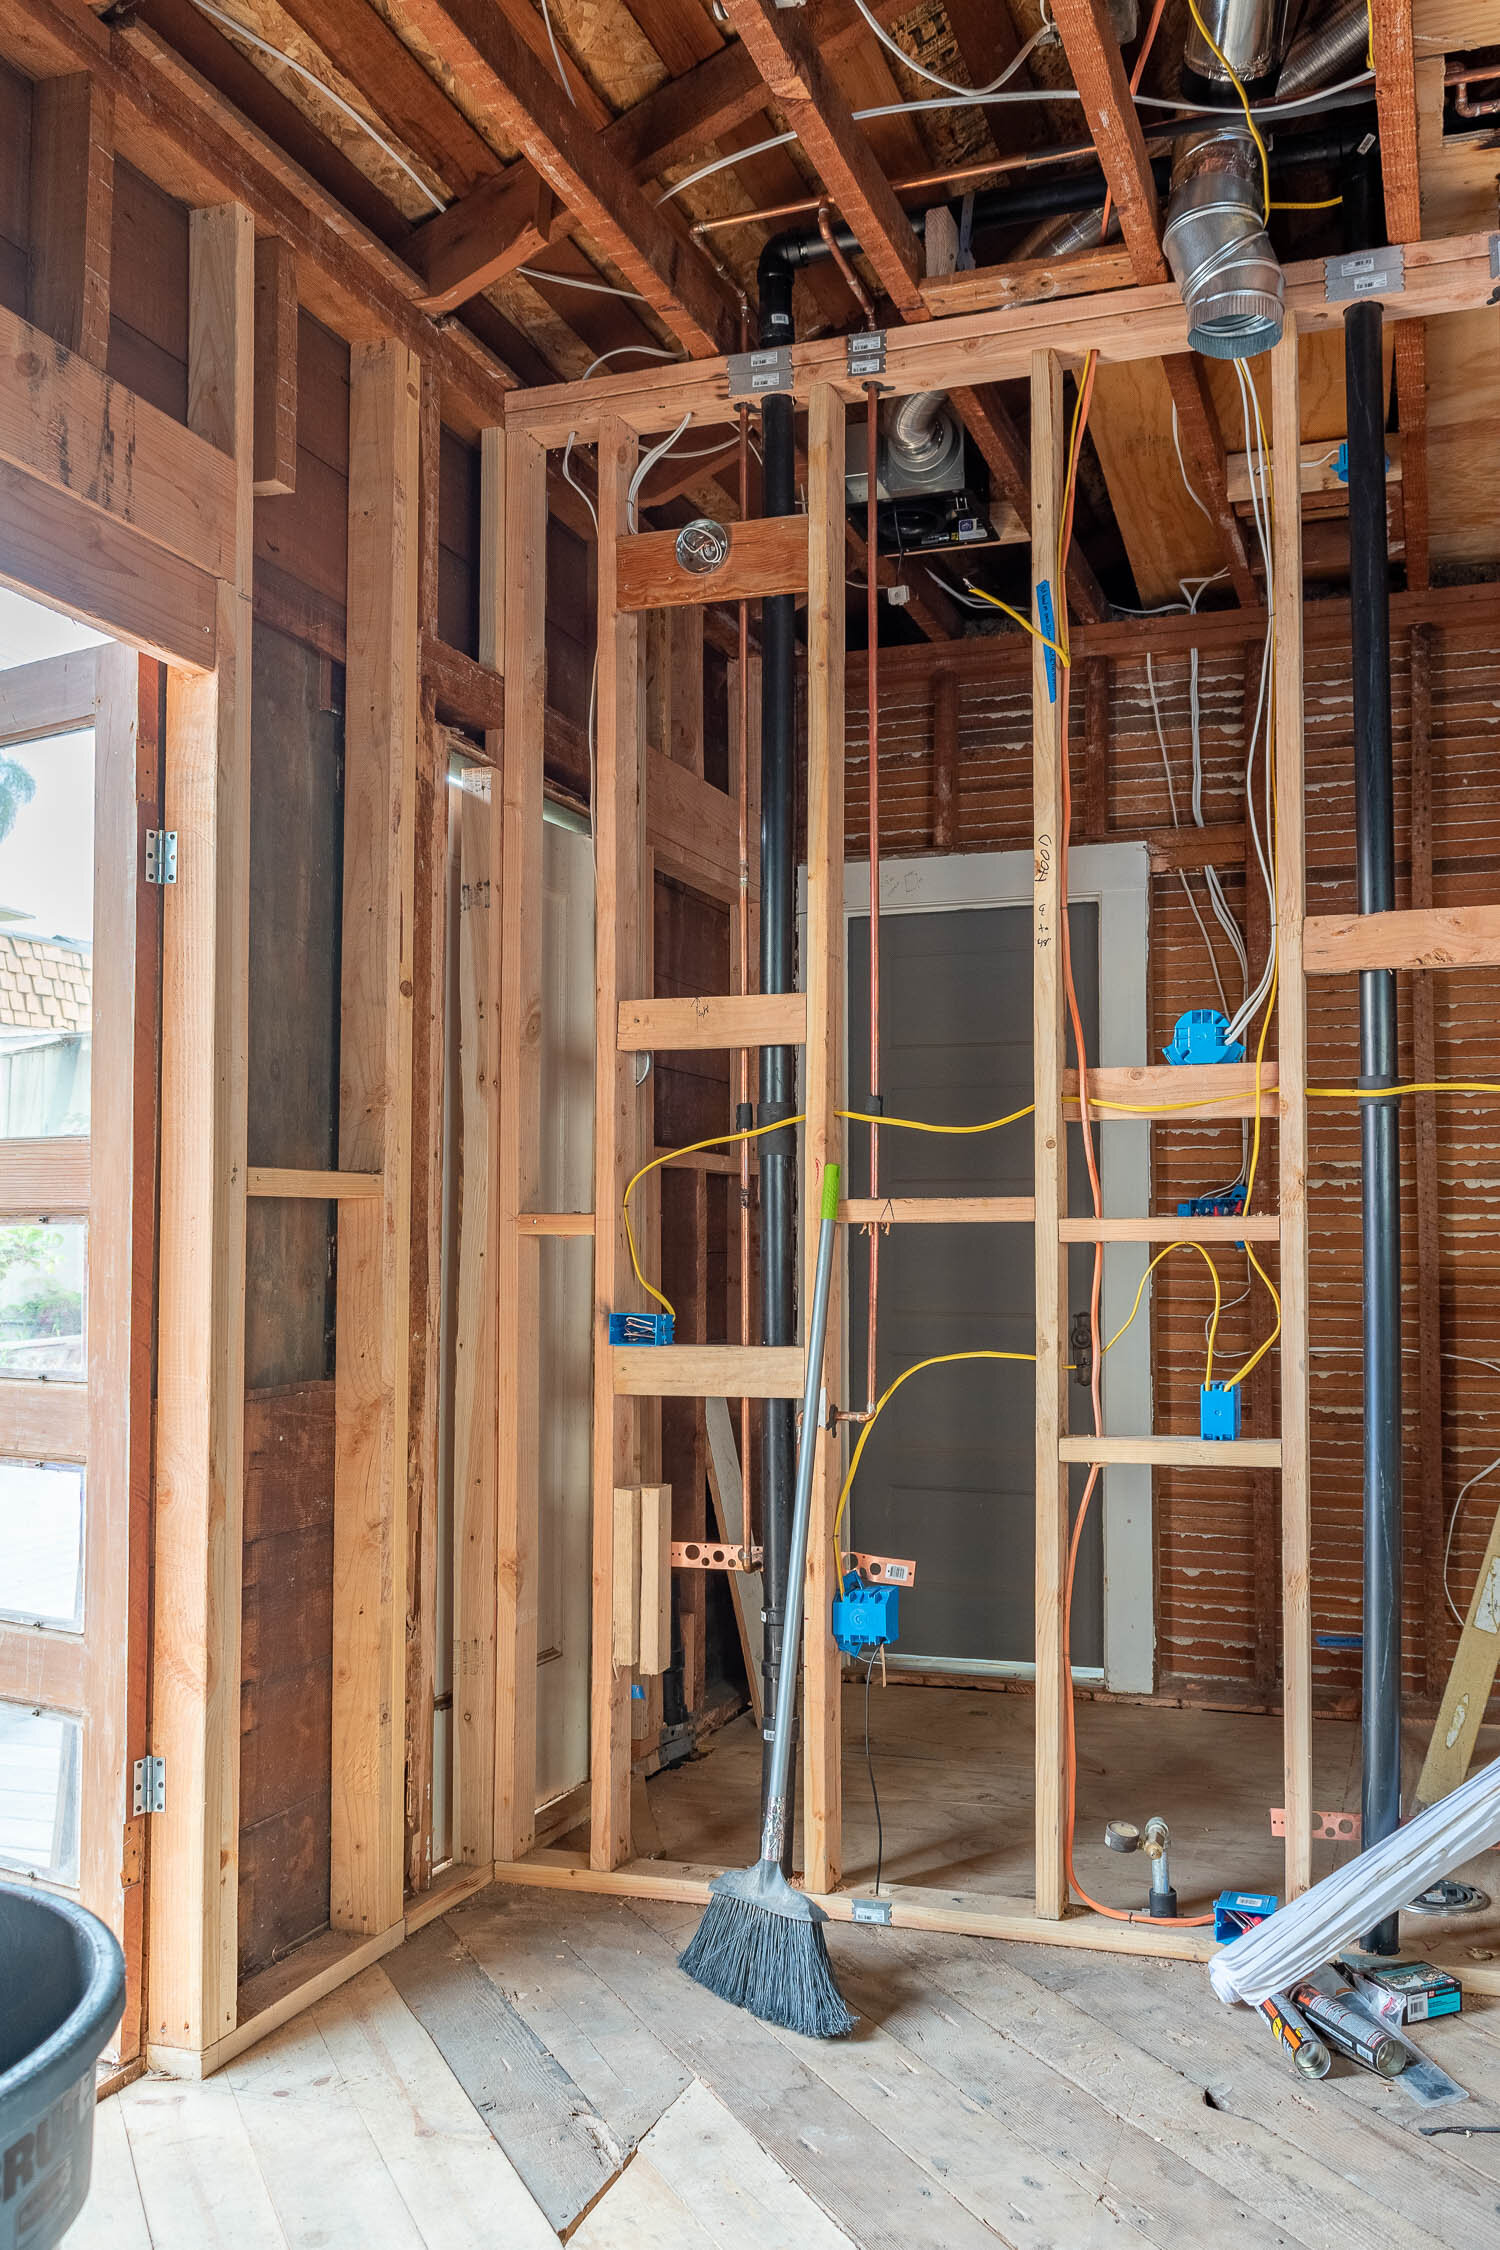
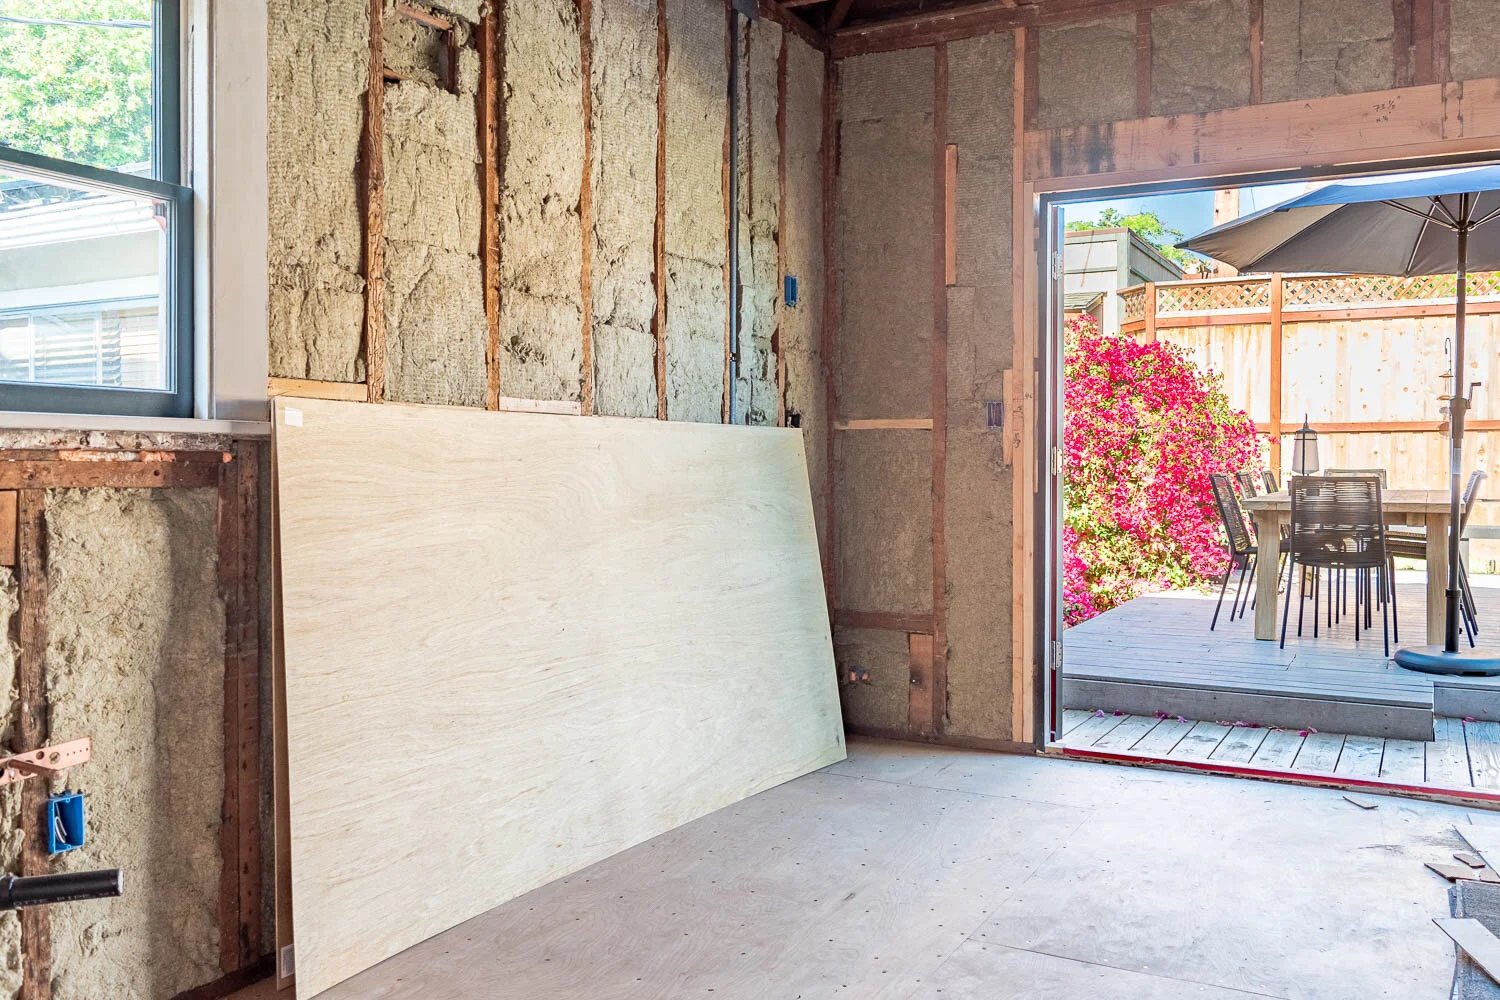
With the cleaned out construction site, it gave space to patch the floor. You’ll recall that the subflooring was eaten by termites and a pretty good portion needed to be replaced. The crew patched the damaged pieces in with fresh and sturdy wood, but then we hit a snag when I realized I made. bit of a mistake with the flooring I bought.
Have I mentioned we’re installing hardwoods in the kitchen? I’m so excited for it. They’ll be soft underfoot, they’ll be pretty, it will warm up the space, and they’ll tie in with the original flooring. I searched high and low for flooring that matches our original with is 2”x1/2” rift and quarter sawn white oak. Since that’s what the whole house has and I want the kitchen to match, that’s what I bought. But. The kitchen flooring was ¾” rather than ½” so if I installed the ½” thick flooring on top of the subfloor, there’d be a slight drop and I couldn’t possibly do this!
I’m a sucker for a smooth transition without any thresholds, so that’s what it has to be! So, we picked up this 5mm plywood underlayment to bring the subfloor up just a hair. It’s a bummer to have to spend the extra time and money on this when I could have just bought ¾” hardwoods (which also would have been cheaper and easier to find and probably even easier to install). But here we are.
The one perk of this is the new underlayment makes for really fresh pretty flooring that feels more solid and rigid than the actual subfloor. So, that’s good!
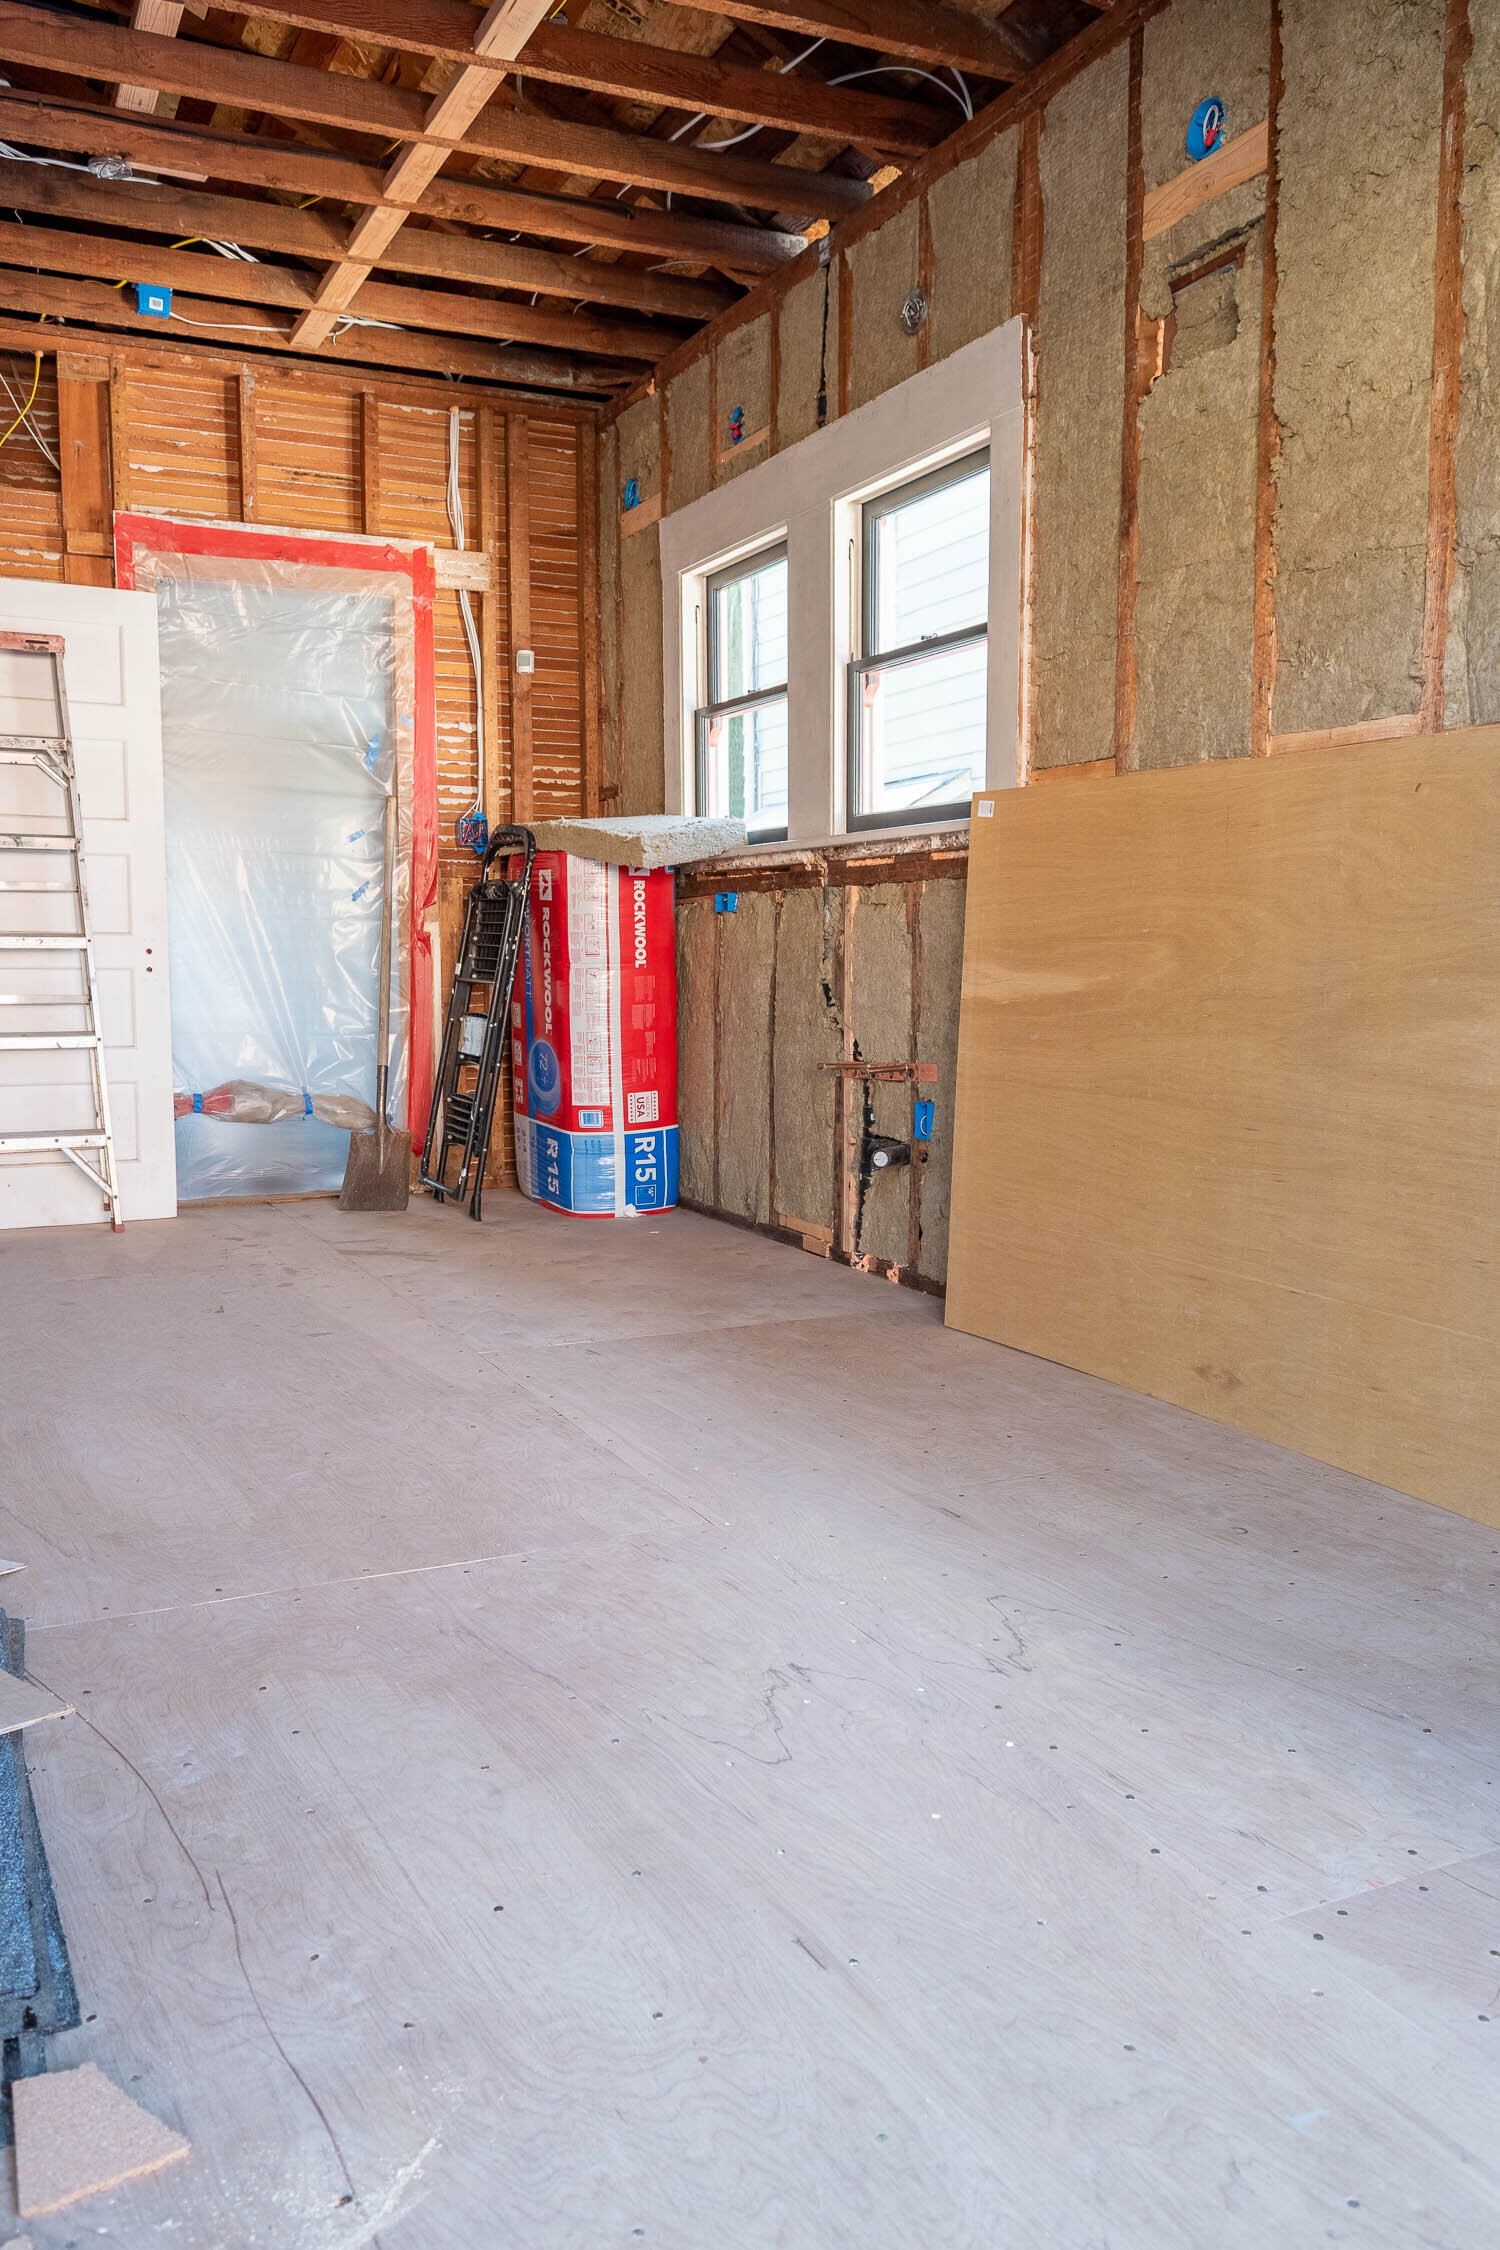
There are some unfortunate issues with the new underlayment (hello lots of nails and a bit of a slope by the back door) but I’ll get to that issue later when I tackle resolving it. Just look at how nice it is to have a visually solid floor! Swoon. I can actually start to see a room!
Once the flooring went down, the crew had some remaining punch list items that I needed them to do and then I said, “get the hell outta here!” I was losing my patience with them. They made mistakes, they took longer than they should have, they were difficult to communicate with, and all around we’re disappointed. Needless to say, I don’t have a GC to recommend to any San Diego locals. Sorry, guys.
Once the crew finished and left, it was bliss! BLISS! I talked a few weeks ago about how I’ve been feeling homesick in my own home for the last month. Part of it is because of quarantine, part of it is because the heart of the home is demolished, and the other part is having strangers in my house every day. Saying adios to those guys has completely shifted my mood and my enthusiasm for the project.

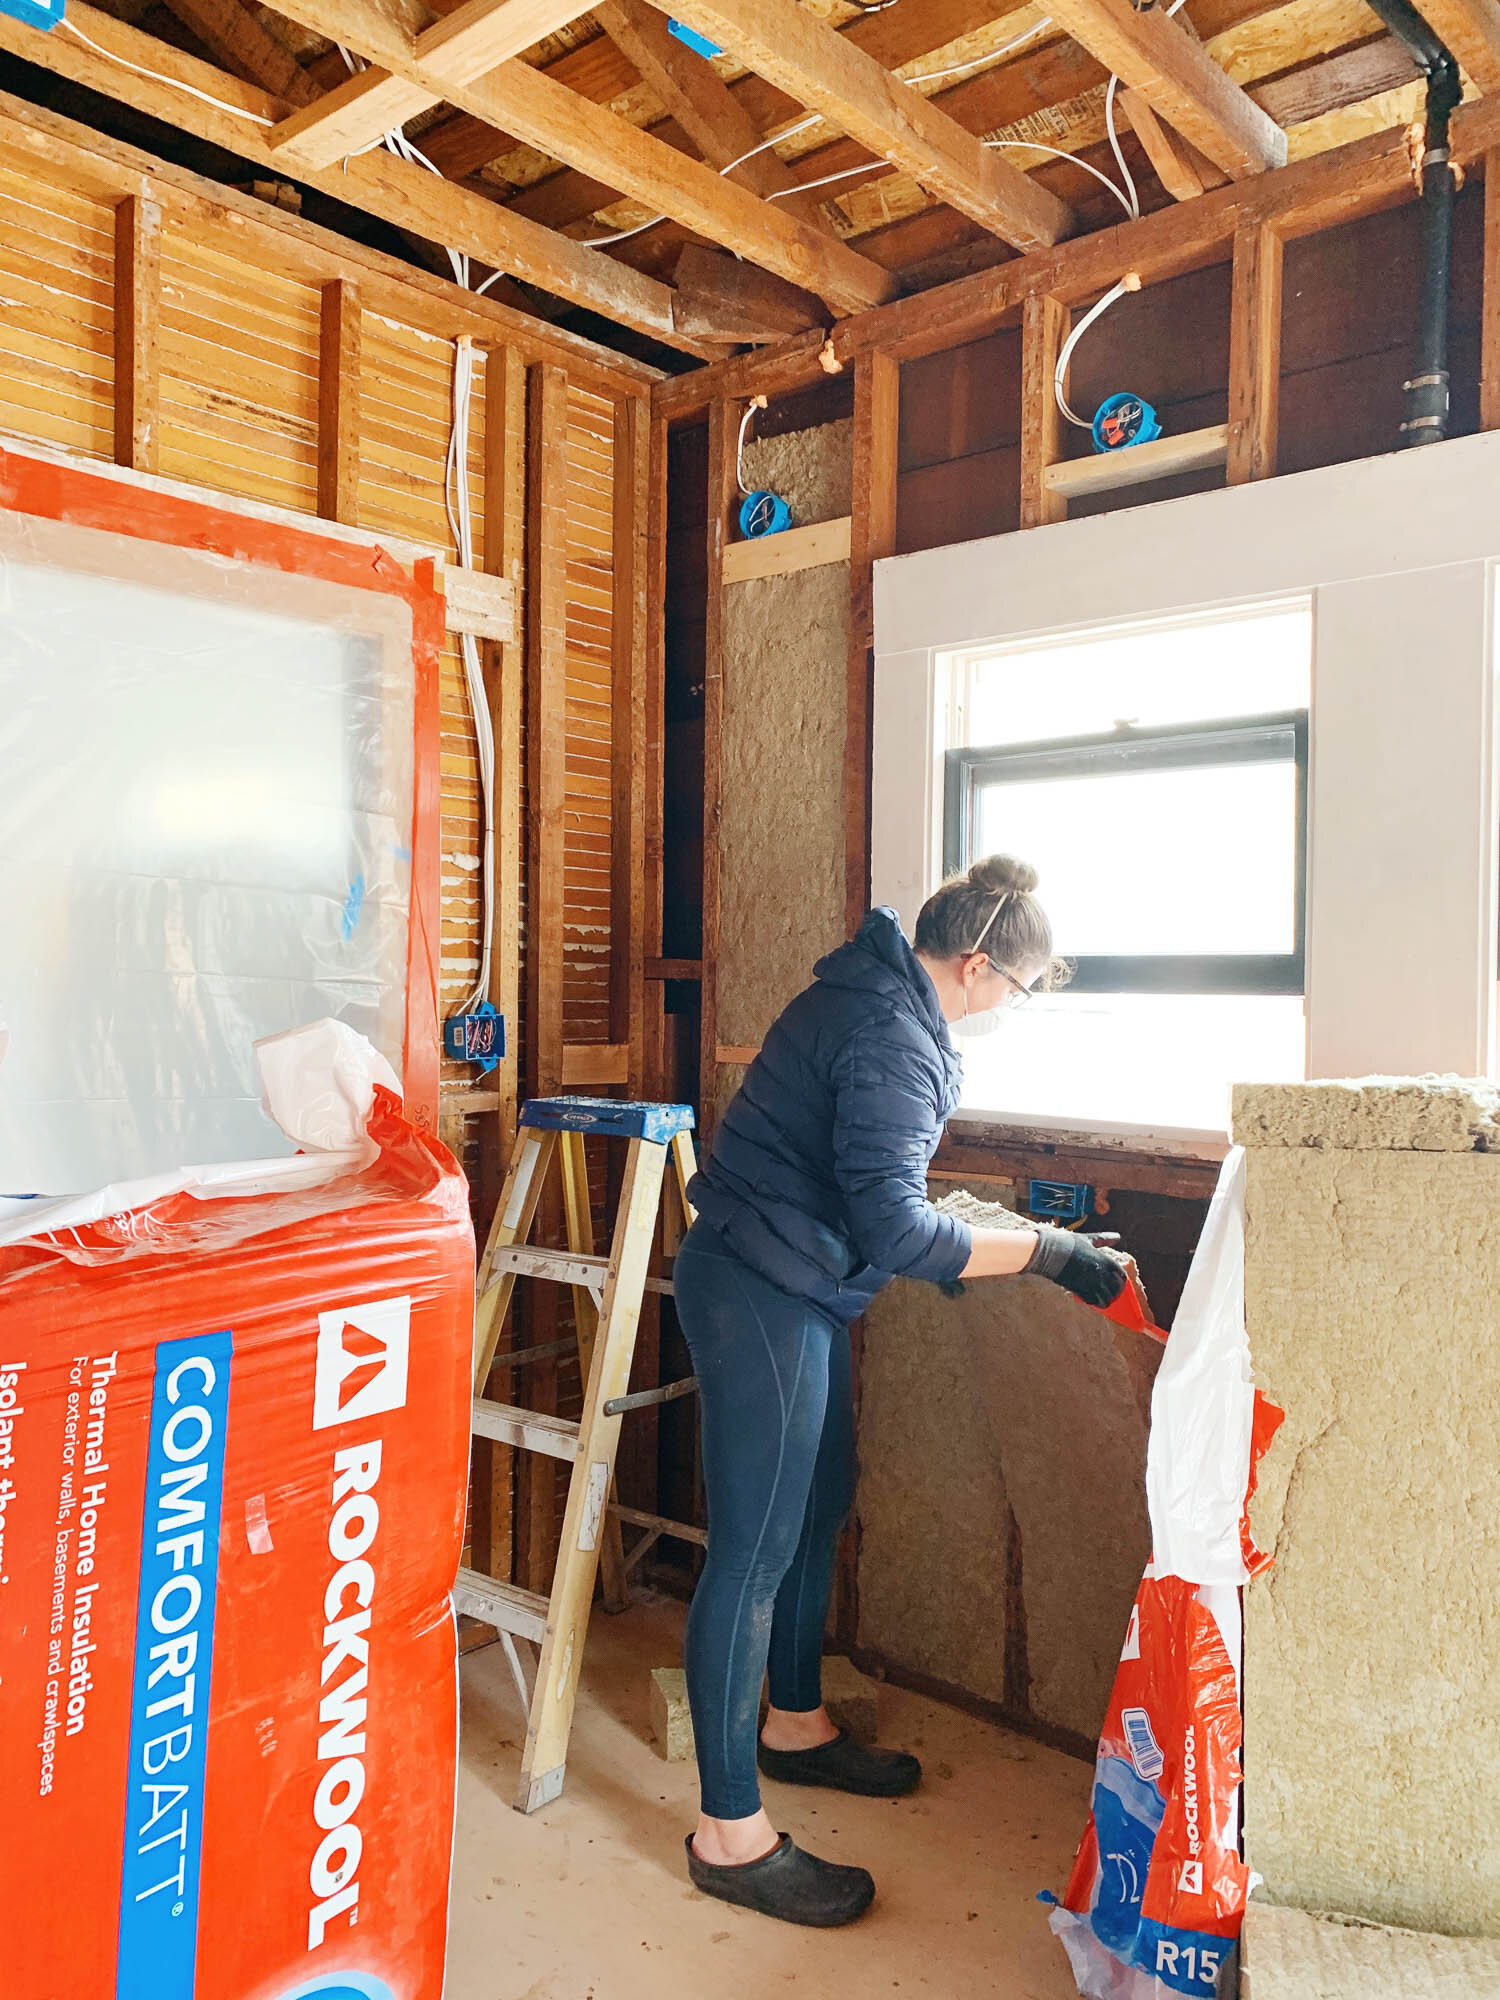
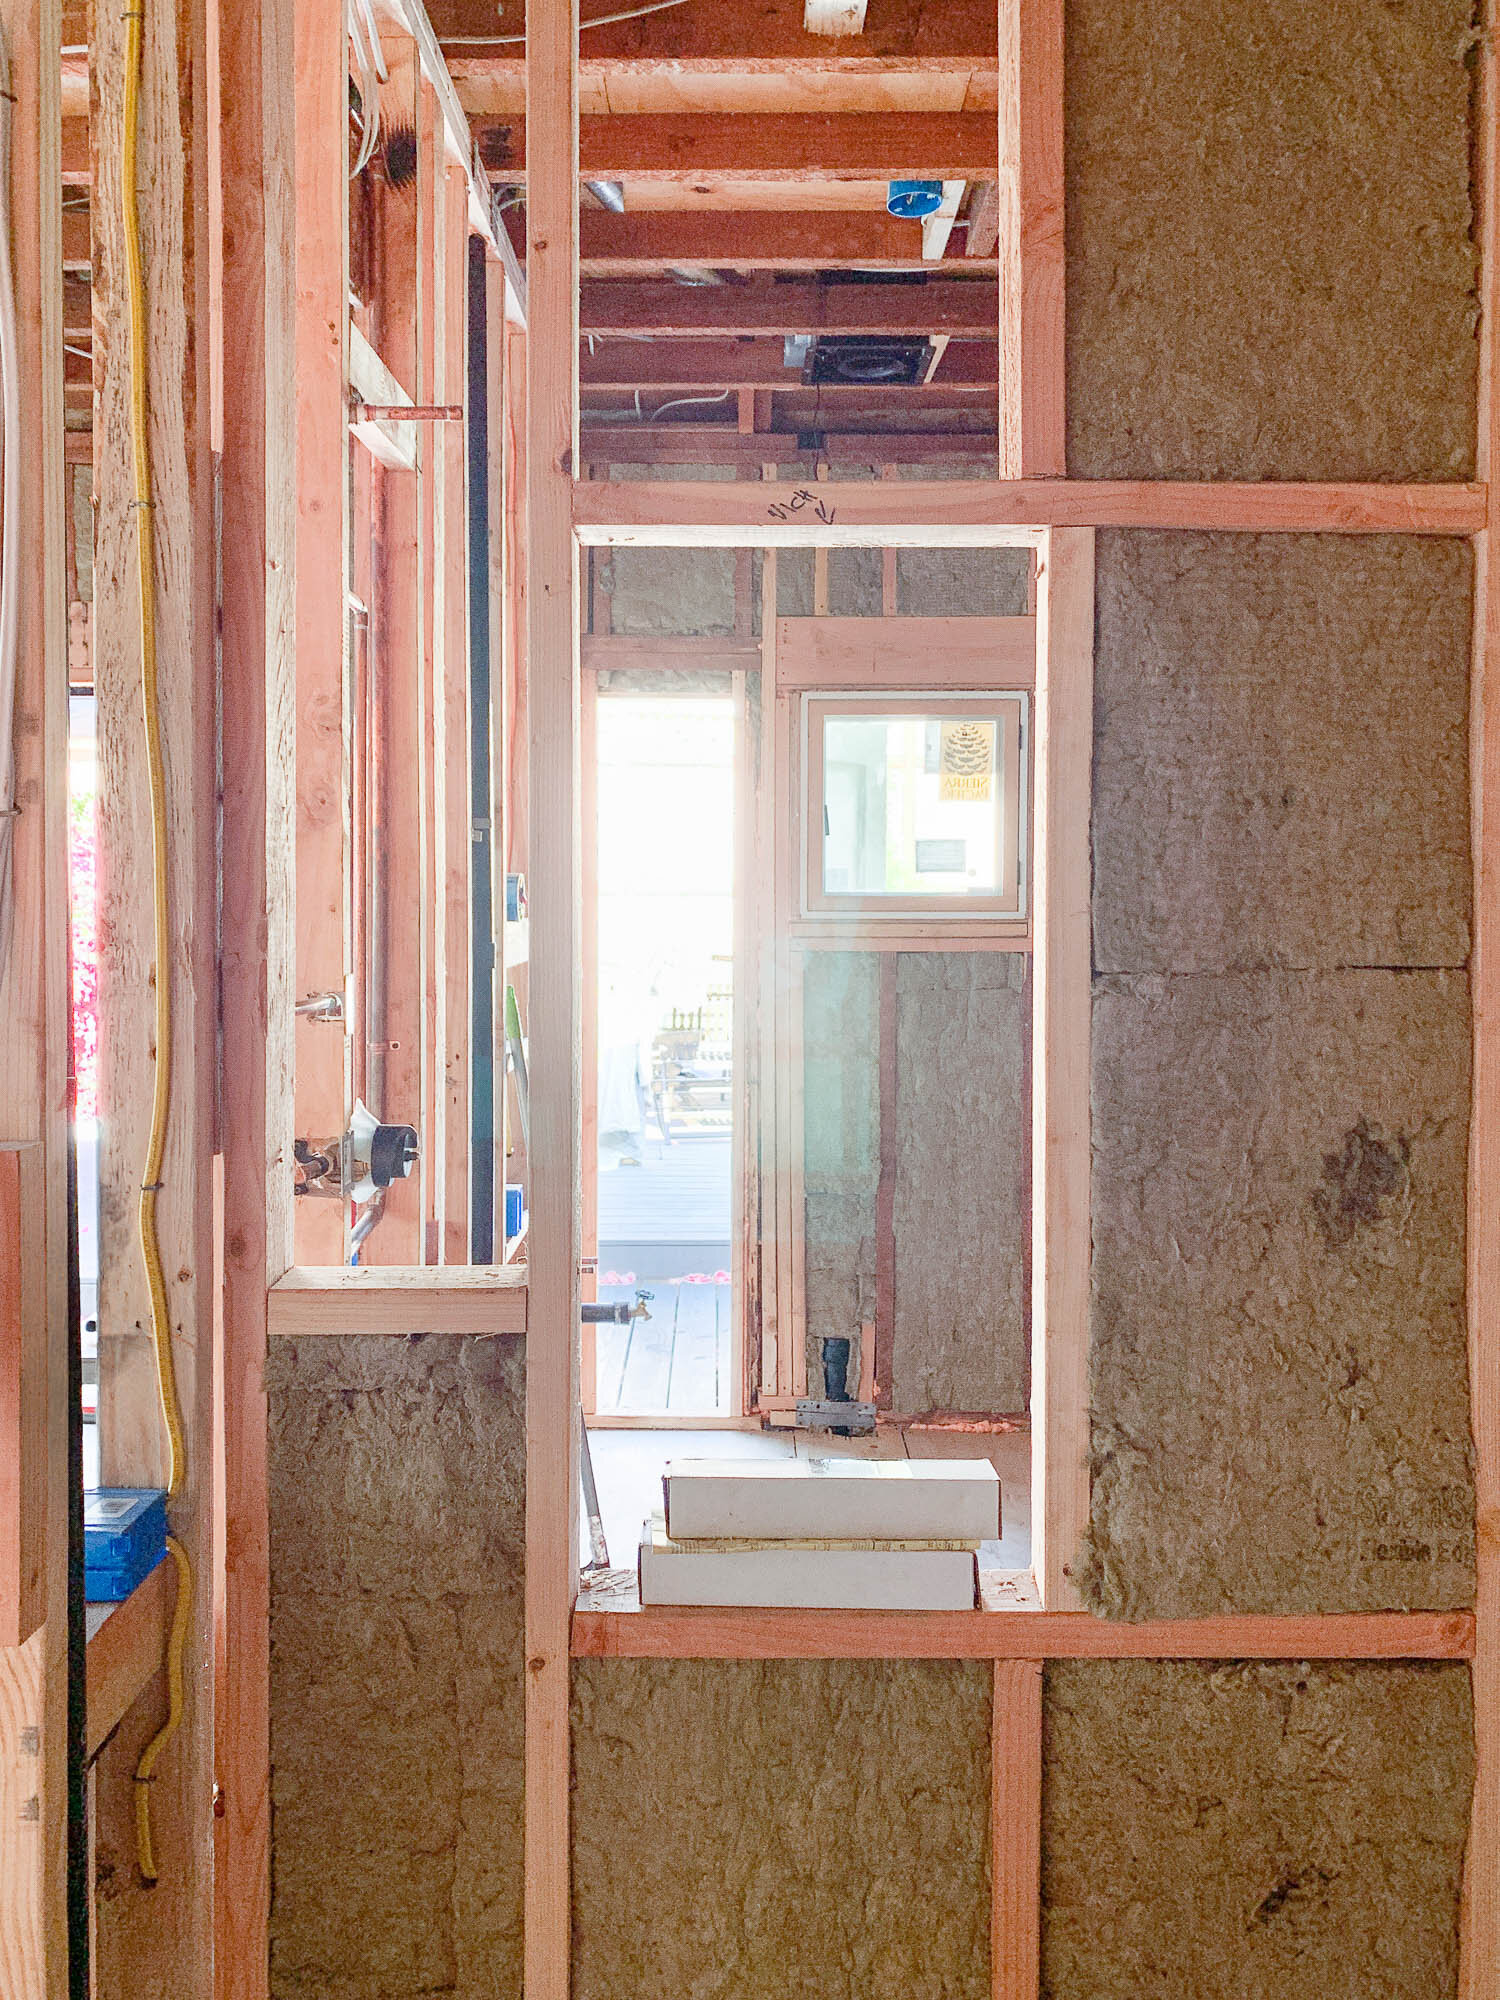
With the new enthusiasm and without dudes hanging around, I got to work on the insulation! I shared the details of the insulation in this blog post where I cover how I filled the gaps, the product I used, and the full scoop. So check out that post, or get the gist of it in the video recap.
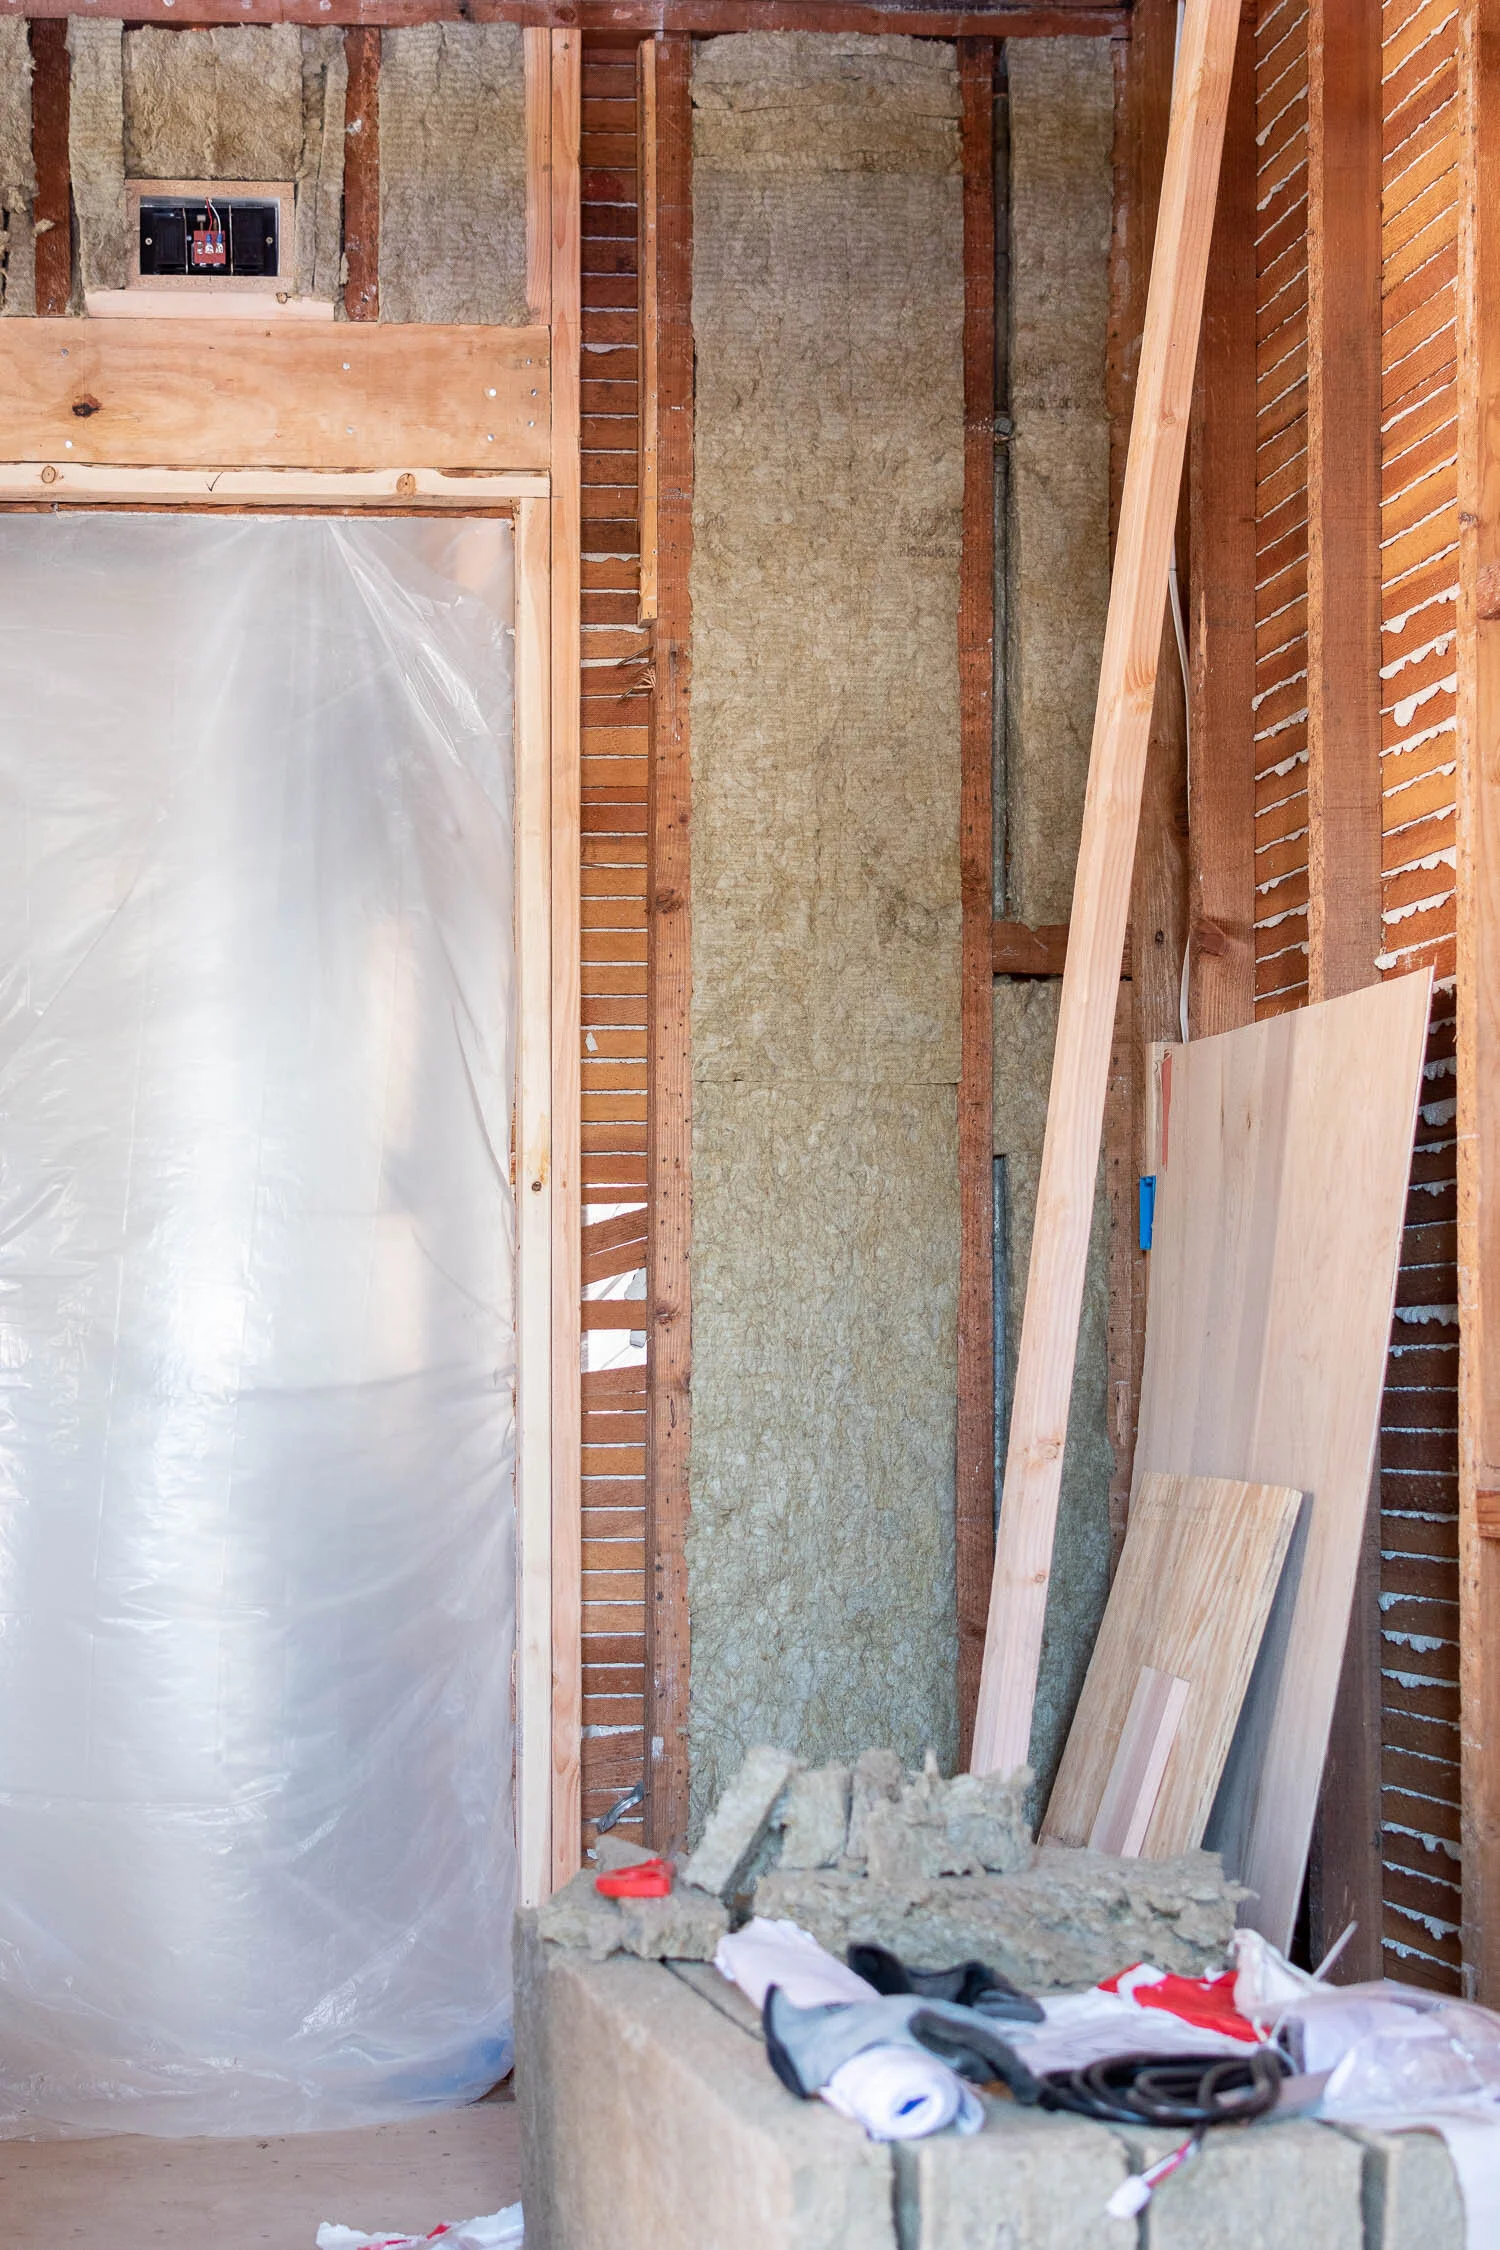
I still have a little bit more of the soundproofing insulation to instal, but she’s coming along! Again, read all about the insulation here.
I’ve been a bit MIA on the blog and on Instagram in part because I’ve been so deflated about the renovations lately and of course, with what’s going on with COVID-19. It’s a hard time, but I hope you can sense the enthusiasm for progress with the renovation. It’s such a welcomed distraction that we’re grateful to still work on, but when things go awry with the crew, it takes a toll. I’m happy to report that we’ve turned a corner so things are better and you’ll be hearing more from me in the coming weeks!
What to expect this coming week:
The french doors! Spoiler, they already were installed, but I have a dedicated post about it, so sit tight! After door install is door painting and exterior trim patching and prep. Then drywall on the inside!
What’s on my agenda for this week:
Buy all of the paint, primer, and products for patching in the siding and painting the french doors and bathroom window.
Oversee door install and squeal with excitement when it gets installed
Paint the new french doors!
Finish up the insulation
Come back for another update soon or follow along on Instagram Stories for daily updates! These blog posts are always a few days delayed as I take time to compile all the info. Follow me on Instagram for live updates. And don’t forget to watch my video about the week here.