Kitchen Renovation Update 7: Pulling Nails, Floor Leveling, and Drywall
/The renovation is taking shape! We have level floors (thanks to lots of nail pulling and geometry) and the beginnings of the oh-so-transformative drywall! The kitchen is finally feeling like a safe space amidst the chaos of a renovation and a pandemic.
If you’re new here, be sure to catch up on the week 1 demolition, week 2 demo and framing beginnings, week 3 framing, update 4 plumbing, update 5 electrical and venting, and update 6 insulation. You can also learn about how we’re eating without a kitchen and how we’re renovating during COVID-19. And if you’re really new and have no idea what’s going on, check out this post which gives you a summary of what to expect and why we’re making some of the decisions that we are.
Watch The Renovation Update #7 Video:
I’ve been sharing videos of the progress on Instagram Stories, but not all of you follow me there, so I put the Instagram clips into a YouTube video so you can see the whole evolution and get a good sense of the layout, too.
The video is formatted vertically, so it’s best watched on your phone - but it works on your computer, too!
If that video isn’t loading properly, click here.
And then here’s what’s been happening lately, in text format:
I took a three-month-long break from talking about the kitchen on the blog and Instagram. Sorry if you were missing these updates! To read about why I paused on sharing, click here. I’m going to pick up where we left off the last time I updated you.
If you recall, the kitchen floors were destroyed by termites all the way down into the subfloor and the joists. So the crew replaced that lumber with a sturdy foundation. Then we added thin underlayment when I realized the flooring I ordered wasn’t tall enough for a perfect transition (I purposefully ordered ½” to match my ½” hardwoods, but didn’t realize the kitchen flooring was ¾” until we demolished it. oops). So the floors were looking pretty decent with the new underlayment and sturdy foundation, BUT...
During the demo, we realized that a section of the house was built to have an intentional slope. We think maybe there was a small exterior mudroom that was sloped to avoid water? I thought the crew was shimming this area up when they were adjusting the termite-damaged joists. I mean, that makes sense, right? Well, they weren’t. So after I sent them home at the end of the project, I was disappointed to find that I had a weird slope towards the back door in the corner that they were expecting me to fix after laying down fresh plywood on top of. Thanks a lot, guys.

I called my contractor buddy over and we schemed ways to fix the dip in the floor. He took a look at it and said, “this makes me want to puke.” Oh great. Just when I think the expert will have the confidence to fix it, he’s a little stumped. We did a lot of research and brainstorming to figure out a solution.
Before I explain the cumbersome process that we did, I know many folks are thinking, “but why not a self leveling product?!” Believe me, we thought about it. We thought about a ton of materials and product solutions. The end goal is to install hardwood floors on top of this subfloor, so we need products that we can easily nail into. And we’ll be driving nails through delicate tongues on ½” flooring for that matter. So the last thing I want to be nailing into is concrete that could mess with my nails. And guess what self-leveling products are? Hard concrete.
After lots of research, we ultimately decided to cut down thin pieces of plywood, and build layers like a topographic map.


Using thin pieces of plywood cut to unique shapes, we were able to gradually stair step the wood and adjust the level by boosting the height in the corner. Then, we feathered the edges by sanding them down and filled in any extra gaps with small pieces of asphalt shingles and tar paper.
It wasn’t particularly easy and wasn’t fun, but it’s so much better than feeling seasick while walking around in our future kitchen.
Oh, I forgot to mention the most fun part of all of this! Removing a billion nails from the plywood.
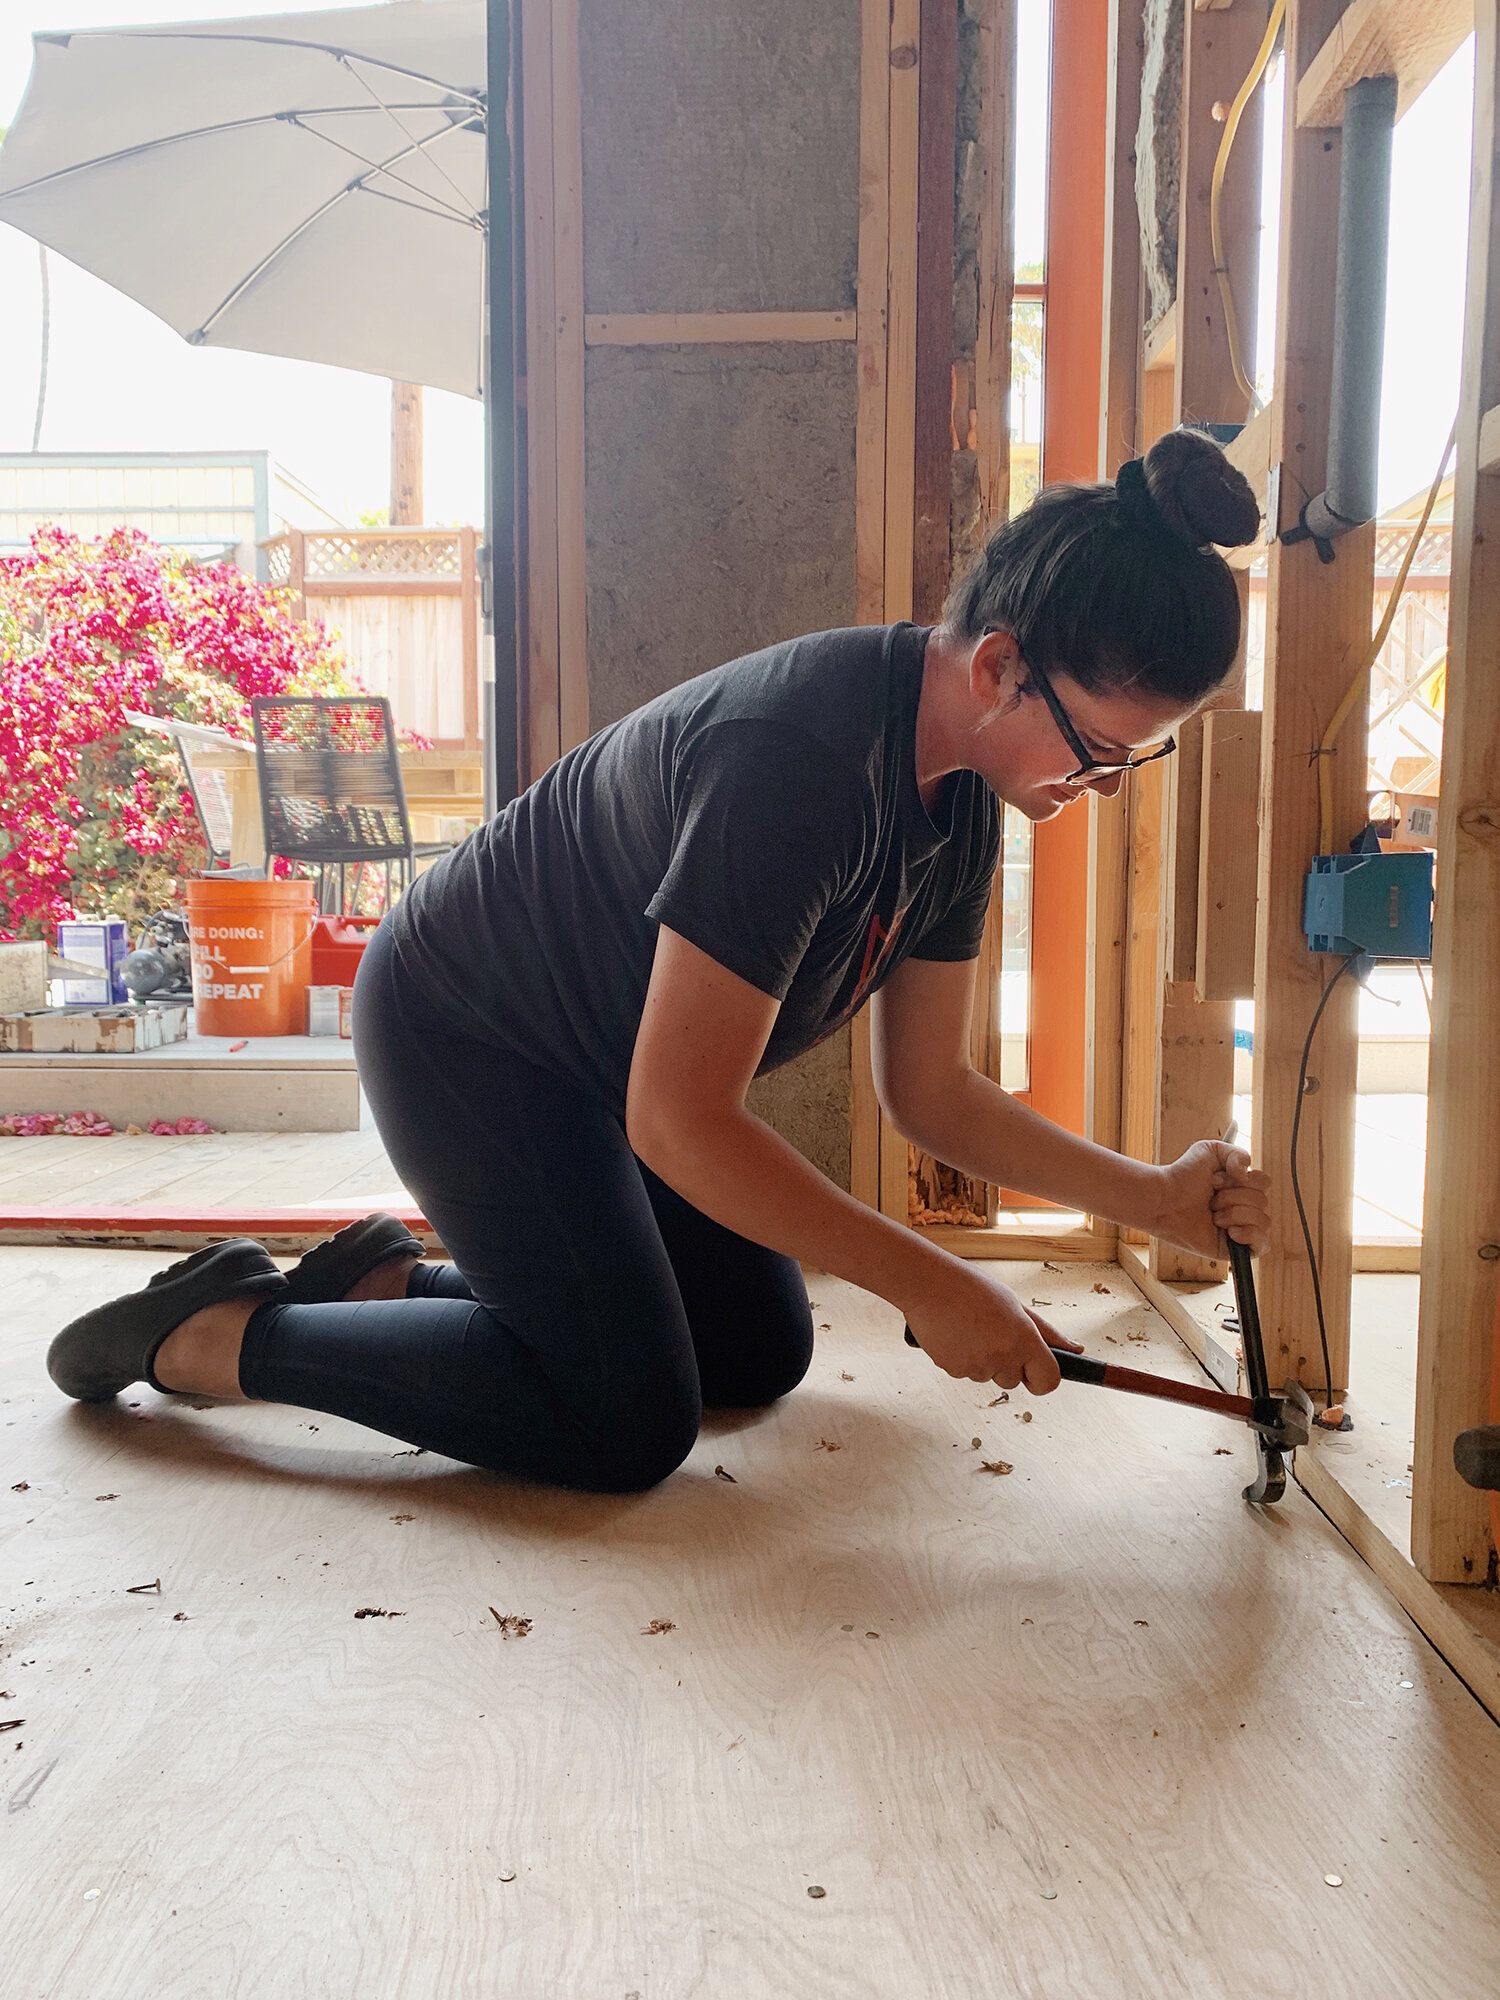
The crew installed the plywood underlayment using adhesive and roofing nails. They really could have used any other nail, but opted to use ones with really big heads. The challenge with this is we had a lot of nailing to do with the hardwoods and leveling the corner of the room. If we hit one of those metal nail heads, the new flooring nail could kick back and damage the hardwoods or just cause a pain to deal with. Since we were laying down a moisture barrier, we wouldn’t be able to see where the nails were when we started laying the hardwoods, so the risk of hitting one was outweighed by the pain it was to remove them all.
The decision to do this is debatable and I’m sure some people think it’s wild that I took the time to do it, but I did and it’s done and here we are.
For no real reason other than curiosity, I counted all of the nails I removed from the subfloor that we installed in the kitchen and closet. Wanna guess?

952 nails! Nails that I had to hammer out individually with a claw pry bar. My wrist was hurting for a couple of days after, but boy did I feel a sense of accomplishment by the end of it.
My contractor buddy loves cleaning as much as me and he taught me a great trick. Clean up the jobsite with a leaf blower! He carries around a lightweight battery-operated leaf blower to remove dust from surfaces, blow sawdust into the garden, and push any loose nails into the corner to pick up. It’s genius and he inspired me to request this compact leaf blower for my birthday. I use that thing all the time, now!
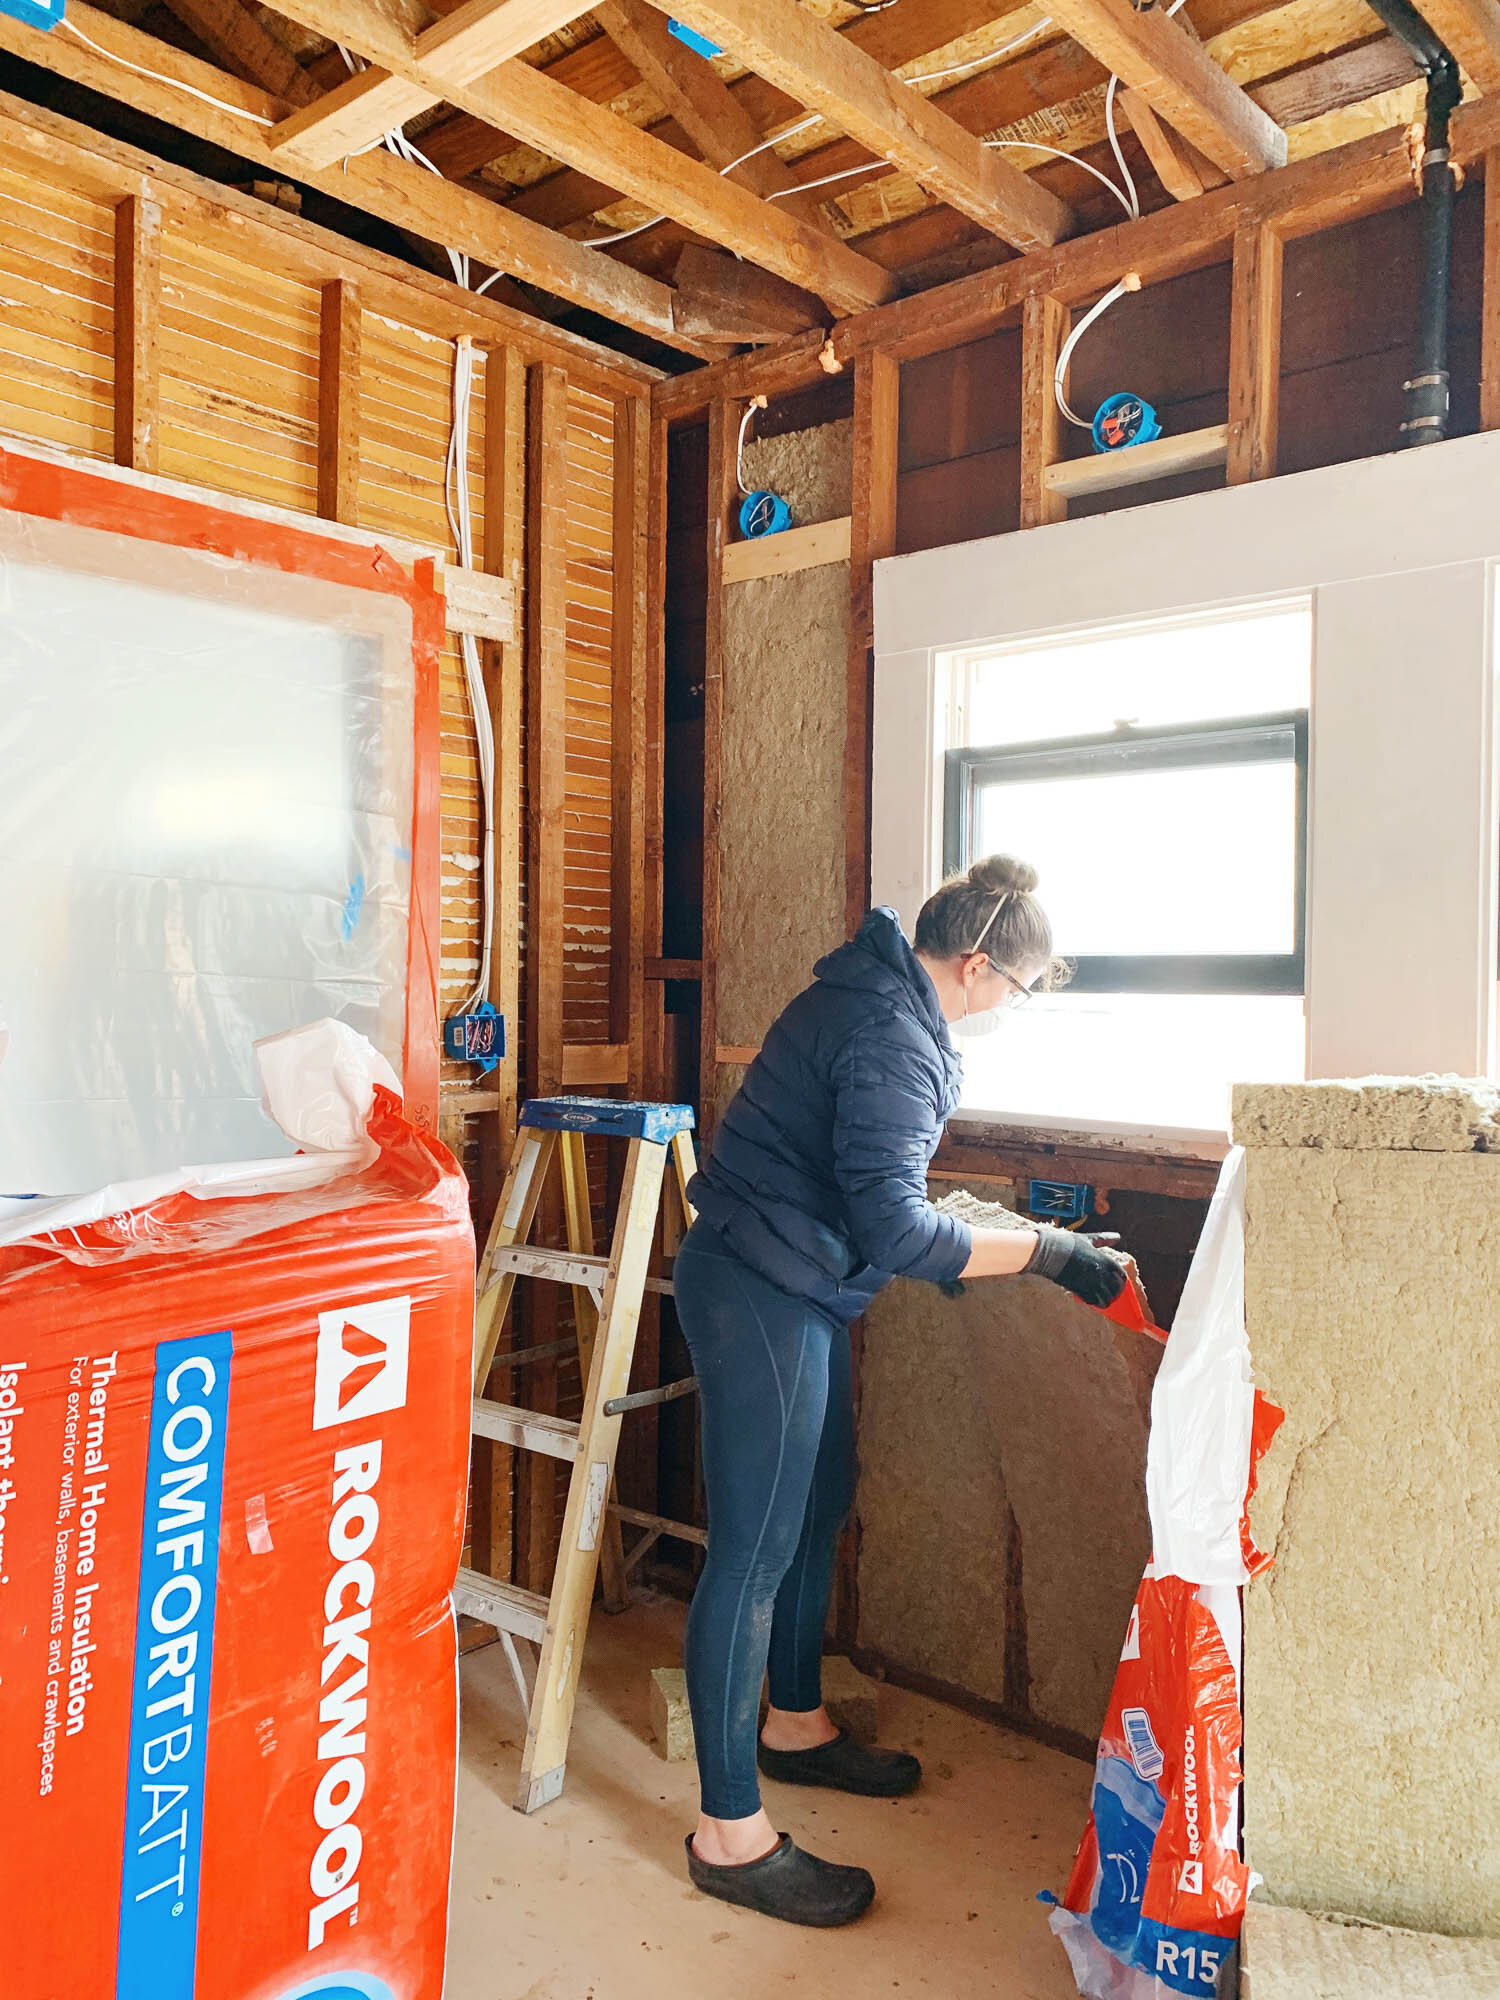
I talked about insulation already and you’re probably tired of hearing about it (if not, read up on it here and here). But, I’ll briefly mention that boring yet important step to say we installed R-value insulation in the exterior walls and then soundproofing insulation in the interior walls. The one wall that I left empty come drywall day was the one between the kitchen and the new bathroom. Not because we don’t want it - we definitely do want soundproofing there! - but because of ease of install. Insulation goes in best when there’s something to push it up against, like siding or sheetrock. But that wall floated in the middle of the room with nothing to pack the material into. So, I discussed with the drywall team and we decided that they would install one side of the sheetrock on day 1 so I could fill in the insulation that night before they returned to close up the other side on day 2. Make sense? That was the plan.

Before drywallers came, I also had to take the opportunity to hide my time capsule. The nook where the California Cooler used to be was the perfect spot to hide a little note. It wasn’t quite big enough to shove in all the trinkets I wanted to put in there, and plus I didn’t have time to collect on my goodies, so I found a better place for the time capsule where I can hide it after drywall goes up. I’ll give you a full time capsule update when I put everything together!
Of course, I wrote my note to the future homeowners on the back of one of my DIY quarantine postcards.

Drywall day! I kid you not, this was the best day of 2020 for me. It’s not saying a lot considering what a year we’ve had, but still. So so thrilling. In the chaos of renovating and the chaos of the pandemic, seeing the insulation-filled studs get closed up to look like real walls was a comfort that I can’t even explain. The sheetrock-clad walls were a peek at what the kitchen will be, and a bookend on the messy rough stages of construction. What a sweet sweet relief it was to see even one piece of sheetrock go on the walls.
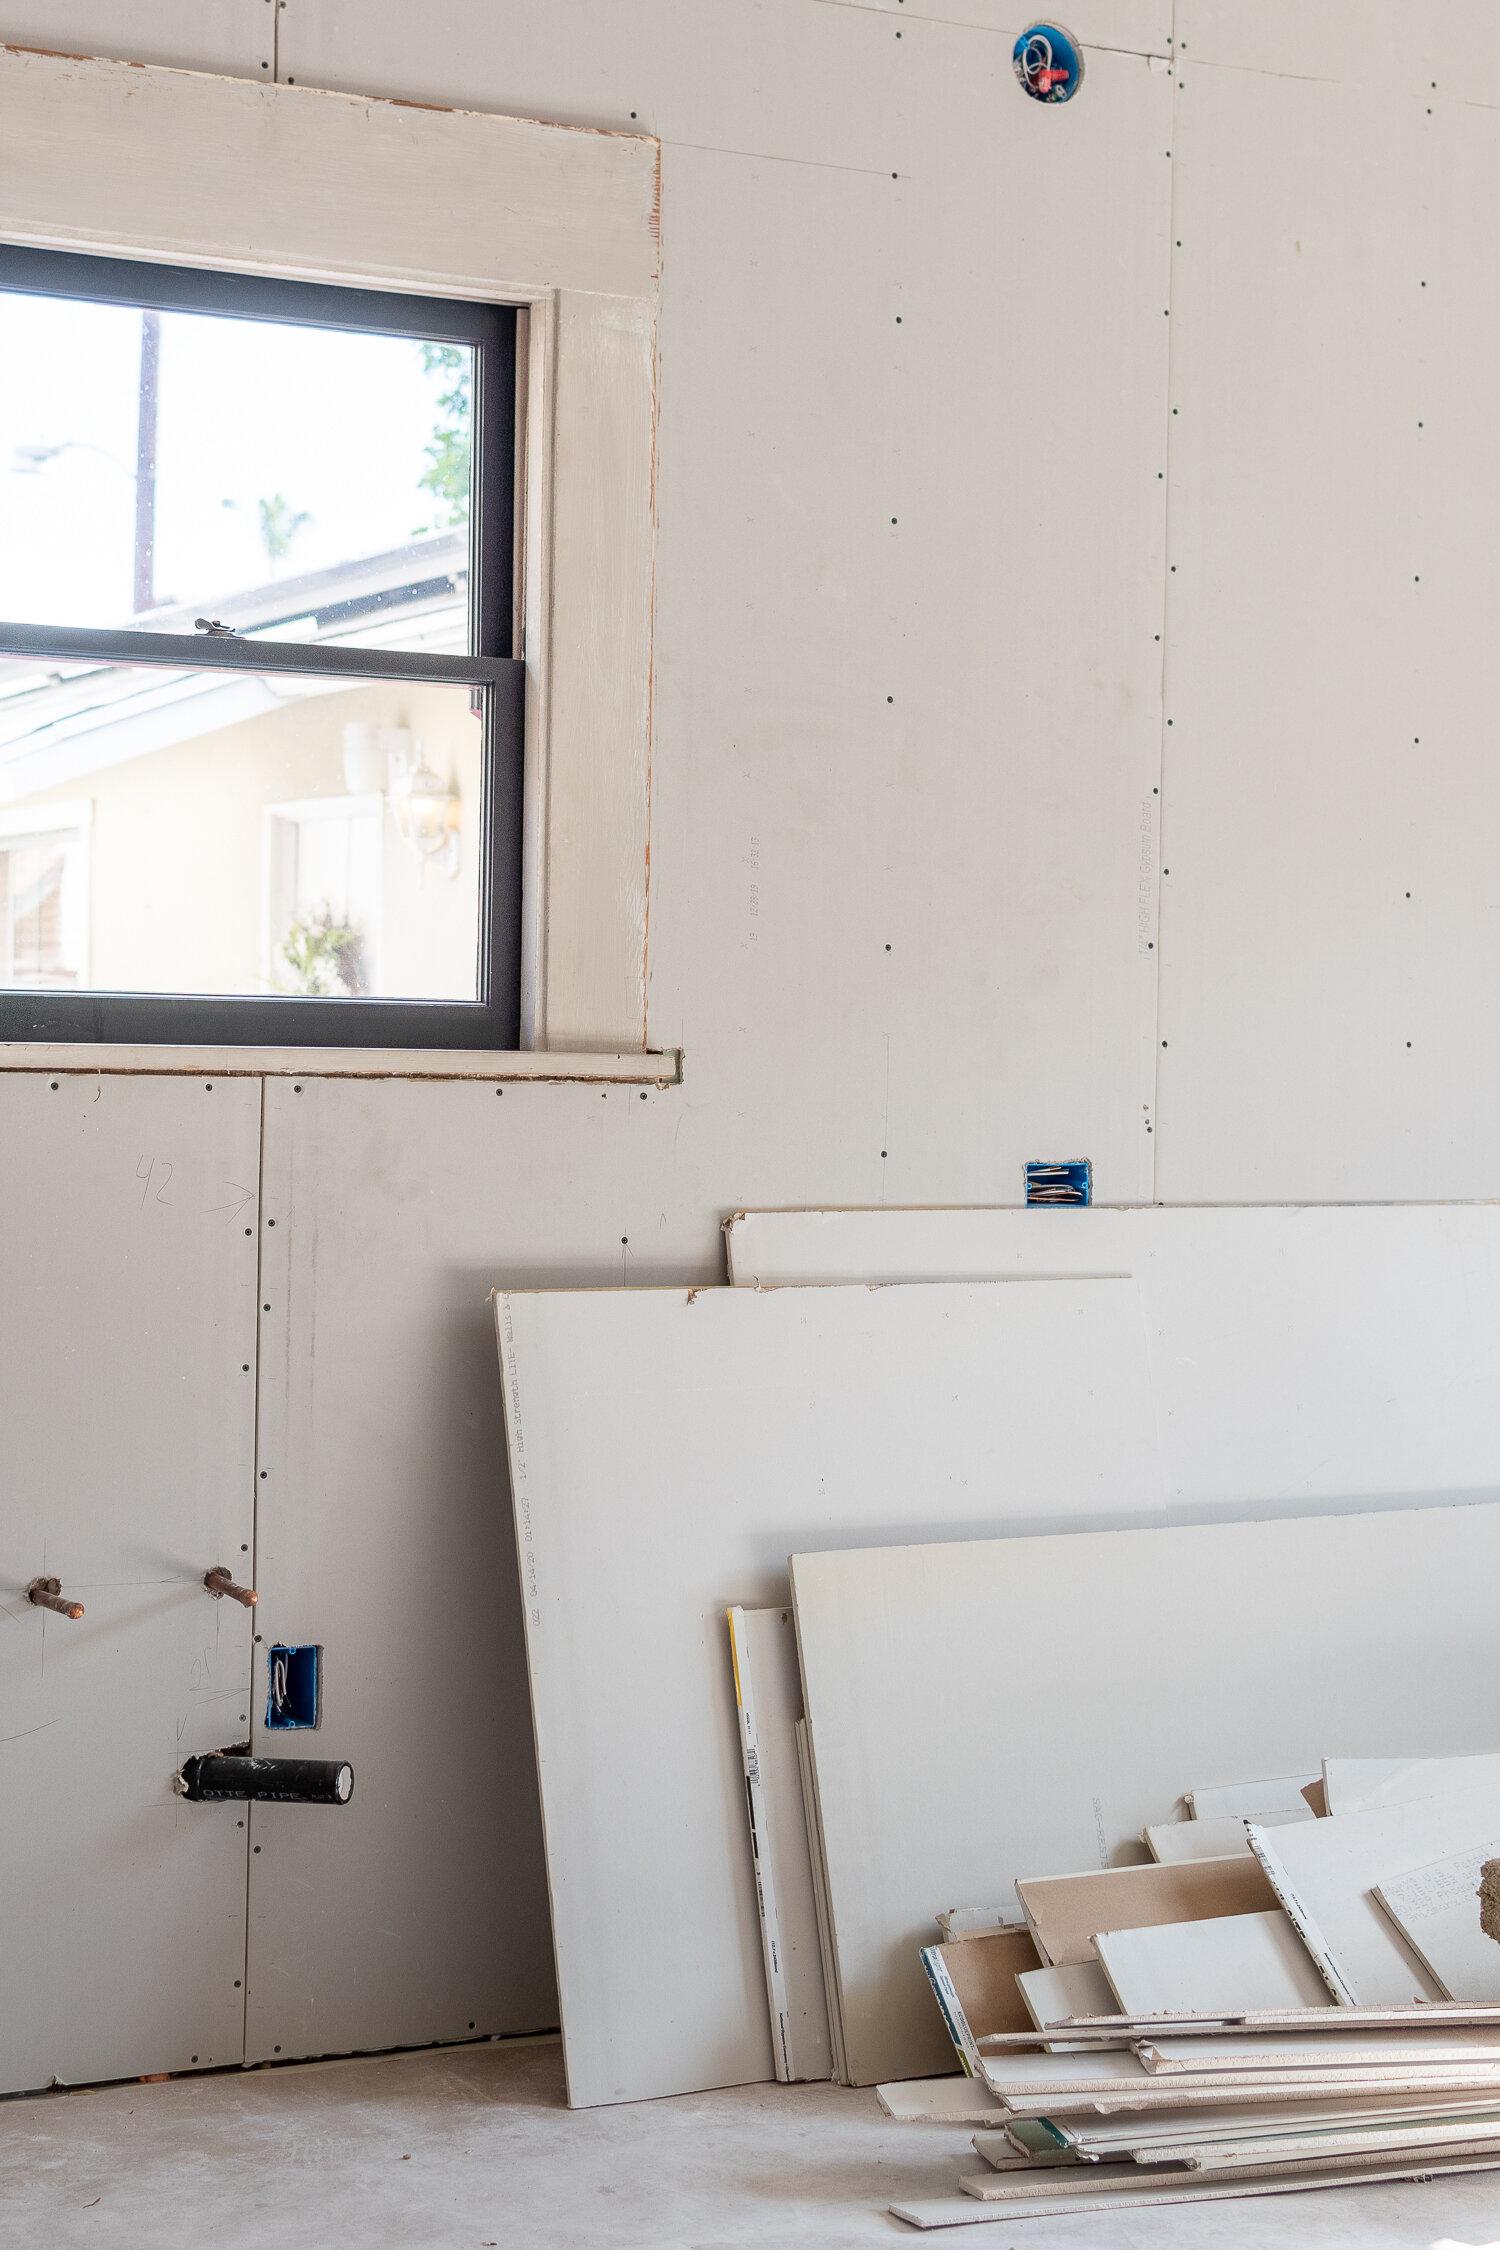
On the sink wall (the one you’re looking at above with the two windows) got two layers of drywall all because of the window trim. And I love it. It provides extra insulation and noise reduction, but while those reasons are great, we did this solely for a cosmetic old house reason.

As you can see above, we need ¾” thick drywall to bring the wall depth to the edge of the window casing. The common thickness is ½” which we used throughout the room. But if we only installed the ½” thickness, then we’d see ¼” of plaster behind the casing. Some might say to remove the casing, take out the plaster, and reinstall. But then I’d have to adjust the window stops and the window stool and I just don’t want to do that. Instead, they installed a layer of ¼” drywall right on top. They could have done ¾” but it’s heavier and harder for them to deal with, so they prefer to do the two step process. Fine by me!

Remember how I told you the team was going to hang the drywall in the kitchen, let me insulate that night, and then hang the bathroom drywall the next day? Well, those guys were too fast for me to be able to do that. At lunch time they asked, “can we just install the insulation for you so we can hang all the drywall?” Uhhh yes please, feel free!

Those talented magicians managed to hang all of the drywall on the ceiling, in the kitchen, in the closet, in the vestibule, in the bathroom, and two layers on the sink and dining room wall in one day. I was amazed by their efficiency and quality.
If I were to attempt to hang drywall, I’d still be unloading the first of the materials from the truck by the time they finished the whole project. No joke.

With the walls all sheetrocked, the rooms suddenly looked like real rooms. The closet looked like an actual space I could hang clothes. The vestibule looked like a legitimate extension of the hallway. The bathroom looked like an actual new room that we gained. And the kitchen suddenly felt huge and bright.
If you’ve had a hard time making sense of the new layout, watch the video at the 10 minute mark for a brief tour now that the walls are up and the rooms are defined.
One thing I learned that I didn’t know was that the drywall inspection needs to be done after that sheetrock is hung (duh) but before its mudded. This makes sense because the inspector wants to see the screw holes and ensure its secure before it gets covered up. All makes sense, but it did delay my chance to enjoy the fully skim coated room.
While I waited for the inspector to come, we called out the hot mop guy. I mentioned this to my friends and they were all perplexed. “What’s a hot mop guy?” Apparently this is a regional thing! Hot mop is the term for coating the bottom of a shower pan in tar to create a waterproof surface. It also is done to achieve the necessary slope to the drain. A popular option is to get a shower pan from the store which is pre-molded for slope and size. However, hot mopping is totally customized making it a perfect option for oddly sized showers or ones with custom seats or details. If you want to look at the pretty black lake of disgustingly smelly asphalt, check it out at the end of the video.

The drywall guys left a nice pile of debris at the end of the install. I told them not to haul it away because in typical fashion, I saved it all. I used it to build my range hood (more on that soon), kept some for patch jobs, and gave some away. Remember, renovations don’t need to be so wasteful.
Come back for another update soon or follow along on Instagram Stories for daily updates! These blog posts are always a few days delayed as I take time to compile all the info. Follow me on Instagram for live updates. And don’t forget to watch my video about the week here.