Adding Old Charm To A New Kitchen: Converting a Vintage Table
/Built-in cabinets and coordinating islands are lovely, but I wanted a standalone furniture piece in our new kitchen. So, I designed the layout to include a vintage wooden table instead of a peninsula of cabinetry. After lots of vintage hunting and some modifications, we have the perfect work surface, dining table, and all-around great addition to the kitchen.

While the kitchen may be brand new, our home is a historic 1915 house that shines with period-appropriate details. There wasn’t anything original in the kitchen for us to repurpose (other than door and window casing) so I was determined to find a vintage table in keeping with the home’s age. For more info on historic kitchens and freestanding furniture take a look at my blog post on a favorite book written in 1914 about efficient kitchen design.
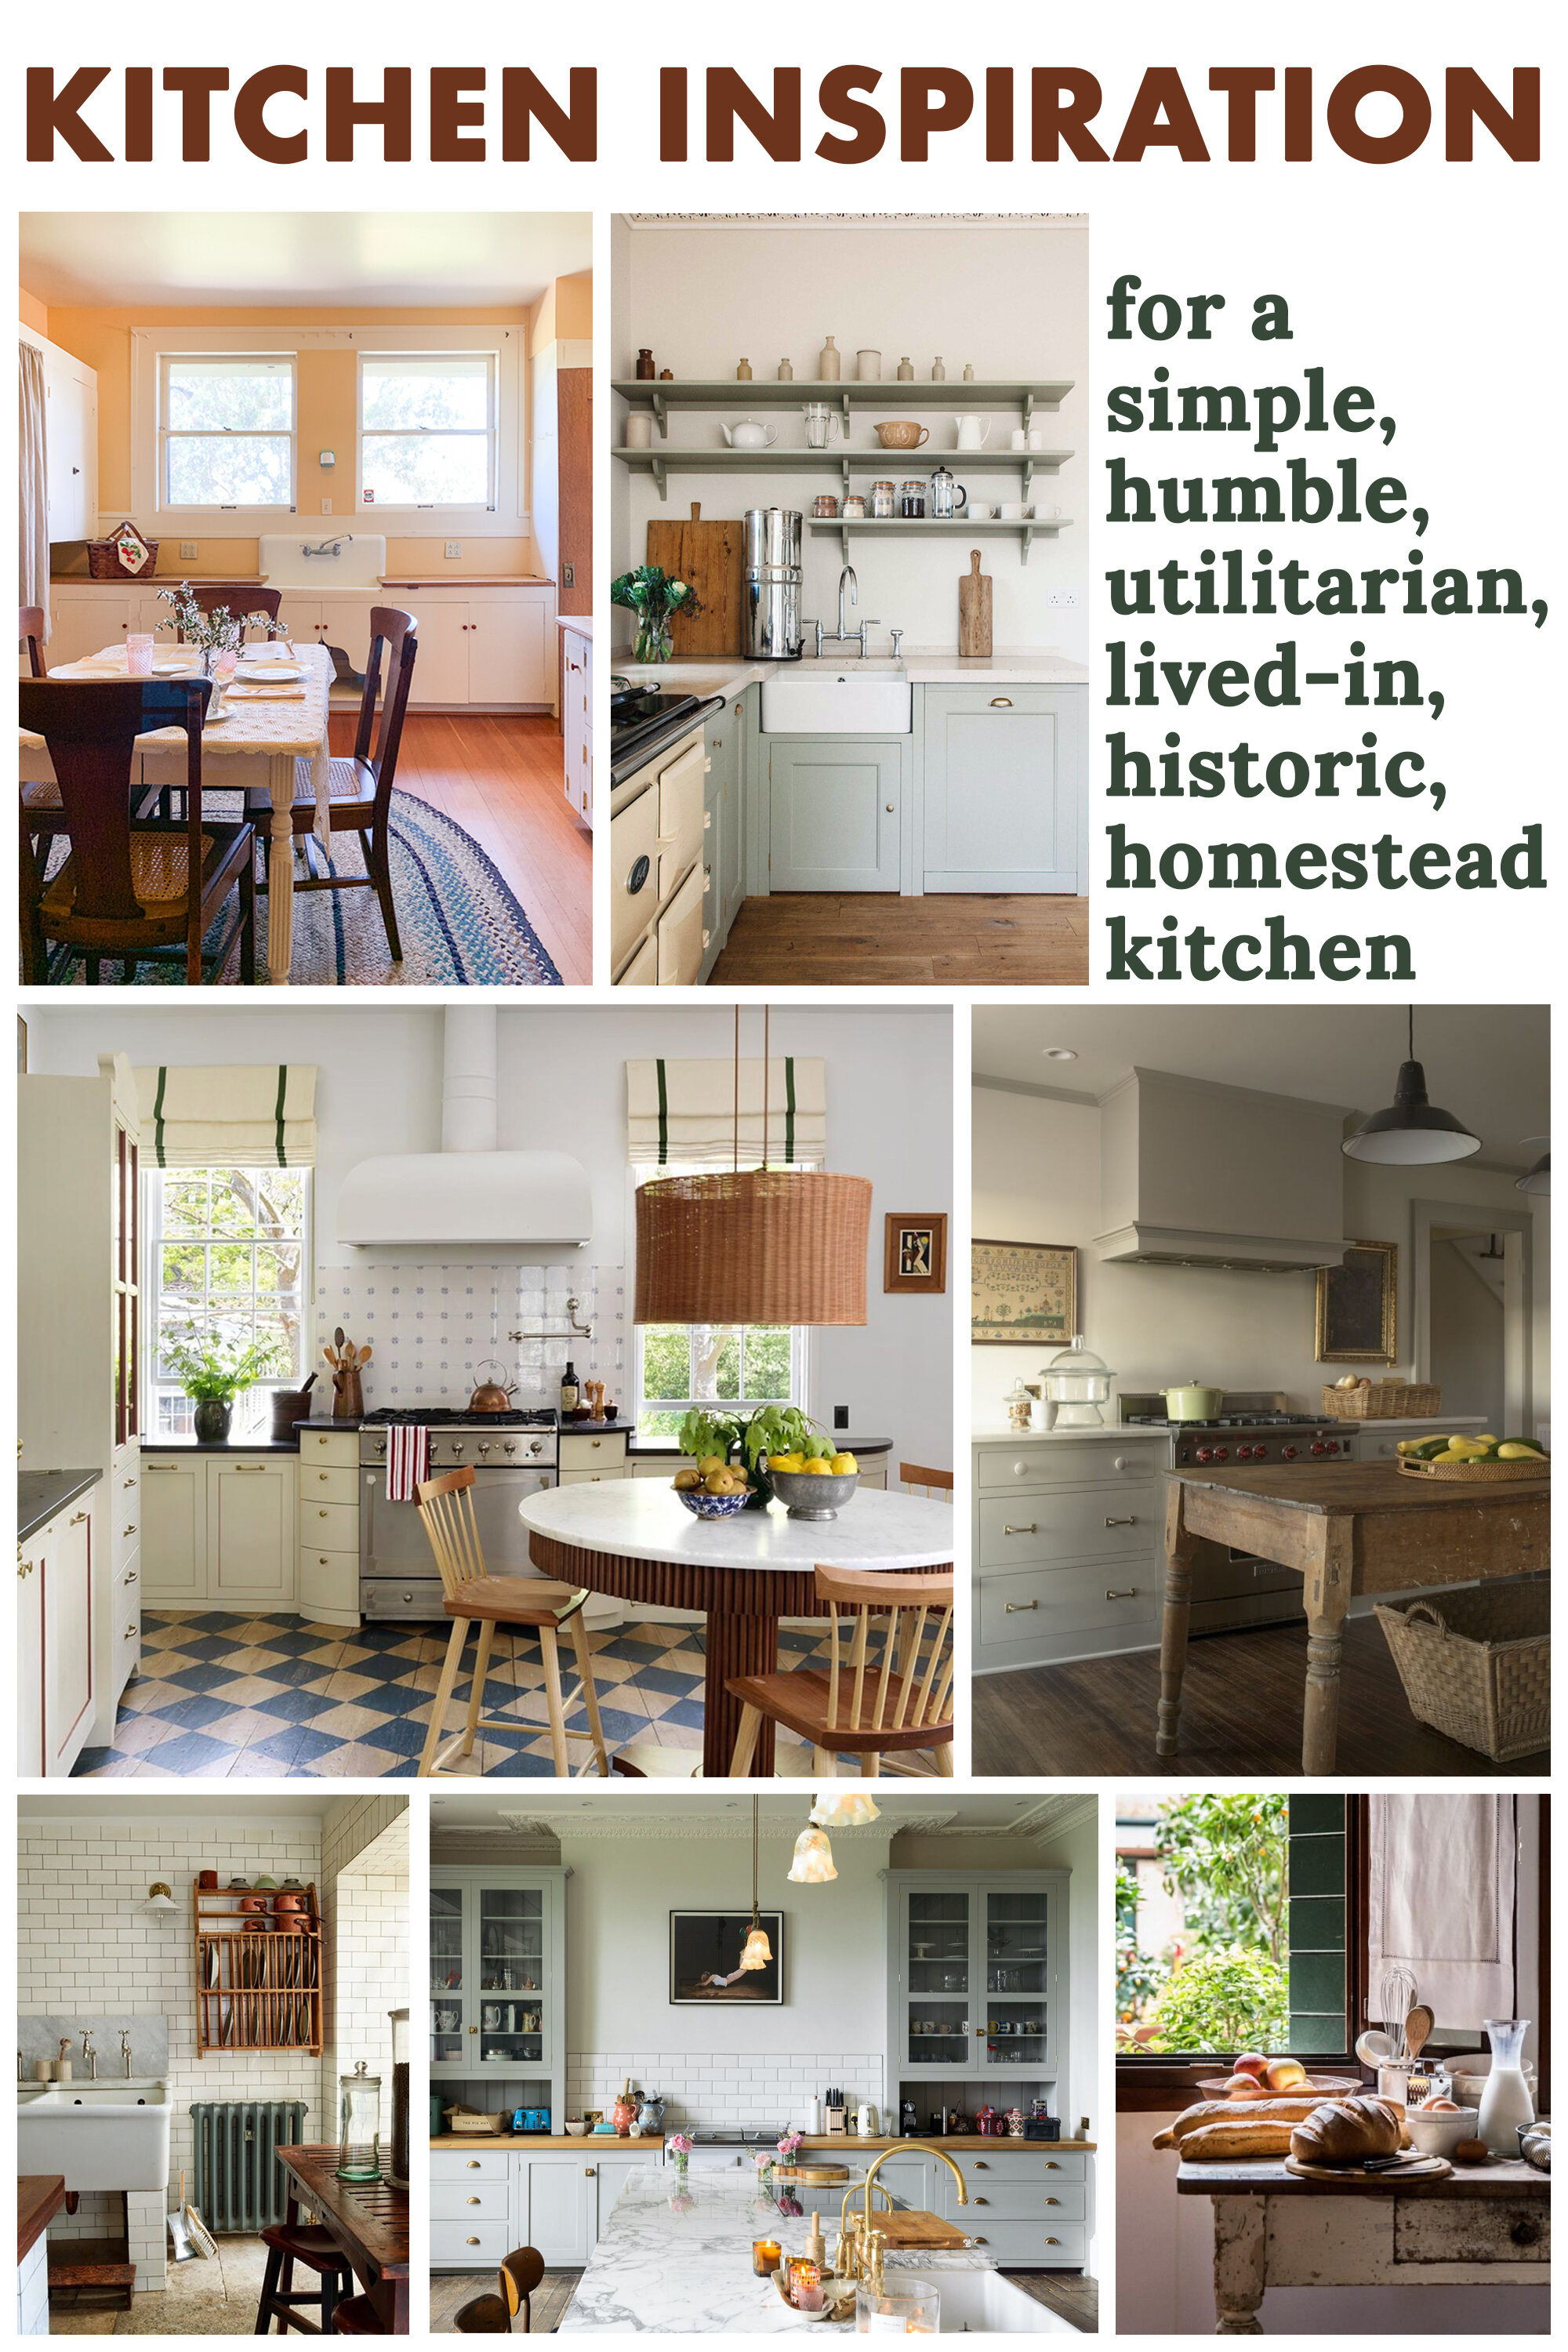
I’ve been compiling inspirational kitchens with tables and put them in this Pinterest board (shown above) for years. There’s nothing quite like a wooden table in a kitchen.

Our kitchen layout didn’t allow space for a prep table in the center, so I designed it into the cabinet plan up against a wall. It serves more like a peninsula than an island, but it does double duty as a prep table and a dining table. It also helps to define a pseudo hallway along the pantry.
See more about the kitchen layout here.
I searched high and low for an antique table of the perfect dimensions. I wanted it to be deep enough that two could dine across from one another but not so wide that it would push the stools into the walkway. I wanted it long enough that it would be a useful prep counter but not so big that it would interfere with the sink area. So, I searched and searched for months and months (years, maybe?). Eventually, I snagged a rickety old table on Live Auctioneers and had it trucked to San Diego.

The table was the perfect length and width, the perfect patina, and the perfect style. So many tables of the size I needed were industrial and looked to have lived in a garage with gasoline stains. Or, others were too delicate with 8 coats of furniture polish and never saw a water glass sat atop them. I wanted a true kitchen table. One that’s seen years of use - with blemishes from coffee mug rings and marinara sauce stains. This was the one. Perfectly old but not so worn that it needed refinishing which would have stripped the history from it. The hunt paid off.
The only challenge with it (aside from the wobbly legs) was that it was too short. You can see in the photo above that it sat about 6” below the counters. This was to be expected because table height is 30” and counter height is 36” (give or take). I briefly considered leaving it at table height, but I’m glad I stuck with the plan to elevate it to counter height.

The solution I devised to elevate the table was to add an extension between the underside of the tabletop and the top of the leg. I’ve seen people add casters or extensions to the bottom of the legs, but casters aren’t tall enough (nor the look I’m going for) and I didn’t want the table to look like it was standing on toothpicks. Adding height where the table leg is bulkiest allows a more proportional adjustment.
I had planned on DIYing the leg-lengthening using dowels and then painting the legs to cover up the extension. But after a never-ending kitchen renovation amidst a pandemic, during pregnancy, and in life with a newborn, I haven’t had much energy to DIY. I asked my neighbor/carpenter/contractor/buddy to work on it.

He did the whole job including making bonus repairs in less time than it took me to simply research the methods I’d use to do the work.
He even matched the stain so I wouldn’t have to paint the legs. Sure, you can still see that the wood was added, but I think it still looks great. Part of me did actually want to paint the legs to give the kitchen a bit more color and resemble some of the inspiration photos, but I’ll leave it unpainted (for now).

He said my dowel idea wouldn’t have been strong enough, so he did his own (read: professional) method using an additional piece of wood as a support seen tucked behind the leg in the photo above.

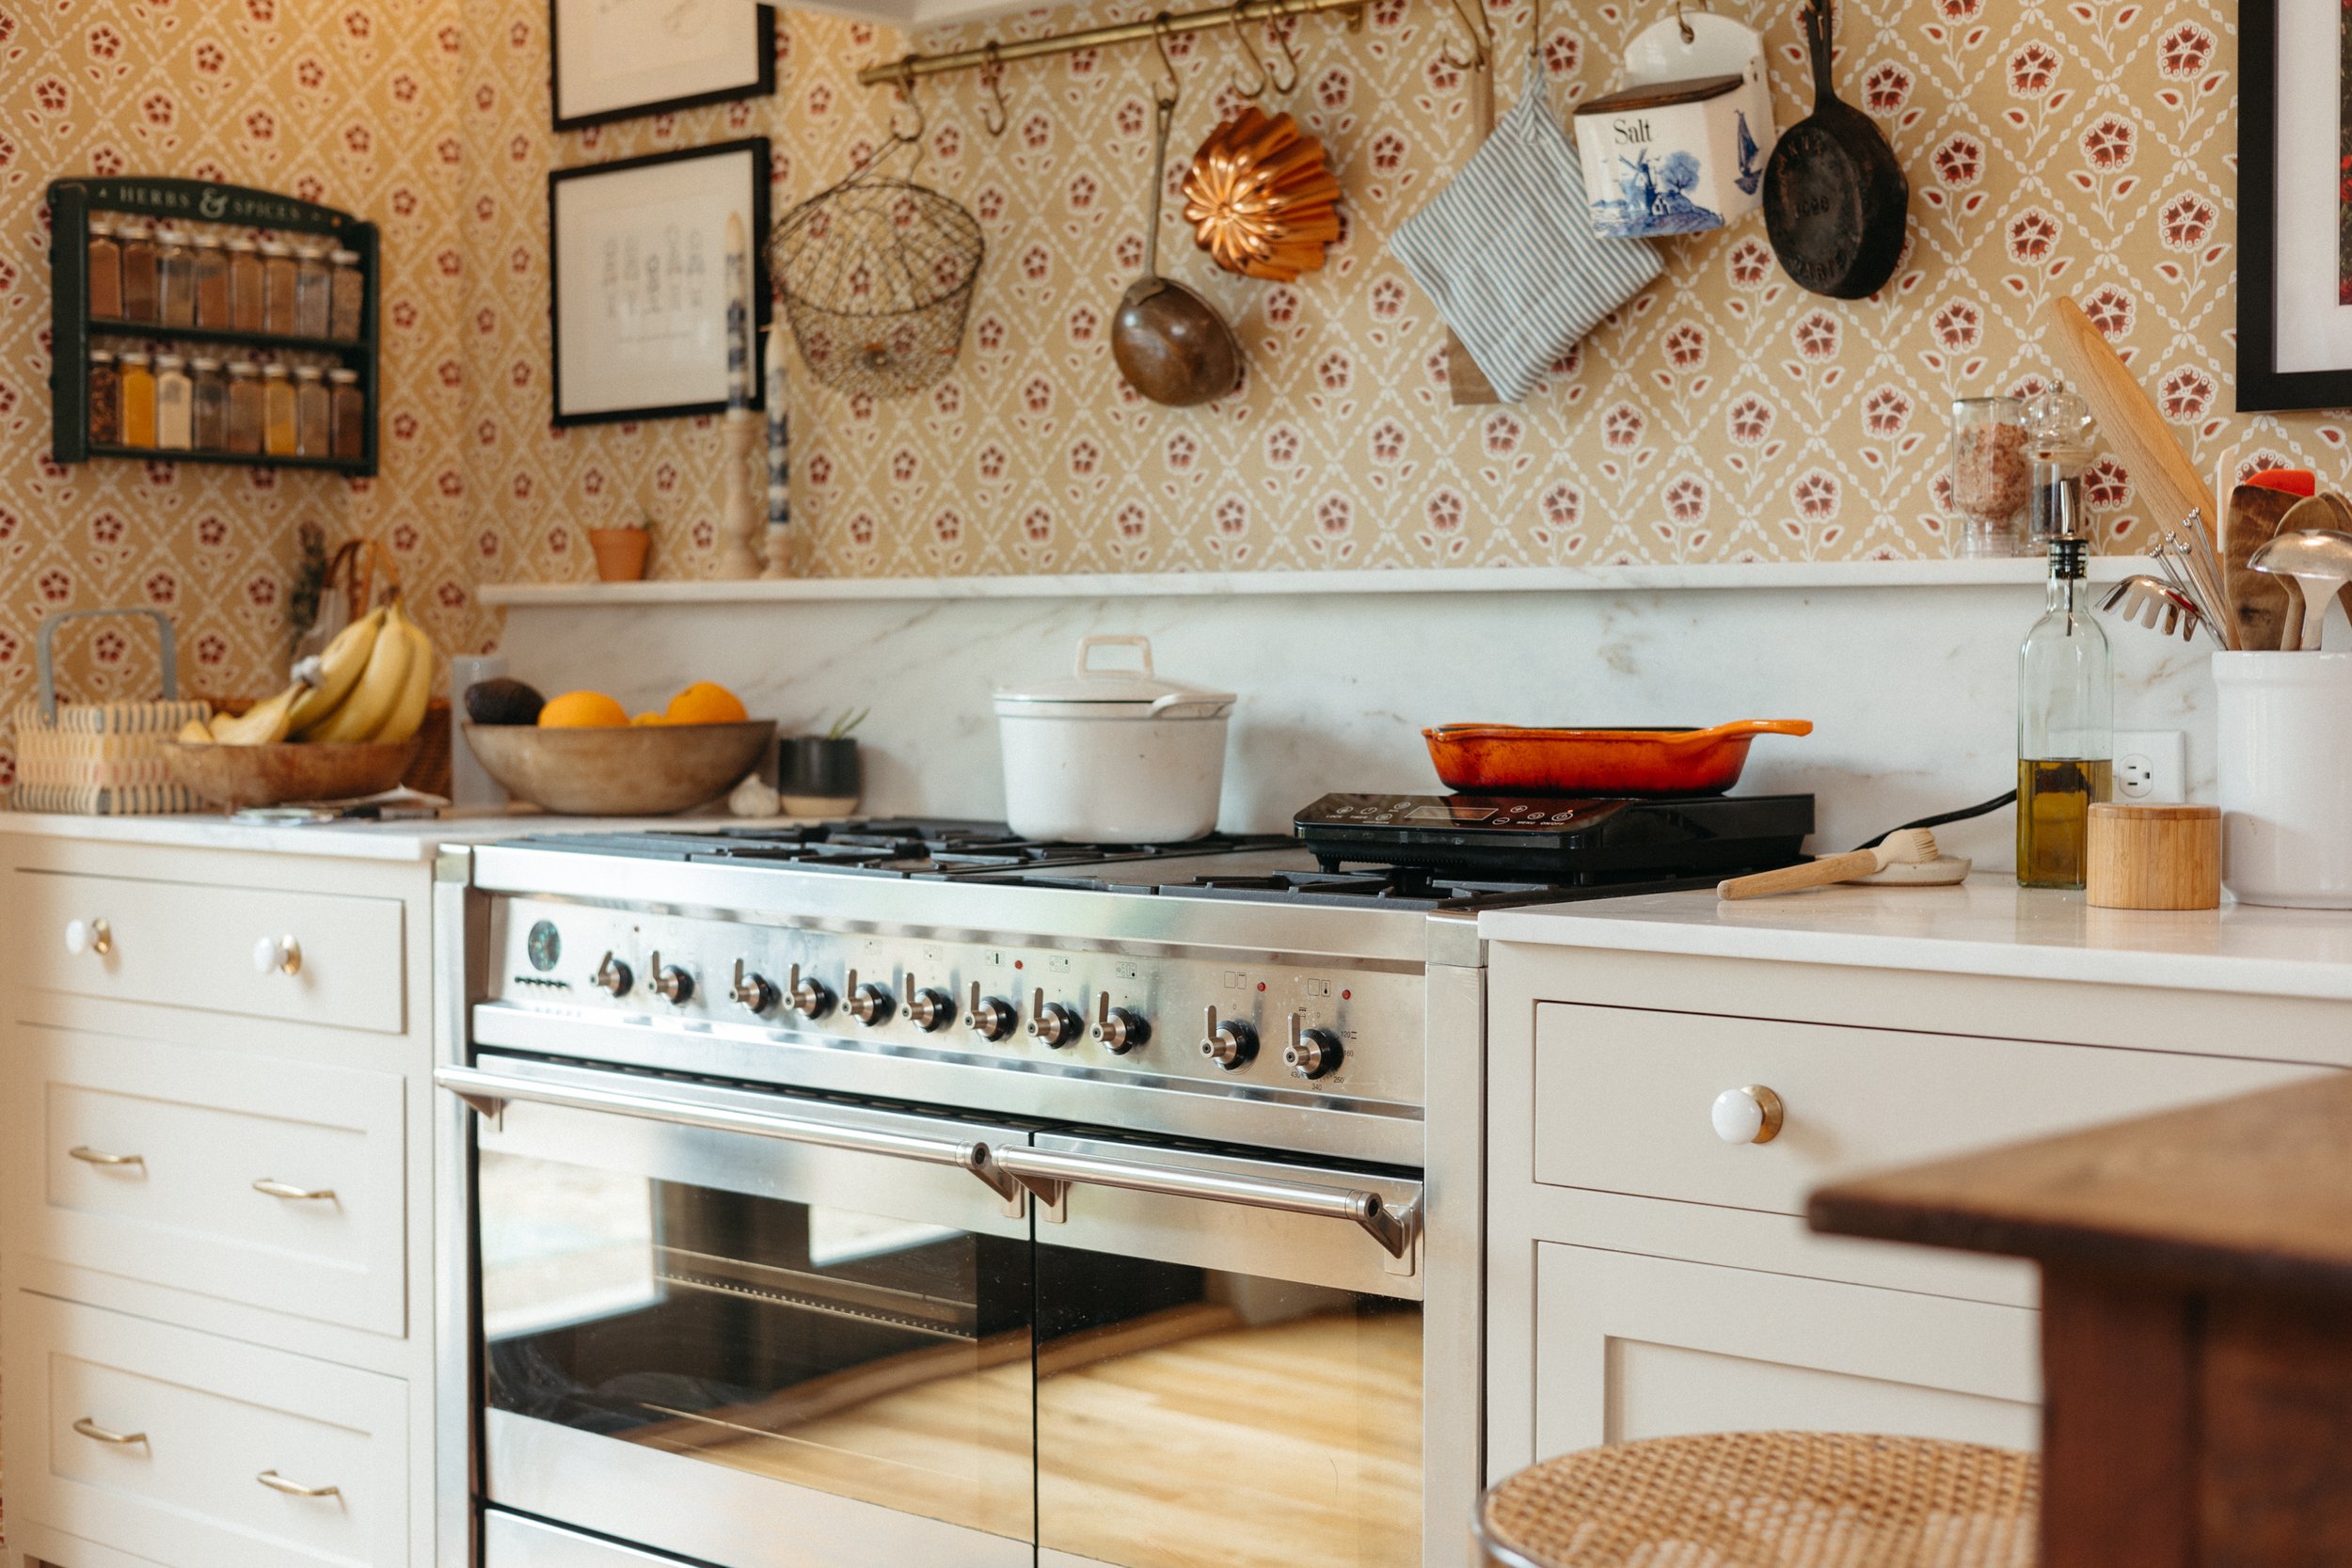
Check out how perfectly the table lines up with the marble countertop. Now, the table acts as an extension of our counter work surface - hooray! I also adore the look of the cool stone next to the warm wood. I’ve been saving inspiration of dual countertops like this on a Pinterest board here and seen below.

The table fits the wall perfectly and allows room for the stools to tuck underneath and room for them to pull out without getting in the way of the doorway. Now I can scooch my stool out, forget to push it back in, and not trip on it later!
Speaking of stools, I got these also from Live Auctioneers after searching for vintage stools in San Diego and coming up empty-handed. Why can’t a lady find three vintage bentwood caned counter-height stools within a 20-mile radius of her house?? Is that so much to ask?

Part of the challenge of hunting for the vintage stools is I wanted them without backs so we can tuck them under the table completely. Any stools with tall backs would have prevented us from being able to tuck them in and use the drawers in the adjacent cabinet. Sometimes I like to treat myself to prepping food while seated. If you haven’t chopped veggies sitting down, I recommend it.

We’ve even prepped, cooked, and dined all while seated at the table and it was great. I was introduced to at-home raclette when visiting Daniel a few years ago, and now I think everyone needs one of these little grills.

And there you have it!
I know it’s been literal YEARS since I started this kitchen renovation and it’s taken forever to share it. While I do have more that I still need to share with you, this is what the kitchen looks like today. The walls still have drywall patches, the trim isn’t painted, the artwork isn’t hung, the pocket door is missing paint and hardware, and I haven’t picked a wallpaper (yes, wallpaper, this is a new idea I’m toying with!). I promise to get you more kitchen updates soon.