Kitchen Renovation Update 5: Electrical, Venting & Inspection + A Video
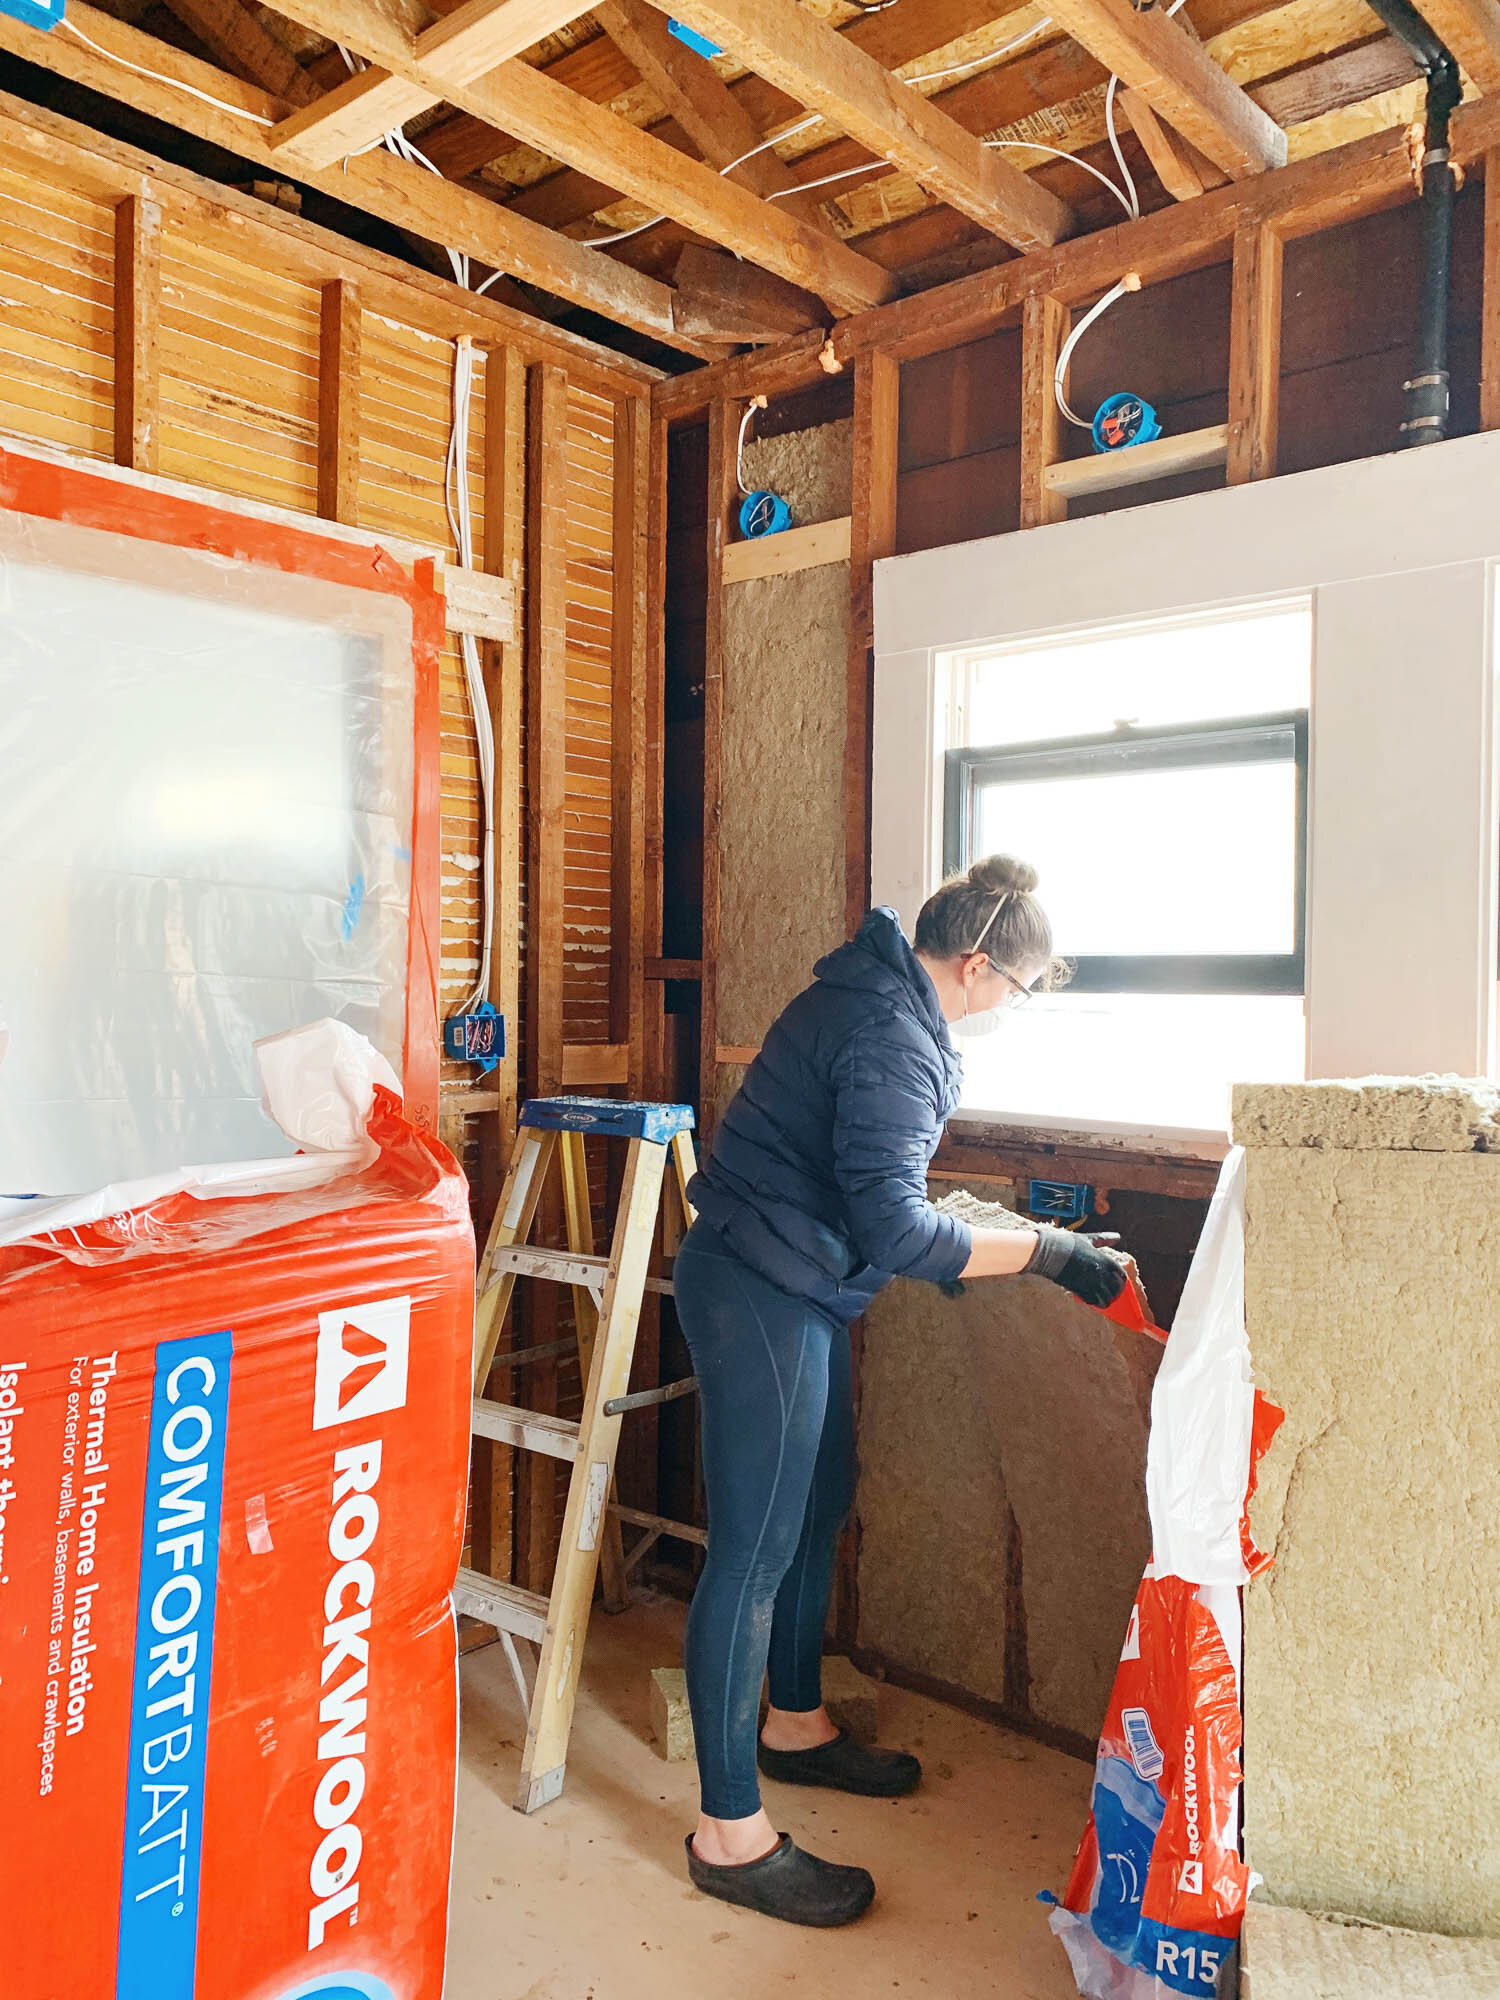
/The rooms are starting to take shape! I know drywall is going to be THE biggest change to get the space feeling like a real part of the house, but the insulation is starting to give us that feel, too. Oh and the underlayment has also provided a fresh feel, too. I’ve been working on the insulation myself, so I have some a diary style post about what’s been happening, plus a play-by-play on how to install the insulation!

If you’re new here, be sure to catch up on the week 1 demolition, week 2 demo and framing beginnings, week 3 framing, and update 4 plumbing. You can also learn about how we’re eating without a kitchen and how we’re renovating during COVID-19. And if you’re really new and have no idea what’s going on, check out this post which gives you a summary of what to expect and why we’re making some of the decisions that we are.
Watch The Renovation Update #5 Video:
I’ve been sharing videos of the progress on Instagram Stories, but not all of you follow me there, so I put the Instagram clips into a 19-minute YouTube video so you can see the whole evolution and get a good sense of the layout, too.
The video is formatted vertically, so it’s best watched on your phone - but it works on your computer, too!
If that video isn’t loading properly, click here.
And then here’s what’s been happening lately, in text format:

Electrical started and it had me in a tizzy. The electrician needed clear instructions on what to do, but I only had 95% of the info, and the other 5% I was afraid to decide on. I’m the WORST at making permanent decisions, which is partly why it’s taken me 4 years to remodel this kitchen. Deciding on the placement of switches and light fixtures was a real struggle for me and I was running back and forth from the kitchen to my inspiration photos and my design plans then back to the kitchen and over to my mockup renderings. I would settle on 93” from the side wall, then second guess it and change it to 93.5” then wonder if 94” is a safer bet, then go back to 93”. Even though I decided on fixtures and ordered them months ago, fine-tuning the placement down to the exact quarter of an inch was downright tricky.
I mean, when can we get QI charging everywhere in the house? I could just set my phone or my blender anywhere on the counter and it would get power. I could mount a sconce wherever I pleased? Come on, it’s 2020 already, why don’t we have this technology yet!? It would make my decisions so much easier and make for much prettier back splashes.

The process gave me a really good experience in recognizing the value of interior design professionals. They know their stuff, and they can build out lighting plans in formats that can directly be communicated to the electricians. I spent a good deal of time looking at inspiration images, texting designer friends with similar layouts (thanks Lauren!), researching code and standard heights, and staring at the walls while Ross held up a sconce for me. (side note, I’d be happy to recommend a professional e-designer to anyone, just reach out and I’ll connect you with one of my friends)
Ultimately, I made decisions and we got all of the outlets, switches, and light fixtures planned out. In hindsight, I wish I had the electrician just run the wire roughly where I wanted the light fixtures and left a tail to stick out of the future drywall. Then, I could have installed a remodeling electrical box (rather than being stuck with a new work electrical box) wherever I wanted the light after drywall and other finishes went in. I’m frustrated that I didn’t push for the electrician to do this. I knew it was possible, but just felt like I had to make a decision at some point, so I might as well make it now.

Once I was able to make all of the decisions, the electrician got to work installing all of the boxes and running fresh wire. We had previously re-wired the house when we moved in because it made sense to put holes in the walls before retexturing the plaster, rather than afterward. But, we didn’t re-wire the kitchen because we knew it would get pulled down to the studs like it is today. With a blank slate, the electricians ran all fresh stuff for us. We got individual circuits for each appliance, GFCI breakers for each circuit so we don’t need the plugs with those buttons, added 3-way and 4-way switches so we can control lights from multiple places, and installed a bunch of outlets inside of cabinets so we always have electrical options. We’ve customized it for our lifestyle and I think all of my planning and stressing really paid off.

Above, you can see all of the existing electrical coming up from under the crawl space and going outside to our electrical panel. And then all of the new stuff is coming overhead in the attic above the kitchen down and out into the electrical panel. It’s pretty tidy in this photo, but I previously referred to this as the spaghetti pile.

I’ll get into a full lighting plan and break down some of our decisions, but let’s wait on that until lighting goes in and I have better visuals to show you. Okay? Okay.

We also had the guys modify the lighting in the walls adjacent to the kitchen/bathroom renovation. The vestibule now makes access to the switch difficult, so they relocated that one. And they also added an outlet on the wall of the bedroom which previously didn’t have any outlets. Spoiler, that lamp on the dresser hasn’t had it’s own proper outlet - ever.

To tie into the existing exterior light, he had to cut a hole in the beautiful walls of the master bedroom. I tried to find a way to not let that happen, but alas, he did it. It’s fine, I can patch and paint it, but it still hurts.
Electrical work only took a few days (the fastest trade so far!) so the crew also did some HVAC and venting work. Our old kitchen didn’t have a range hood vent. Well, technically it did have one that was decades old, sounded like a helicopter, and vented into the attic rather than outside which rendered it more harmful than helpful. While we’ve gotten used to not having a vent and we’ve also enjoyed not having a big thing hanging by our heads while we cooked, we are adding one. It’s code, it’s the right thing to do, and it will make for a fresher smelling house after we cook those smellier meals.

We opted for this range hood (that I actually bought on eBay for 50% less) which has an external blower that’s separate from the hood itself. This way, the fan mounts in the attic so the noise is reduced in the cooking space. I’m pretty excited about that feature and I’ll be sure to report on how it does once I get to use it! I don’t have many photos of it because it’s just a big box in the attic, but you can get a better sense of it in my video where I point out it’s operation and venting system. I also spent about 76 hours watching videos about the type of ducting and venting to use for range hoods. I’m practically an expert now. In summary, use rigid ducting not flex or semi-rigid, make the duct diameter big and never reduce the airflow to a smaller diameter, avoid multiple elbows, and get this roof cap and seal it well along with mesh to keep out critters. There, now you’re an expert, too.

Wow, my blog posts are getting awfully dry. I’m sorry and you’re welcome.
After electrical wrapped up, after the bathroom fan and the hood vent exhaust was set up, after the HVAC vent was extended to it's new spot, and after I sufficiently tidied up the room, we called for the inspector to come out!

I was a ball of nerves anticipating the inspector. Whenever I went to the City for the permitting process, I felt so nervous worried I had made a horrible mistake. It was a feeling of having done something unknowingly wrong on a test then going up to the teacher to turn in your final to be graded in front of the whole class and if you made even one mistake you had to take the whole grade all over again. It’s a personal issue for me - I’m perpetually anxious, I take assignments really seriously, and a I have a bizarre complex that city construction staff are as intimidating as cops while also being as admirable as someone you want to impress. It’s a complex and weird collection of emotions.
All this to say, I had the same feelings about the inspector. I wanted to impress him, I wanted to learn from him, and I wanted to get a passing grade so he never would have to come back. Imagine my disappointment when the inspector wasn’t someone that I desperately wanted to impress. Instead of being a smart and snappy Nick Offerman with a broad understanding of construction, he was just an average dude with a dumb NRA hat. He strolled in and measured three outlets, looked at the gas gauge and criticized it for being old fashioned, shook the vent pipe to make sure it was adequately full of water, joked about how old the house was, talked about how tight-up the other inspectors are, then left.
He signed off on our paperwork which is great - we can move on to insulation and drywall! But admittedly, I wanted him to look over everything with a fine tooth comb. I wanted to have the satisfaction of a job well done, and I also wanted to be sure that the crew has been doing everything properly. I wanted him to pull up the floor boards and check out the joists. I wanted him to ensure all of the plumbing was properly sloped. I wanted to know that the walls we were sealing up were 100% perfect. Alas, I have to just trust that they were done correctly and hope we never have any issues. I’m 92% sure that we’re in the clear.
And that’s about it from this stage of the project!
What to expect this coming week:
The inspector gave us a few tasks like insulating the copper pipes and moving one wire out of the way, so we’ll do that, and tidy up any remaining bits and bobs. Then now that the inspector has signed off on the rough-in work, we can start closing things up. The loose floor boards will get nailed down and the underlayment sheathing will go on top of that to prep for flooring installation. Then the walls will start to get filled in with insulation and covered up by drywall. I. Can. Not. Wait. For this stage! It’s going to feel like a real room once we get there. Oh, and did I mention that the french door is being delivered today so that will go in and will completely transform the house. Eeek! I can’t wait!
What’s on my agenda for this week:
Buy all of the insulation for the interior walls and the exterior walls
Start caulking the gaps in the siding and hang the exterior lights
Paint the french doors
Keep looking for salvaged antiques online since I can’t go to stores
Come back next week or follow along on Instagram Stories for daily updates! These blog posts are always a few days delayed as I take time to compile all the info. Follow me on Instagram for live updates. And don’t forget to watch my video about the week here.