A Kitchen Remodel Progress Update
/
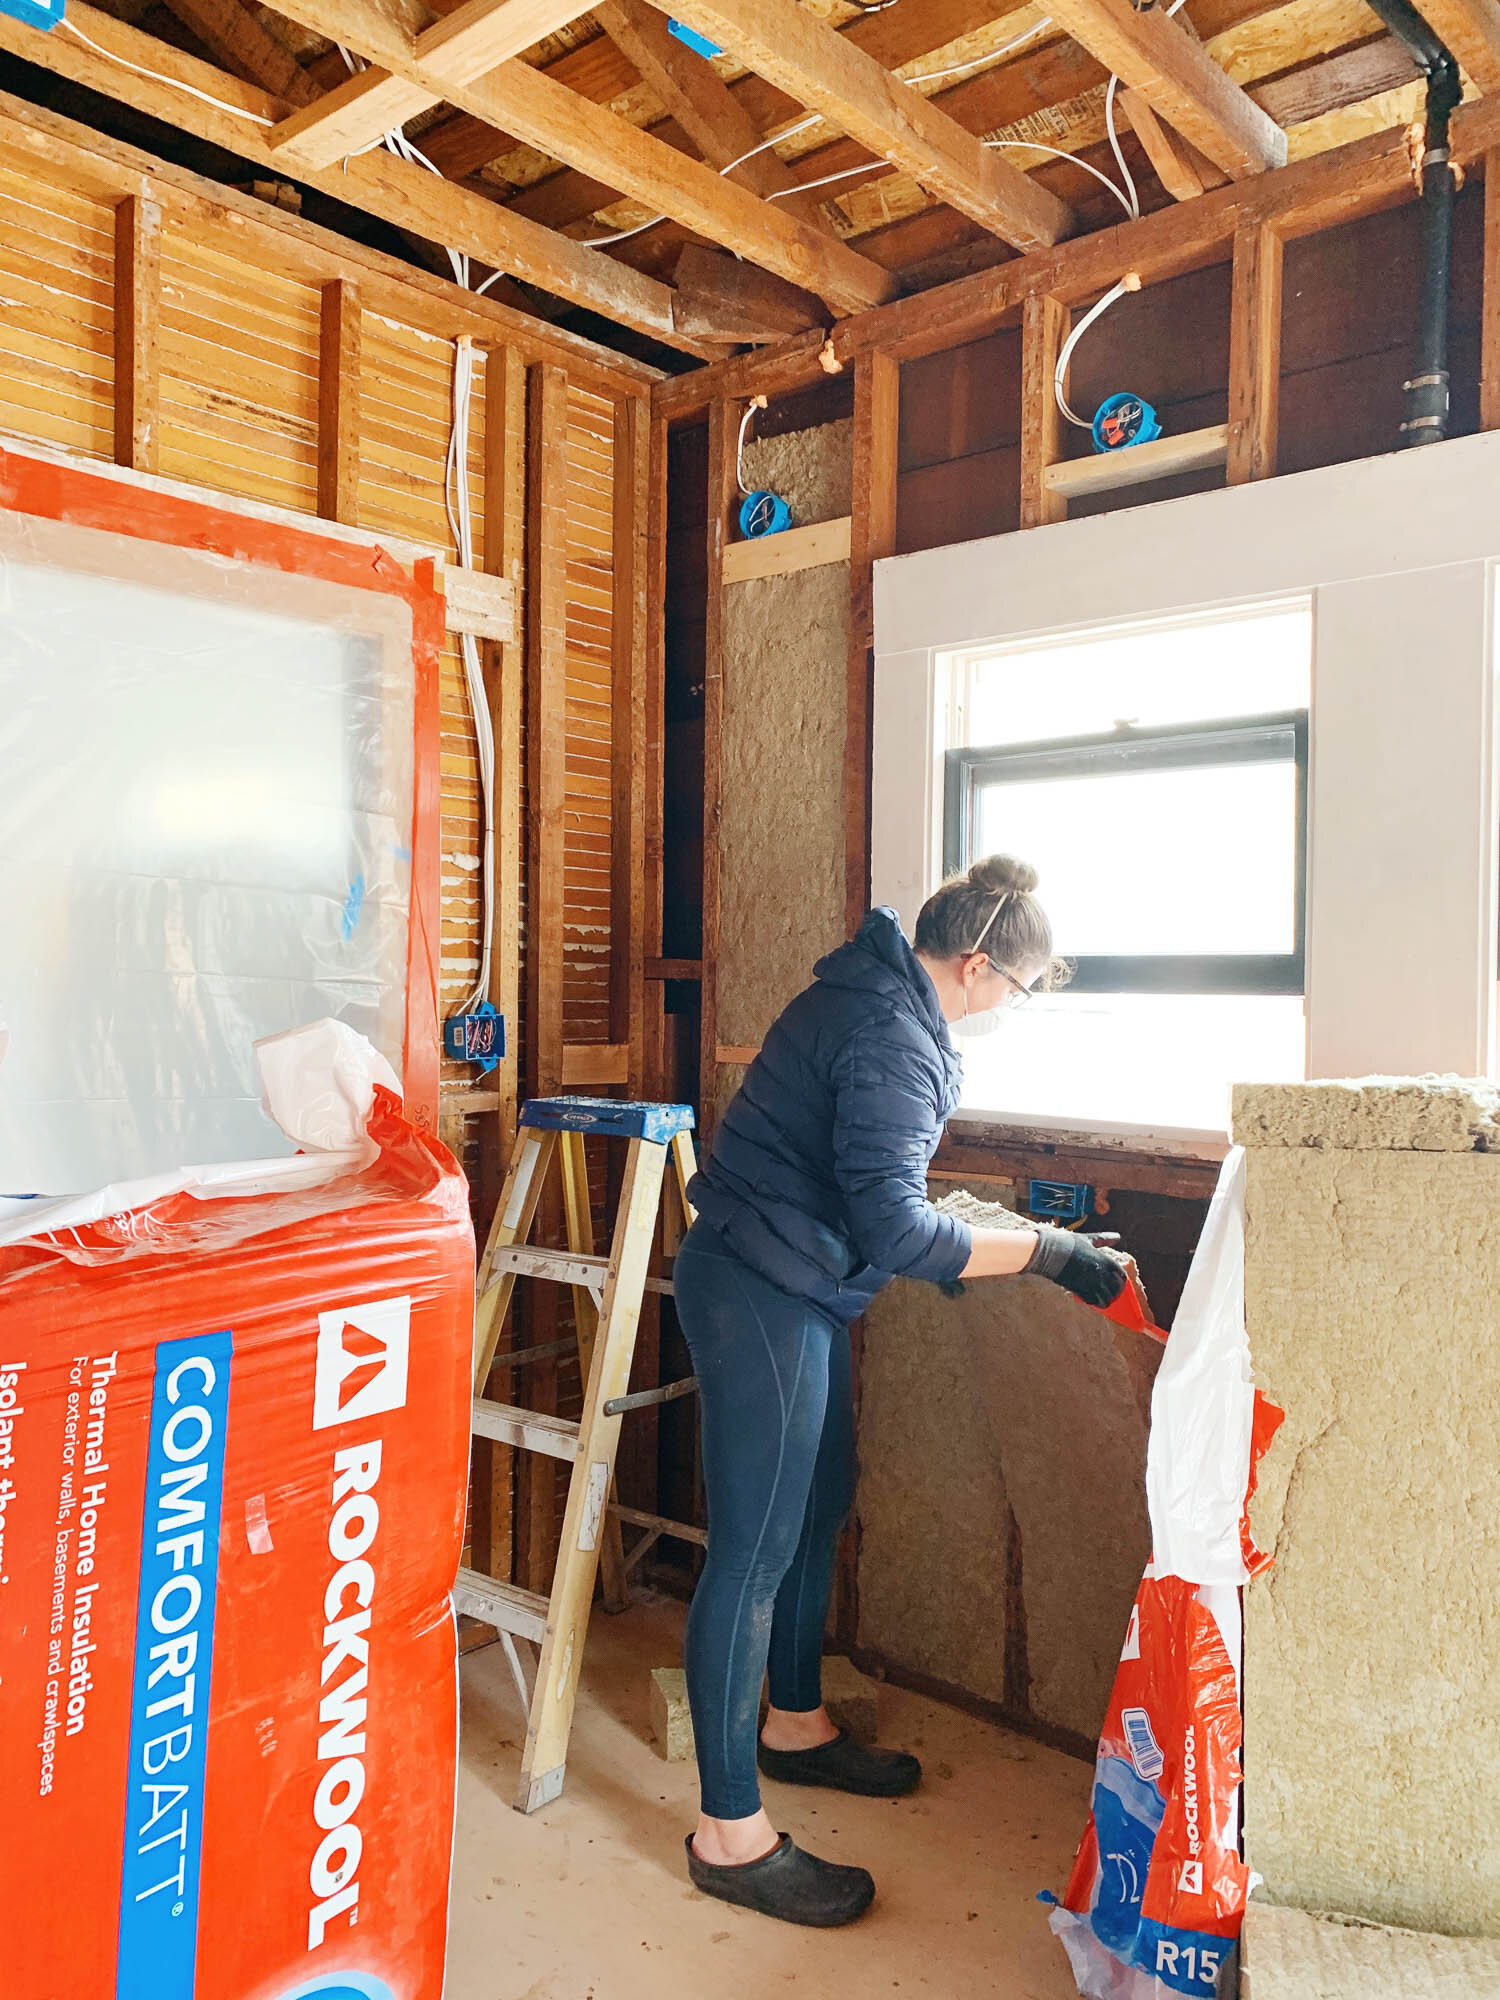
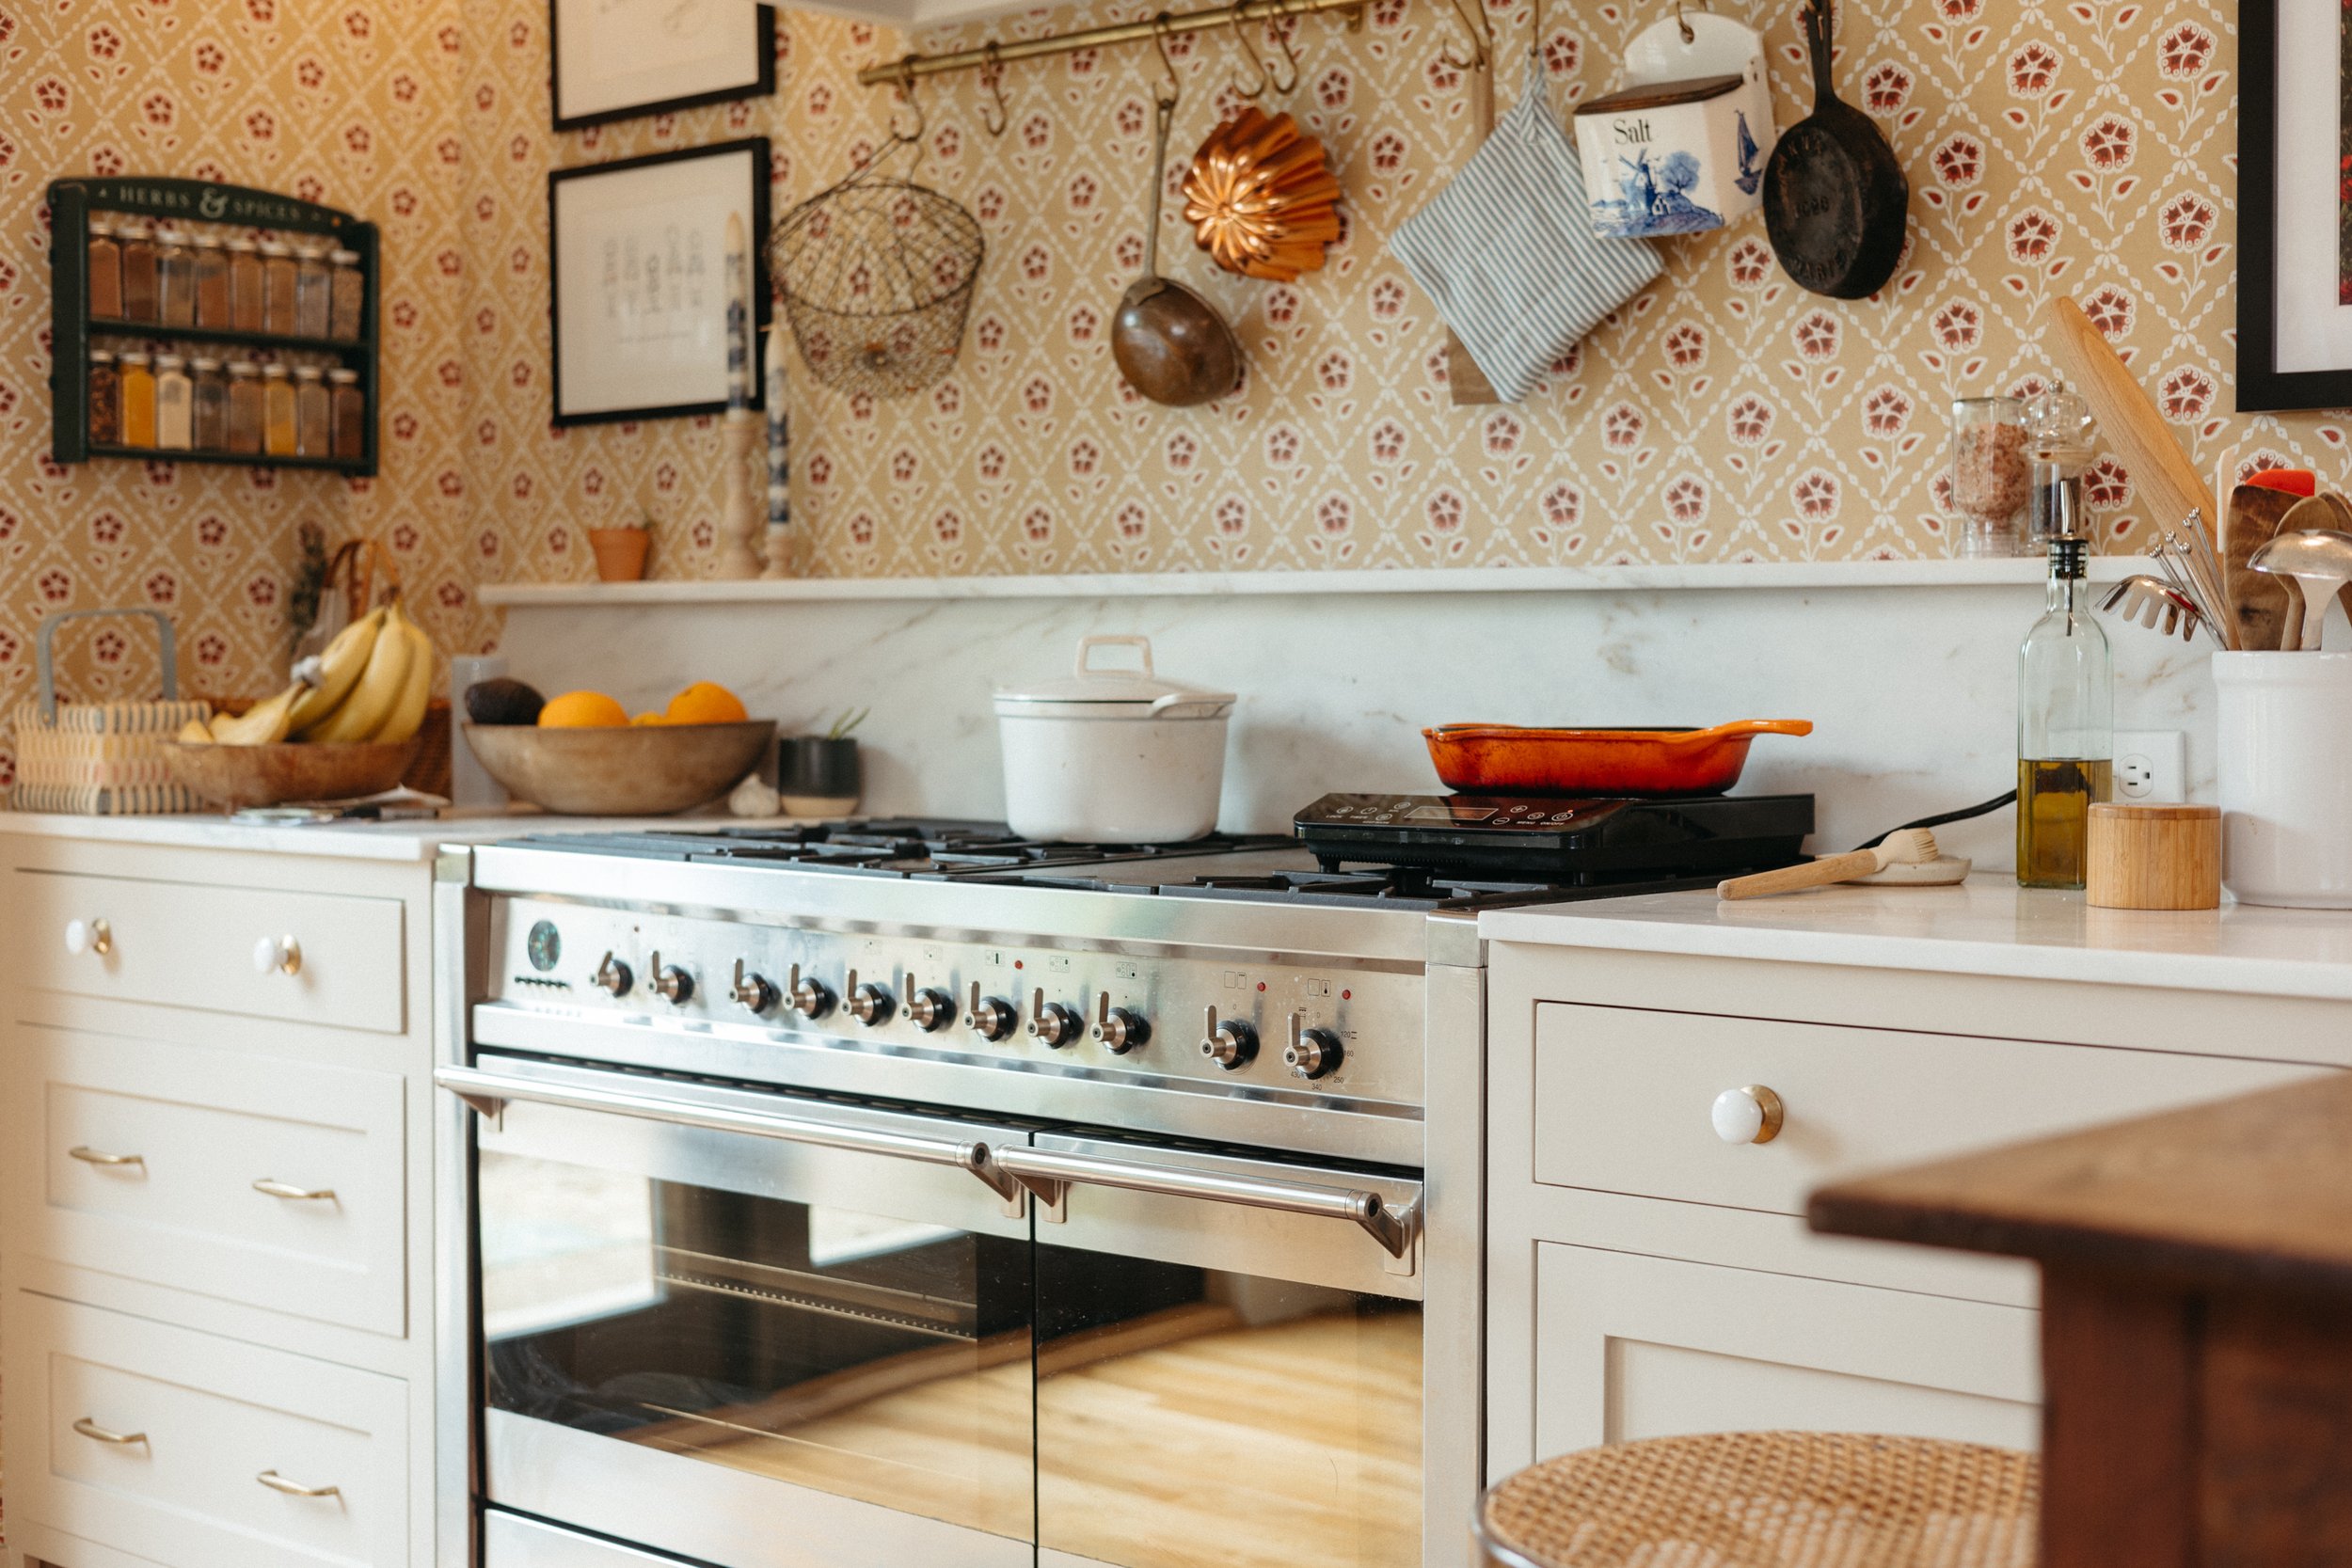
It’s been three months since I’ve given you an update on my kitchen remodel, so here’s what’s been going on lately. I’ve got good news, disappointing news, and just plain ol’ updates.
Read MoreIt’s been three months since I’ve given you an update on my kitchen remodel, so here’s what’s been going on lately. I’ve got good news, disappointing news, and just plain ol’ updates.
Read MoreI’ve made it to the garden installation story, after many other posts all about prepping and planning - here we are! While I'm here to share the installation of the plantings and irrigation, this isn’t going to be a DIY tutorial post as much as a story of what happened and a bunch of photos of the process.
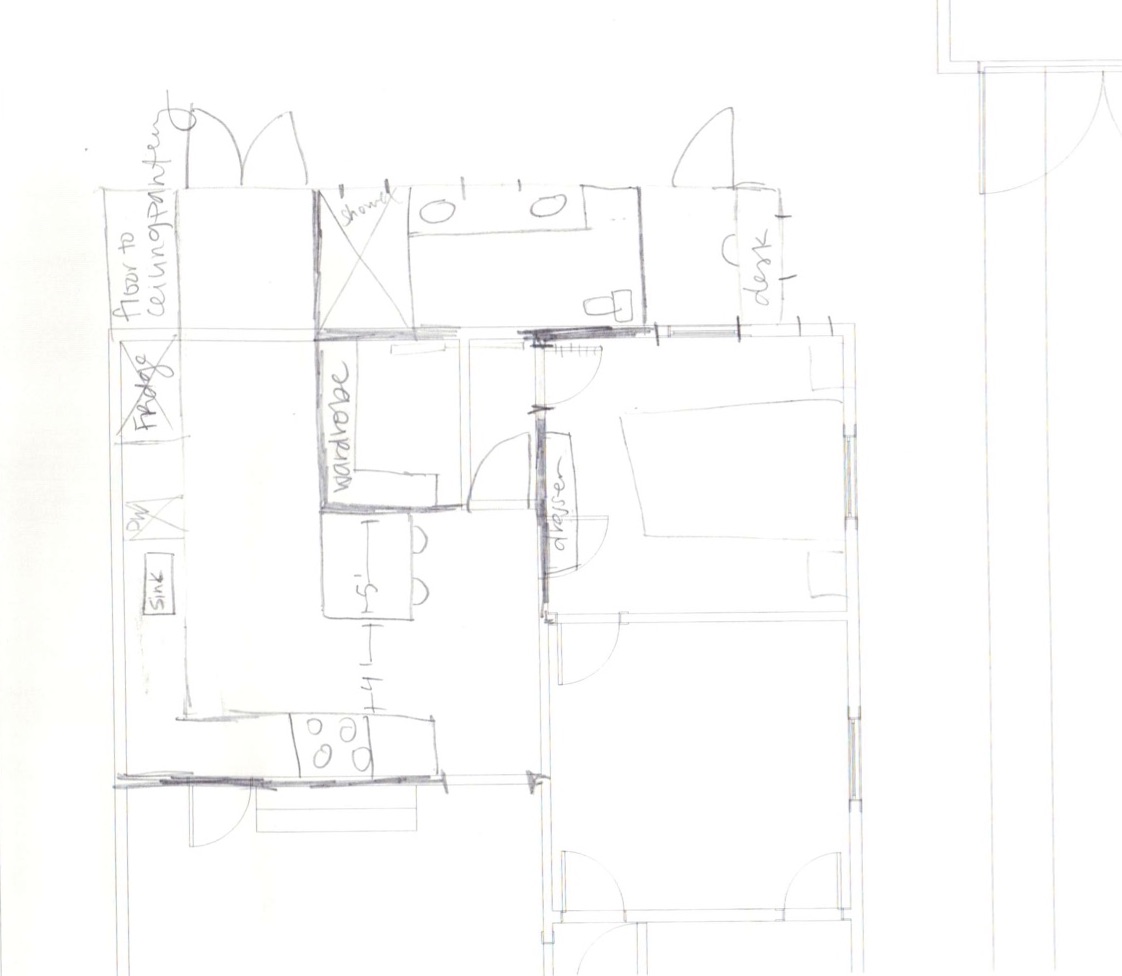
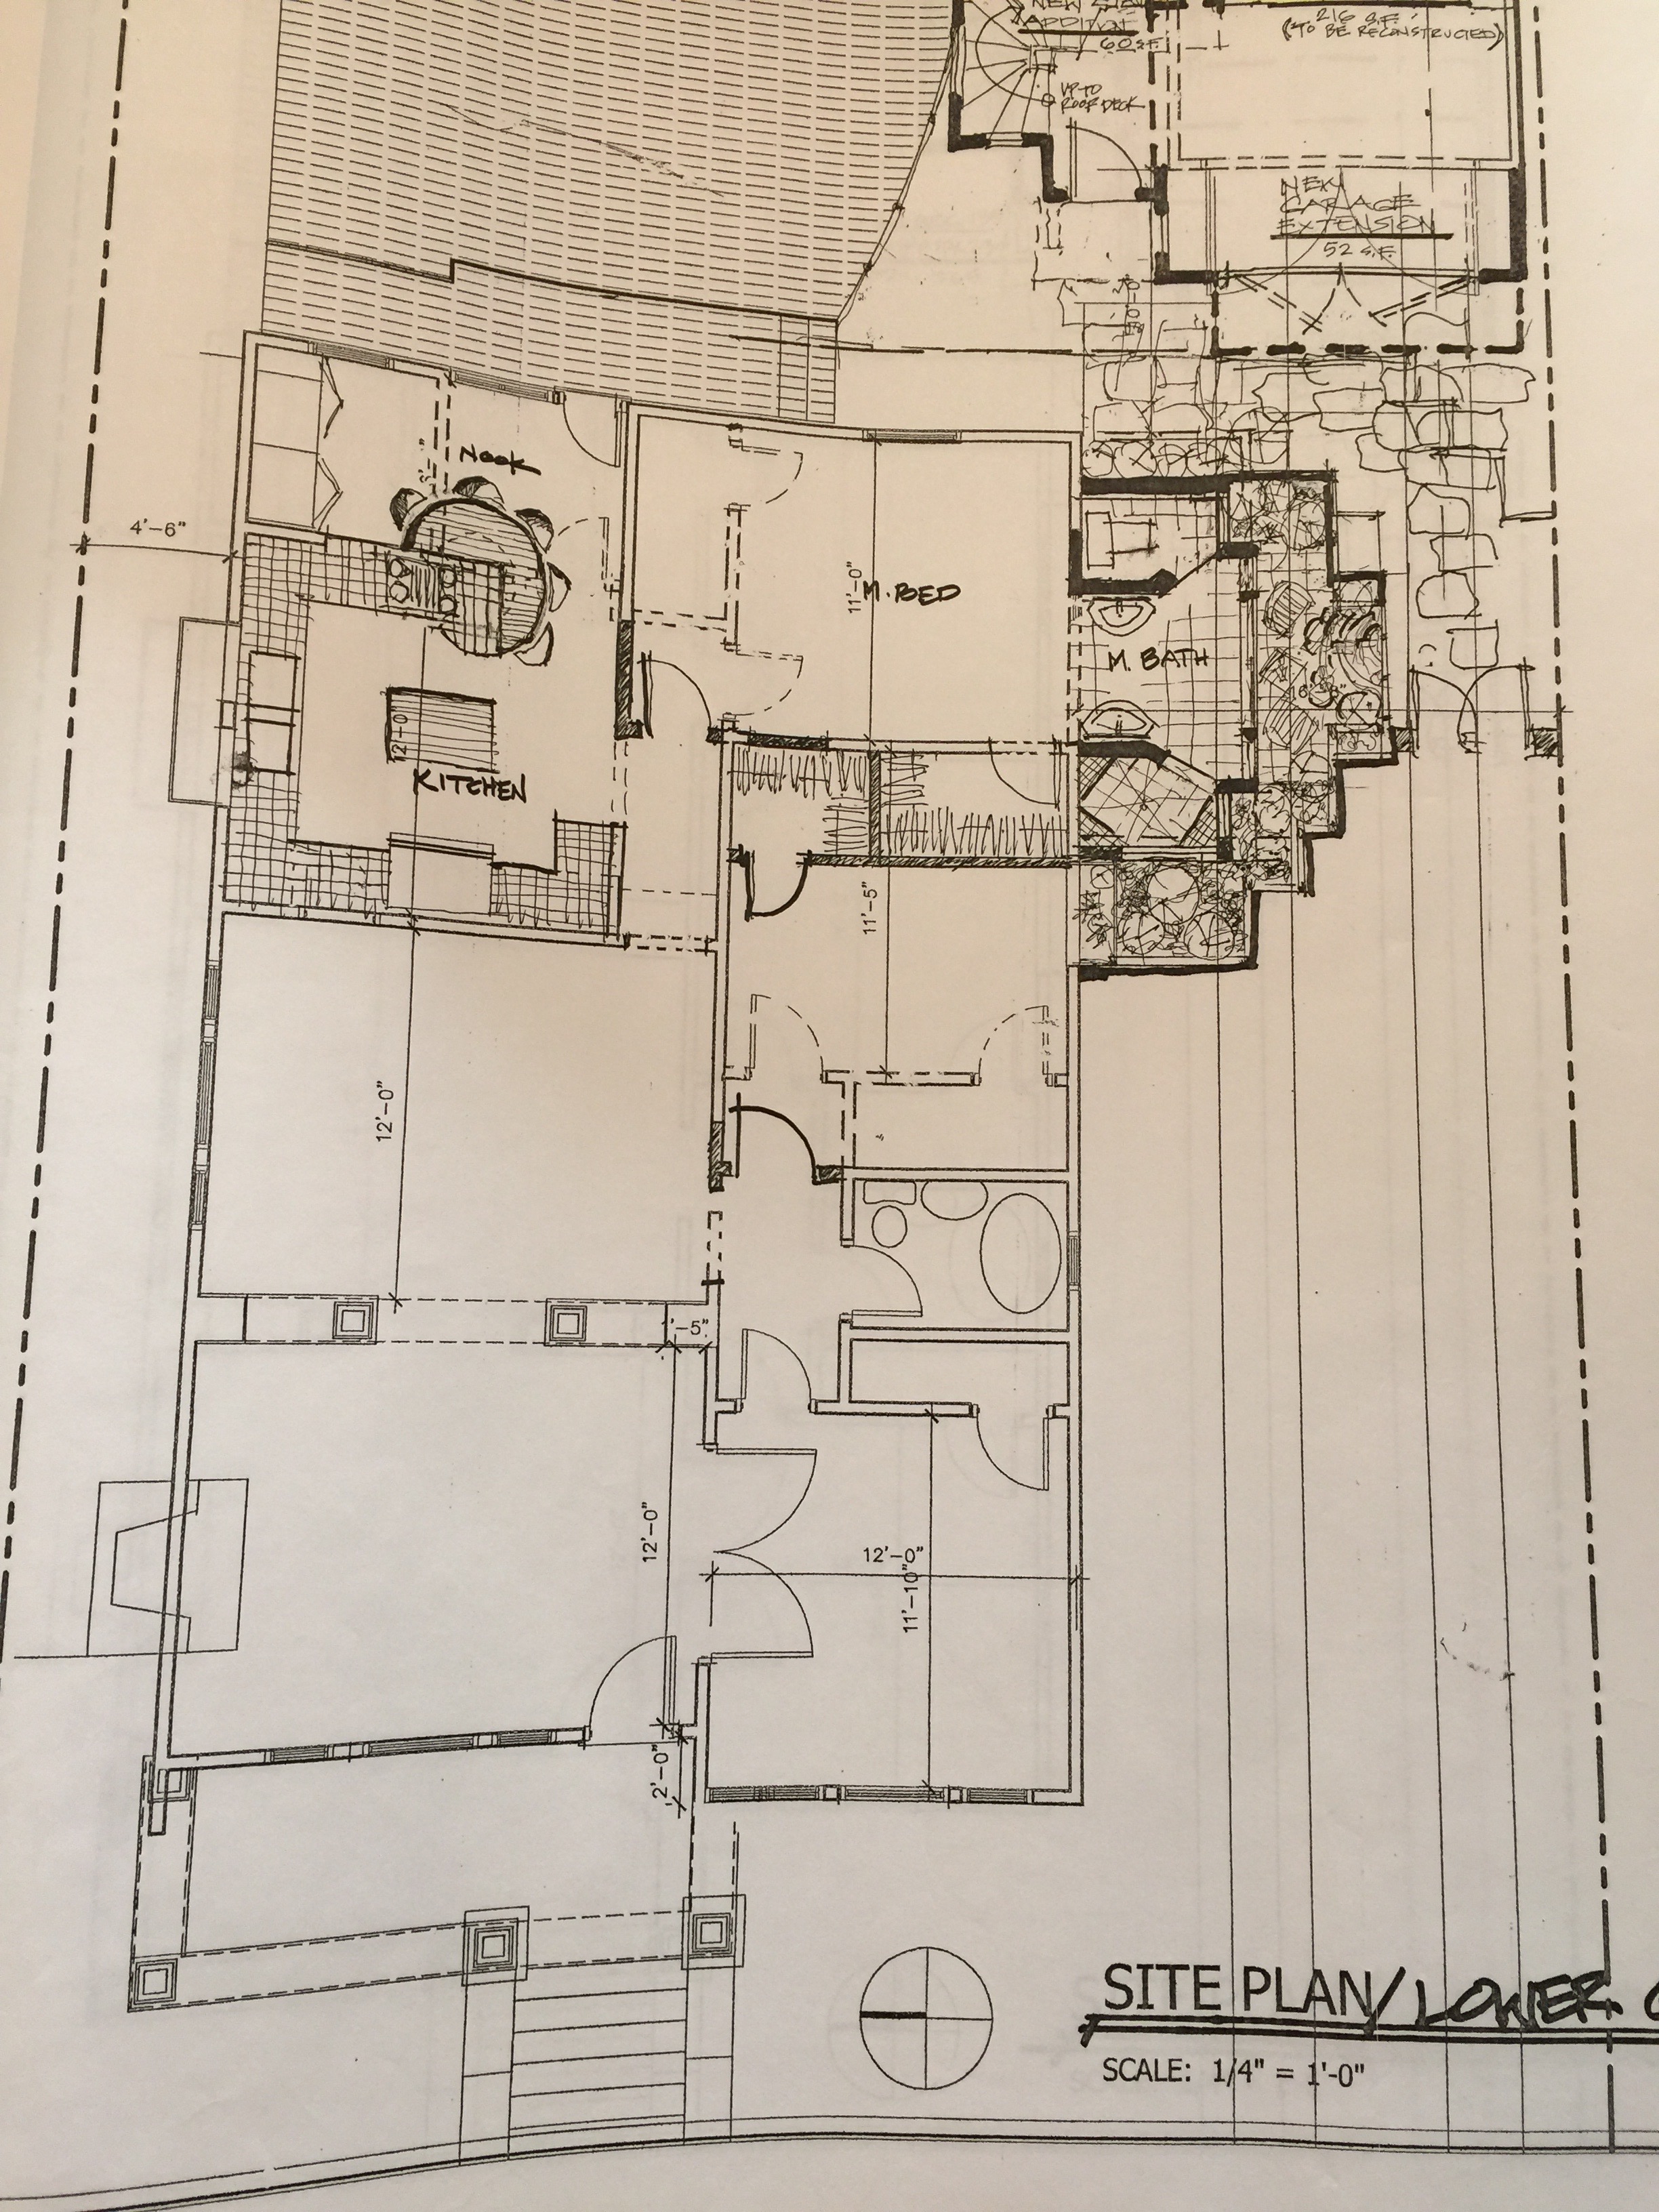
Read MoreIf you know me IRL, or if you’ve been here awhile, you may have noticed I’m really indecisive and over think things WAY too much. I’ve been designing my kitchen for nearly FOUR YEARS now. I made minor upgrades to my current kitchen because I thought we’d only live with it for a mere 6 months. Well, here we are 4 years later and I’m still designing the future space. BUT! I think I may have come up with the best layout that makes the fewest compromises and sticks to a more reasonable budget! Check it out and let me know what you think.
Read MoreIf you follow me on Instagram, you know that we had a thrilling week with the addition of a new roof and the removal of FIVE layers of roofing material. This project was a long time coming and has been the topic of many discussions in our household. So, I’m here to give you all the details from picking a color, finding a contractor, and the cost. Hold on to your seats - roofing is very exciting.
Read MoreRedesigning the kitchen layout has been a doozy! I first talked about it in this post seven months ago where I laid out our must-haves, some sketches, a video walk-through, and a few thoughts on the matter. I asked readers to share their designs and give me feedback, so that’s what I’m here to do today - after a brief half a year of noodling on the designs.
Read MoreOver the years, our house gained a few additions in the technology department. It has always had electricity, but then it got a phone line, and then a cable line, then another phone line, then satellite, then another cable line to route to another room, and so on. By her 100th birthday, our house had wires, conduit, and cables on every side of her. Naturally, I wanted all of this visual clutter gone. Here’s what I did!
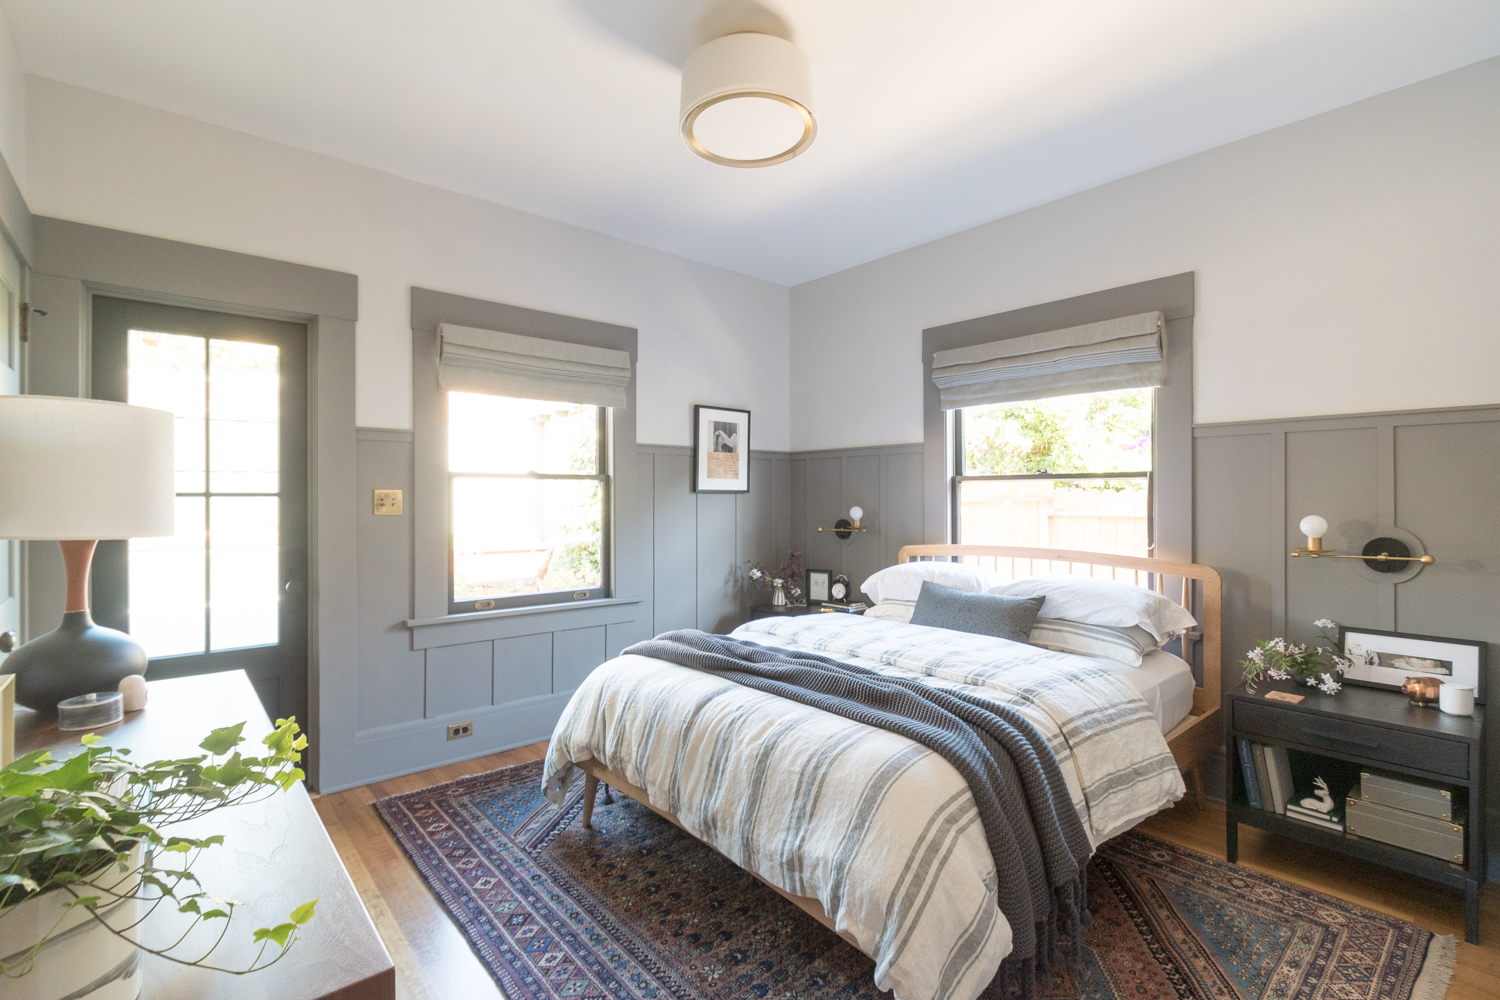
Read MoreIT'S DONE!! I've officially completed my THIRD One Room Challenge and what a journey! The ORC has been such a big part of my home and blog - HALF of my house has been transformed through the design challenge. I'm so proud and grateful to participate! I mean, look at this new bedroom I get to sleep in, now!
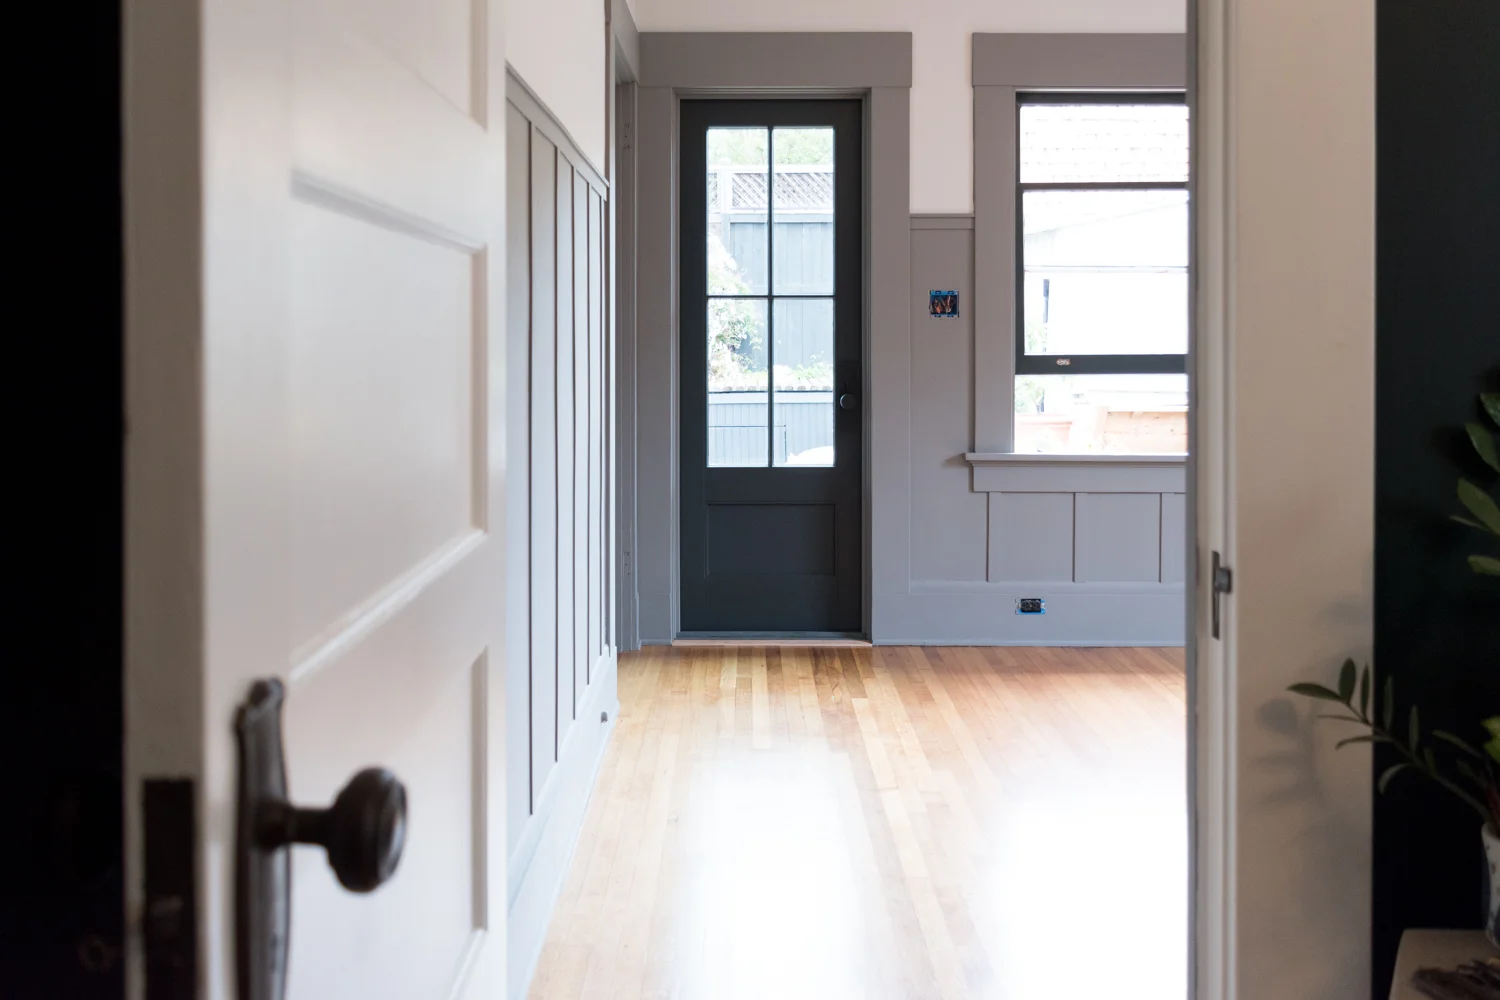
Read MoreOMG it's week five of the One Room Challenge! The moment we've all been waiting for - the new exterior door was installed, and boy is it a beaut. We also built a deck this week (so I didn't fall to my death out the new door) and painted the room in the prettiest hues.
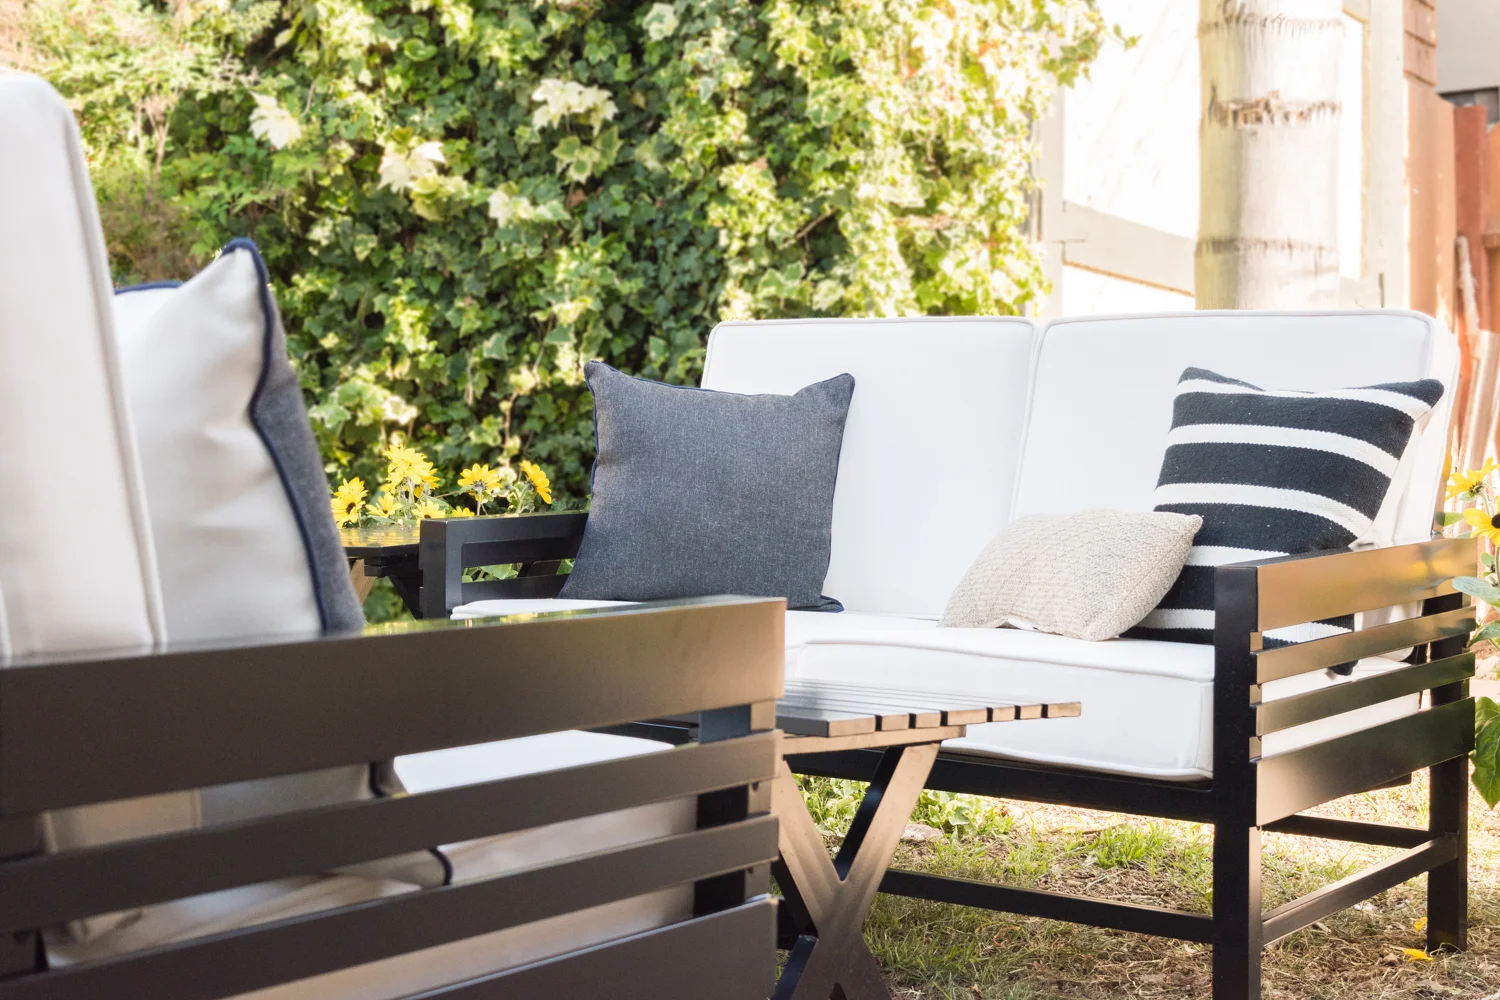
Read MoreGuess what! I've decided to do a One and a Half Room Challenge with outdoor seating! The new back door will give access to the outdoors, which is such a great way to expand the size of our master. The problem is, our backyard isn't so great.
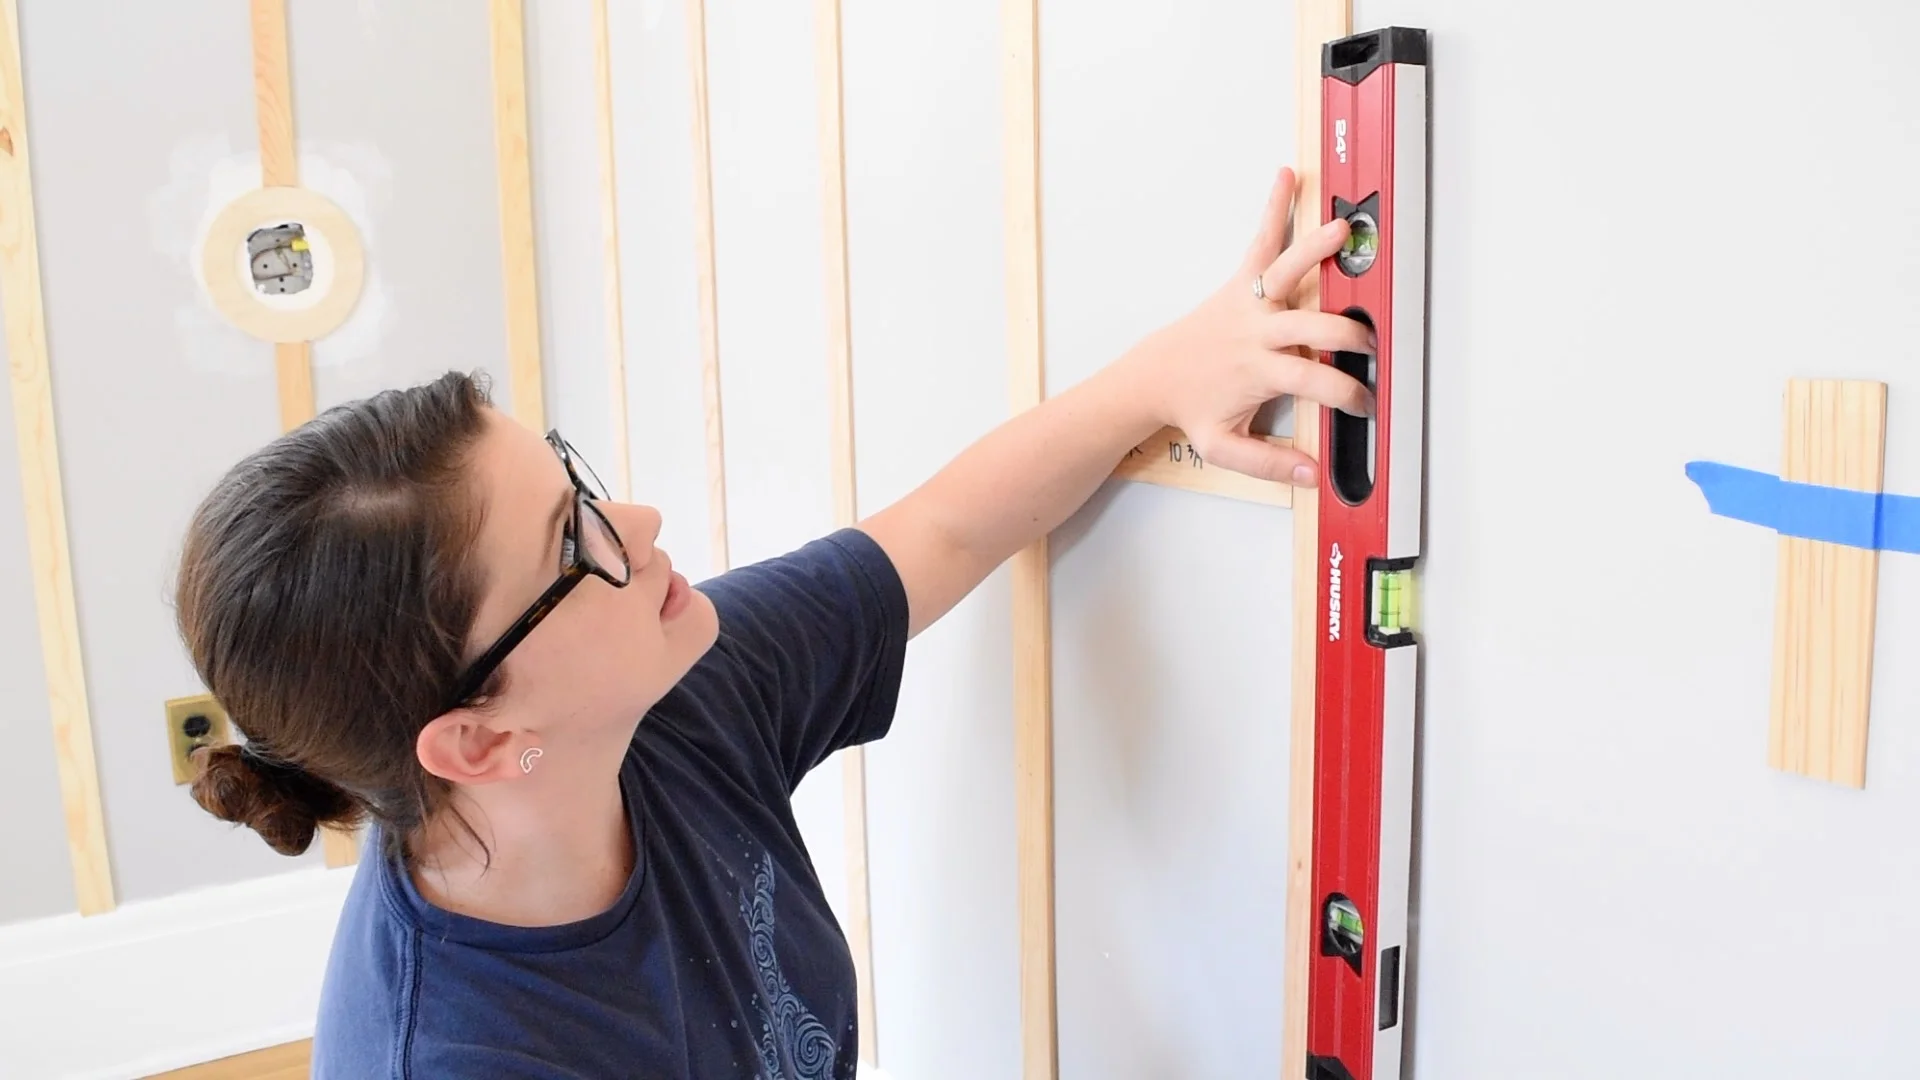
Read MoreIt's week three of the One Room Challenge! I spent this past weekend on adding a board & batten style wall treatment, so I'm here to give you the DIY tutorial of adding the simple detail to your walls!
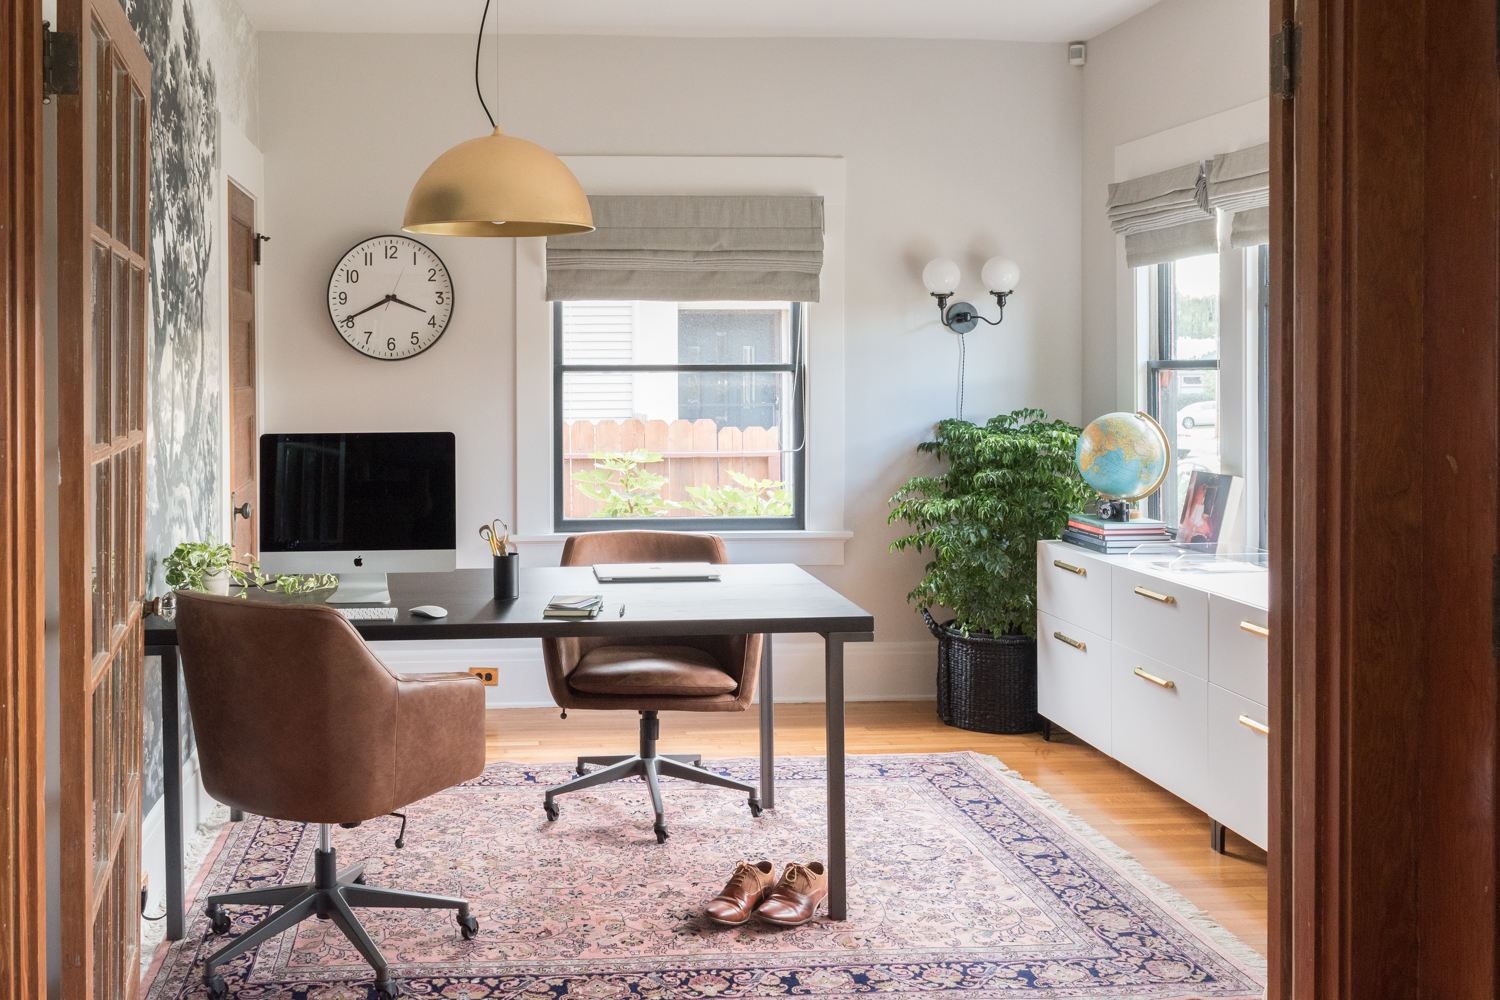
Read MoreI can't remember if I even shared this glorious news on the blog, but I won the One Room Challenge last fall! Sophie Donelson, editor in chief of House Beautiful magazine, picked her top two favorites out of 200+ guest participants and mine was one of them! GASP! The other room transformation winner was my blogger bud, Natasha Habermann.
In case you forgot the room transformation I did, my home office won for the handpainted mural and my love for organization. You can walk through each of the seven weeks of the transformation here.

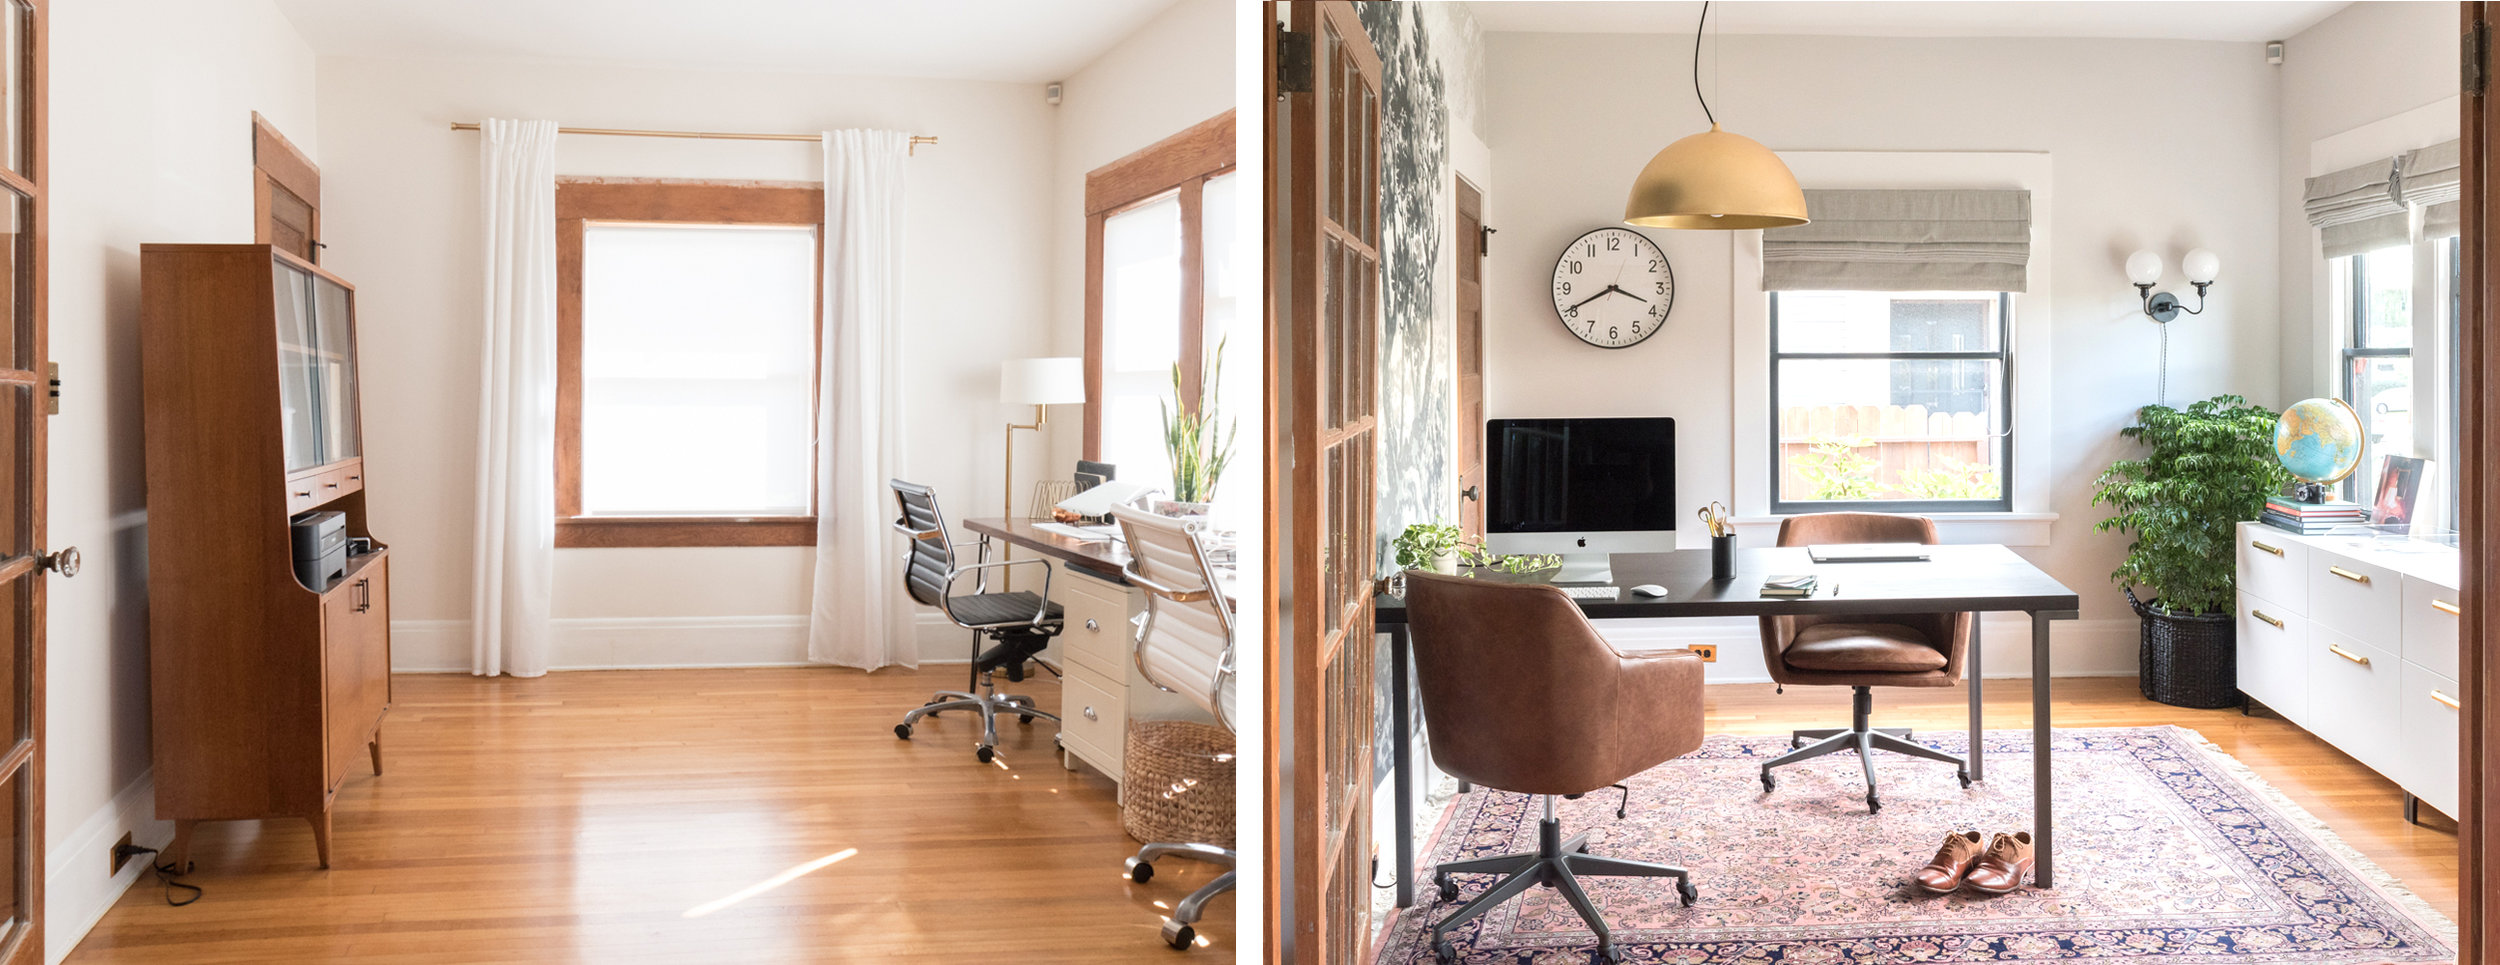
Winning was a highlight, but the prize also comes with the honor of being a featured designer in the upcoming season of the One Room Challenge! The last two times I joined in, I was a guest participant which is open to anyone with a blog (so jump in if you like rambling on the internet!). Natasha and I will be participating with a group of 18 other featured designers for the Spring ORC starting next week! Come back in exactly 7 days to see what we all have up our sleeves. A handful of blog friends are joining as guests (like Sarah, Nicole, Cathy, and Alison) and I'm already itching to see what they do, so don't play favorites - check out the featured AND guest participants!
Apartment 34 | Beginning in the Middle | Coco & Jack | The English Room | The Gold Hive | Gray Malin | Jenna Sue Design | Jojotastic | Kelly Rogers Int. | Linda Holt | Marcus Design | Michelle Gage | Natasha Habermann | The Painted House | Rambling Renovators | Sacramento Street | Shannon Claire | Sketch 42 | Stephanie Kraus | Style Me Pretty Living
Media Partner House Beautiful | TM by ORC
I promise that this time around I won't hand paint a mural for 100+ hours. I'll take it a little easier, but I'm really excited for the changes headed for another room in our house. Any guesses as to which space is earning a 6-week makeover?

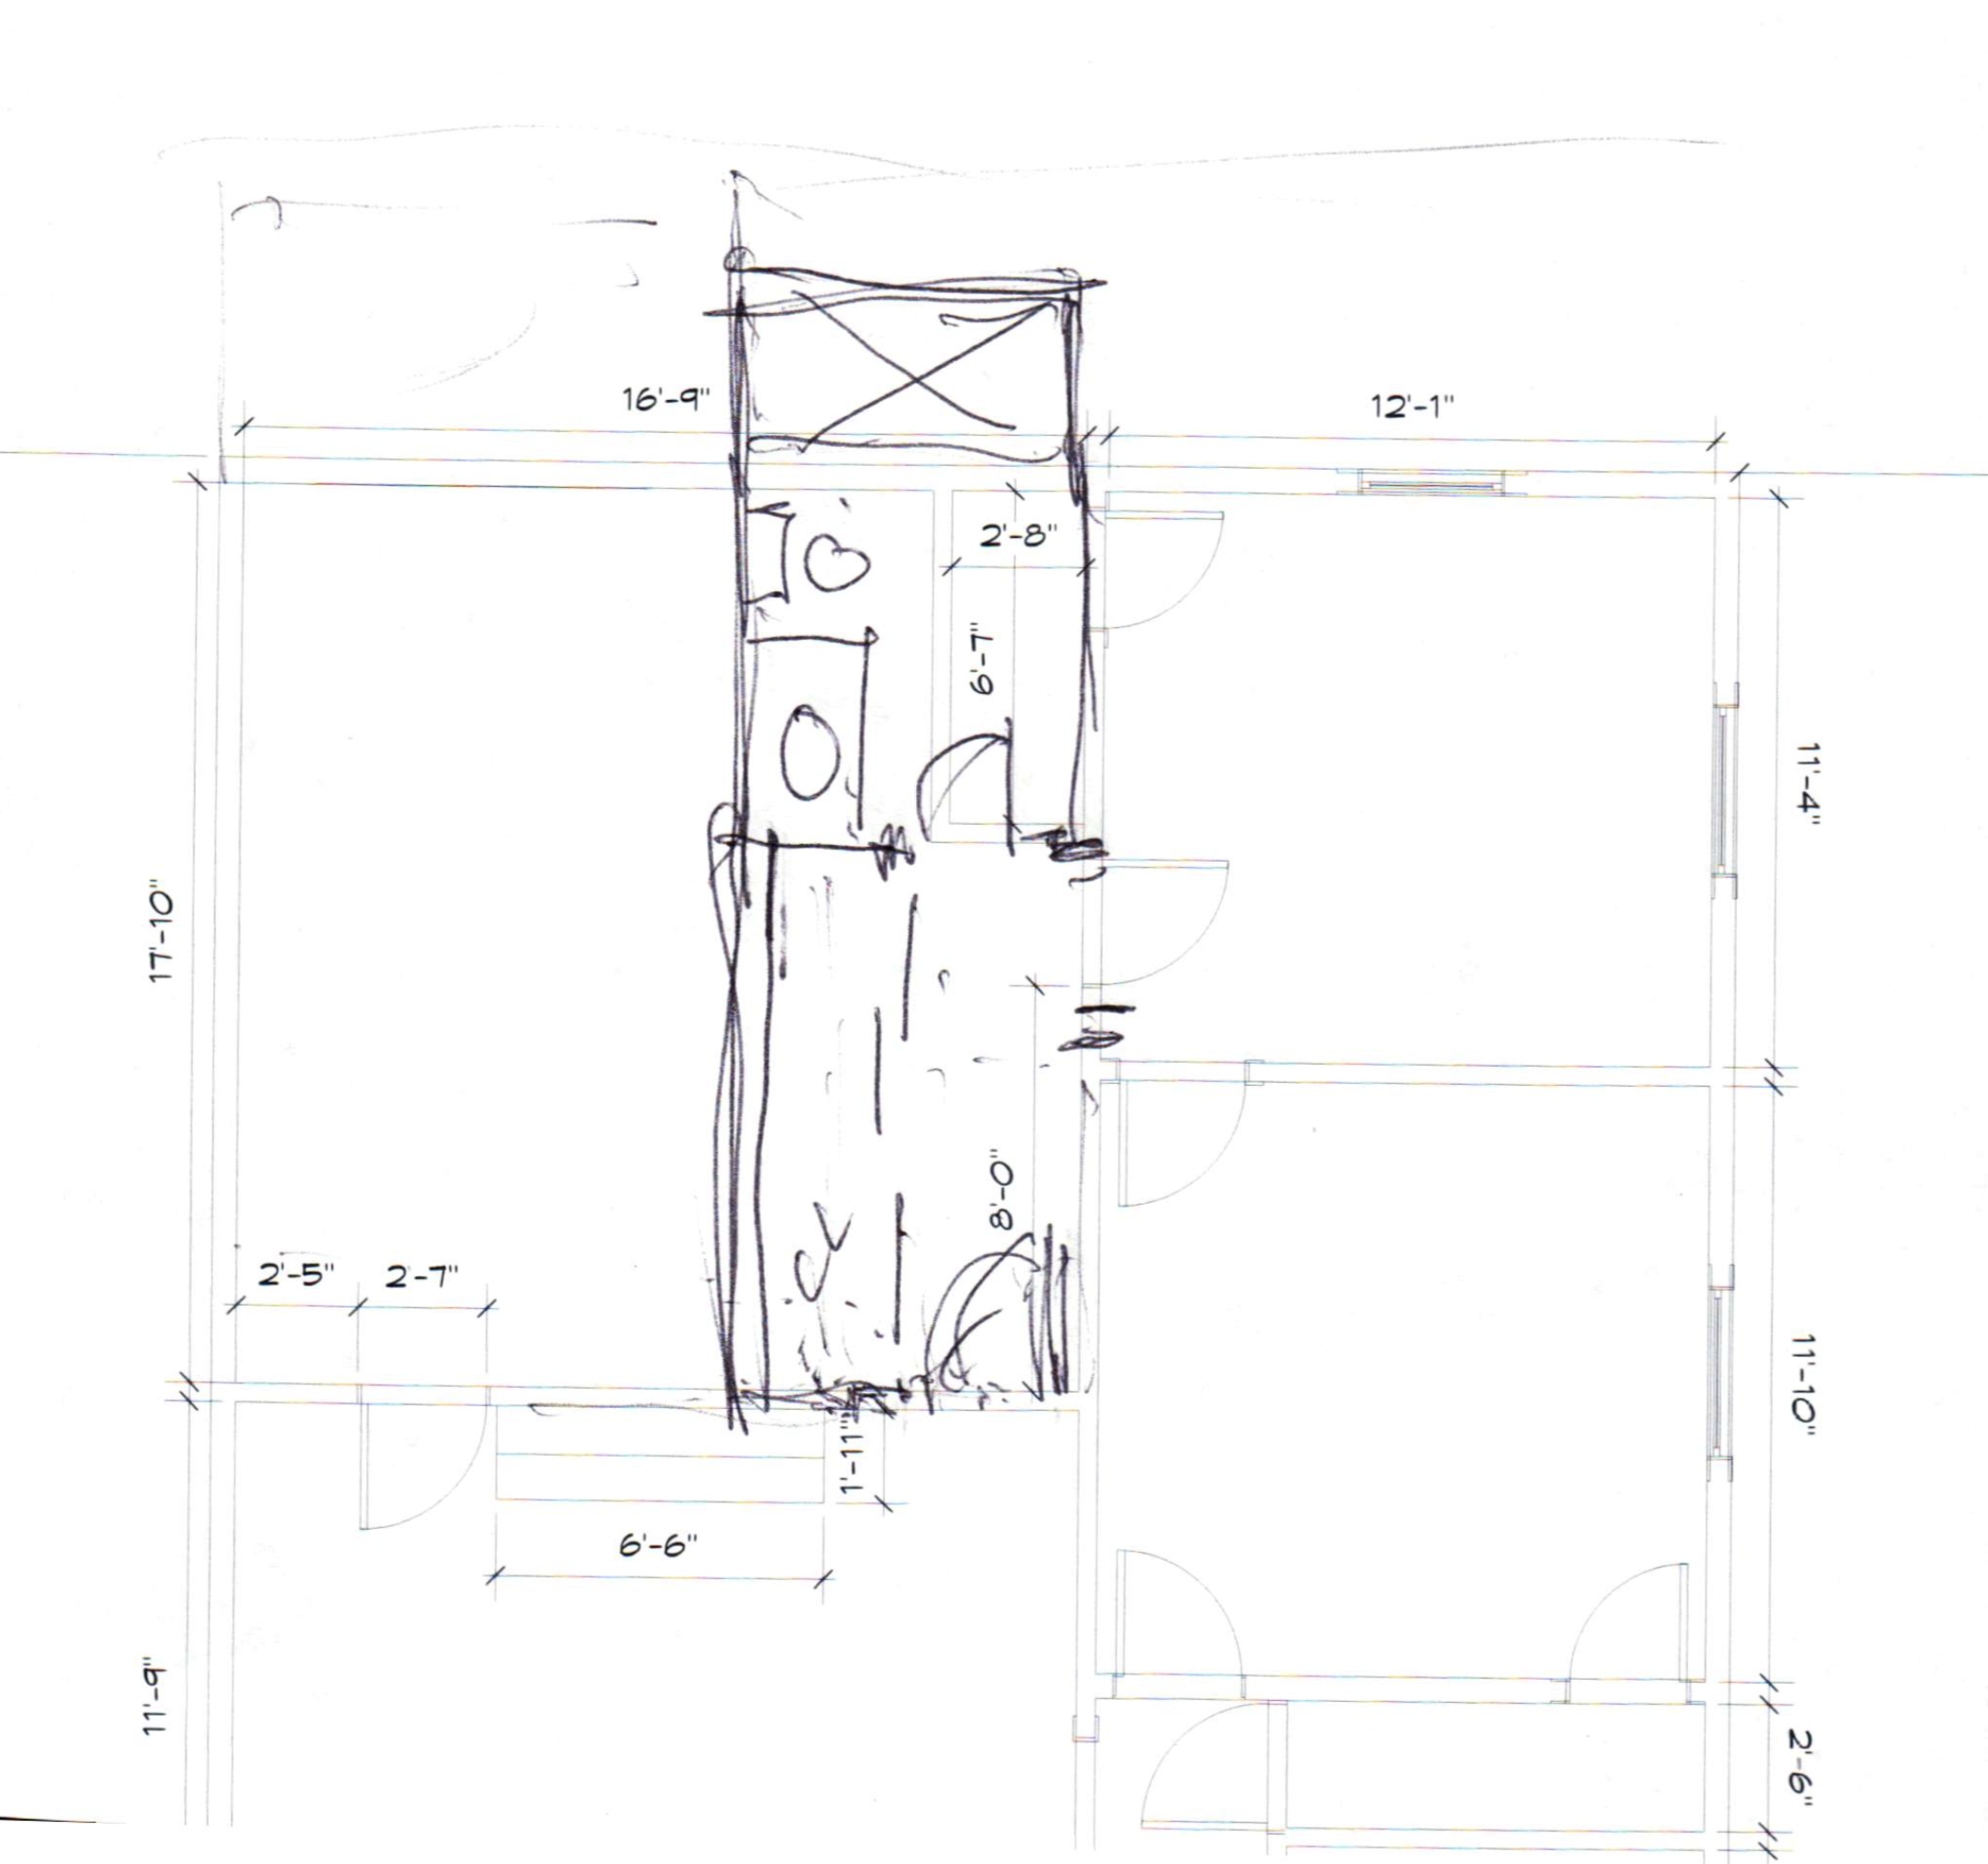
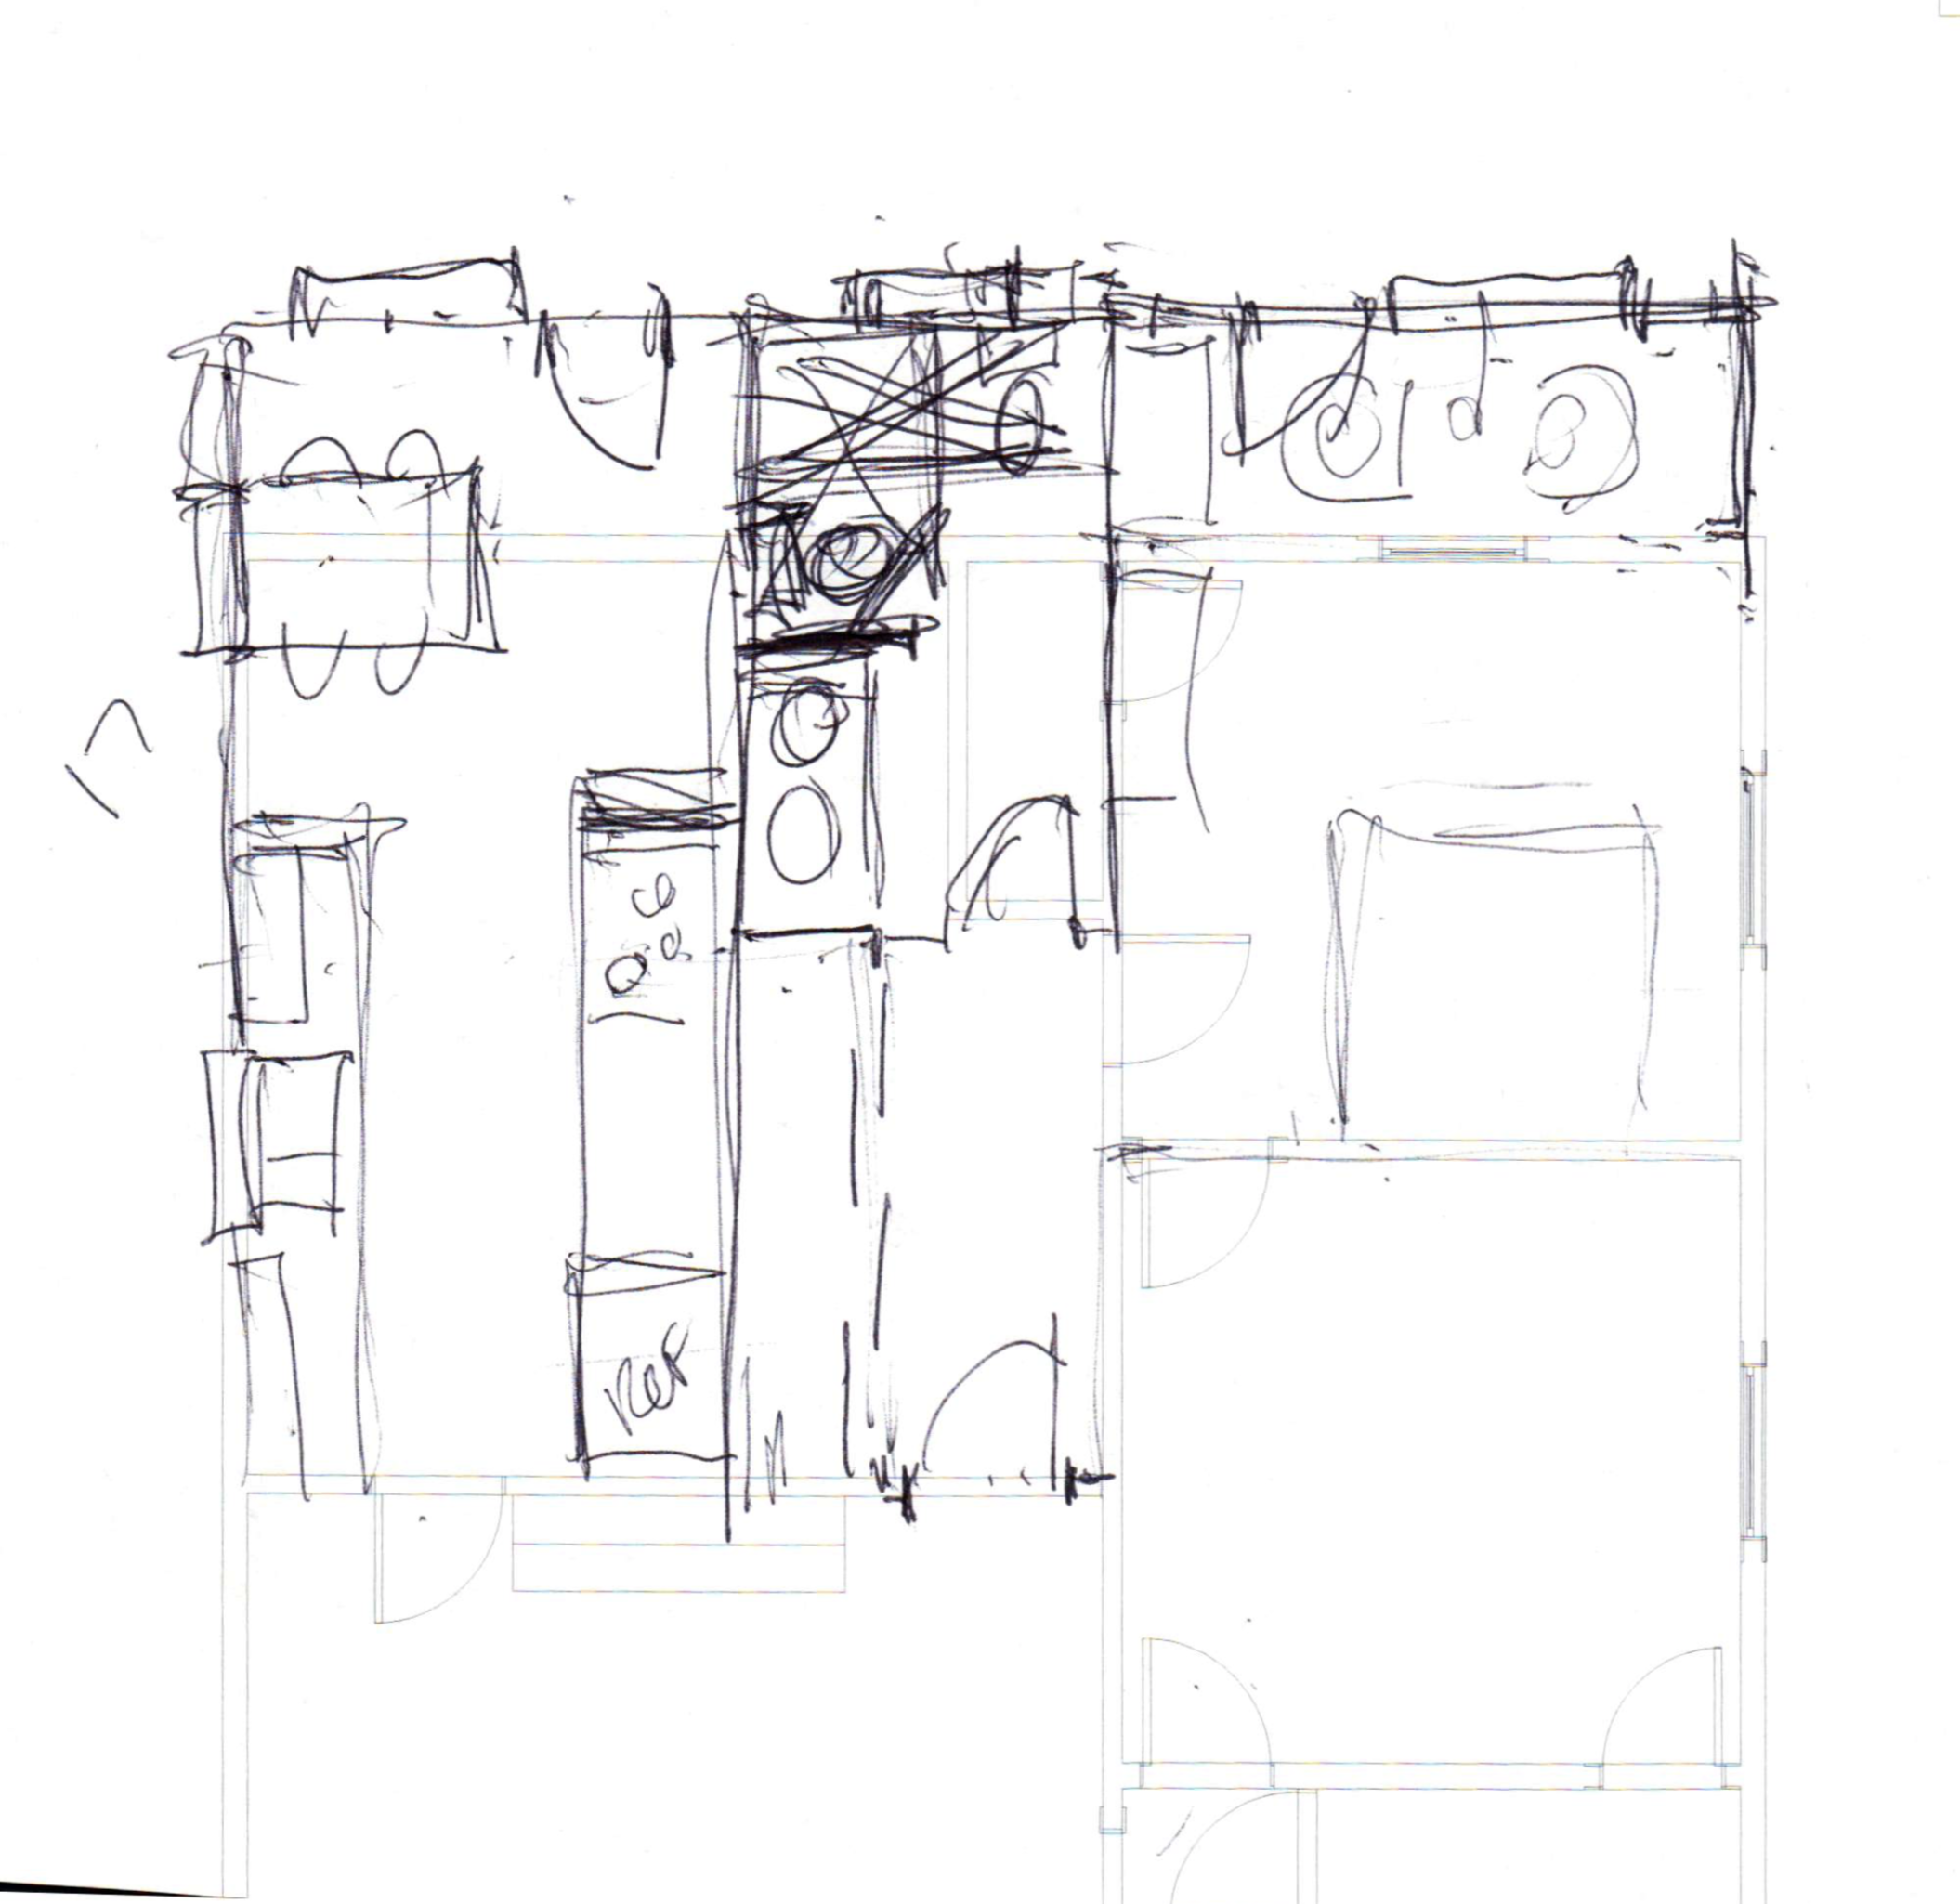
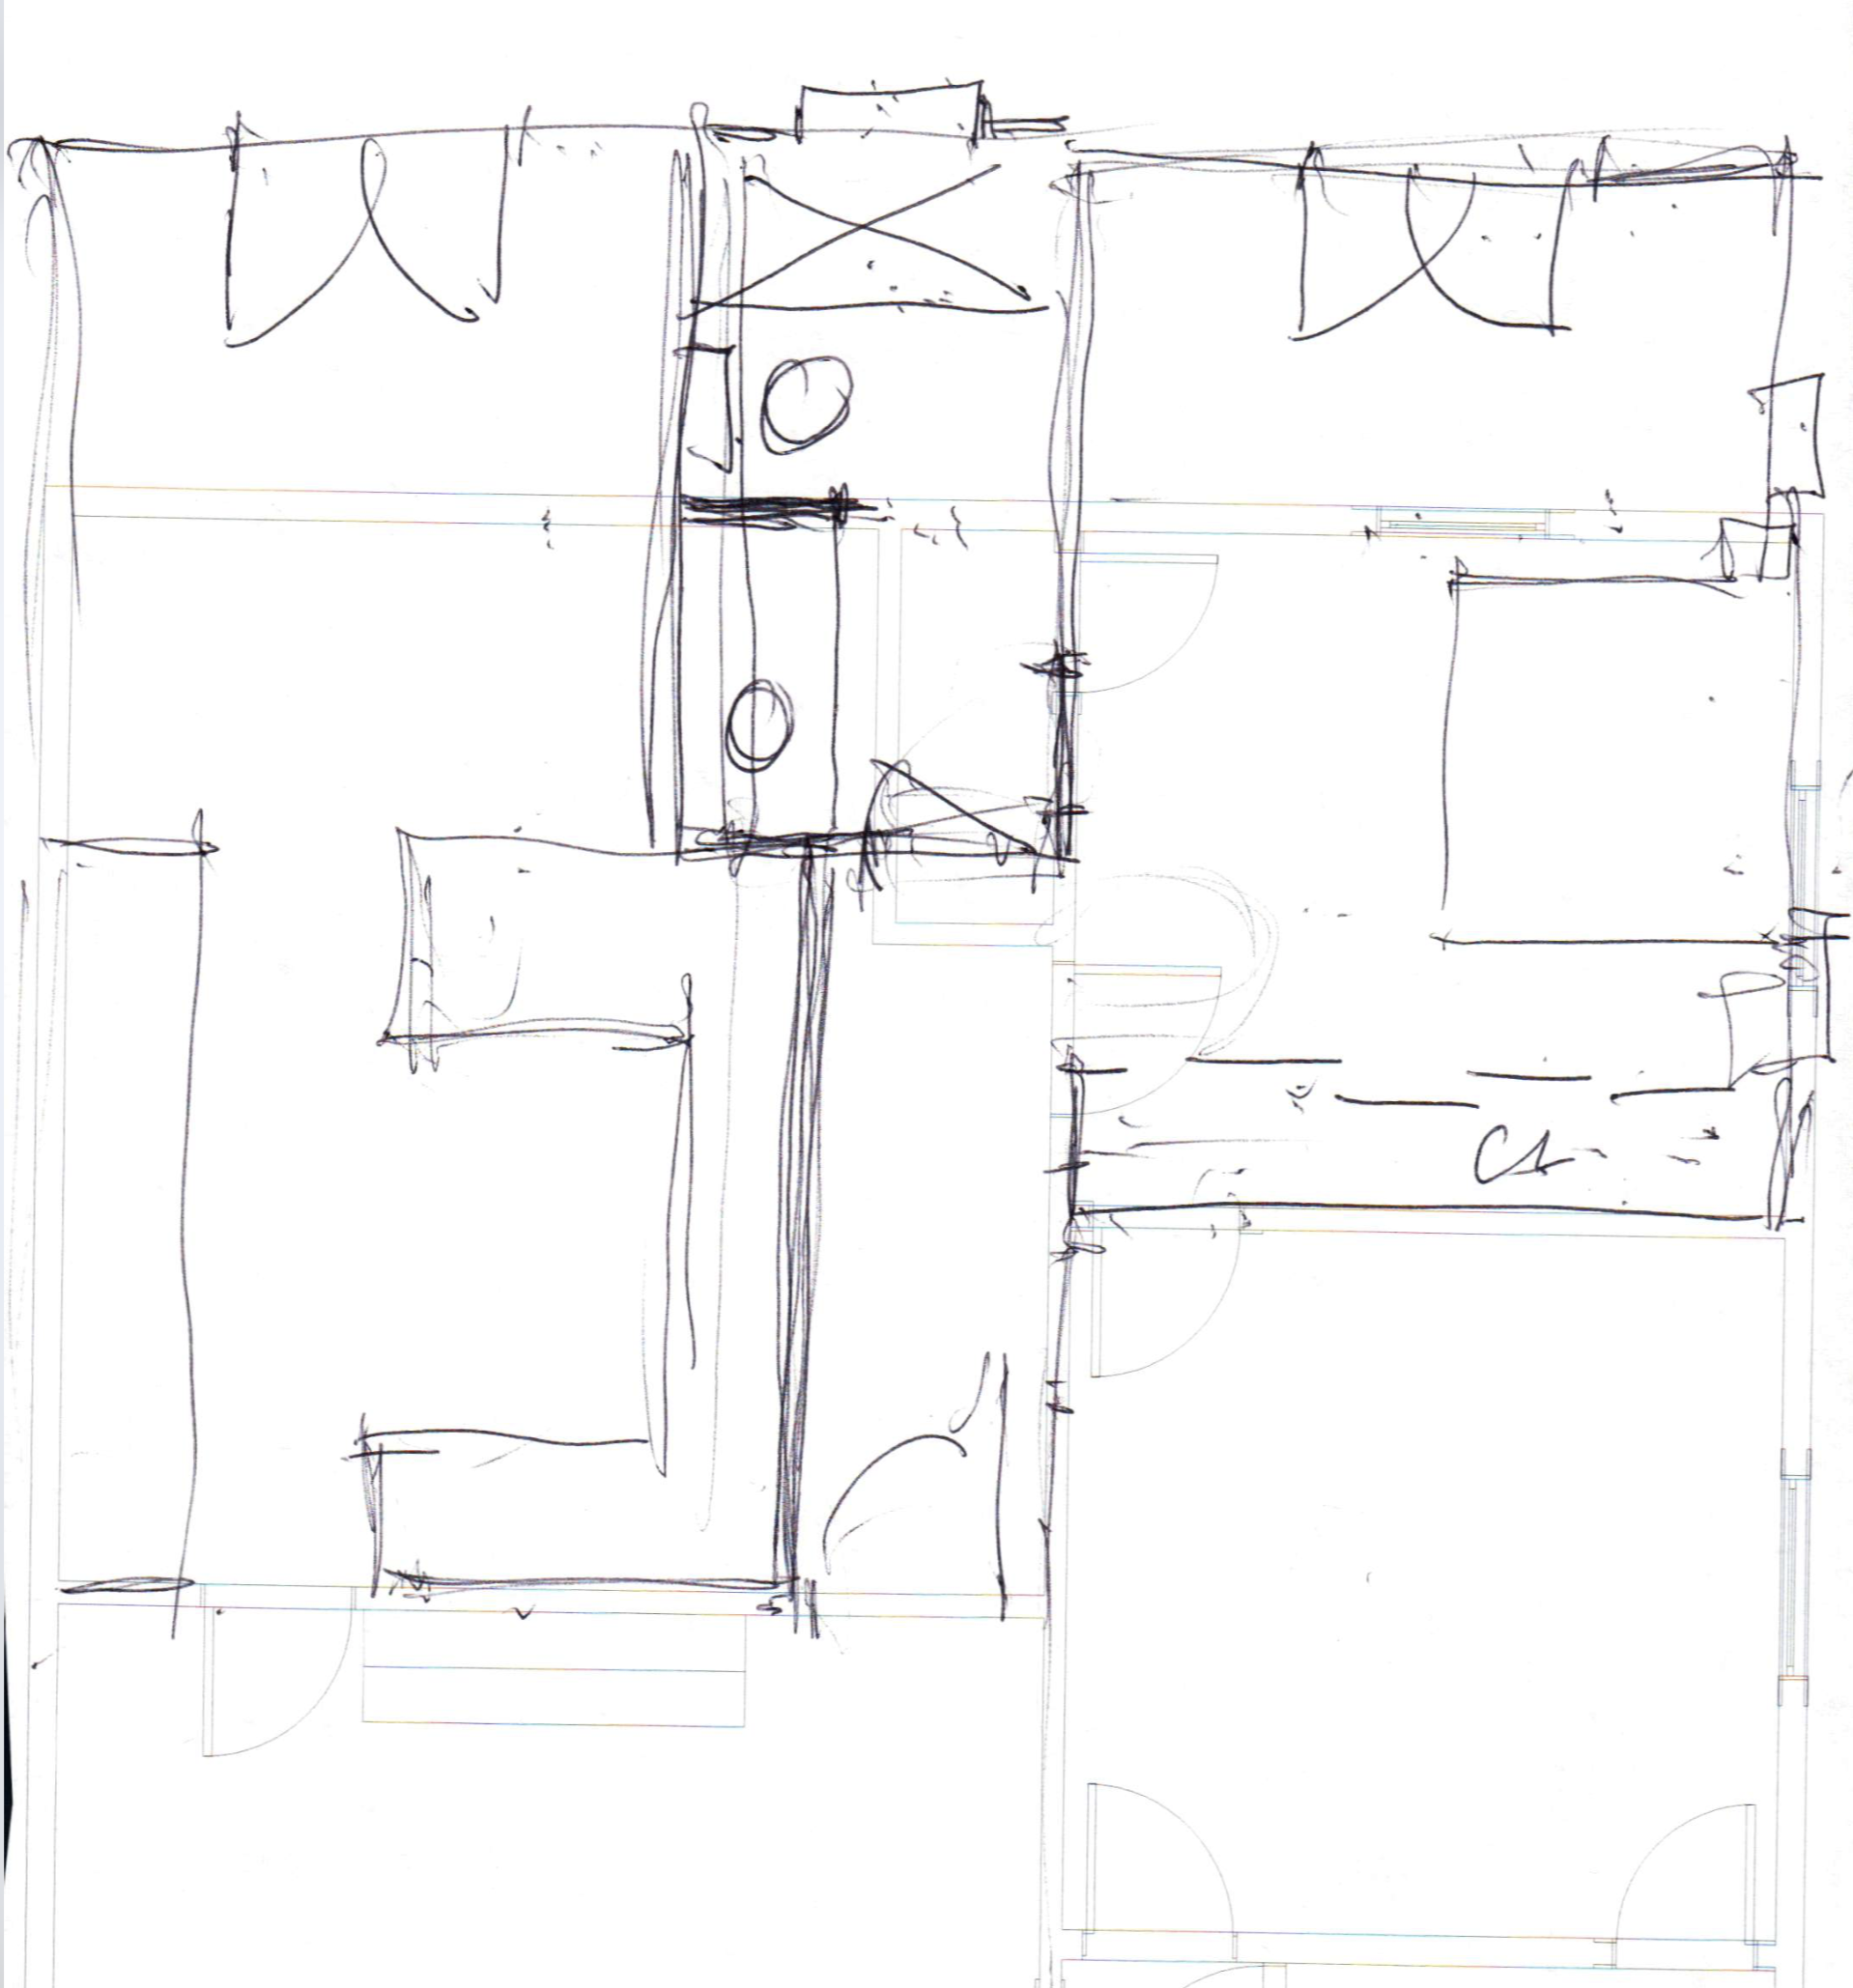
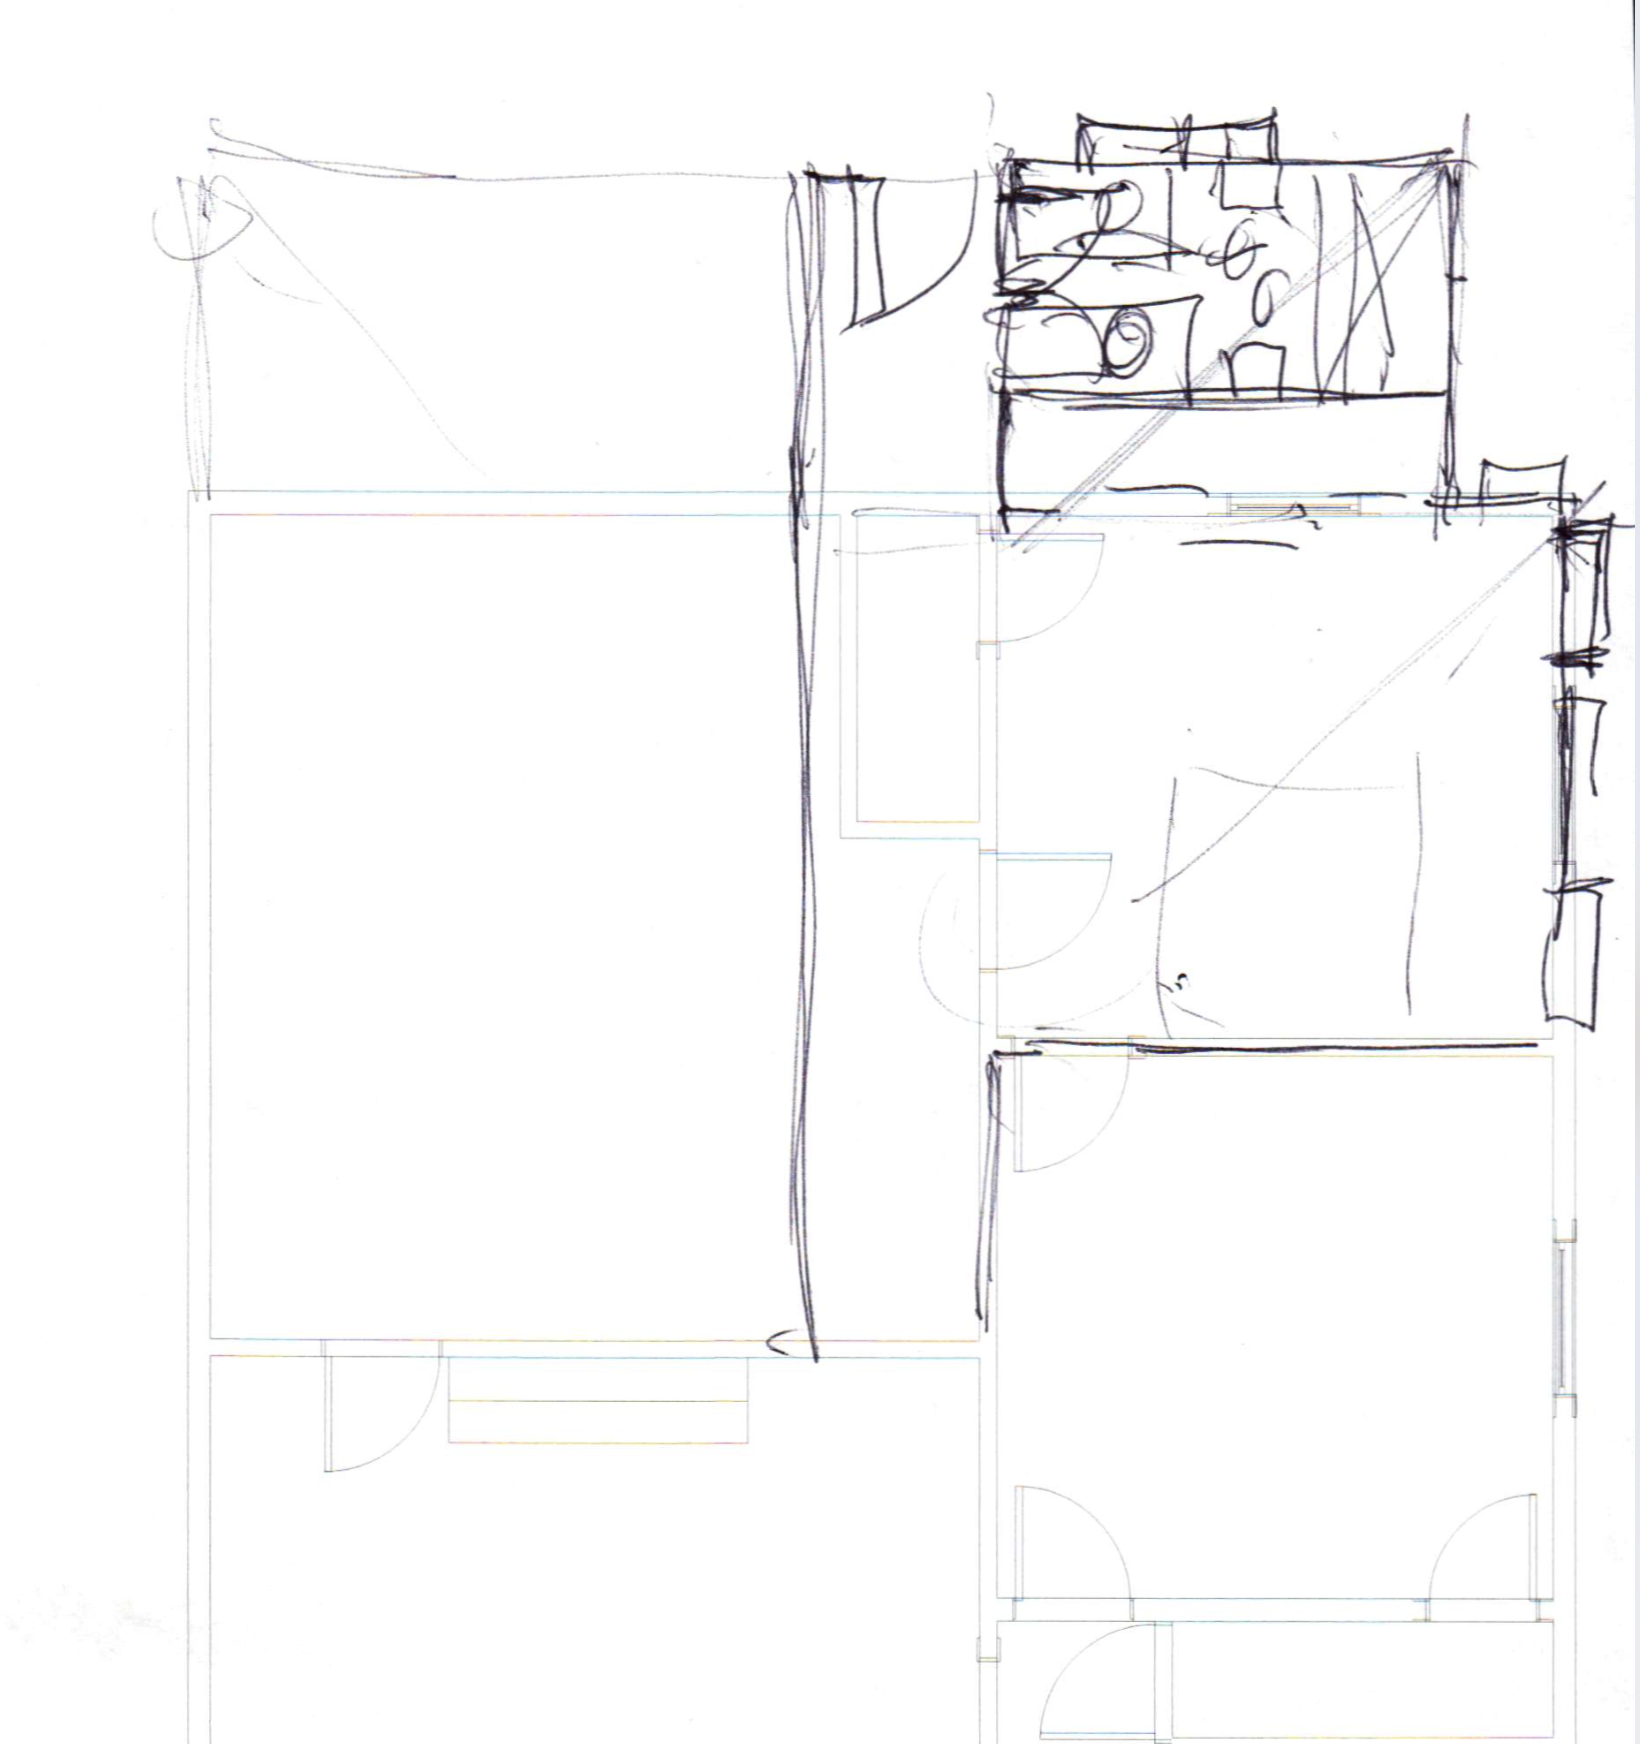
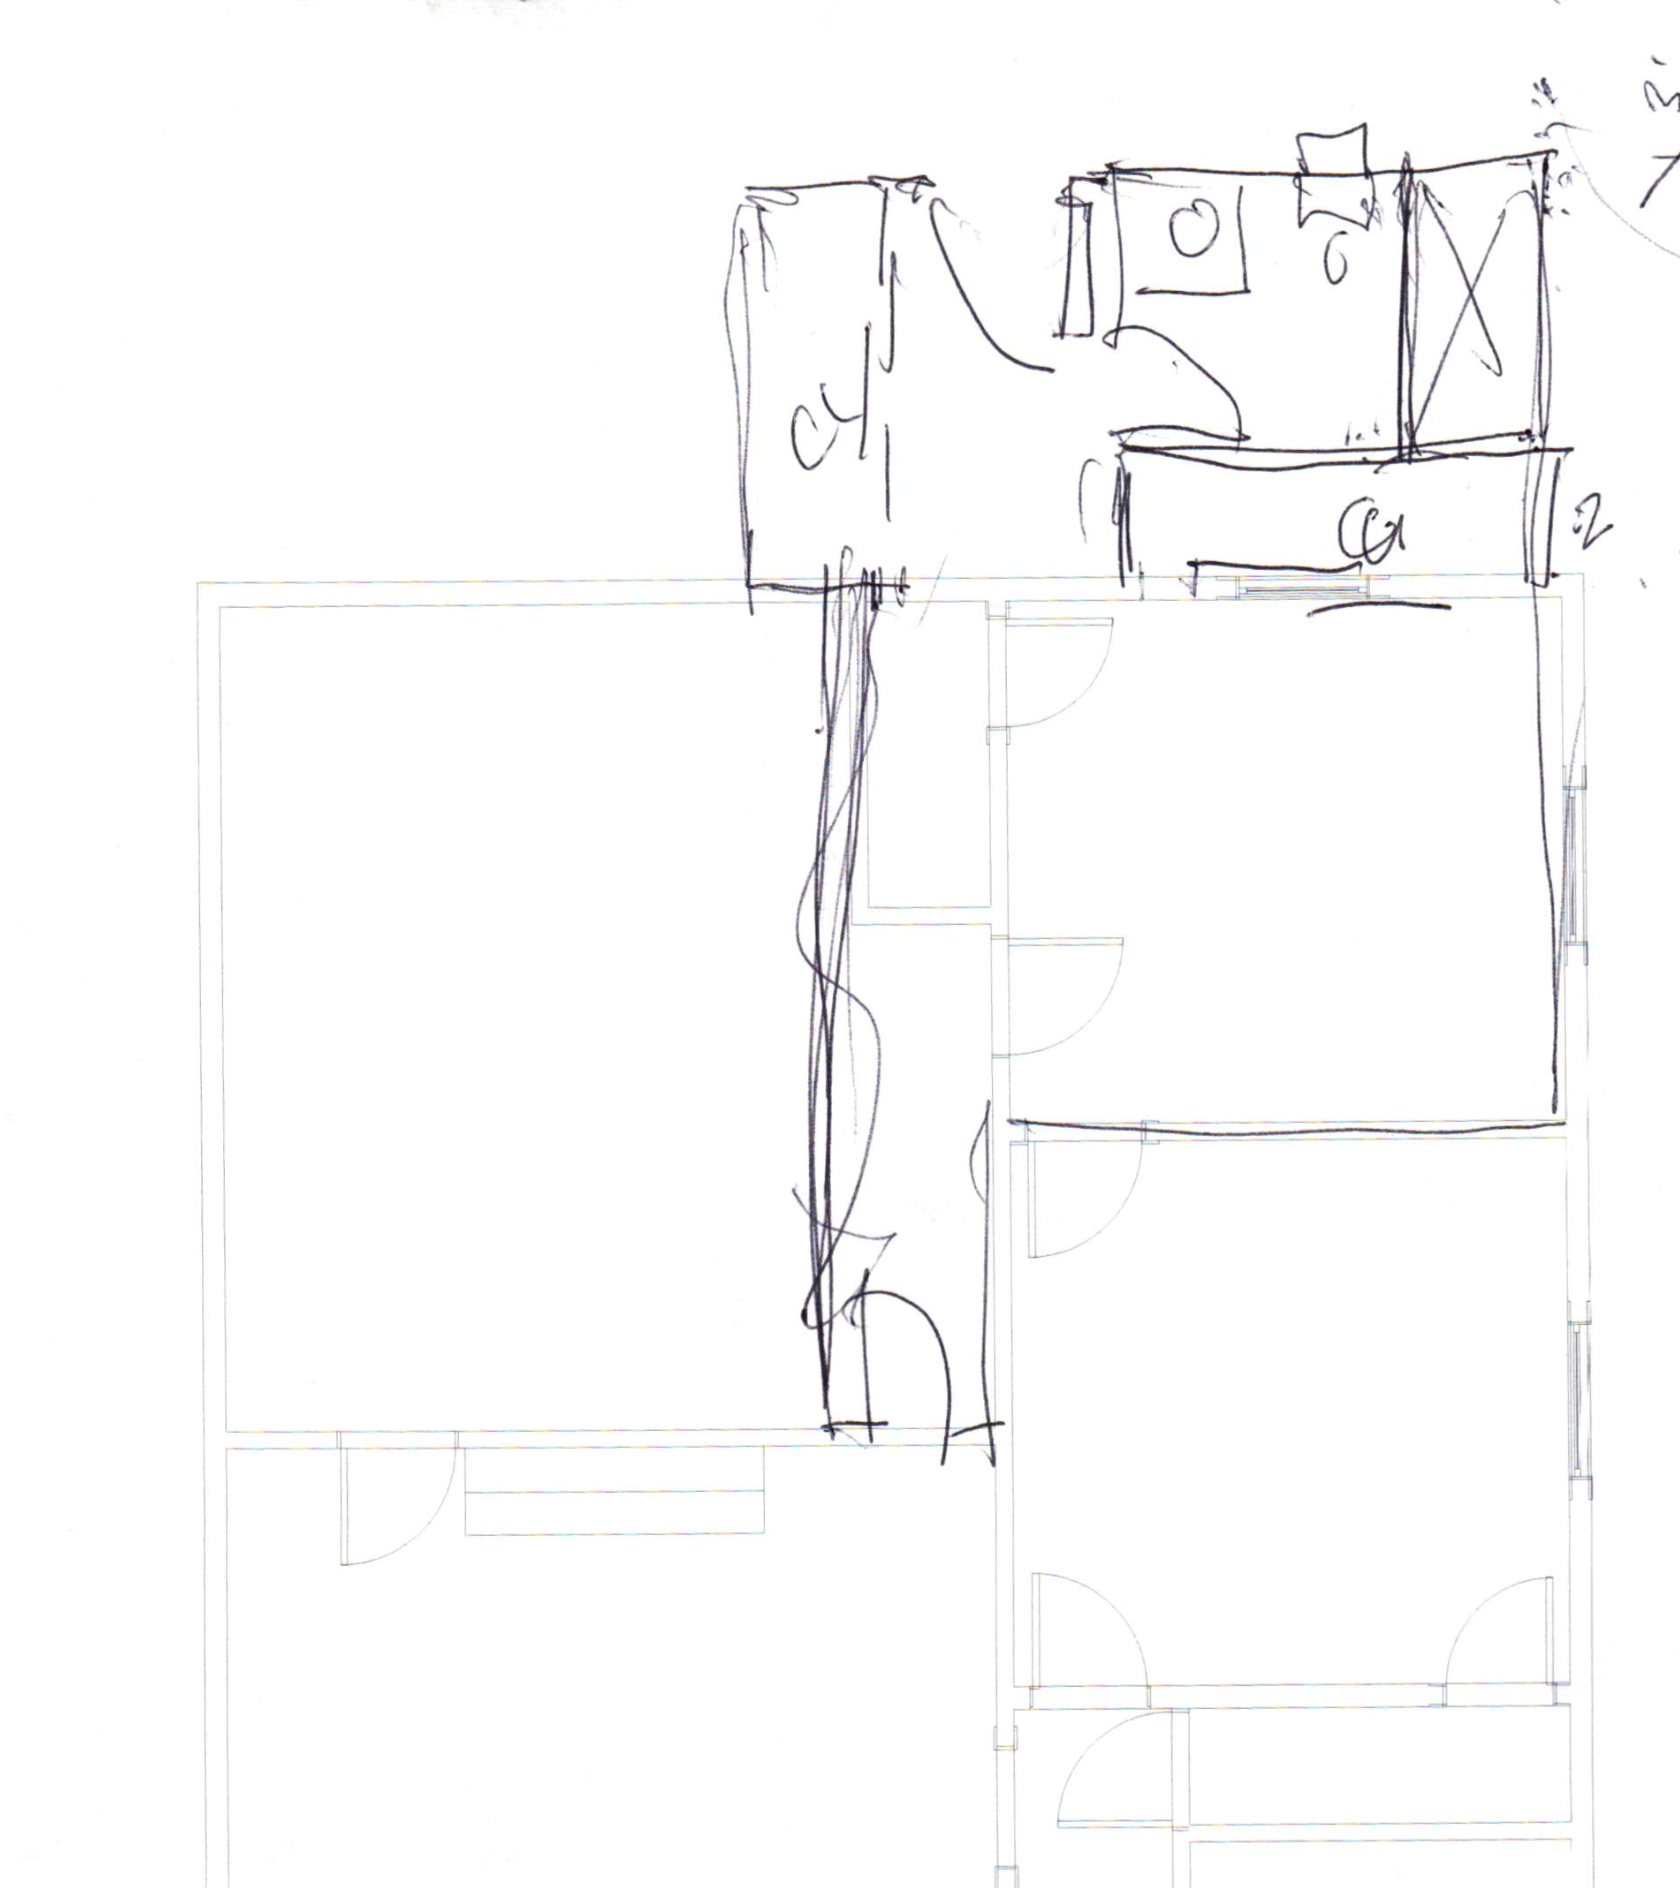
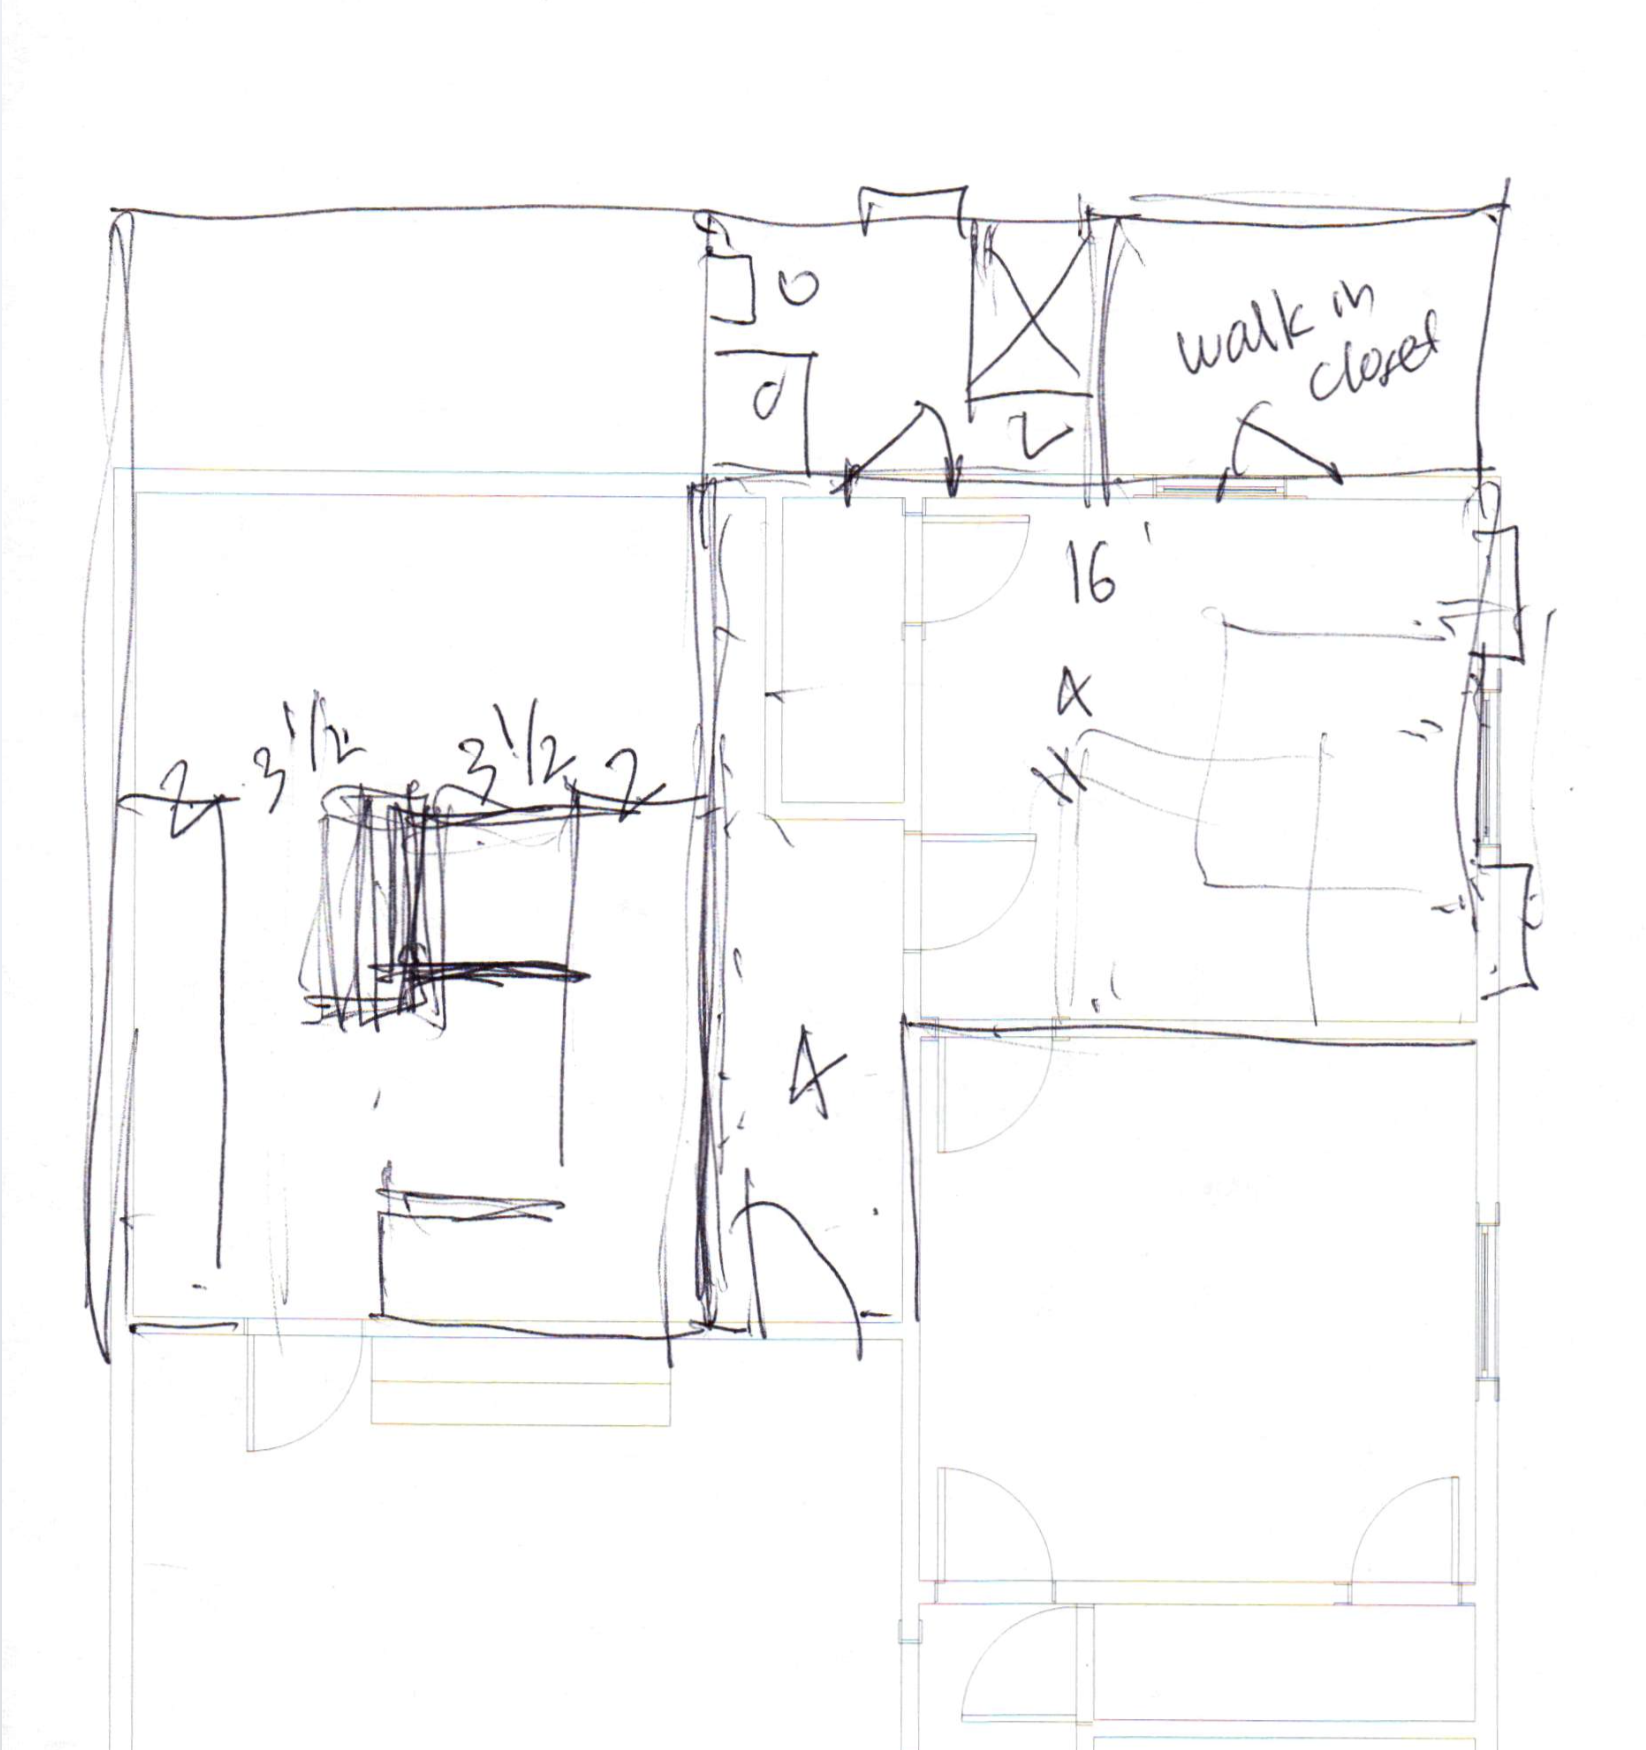
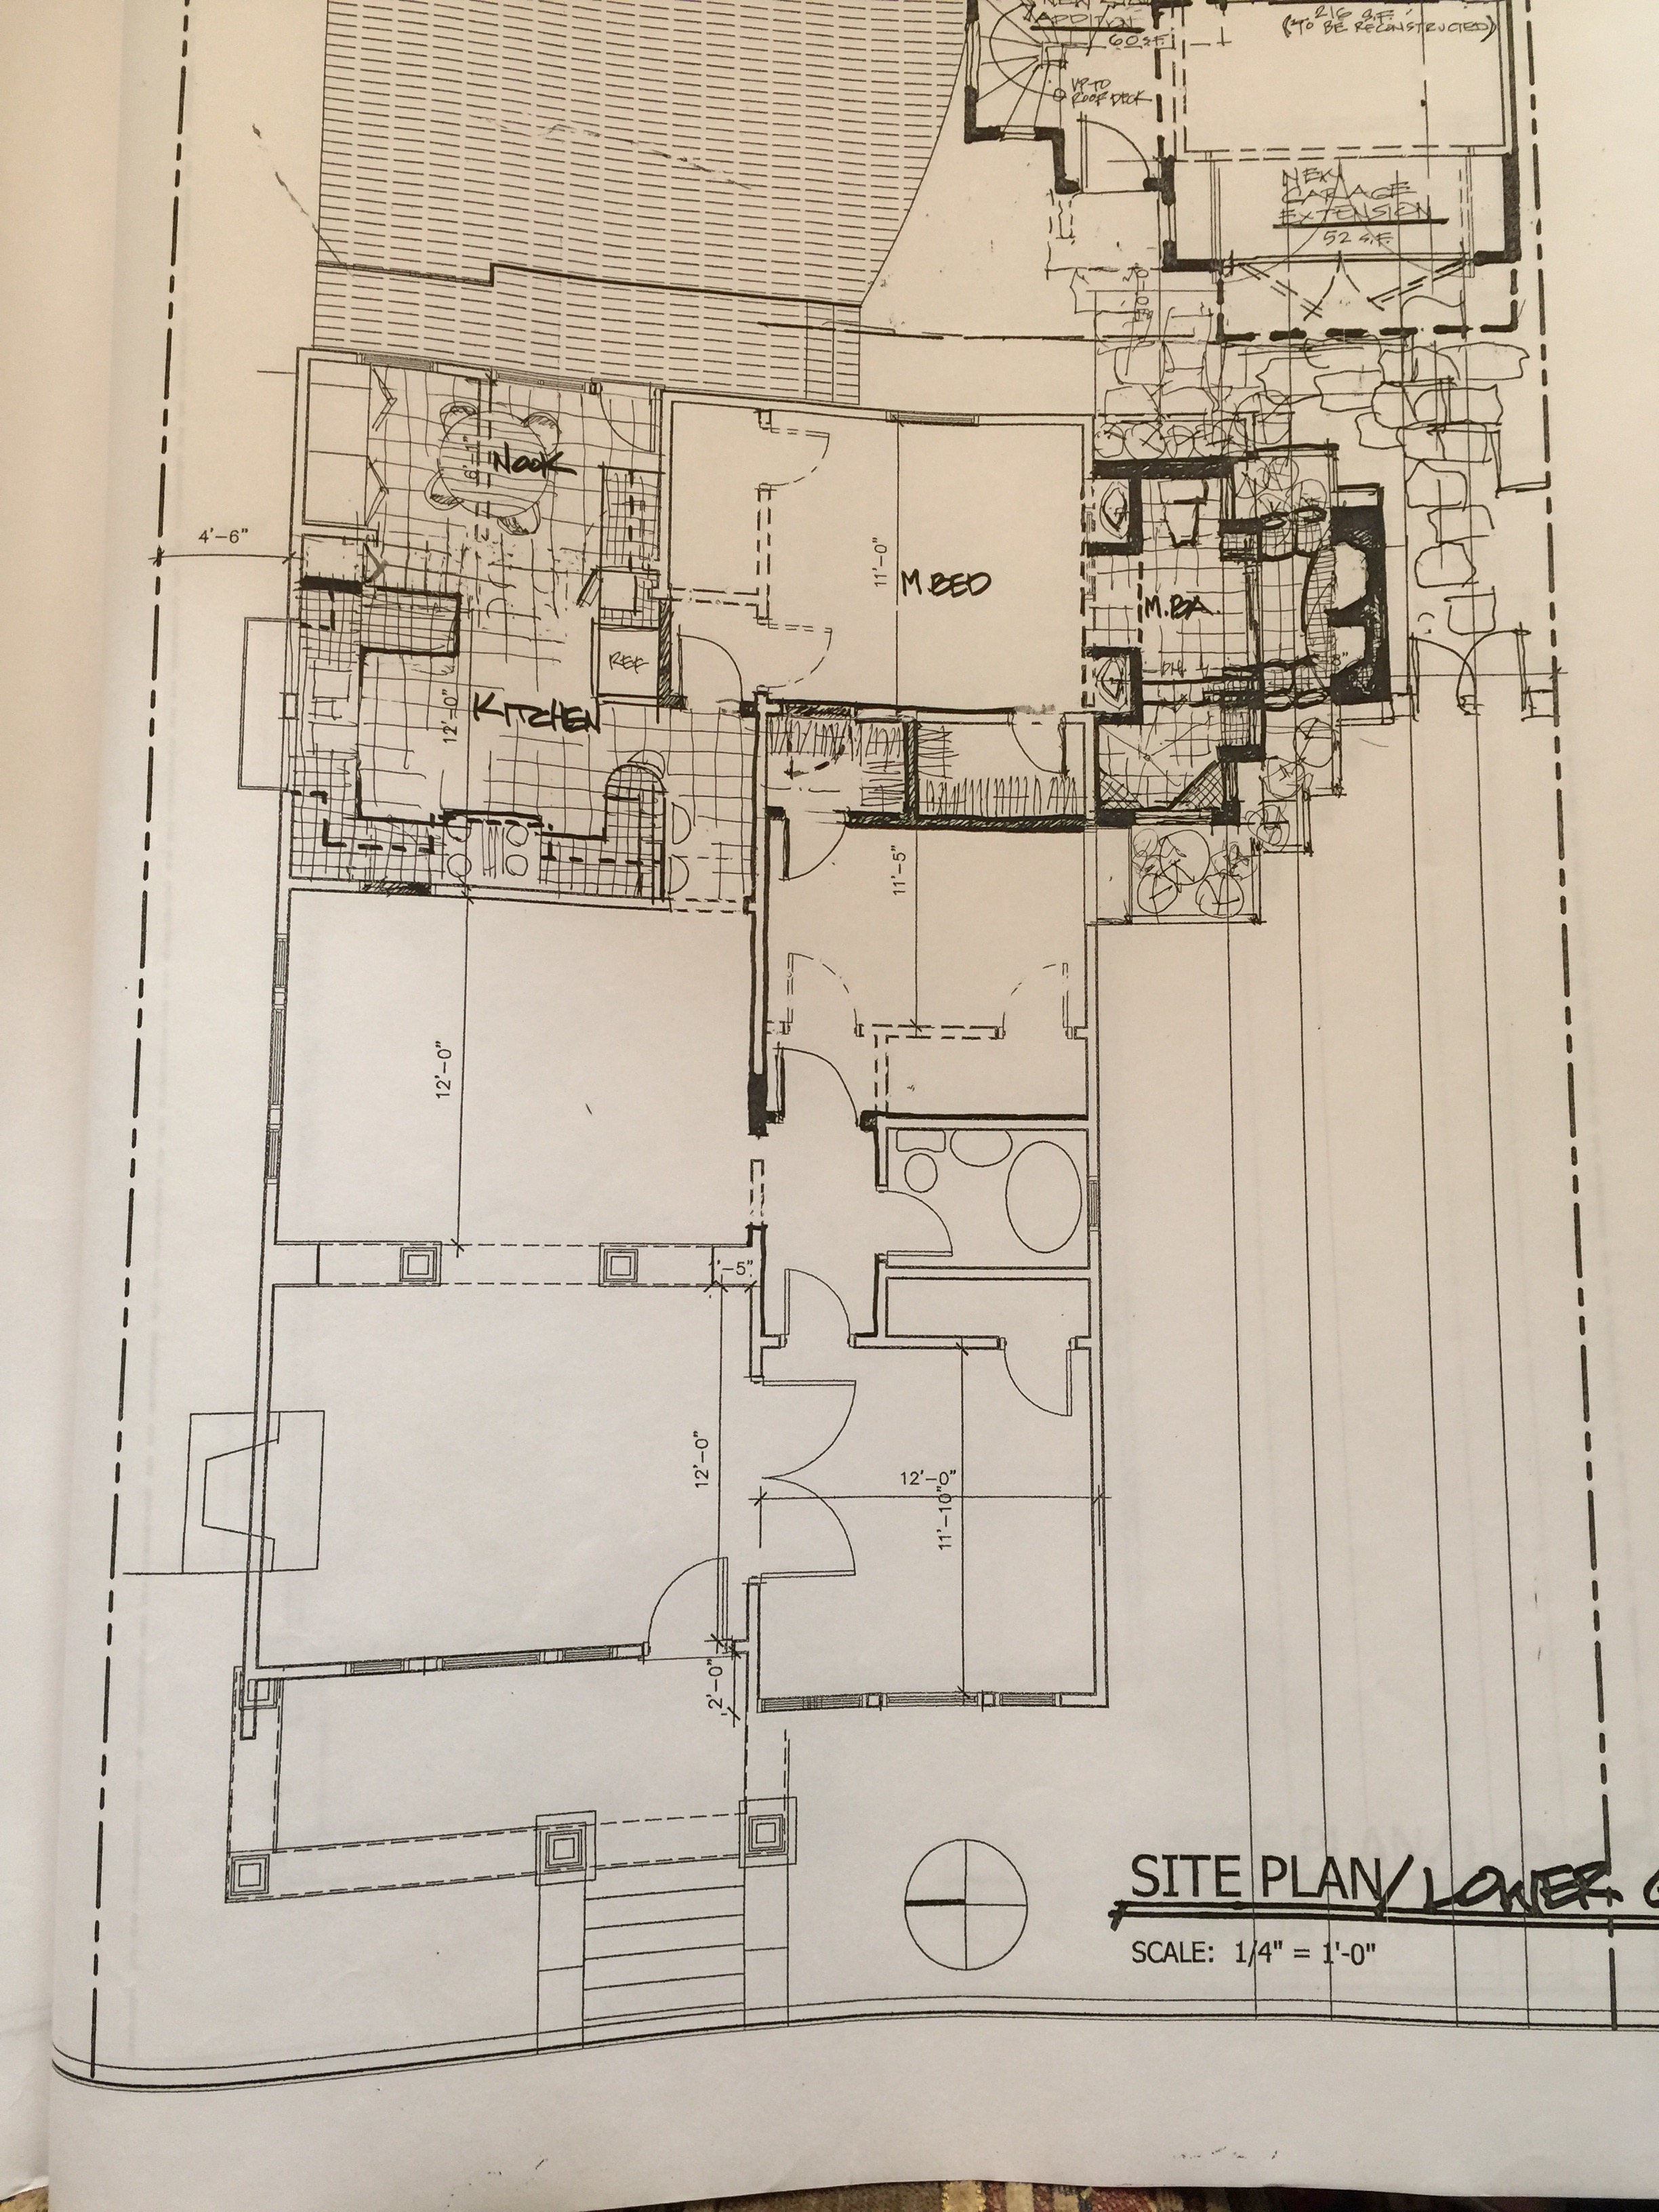
I've spent the past three years trying to decide on a new layout for the back of our house. We've come up with lots of ideas, but there is ultimately always a compromise of some sort and we struggle with identifying what we want to give up on. I think we've solidified a plan, but I'm still not 100% so I want your feedback!

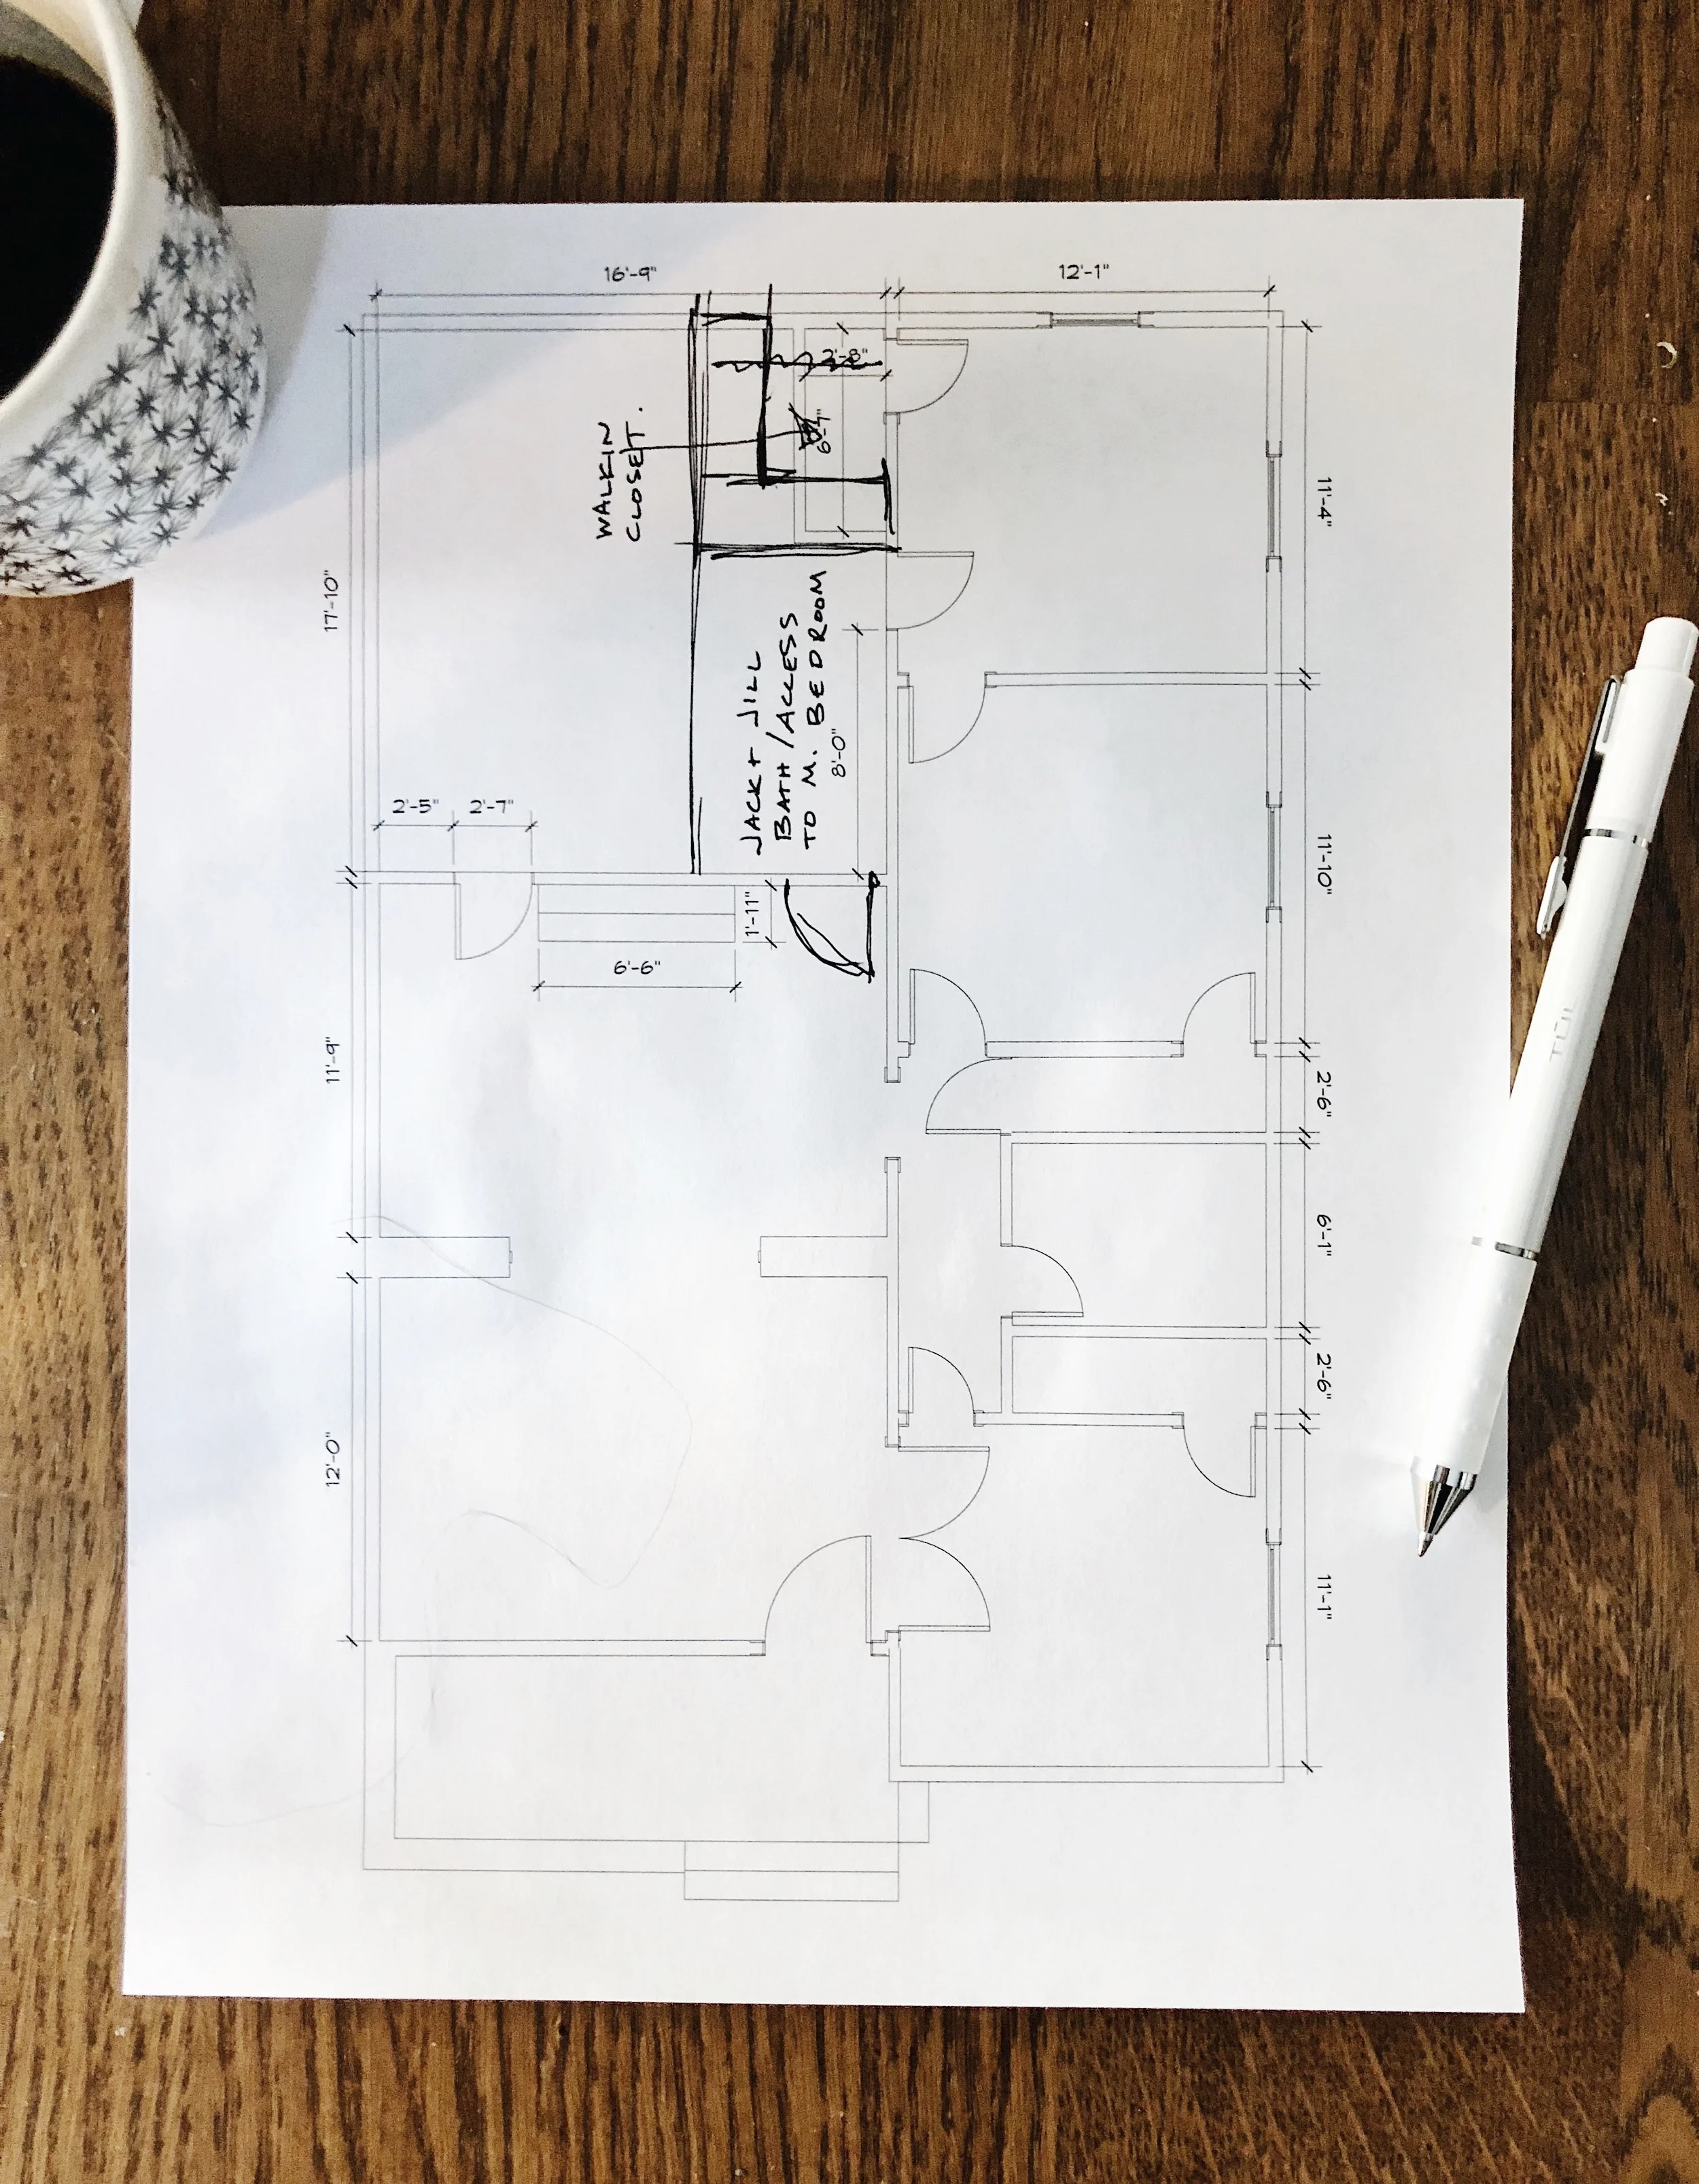
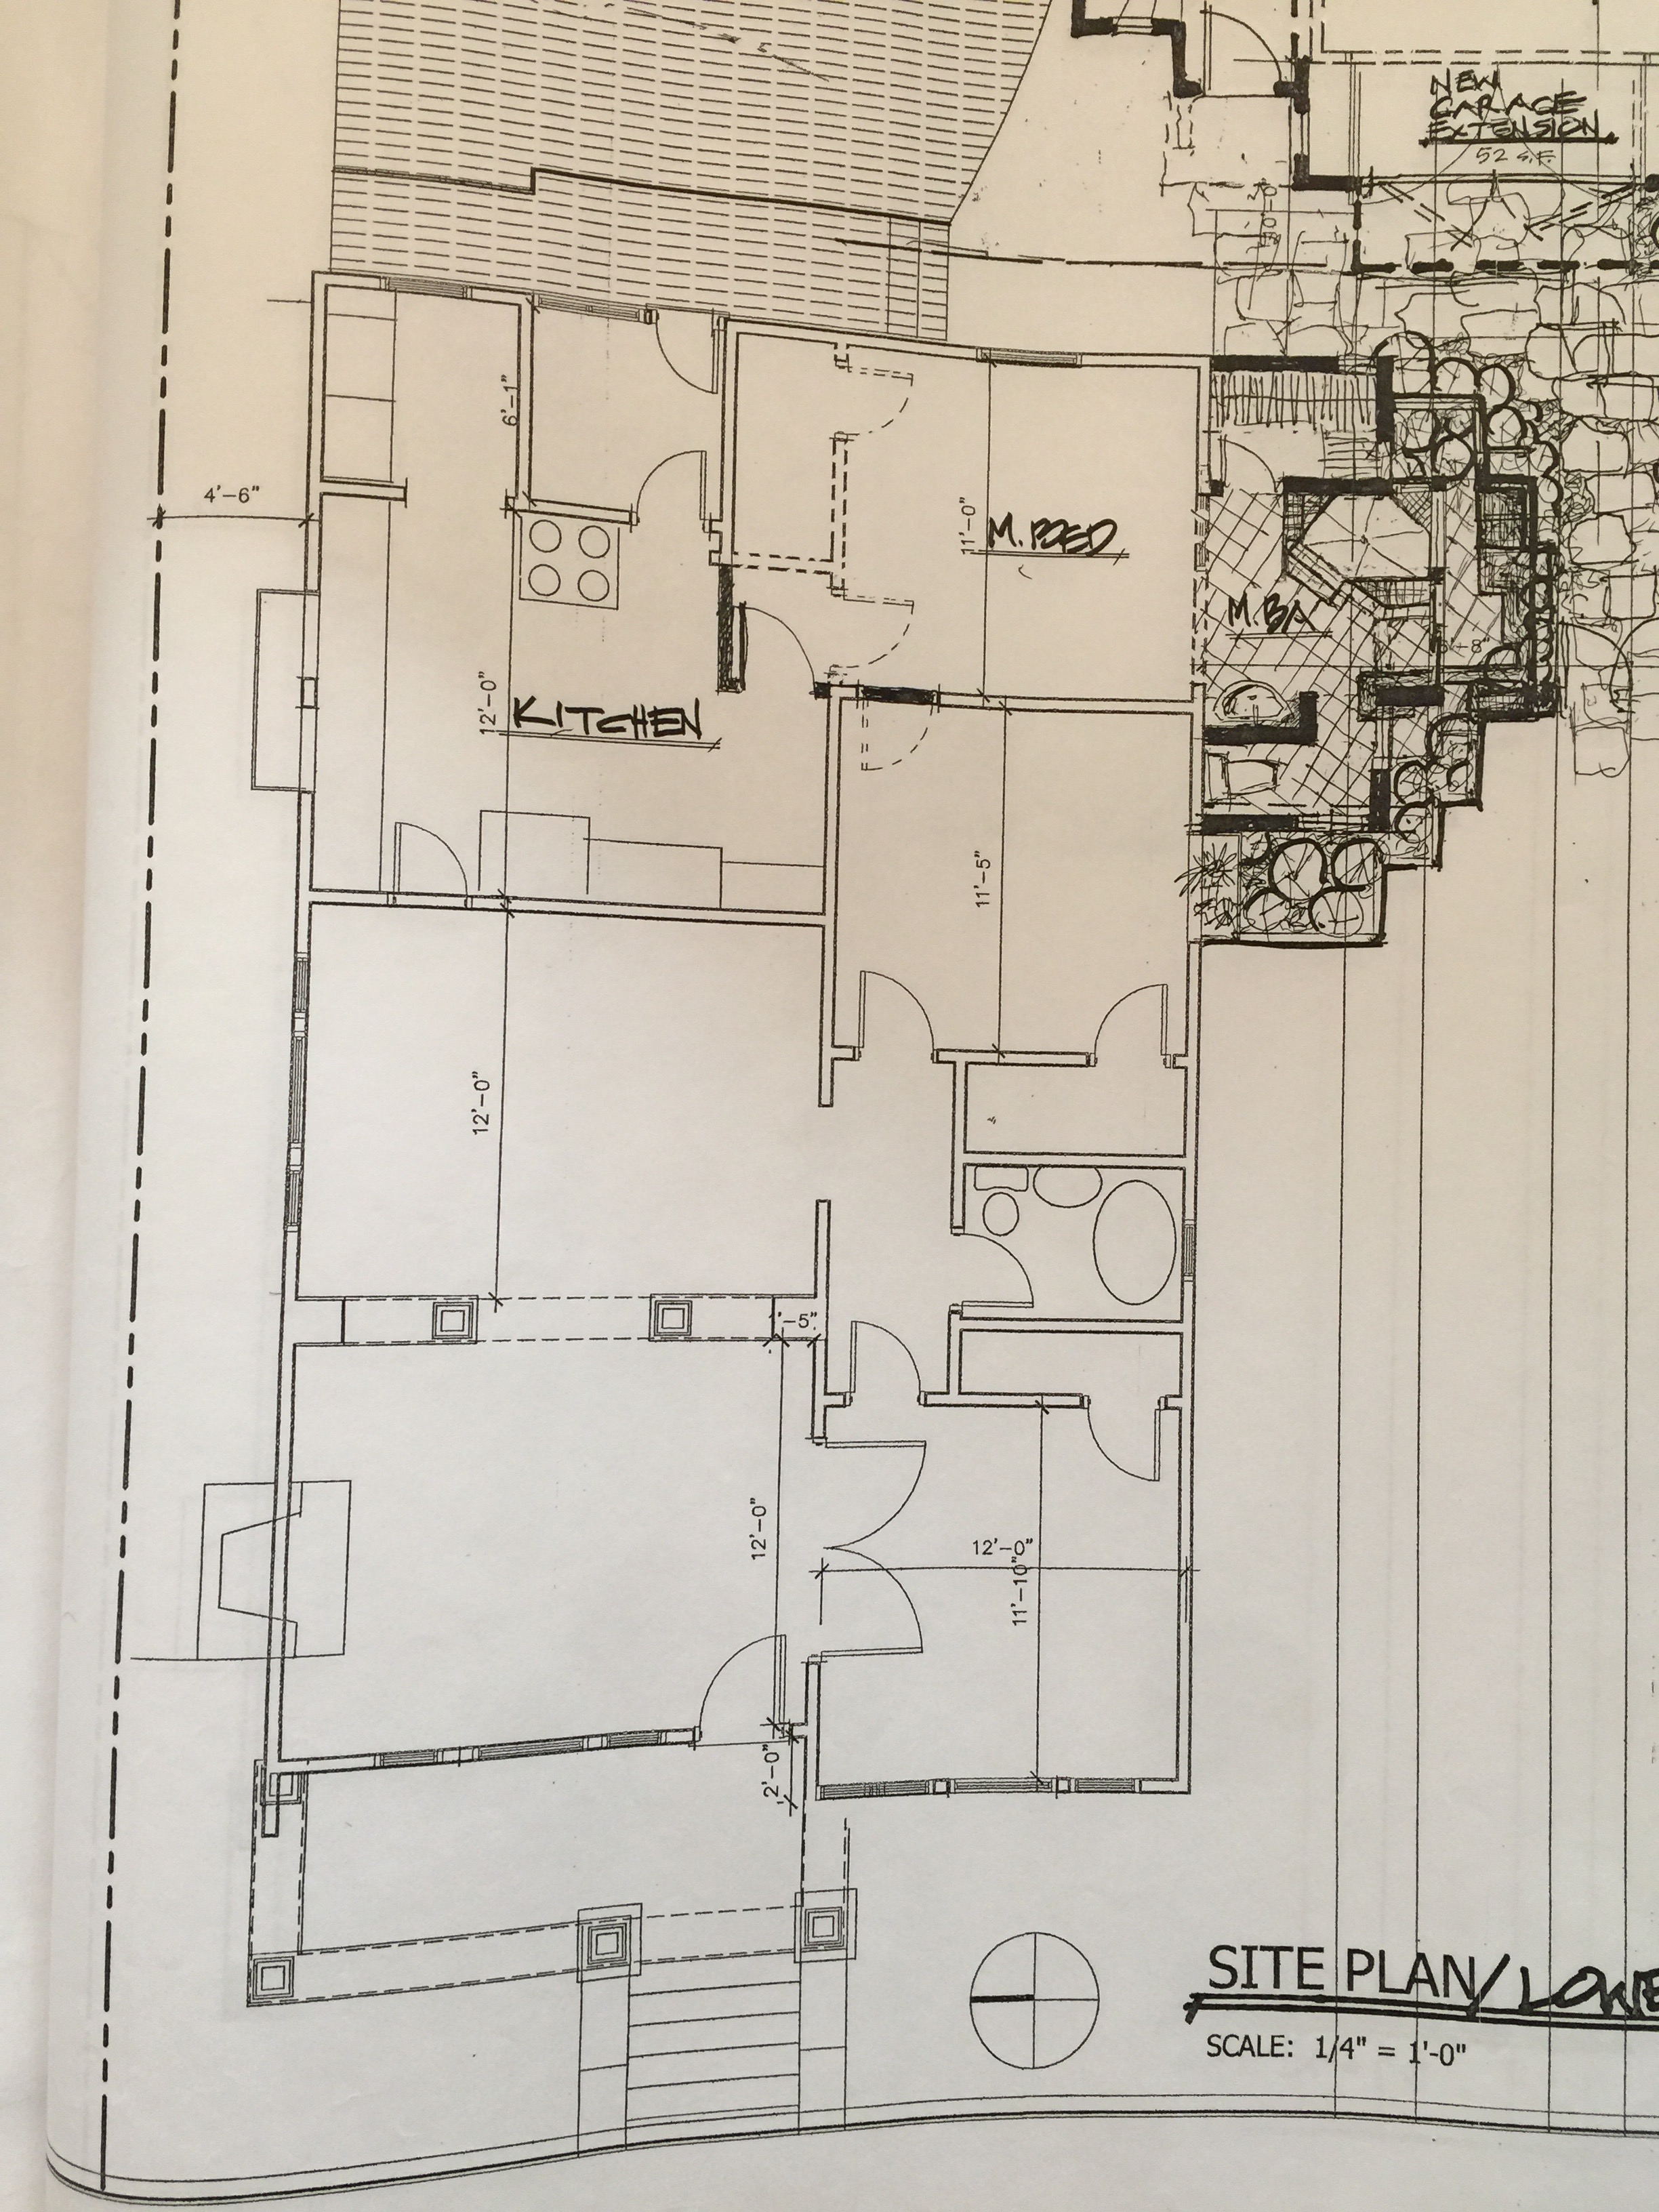
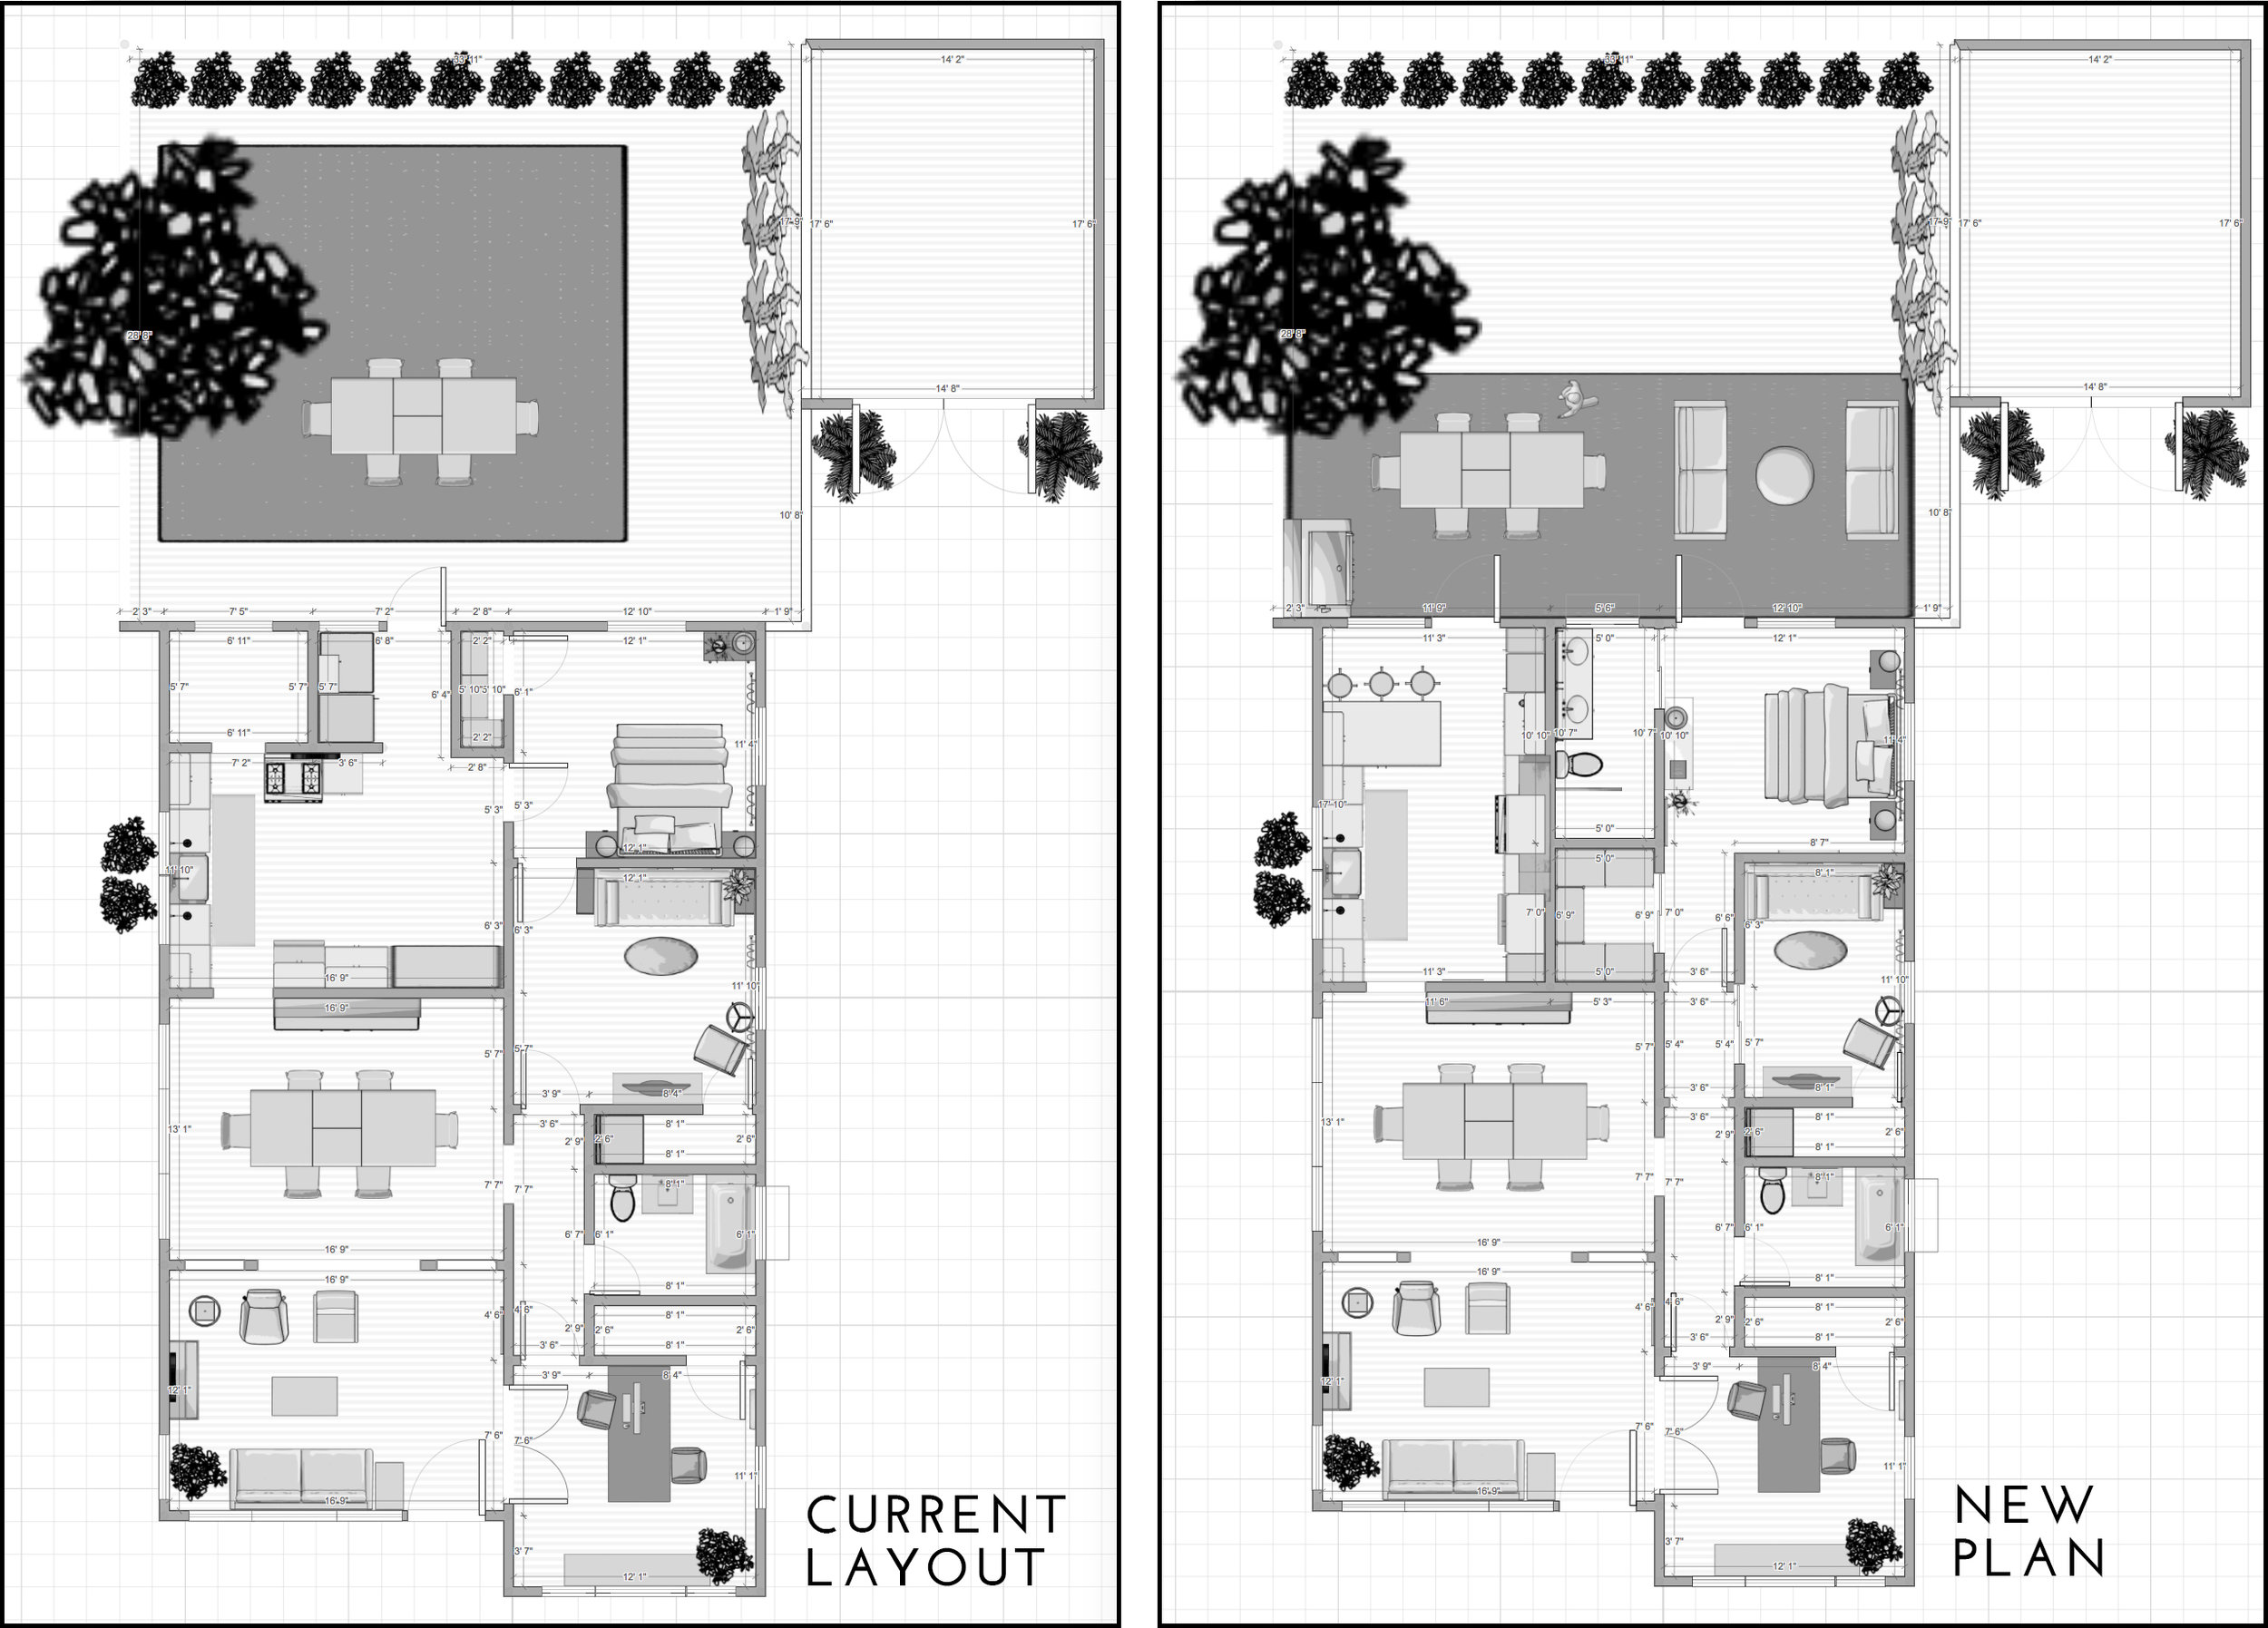
Below is the existing floor plan.

We have three bedrooms, one bathroom, and a nice flow between the spaces that makes the house feel airy yet not too open. The ceilings are nine feet tall so even though our house comes in at just under 1,400 square feet, it still feels perfectly spacious. I love this little abode.
The master bedroom is accessible only by walking through another bedroom, or the kitchen. It's fine right now when the guest bedroom is actually just a TV room, and access to the kitchen is very convenient for rolling out of bed straight to breakfast. But, I'd like to access the master without tripping over a sleeping house guest or a stove.
We'd like to have a second bathroom in the house, ideally in the form of an ensuite off the master bedroom.
The kitchen layout isn't the most functional. It's decently sized but with wasted space on half of the room and with the two mudrooms. These two little rooms are inefficiently used for storage, and the walls block all of the natural sunlight from the back of the house.
We want a more indoor/outdoor feel. Right now, the only backyard access is through a door that's tucked away in a mudroom. We'd like to see the kitchen and the master extend into the outdoor space.
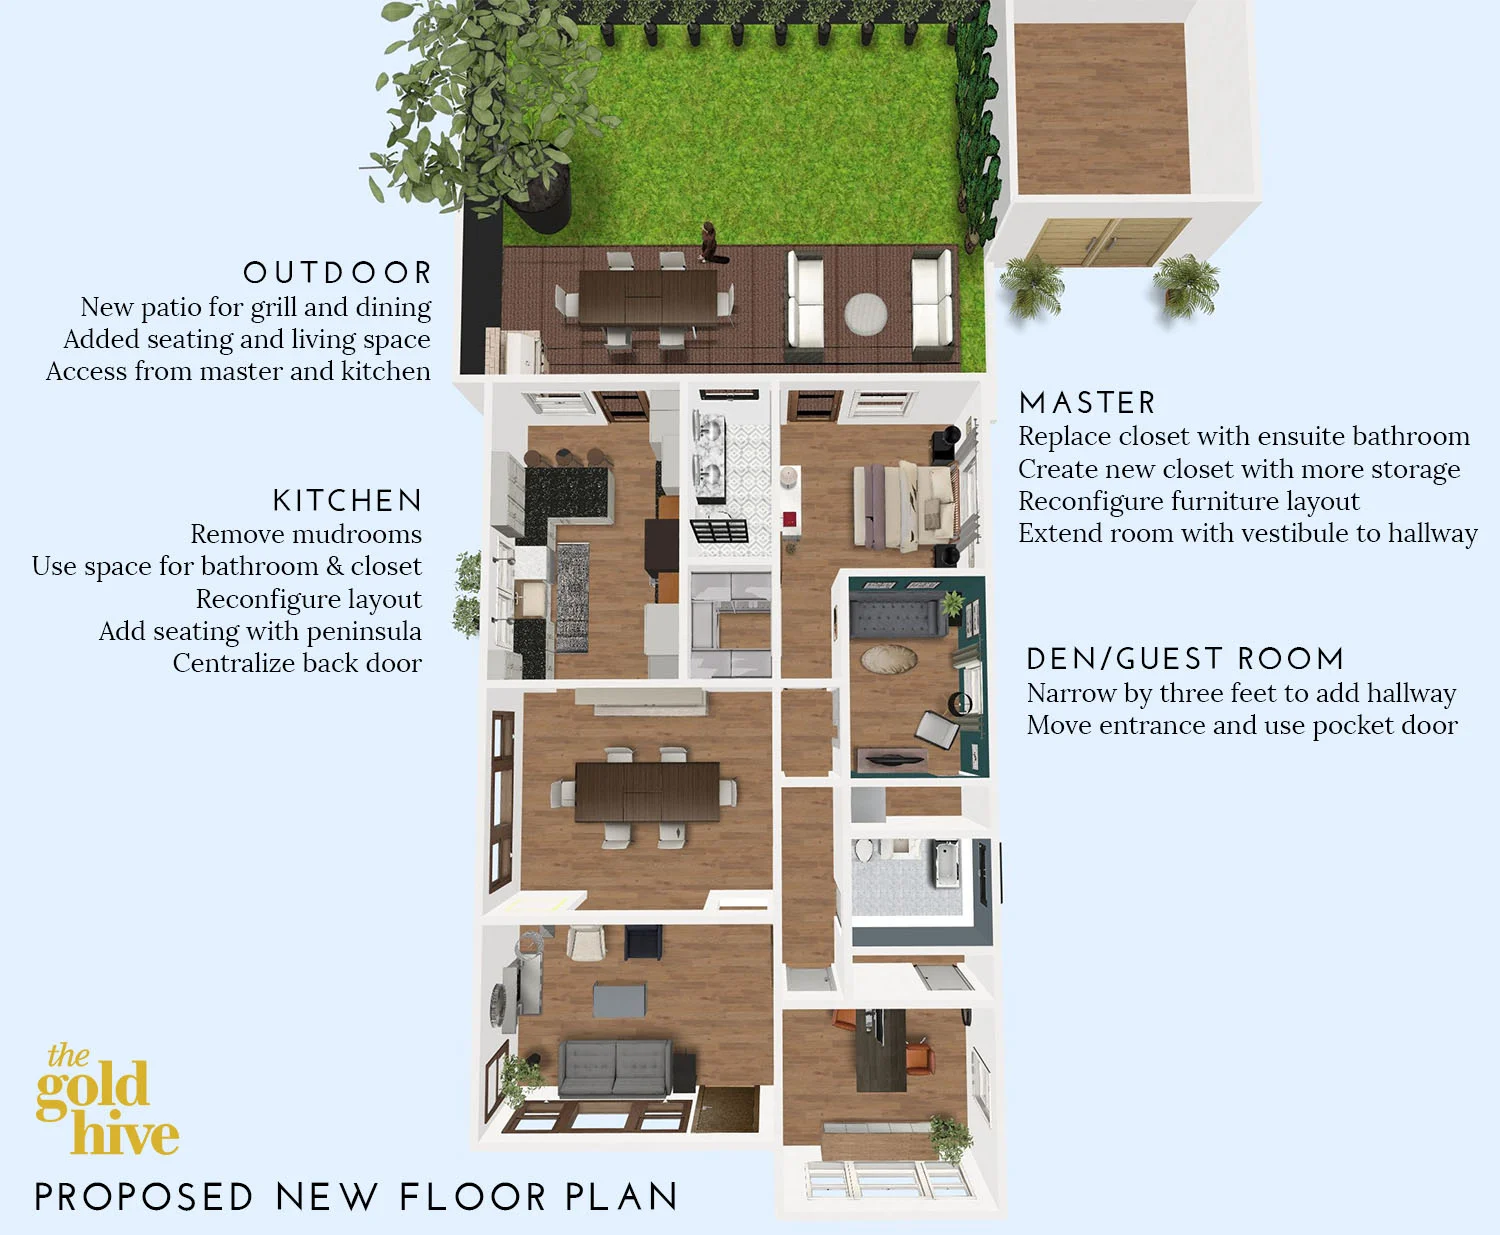
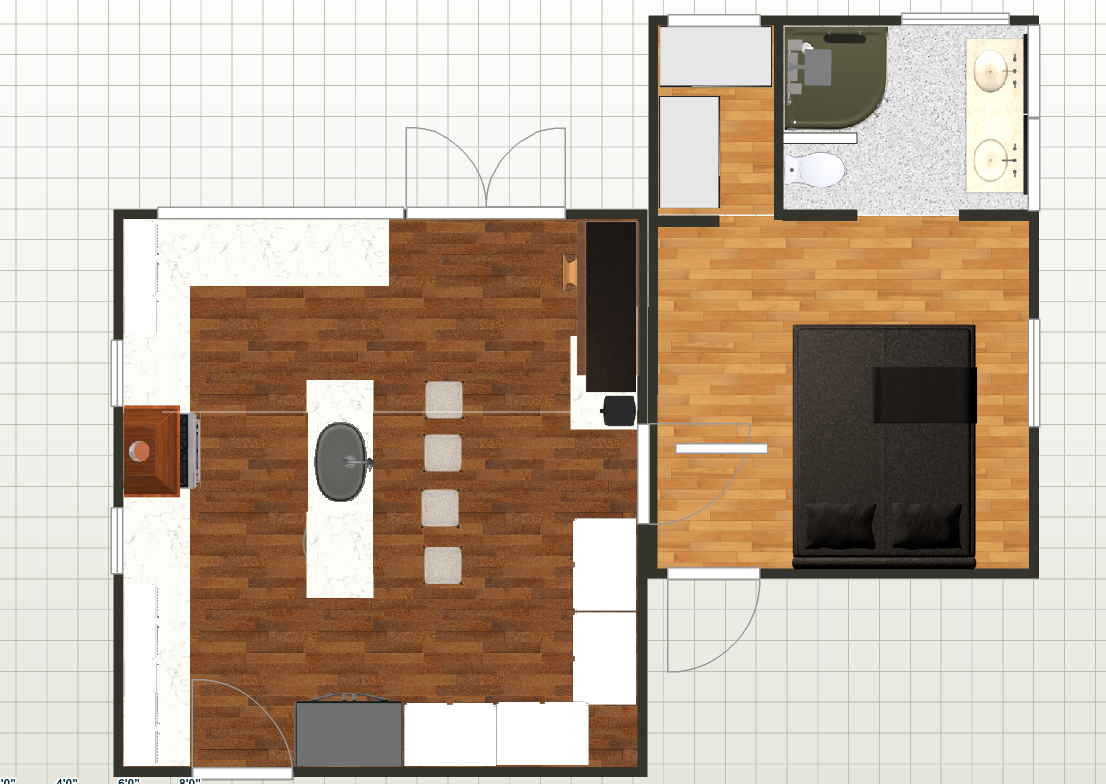
In this new layout, we'd gain a second bathroom, a bigger closet, both the kitchen and the master the would open up to the backyard, and we'd access the master through a hallway instead of another room. YAY! The only compromise is that the guest bedroom would get significantly smaller. To remedy the small space, I'll add transom windows over the guest room and hallway doors so natural light can flow between all the spaces. We will also install pocket doors to gain as much floor space as possible.
Here are each of the floor plans side-by-side so you can see the changes.
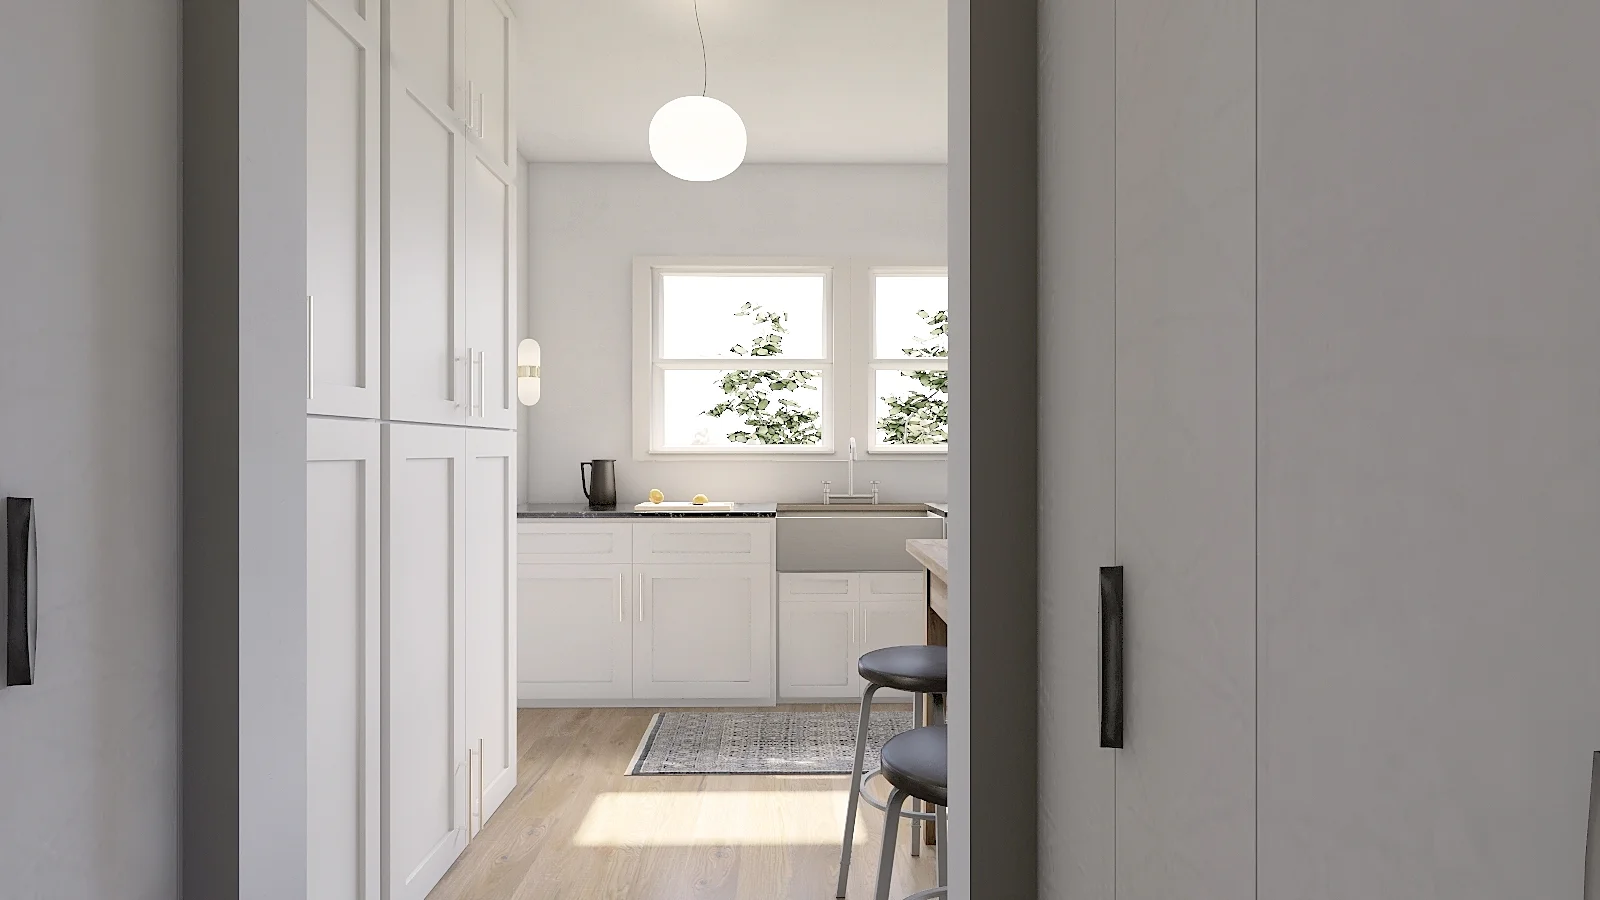
Since it's hard to visualize a space that you've never set foot in, I put together a video walkthrough using the renderings I created to design the floorplan. Take a look at the 2-minute video below for a better idea of the house will flow.
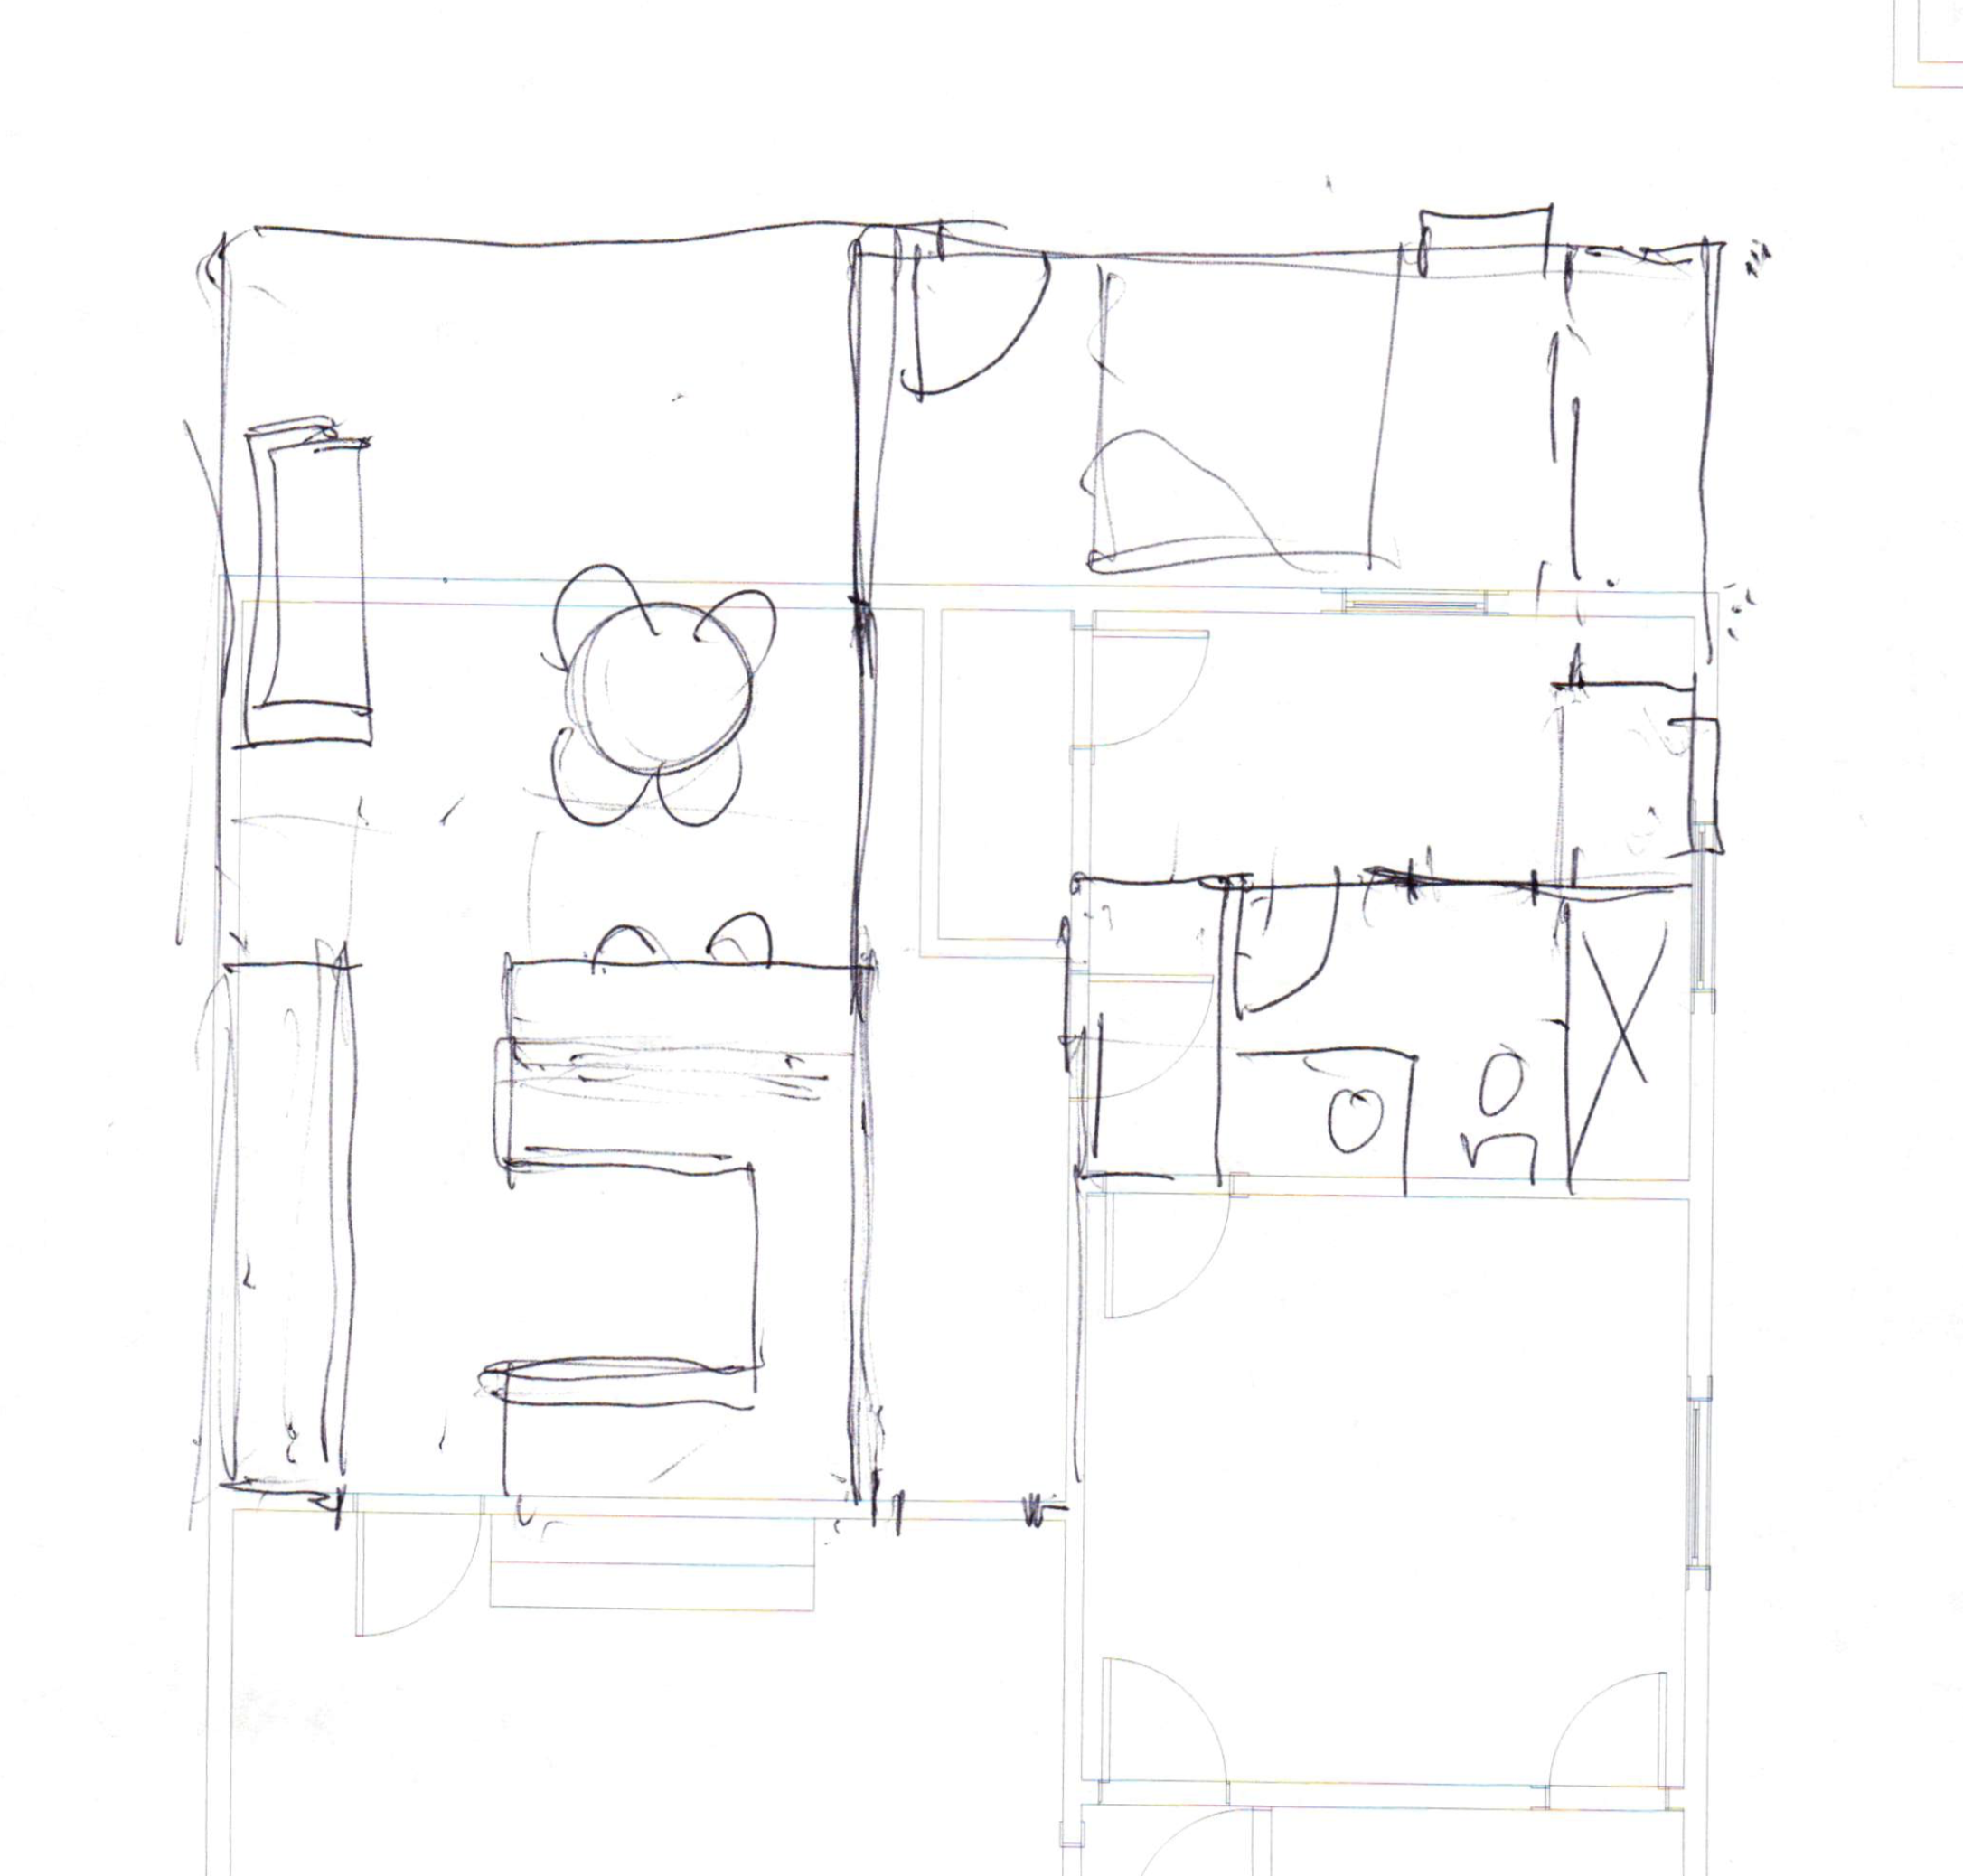
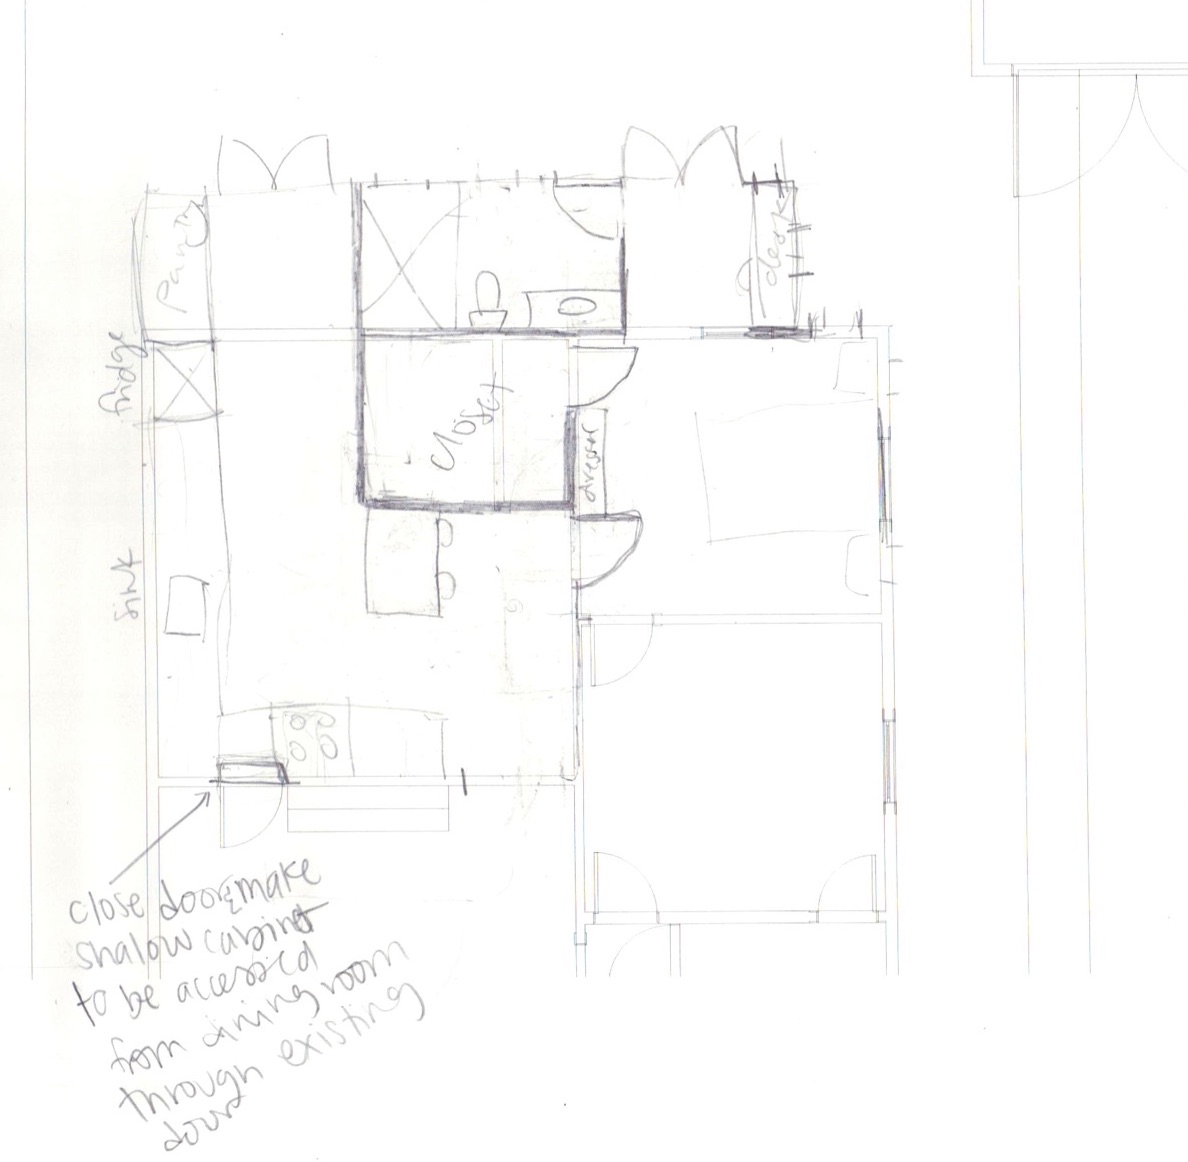
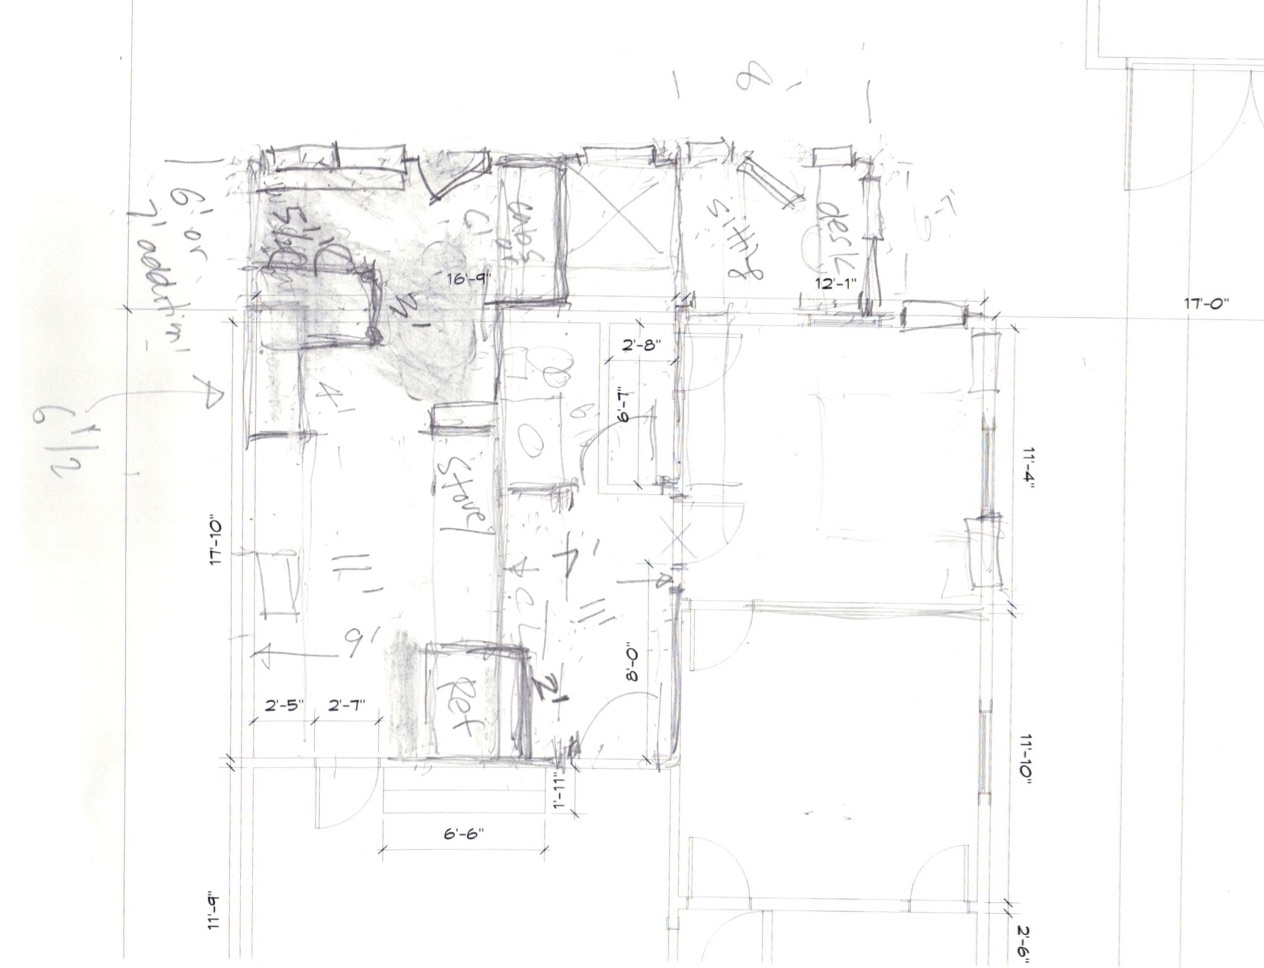
Reducing the size of a bedroom isn't ideal, I know. But the other options I played with had much bigger compromises. We toyed with adding on into the backyard, making the master accessible from the dining room, by jogging the hallway over to not take away bedroom space, and so many more.
If you're into floor plan configurations, cycle through the ones below. The differing rendering styles are because some are mine, some are from the previous owner's plans to add on, and the others were sketched by Ross' uncle who we cornered at a family reunion to brainstorm a bunch of ideas together. He's a prison architect - yes, prisons - but in a nice rehabilitative way. I have probably 30 other drawings in a notebook, but looking at them is too exhausting. If you're a layout nerd, let me know and maybe I'll upload the rest of them.
So, tell me! Any thoughts? comments? questions? concerns? I genuinely am interested in what you have to say! I'm not an expert, and I haven't lived in a variety of houses to know how different designs function but I'm taking inspiration from house tours, blogs, online images, books, and asking all the pros I can. Please weigh in - whether you're an expert or not! If you want to sketch up an idea to send my way, here's a pdf of the current floor plan.
We're taking this project on in phases, but phase one starts soon, so speak now or forever hold your peace! Note also that the kitchen isn't fully fleshed out. The renderings are not the final layout and most certainly not the finishes you can expect in the kitchen remodel - so stay tuned for that.
Thanks in advance for your feedback!
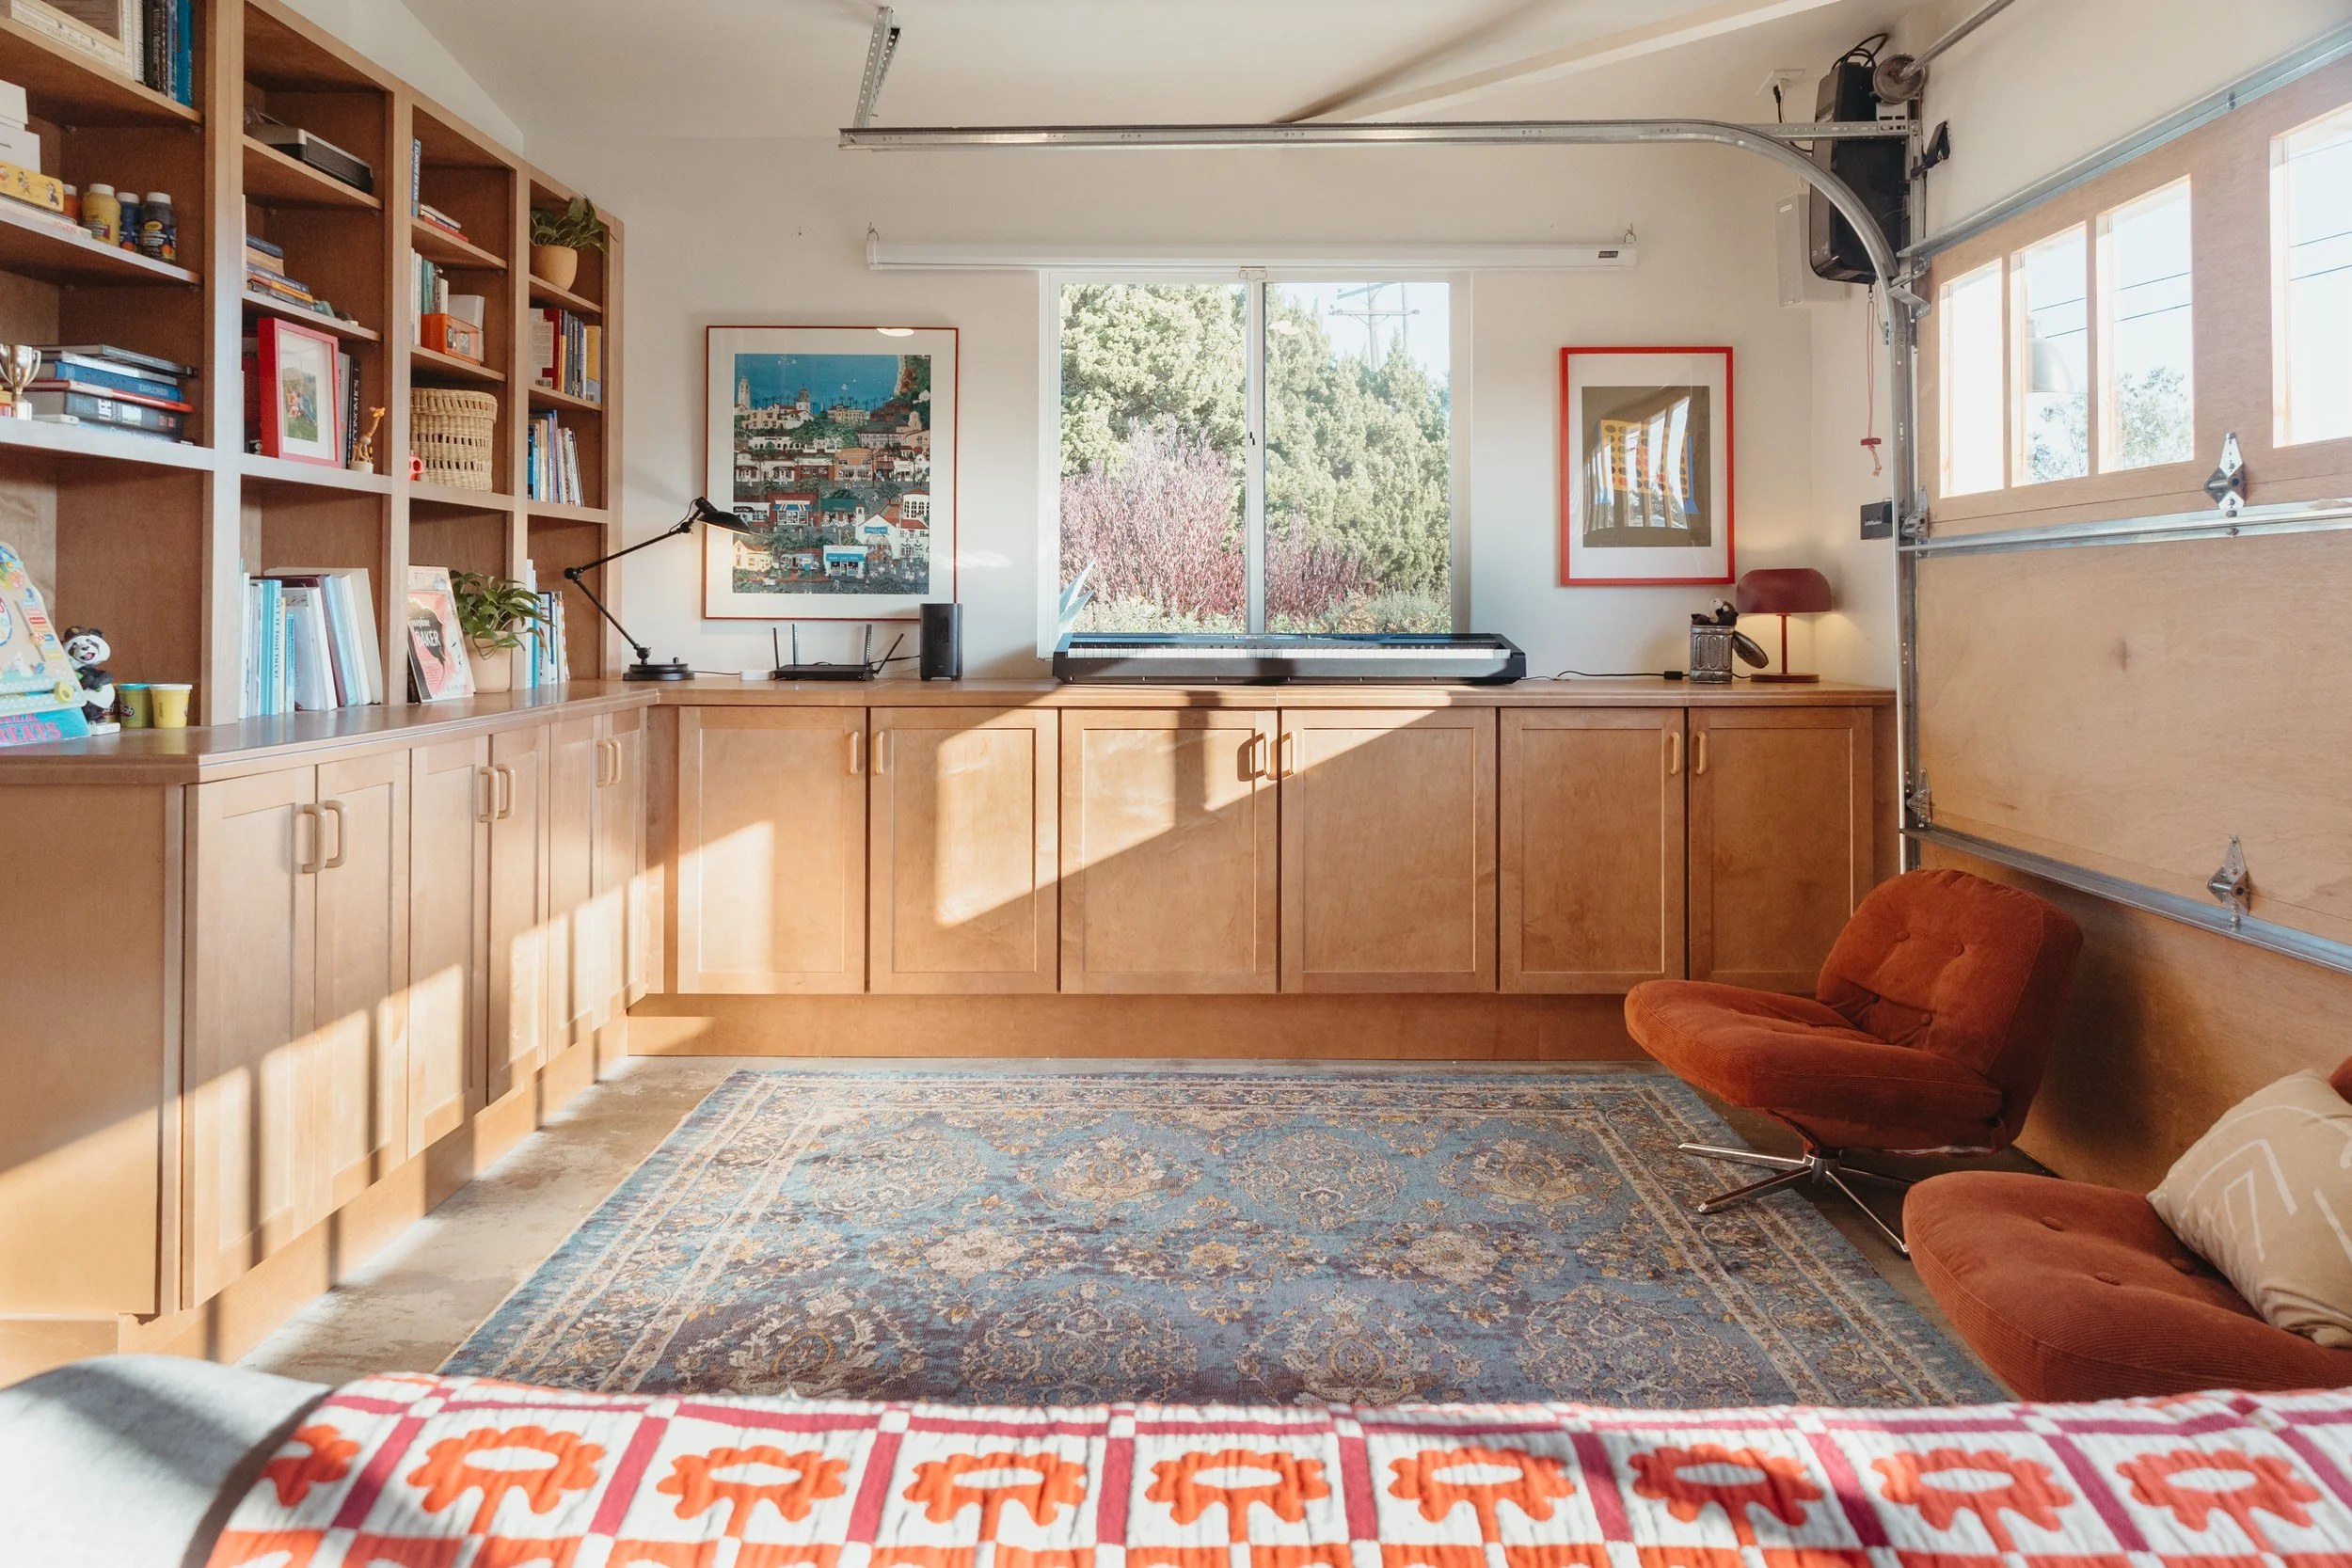
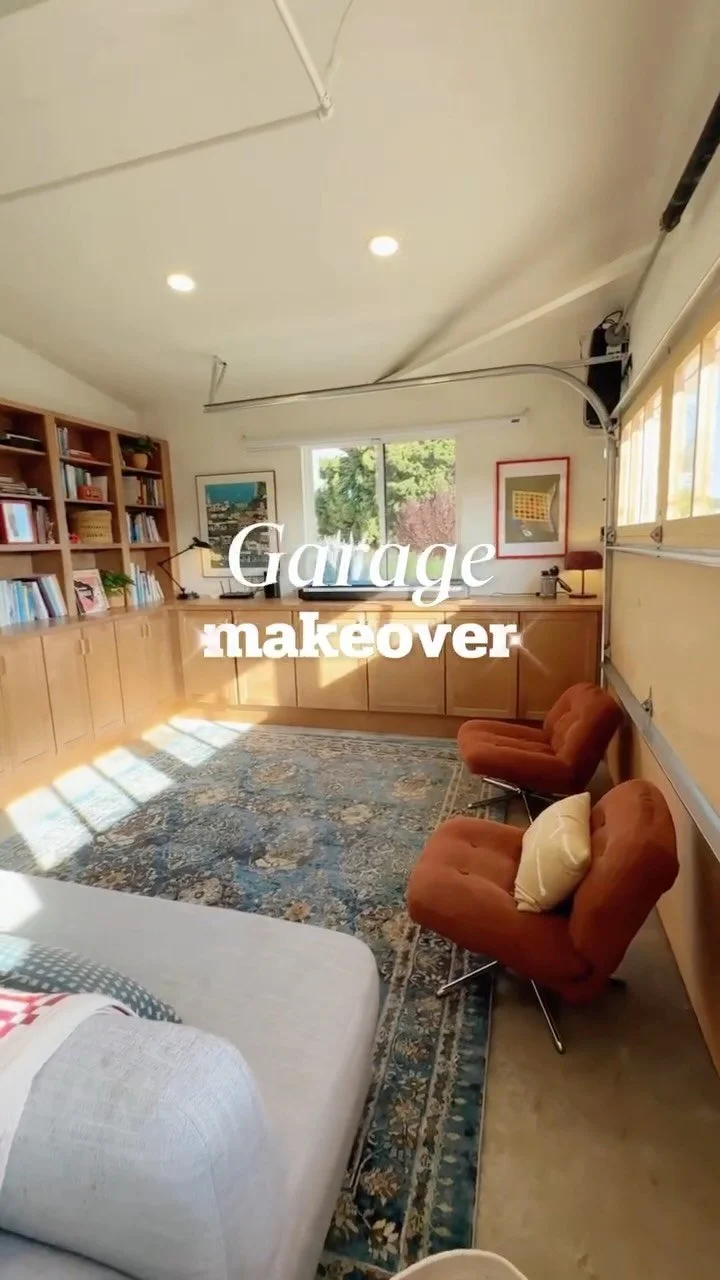
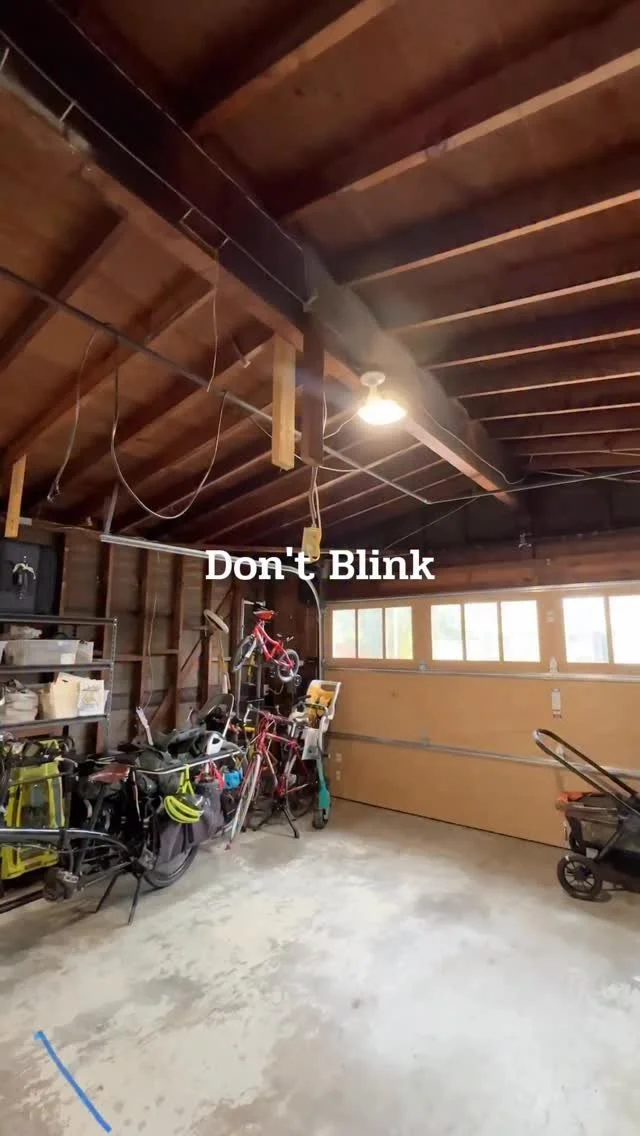
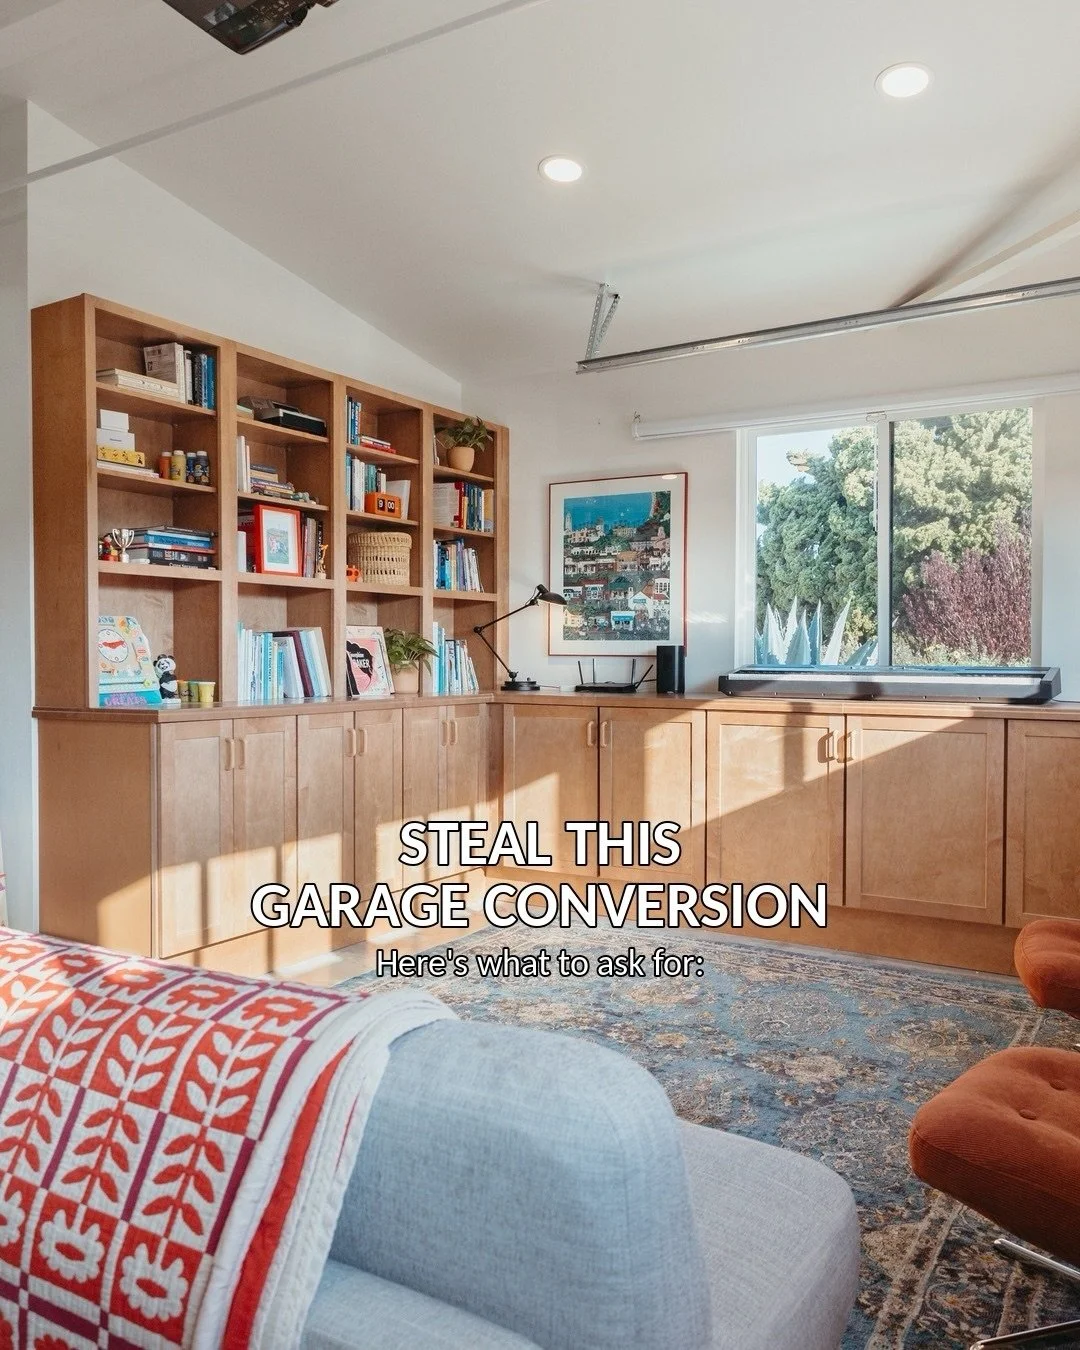
My friend Martha had a vision for this garage conversion: to turn her unfinished catch-all garage into a beautiful, hard-working space that could function as a living room, media room, playroom, laundry room, home office, and storage zone. I’ll be honest, I wasn’t entirely convinced all of that could fit. But somehow(?!), it absolutely does and it turned out even better than I imagined.
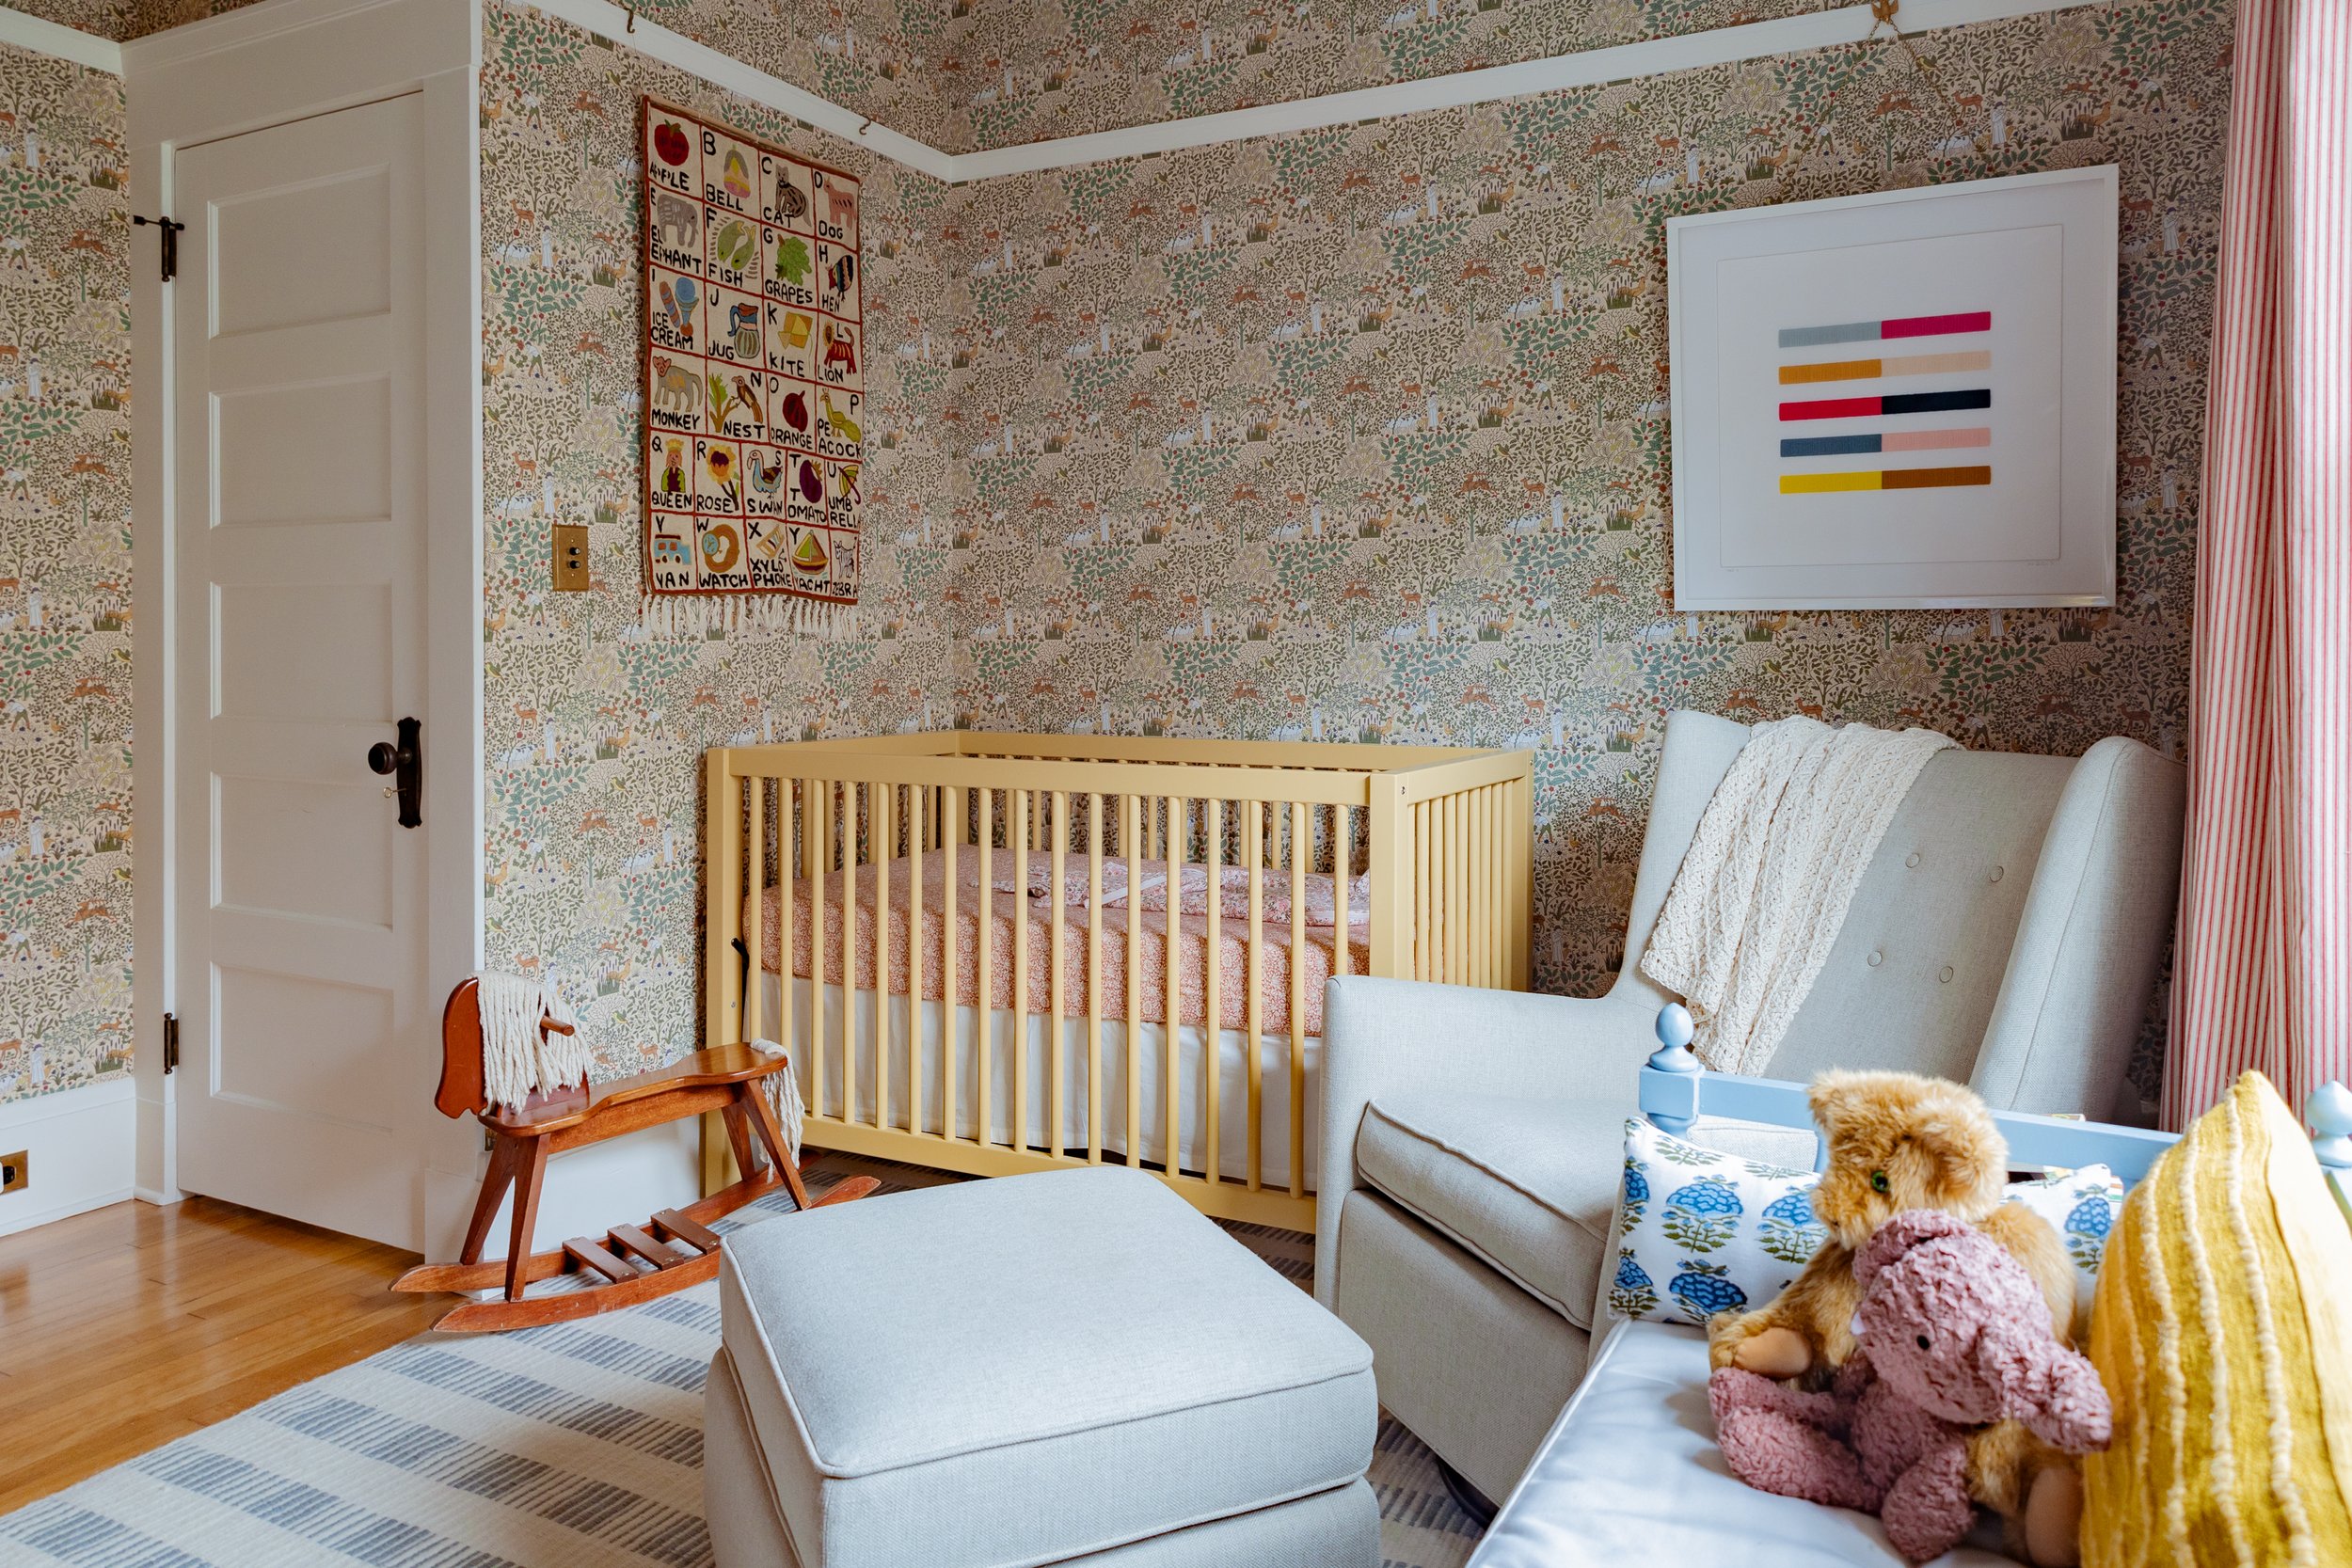
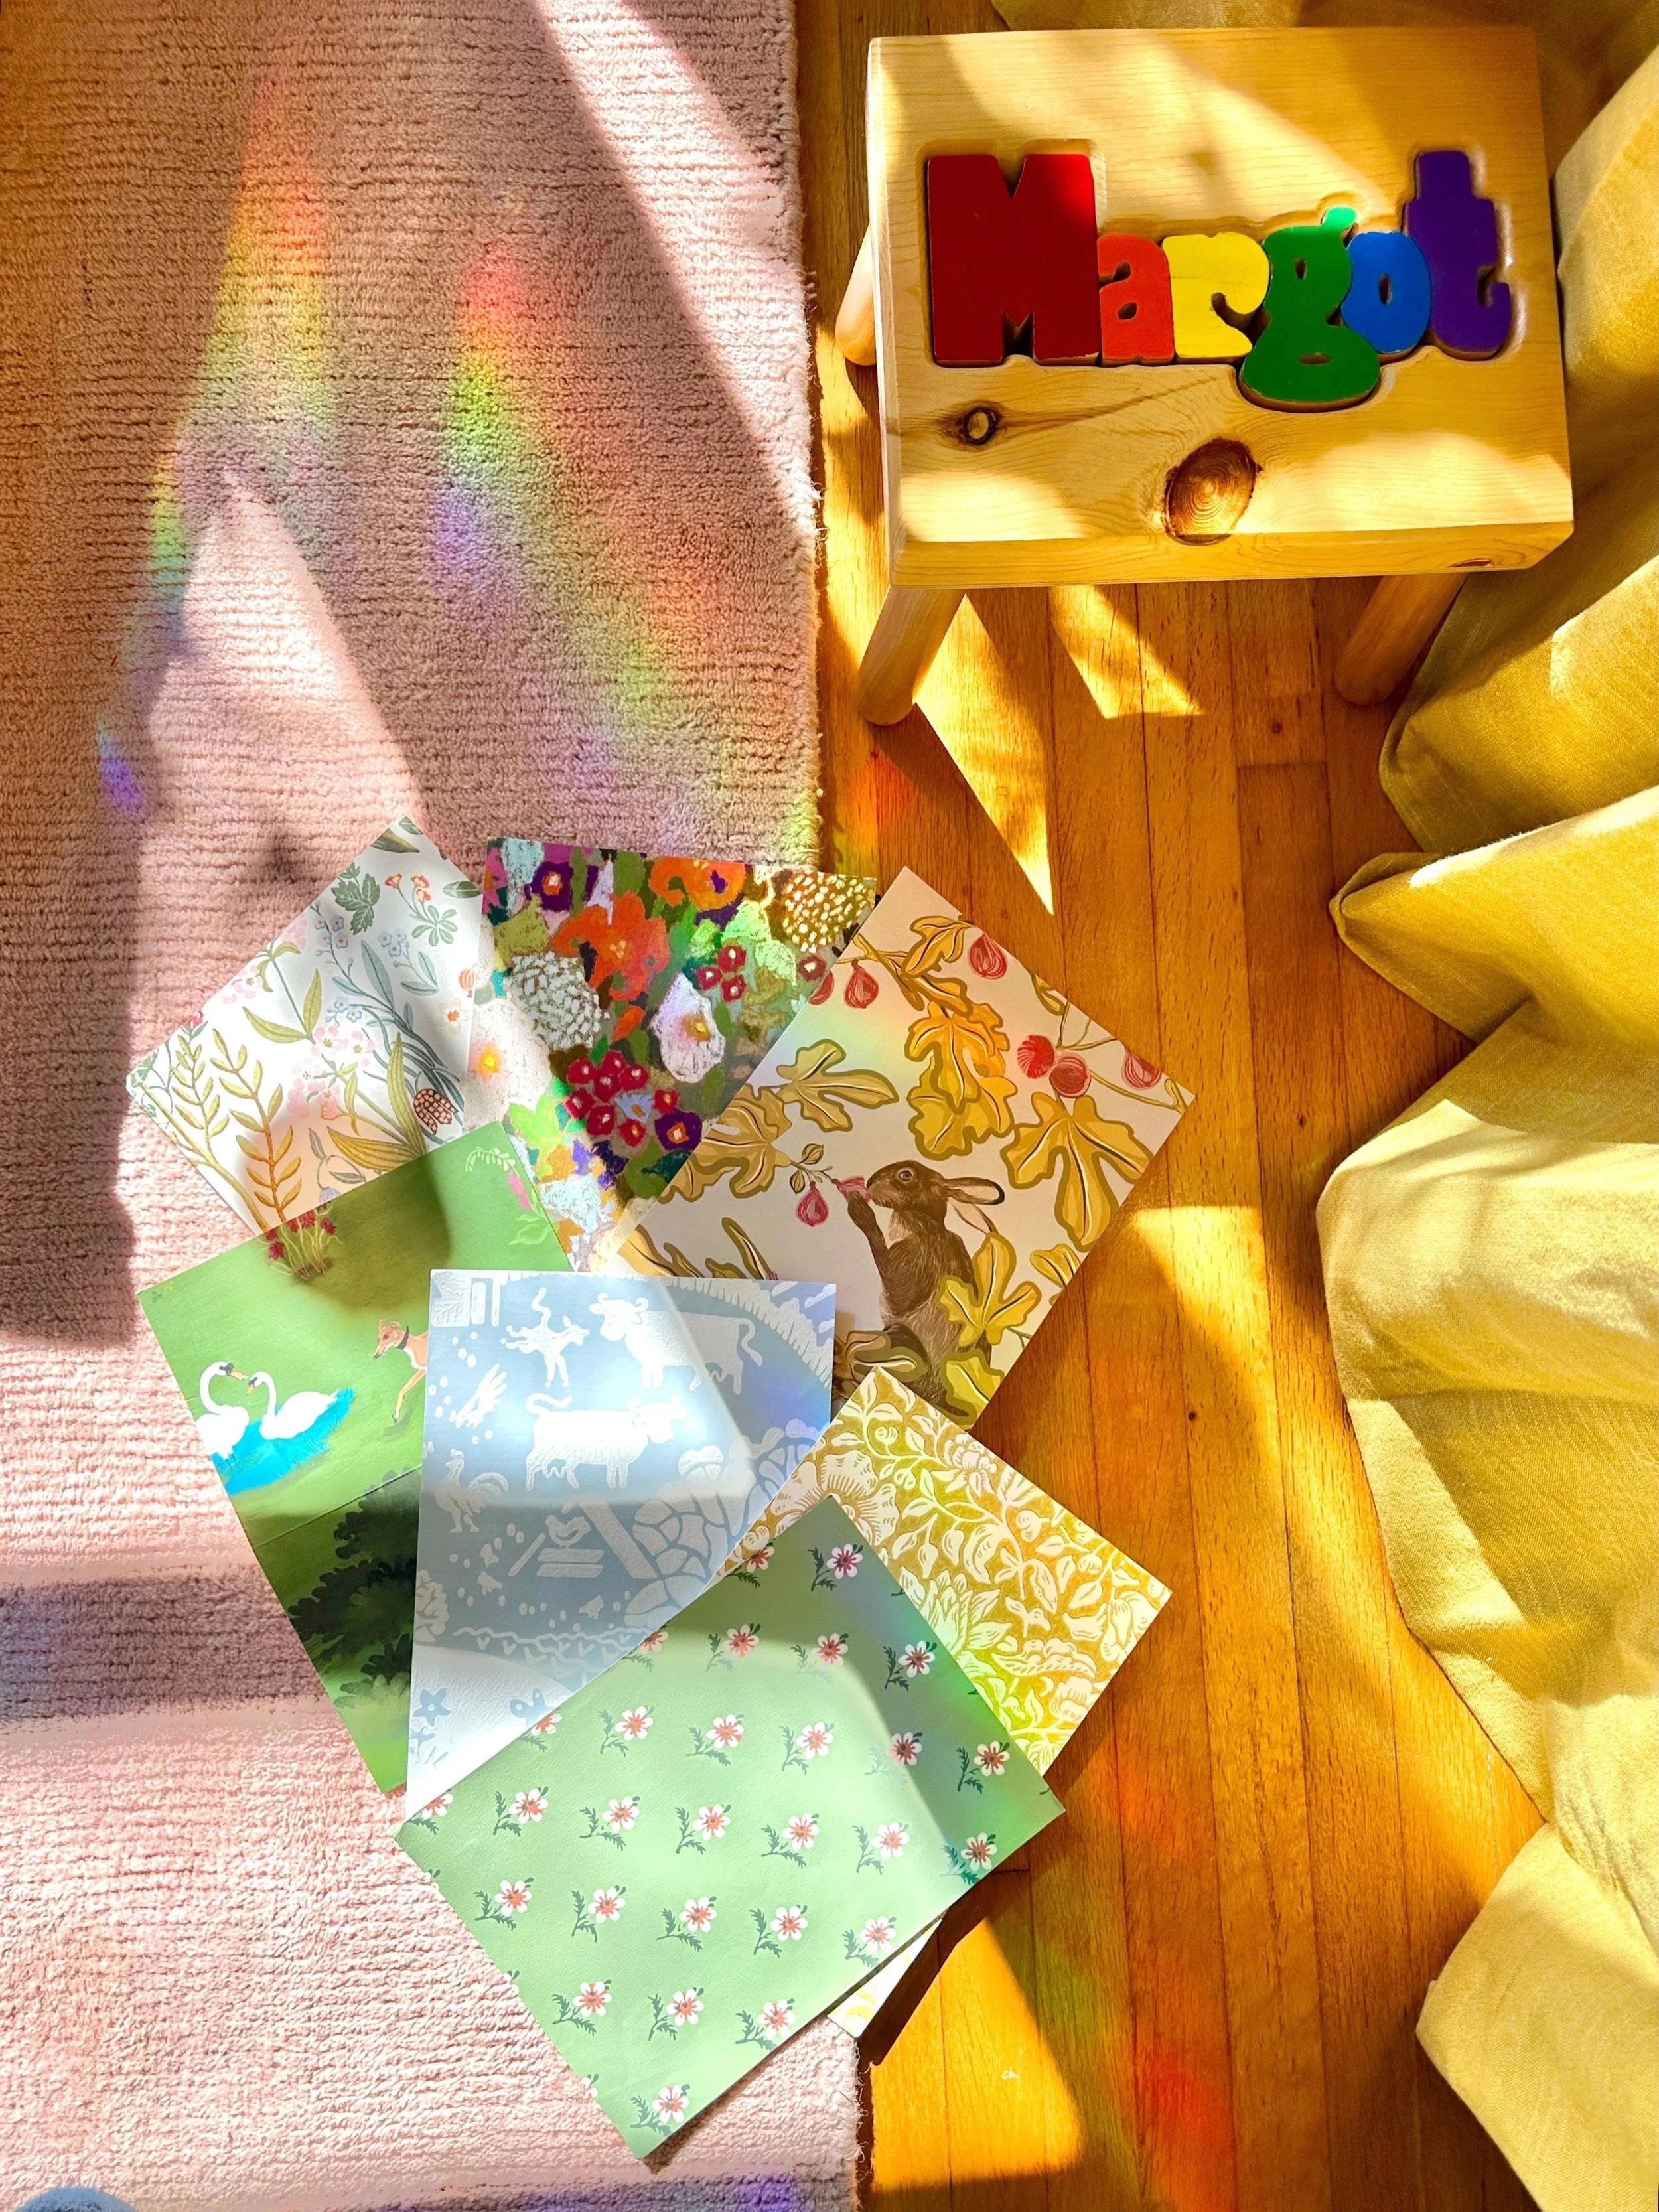
Margot is getting an upgraded room to make space for baby sister in the nursery.
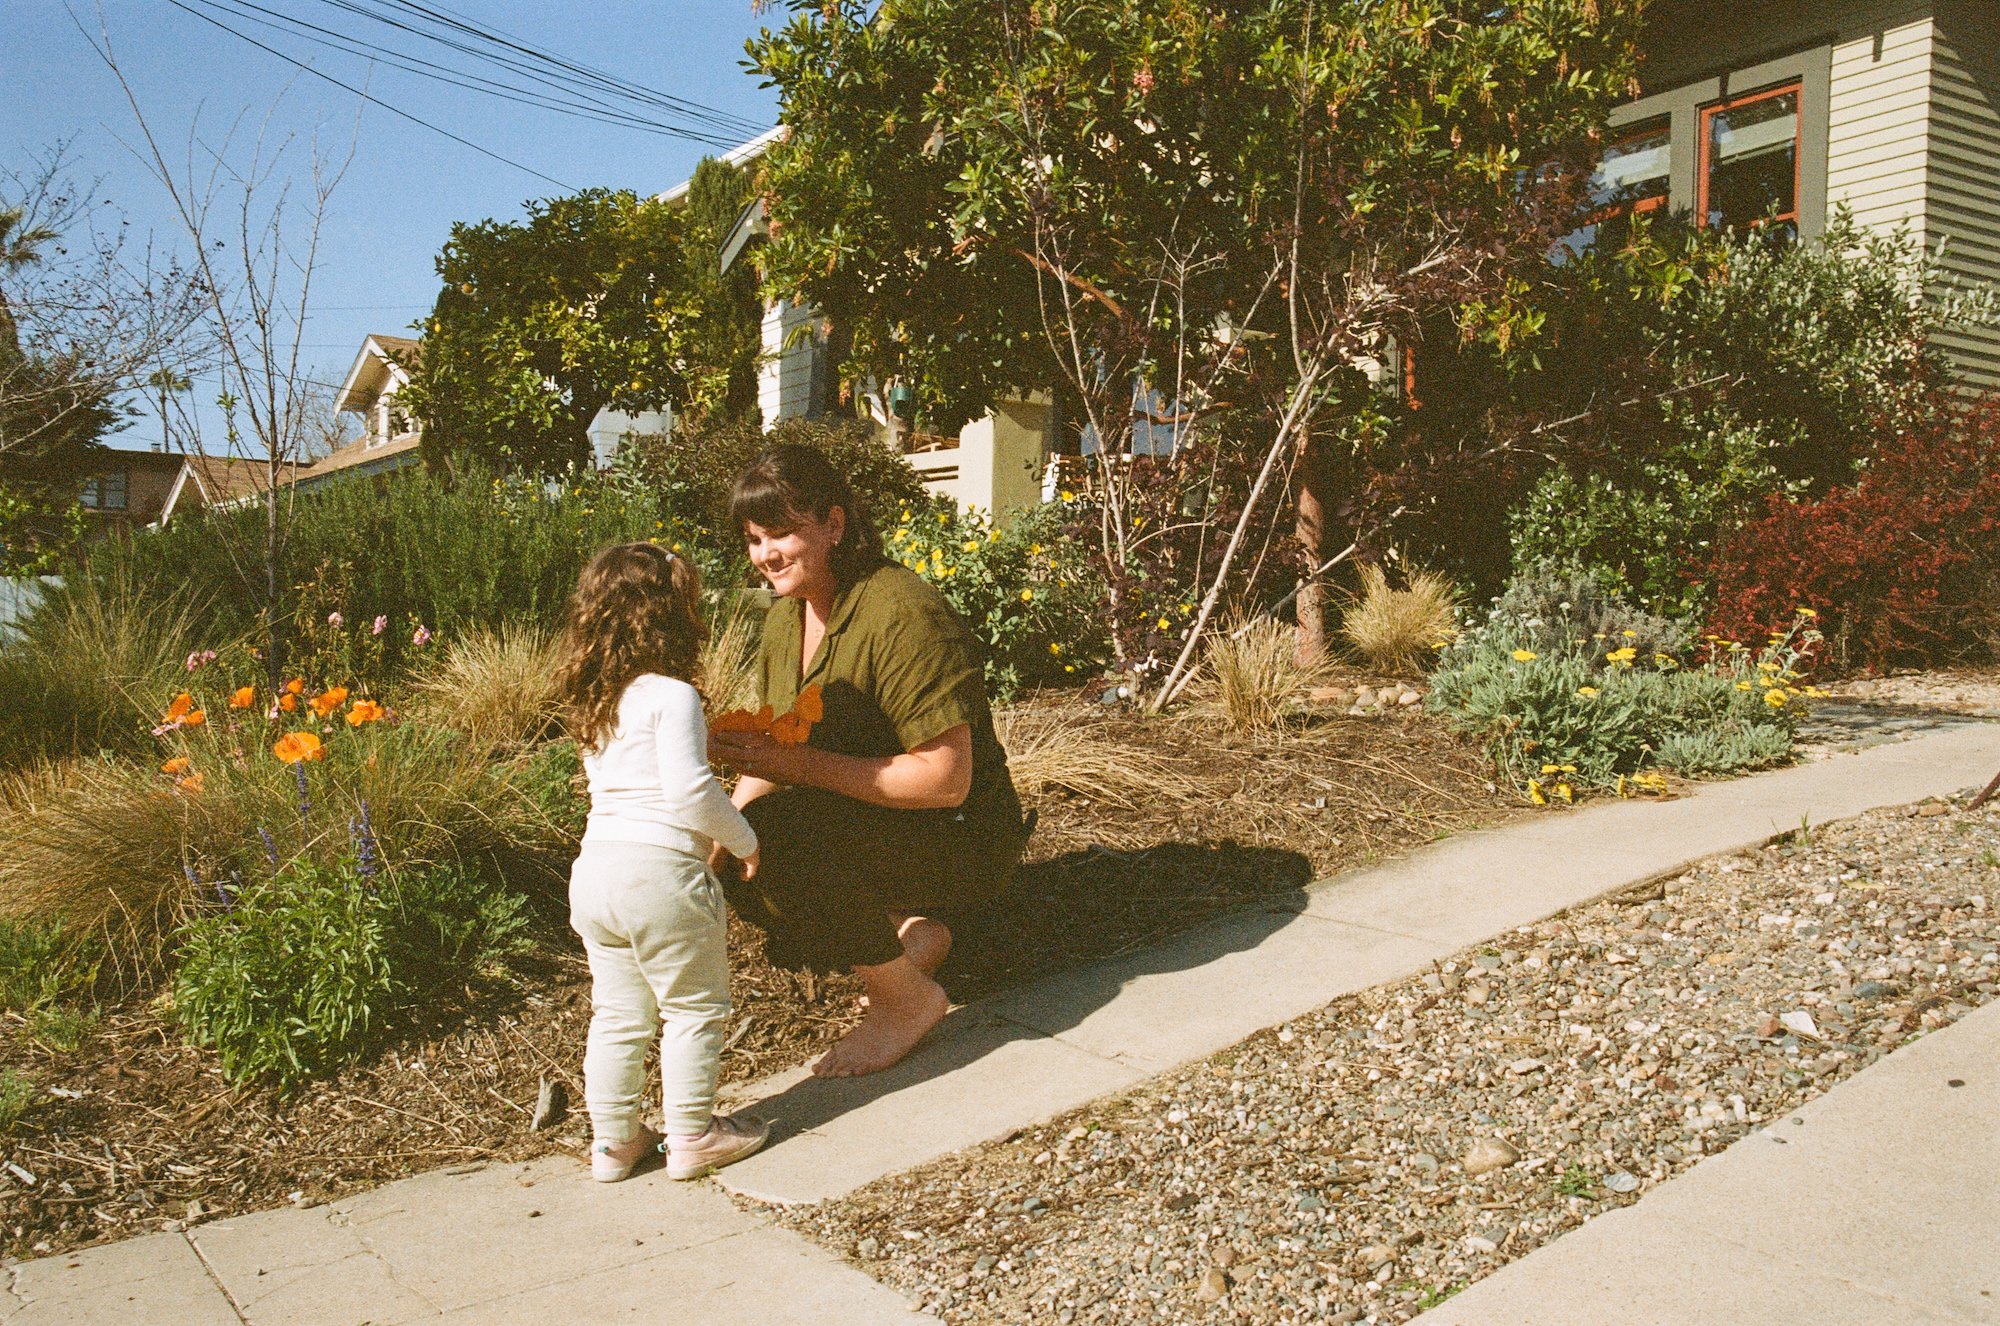
What I’ve been up to - from gardening, to film photography, and the books and shows we’re enjoying. Plus a house tour that requires a closer look, grass seed to always have on hand, cedar shake excitement, historic window screens, and the privilege I’m reminded of daily.
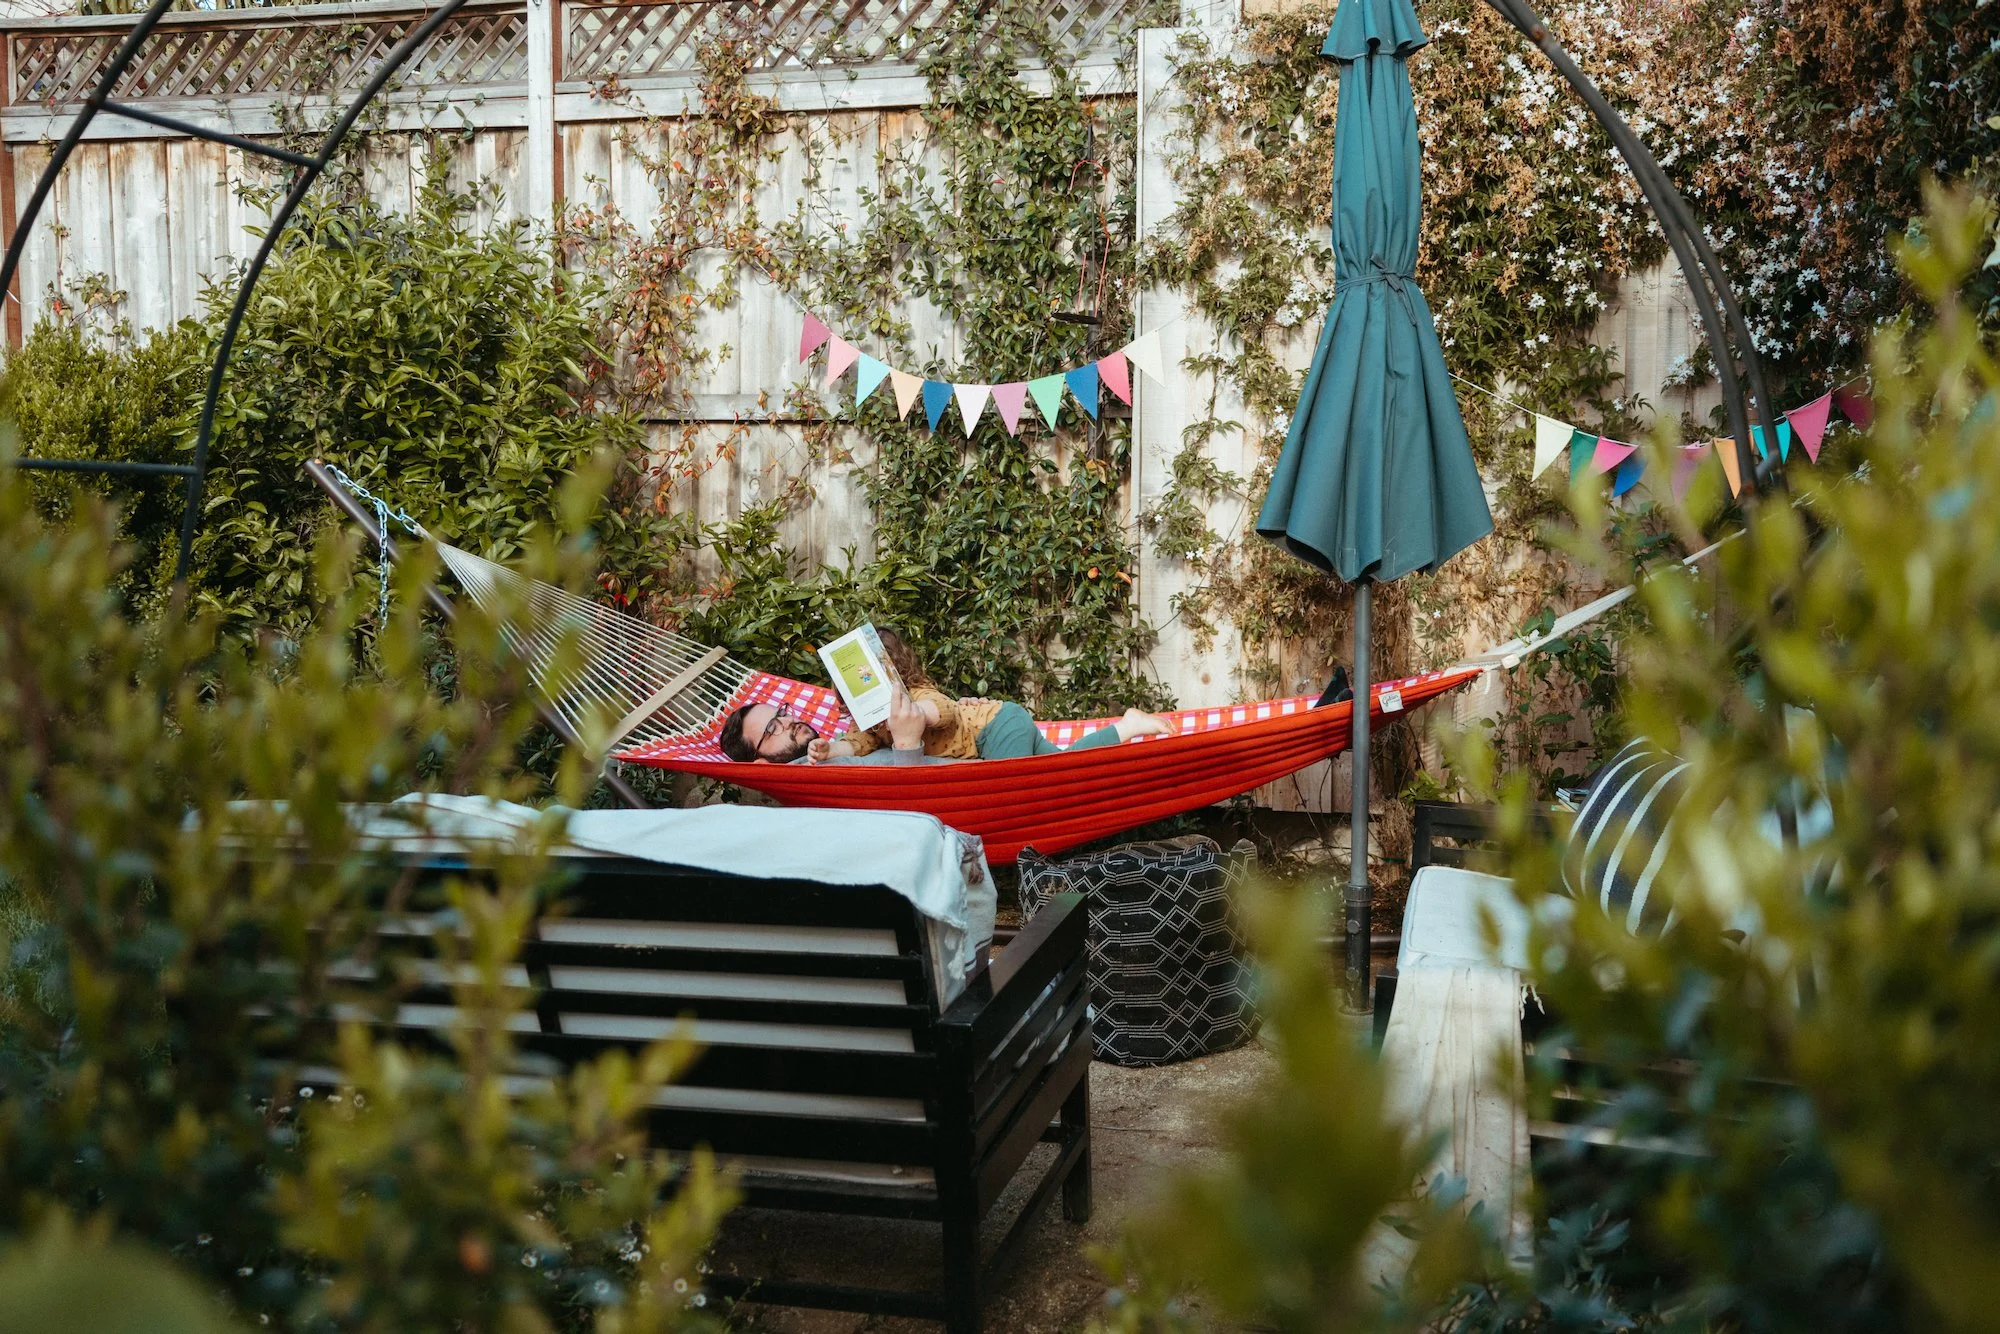
Hammocks, cookbooks, gardening, sewing, and the other things I’ve been up to on my impromptu break, and more.
Where I’ve been, shooting on film, my dream house, retro costume inspiration, energy rebates, a magic cake, textiles I don’t need but want, a lampshade DIY, my best defense against mosquitos, a new podcast, what’s killing home remodelers, best decision-making advice, overheard parenting, Little Women on acid home tour, best marble etch remover, and more.
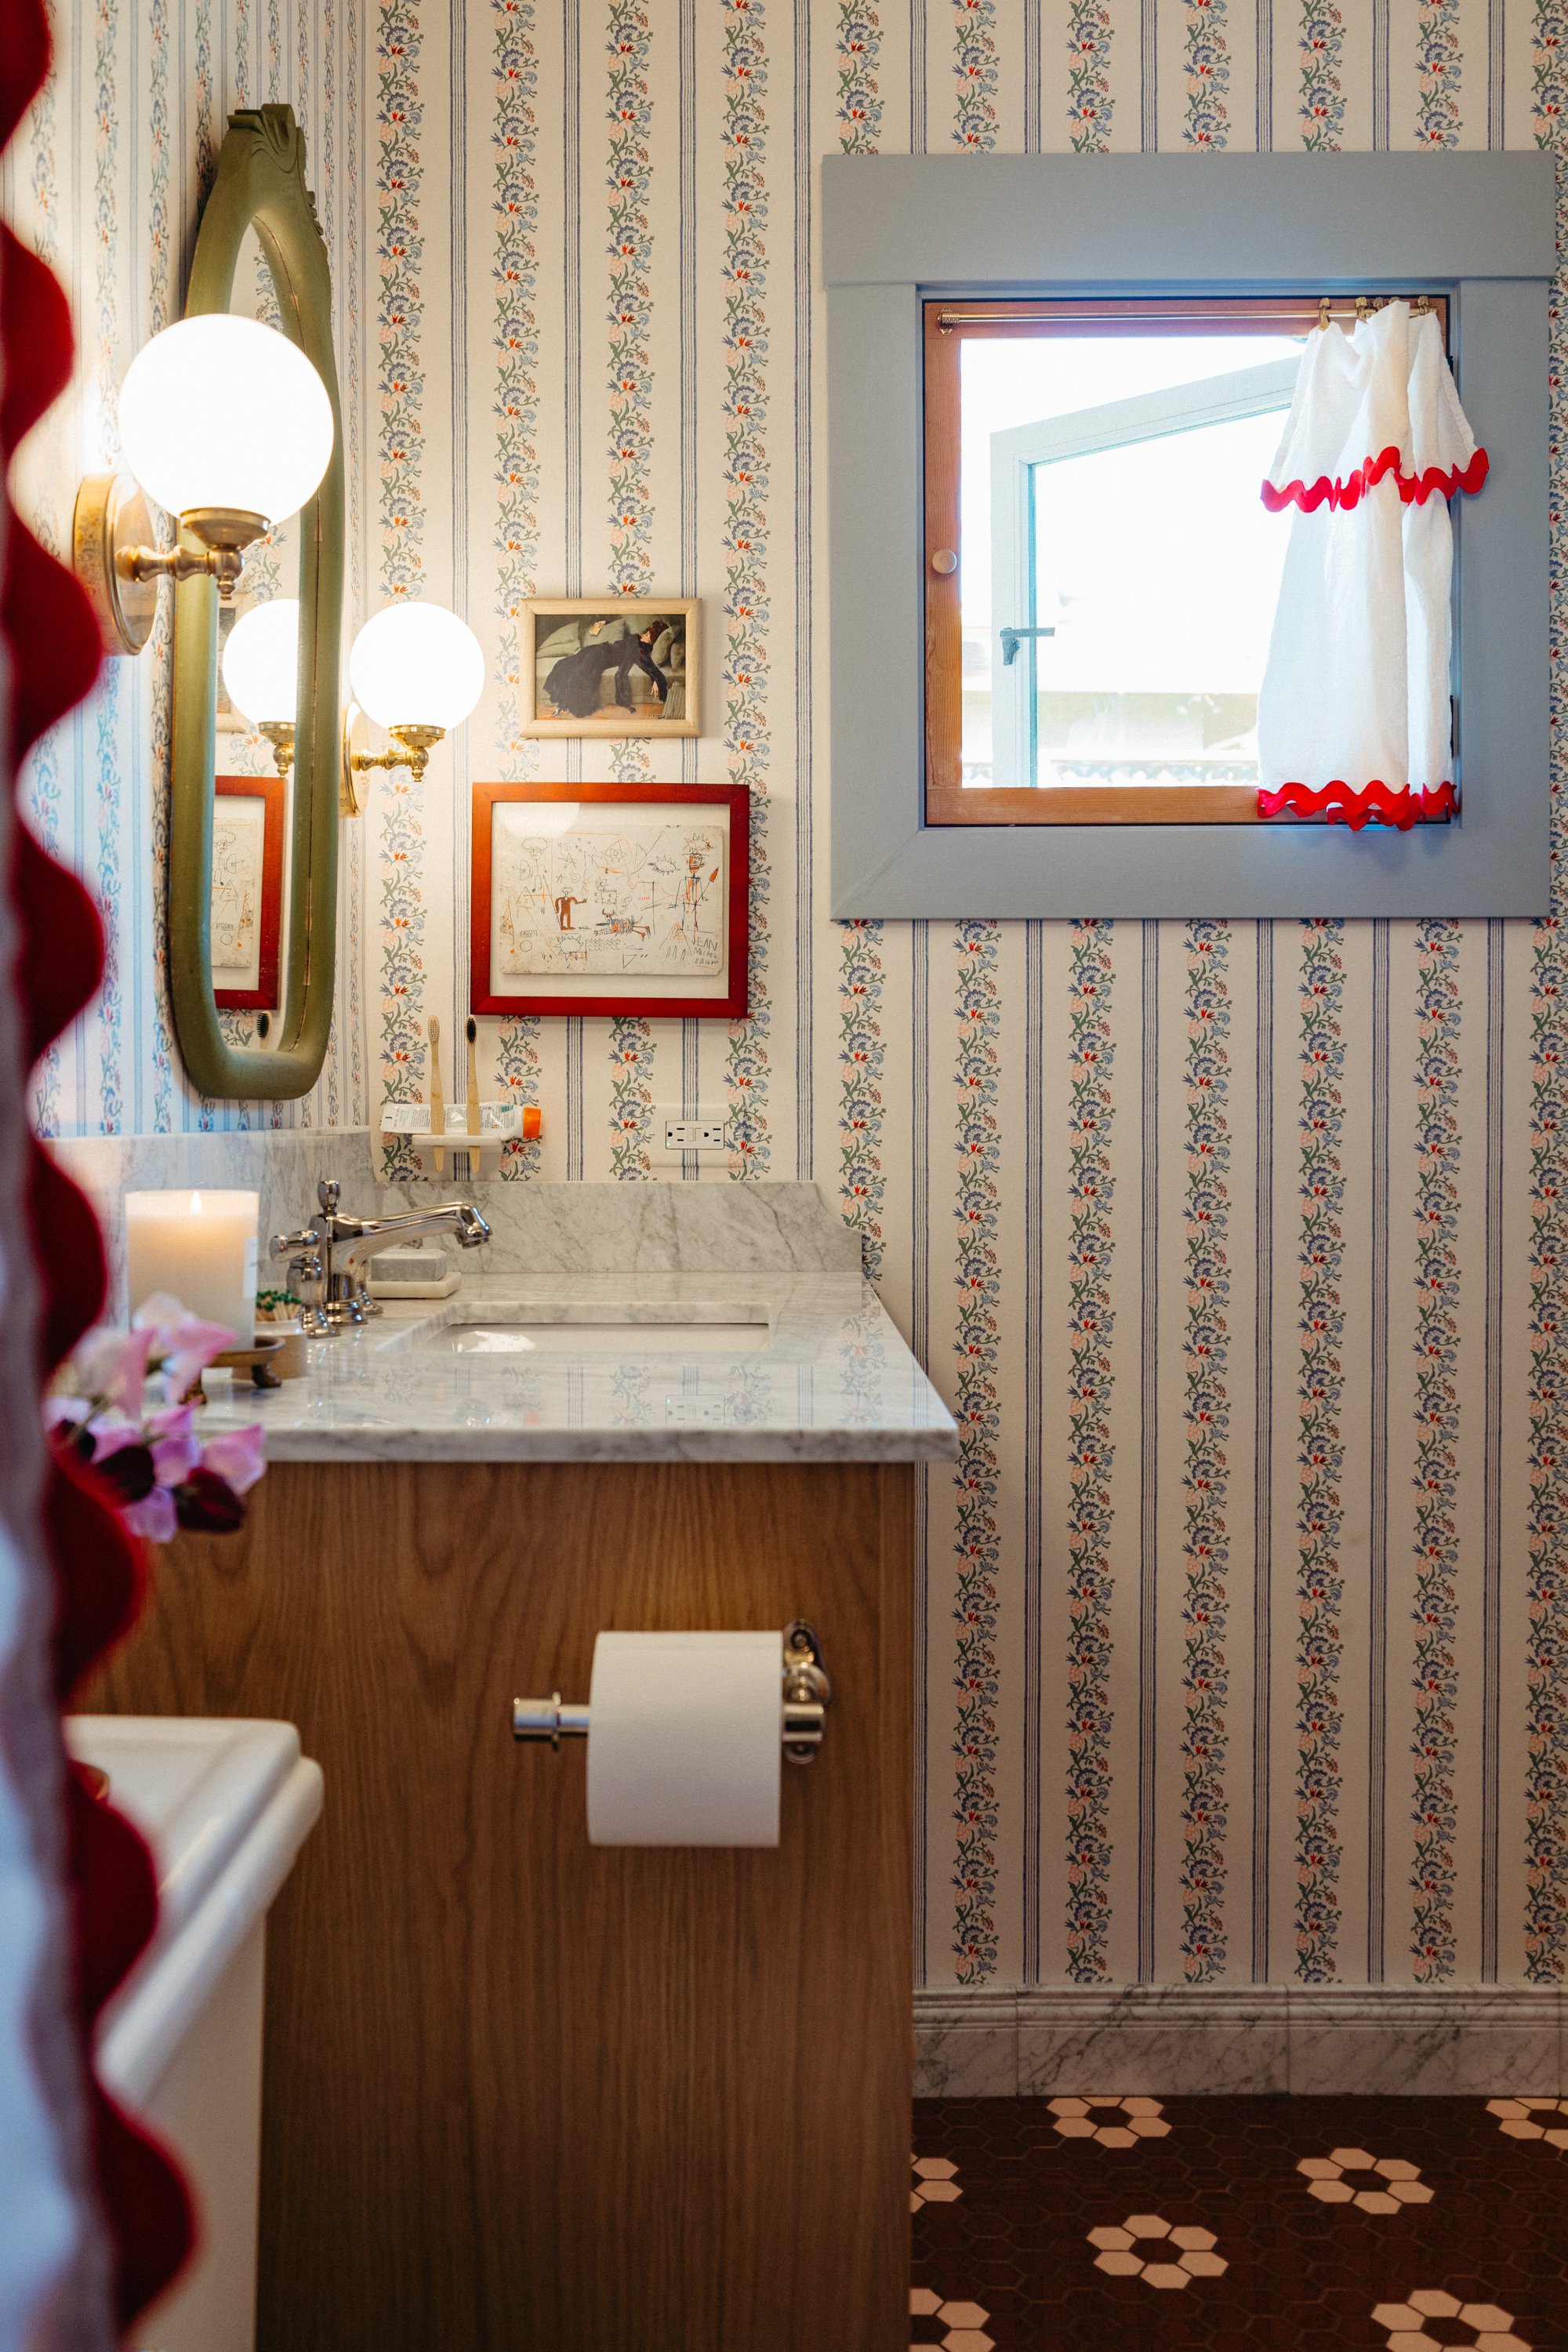
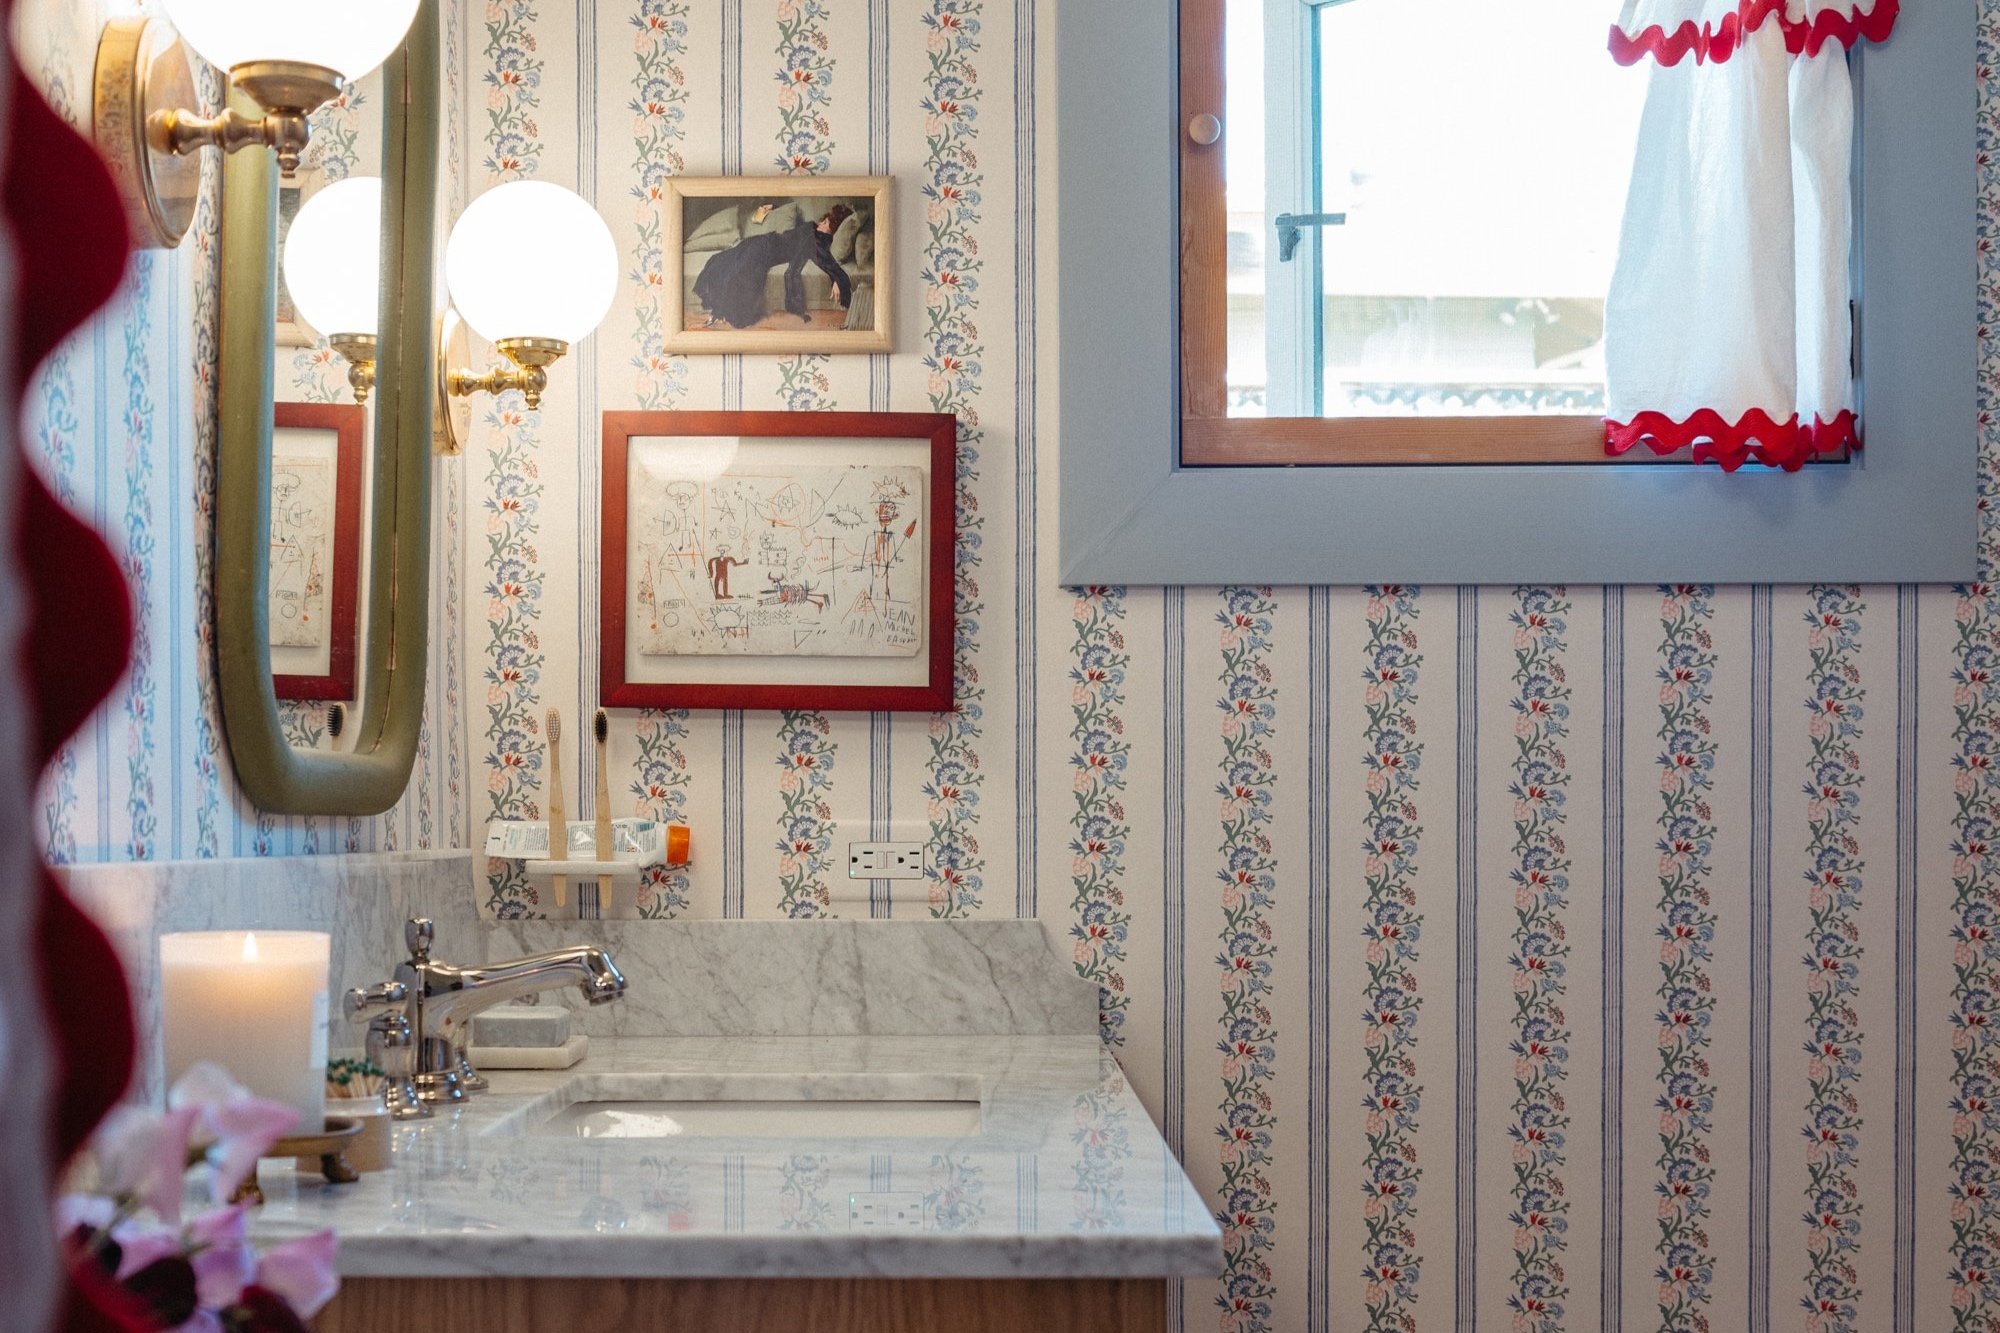
If you like florals and color, this bathroom is for you. If you don’t, well, maybe scroll through and you’ll be converted? Or not? Either way, here’s the reveal of a bathroom addition that’s finally here - after a whole three years of construction.
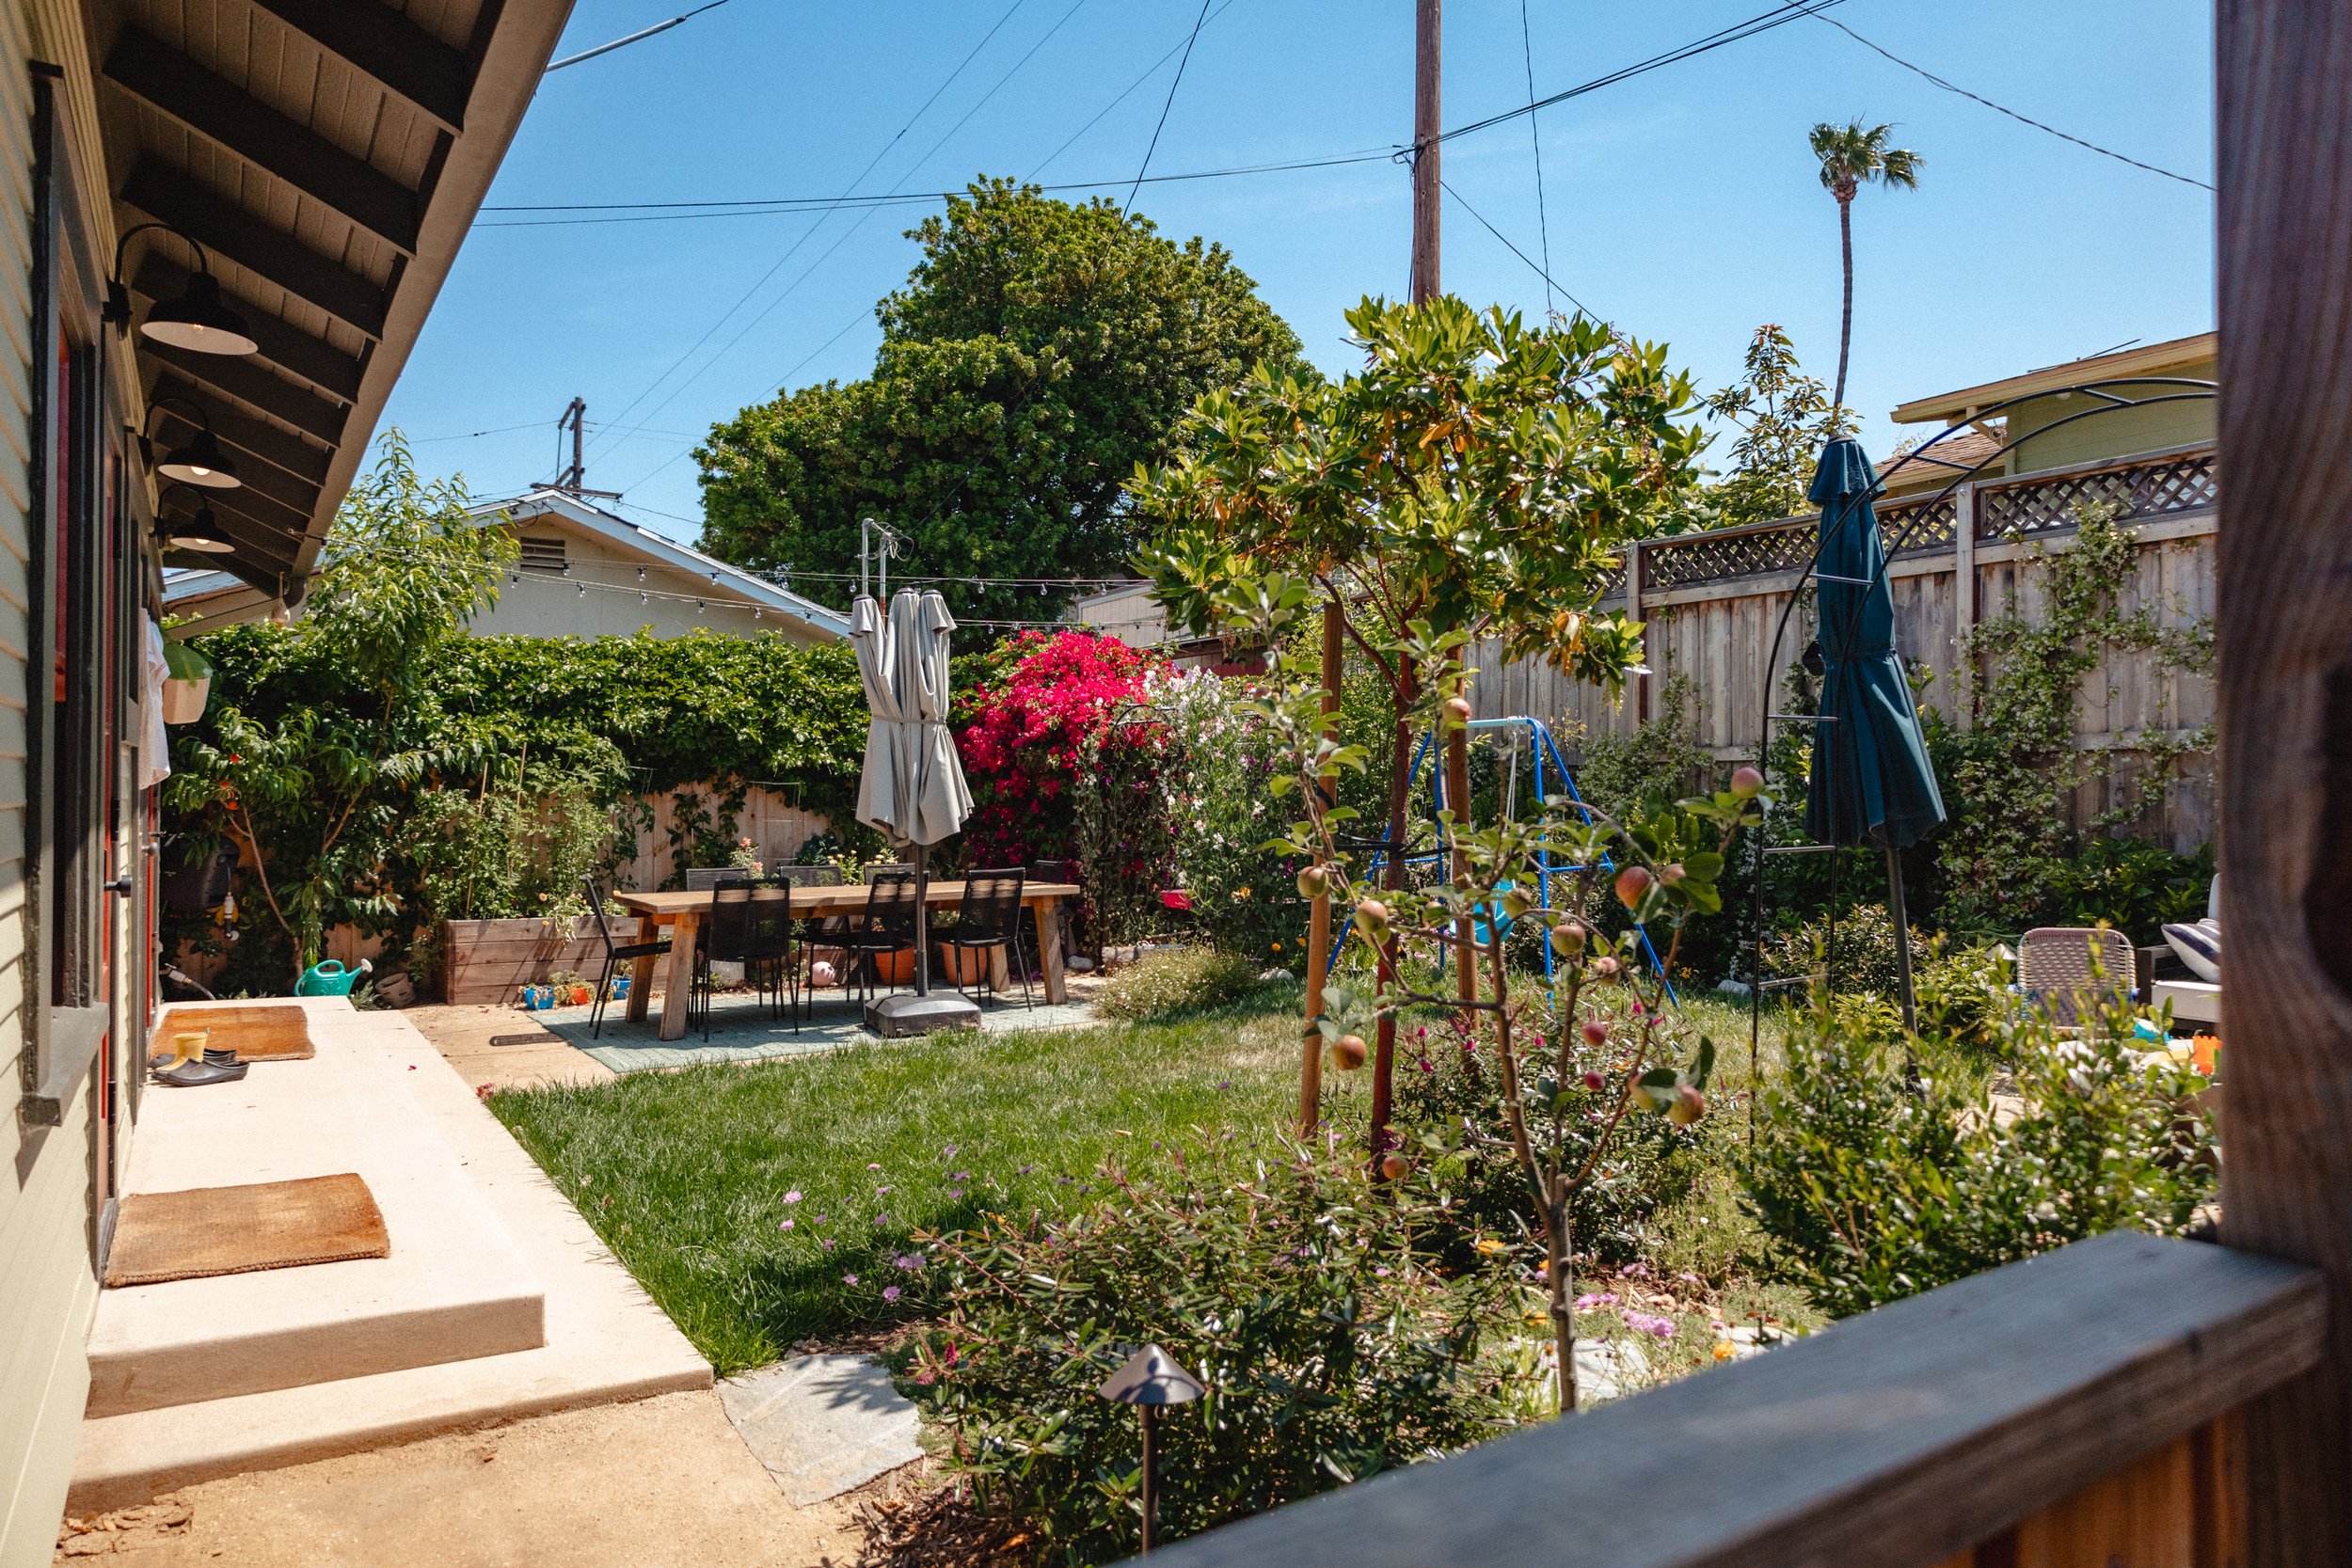
My baby is two! Time’s flying… we wish we could slow down these years… I can’t believe she’s two… and all those other cliché things to say. We celebrated her second trip around the sun in our backyard with a small gathering of friends.
What I’m binge watching, the things I ordered for summertime fun, an incredible legacy, ranking films, a dozen things to say to your kids daily, design decisions, sibling bonds, and more.
Ashley’s restoring her historic home at a snail’s pace in California. She shares home improvement DIYs, tips for sustainable living, and renovation stories - all while aiming to add more color and present real, lived-in, family friendly spaces.
I'm Ashley, a deeply systematic homebody restoring my 1915 Craftsman bungalow in California, slowly and on purpose. I don't make a single decision without first opening 100 tabs. Renovation, DIY, color, and what it actually looks like to live in an old house with two young kids.




© 2026 The Gold Hive. All Rights Reserved.
This site contains affiliate links. I may earn a commission on purchases made through these links at no additional cost to you.
Sponsored content and gifted products are disclosed as such. All opinions are my own.
All images are copyright The Gold Hive. Reproduction or use without credit is not permitted. · Photo Licensing Policy