
Weekly Roundup
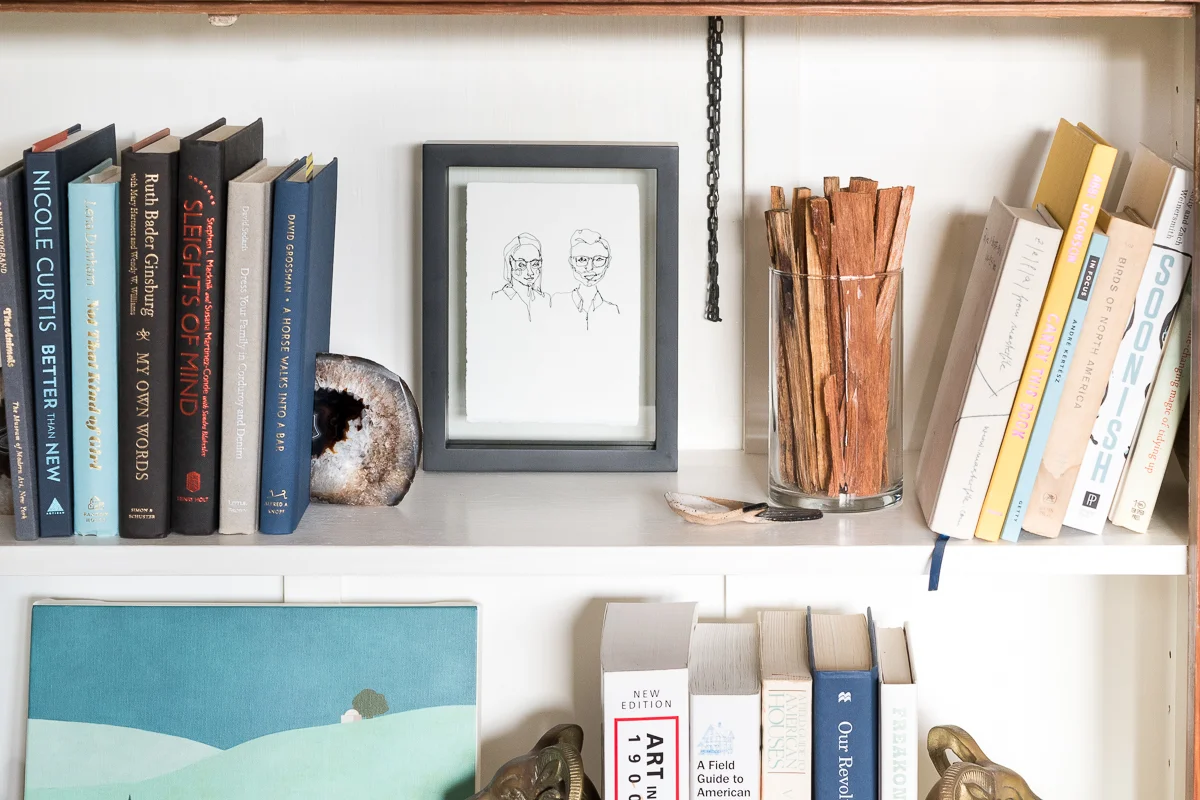
/
I’ve rounded up the things I’ve been digging this past week!
Read MoreIt's week two of the One Room Challenge! I didn't start until I wrote last week's announcement blog post so I'm only a week into the challenge. 7 days down, 28 more to go!
If you found me through ORC, welcome! I'm Ashley and for the past three years, I've been restoring a craftsman bungalow in San Diego, CA. Learn a touch more about me here, preview the before-and-after room transformations here, and see my previous ORC rooms here and here.
The first week of ORC is always prep week. It isn't the most glamorous, but there's nothing like emptying a room and putting holes in the wall to feel like you're making progress. I find that this week is much more fun in time lapse and music video (minus any dancing) format, so I give you a video of the week's progress. If you like old-fashioned reading, then scroll down!
P.S. I promise the video is more entertaining than the text. It's less than 4 minutes long, so it's worth the watch.
Ross was out of town, so I emptied the room solo. Whenever I do that, it becomes my workout for the day. It's not a good habit, but I definitely find myself skipping yoga after doing demo, or heavy lifting, or really after doing anything sweaty.
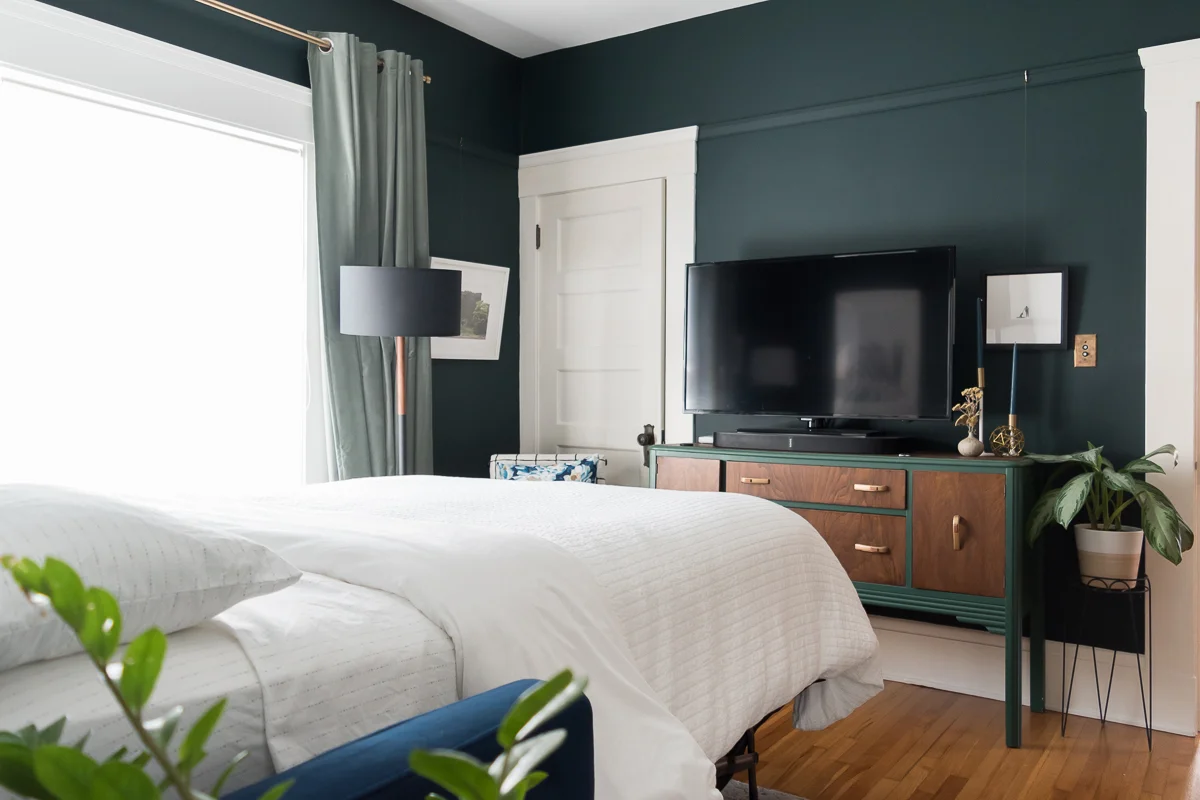
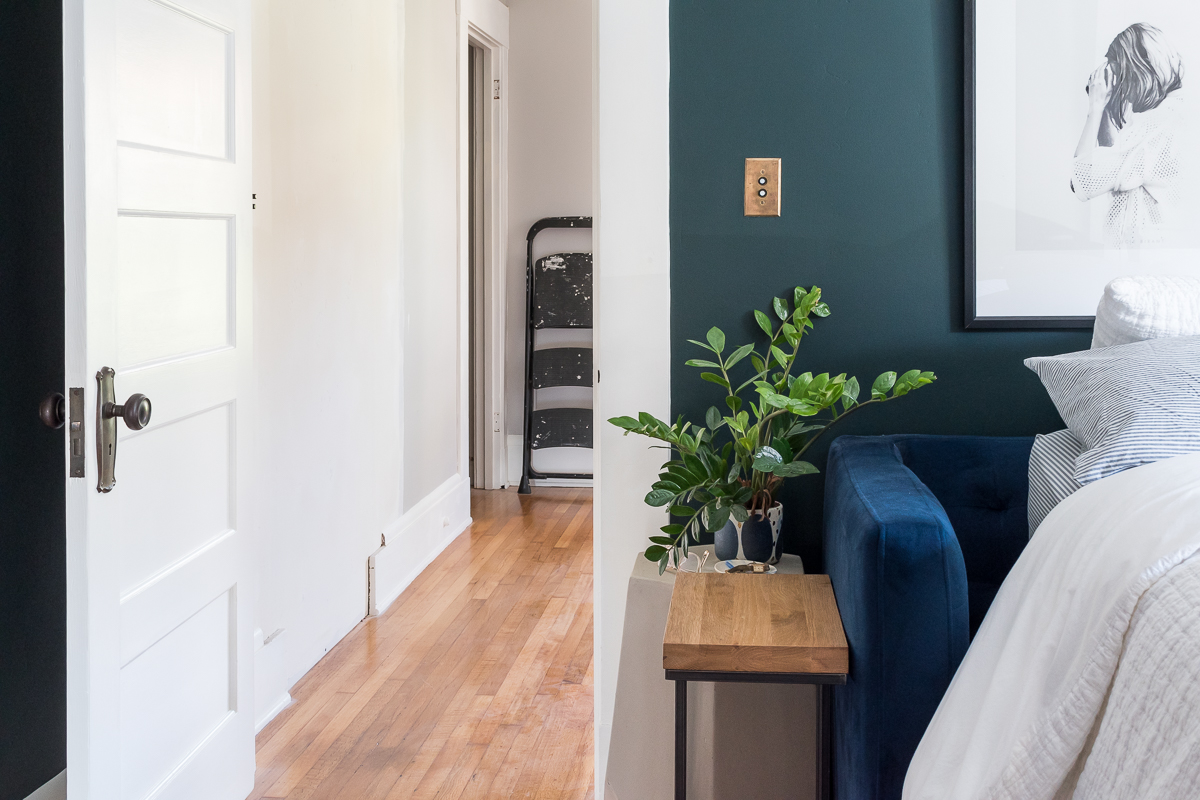
Since we moved out of the master and I'm selling all of the furnishings, I needed a spot to sleep, so I moved into the den next door. The blue velvet couch is a pull-out, so I stacked our mattress on top of the couch mattress and I feel like the Princess and the Pea. If double mattresses weren't luxury enough, the den also has the TV, so I can watch my British crime shows fully reclined. Winning.
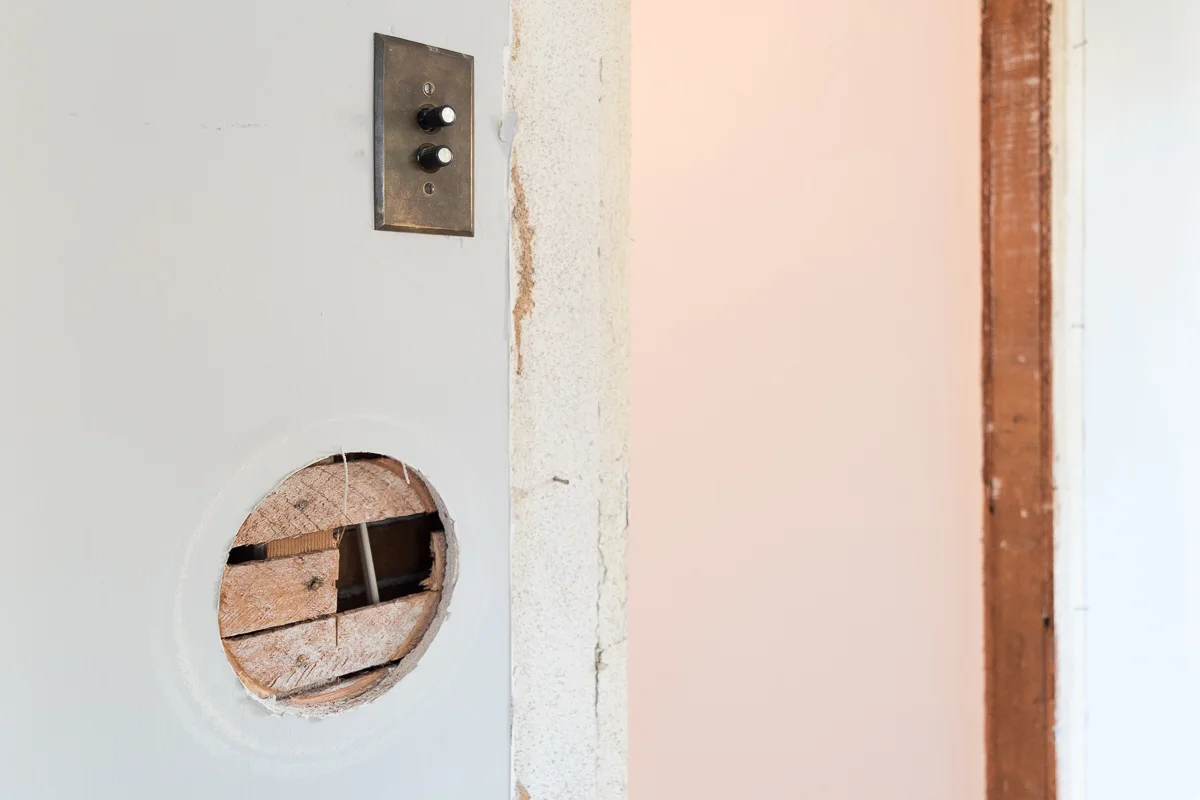
After emptying the room, I called in our trusty electrician who previously rewired the entire house to bring us into the 21st century. For this room redo, he moved an outlet to hide behind the nightstand, moved an outlet that would be in the way of the new exterior door, wired for the exterior light, put in a switch for the new light, added a 3-way switch for the overhead flush mount, and wired for the new bedside sconces.

While the electrician was here, I got inspired to do a project that was on my agenda for a long time. There have been three lines of conduit running the length of the back of the house to power clunky floodlights and a single bulb in the garage. I figured I'd leave them until we did more electrical work down the road, but knowing I'd be installing a new sconce right next to the ugly pipes, I decided to pull it all down. Now that it's gone I'm regretting not doing it sooner. It's really the little things that are most satisfying! (also, watching the time-lapse of it coming down is veeeery satisfying)
After putting holes in the walls of the bedroom for new electrical, I needed to close off a really big one - the doorway into the kitchen. If you recall in my week 1 plans, I'm closing off the door from the master bedroom to the kitchen. Removing this passageway is kind of a bummer, but it's the right thing to do for the layout of the bedroom. We'll be able to maximize storage and create a more open space. Don't forget, I'm adding a door with lots of glass to the backyard in a couple of weeks, so soon enough I'll have forgotten about the loss of the kitchen door.
Below are the views sans door from the bedroom and the kitchen, respectively.

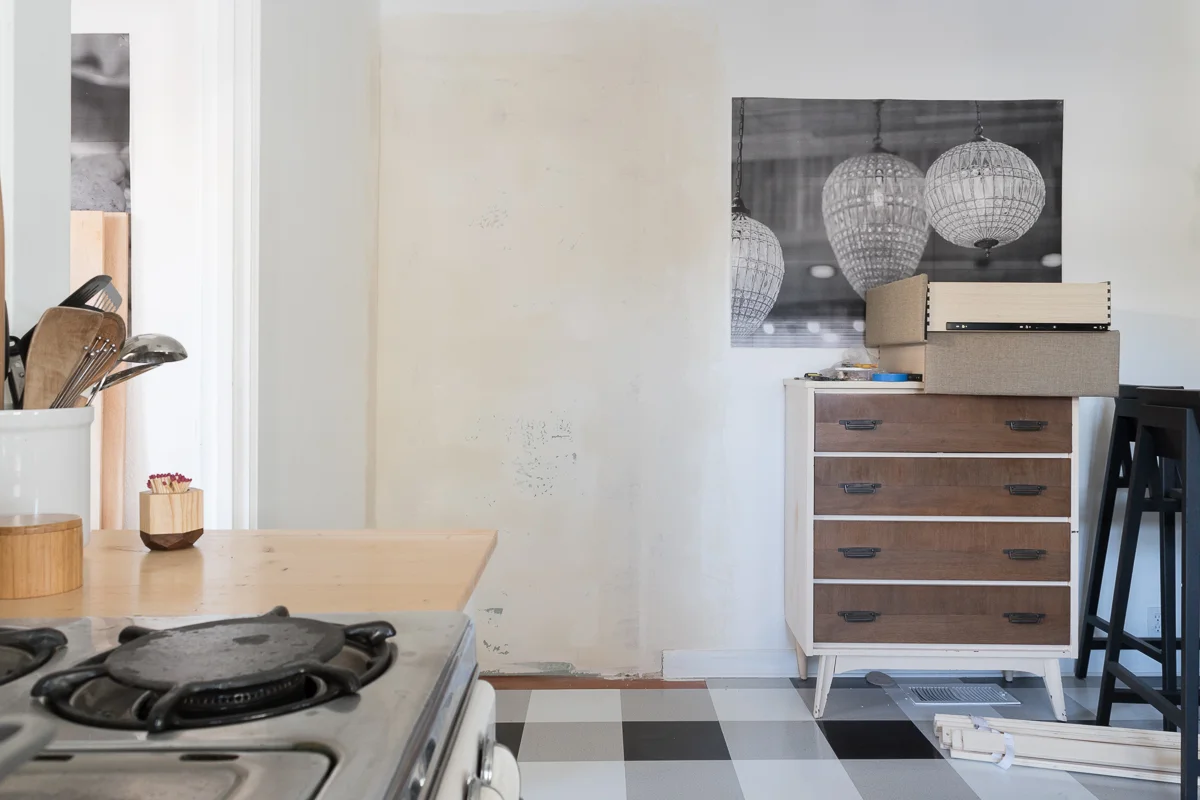
I pulled off all of the trim (delicately as to save it for future use) but hired out help to frame and drywall the opening. Getting perfectly smooth walls on a big patch is not the easiest thing to do, so hiring it out to the pros was certainly the right thing for me to do. Once I paint, you won't even know a door was there - unless you read this blog, of course.
That's all I finished between week 1 and 2 so come back next week for more progress! Be sure to follow along on Instagram Stories where I share live updates and ask for your advice when I can't make a decision! This is only the first of my ORC videos, so subscribe to my YouTube channel to support future videos. If you aren't already subscribed to the blog, you can do that here.
If you want a refresher on the plans and the before photos, you can review the week 1 post here.
Check out progress from my fellow featured designers below, and don't miss out on the guest participants!
Apartment 34 | Beginning in the Middle | Coco & Jack | The English Room | The Gold Hive
Gray Malin | Jenna Sue Design | Jojotastic | Kelly Rogers Int. | Linda Holt | Marcus Design
Michelle Gage | Natasha Habermann | The Painted House | Rambling Renovators
Sacramento Street | Shannon Claire | Sketch 42 | Stephanie Kraus | Bisou Style
Media Partner House Beautiful | TM by ORC
Psst! To jump into the future and see how this room turned out, click here!







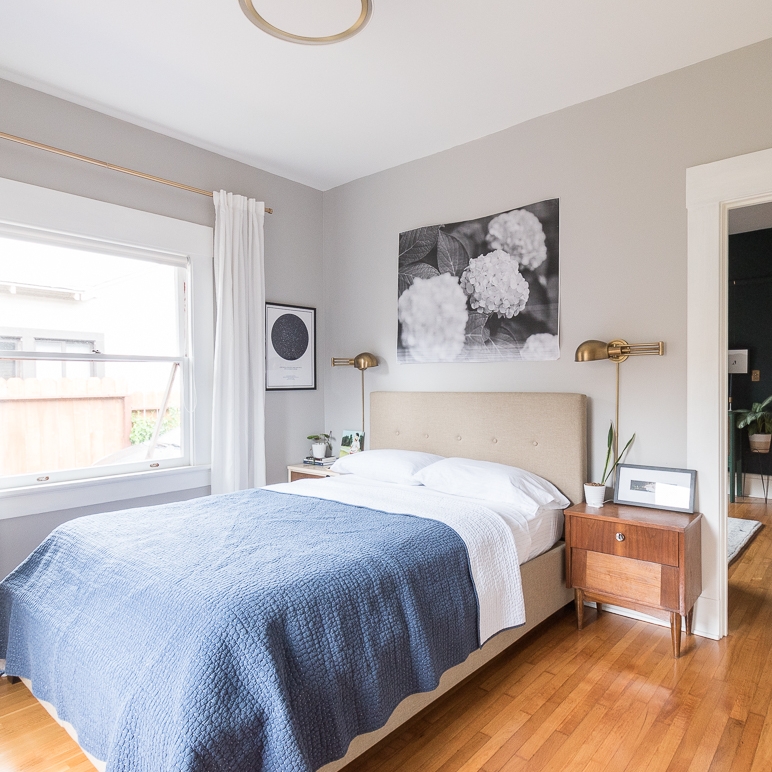
I am the WORST at collecting souvenirs on vacation. I hate cheap touristy figurines, love vintage pieces that are too big for my suitcase, or spend too much time eating in restaurants to shop for reminders of the trip. I always come home empty handed. Well, I take that back, following a recent trip, I did come back with electrical tape that I bought at a gas station to tape up the hole in my shoe. Horrah!
But, I have a solution for bad travel shoppers: Artwork created by locals in the vacation destinations. The first thought may be to buy artwork OF the vacation destination like paintings of sweeping vistas or photographs of the city. However, by purchasing artwork made by people FROM the region, you can find pieces that speak to you more than the scenery of your locale - even though I'm a sucker for landscapes!

While not all artists exhibit in shops and since I may not even stumble into galleries, I like to look for artwork after-the-fact on the world wide web. I've rounded up pieces created by Australian and New Zealand artists following my recent vacation to these two fine lands.
Each of the below images is artwork by an individual artist. Click through to get the piece in your home, learn more about them, and see the rest of their collections.











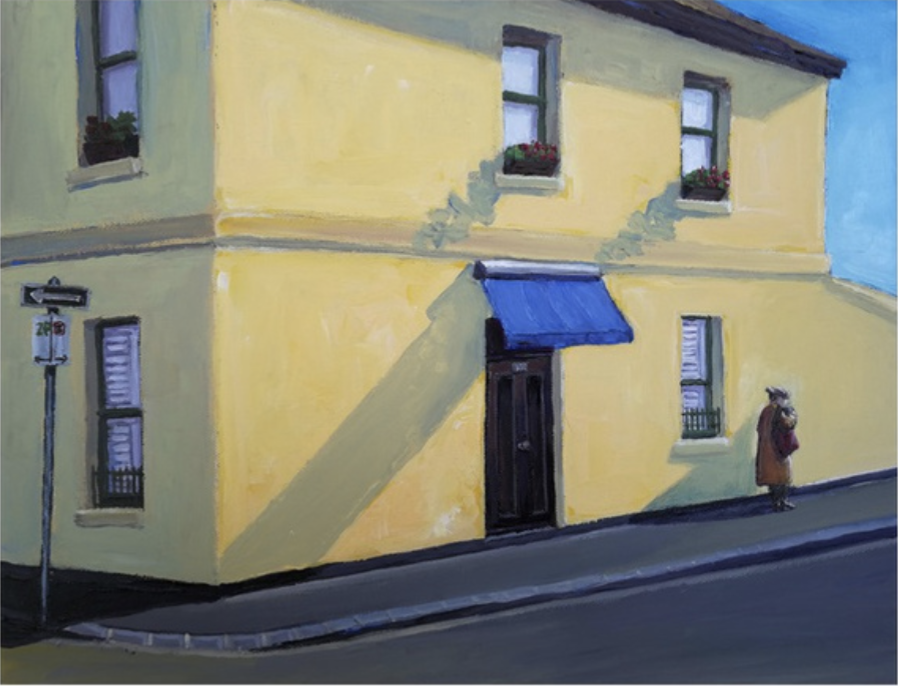












We've already been to Phoenix and Boston since NZ and Aus, then we have Chicago, Pittsburg, Ojai, and several more trips coming up this year. So, should I make this a regular blog series by featuring artists from the locations I go to?
I'm back for my third round of the One Room Challenge! I considered taking a break from the 6-week design challenge after I painted that mural last time, but I just love putting pressure on myself, so here I am again!
If you found me through ORC, welcome! I'm Ashley and for the past three years, I've been restoring a craftsman bungalow in San Diego, CA. Learn a touch more about me here, preview the before-and-after room transformations here, and see my previous ORC rooms here and here.
We're supposed to keep which room we're working on under wraps, but I accidentally gave out clues when I asked for your input on the layout changes for the back of our house. If you guessed I would do the kitchen, then bless you for thinking I can tackle that in 6 weeks. If you guessed dining room, sorry! If you were hoping for a master ensuite, so was I, believe me! BUT, the master bedroom it is!
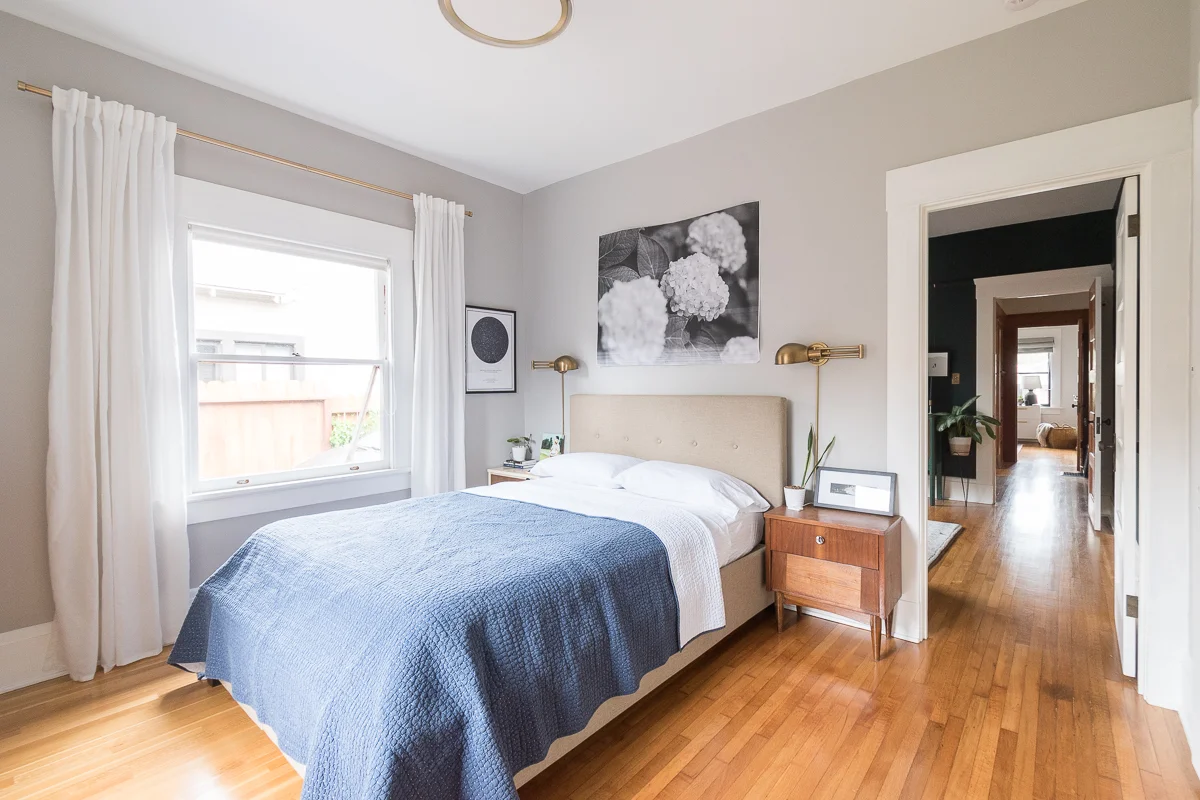
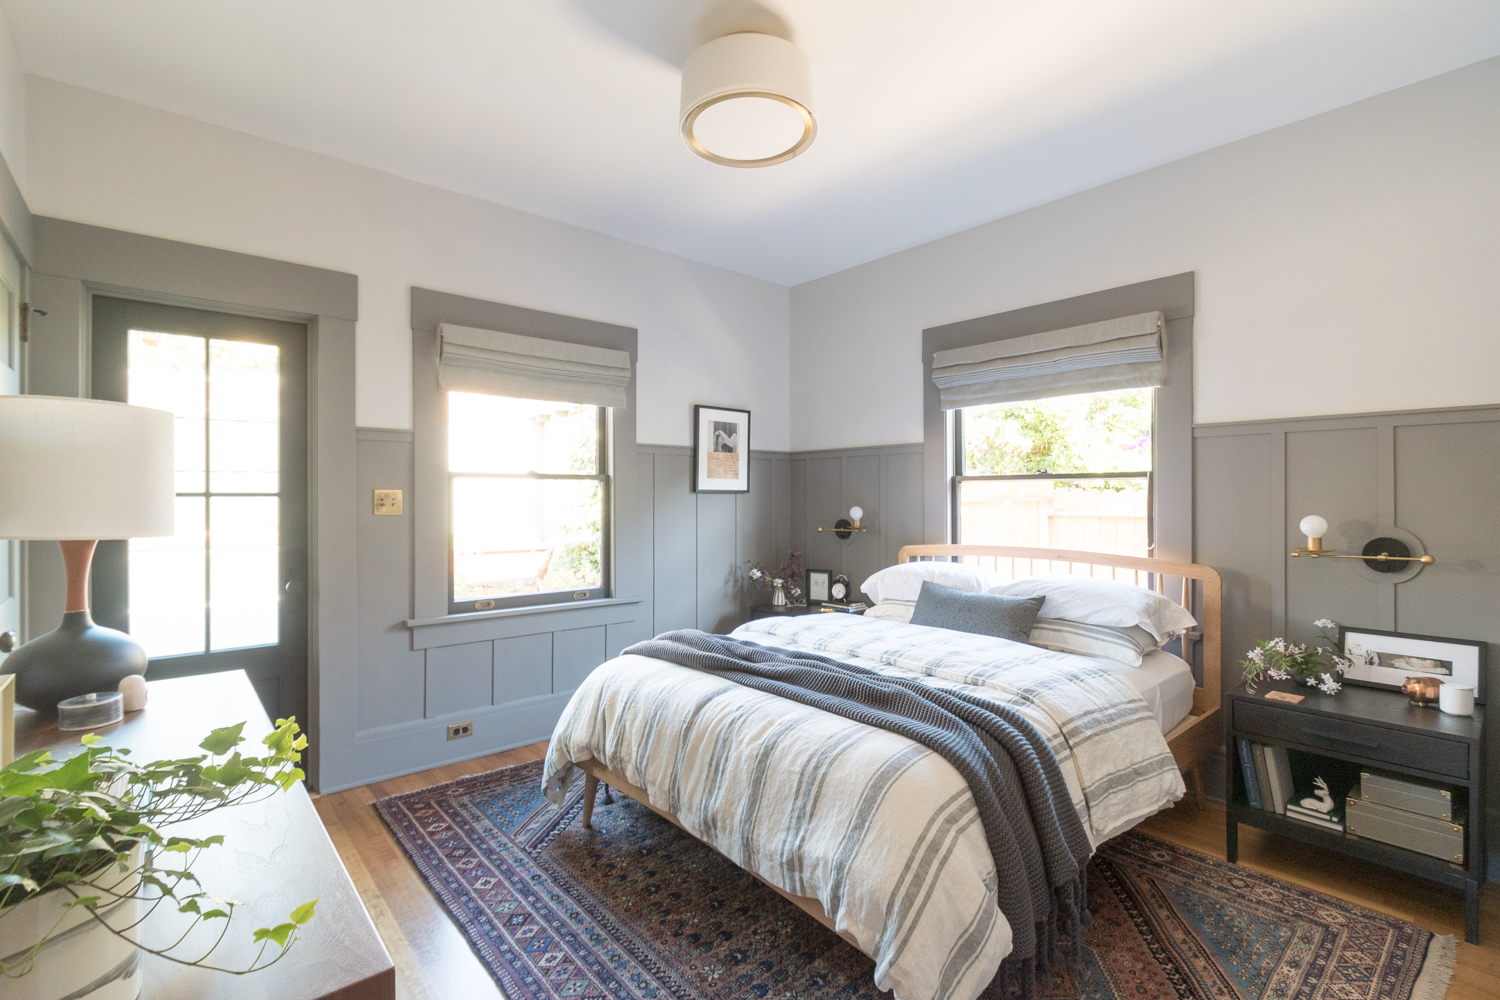
The room right now isn't bad! I coated the walls in Behr's Silver City, replaced half of the hardwoods due to termite damage, moved in all of the same furniture we had in our old house, then added a few new things. If you're into the before sources, here they are:




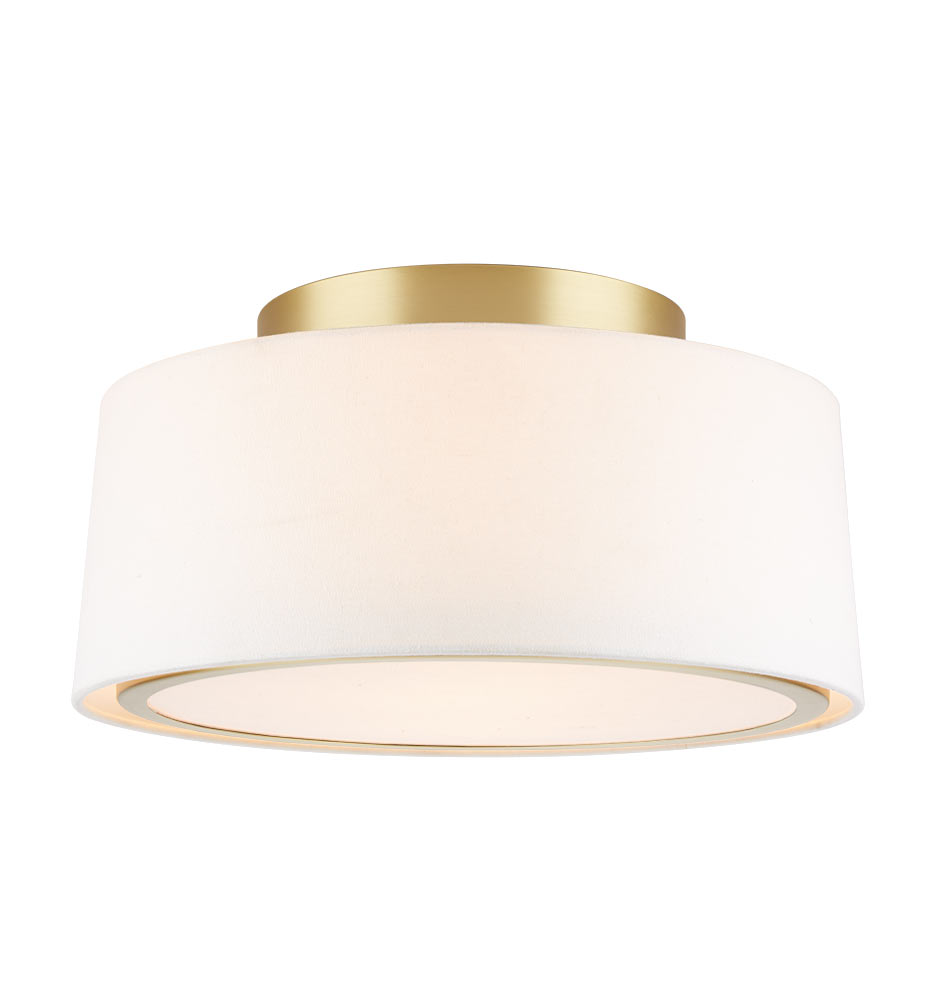


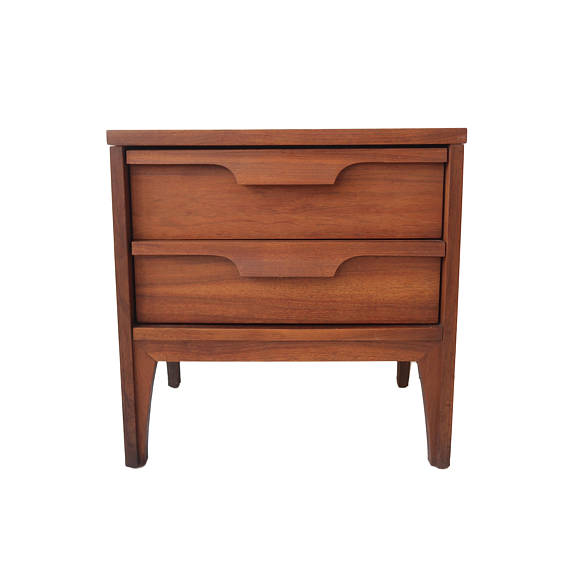

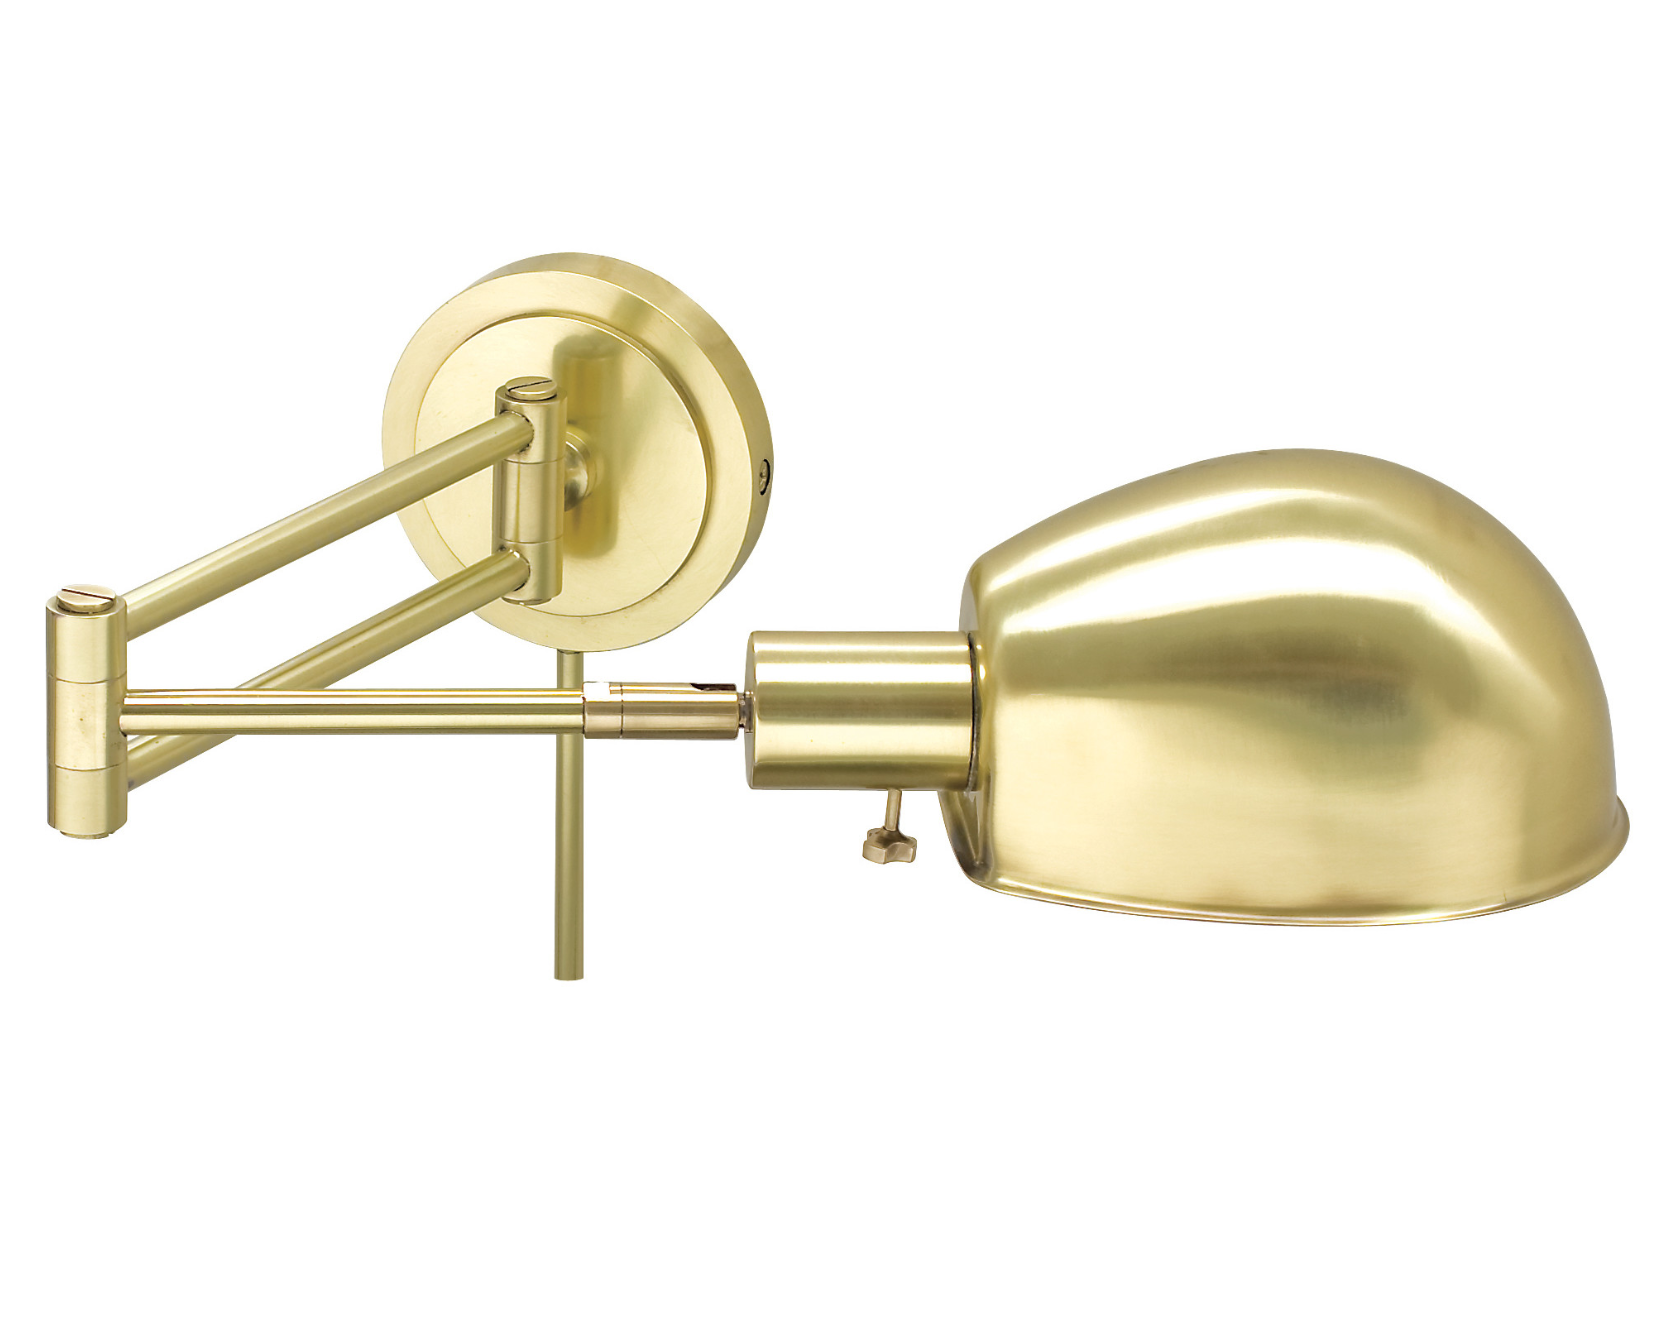

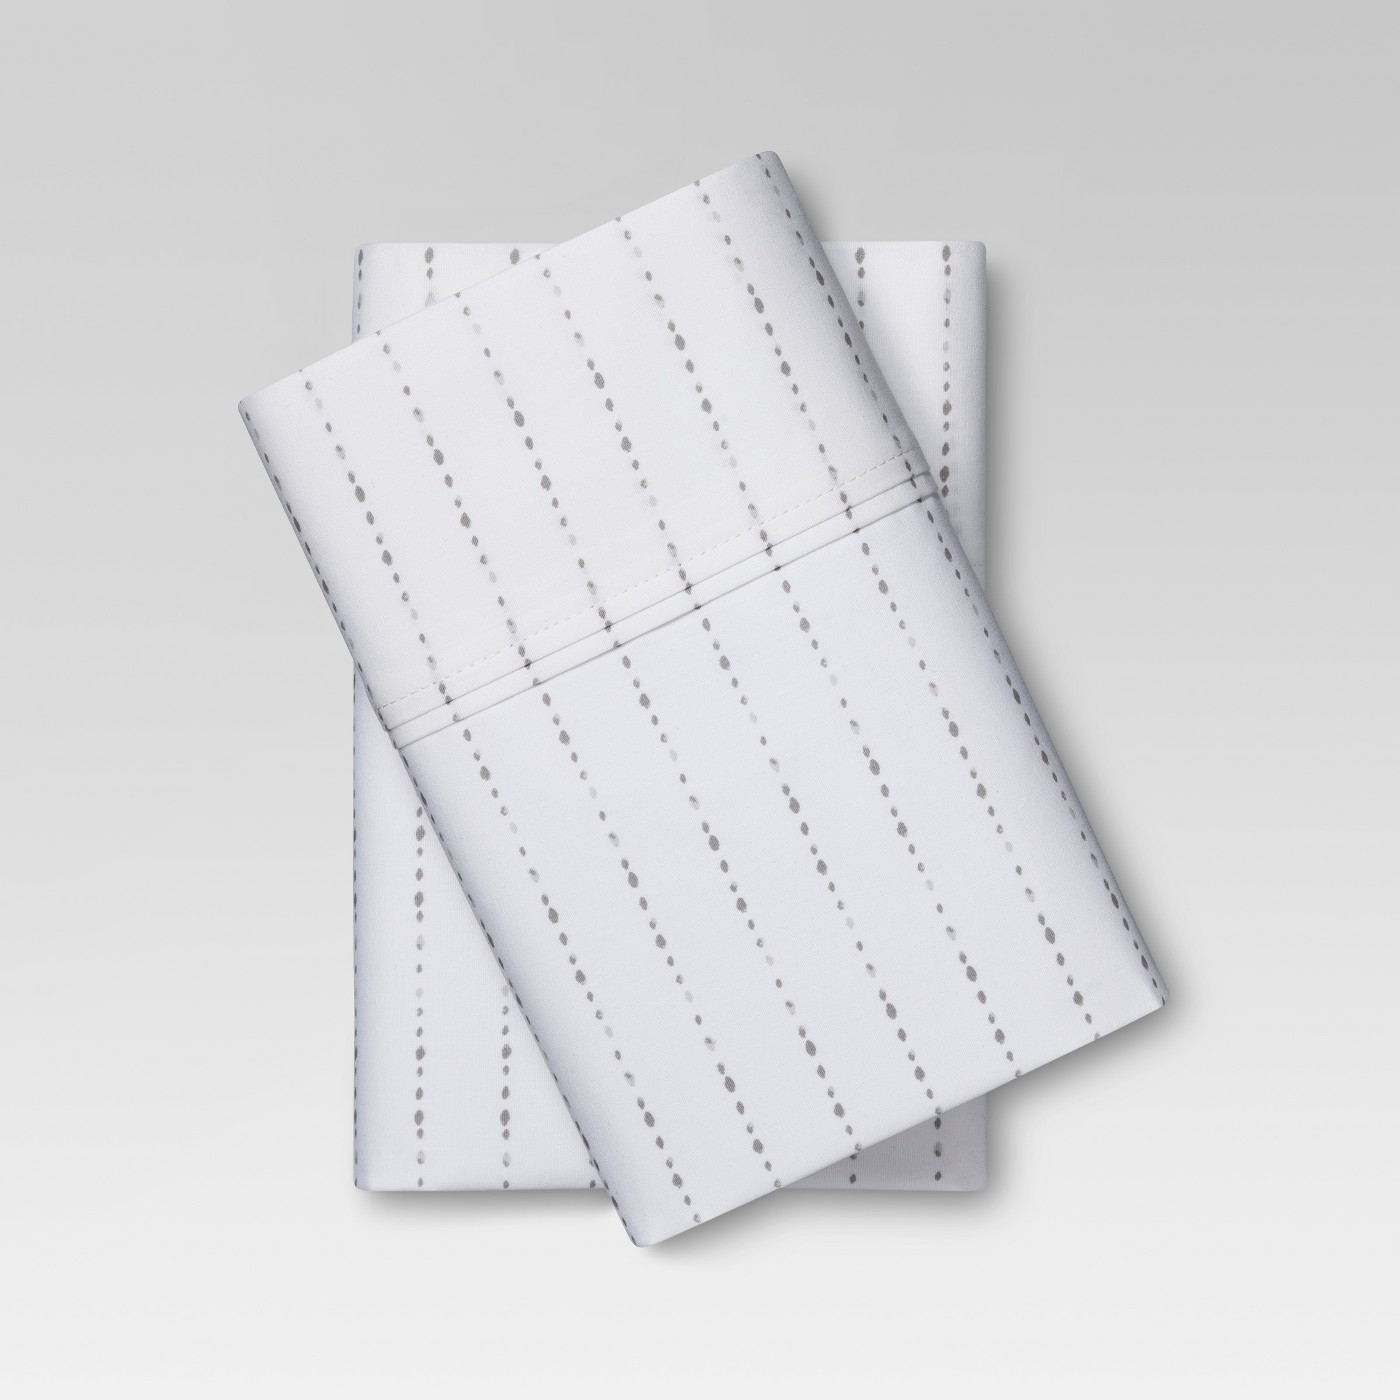


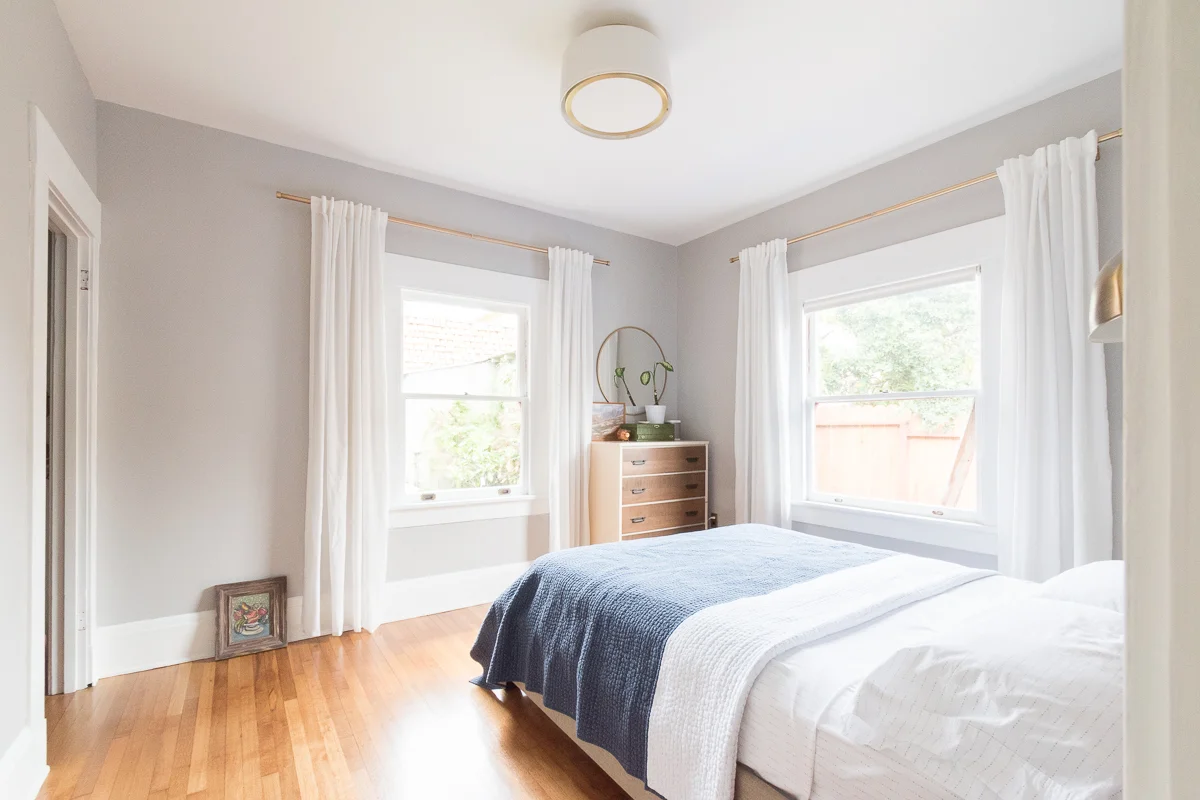


First things first, I'm going to remove the door into the kitchen. While it's convenient to grab a snack before crawling into bed, having the door there prevents us from using the wall for furniture or art. Plus, when we remodel the back of the house later this year, this door is going to be in a different spot, so let's get it outta there now!

While I'm removing a door, I'll be adding one, too. I'm SO excited to have backyard access from the master. Since the bedroom isn't that big, by adding a door, it will open up the room to our (future) outdoor living space. When we remodel the backyard, I imagine a nice sitting area with a fire pit and lots-o-plants.

Also, how great will the view be from the den and the rest of the hallway when there's a view to the outdoors there? Swoon!
When these doors get removed/added, it will change the configuration of the furniture, too. Here's what I have in mind.

Along with the new orientation, the room will get all new bedding, furniture, light fixtures, window treatments, a rug, paint, and art. While I promise I'm not painting another mural, I will still be adding interest to the walls.
I'm a total sucker for board and batten, so that's what the master is getting! While wall treatments are currently trending - shiplap, anyone? - I'm adding a detail that has been in this house for the last 103 years. Tucked behind the room dividers in the living/dining room is some pretty, subtle board & batten that I'll be mimicking. Yay for old-house features and dimensions for inspiring new rooms!
For the room transformation, I'm going for a subtle, moody vibe with neutrals and simple finishes. I'm still sourcing products because I'm plagued with indecision, so keep coming back for more updates! In the meantime, I give you a shoppable mood board.

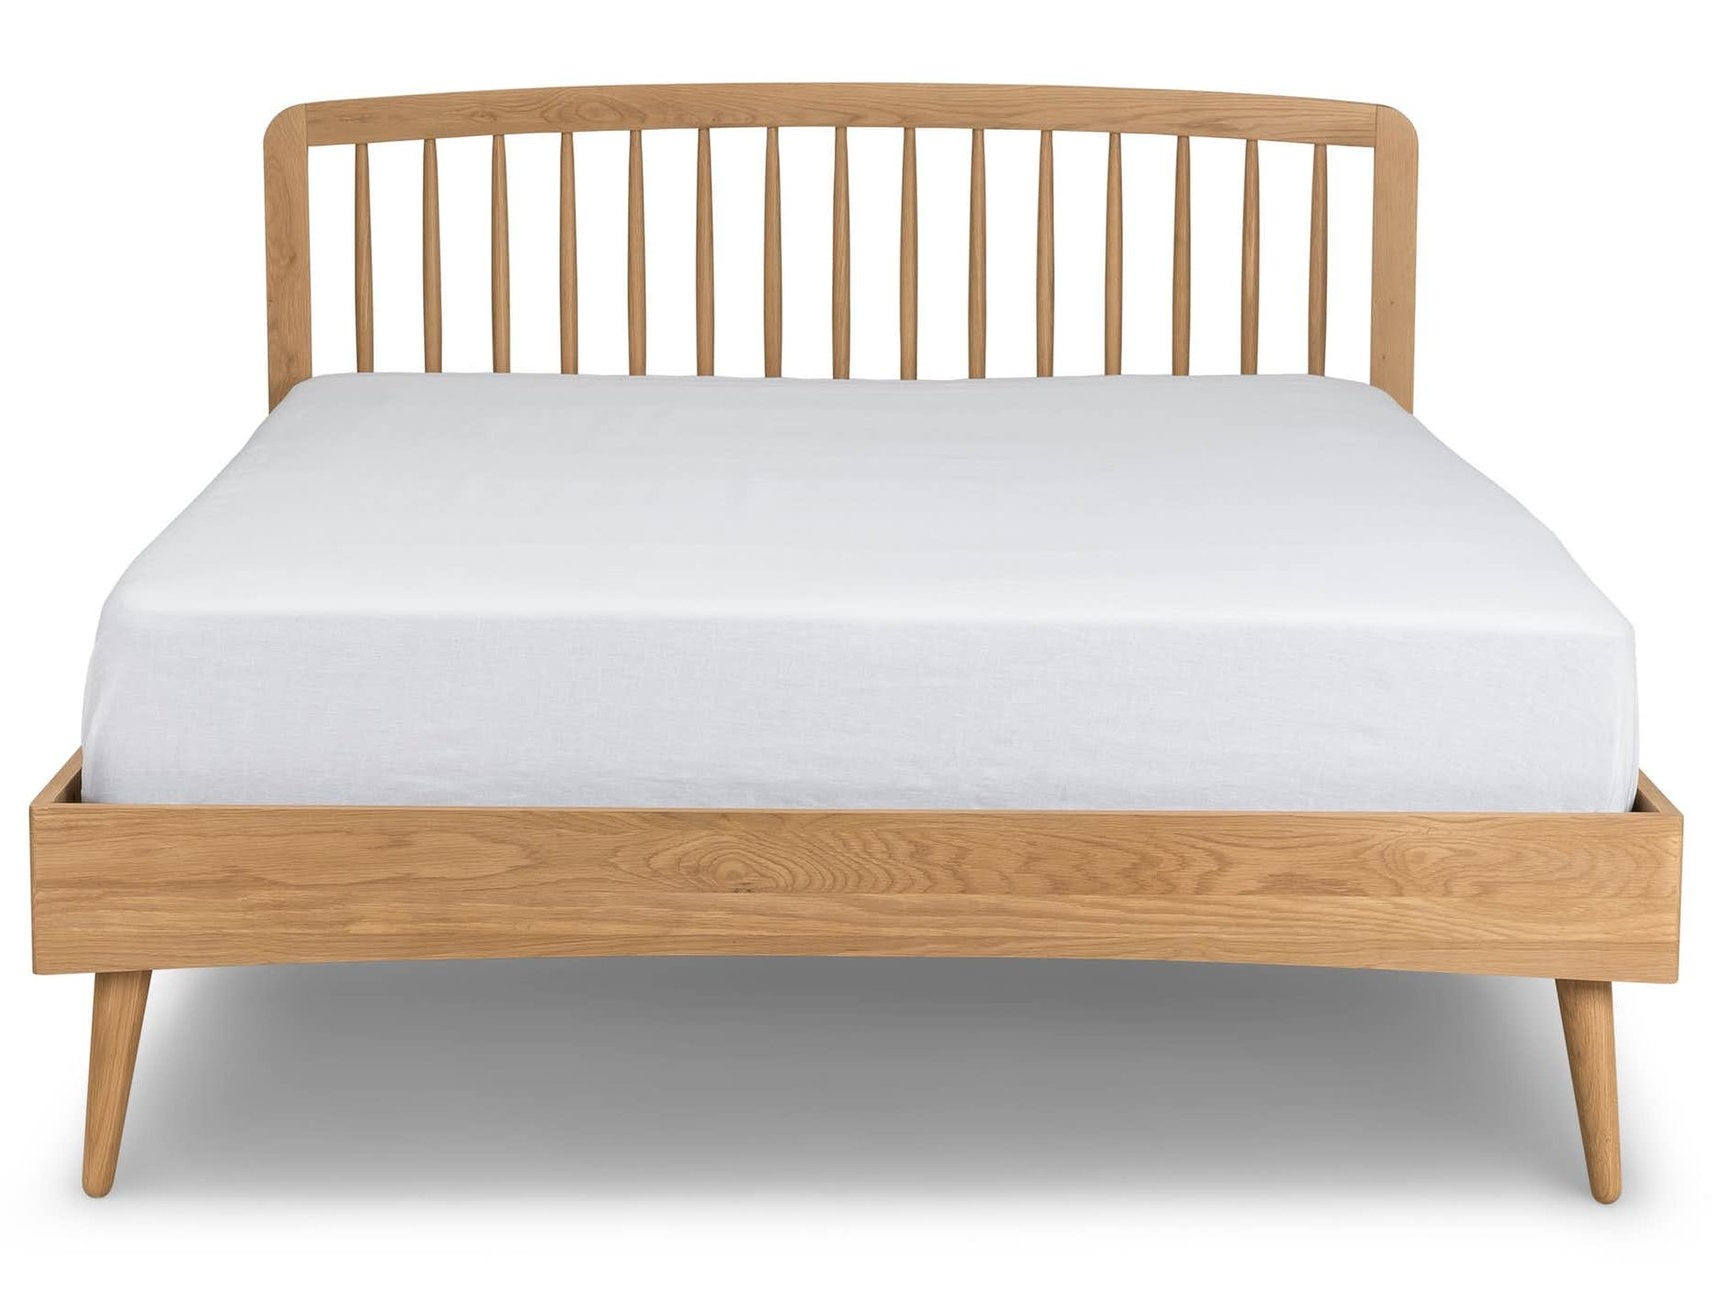

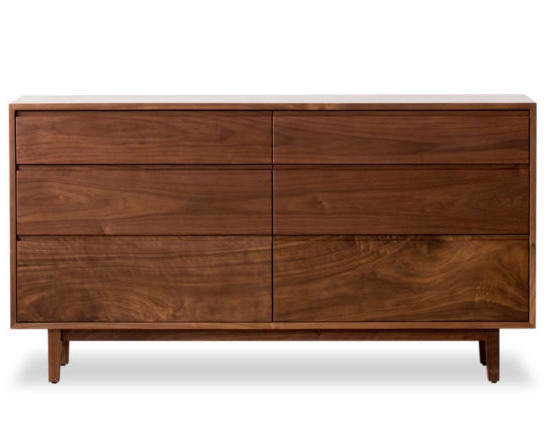
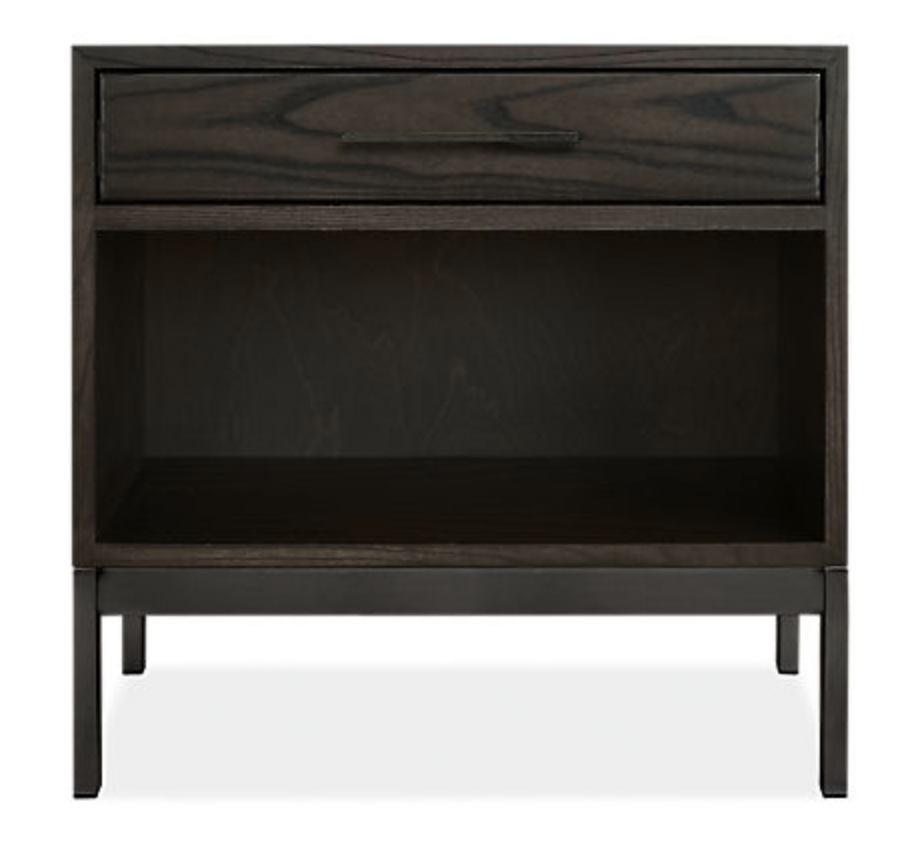


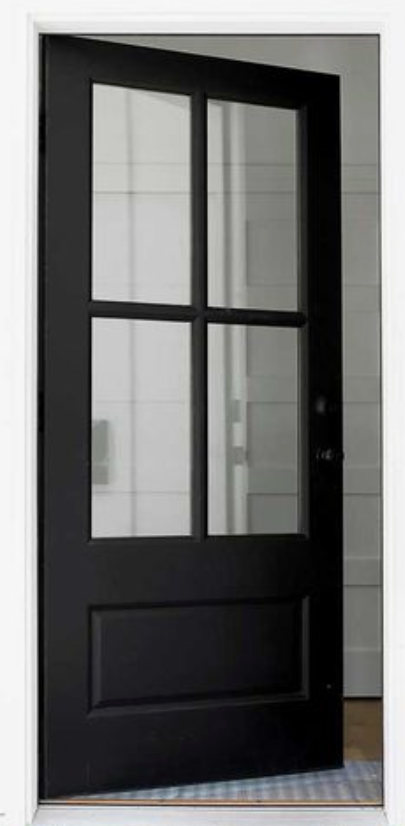
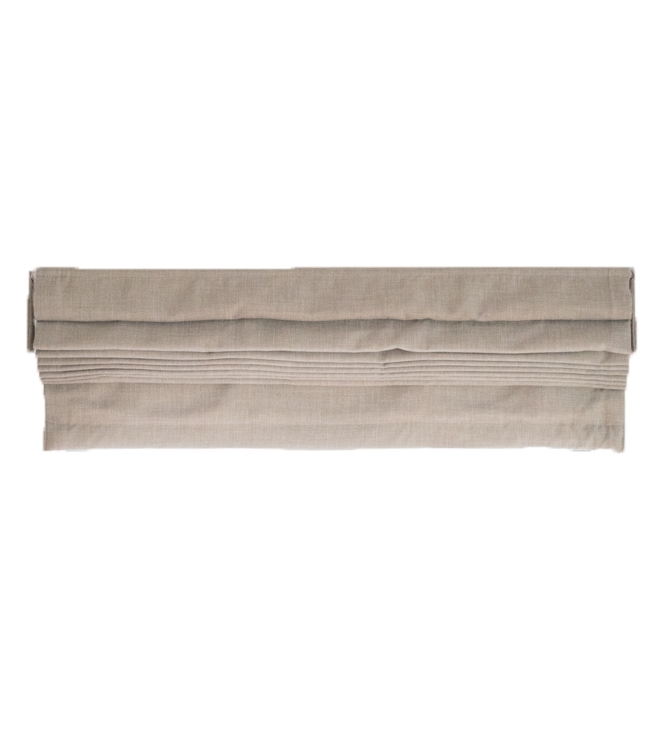

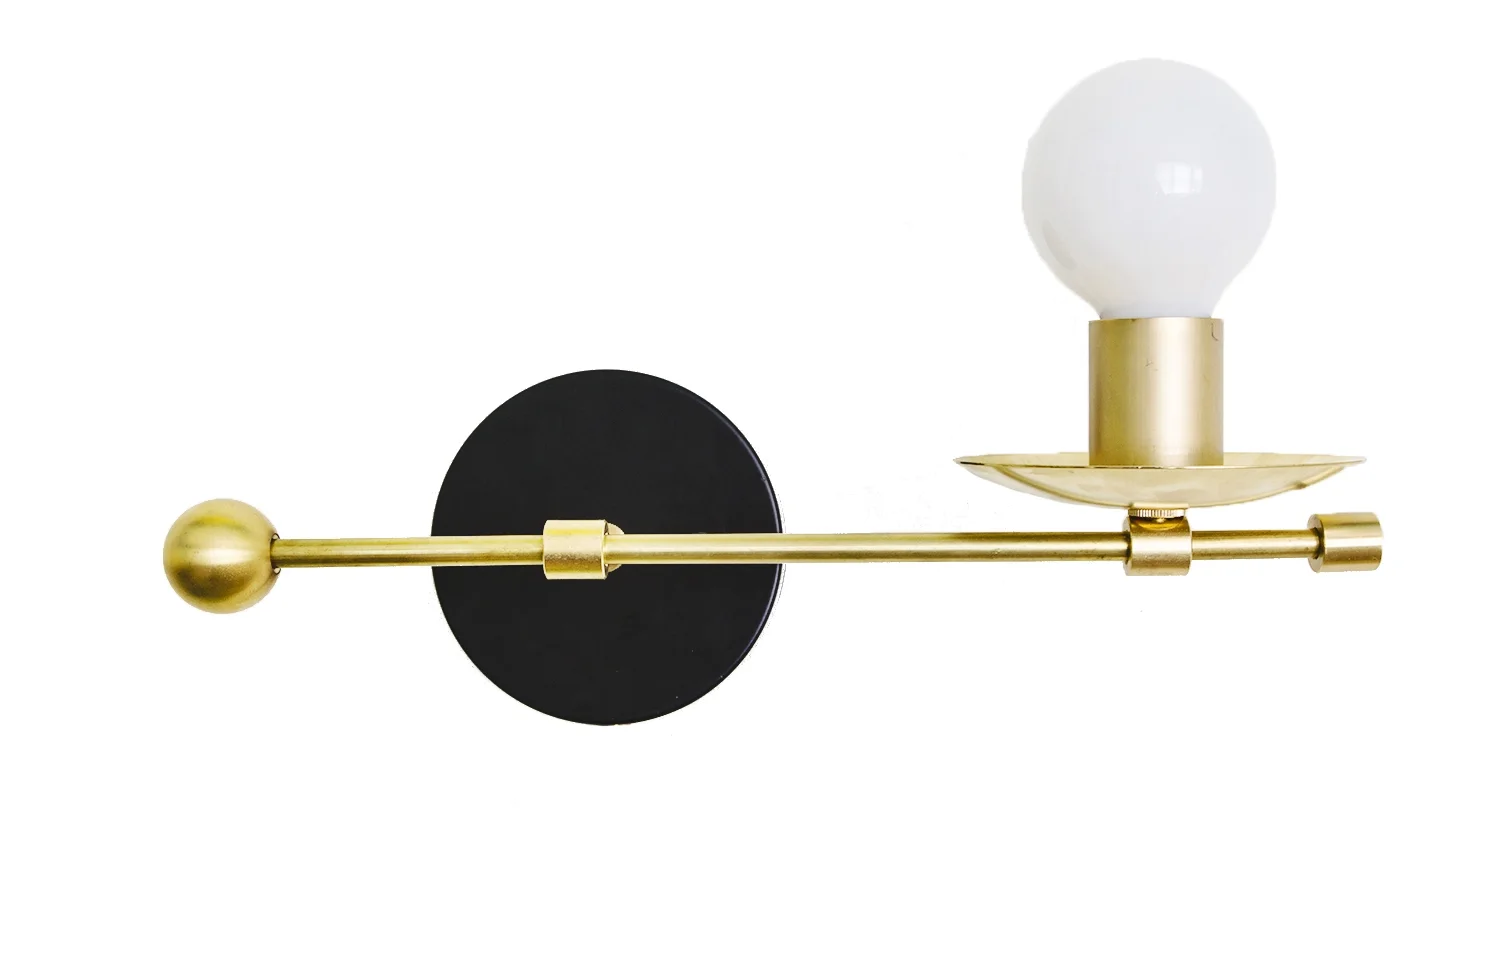




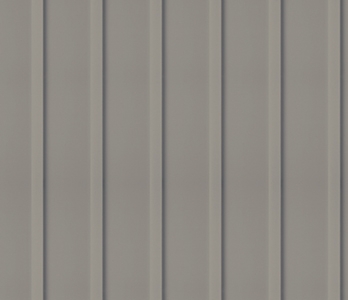
I can't wait to share more with you as I finalize the finishes and pull the whole look together!
Come back next Wednesday for a progress post. I'm going to start putting holes in the wall this weekend to run new electrical, and I'll probably need your help picking paint, so keep an eye out in Instagram Stories! I'm also going to do videos throughout the process, so subscribe to my YouTube channel so you don't miss out. If you aren't already subscribed to the blog, you can do that here.
Check out progress from my fellow featured designers below, and don't miss out on the guest participants!
Apartment 34 | Beginning in the Middle | Coco & Jack | The English Room | The Gold Hive
Gray Malin | Jenna Sue Design | Jojotastic | Kelly Rogers Int. | Linda Holt | Marcus Design
Michelle Gage | Natasha Habermann | The Painted House | Rambling Renovators
Sacramento Street | Shannon Claire | Sketch 42 | Stephanie Kraus | Bisou Style
Media Partner House Beautiful | TM by ORC
To jump into the future and see how this room turned out, click here!
I can't remember if I even shared this glorious news on the blog, but I won the One Room Challenge last fall! Sophie Donelson, editor in chief of House Beautiful magazine, picked her top two favorites out of 200+ guest participants and mine was one of them! GASP! The other room transformation winner was my blogger bud, Natasha Habermann.
In case you forgot the room transformation I did, my home office won for the handpainted mural and my love for organization. You can walk through each of the seven weeks of the transformation here.

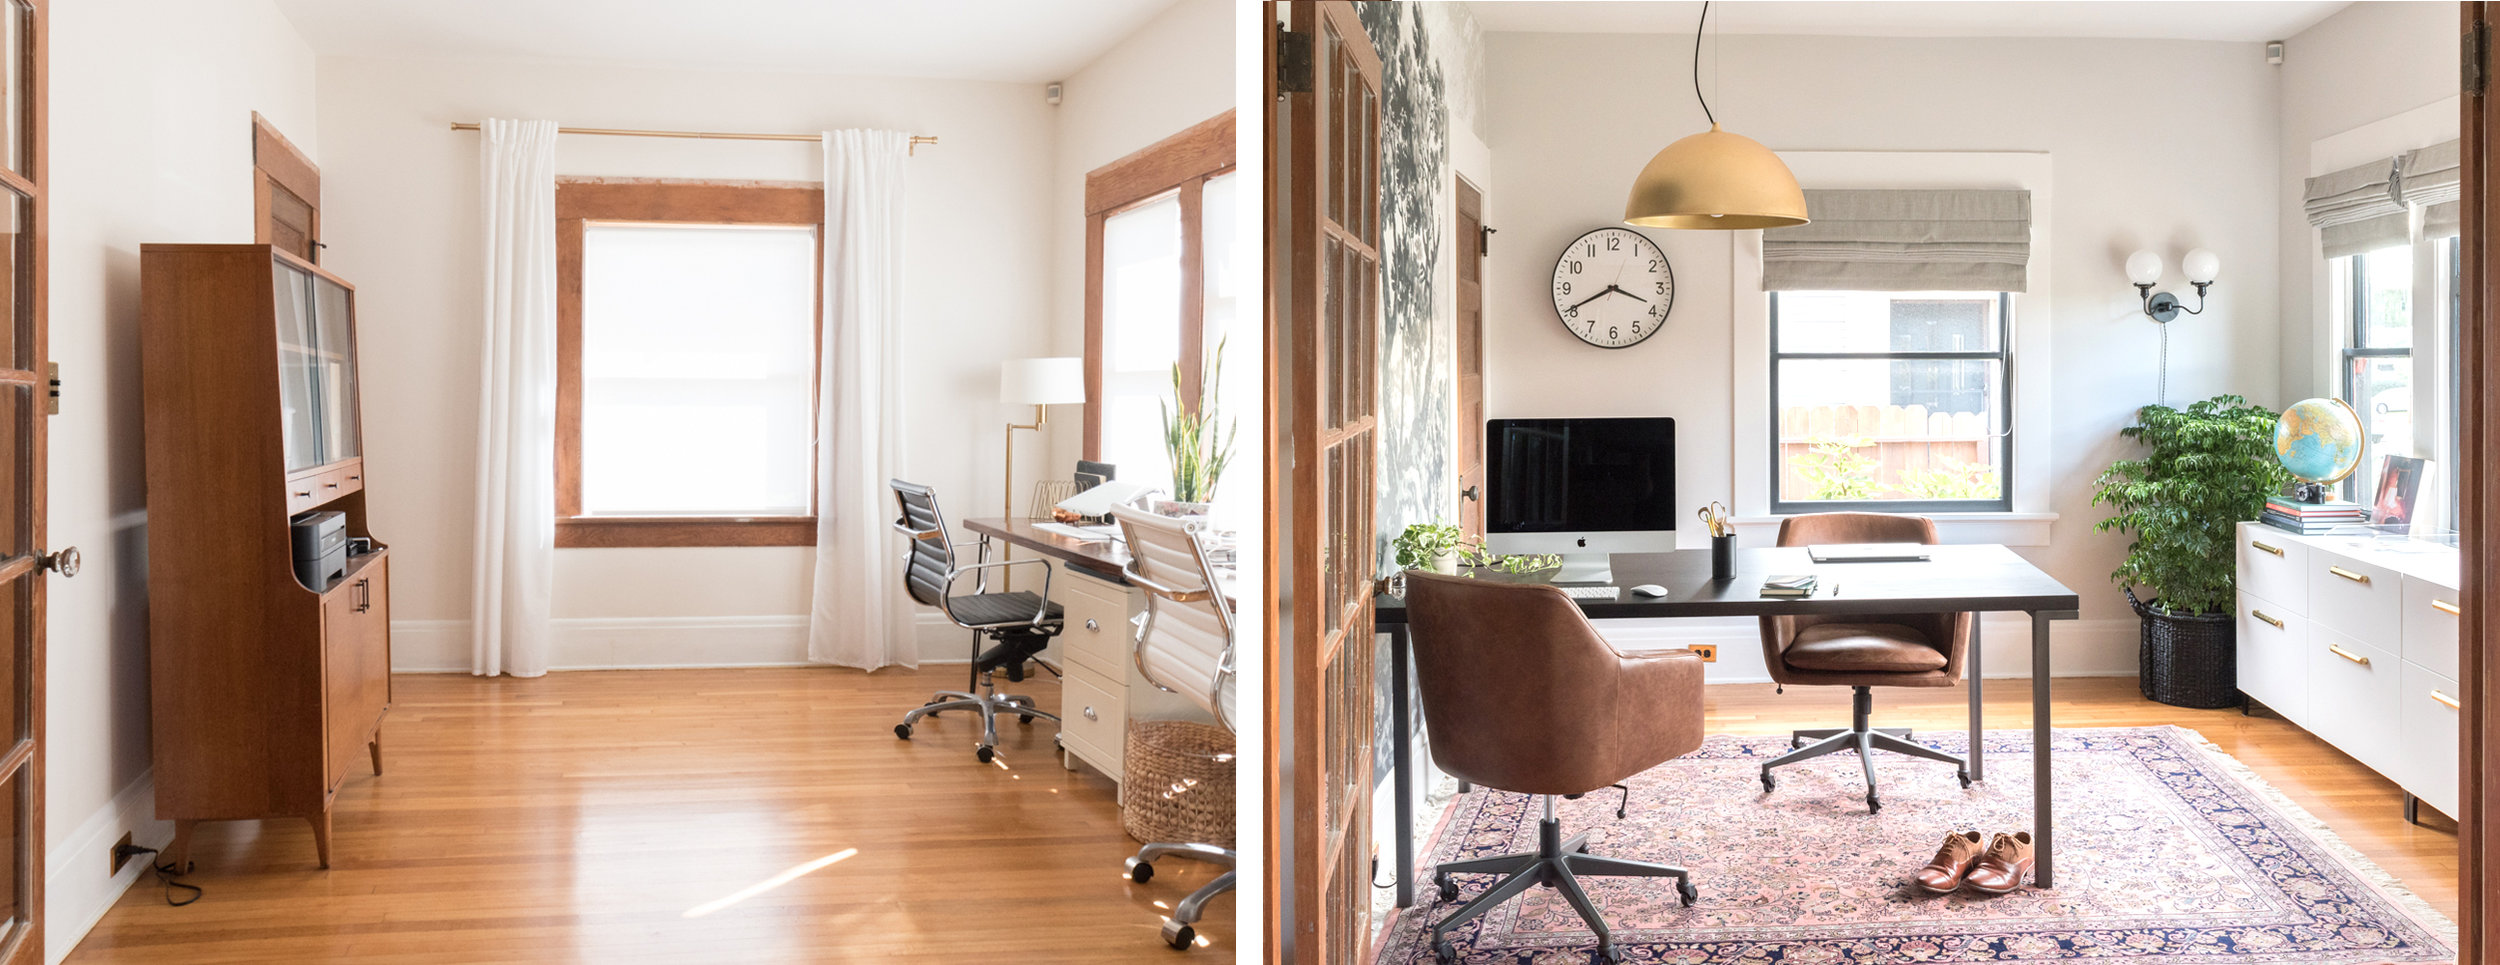
Winning was a highlight, but the prize also comes with the honor of being a featured designer in the upcoming season of the One Room Challenge! The last two times I joined in, I was a guest participant which is open to anyone with a blog (so jump in if you like rambling on the internet!). Natasha and I will be participating with a group of 18 other featured designers for the Spring ORC starting next week! Come back in exactly 7 days to see what we all have up our sleeves. A handful of blog friends are joining as guests (like Sarah, Nicole, Cathy, and Alison) and I'm already itching to see what they do, so don't play favorites - check out the featured AND guest participants!
Apartment 34 | Beginning in the Middle | Coco & Jack | The English Room | The Gold Hive | Gray Malin | Jenna Sue Design | Jojotastic | Kelly Rogers Int. | Linda Holt | Marcus Design | Michelle Gage | Natasha Habermann | The Painted House | Rambling Renovators | Sacramento Street | Shannon Claire | Sketch 42 | Stephanie Kraus | Style Me Pretty Living
Media Partner House Beautiful | TM by ORC
I promise that this time around I won't hand paint a mural for 100+ hours. I'll take it a little easier, but I'm really excited for the changes headed for another room in our house. Any guesses as to which space is earning a 6-week makeover?

Big news!
I've received many kind requests for the painting to be made available as wallpaper and/or as an art print, so your wish is my command. I'm pleased to make my design available for folks to hang on their walls without the 100+ painstaking hours I spent painting it.

The tree mural photographic print will be available in a variety of sizes and printing options. However, before I release it to the public, I'm making a single print available for a great cause.
A community-supported auction is benefiting the non-profits Everytown, Moms Demand Action, and Emily's List. Artists, brands, and makers have donated goods and services to raise money for these organizations that aim to end gun violence and elect women into government. I'm so proud to be participating in the auction by making the first ever tree print available to bidders with 100% of the sale benefiting these organizations.
The auction is running March 19-26 and bidding is as easy as leaving an Instagram comment - literally. Over 200 other items are all available to bid on over at the @_stillwerise Instagram feed. Auction rules and FAQs can be found here.
You can bid on the tree print and all of the other items through Monday! Then, come back next week to purchase a print in the size of your choosing.
Happy bidding!
P.S. How would you prefer to purchase the tree painting? a digital download? an art print? a custom framed print? or even on a pillow, mug, or notebook?


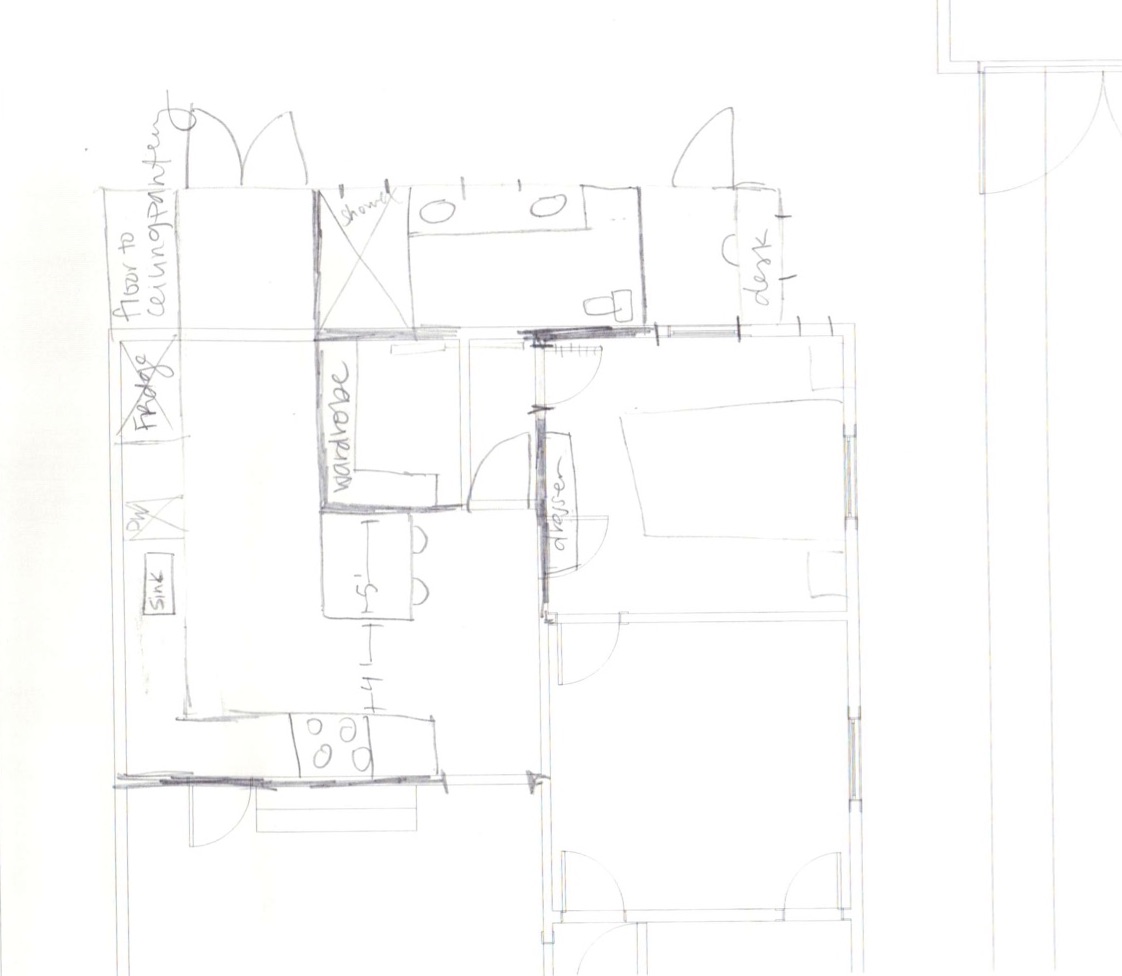
I've spent the past three years trying to decide on a new layout for the back of our house. We've come up with lots of ideas, but there is ultimately always a compromise of some sort and we struggle with identifying what we want to give up on. I think we've solidified a plan, but I'm still not 100% so I want your feedback!

Below is the existing floor plan.

We have three bedrooms, one bathroom, and a nice flow between the spaces that makes the house feel airy yet not too open. The ceilings are nine feet tall so even though our house comes in at just under 1,400 square feet, it still feels perfectly spacious. I love this little abode.
The master bedroom is accessible only by walking through another bedroom, or the kitchen. It's fine right now when the guest bedroom is actually just a TV room, and access to the kitchen is very convenient for rolling out of bed straight to breakfast. But, I'd like to access the master without tripping over a sleeping house guest or a stove.
We'd like to have a second bathroom in the house, ideally in the form of an ensuite off the master bedroom.
The kitchen layout isn't the most functional. It's decently sized but with wasted space on half of the room and with the two mudrooms. These two little rooms are inefficiently used for storage, and the walls block all of the natural sunlight from the back of the house.
We want a more indoor/outdoor feel. Right now, the only backyard access is through a door that's tucked away in a mudroom. We'd like to see the kitchen and the master extend into the outdoor space.
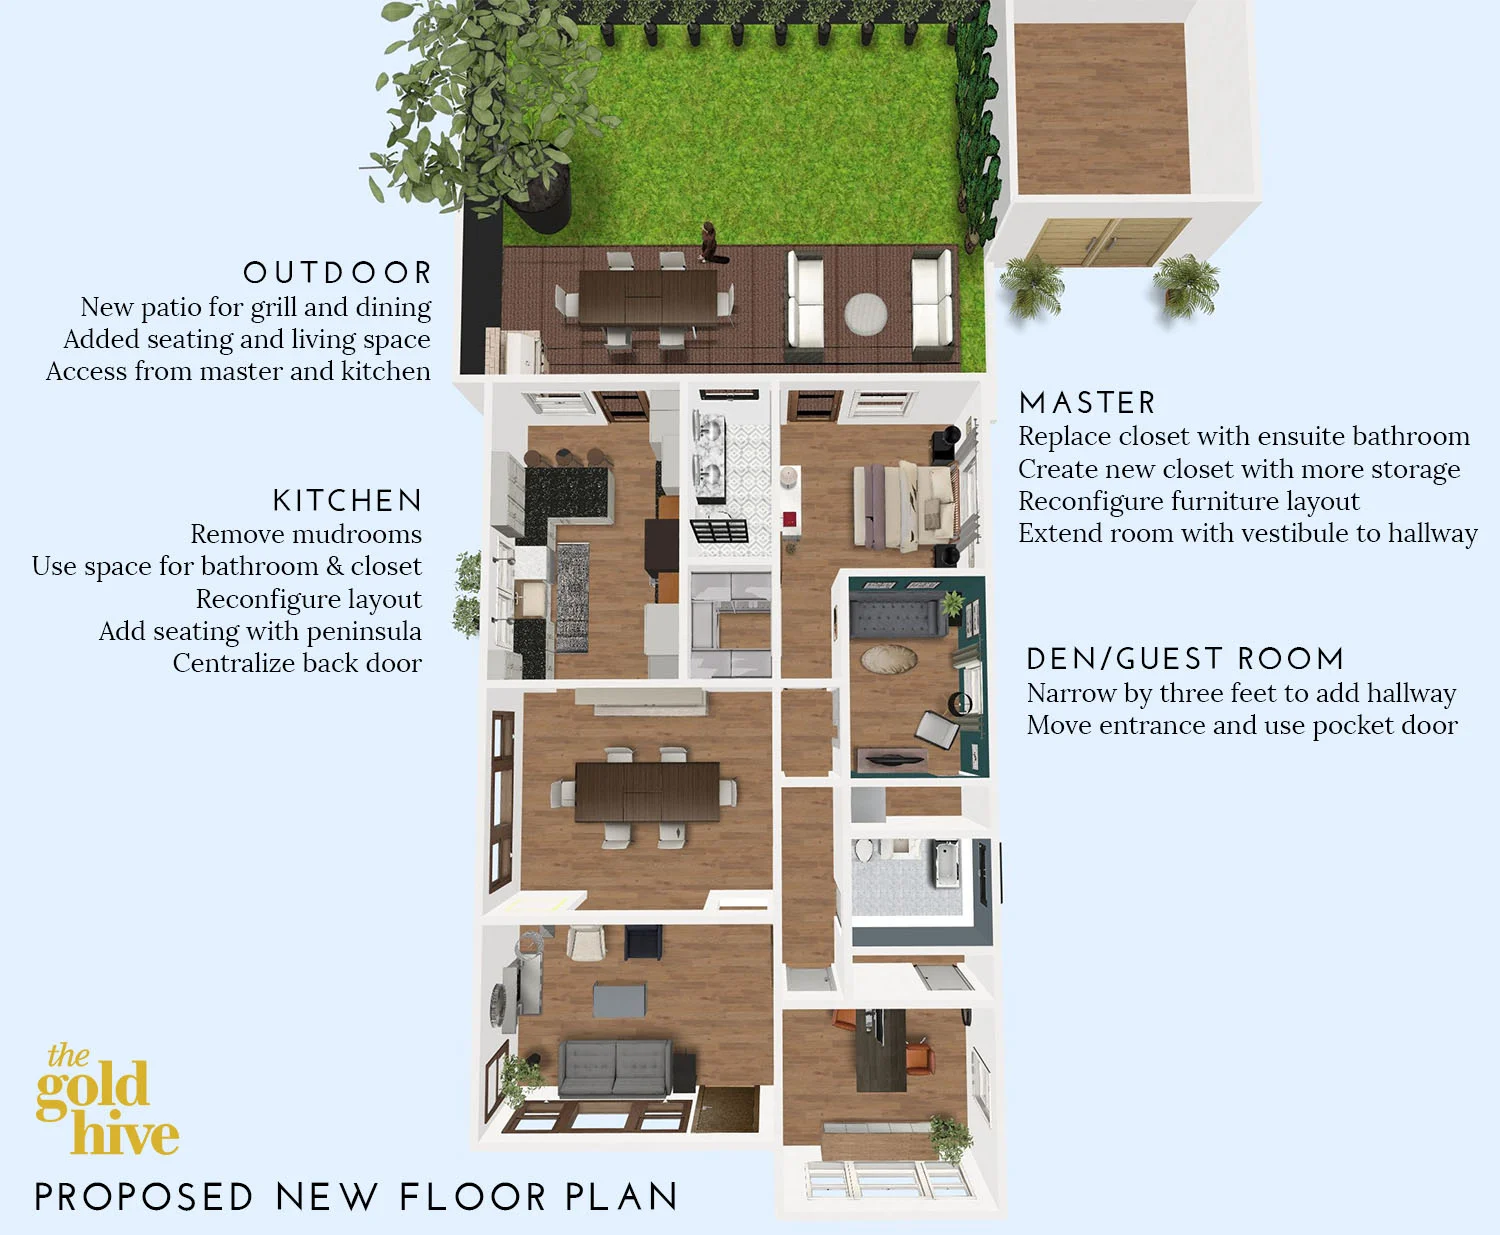
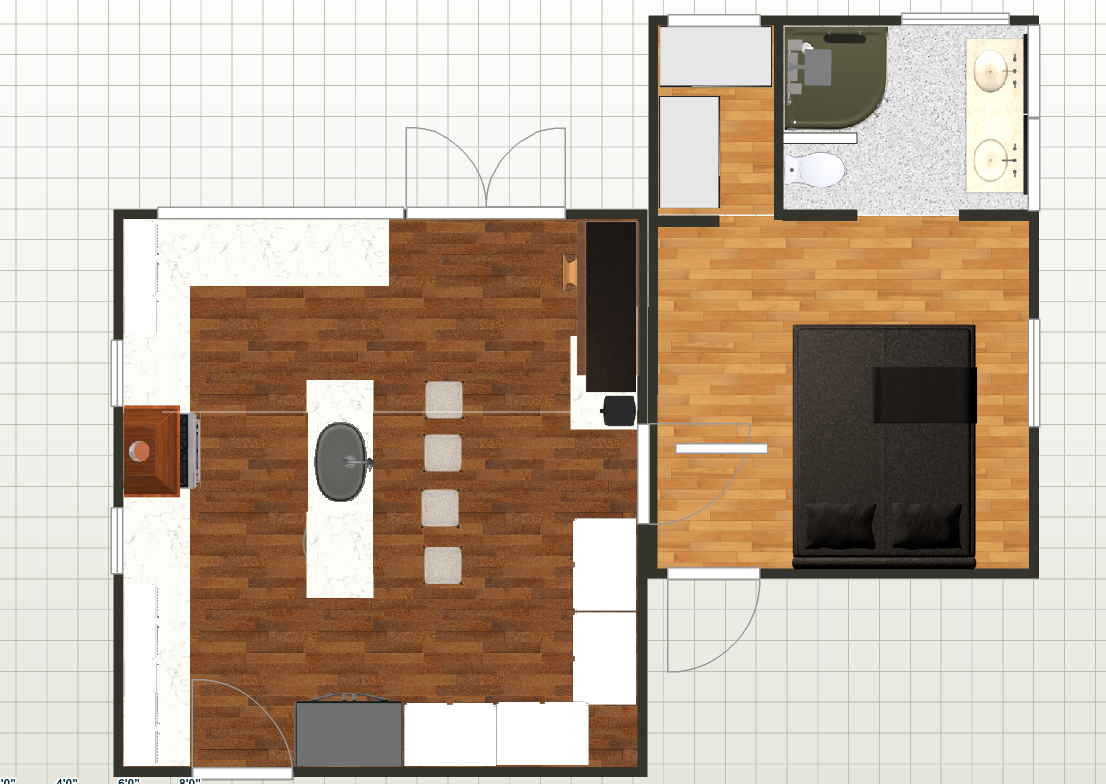
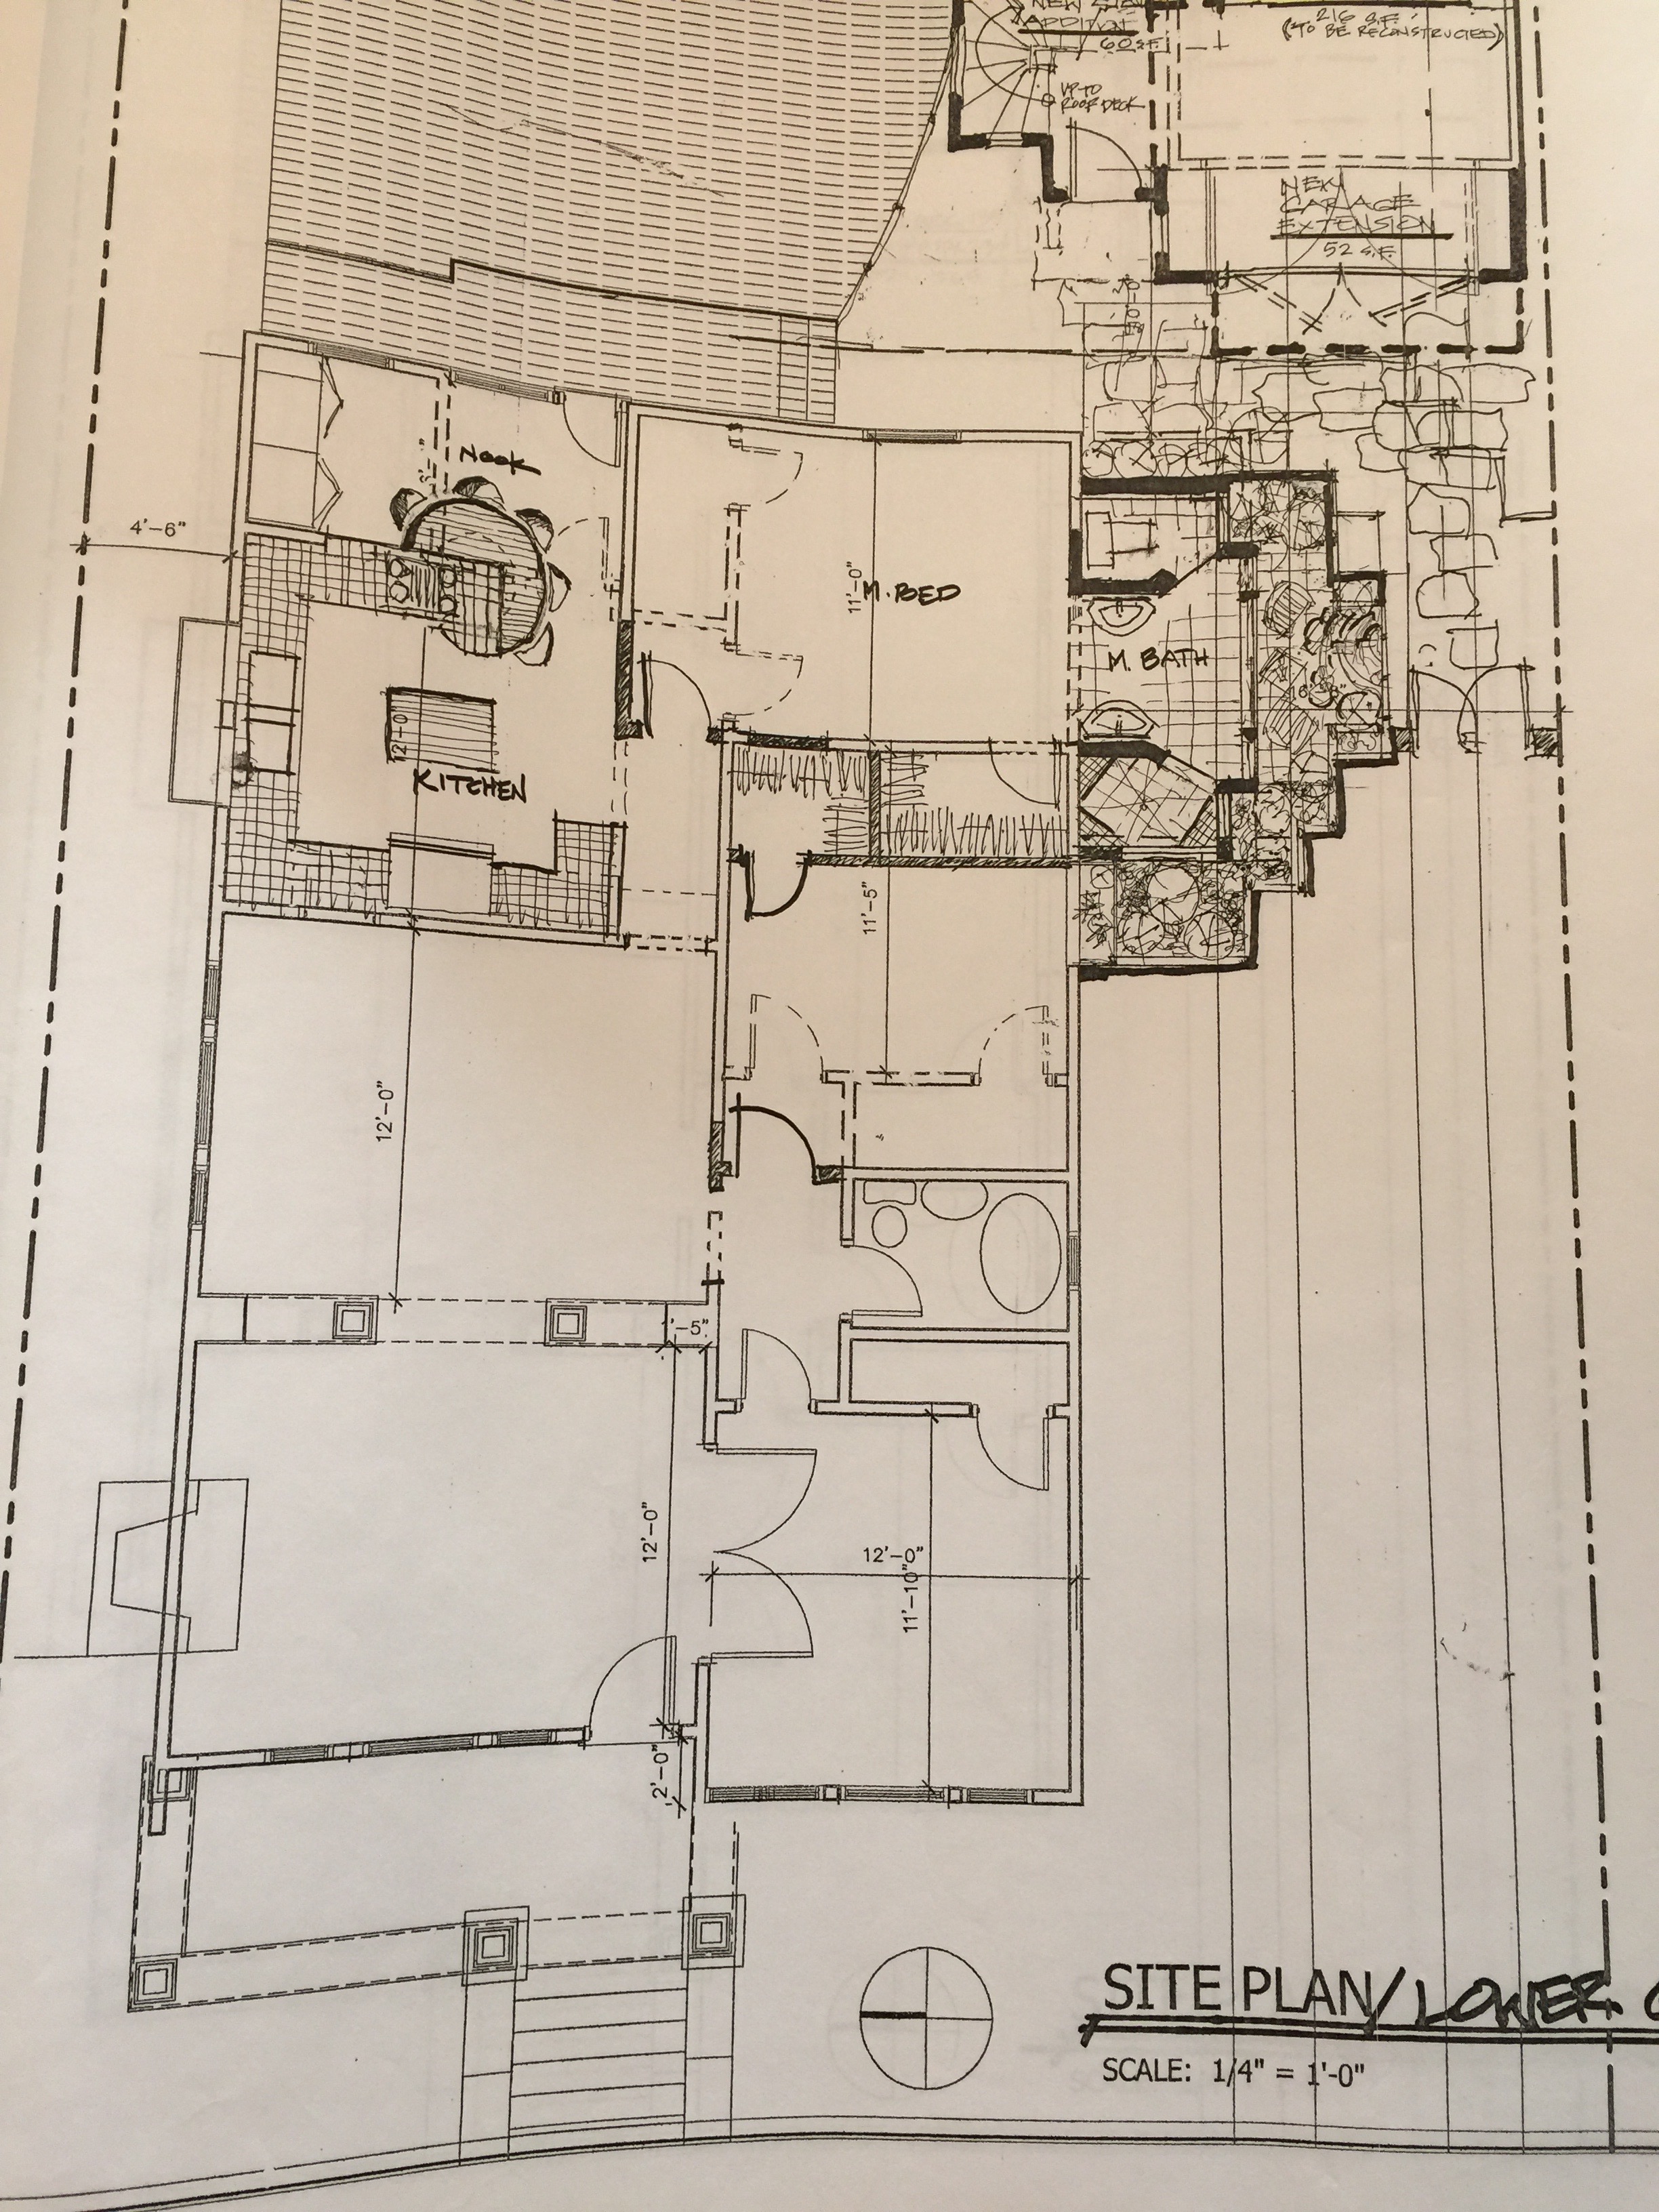
In this new layout, we'd gain a second bathroom, a bigger closet, both the kitchen and the master the would open up to the backyard, and we'd access the master through a hallway instead of another room. YAY! The only compromise is that the guest bedroom would get significantly smaller. To remedy the small space, I'll add transom windows over the guest room and hallway doors so natural light can flow between all the spaces. We will also install pocket doors to gain as much floor space as possible.
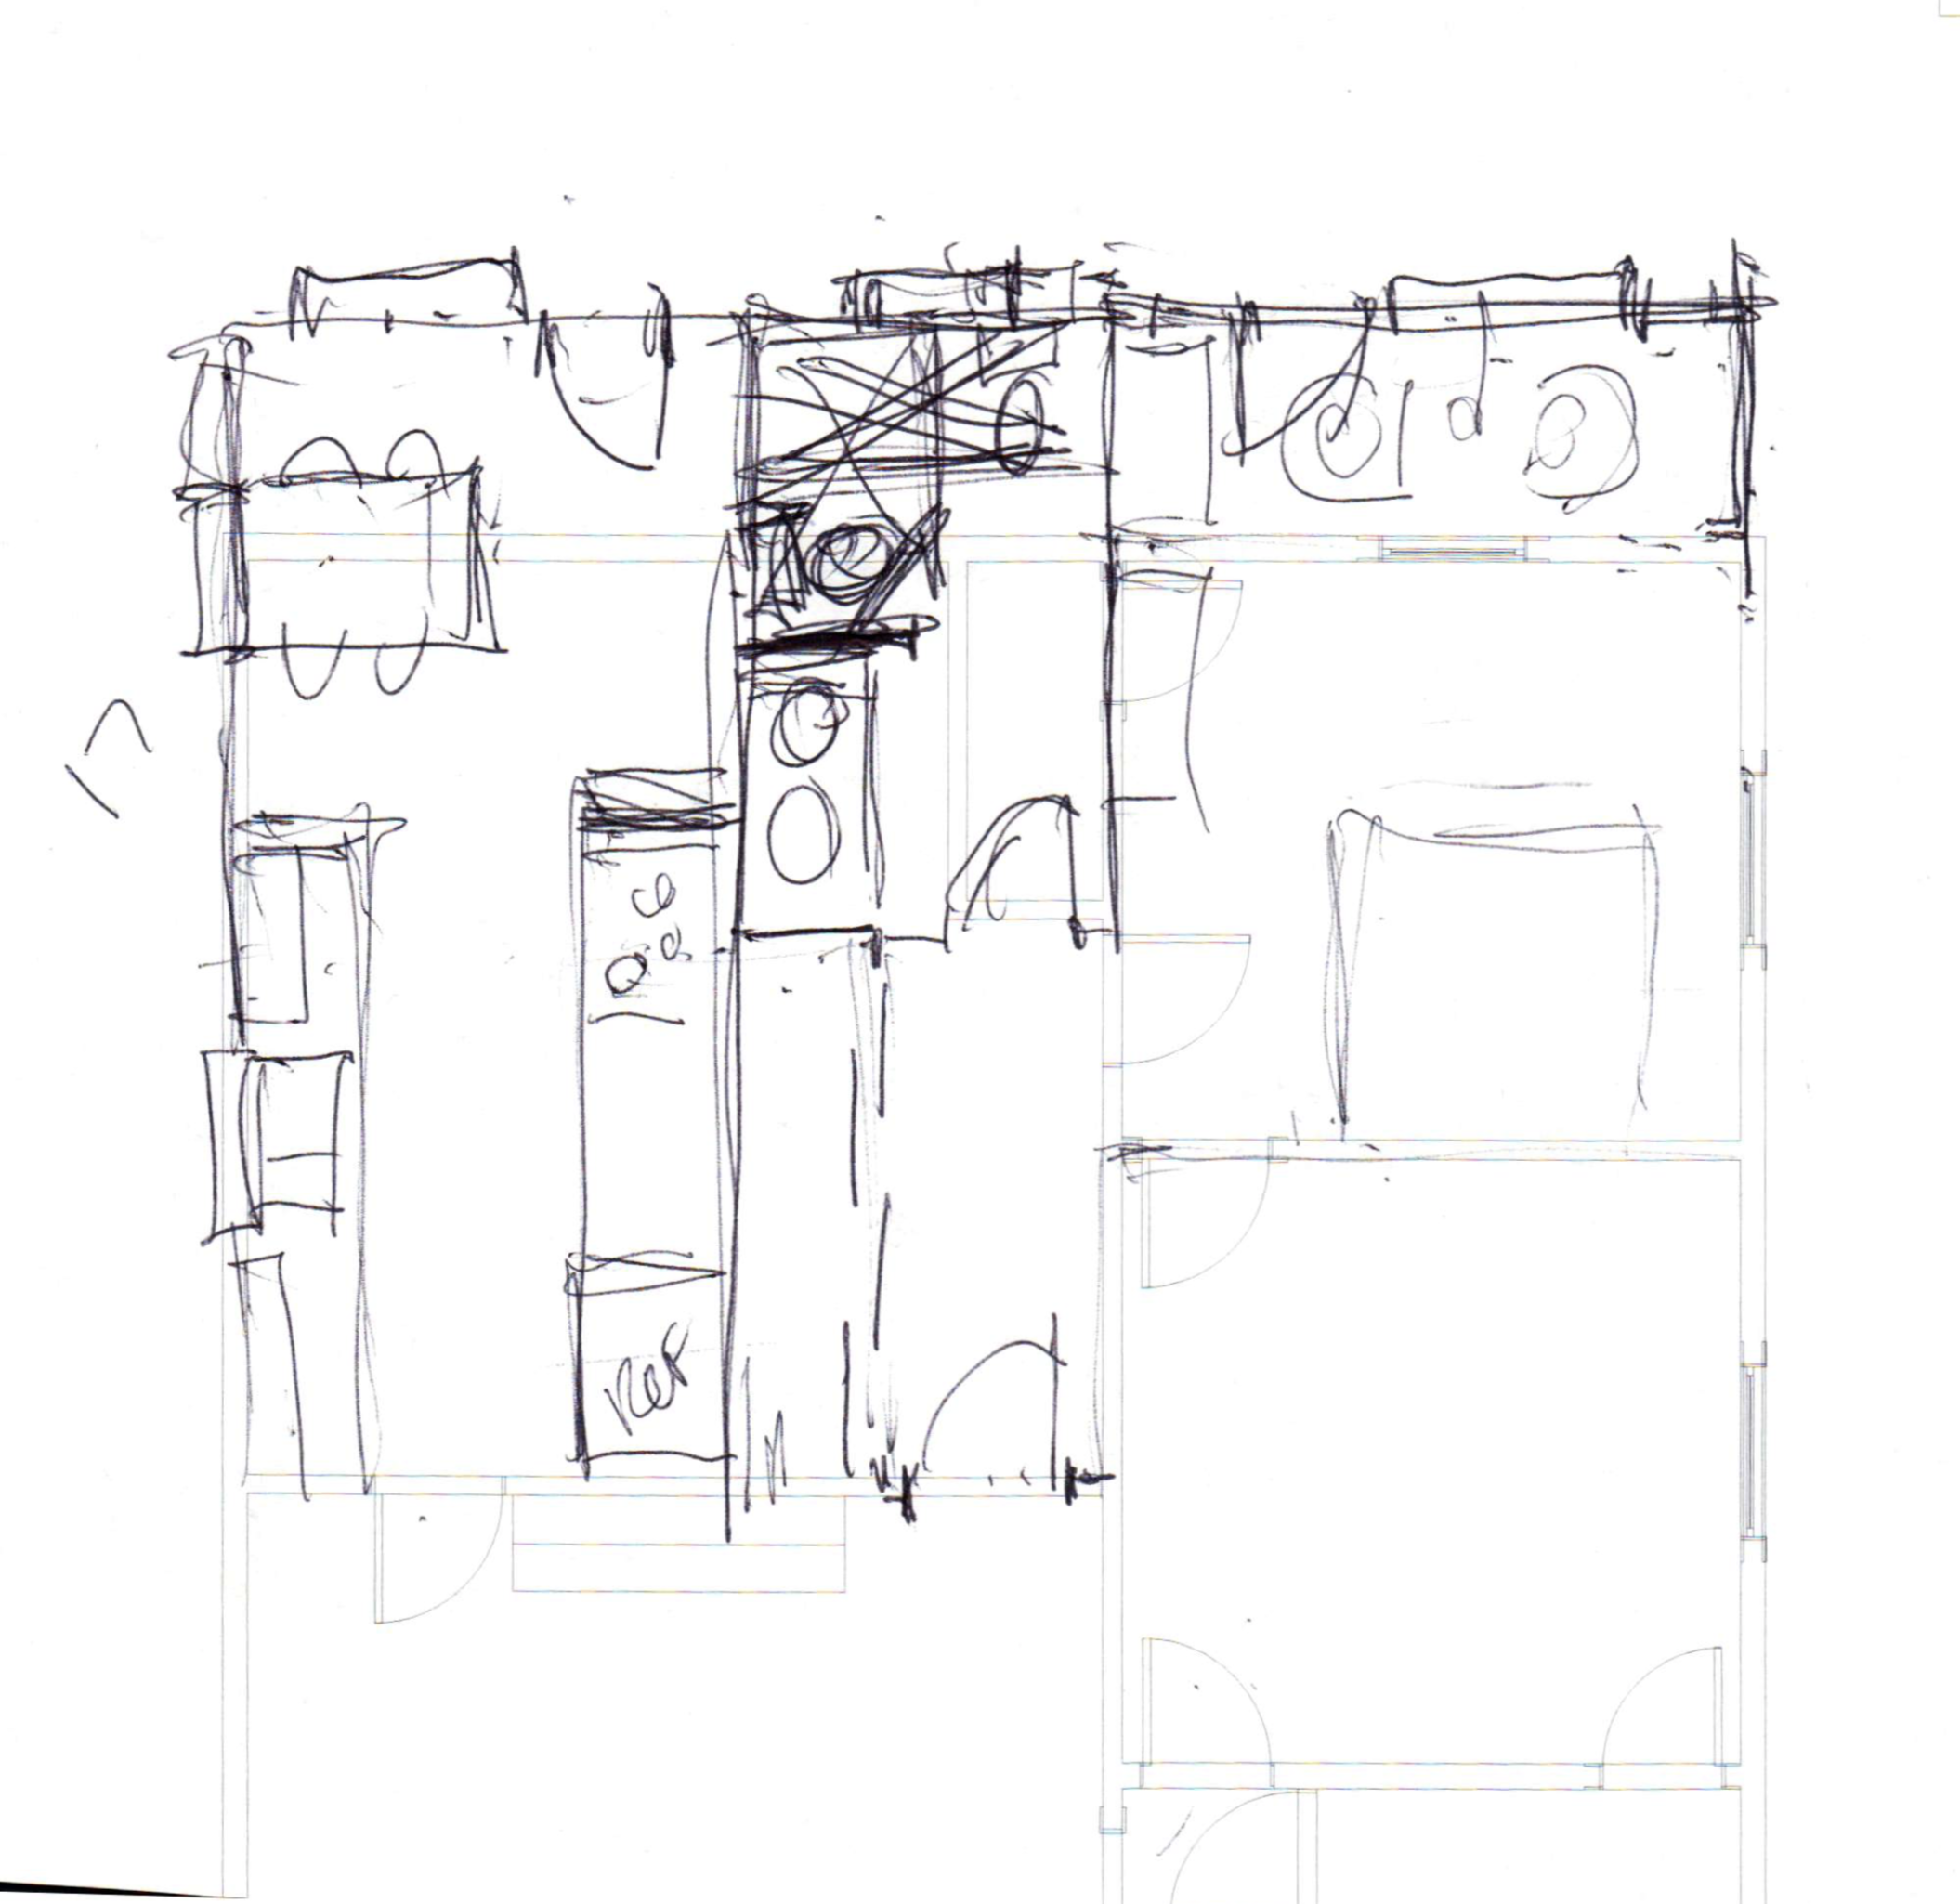
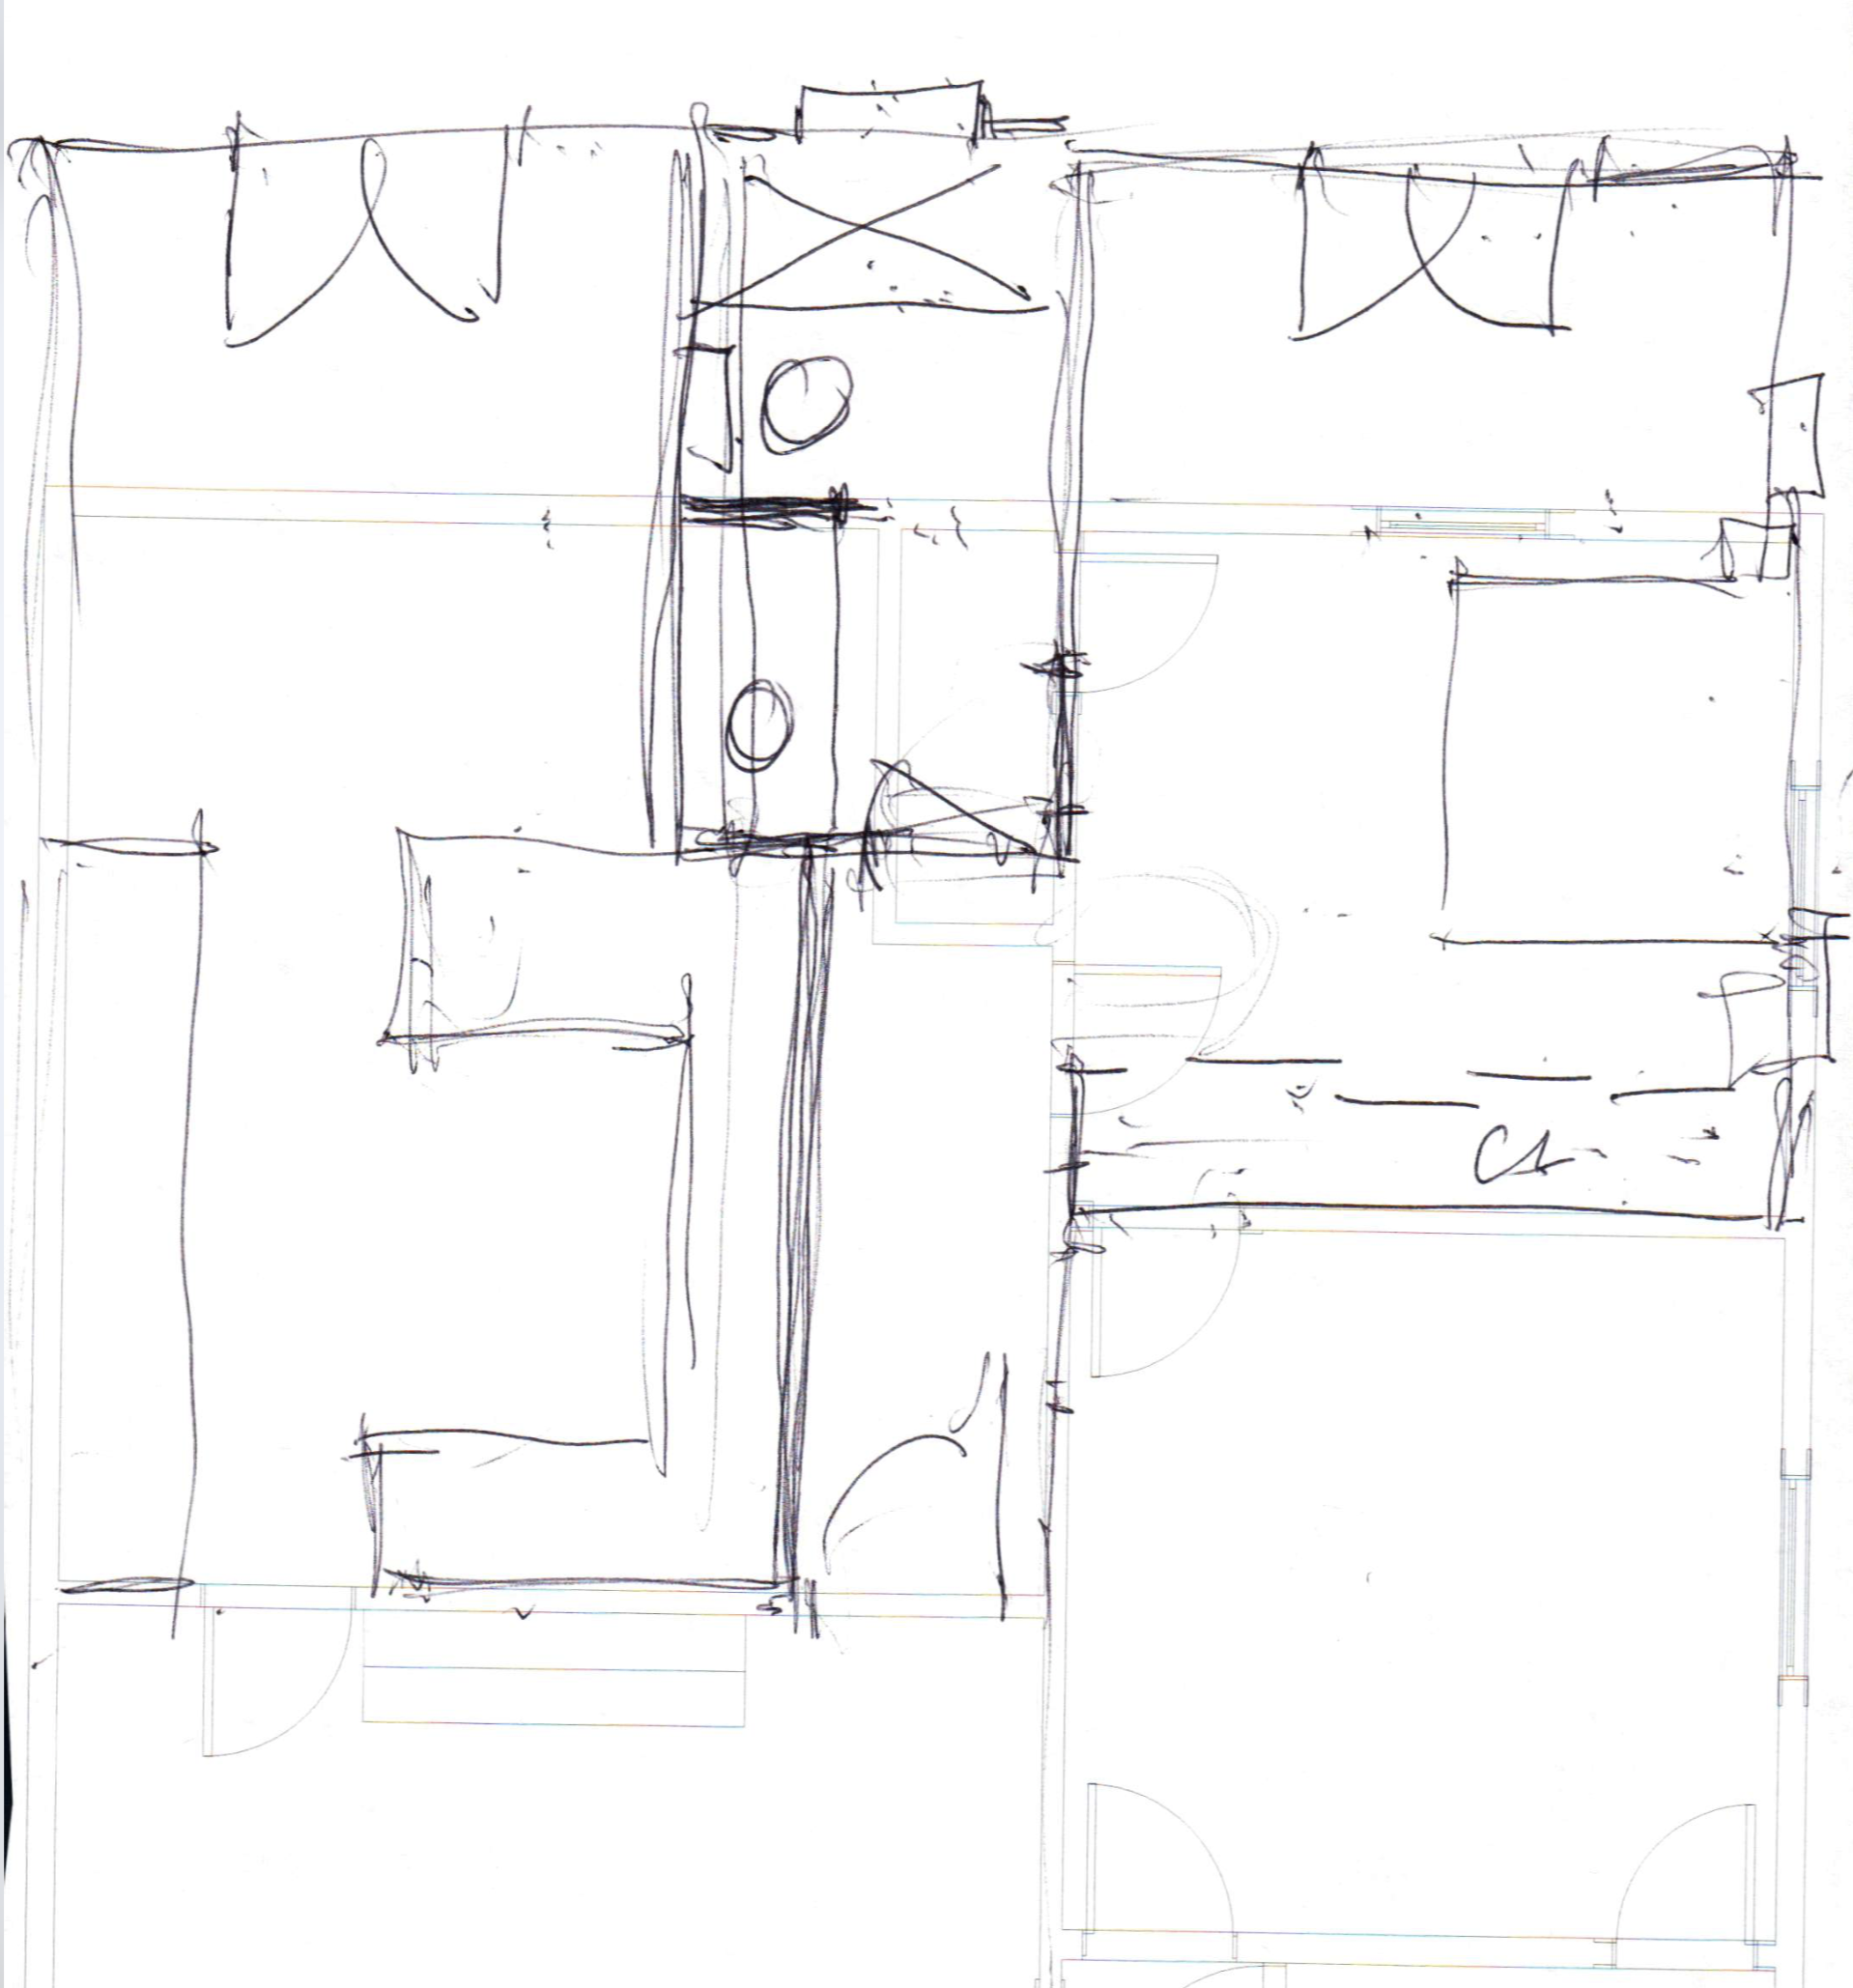
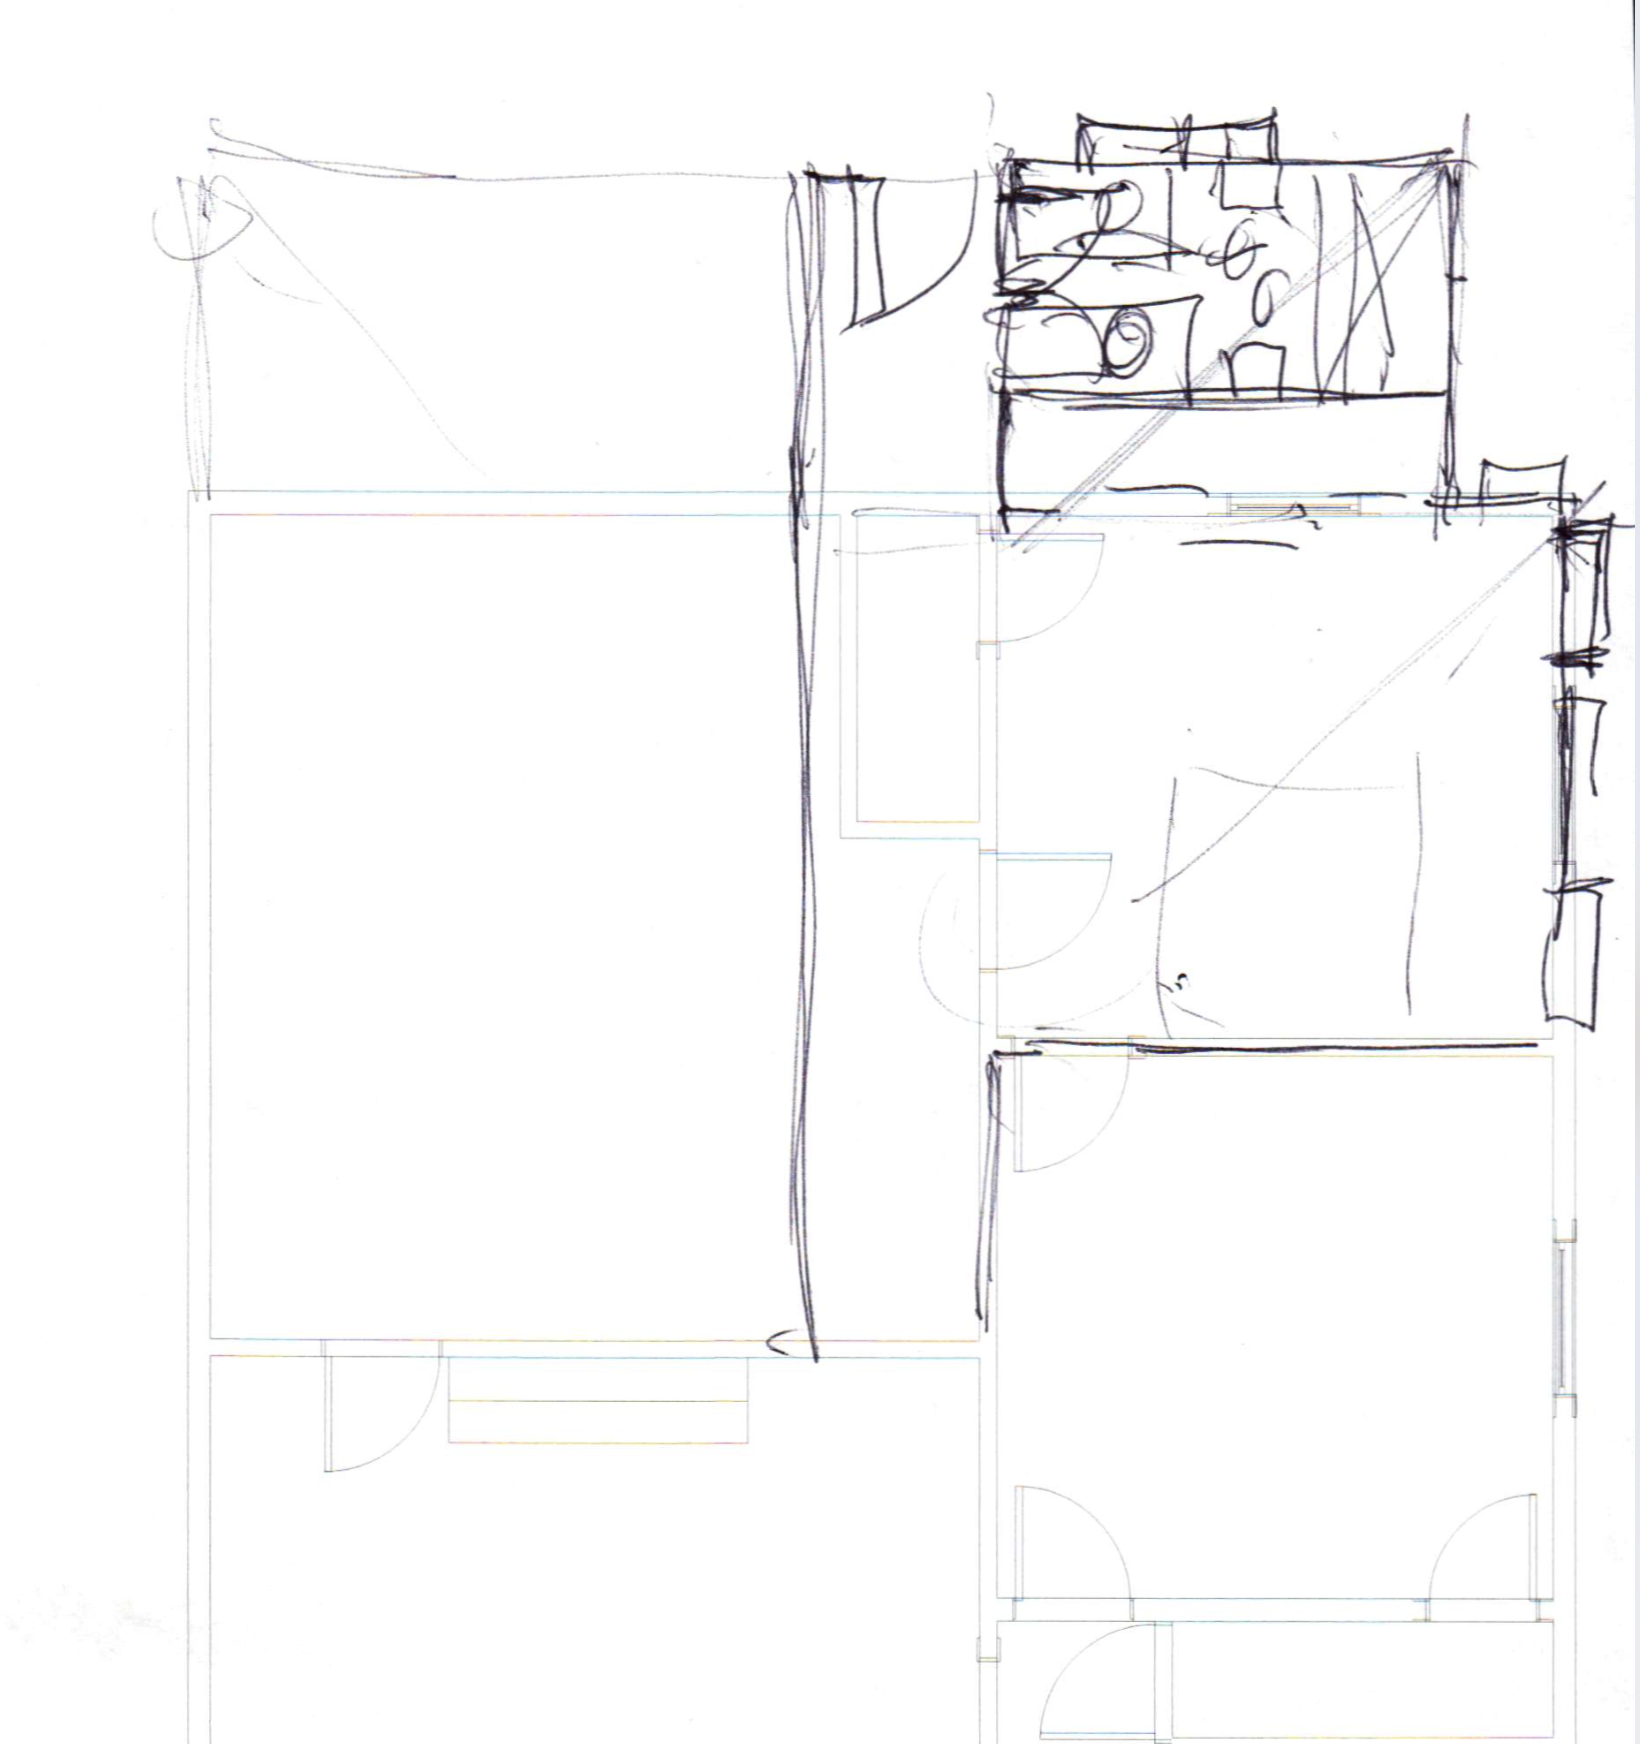
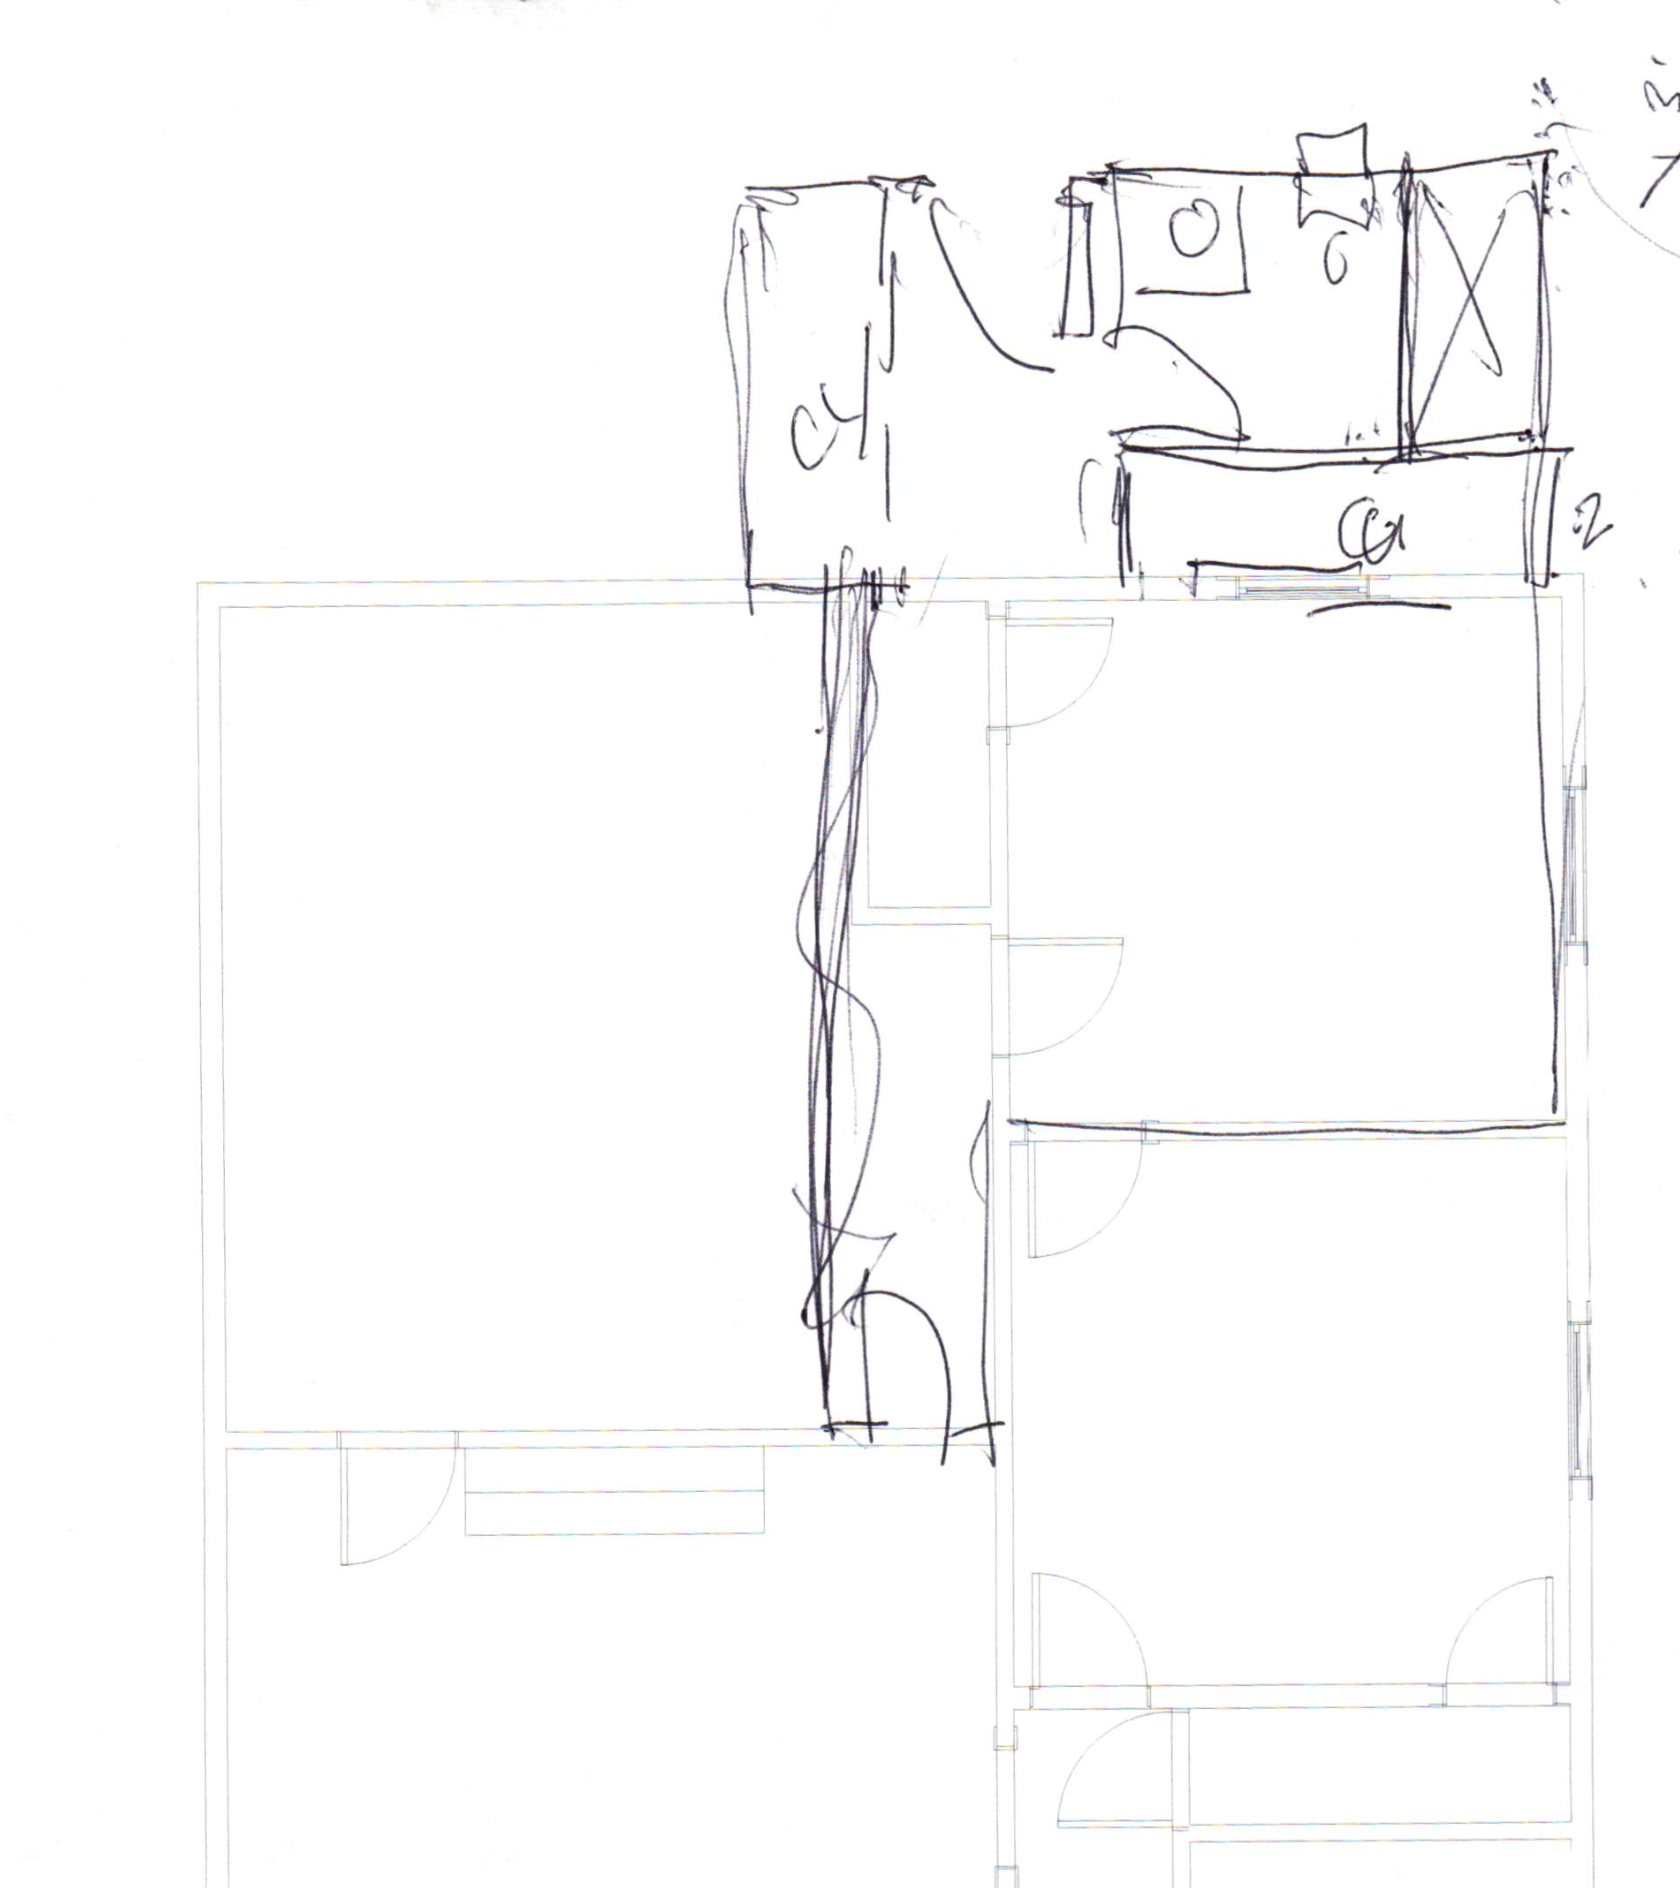
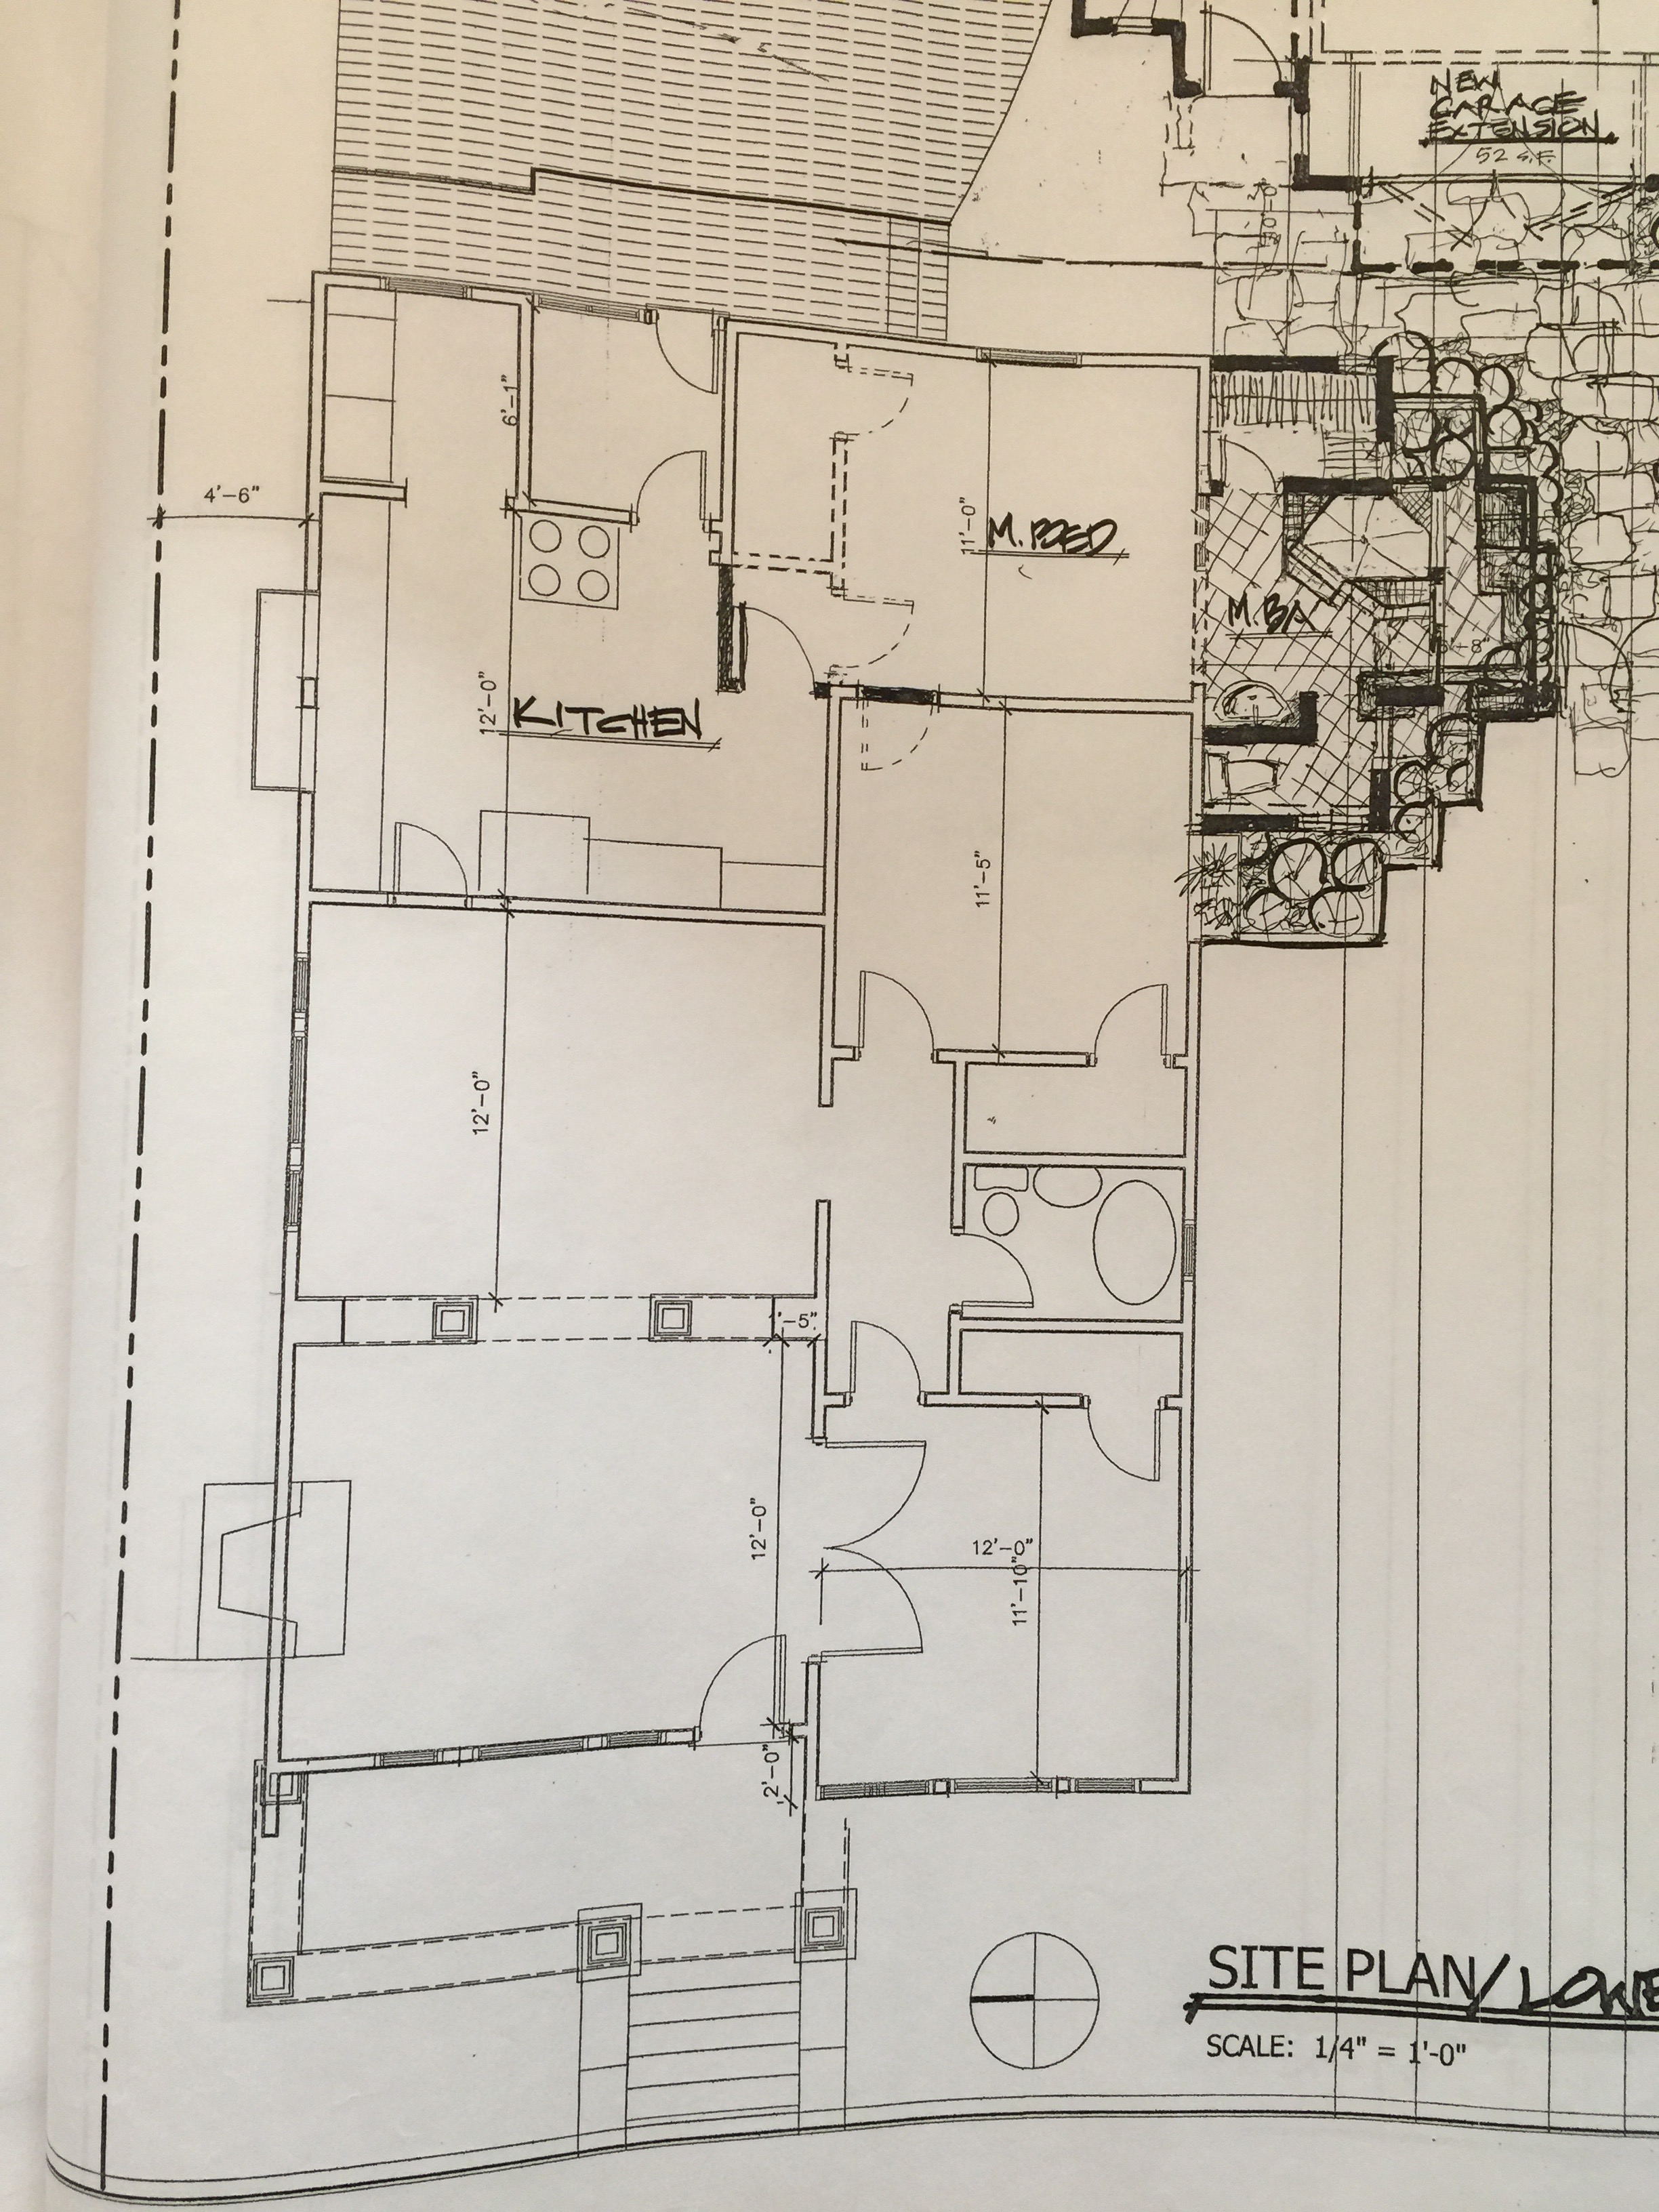
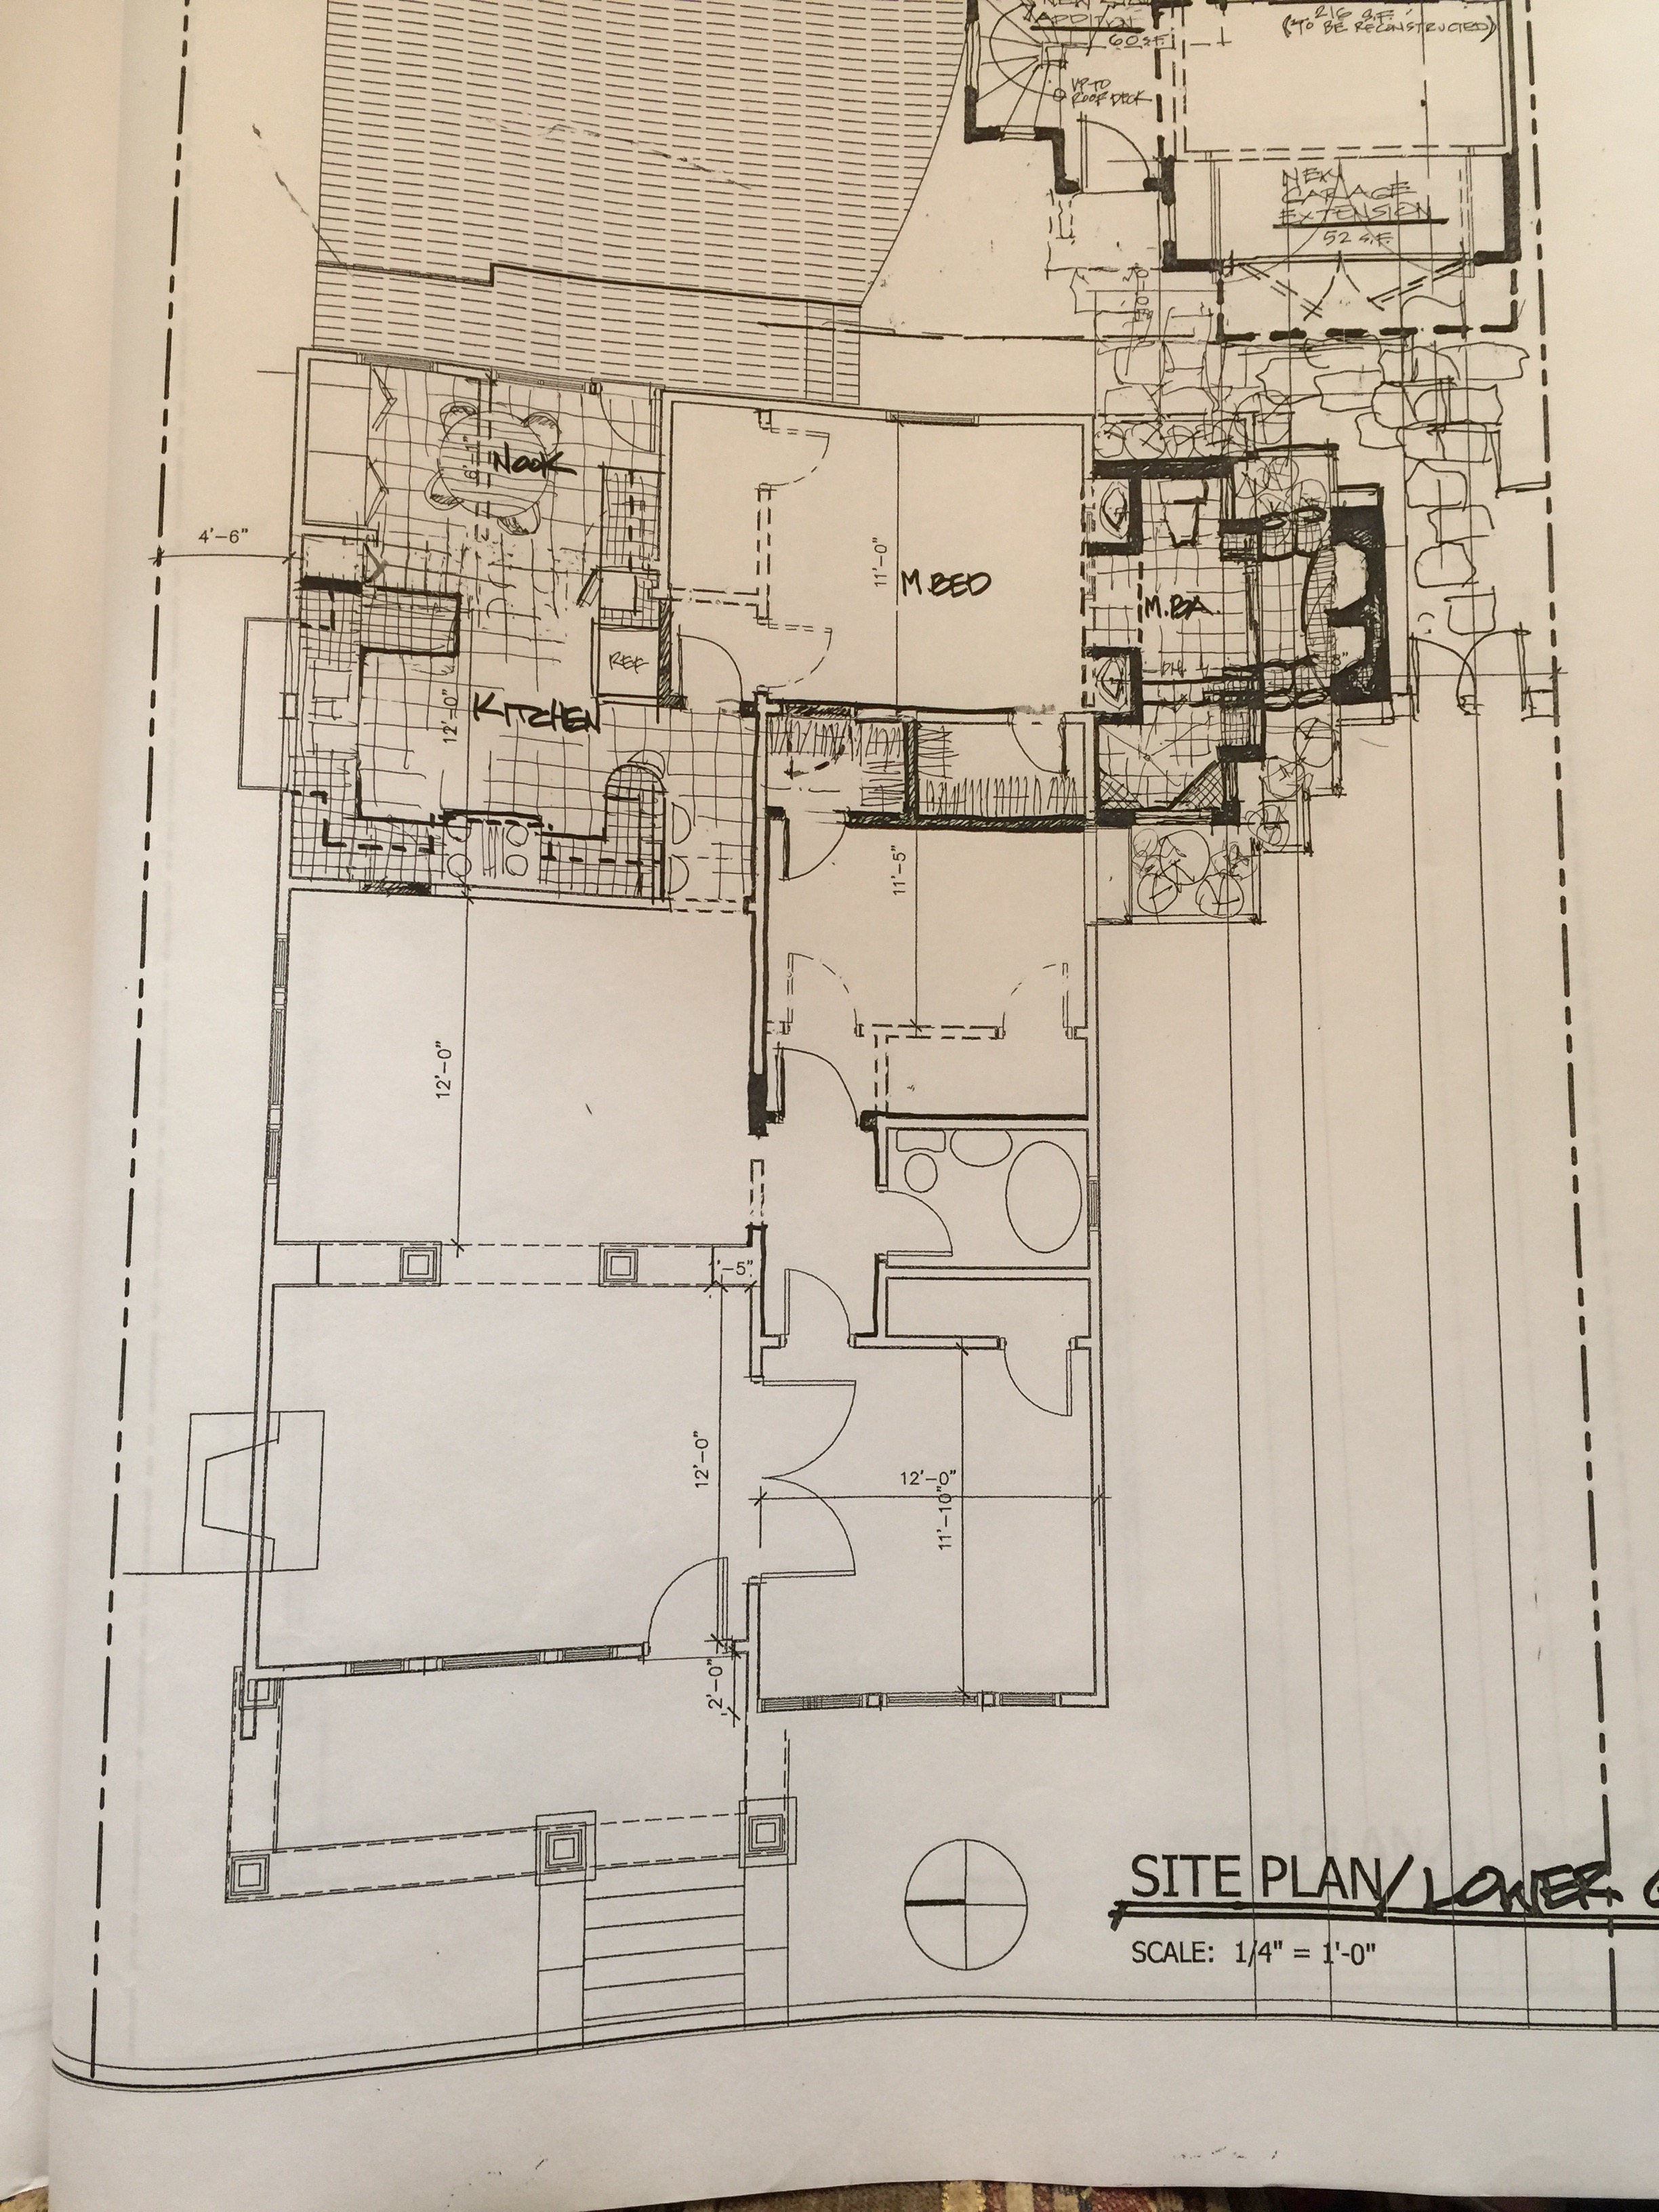
Here are each of the floor plans side-by-side so you can see the changes.
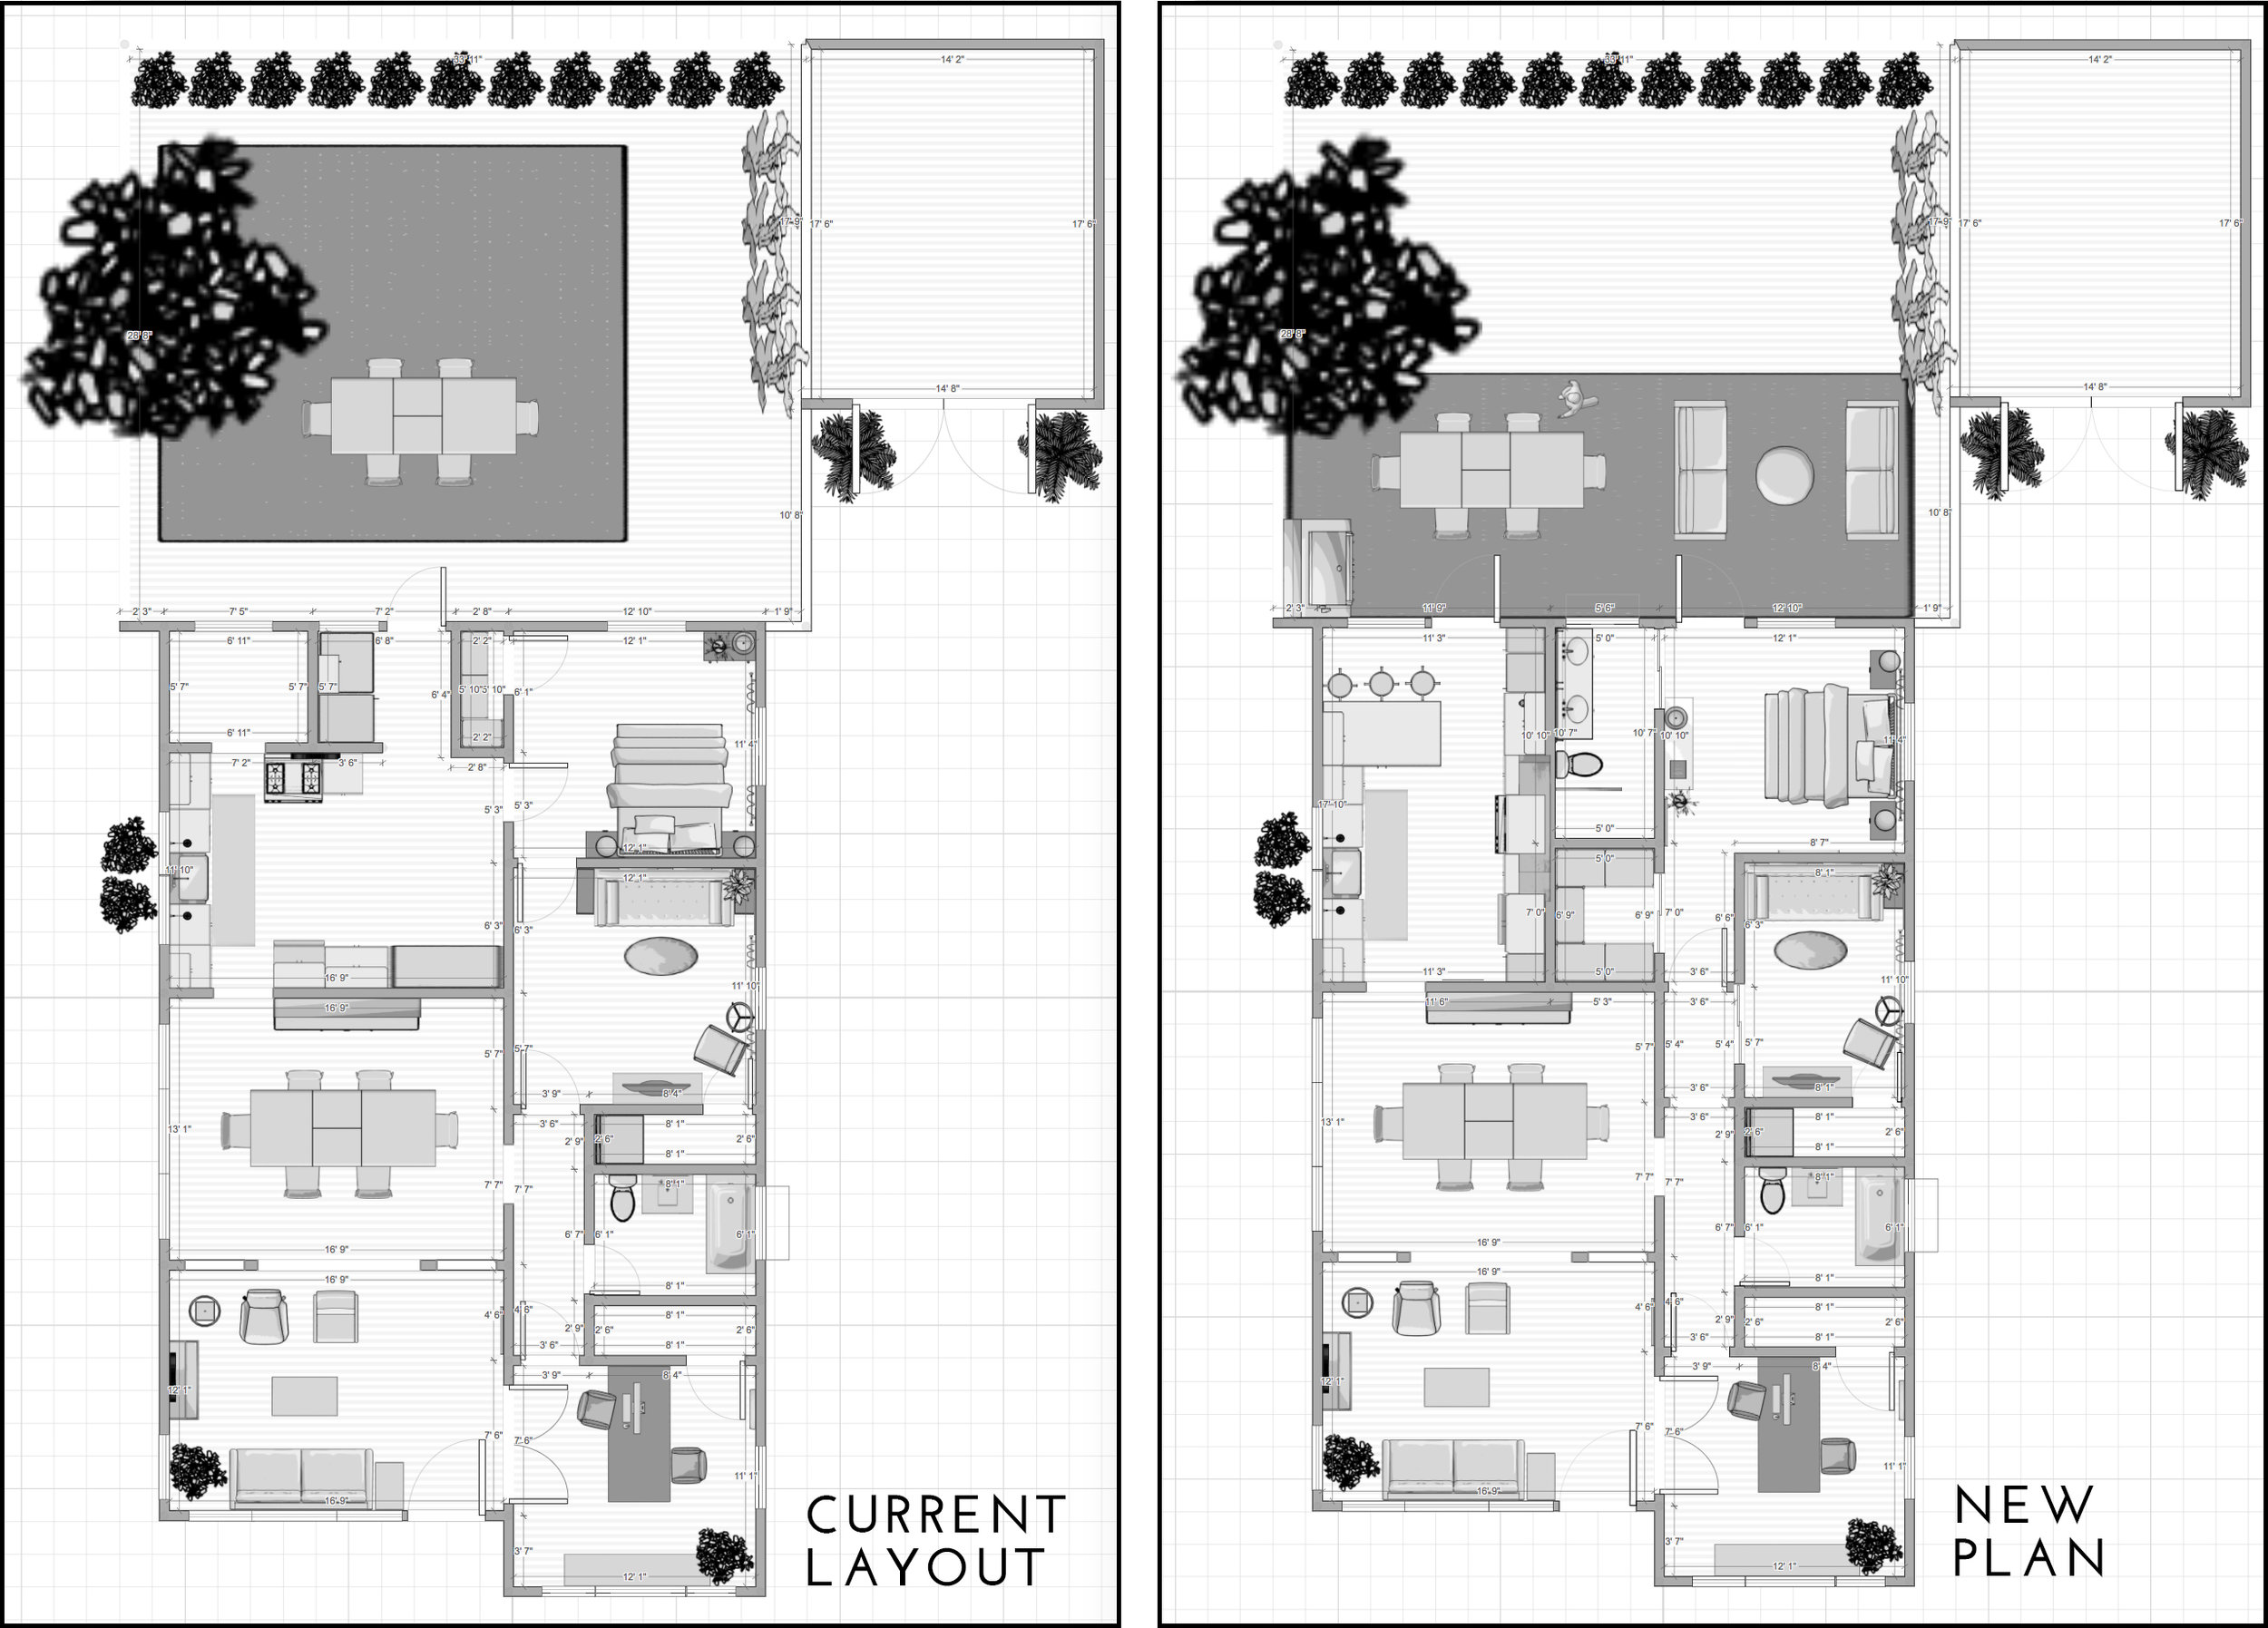
Since it's hard to visualize a space that you've never set foot in, I put together a video walkthrough using the renderings I created to design the floorplan. Take a look at the 2-minute video below for a better idea of the house will flow.
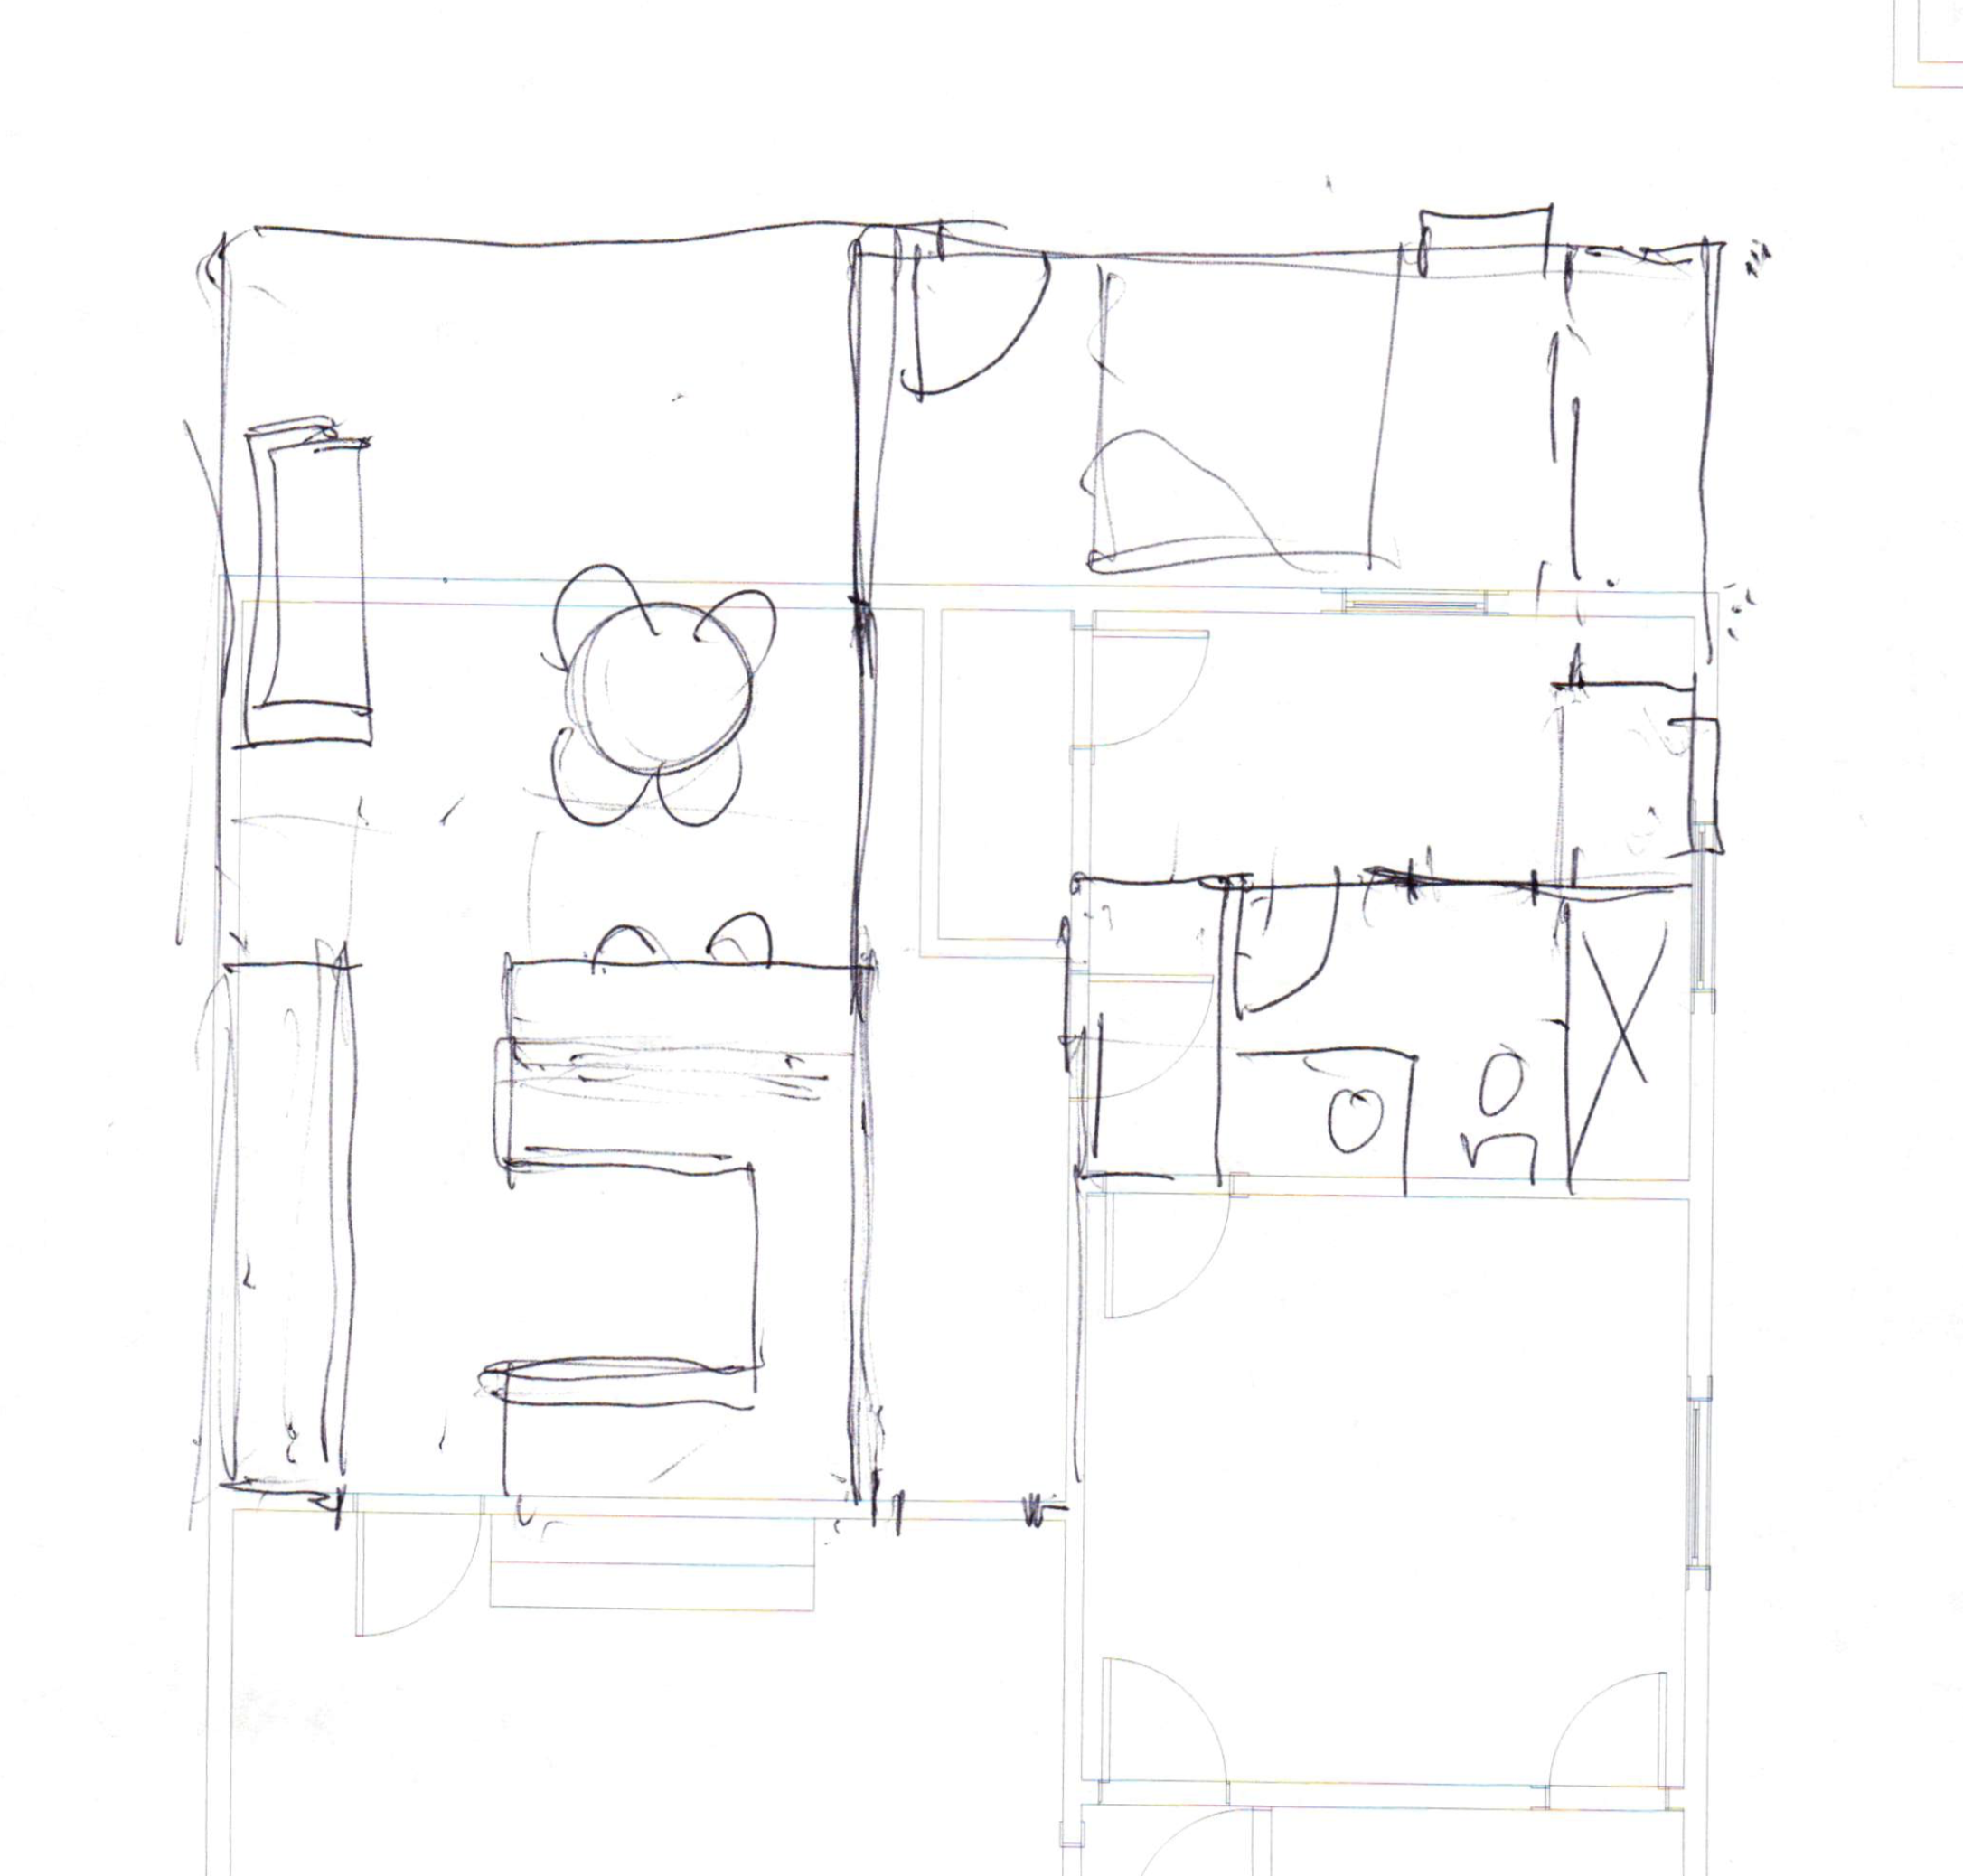
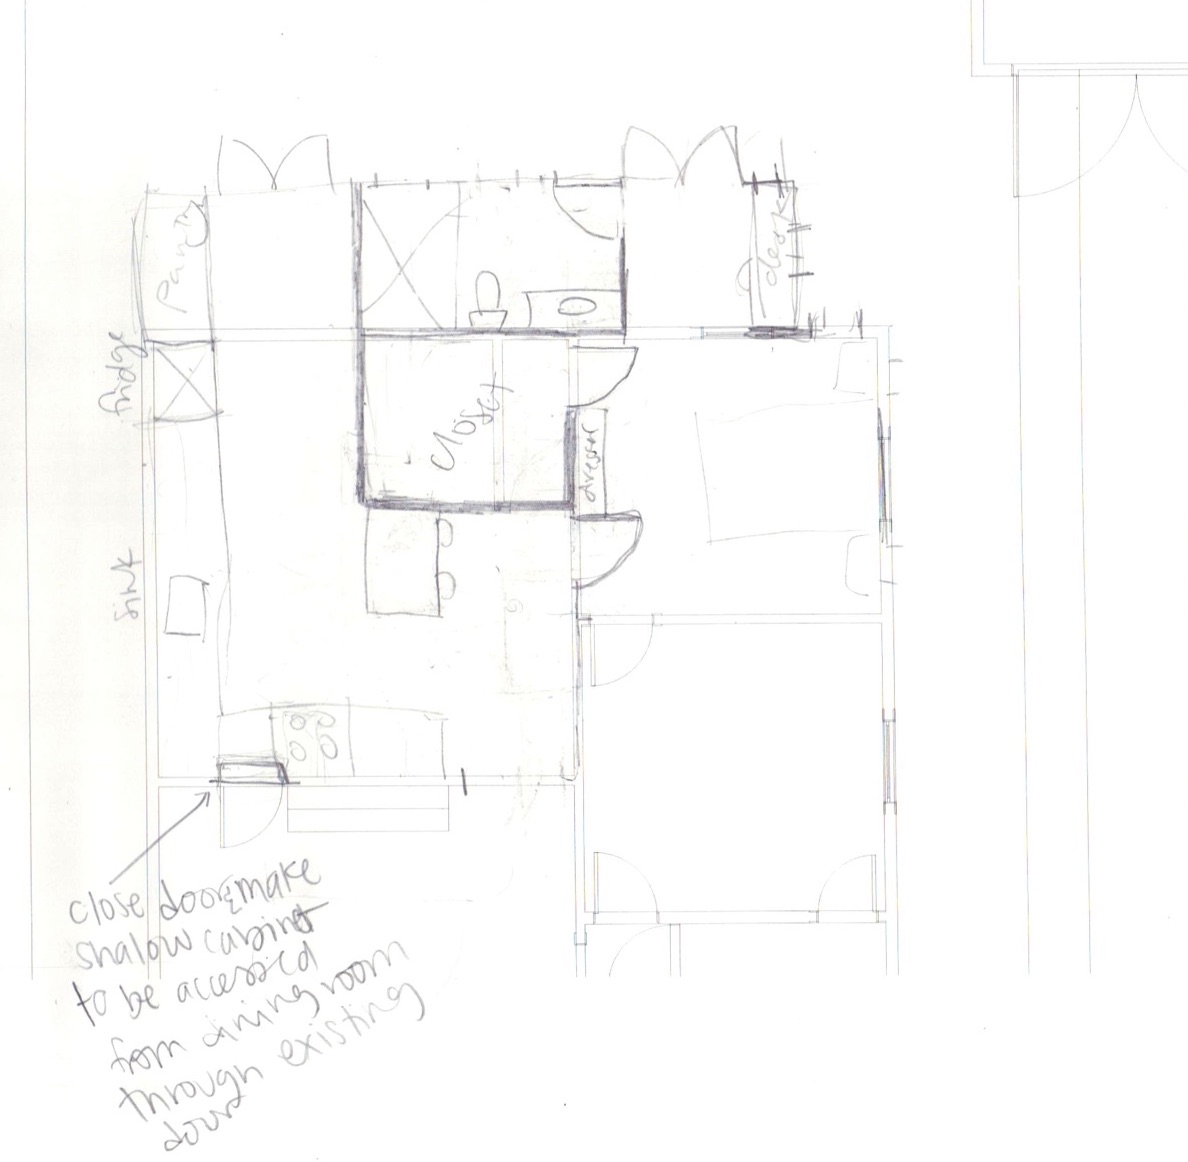
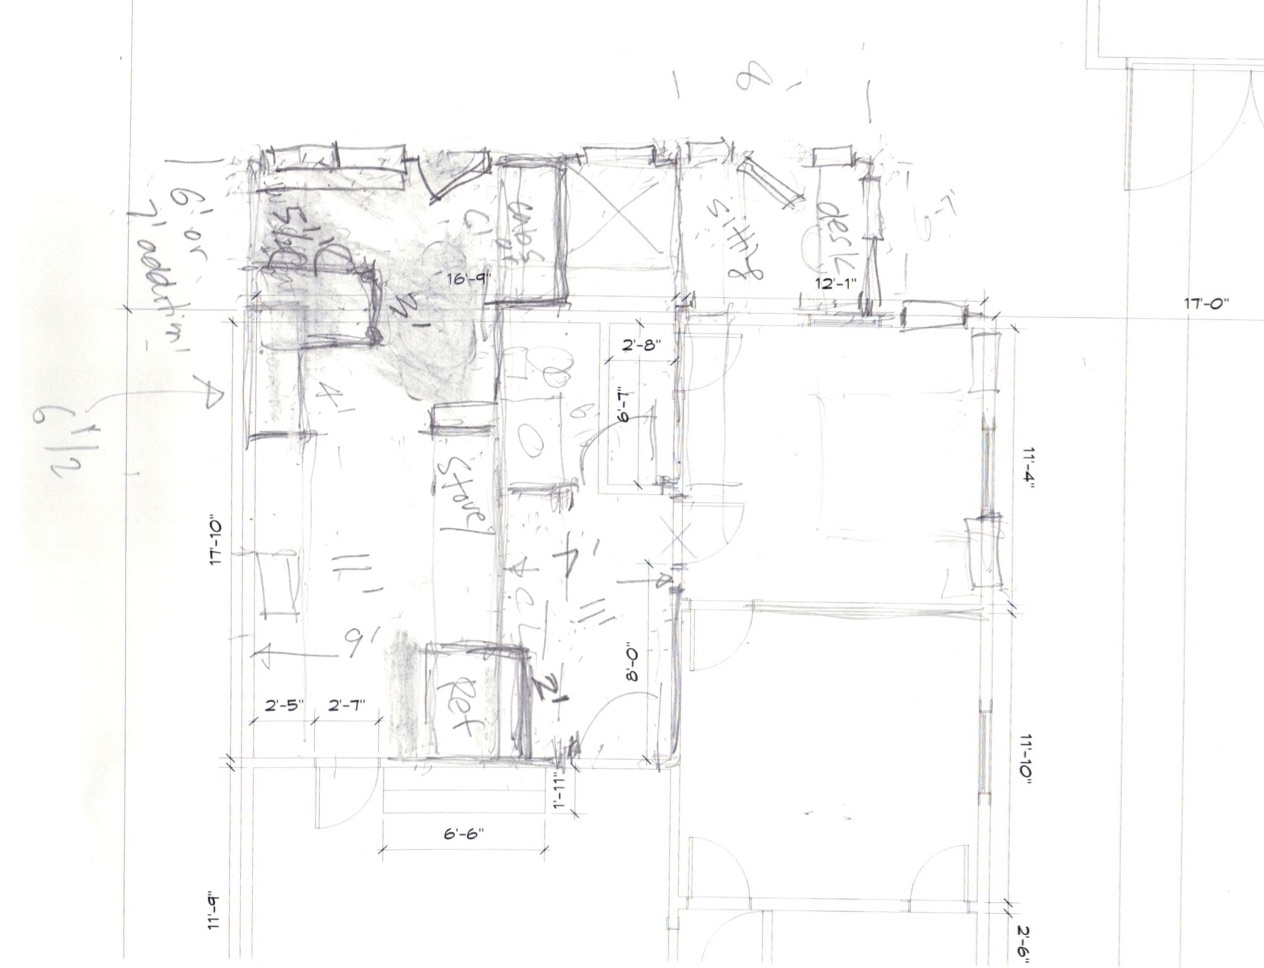
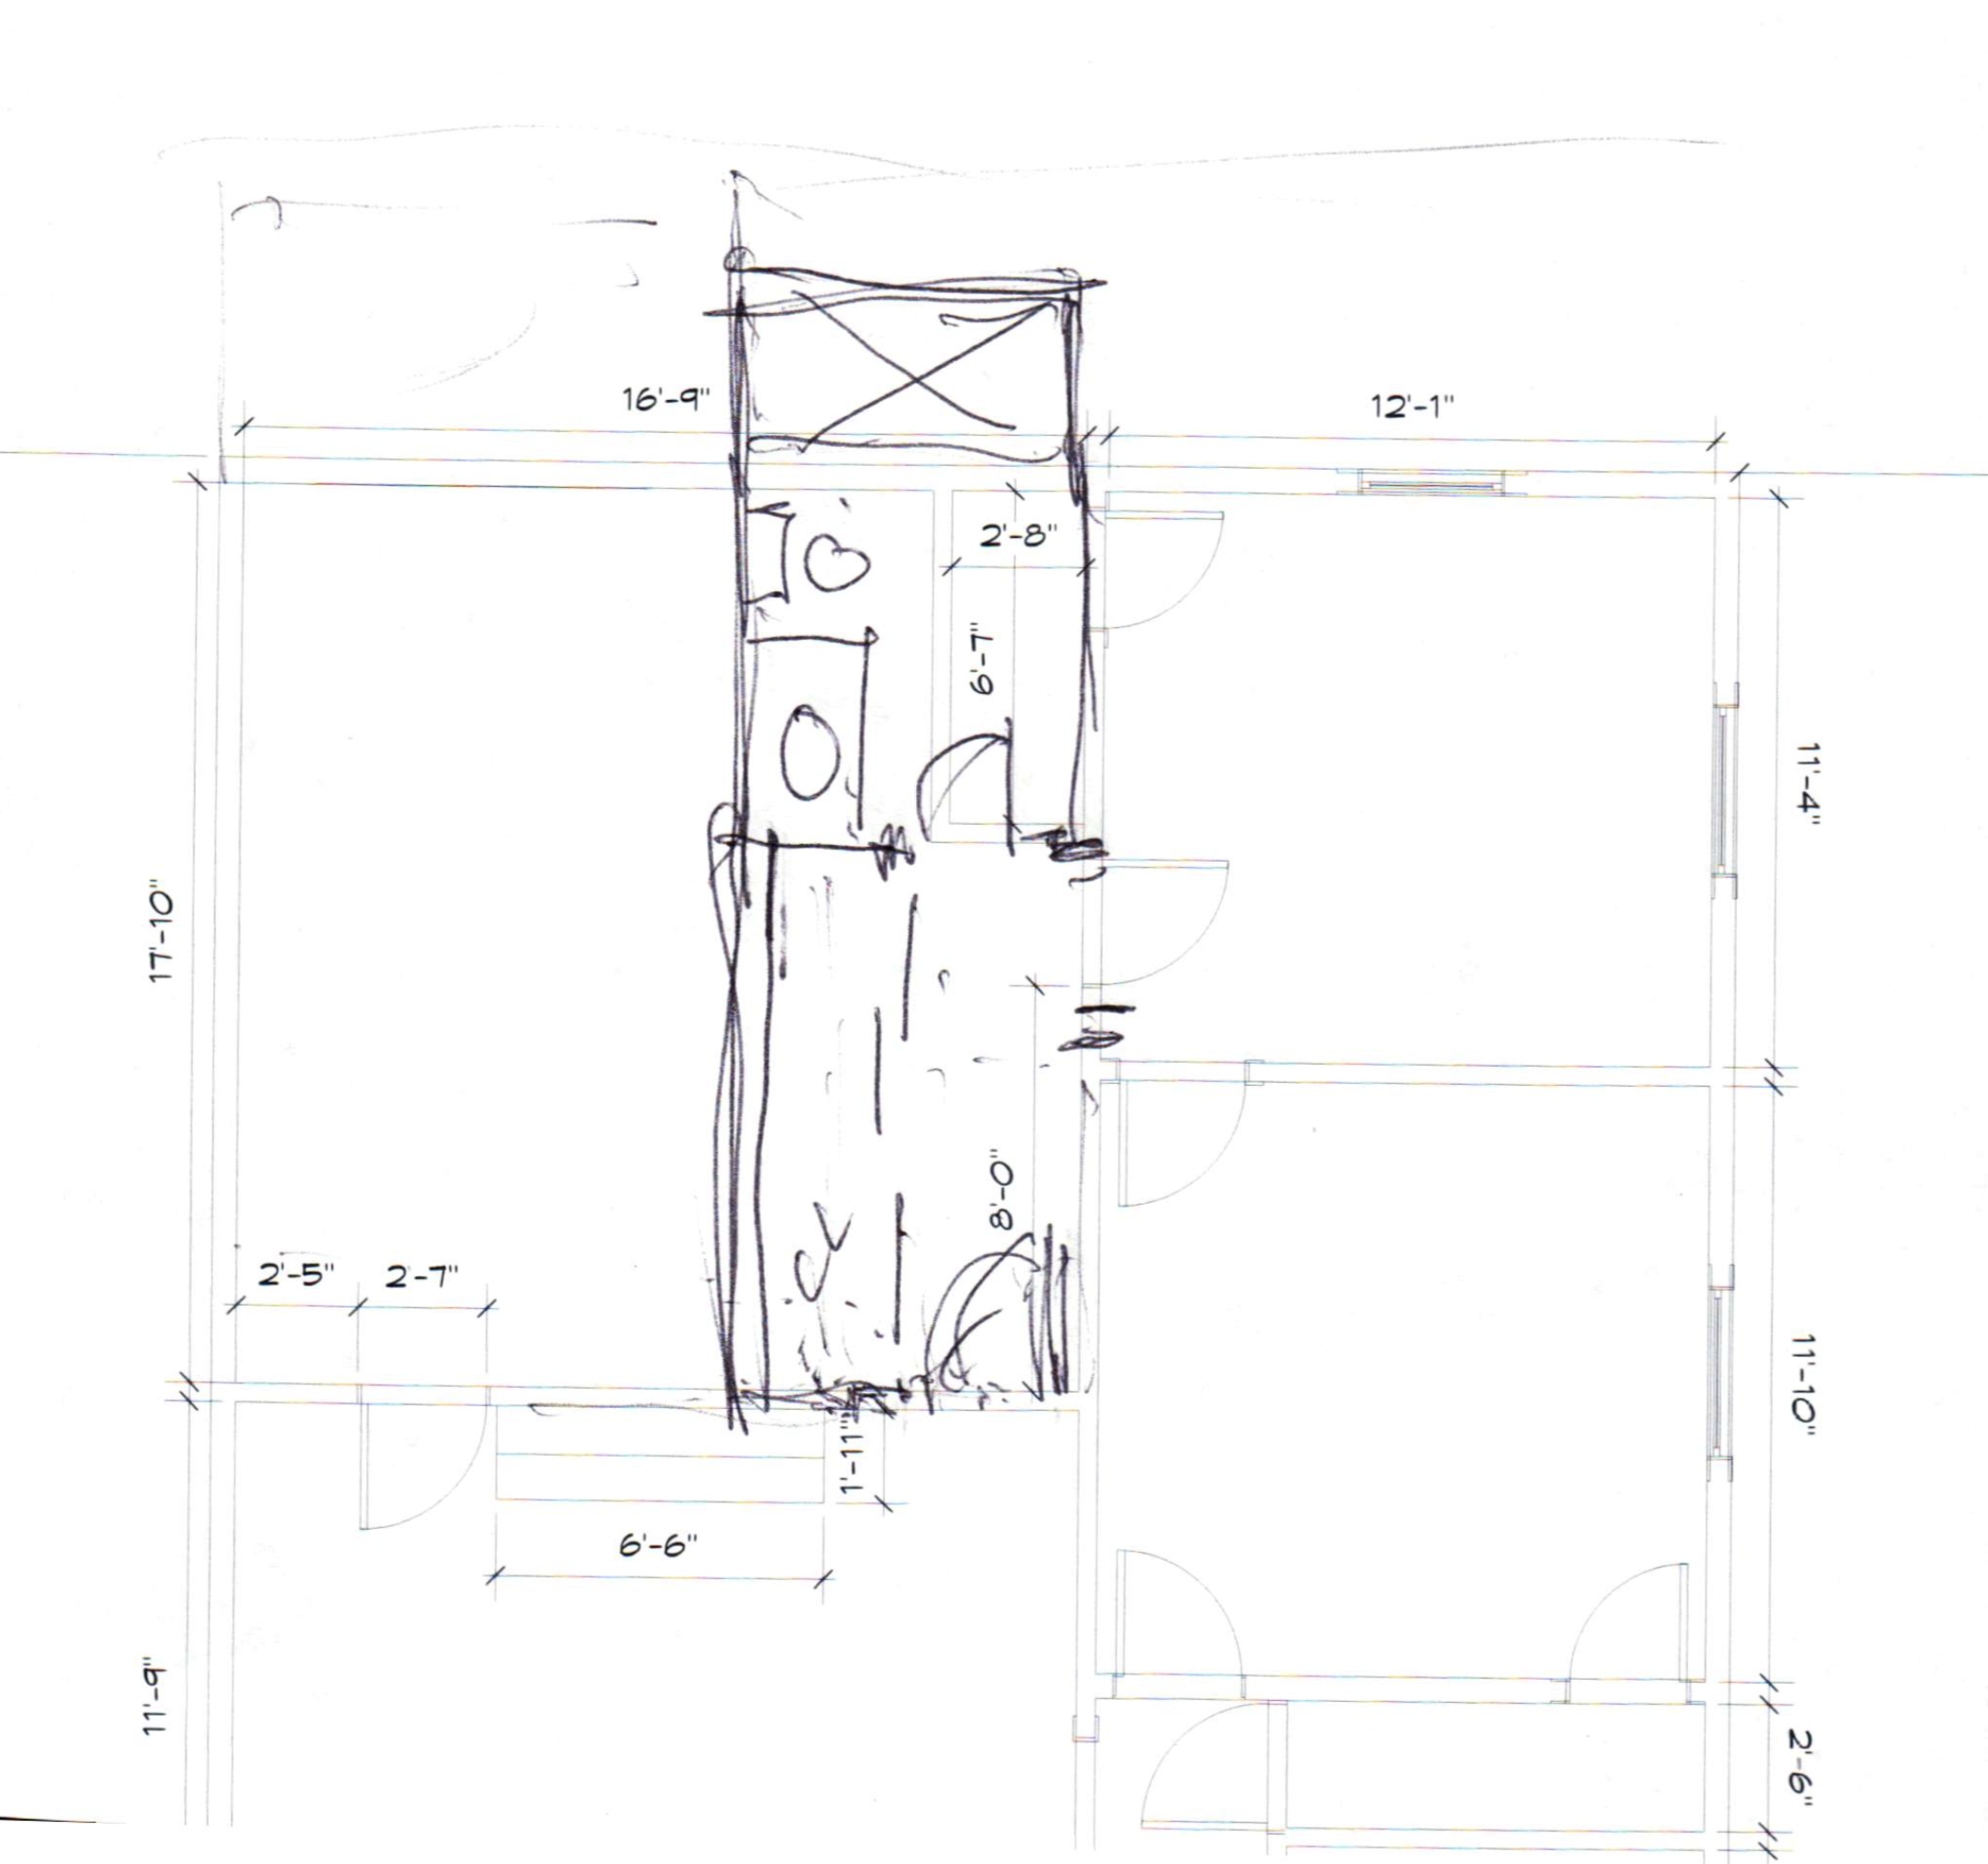
Reducing the size of a bedroom isn't ideal, I know. But the other options I played with had much bigger compromises. We toyed with adding on into the backyard, making the master accessible from the dining room, by jogging the hallway over to not take away bedroom space, and so many more.
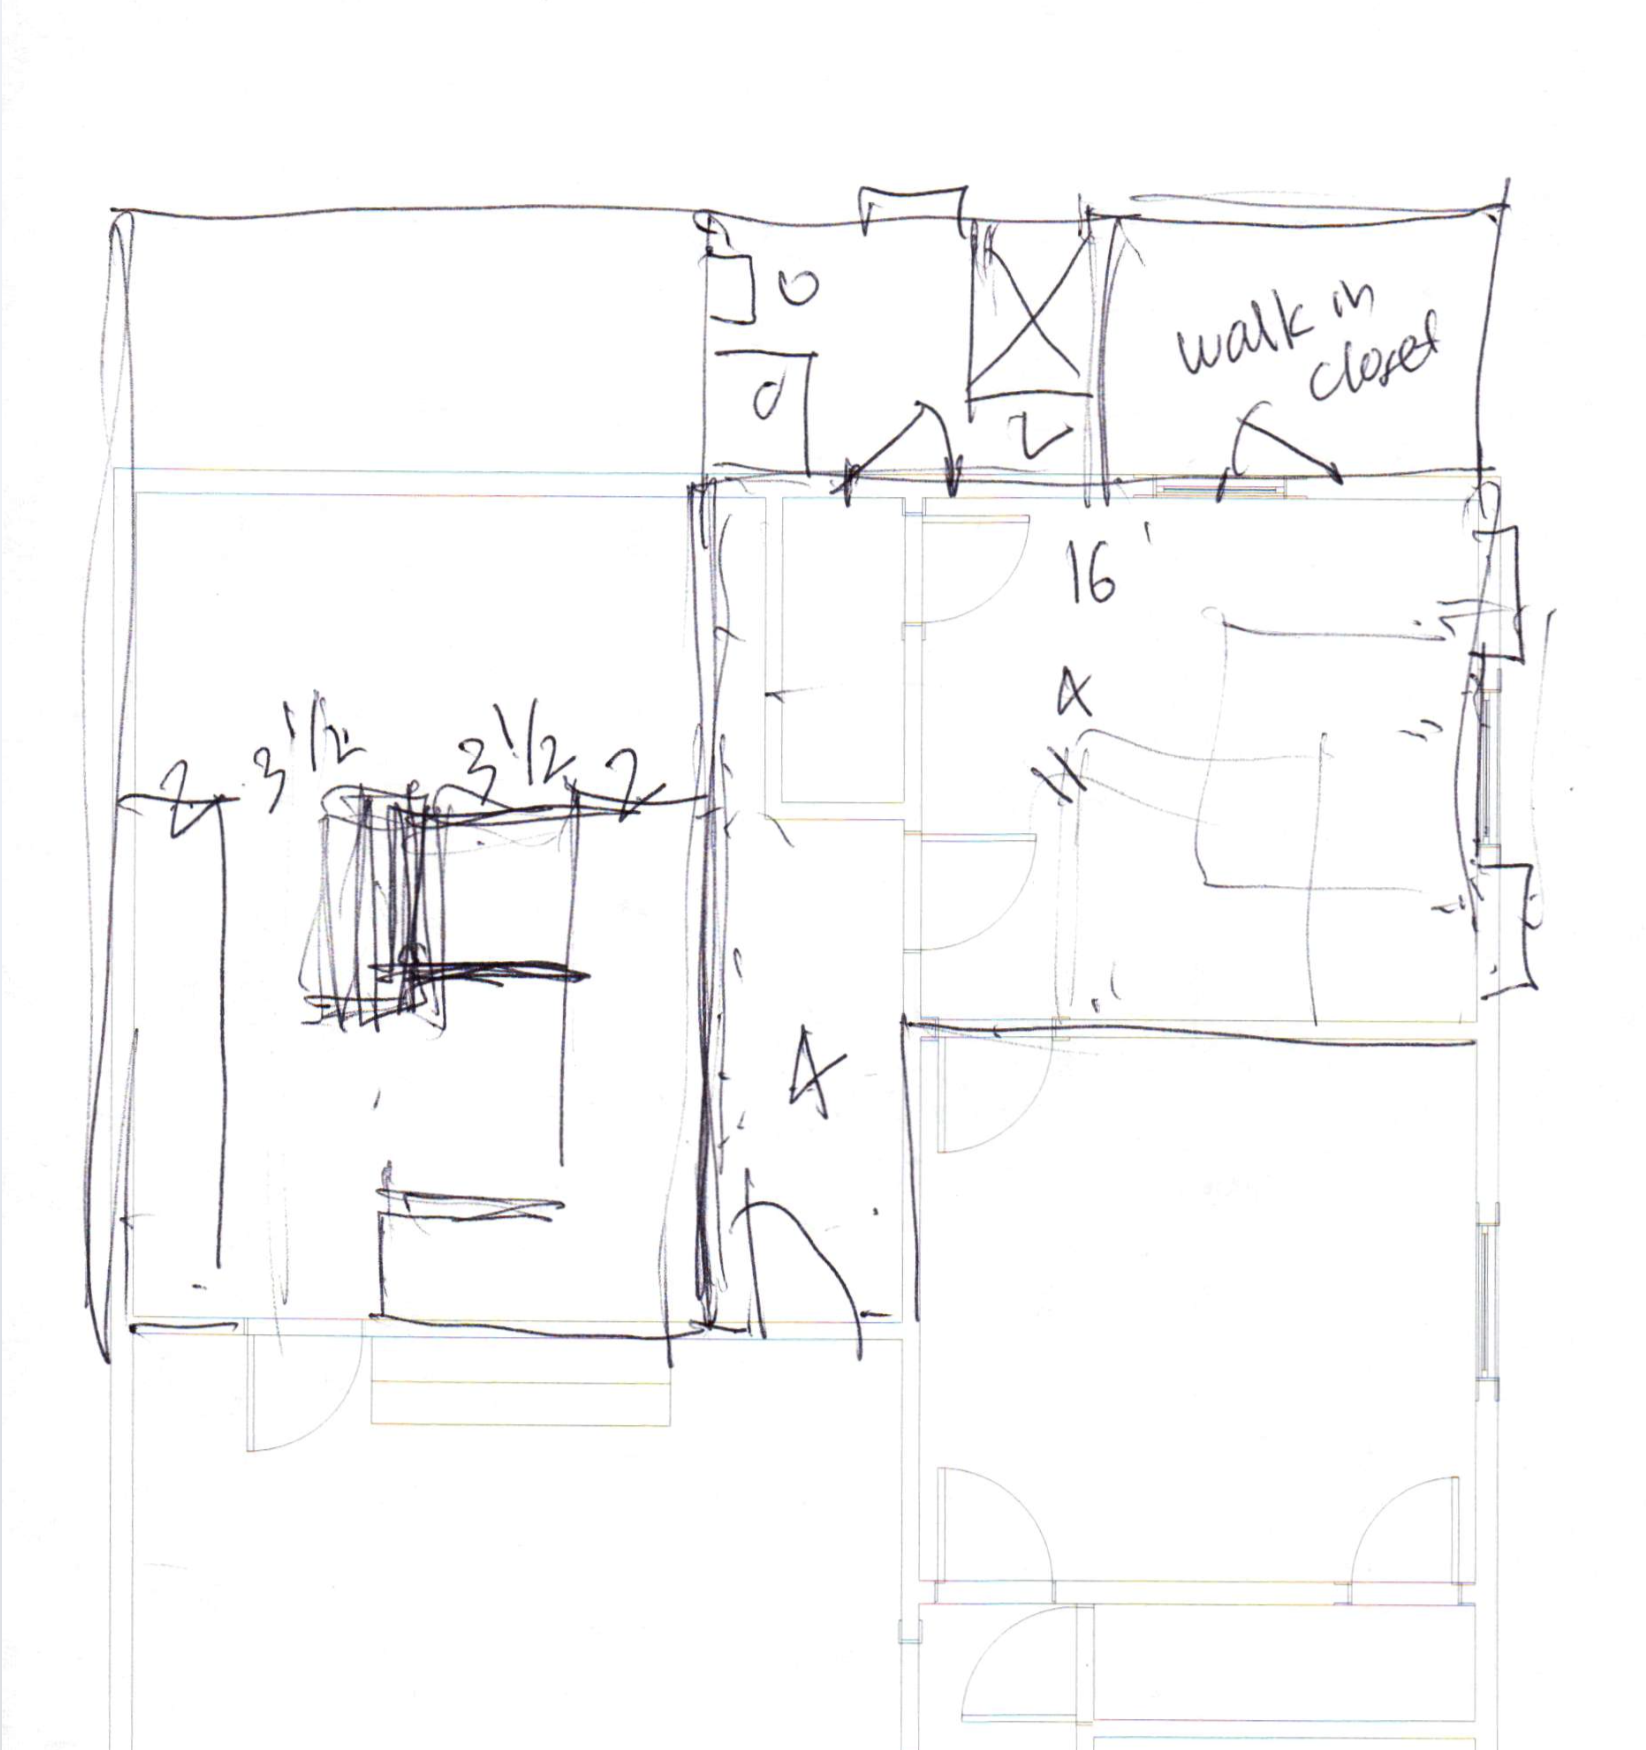
If you're into floor plan configurations, cycle through the ones below. The differing rendering styles are because some are mine, some are from the previous owner's plans to add on, and the others were sketched by Ross' uncle who we cornered at a family reunion to brainstorm a bunch of ideas together. He's a prison architect - yes, prisons - but in a nice rehabilitative way. I have probably 30 other drawings in a notebook, but looking at them is too exhausting. If you're a layout nerd, let me know and maybe I'll upload the rest of them.
So, tell me! Any thoughts? comments? questions? concerns? I genuinely am interested in what you have to say! I'm not an expert, and I haven't lived in a variety of houses to know how different designs function but I'm taking inspiration from house tours, blogs, online images, books, and asking all the pros I can. Please weigh in - whether you're an expert or not! If you want to sketch up an idea to send my way, here's a pdf of the current floor plan.
We're taking this project on in phases, but phase one starts soon, so speak now or forever hold your peace! Note also that the kitchen isn't fully fleshed out. The renderings are not the final layout and most certainly not the finishes you can expect in the kitchen remodel - so stay tuned for that.
Thanks in advance for your feedback!
The perfect piece of art didn’t exist, so I made it. Now the kitchen walls are adorned with a beautiful (yet odd) photo with a lil’ cameo by Margot!
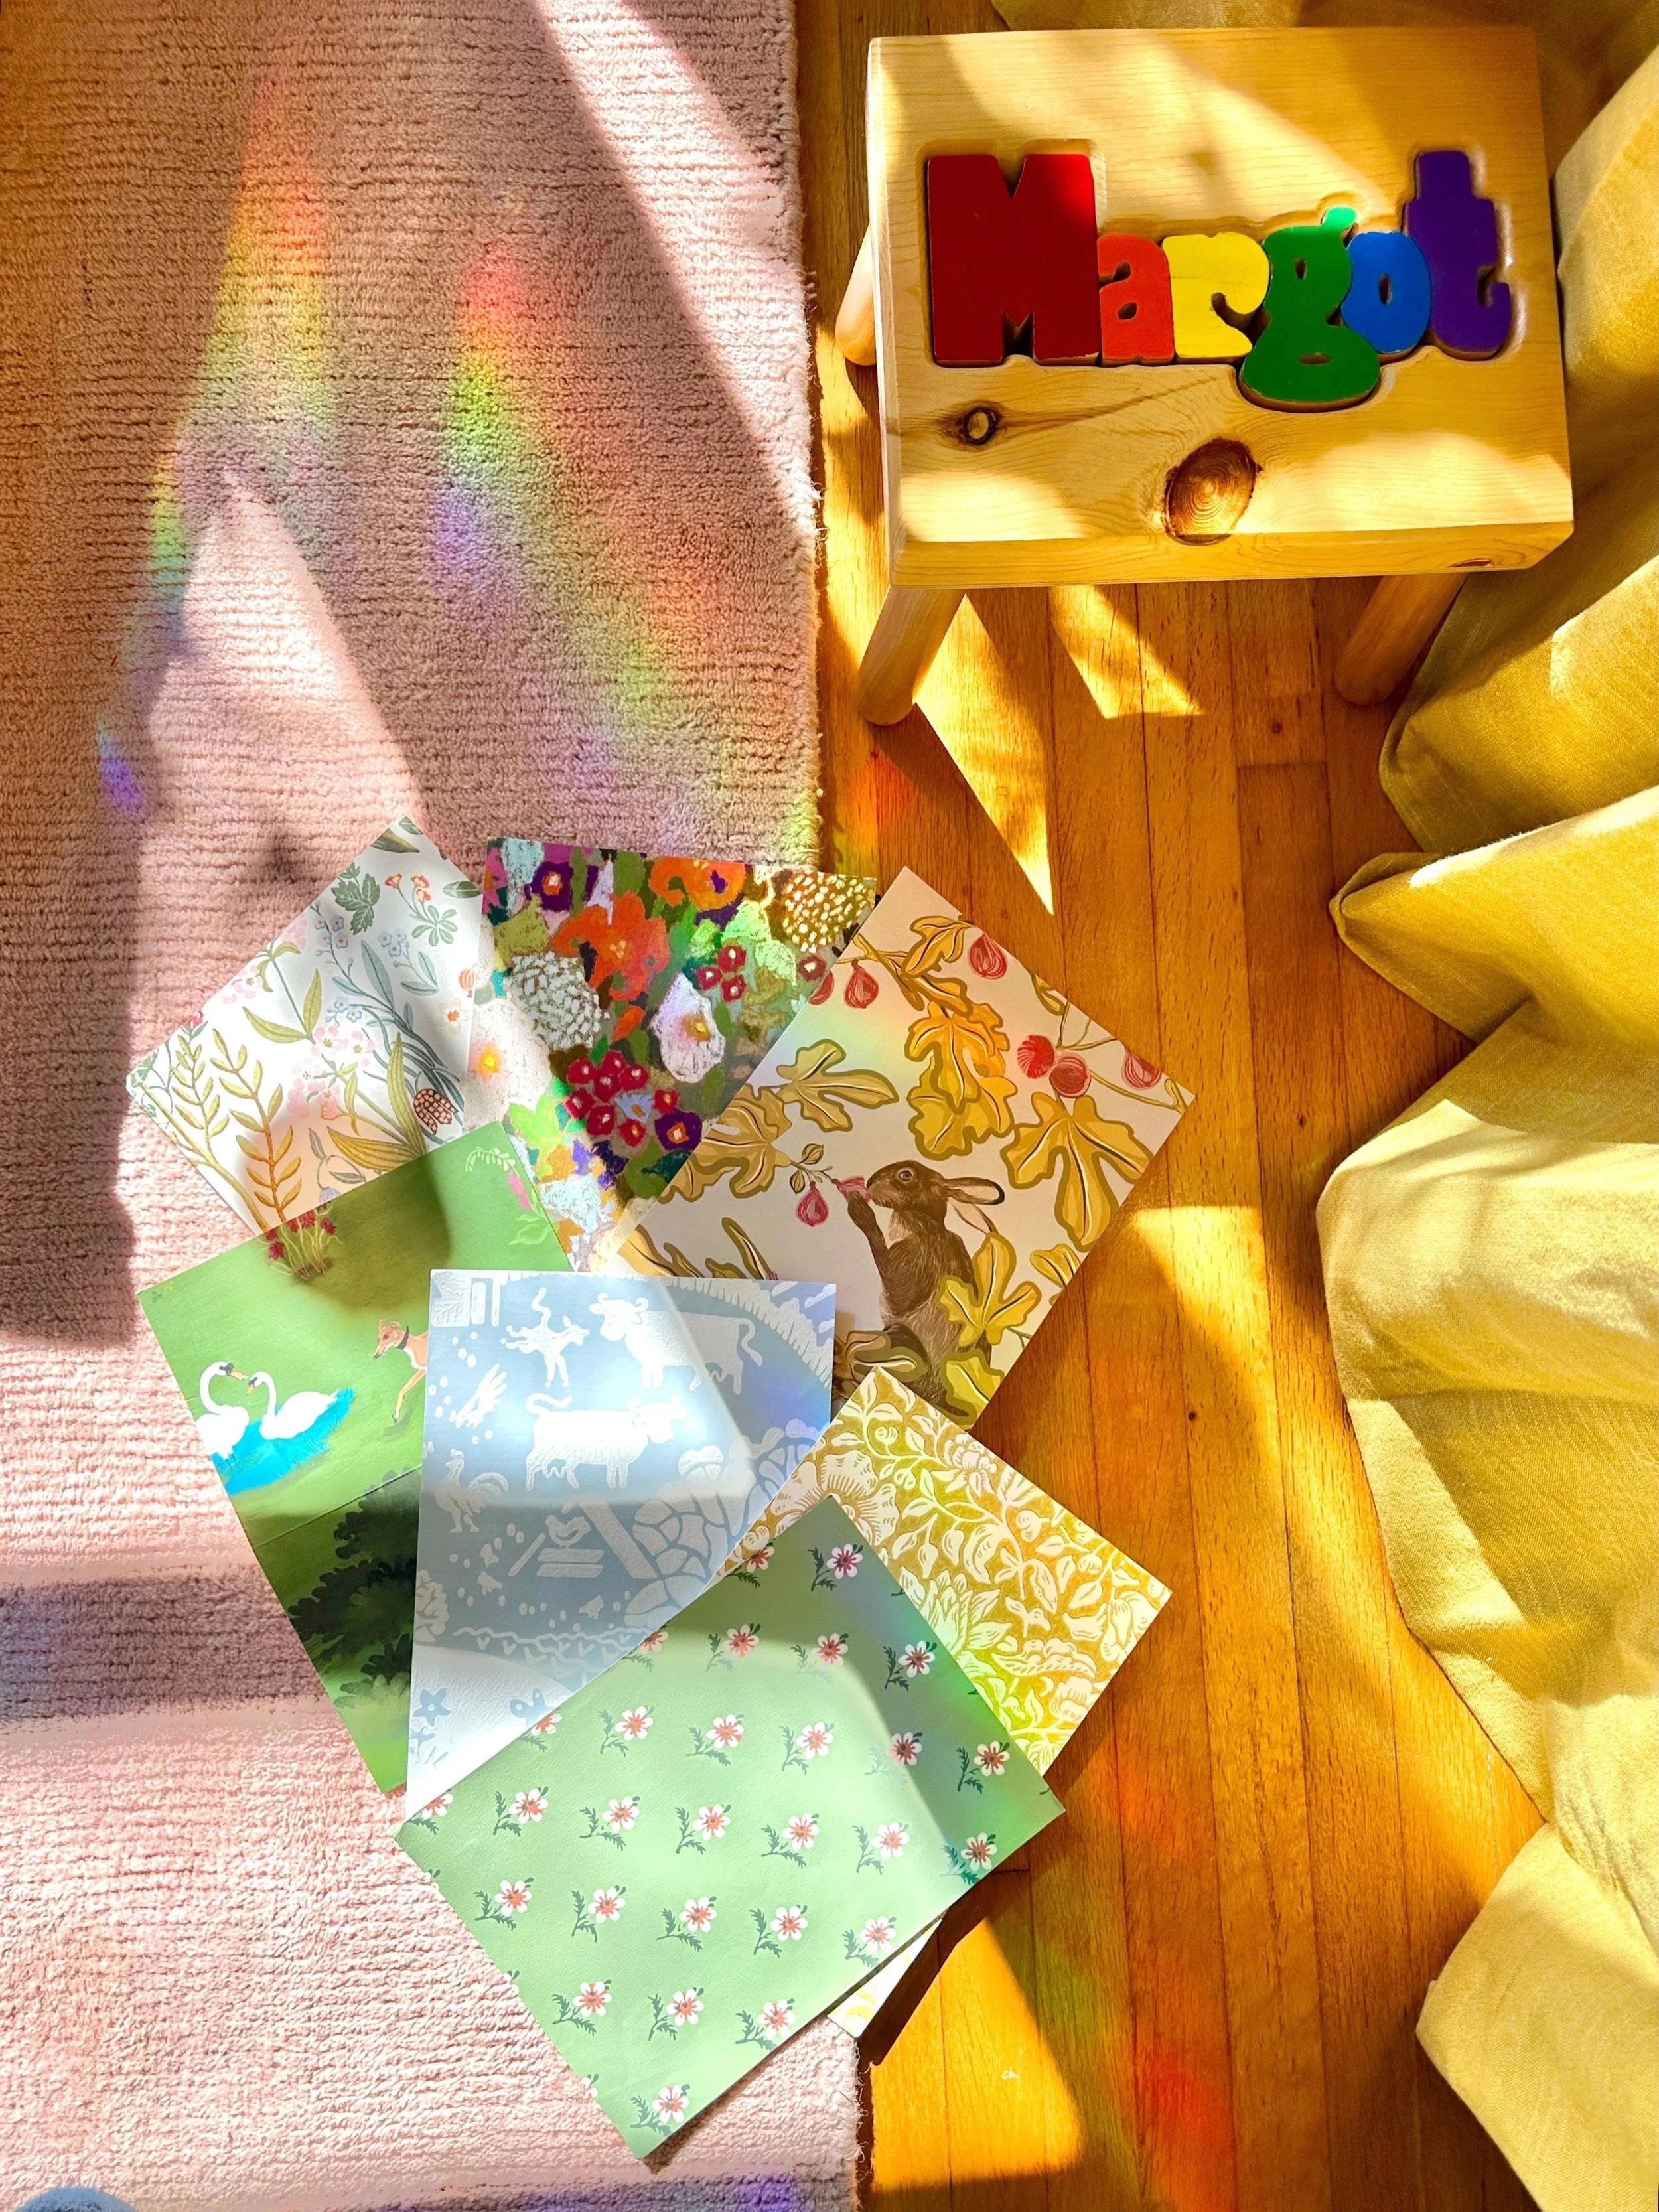
I debated over a hundred wallpaper pattern options for the kitchen. And I mean hundreds. I started with a giant stack, then narrowed it down to about 20 that sat on the walls for months.
Built-in cabinets and coordinating islands are lovely, but I wanted a standalone furniture piece in our new kitchen. So, I designed the layout to include a vintage wooden table instead of a peninsula of cabinetry. After lots of vintage hunting and some modifications, we have the perfect work surface, dining table, and all-around great addition to the kitchen.
I’m a sucker for a good café curtain. They’re the perfect mix of charm and practicality - two of my favorite things.
I’ve been working hard on the peeeerfect design for our open storage plate rack in the kitchen. I’ve been picky about how I wanted it, and it isn’t quite done yet, but I love where we’re at with it.
I DIY sealed our marble countertops and you can, too! Sealing protects the stone from staining which really helps me not worry about spilling coffee on my bright white counters. I did a bunch of research on the best products so I’m sharing how and why I chose the one I did, plus detailing the steps to seal that gorgeous marble.
Marble counters are in the kitchen and looking so so good! There’s a process to designing the layout, coordinating with a fabricator, measuring, installing, and sealing. So without further ado, let’s get into it.
Countertops are major workhorses and one of the biggest design elements in a kitchen. So, there’s a lot of thought that goes into the material, style, and design of them. But you know me, I have to research even further. In addition to picking a pretty countertop, I factored in the environmental footprint, worker health, land reclamation of the quarry, and the way it fits into a historic home. Ready to get into it? Let’s!
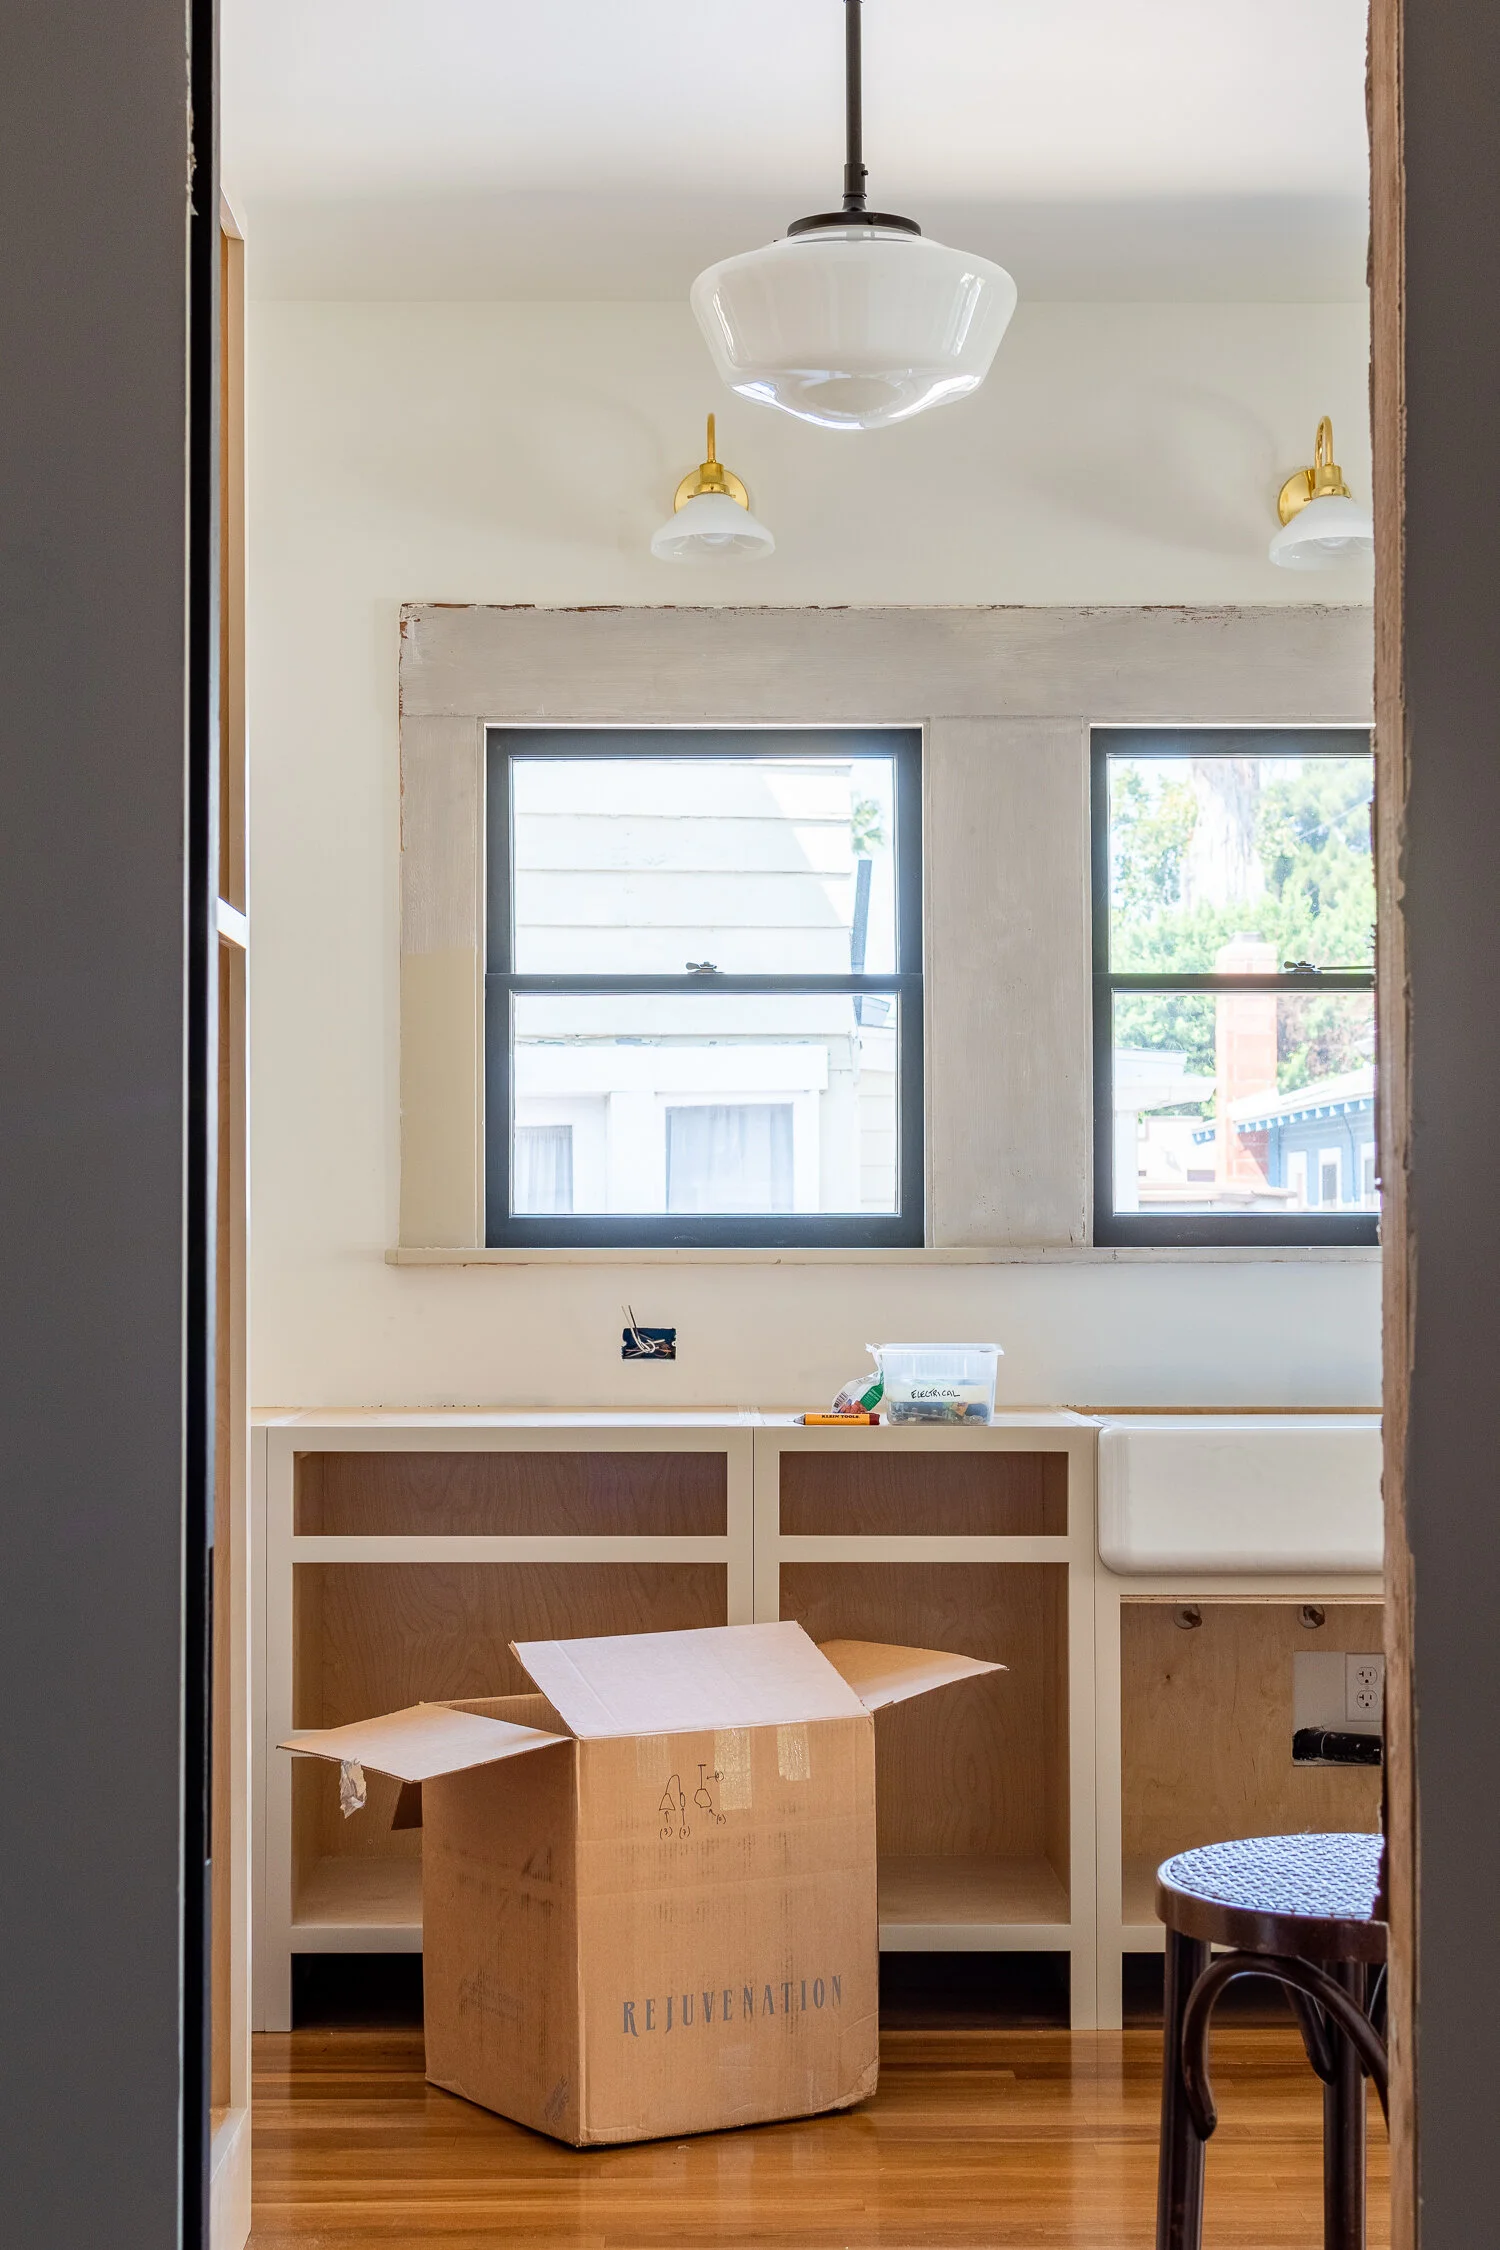
The kitchen is FINALLY coming together with the addition of things that actually turn the empty room it into a kitchen. The range is in, the cabinets are taking shape, and lights are installed. Pinch me!
I’ve heard of other blogger buds using fancy masking fluid to ease the painting job of painting windows and divided lite doors, but I never used it myself. Until Now. I learned some lessons and have some takeaways from the experience for ya. Here’s how it went.
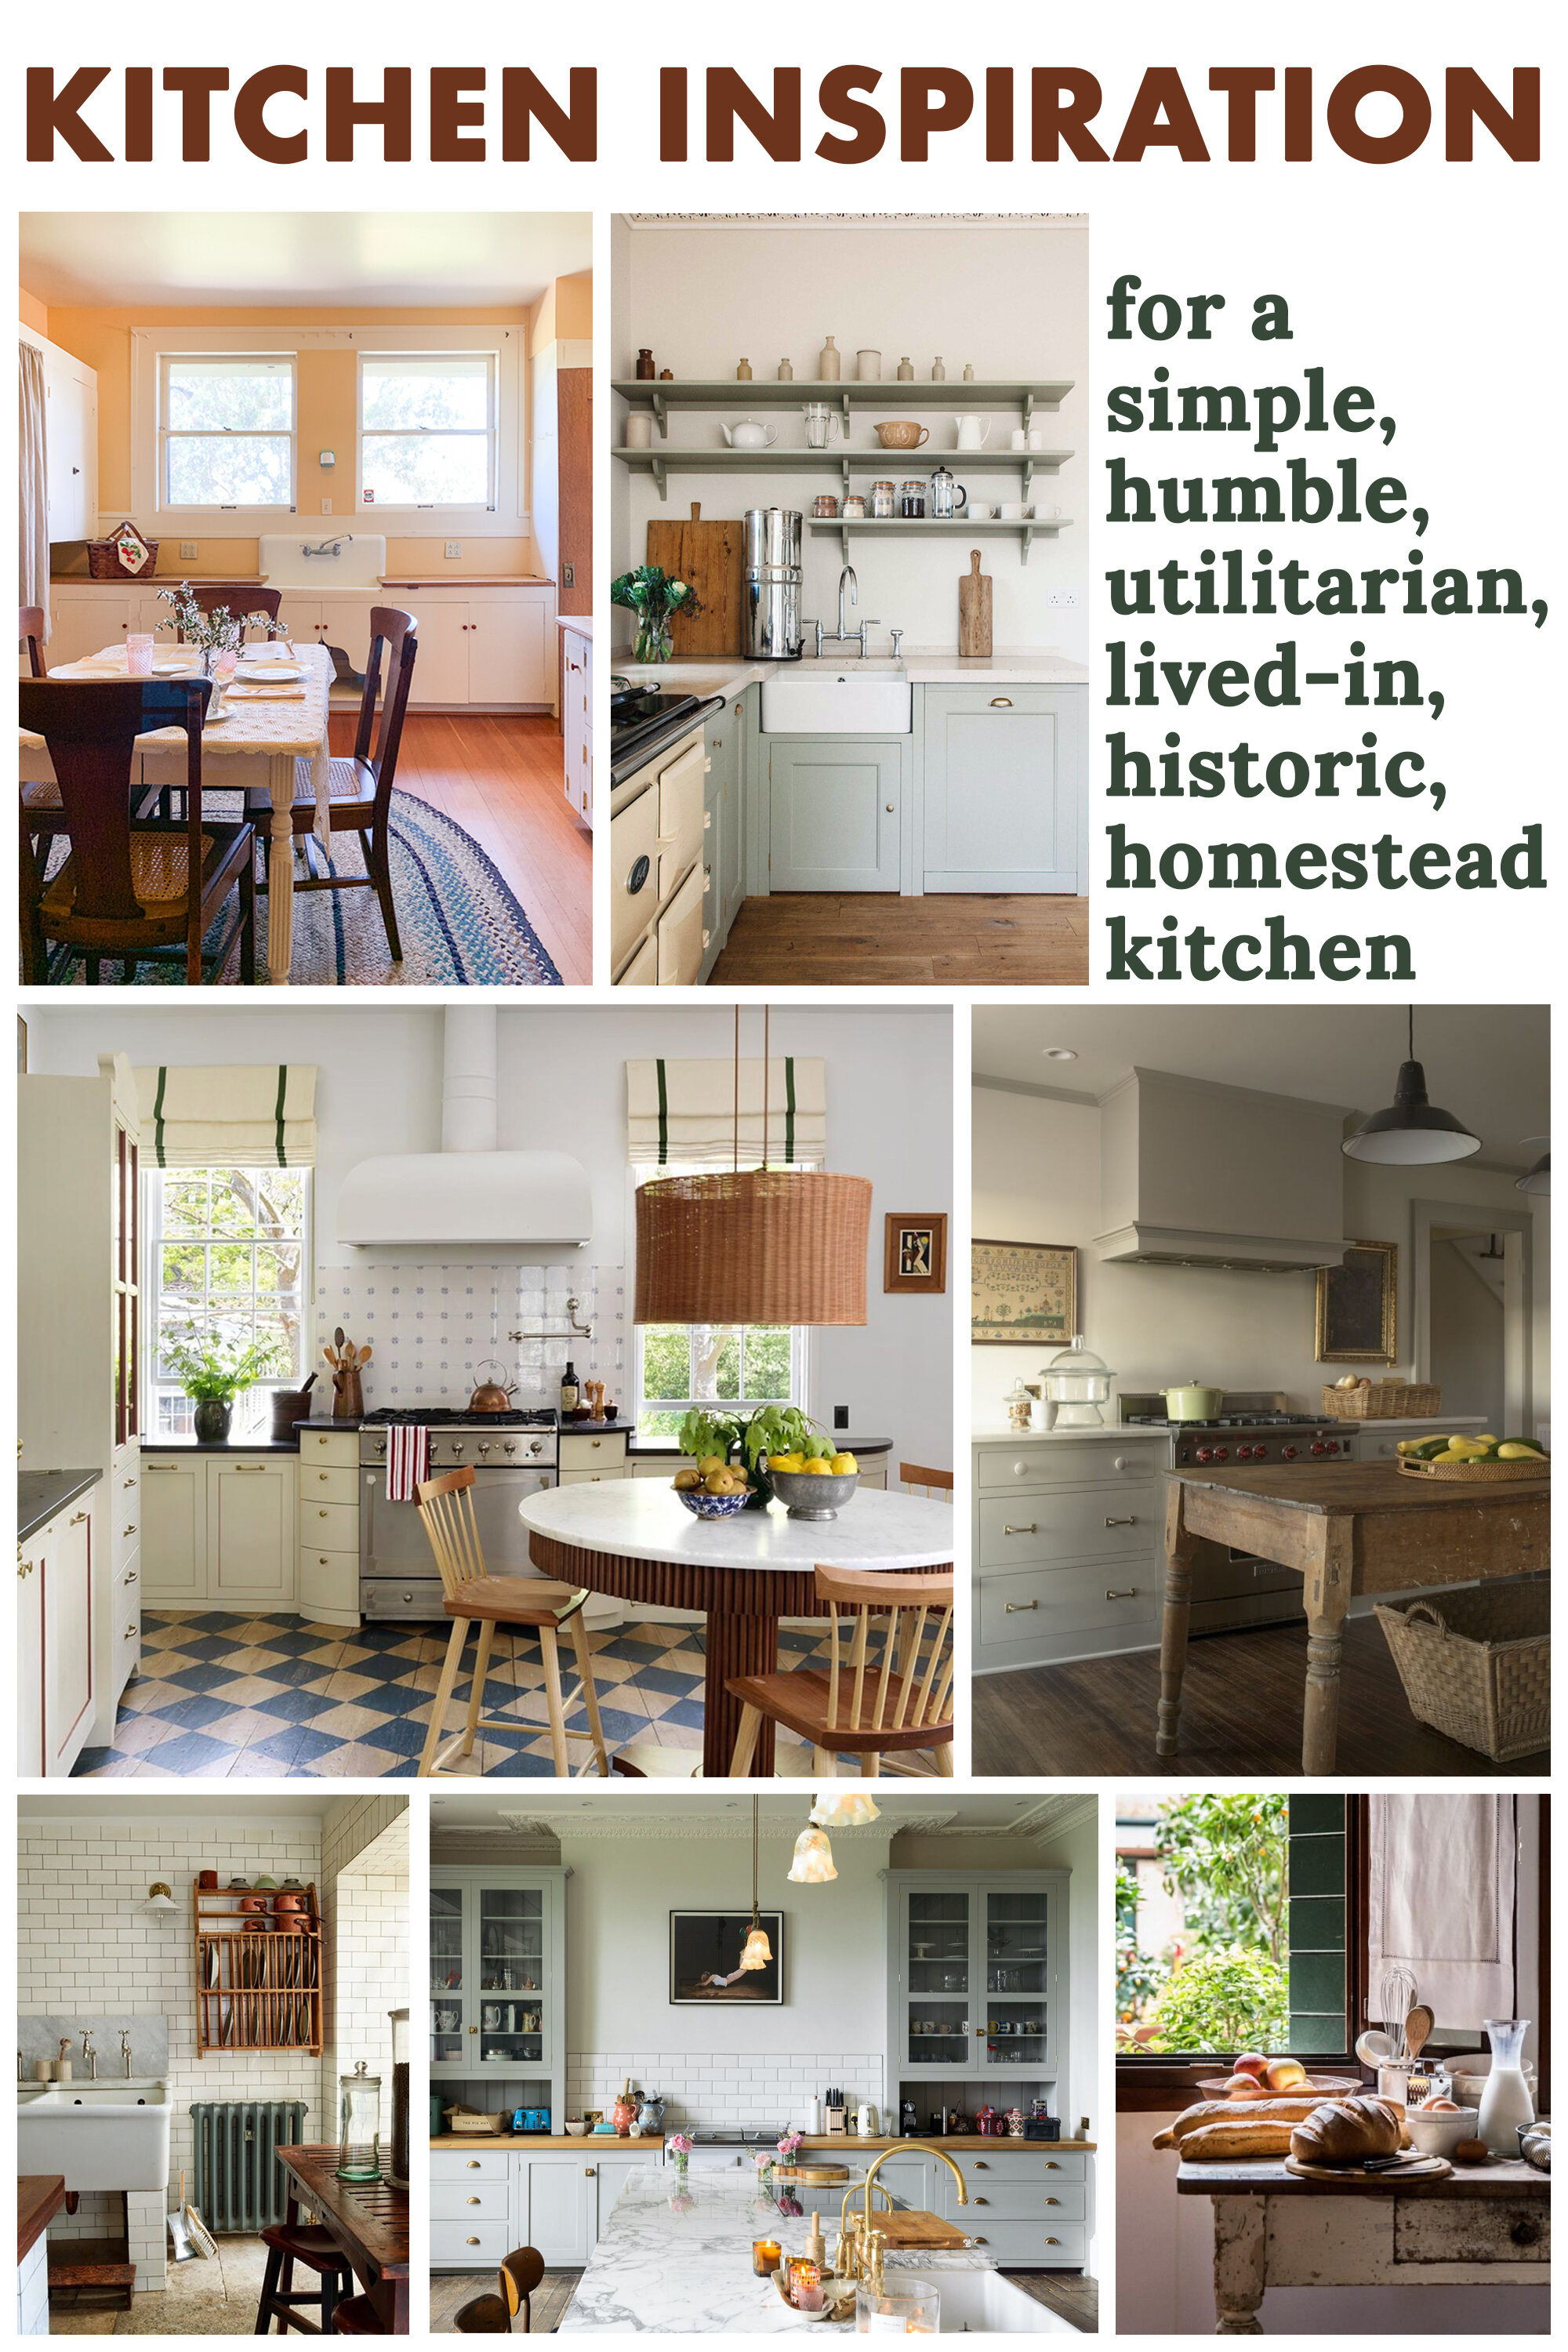
We’re getting to the kitchen designing stage folks and it’s getting good! Before deciding on colors, door styles, hardware, and accessories, I want to nail down the mood/vibe of the space. I think it helps to identify a clear personality for the room - especially when it’s a utilitarian space. Hear me out.
A comfortable home, saving money on energy bills, and watching satisfying foam expanding videos – three of my favorite things! I insulated my new french doors with a can of Great Stuff™ Smart Dispenser™ insulating foam sealant to reduce my energy loss - here’s how!
We got appliances! And we bought them at a steep discount! And we took a day-trip to go pick them up! Here’s a video journal of that day.
With concerns for our planet and the folks that experience climate injustices, we’re all making purchasing decisions with ethics in mind. Appliances are no different. Electric and induction cooktops are becoming a popular environmentally friendly option, but I'm taking a hard look at all of the considerations to make the most conscious choice.
When we opened up the walls during our remodel, I knew I had to leave a time capsule behind the drywall. Plus, 2020 is quite a year to immortalize in the walls. Here's what I hid away to be found years and years from now!
I’ve successfully turned a perfectly good kitchen into an entirely useless box with walls and floors. But now I’m adding things back to it and making it an actual kitchen again! Finally! Now that it’s a livable space, I’m anxious to get cooking again, so I’m kicking things off with building a custom range hood.
Hardwood floors were installed in the kitchen and they look so good. Well, sorta. I hit a snag - literally. And then hit another snag - figuratively. Uuuuugggghhhh.
Our home is full of old-growth hardwood flooring that I adore. When faced with picking a new floor for our kitchen renovation, matching the existing hardwoods was a no brainer. Here’s the story of the sourcing and installation process.
Inset cabinetry with the exposed face frame and flush doors is the classic style we see in period homes. These charming cabinets are harder to come by, especially on a budget, but I’ve rounded up 10 cabinet companies you can buy from directly and install yourself!
You read that right. I ordered cabinets for my kitchen, and they never came. It was mid-demolition when everything was a mess and we were trying to piece things together. Then I got the news. The cabinets I had been designing, sourced, and paid for weren’t going to show up. Here’s what happened.
The renovation is taking shape! We have level floors (thanks to lots of nail pulling and geometry) and the beginnings of the oh-so-transformative drywall!! The kitchen is finally feeling like a safe space amidst the chaos of a renovation and a pandemic.
I came across a charming book written in 1914 all about how to plan an efficient kitchen. How perfect of a fit for me is that?!? Efficient! Kitchen! 1914! The book has certainly inspired my renovation and I’ve incorporated some of the tips and tricks into my current design. From organizing to lighting, and cooking to materials, it’s got guidelines on all of it. Admittedly, some of the lessons are comical and antiquated, but that’s the fun of it! Beyond kitchen designing, though, this book aims to make our homes thoughtful spaces that are free of waste, that value women’s time, and are utilitarian spaces rather than storage units. It’s pretty forward-thinking for a 100-year-old book!
We’re getting closer and closer to the renovation feeling less like a construction site and more like a room. We’re not quite there yet, but insulation and new flooring underlayment has me seeing the light at the end of the tunnel! Plus, we added a fresh outdoor dining set that has me itching to eat oodles of meals out there!
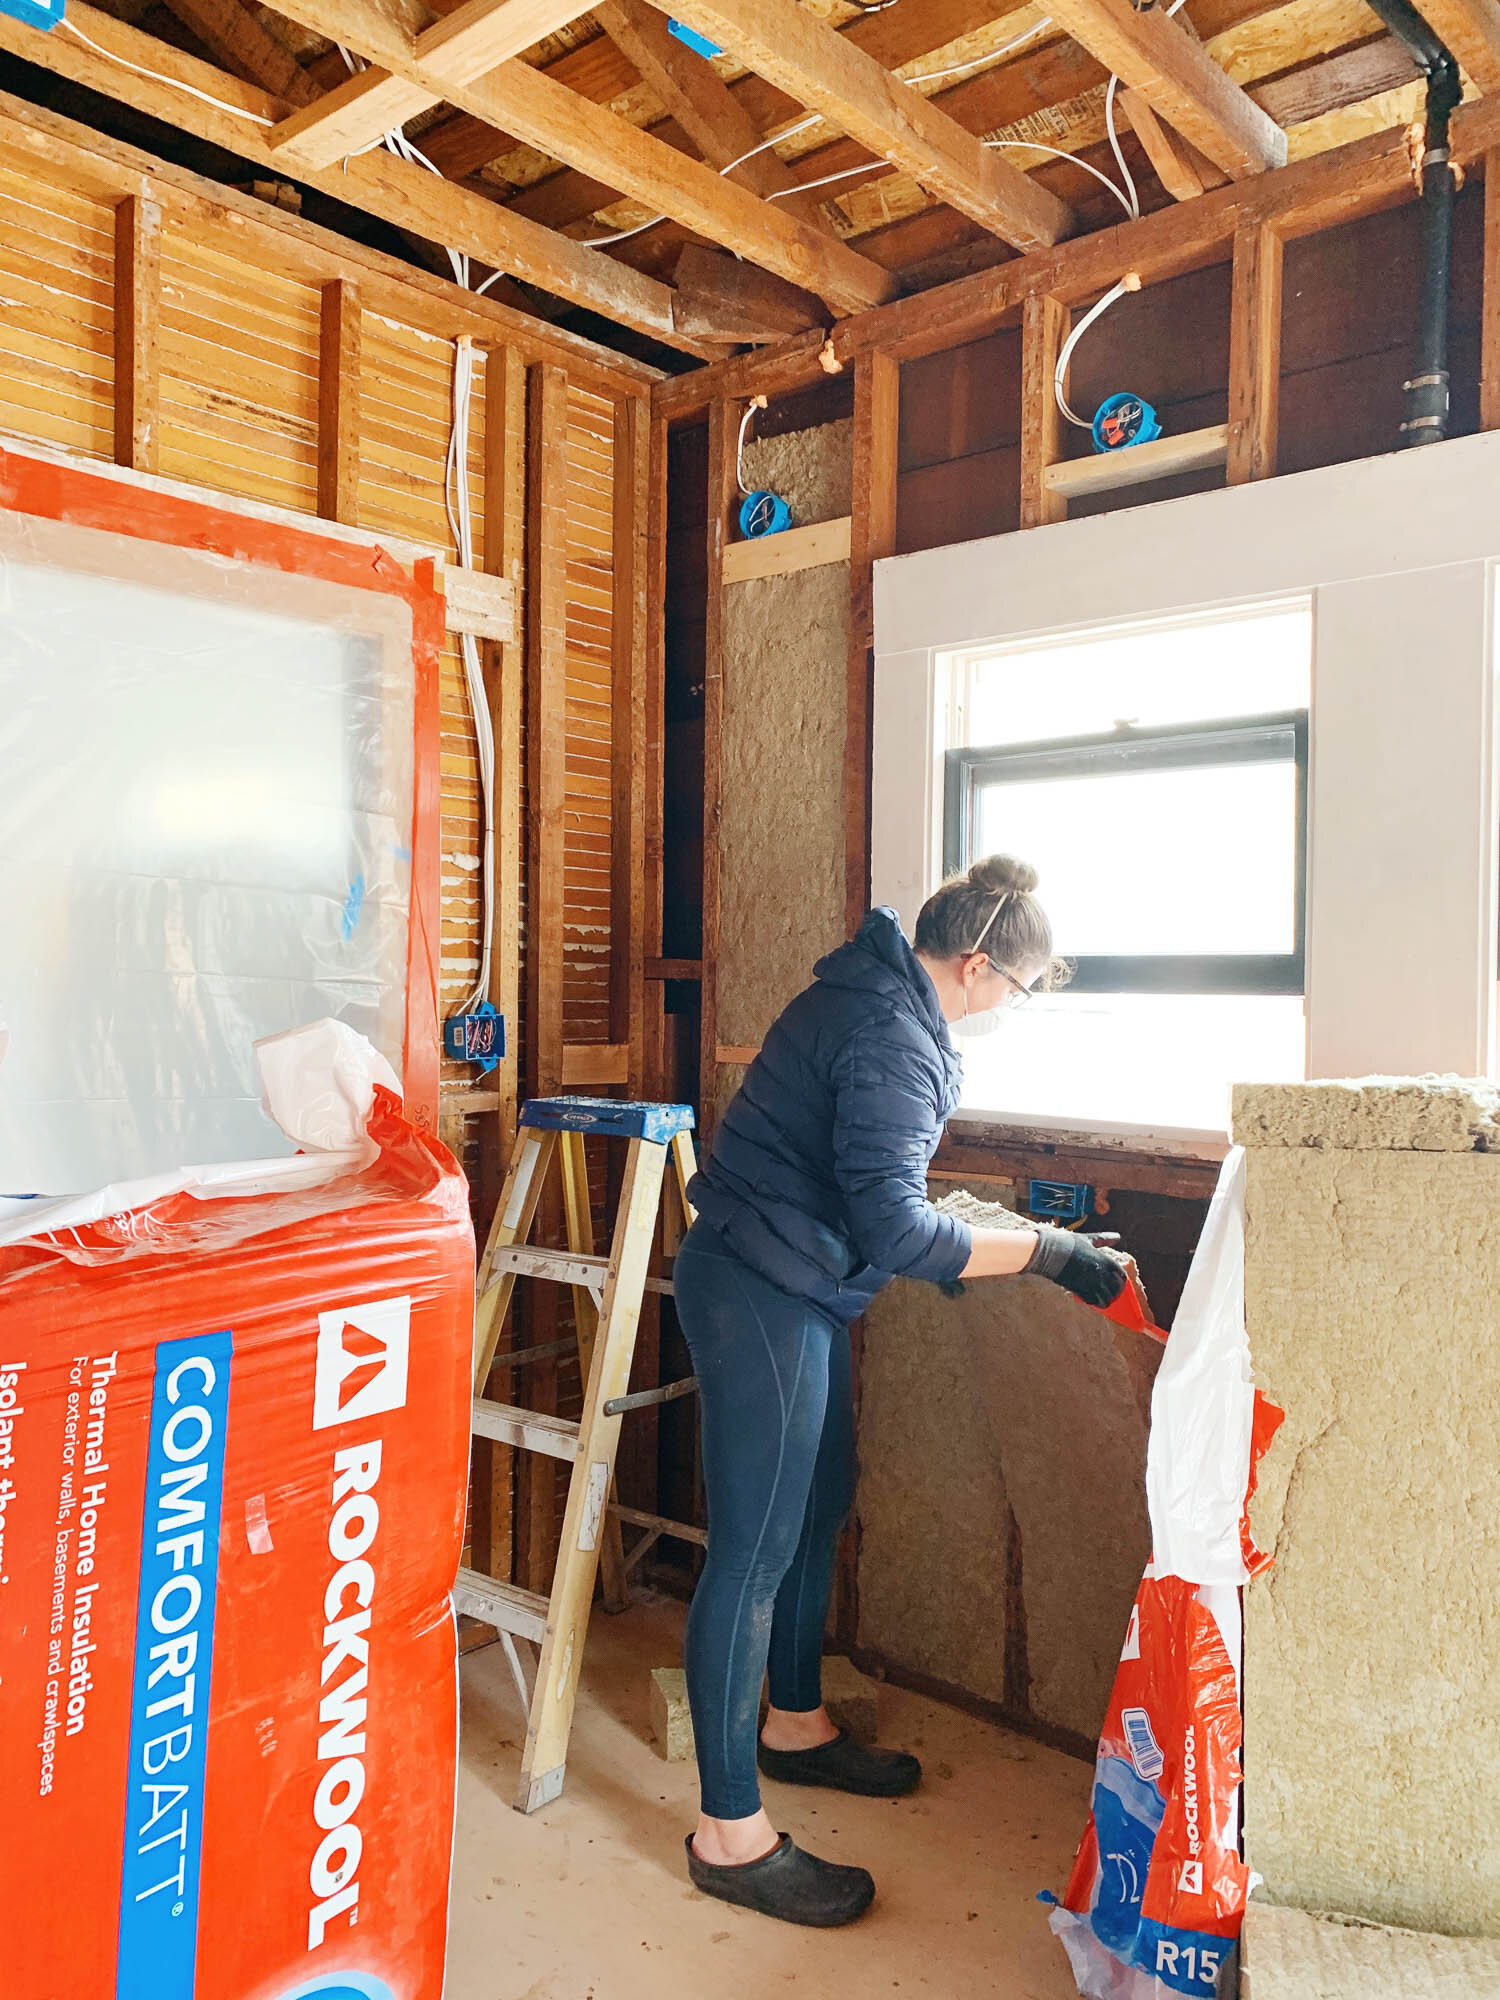
The crew has left so I’ve taken over the renovation project and my first task was insulation! The process was very easy and actually quite enjoyable. I can already feel a difference in the temperature of the room and how the space sounds, so I’m a happy camper. Let’s get into it!
Electrical went in last week! As did HVAC and venting! And we had our first inspection! While it was stressful for me to make decisions (that’s just not my strong suit in any application), the installation was free of drama like plumbing week! Let’s take a look at what happened, shall we?
I used to write these renovation updates in terms of weeks, but things are just so. slow. moving. So instead of a week 4 update, it’s just the 4th update in the series because it’s actually been 7 weeks of renovation. But, we’re making progress, and in this post, I’m here to chat all about plumbing! Spoiler: things started to suck this week.
There are a lot of times I’d recommend not renovating a kitchen and during coronavirus is one of those times. We’ll work it out, and we’re grateful we have the privilege we do right now, and this will all be over one day (hopefully). But It’s still less than ideal. Many of you kindly have reached out to ask how things are going, so I’m here to share with you what’s going on and how we’re moving forward with this project.
This kitchen renovation and bathroom addition are still cruising. Kinda slow, often uneventful, sometimes thrilling. This past week the guys have been wrapping up framing and that included cutting a hole into a perfectly good wall, removing a door, adding two doors, and adding two walls!
A few weeks back, I sat down to chat with Karen and Zandra of Little Yellow Couch for an interview on their Style Matters podcast. We discussed the latest One Room Challenge (and the mural), my work in museums and its influence on my blogging, taking on stop-gap DIYs in the kitchen, the passion I have for art, where I like to donate when I clean house, seeking inspiration, plans for 2018, and why I think style matters.
Use the player above, or on iTunes, GooglePlay, or Stitcher.

This is the audio set up Ross put together for my interview. As an audio professional by trade, and as our home's Chief Technology Officer, he's a good resource for all things music/voice recording. He helped me round up tips and tools if you have recording needs yourself!
Turn off the AC/heater, don't run a load of laundry, and pick a room in the house with sound-absorbing materials (i.e. soft things). Also, remove clattery jewelry and avoid fidgeting with things that can make noises. Even vibrations from working on the table that the mic sits on can be picked up in your recording.
Silence your cell phone and put it far away from the mic so there's no cellular interference.
Use headphones to listen to the other side of the conversation. If you use your speakers, your microphone will pick up the other person's voice and you'll get an echo.
Speak closely to the mic for more direct sound and less room echo.
If you're going to laugh or yell, pull away from the microphone a bit.
Sit up straight (or even stand) for clear breathing.
Avoid drinking milk-based beverages or coffee before talking. Eating an apple before you chat will help clear your voice and a glass of room-temp water will keep you hydrated during your conversation.
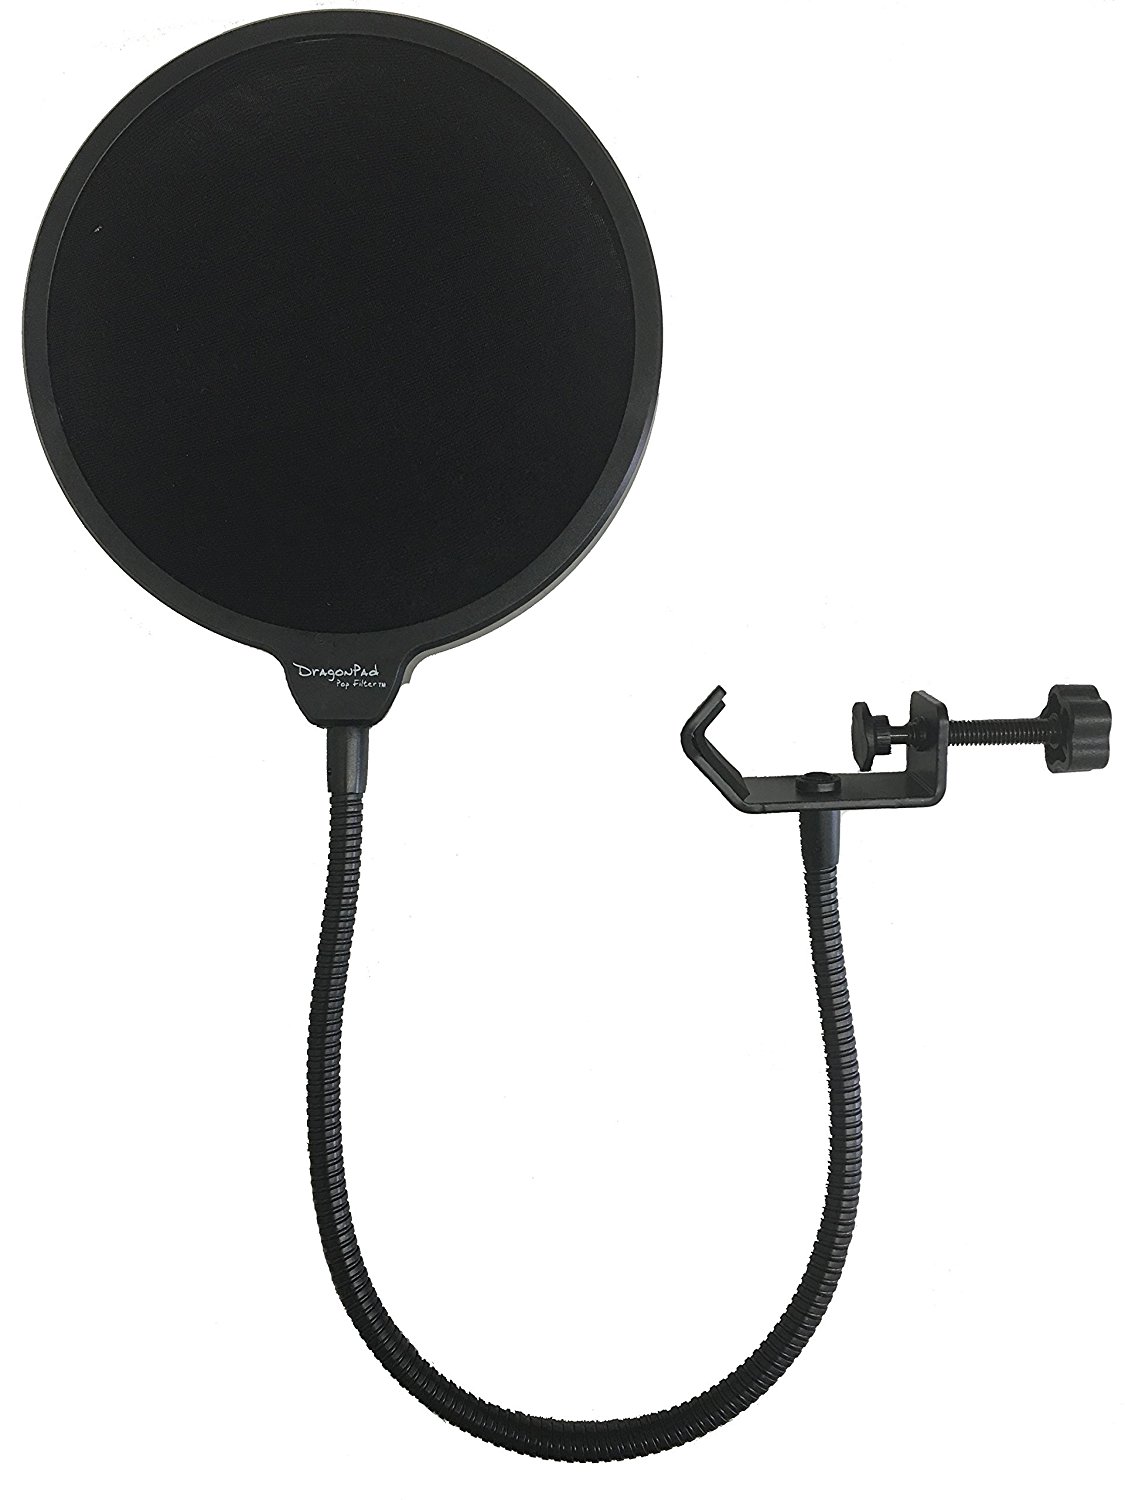
Use a pop filter to remove the strong "p" and "s" sounds.
Lastly, always do a test run before going live!
Using your computer's built-in audio won't get you the best result, so we've rounded up some tools to make you sound your best. Ross recommends the pro gear for long-lasting and high quality audio, but he collected a few cheaper options to play with until you're ready to make a more "pro" plunge. You can also mix and match pro and budget, too!






Microphone: A pro mic that works great for speaking or singing. It picks up detail in your voice without picking up unwanted reflections in the room - $159
Mic Stand: It's adjustable and weighted so it won't tip over - $30
Pop Filter: A must have for reducing hard "p" and "s" sounds. This one is made of metal so it will last longer than plastic or DIY versions - $50
Audio Interface: It amplifies a professional microphone and converts it to USB to record directly into your computer. It also has a guitar input if you're a musician - $99
Mic Cable: To connect the interface to the mic - $6
Headphones: These headphones are the priciest of all of the items, but luckily they are the most versatile. I use this pair on flights for my movie watching because they are super comfy and have great audio quality - $222



Microphone: This USB mic plugs directly into your computer without needed an additional interface like the pro set up. Plus, it comes in different colors! - $70
Mic Stand: The budget mic has little legs, but if you need more height, a stand will make chatting more comfortable. Plus, it's easier to attach the pop filter to a stand. Note that it doesn't have a boom to bring the mic closer to you like the pro one does - $13
Pop Filter: For less than $10, it makes your voice sound so much better (you can also make your own for pennies) - $9
Headphones: I like over ear headphones, but you can always use the ones that came with your phone - $15
All of these tools will send your voice to your computer, then you can use any software to record. My podcast interview was hosted on Skype, so I used the built-in Skype Call Test Service to make sure everything was working well. For recording, you can use the native Mac app, GarageBand, or download Audacity for free for PC users. Pro Tools is the industry standard audio workstation but is overkill for simple projects. Ross recommends TwistedWave for someone looking for more than what the free apps provide.
I hope that's helpful for anyone making music, movies, podcasts, or internet calls! Send me any recording questions, or if you want recommendations for pro PRO gear in the thousand dollar range, and I'll pass you along to my in-house audio engineer.
I got carried away talking about recording gear, so don't forget to go listen to my interview on iTunes, GooglePlay, Stitcher, or the player below!
So, why does style matter to YOU?
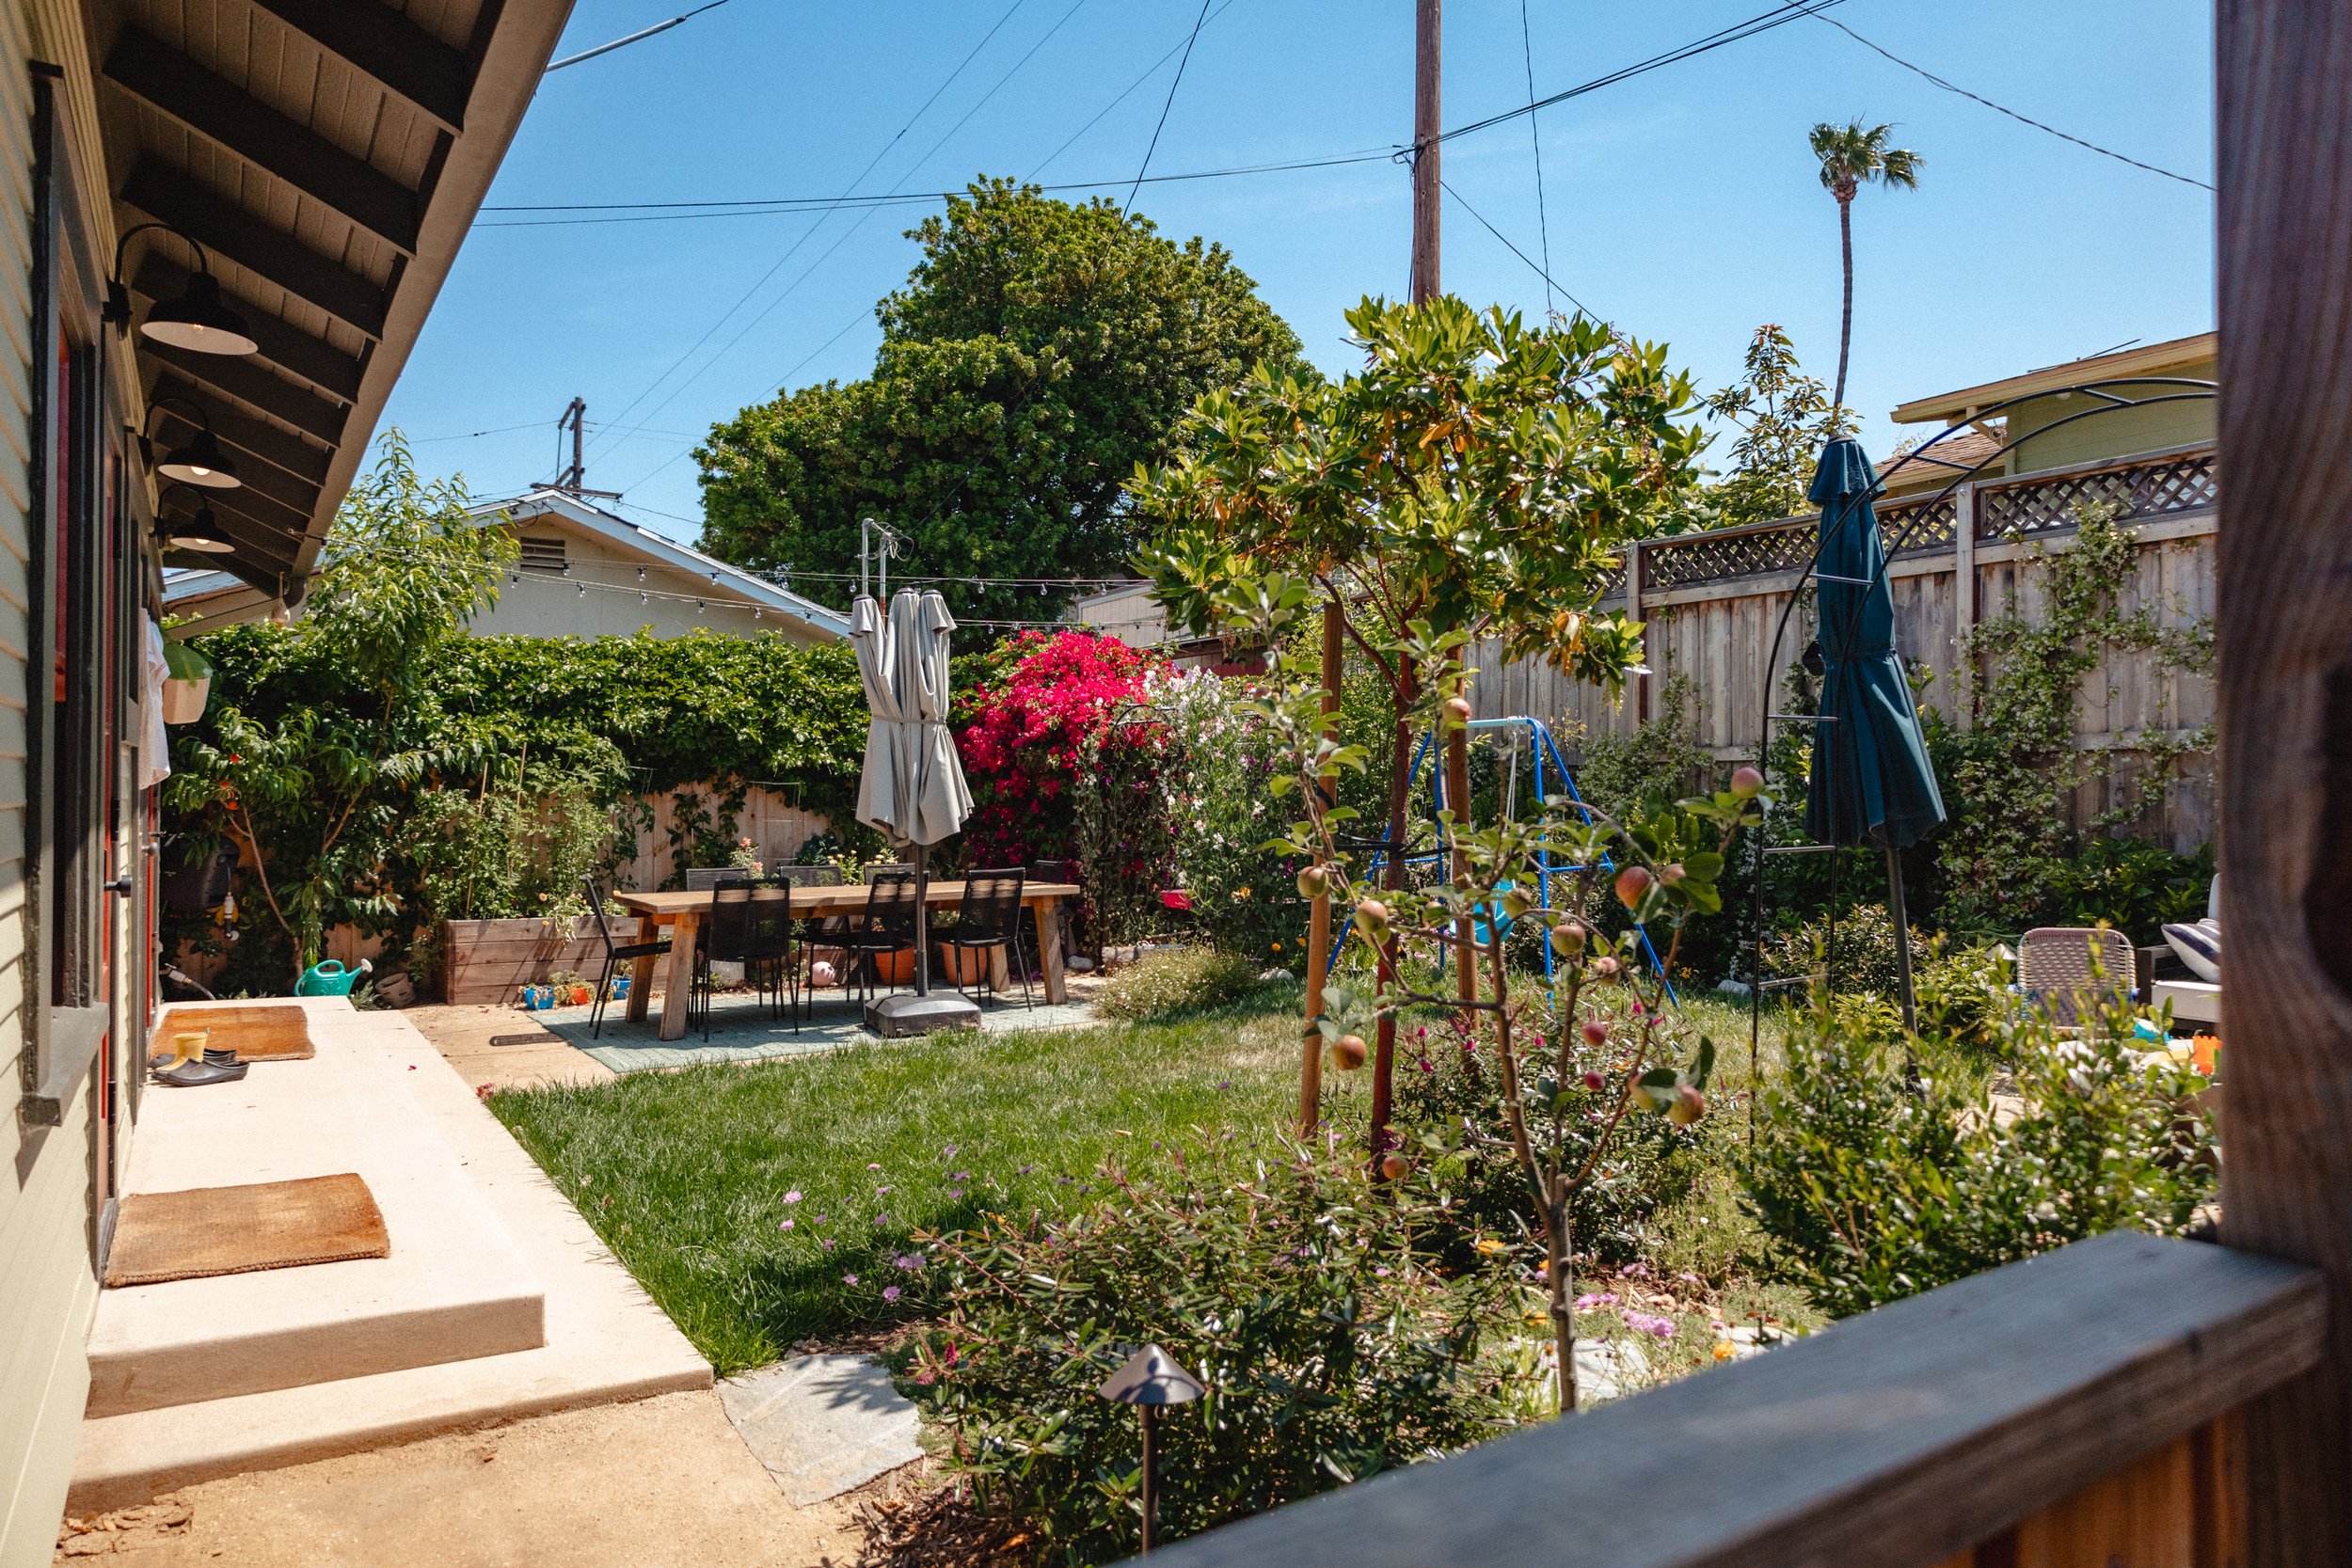
Welcome to a new series: Report Card. I'm going through (nearly) everything in a space and telling you how it's actually held up. The backyard's first up, and spoiler, I did not ace this one.
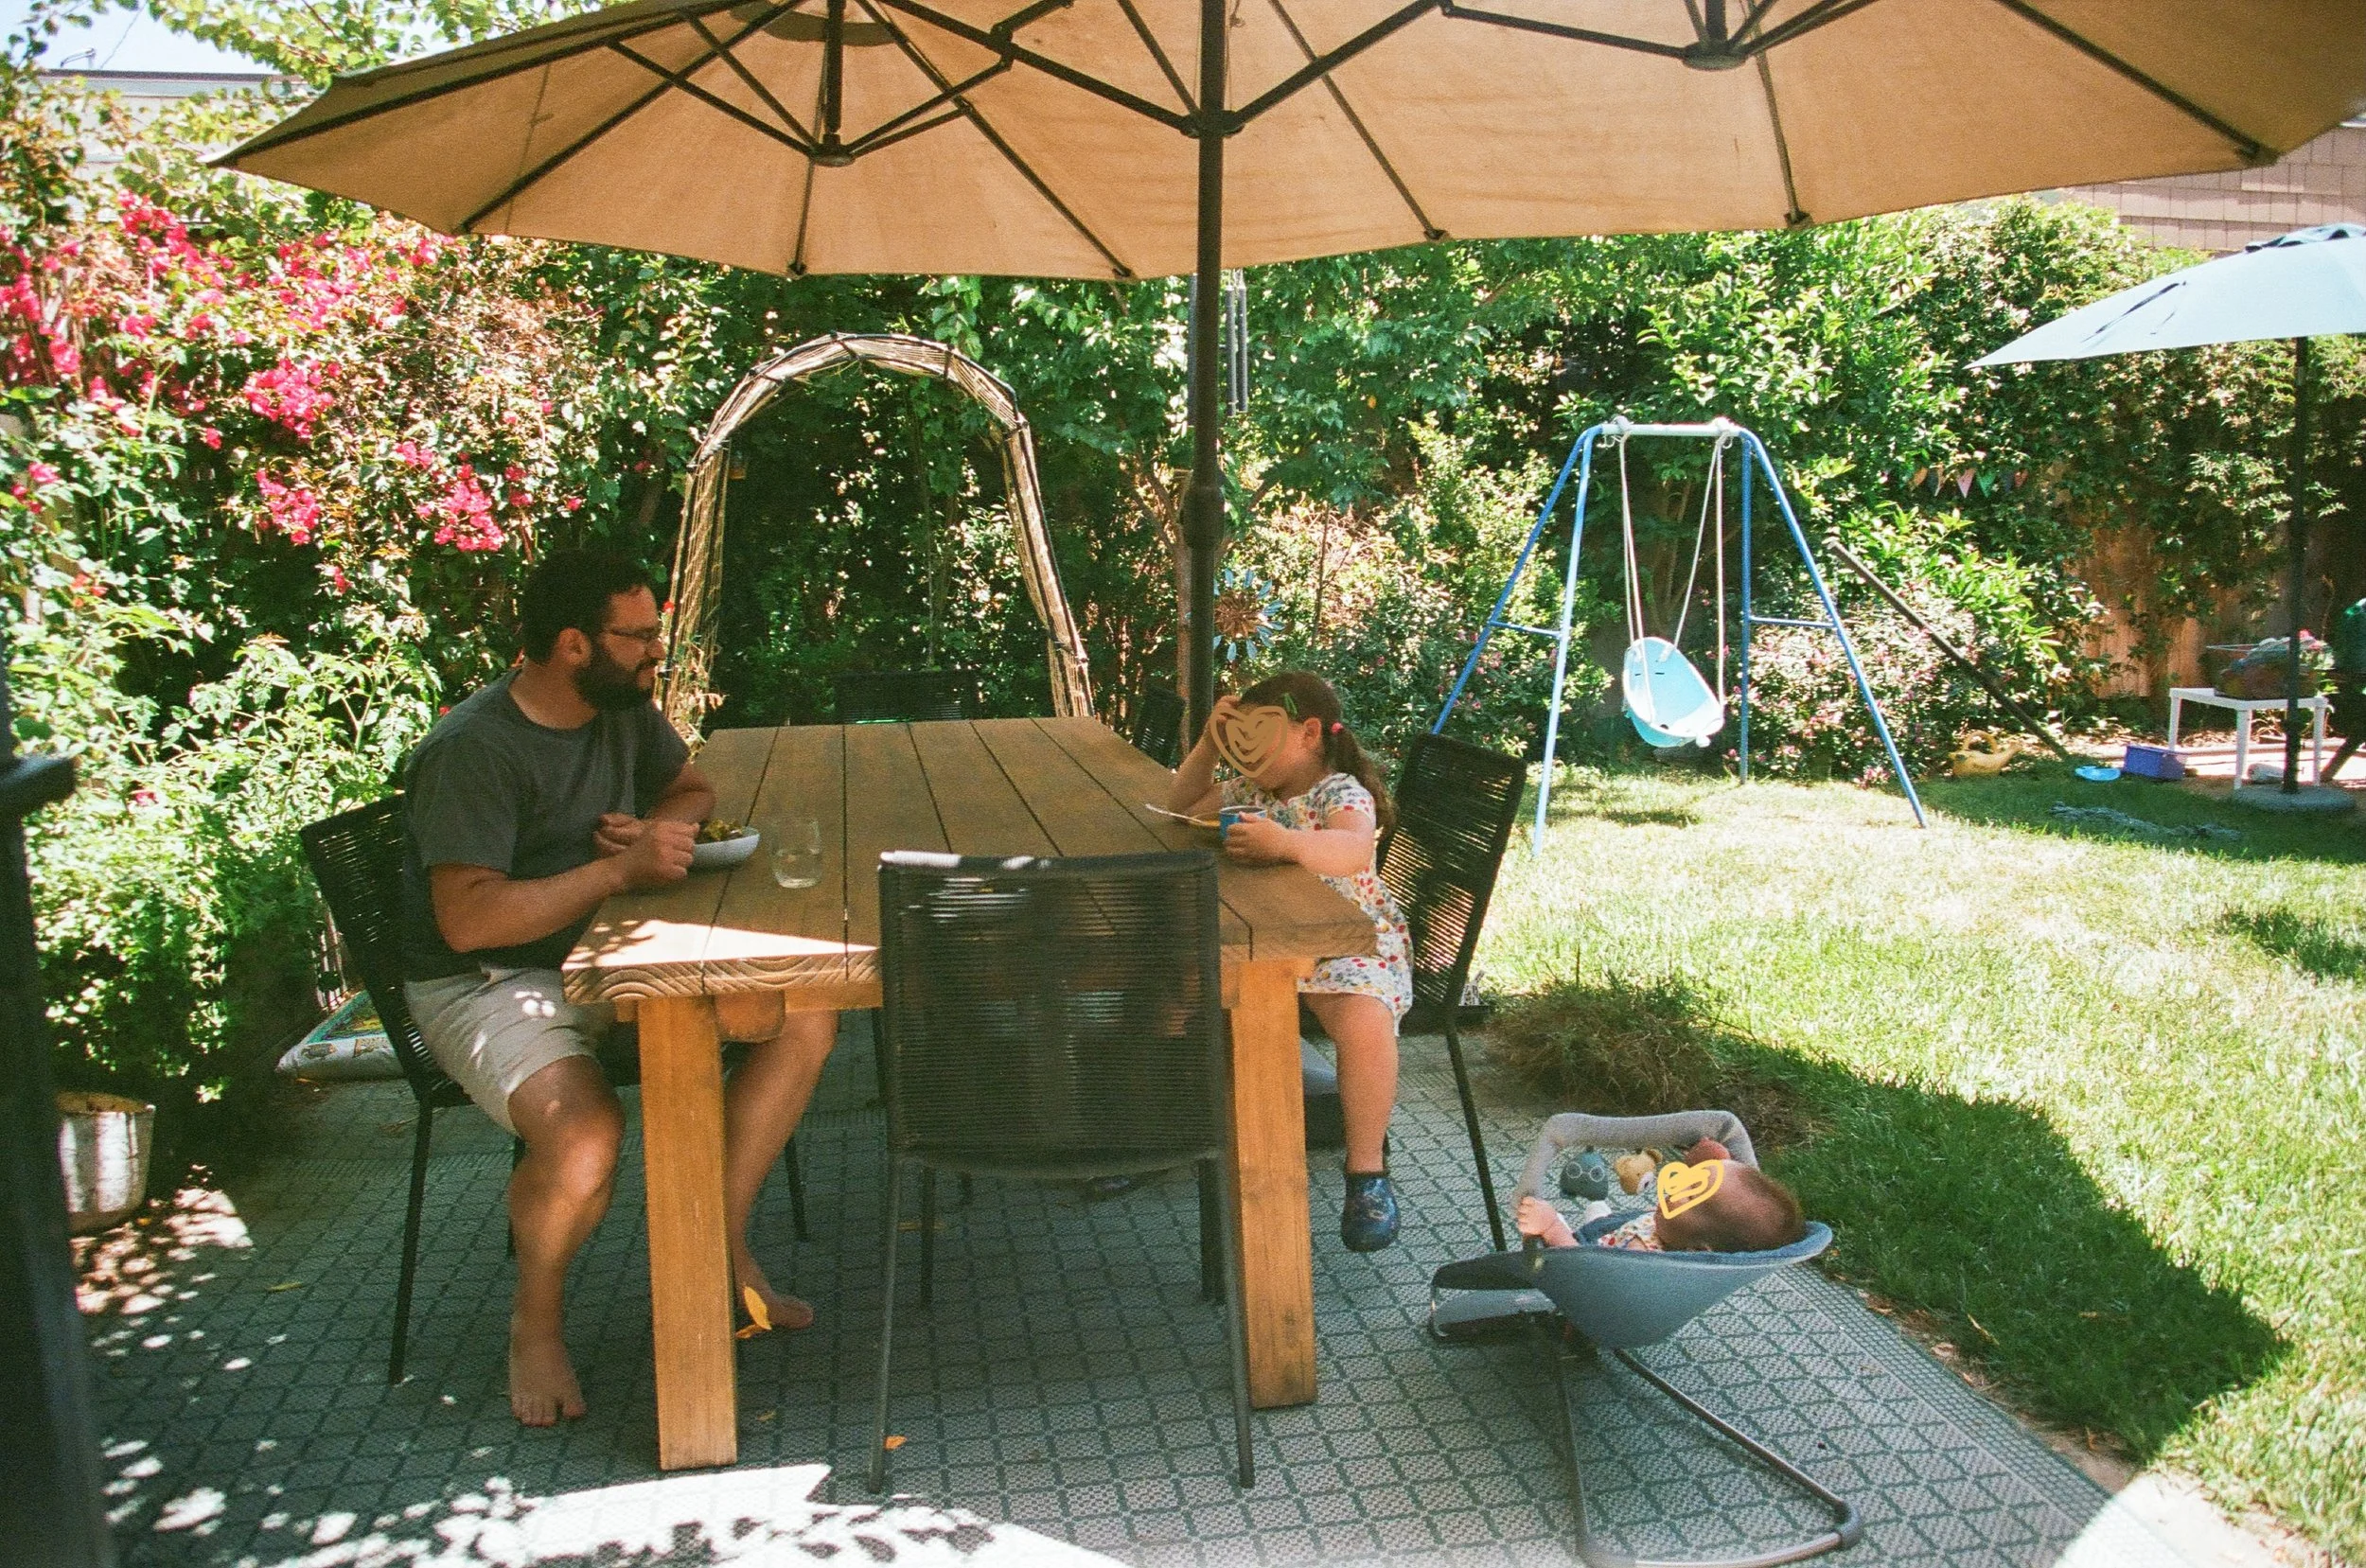
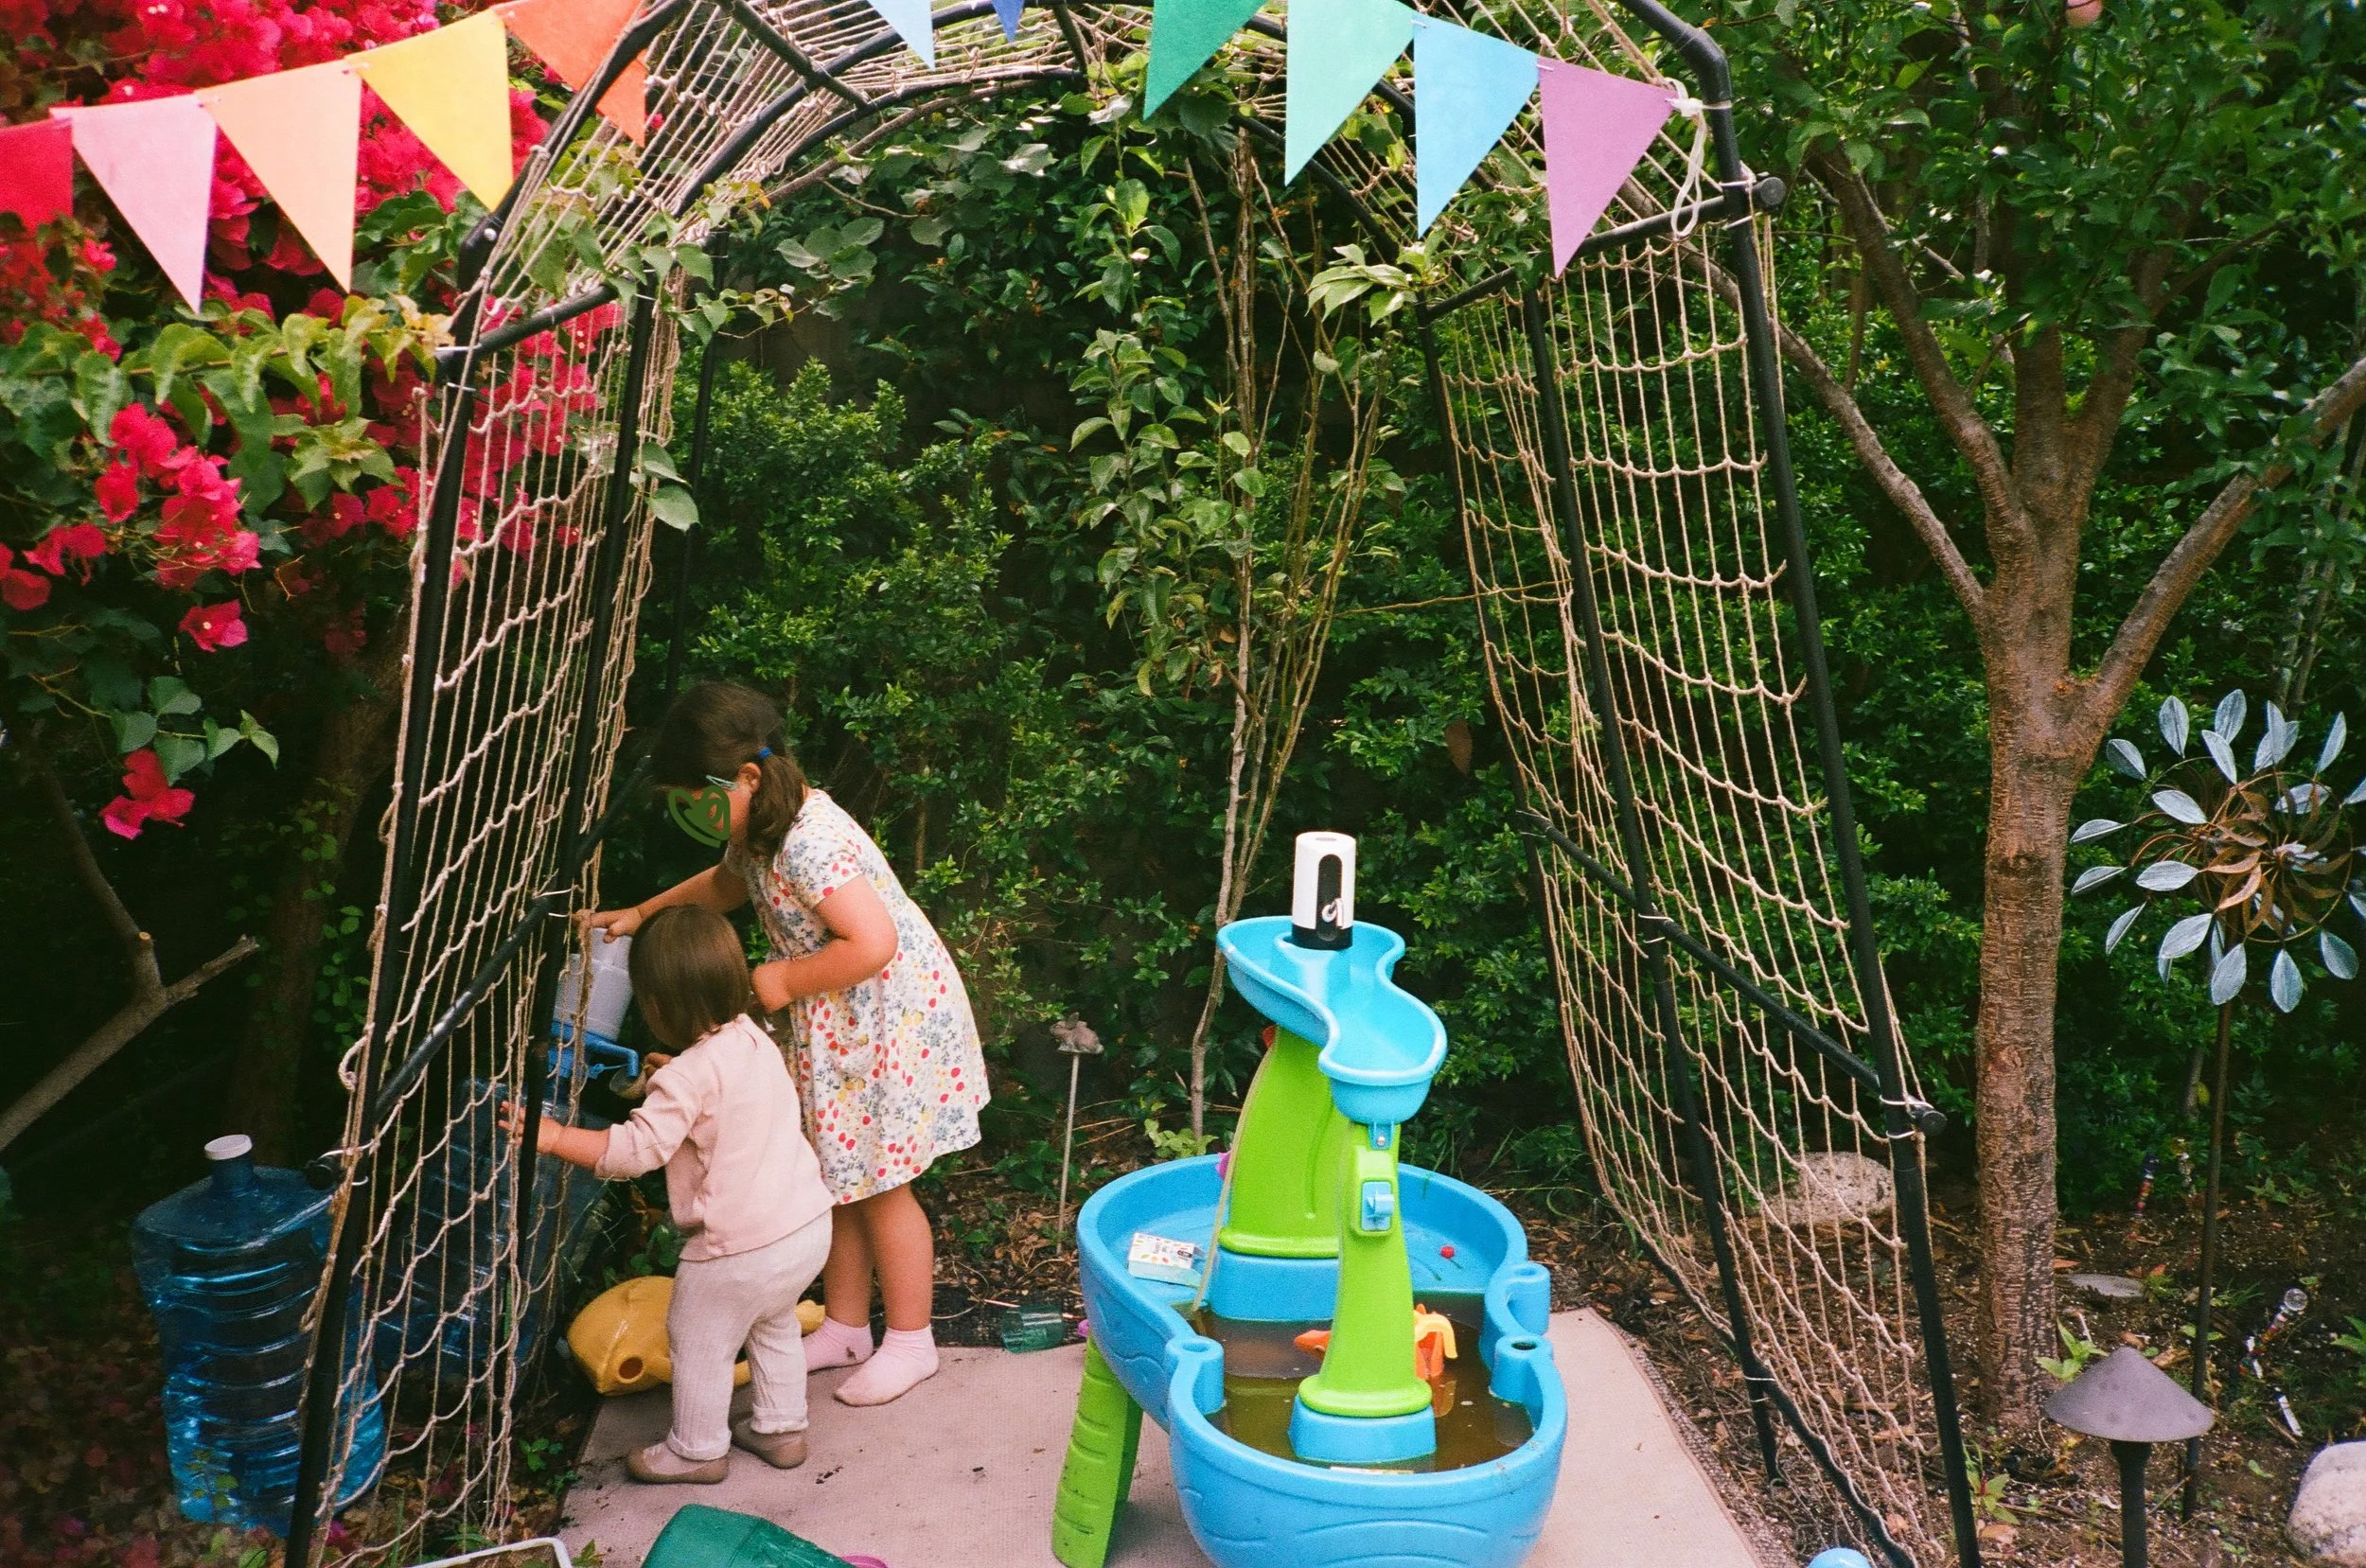
The plants finally filled in, the veggie beds are in the wrong spot, and I've learned that the yard you design and the yard your kids actually use are two very different things.
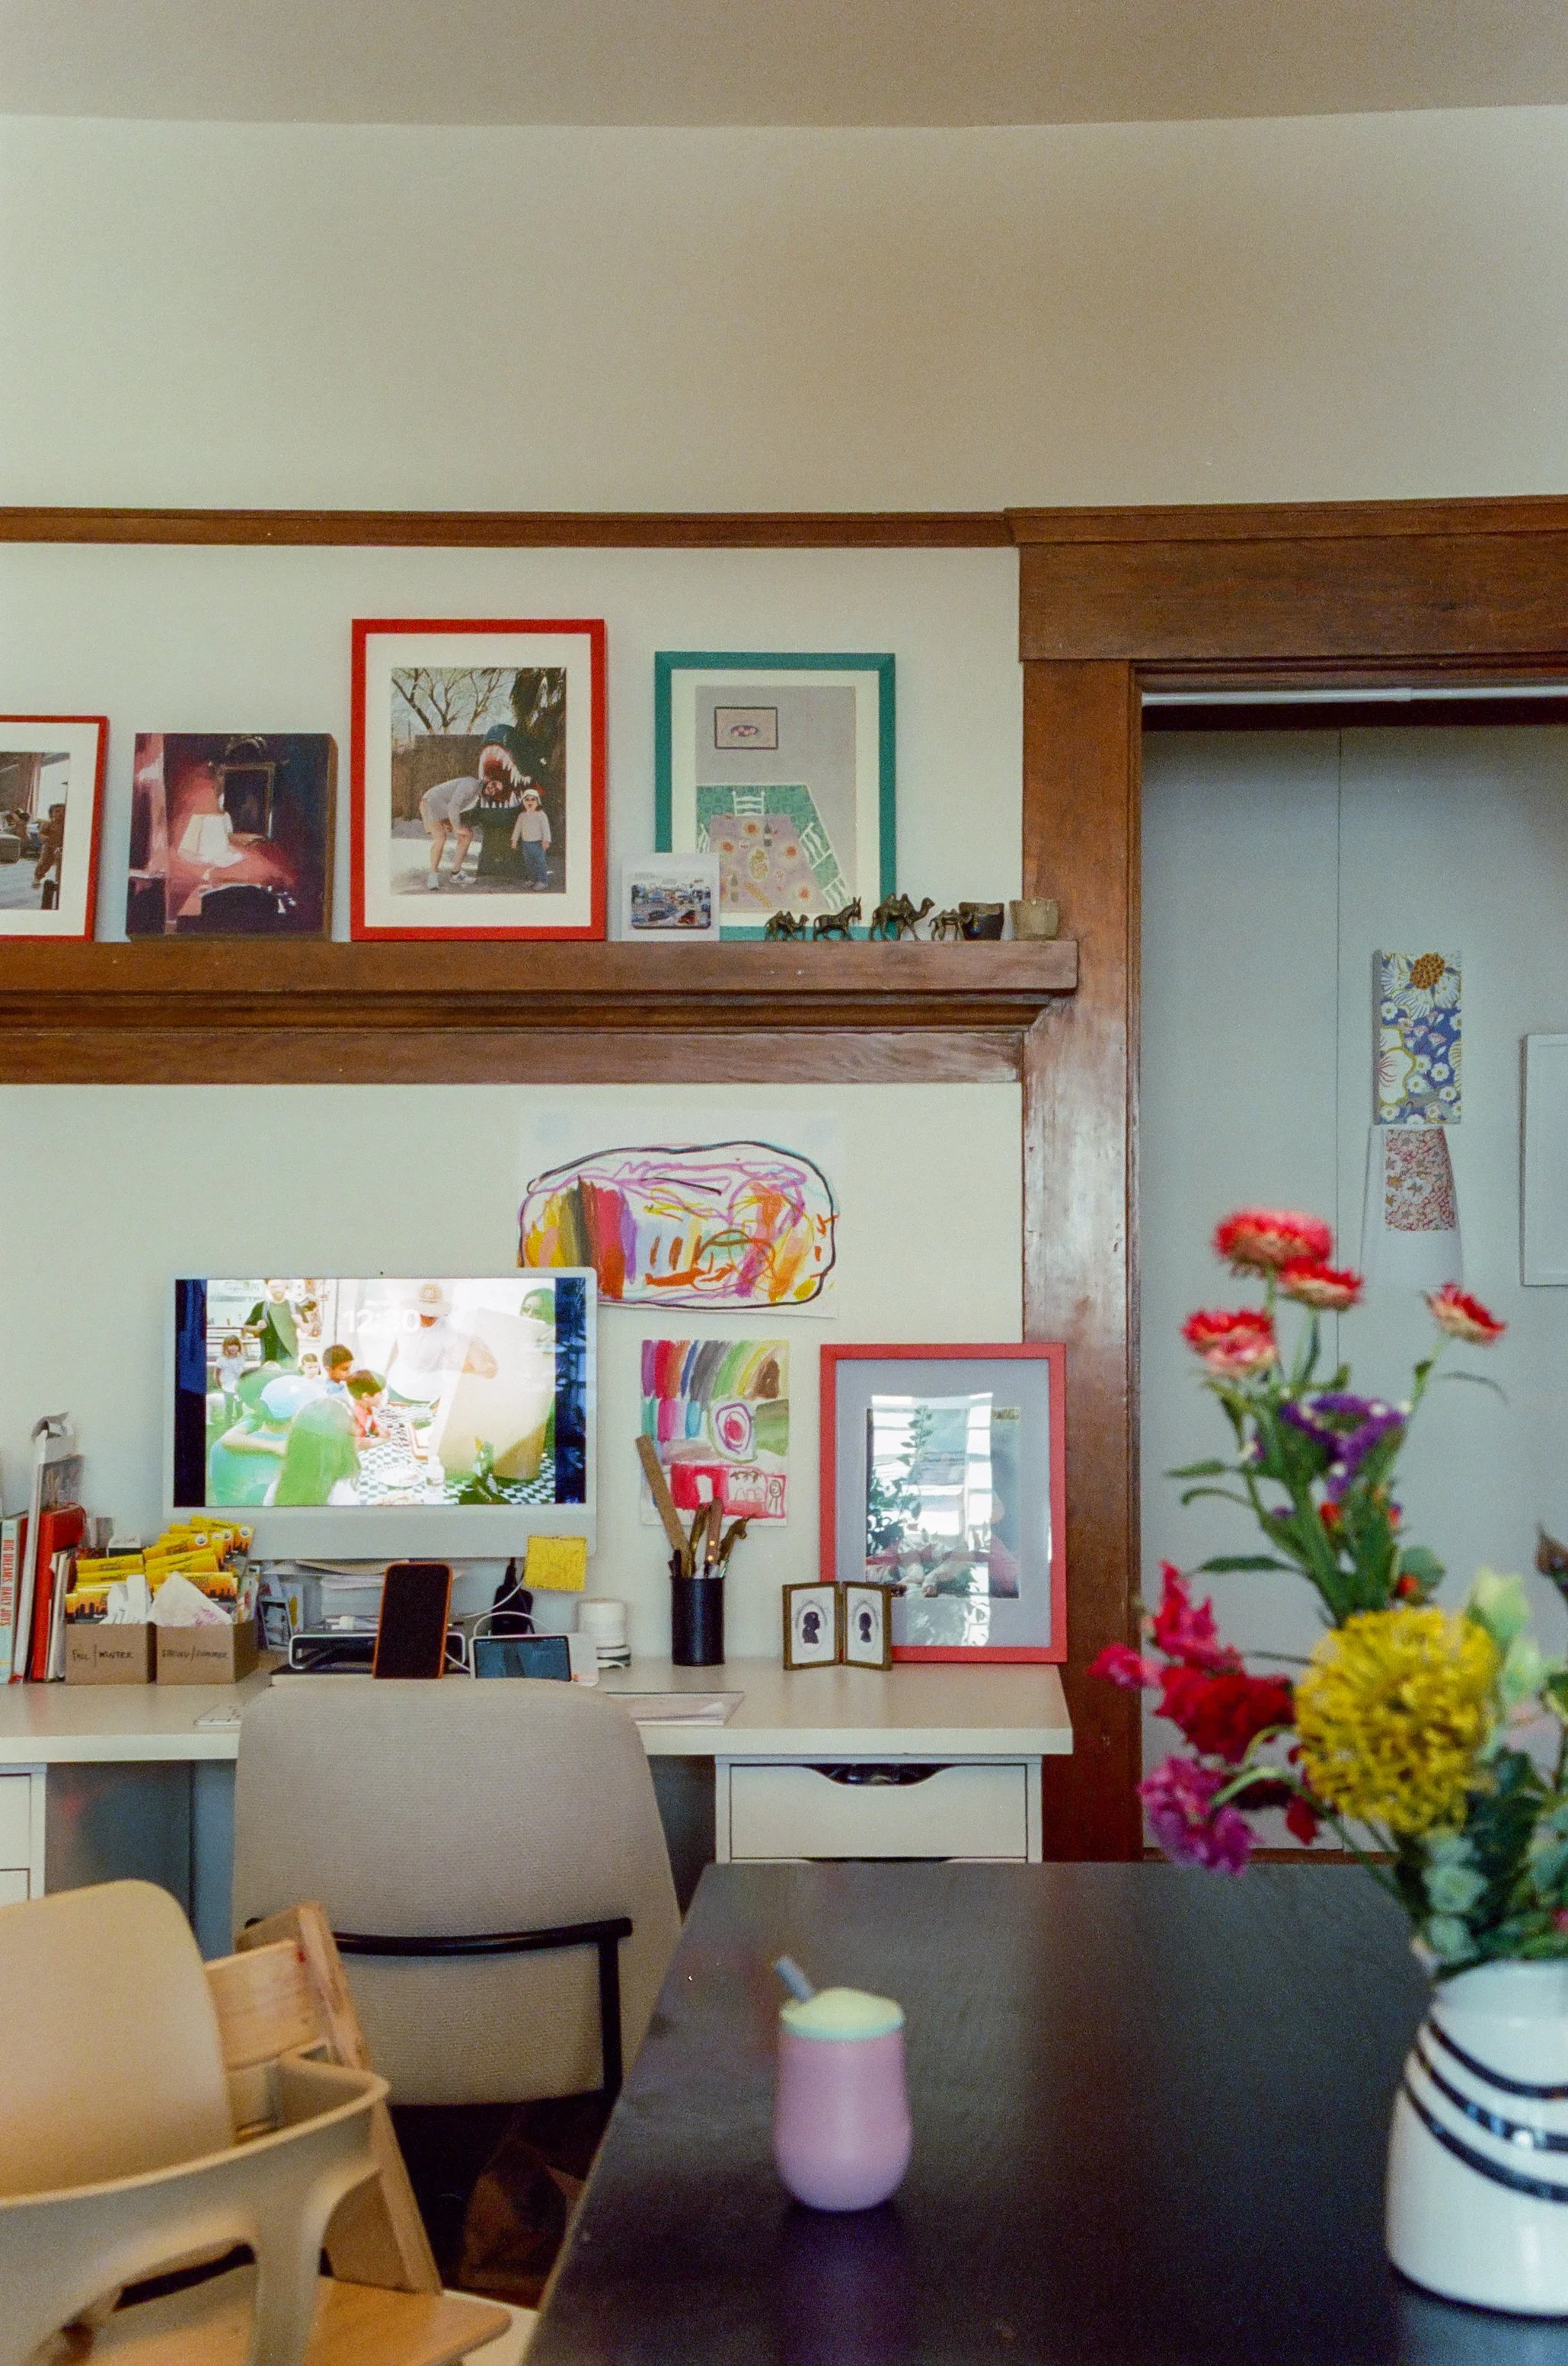
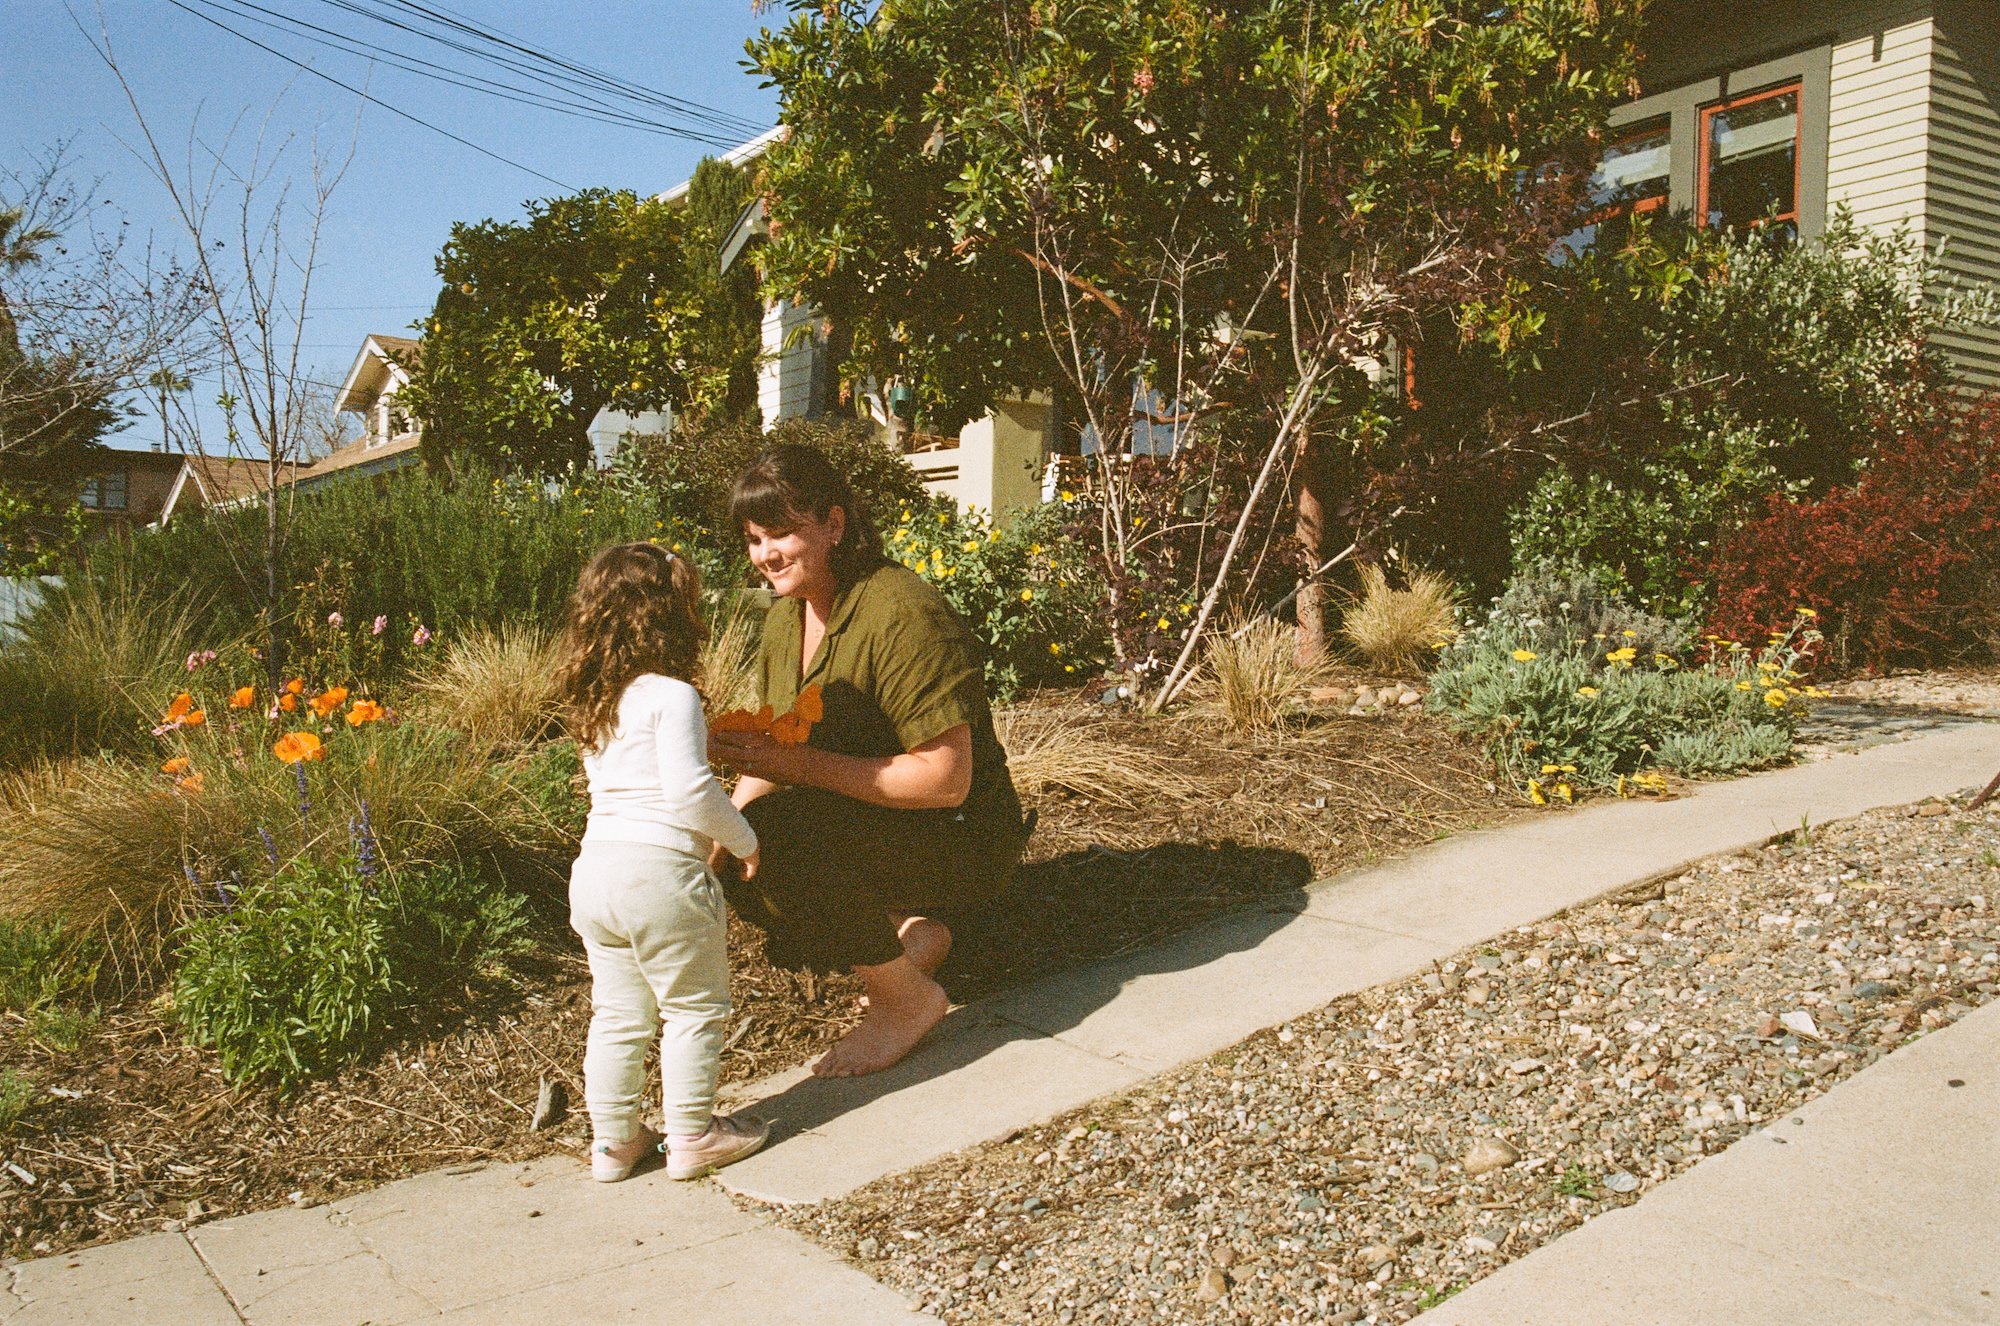
Hi. It's been a while. I've missed this. I took a longer break than I planned. Life has gotten full. I've been developing film and knitting at soccer practice, attempting to garden with the girls and fussing around with furniture layouts. I’ve also been scheduling summer camps, refilling the watercolors multiple times a day, and trying to keep the toys tidied. Around the house, I’m adding color wherever it fits and making some changes to the overall function and feel.
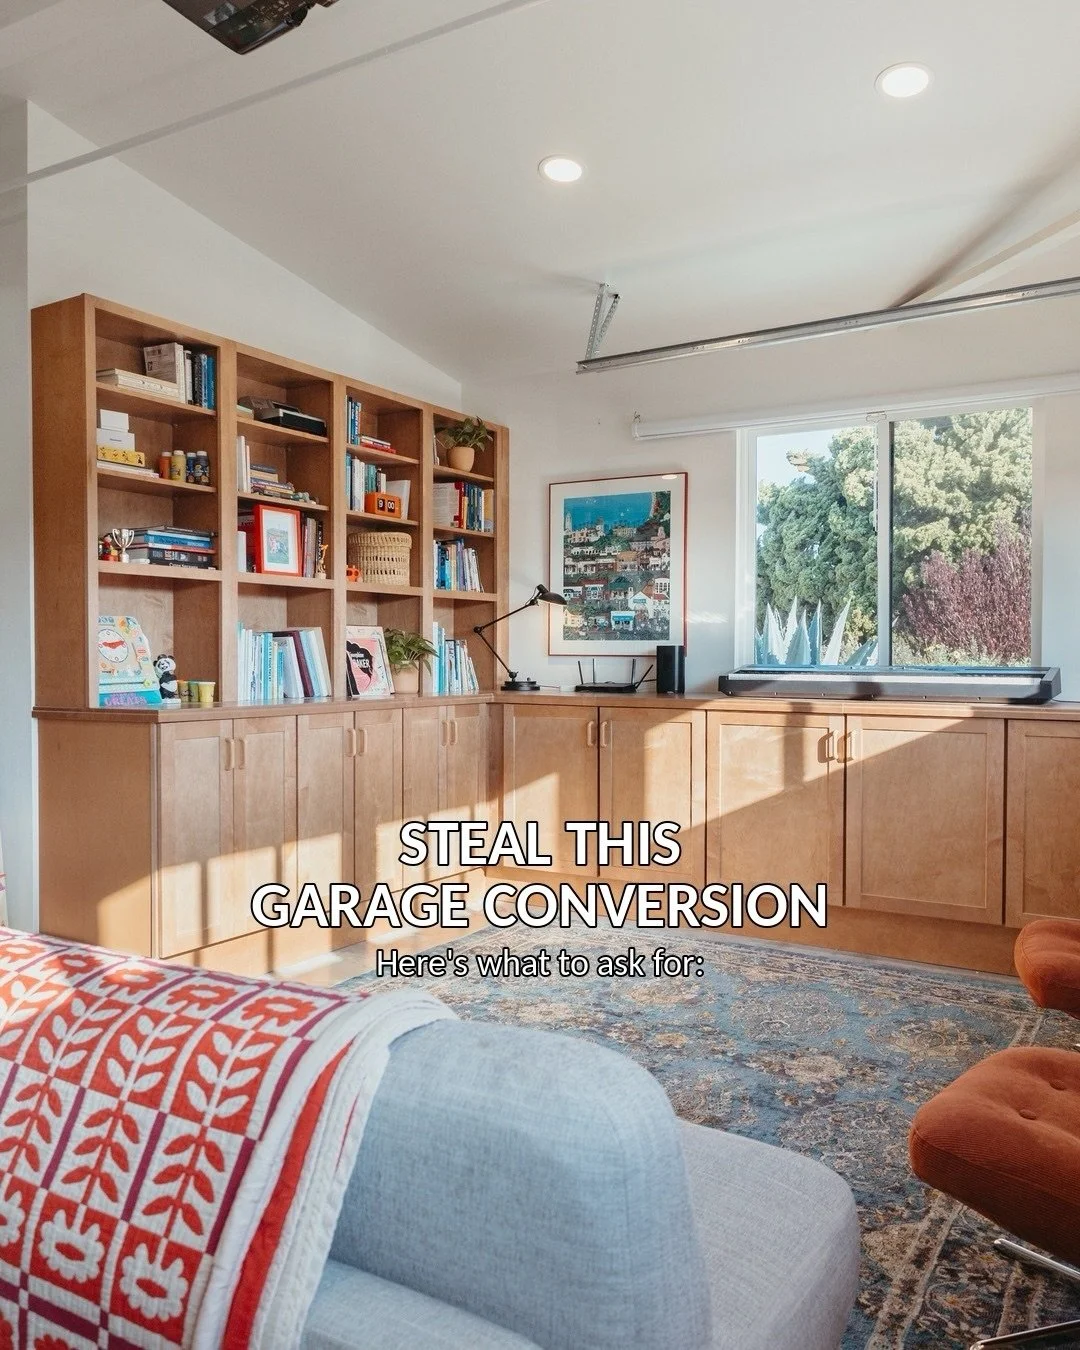
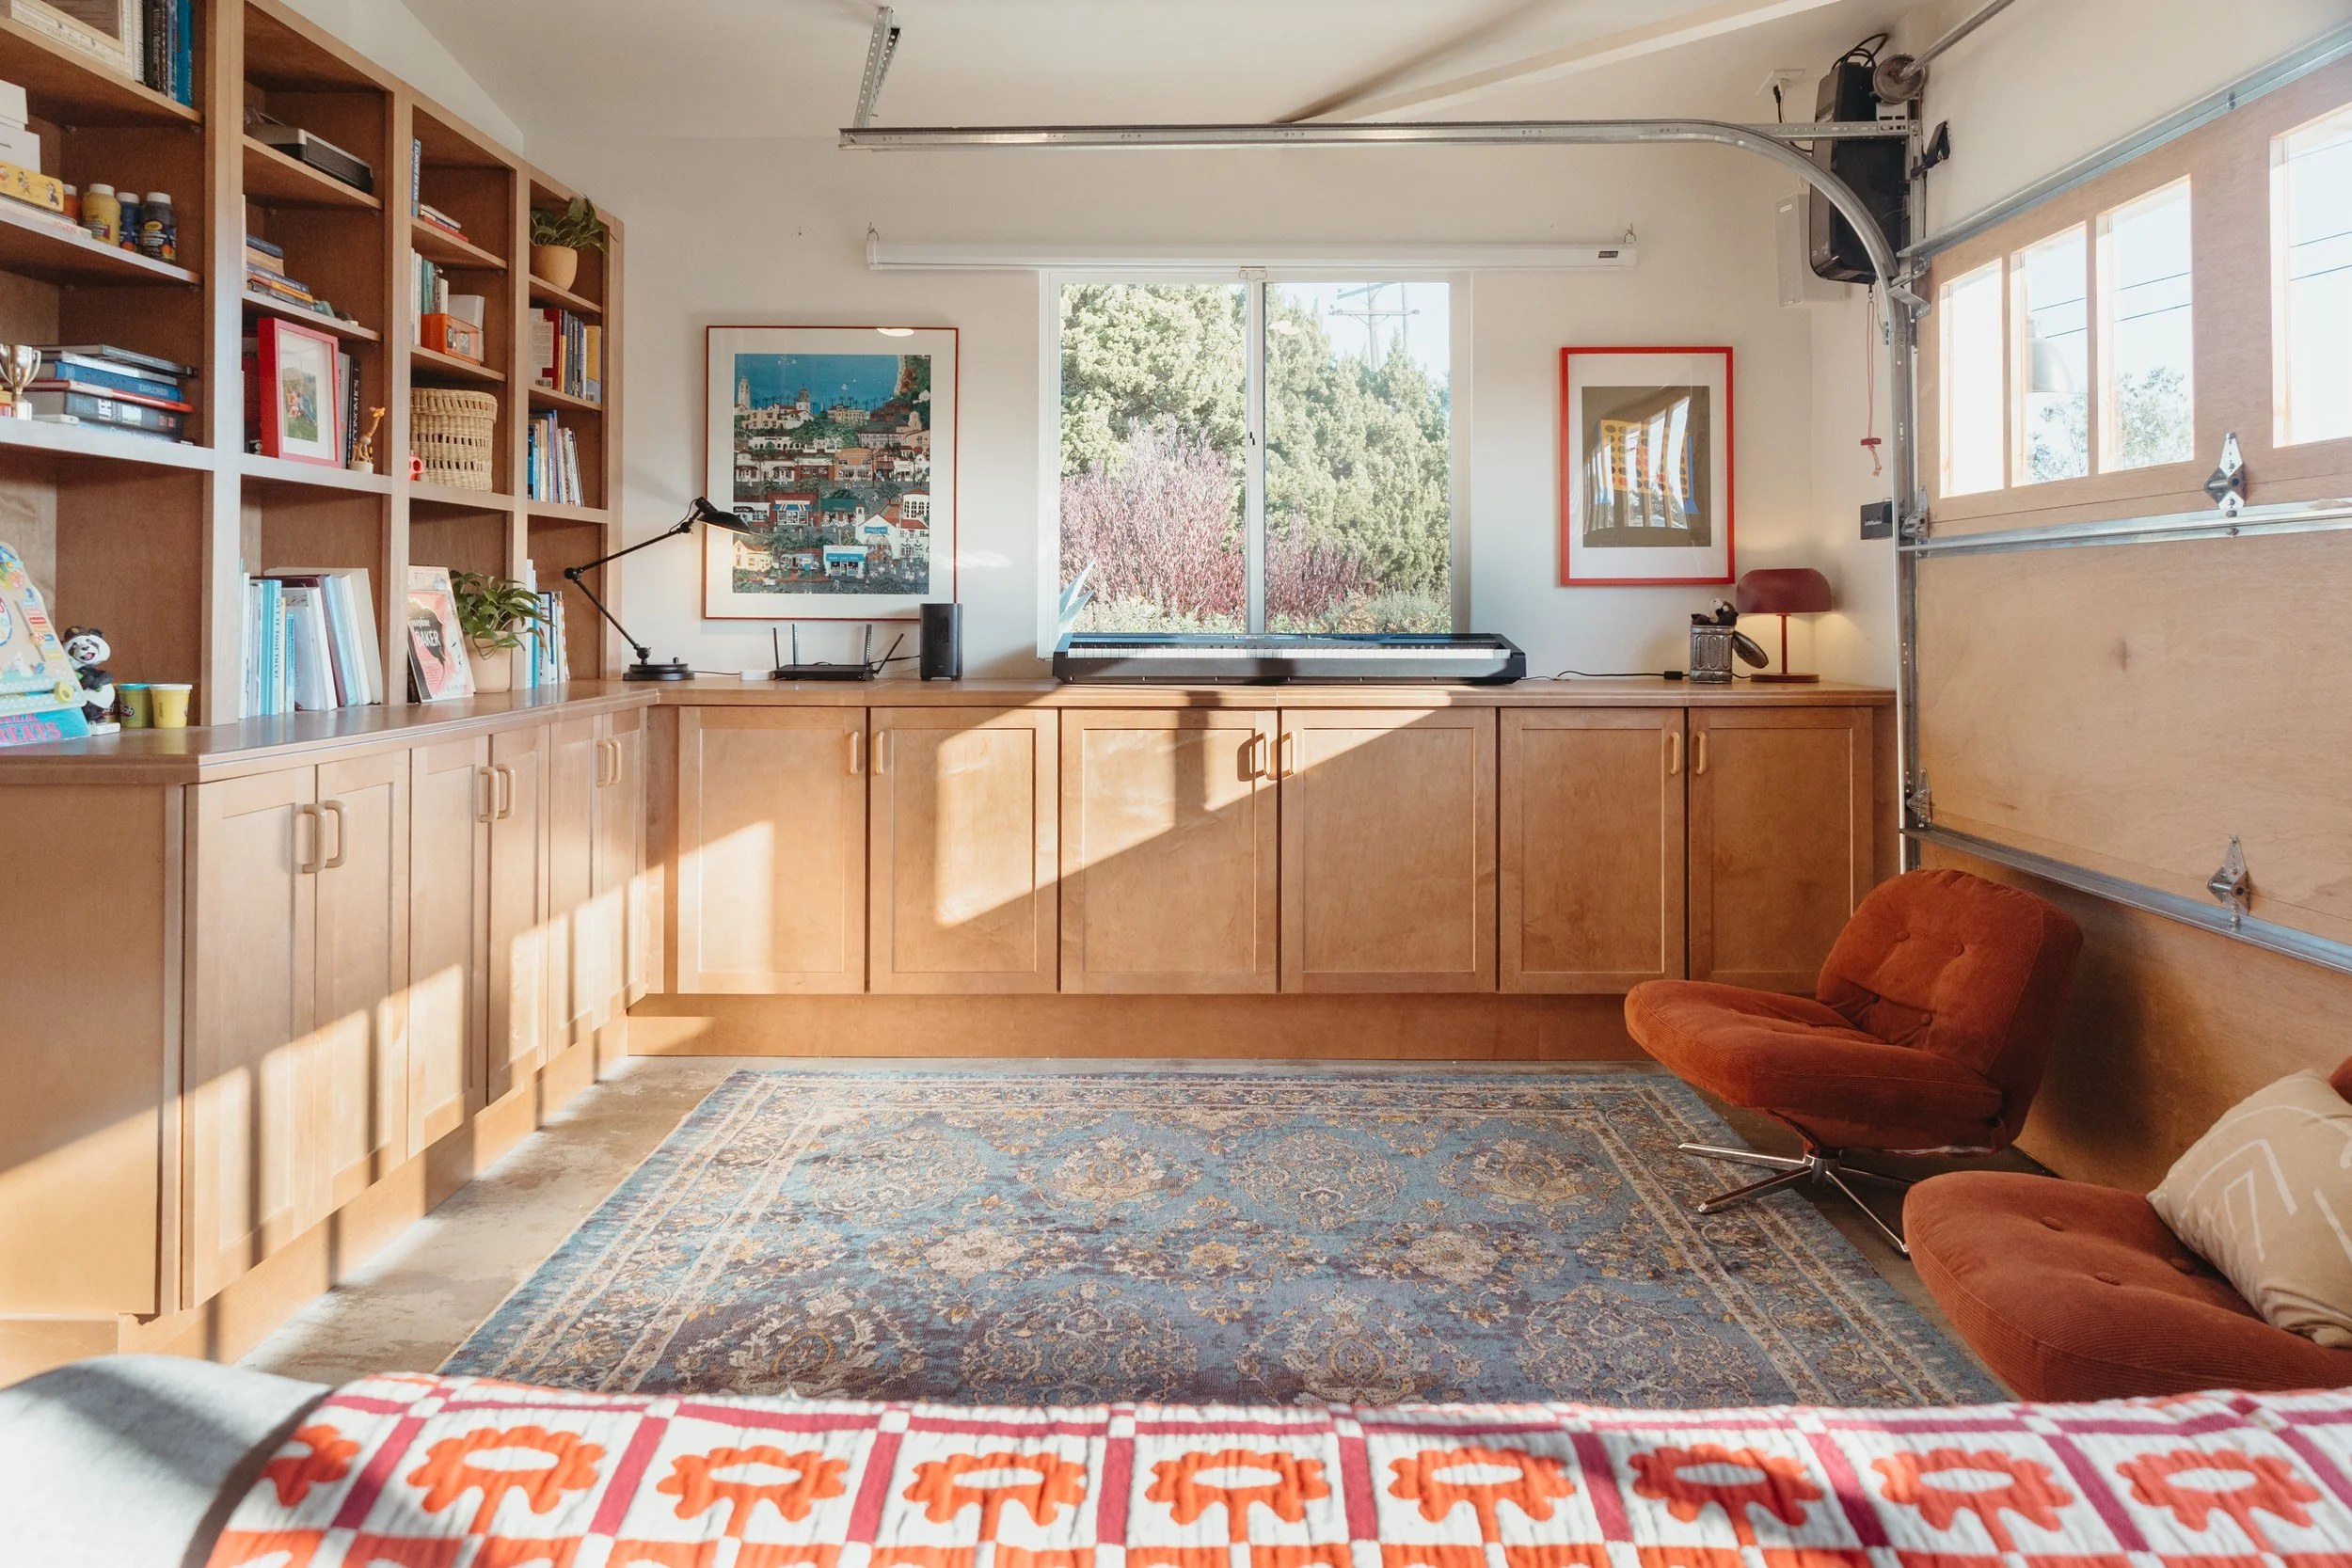
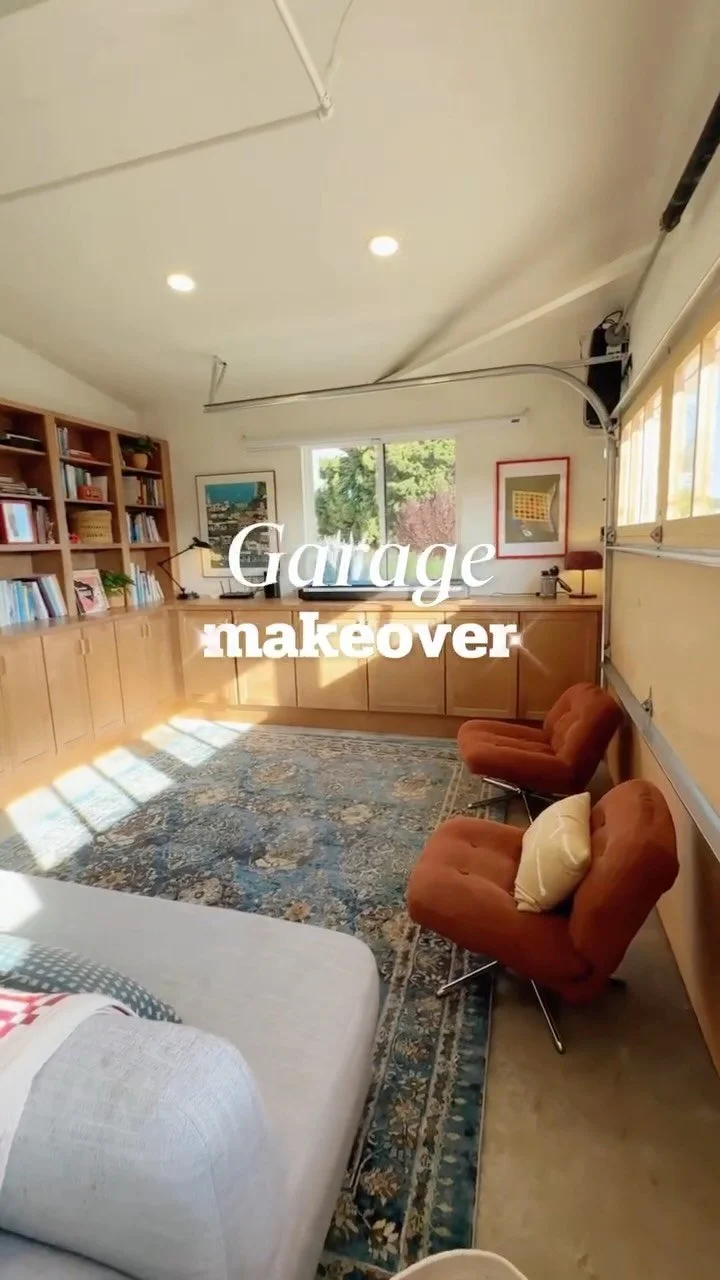
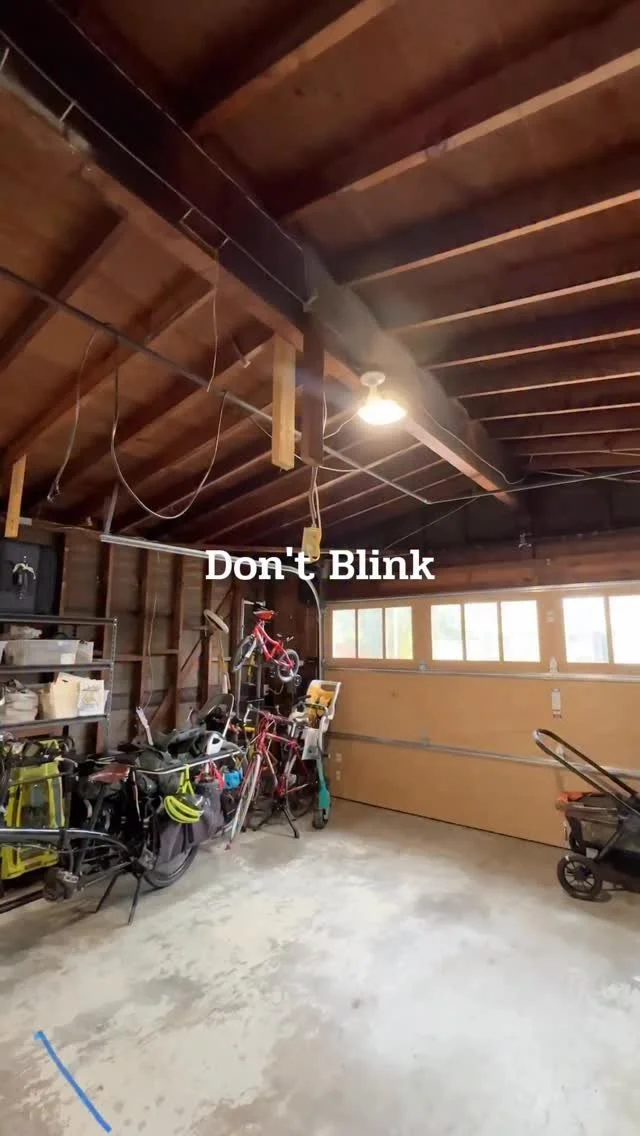
My friend Martha had a vision for this garage conversion: to turn her unfinished catch-all garage into a beautiful, hard-working space that could function as a living room, media room, playroom, laundry room, home office, and storage zone. I’ll be honest, I wasn’t entirely convinced all of that could fit. But somehow(?!), it absolutely does and it turned out even better than I imagined.
What I’ve been up to - from gardening, to film photography, and the books and shows we’re enjoying. Plus a house tour that requires a closer look, grass seed to always have on hand, cedar shake excitement, historic window screens, and the privilege I’m reminded of daily.
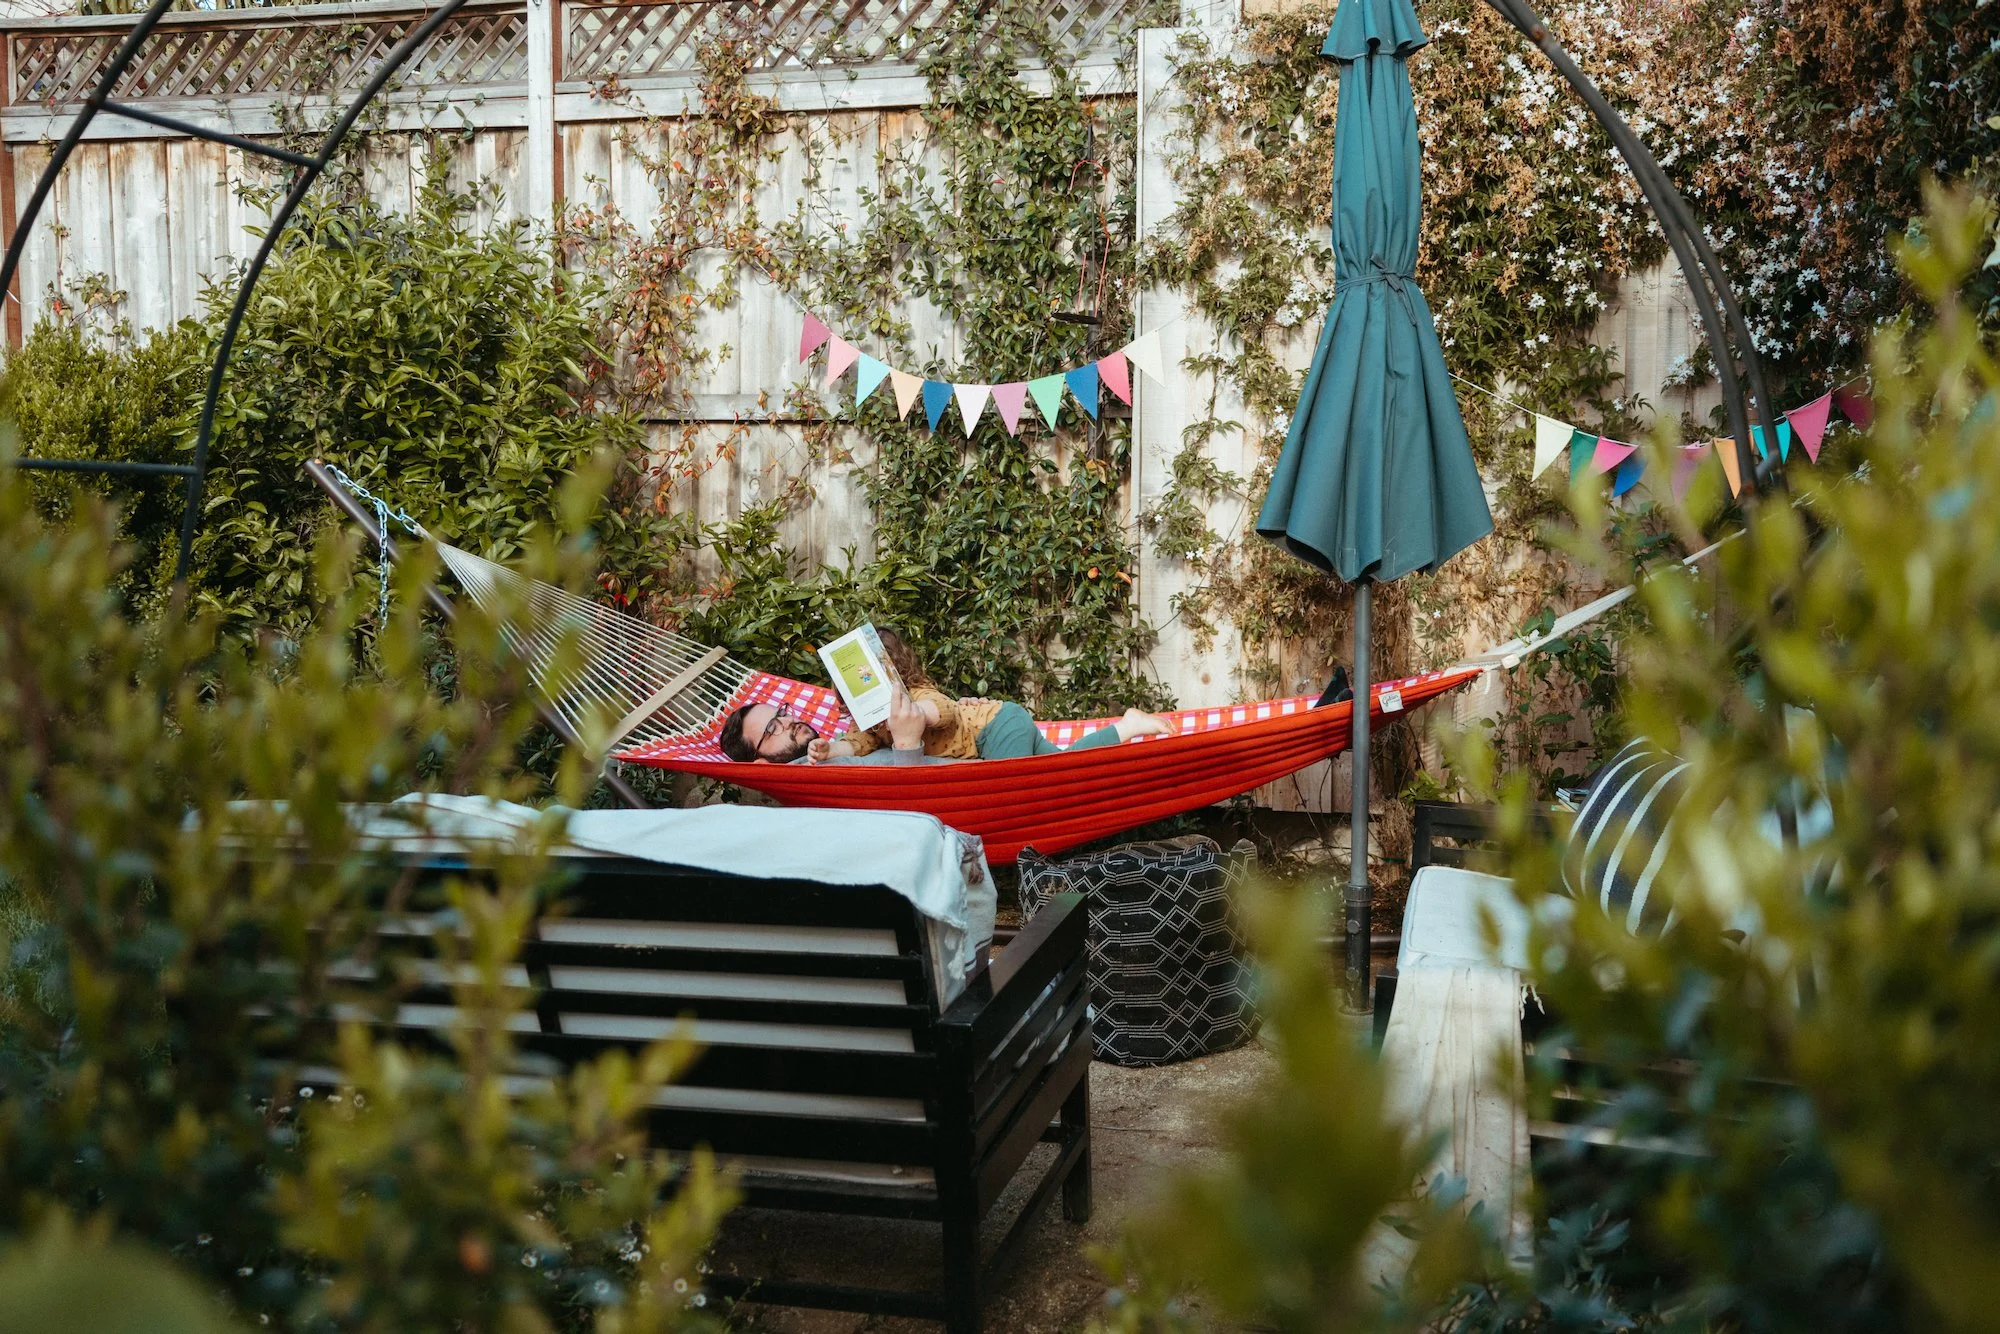
Hammocks, cookbooks, gardening, sewing, and the other things I’ve been up to on my impromptu break, and more.
Ashley’s restoring her historic home at a snail’s pace in California. She shares home improvement DIYs, tips for sustainable living, and renovation stories - all while aiming to add more color and present real, lived-in, family friendly spaces.
I'm Ashley, a deeply systematic homebody restoring my 1915 Craftsman bungalow in California, slowly and on purpose. I don't make a single decision without first opening 100 tabs. Renovation, DIY, color, and what it actually looks like to live in an old house with two young kids.




© 2026 The Gold Hive. All Rights Reserved.
This site contains affiliate links. I may earn a commission on purchases made through these links at no additional cost to you.
Sponsored content and gifted products are disclosed as such. All opinions are my own.
All images are copyright The Gold Hive. Reproduction or use without credit is not permitted. · Photo Licensing Policy

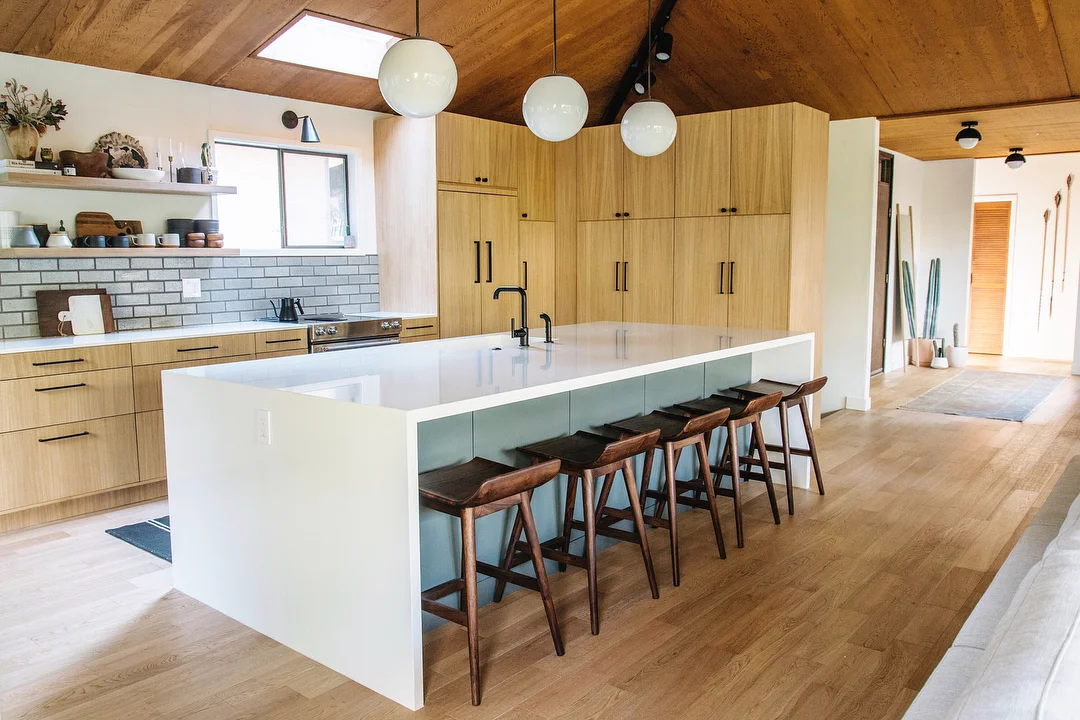











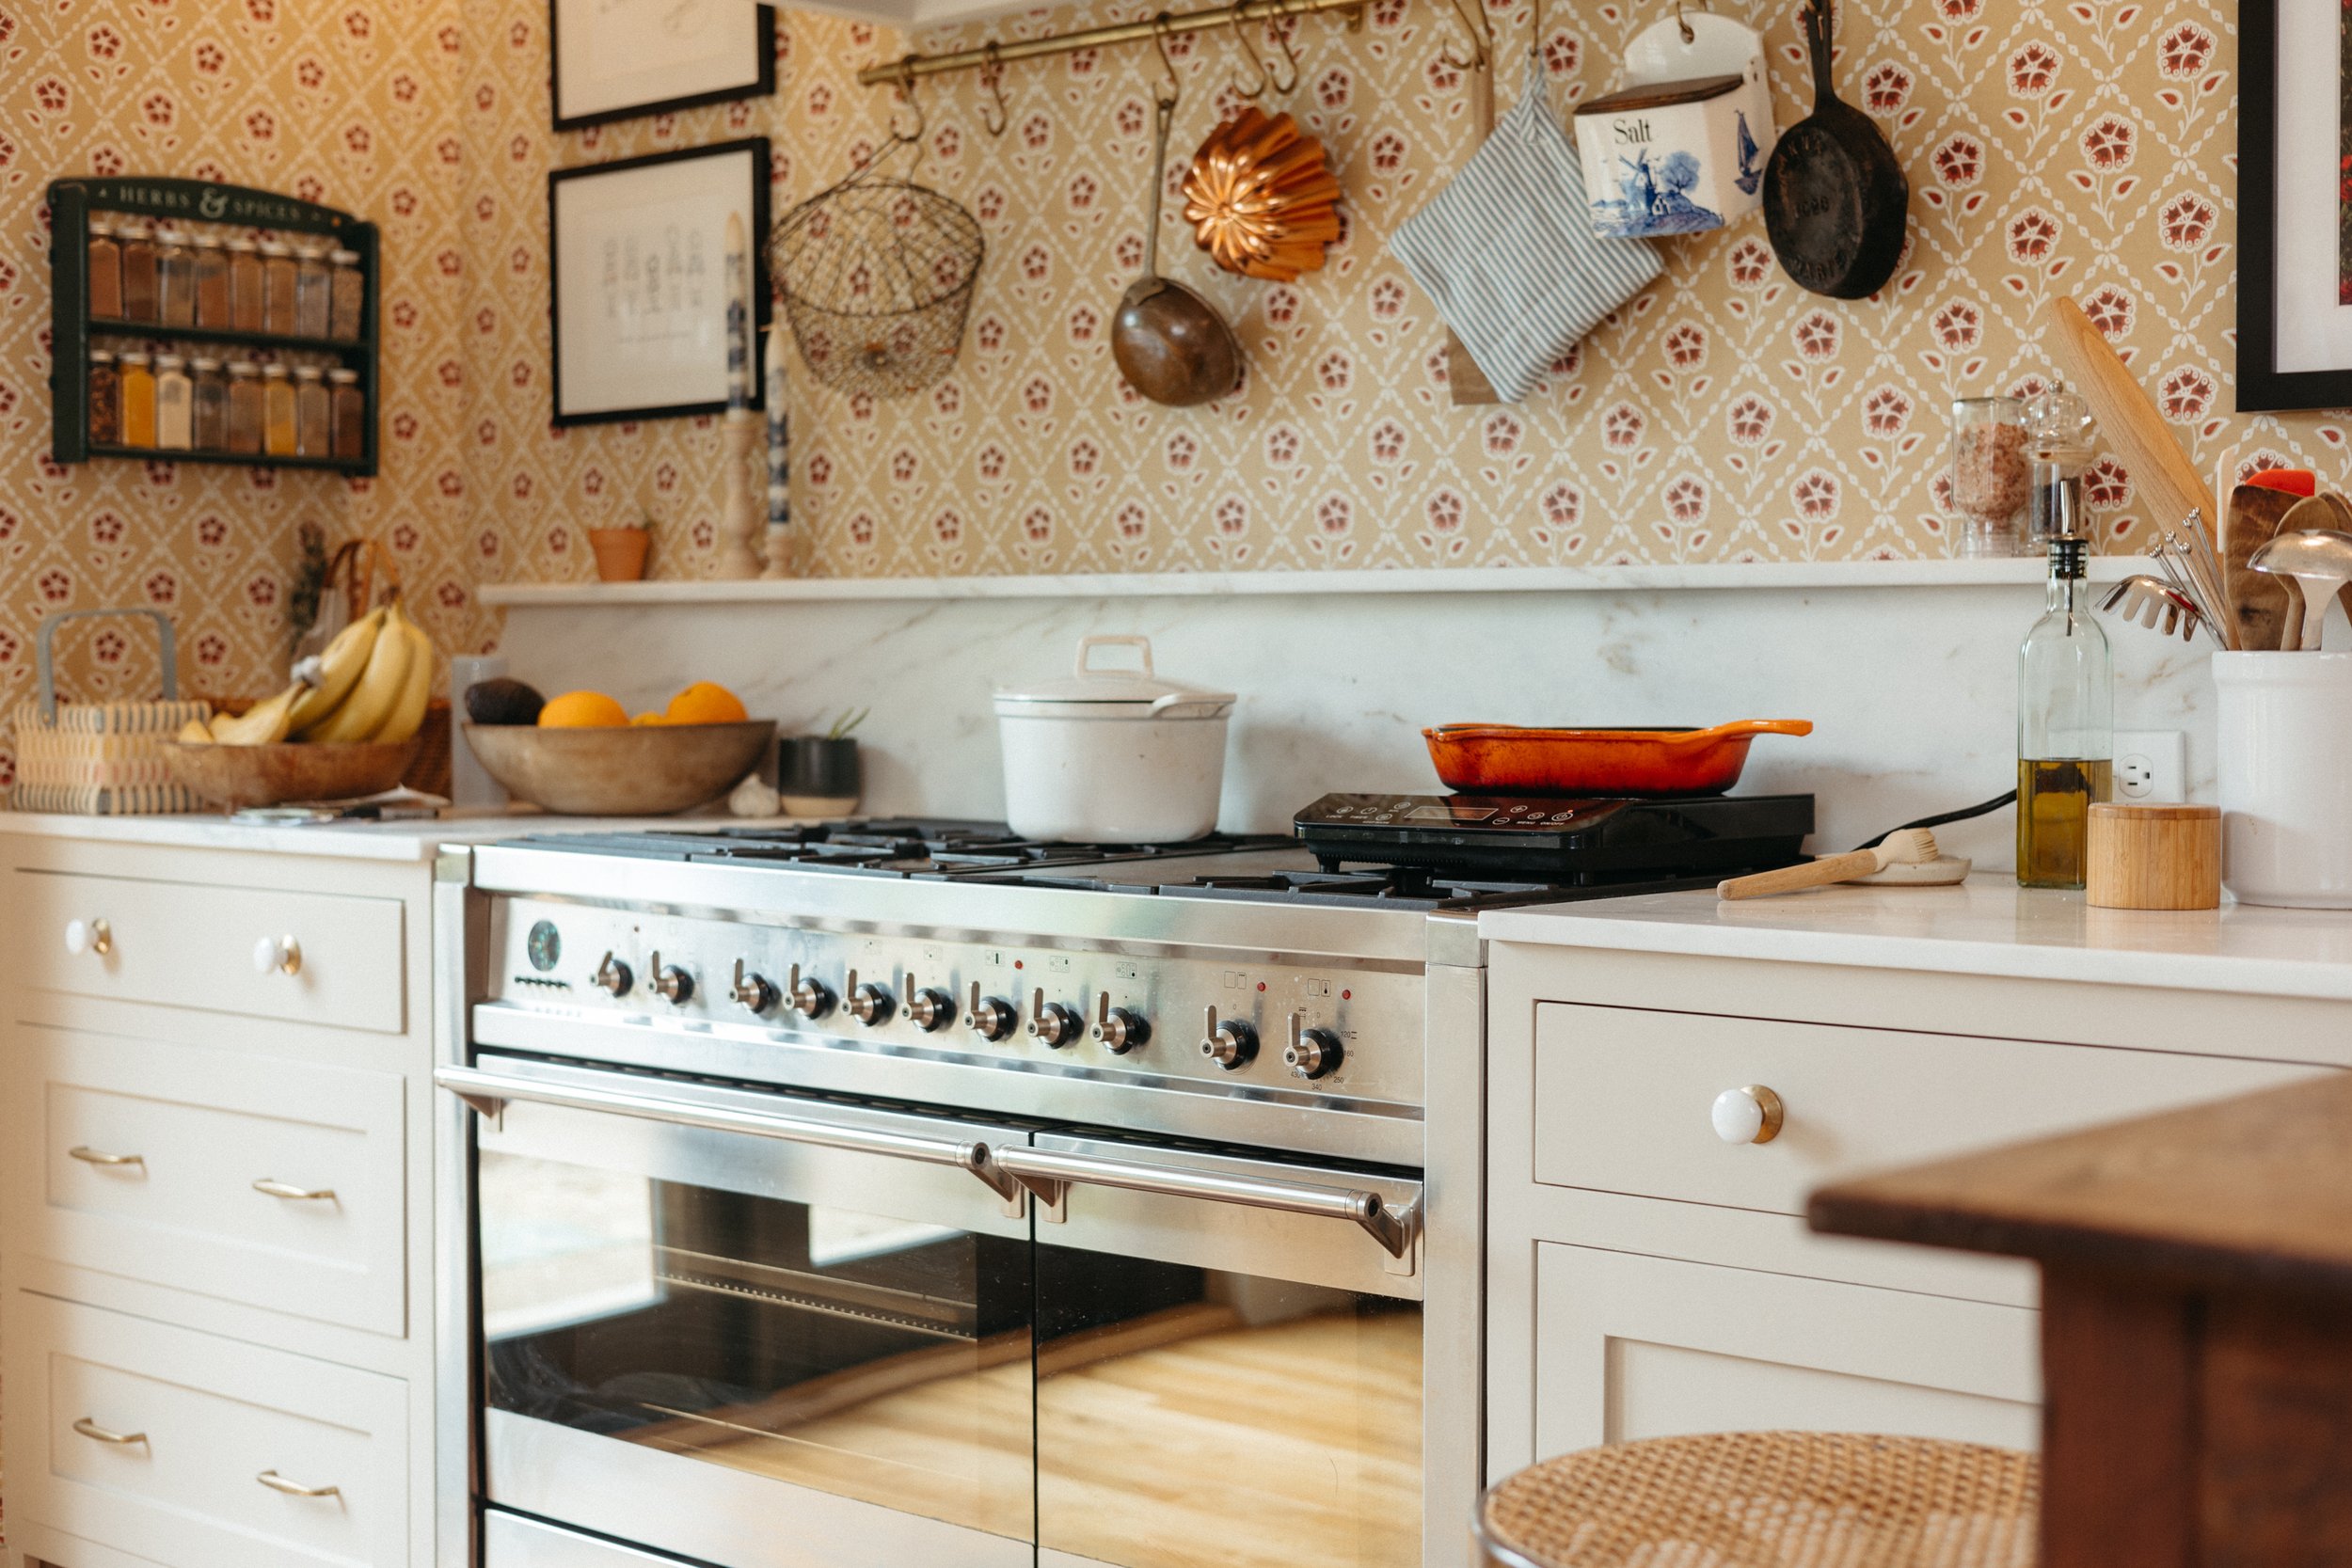

We really like the range we selected during our kitchen remodel, but despite my over-thinking and intense research for a range, I have a regret.